Great DIY, I just completed this job over the weekend and used this thread as my primary guide, thanks!
Minor suggestions for the DIY:
1. Add in the necessity of a 12mm "Double Hex" (aka Bi-Hex or Bi-Hexagon) socket for the OEM rod bolt removal.
2025 Edit: I have since learned the rod bolts were manufactured with the German "DIN" standard dimensions and contours required by that standard (similar to SAE and ASME standards from the U.S.). Because of this, sockets manufactured to DIN standards or manufactured specifically for DIN standard fasteners fit better on these BMW rod bolts and all of the other screws/bolts on the car. German branded tools present with a better/tighter fit such as Hazet, Stahlwille and Wera in my more recent experience.
2. Add in the necessity of an E12 specific wrench for the transmission to oil pan bolts.
3. To lower the sub-frame, remove 6 sub-frame bolts, add in "plus the 2 nuts for the engine mounts."
Extra tips and time savers:
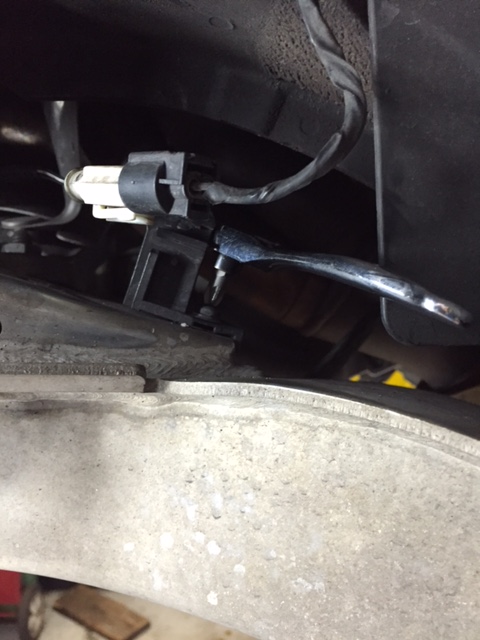
1. Use a piece of piece of thick tape, placed on the steering column across the joint, and then use a box cutter to slice the tape right at the joint. The 3 dimensional marker works great and makes lining things up afterwards super easy.


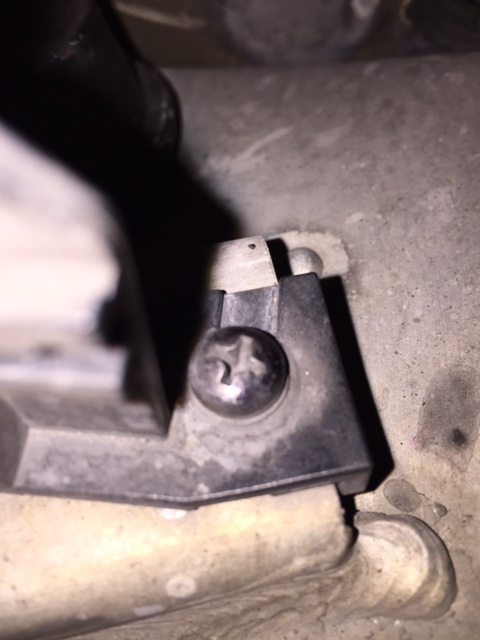
To get the box cutter into the tight space, remove this plastic Servotronic wiring harness holder found on the driver's side of the car. It has a phillips head screw. Use a mini ratchet and bit set (like this one
here) to remove it. A typical stubby screw driver isn't short enough to fit in that tight space:
2. To create more of a production line type efficiency, consider buying 3 inexpensive 3/8" 12 point sockets for the ARP bolt install and a
cheap torque wrench for an initial 30 ft lb of torque and a better torque wrench for the final 50 ft lb of torque tightening. A 3rd socket connected to a 3/8" drive extension with a rough gripping surface to allow quickly threading on the rod bolts most of the way.

3. Ratcheting box end wrenches are very nice time savers and buying off-brand, single pieces specific to this job do not add that much to the overall cost. A
16mm ratcheting wrench like this one for the engine mounts, an
E12 specific ratcheting wrench for the transmission to oil pan bolts and a
10mm ratcheting wrench for the front oil pan to A/C lines bracket removal.
4. Use an
underhoist stand while working with a lift helps ease the sub-frame upwards to guide the steering column into alignment 1/4" at a time. A floor jack if you working with the car on jack stands should have the same effect.
5. Using the hanging sub-frame approach, replace the rear most engine bearings first before the front engine bearings. Starting at the rear of the engine gives you the most room to work with as you refine your bearing removal/replacement technique.
6. If you have trouble pulling a rod back down on to the crank after installing the new bearing, re-thread one of the original rod bolts 7 to 10 threads deep by hand into whichever side of the rod is most accessible and then pull the rod (by the bolt) back down towards you.
Next time I do this job I plan to:
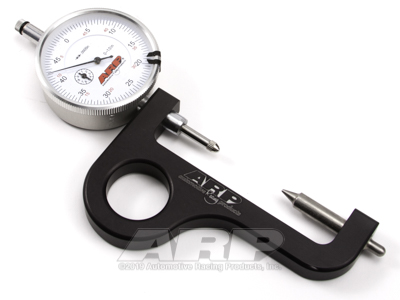
1. Buy or borrow
a bolt stretch gauge, measure and record the specs on each bolt I install so that I can check them if I ever remove them in the future and reuse them.
2. Measure the clearance of each bearing with plastigauge and document each one as described in this thread
here in order to qualify for the BE Bearings warranty.
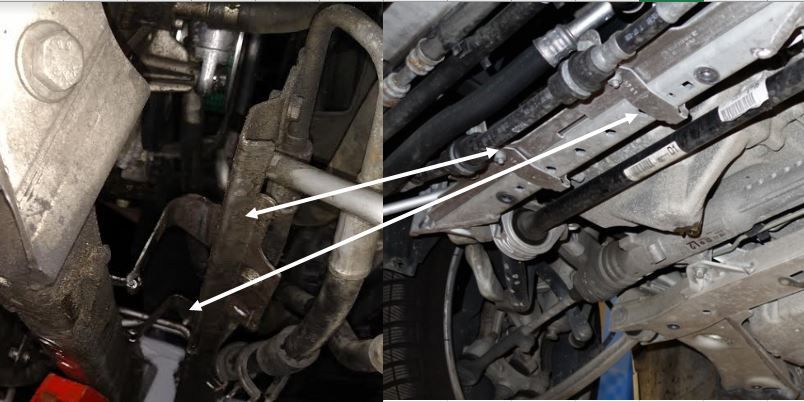
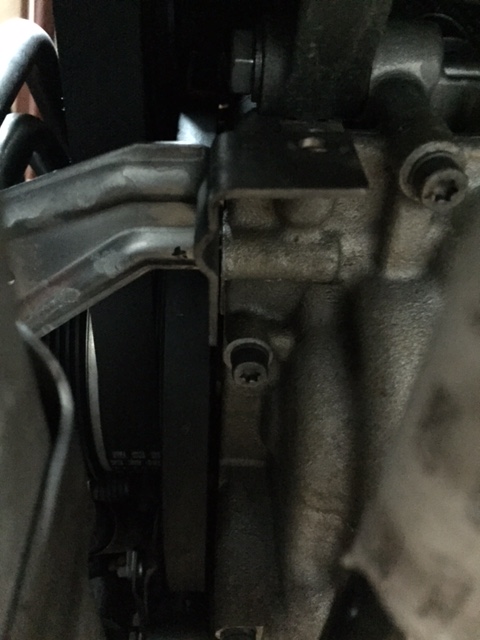
3. Remove one extra bolt on the "front of the oil pan/AC lines bracket" from the A/C lines themselves and get that thing completely out of the way. The bracket kept getting in the way of the oil pan re-installation.

4. Organize all of the bolts better. The 3 magnetic dishes (in addition to the cardboard for the oil pan) were overflowing and didn't offer enough real estate to keep things neatly organized.
5. Purchase a 4 inch T30 torx in addition to the required 6 inch T30 torx to make the job easier. The 6 inch tool was almost too long for some of the the oil pan bolts as the 6 inch tool handle was nearly touching the hanging sub-frame for some bolts leaving very little room for my hand to turn it.
6. Consider dropping the sub-frame entirely. Standing over 6 feet tall, I found myself crouching down under the sub-frame constantly, where I probably wouldn't have had to do much if any crouching had I removed the sub-frame (while using a standard shop lift).