



 |
|
 |

|
|
|
| 04-13-2022, 10:04 PM | #1 |
|
Private First Class
 
31
Rep 115
Posts |
My VF 650 Install Experience
Over the last week I had the pleasure of installing a used VF650 + CSF Race Heat Exchanger + ID1050 injectors (new, I plan on running e85) I purchased. Here ill talk about some of the things I experienced some may be beneficial to members here. Overall it wasn't too bad of an install just had to read and watch videos of others.
Purchasing a used SC kit: If I had to do it all over again I would definitely purchase a new kit over a used one  . While the instruction manual calls out most of the parts there are still specific screws which arenÂ’t called out that come with the kit. I purchase d the kit for around $5500 and then spent another $1500 ordering missing parts from VF. Mind you I did decide to go with the Race Cooler by CSF (8052). . While the instruction manual calls out most of the parts there are still specific screws which arenÂ’t called out that come with the kit. I purchase d the kit for around $5500 and then spent another $1500 ordering missing parts from VF. Mind you I did decide to go with the Race Cooler by CSF (8052). 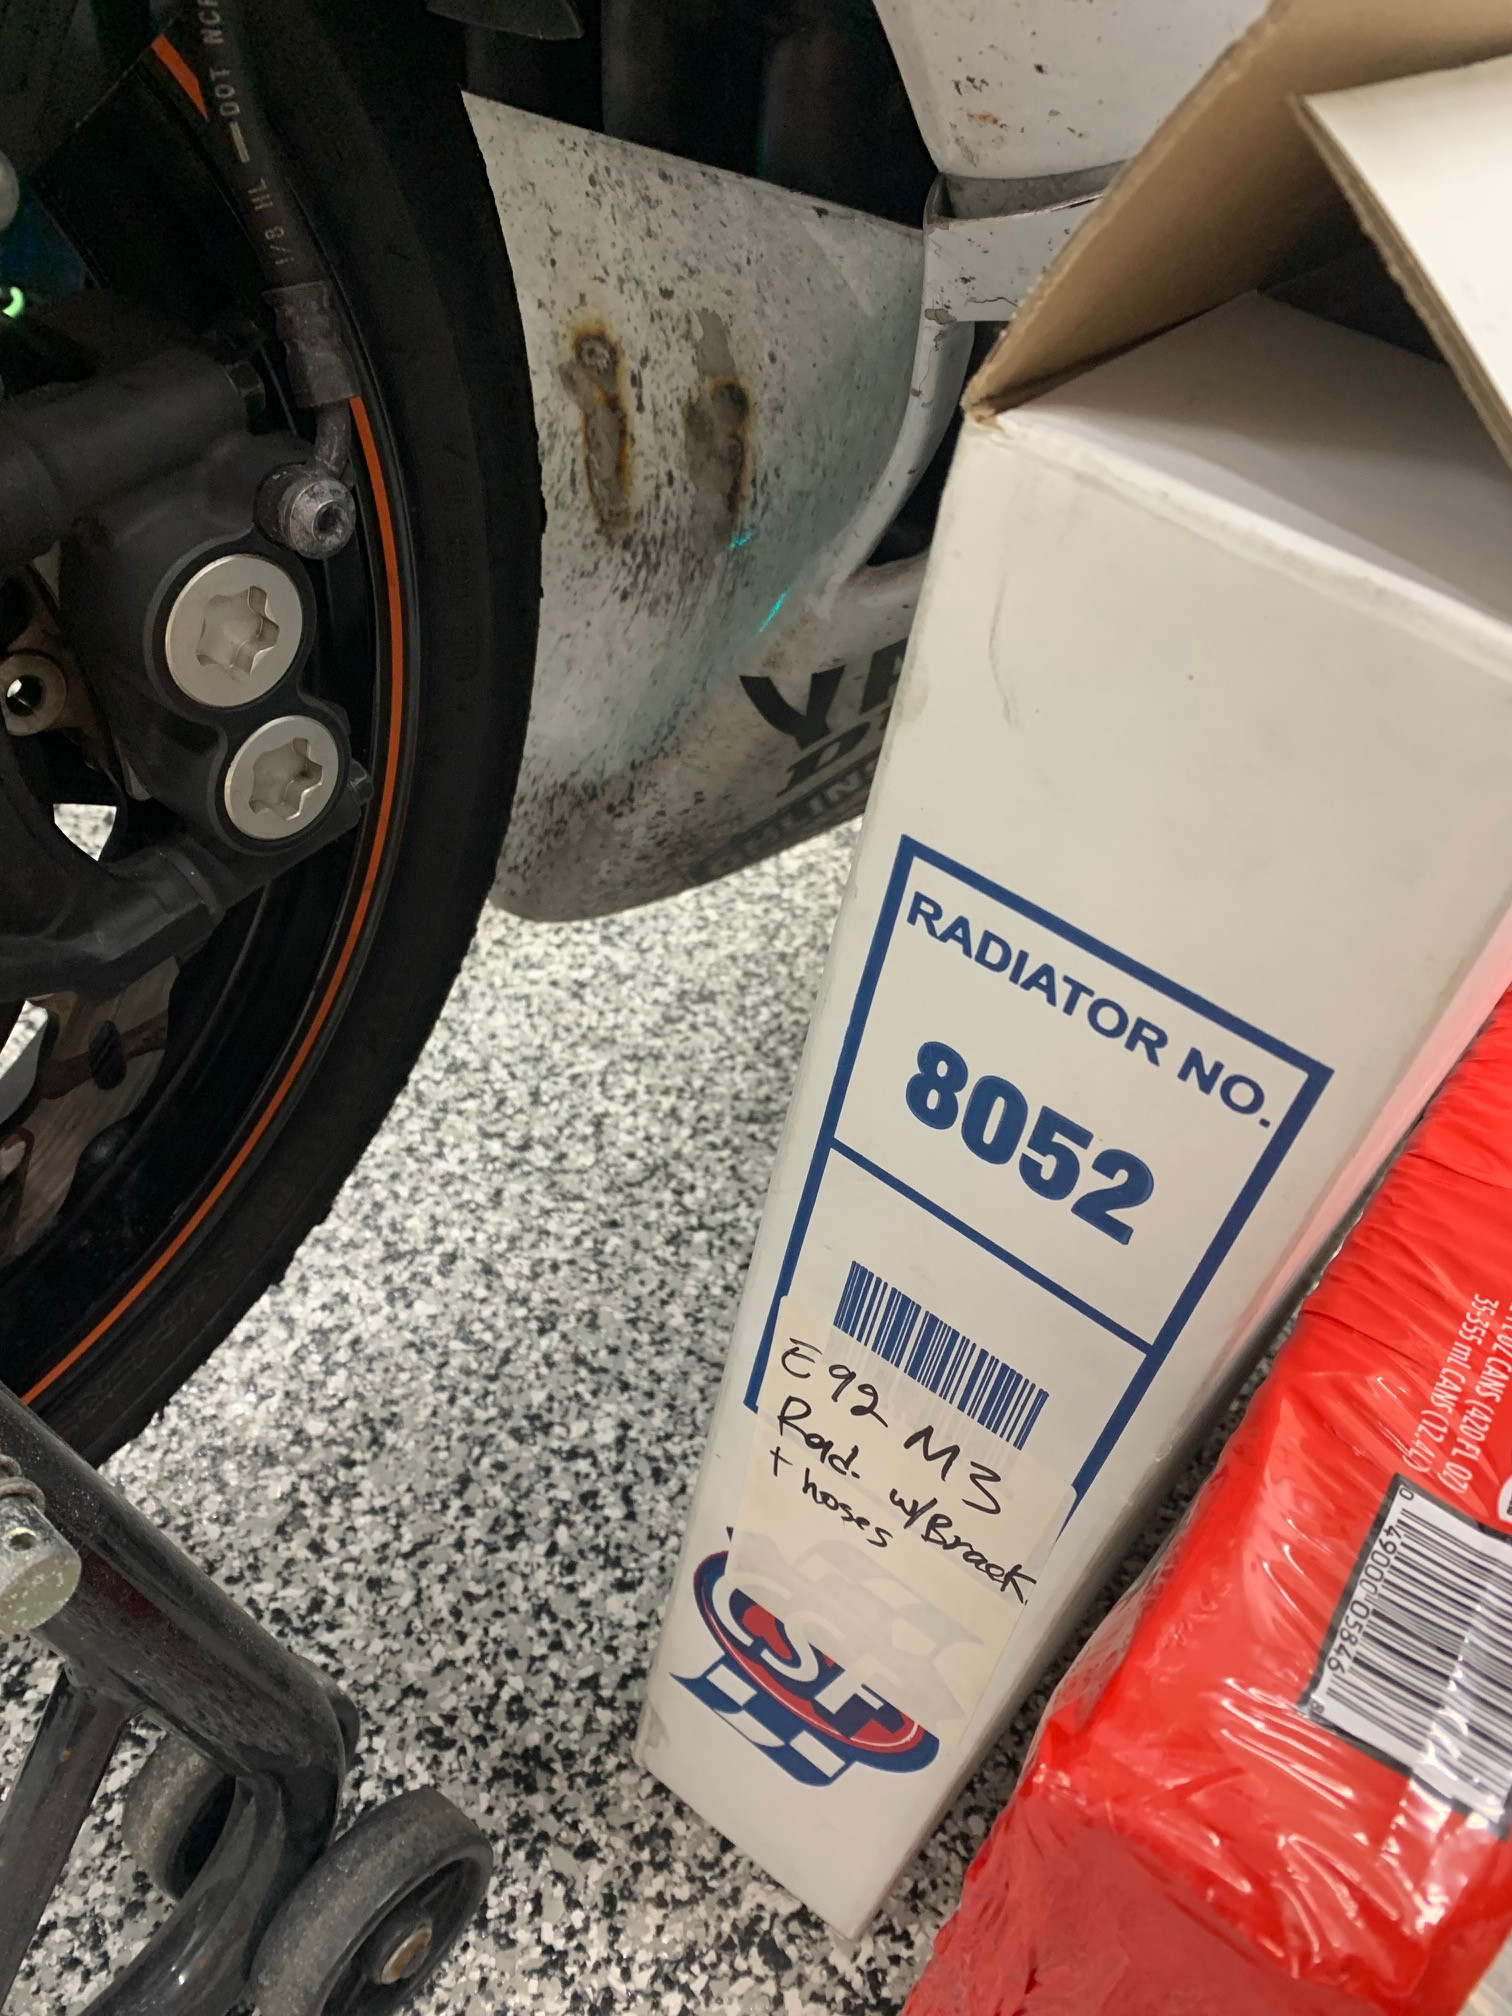 Pre Installation Prep: Take your time, removing the intake box and plenum was straight forward. Disconnecting the Idle stabilizer from the intake manifold can be tricky but just keep at it. Separating the snorkel in the back from the air pump at the pressure sensor was tricky, a lot of people end up removing it and find it easier to work on. I used a blow drier and was able to remove the hose after some finessing. Draining the coolant was straight forward I started by draining the radiator not much fluid came out. Once I disconnected the upper and lower radiator hoses fluid was everywhere, be prepared. The push pins on the hoses are straight forward lift them up and pull the hose off, albeit it was a little tricky due to room restrictions removing the lower radiator hose. The nipple on the upper radiator hose is tricky don't yank too hard or you'll break it. Once again, I used a blow drier to heat it up and remove it without breaking the nipple. The VF kit requires you to remove the welded bracket (used to secure airbox) I used a drill bit and some oil to keep it form overheating. Be careful not to drill into the black grounding box next to it. I used some white primer paint to paint over where I drilled. The bracket was pretty chewed up, I tossed it. Removing belts was easy, power steering belt comes off by pushing tensioner down with a 14mm. And the water pump belt is the same thing. Once you loosen the idler this belt comes off with some finessing. Install You mount the alternator U-bracket with dowel on back side, then fish the stud through the front (took me way longer to figure out than it should). Mount the idler bracket.. pretty straight forward Test fitting the supercharger bracket was a little challenging at first (do it without mounting the charger on it first). I aligned up the bolts with appropriate spacers to the idler bracket loosely first then the u bracket bolt. The water pump reservoir instructions are not the best, there isnÂ’t a pic of where or how you mount it. I found user longbow64 's thread and it helped me out big time. You run the bolt through the frame rail (about a 1-inch hole). Initially I mounted up the bracket incorrectly. The 3 holes must be towards the front of the car parallel to the radiator. I suggest mounting this before your final sc bracket mounting. Installing the brace support took a decent amount of time, I found it easiest to mount up the bracket with charger on it loosely and then run the bolt through the exhaust manifold heat shield. I also loosed up the bolts holding the charger to the bracket to give me some more wiggle room. Now tightening up the bolt is a PITA I used various extensions to try and make it work with no luck, at the end of the day a ratcheting wrench was what worked best. The belt was fairly easy to route, I routed mine with the water pump pulley removed around the idler, crank pulley alternator. I left it sitting then mounted up the bracket for the last time. Releasing the tension from the bracket to route the belt was a two-man job as I didn't have a large enough wrench to get enough torque without causing my hand to throb. My wife had the duty of routing the belt over the supercharger pulley.  Evap Modifications were easy, once again I used a blow dryer and was ablet o slowly remove the vacuum lines. Once the new one is installed make sure you zip tie it out of the way of the throttle bodies. 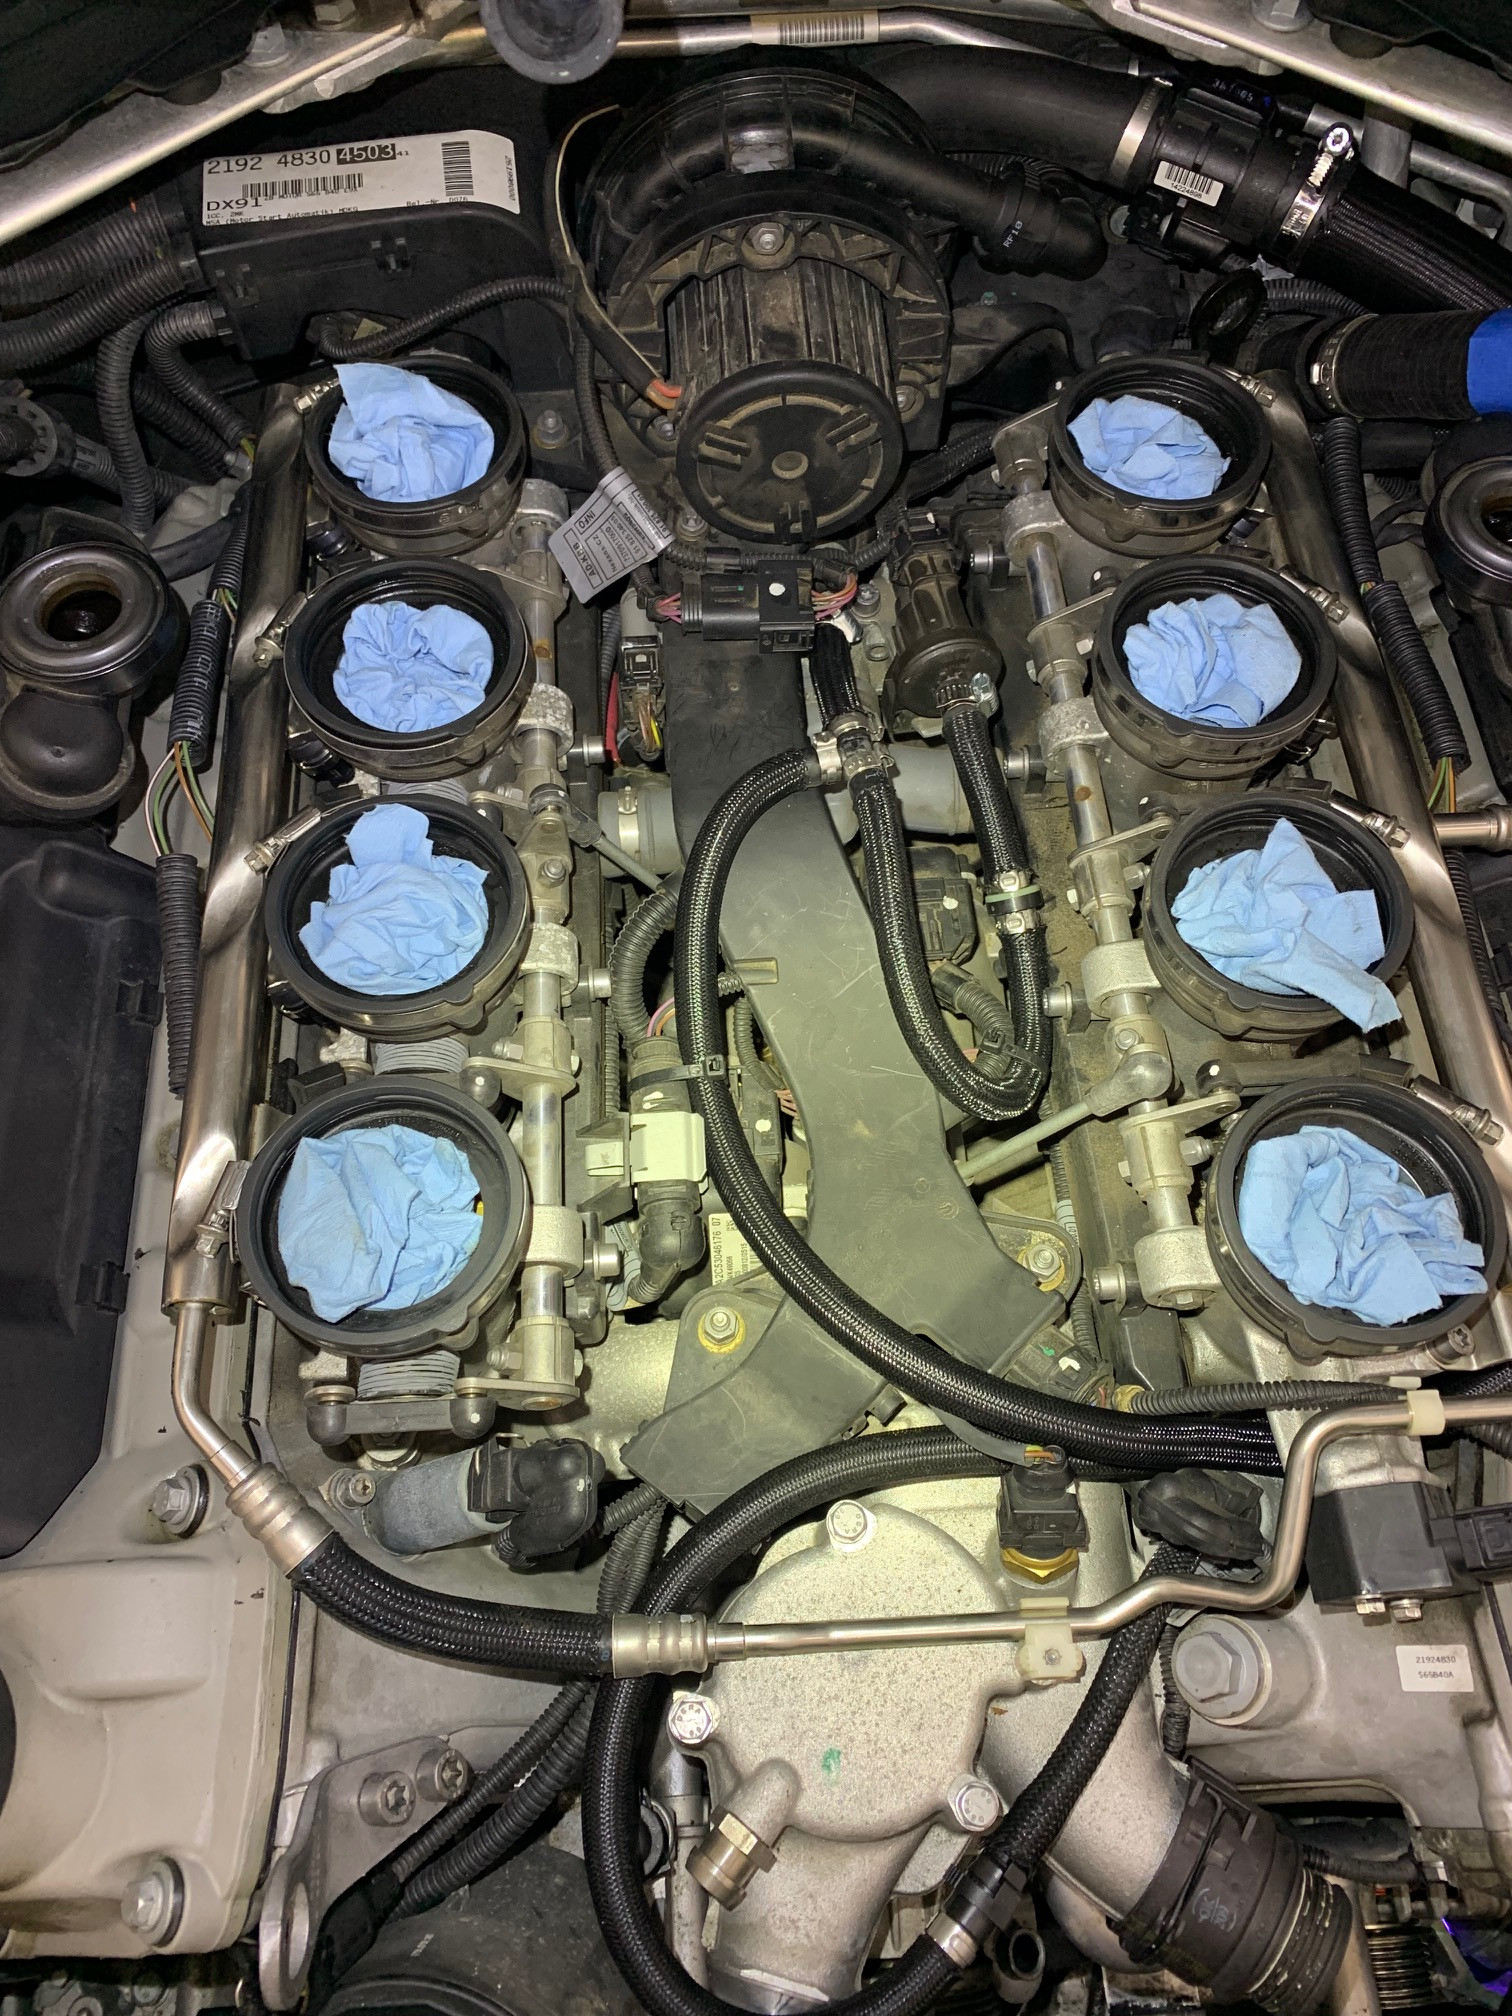 ID1050 Install I wasnÂ’t able to find much help on this install so I just kind of used my imagination. The injectors I got were plug and play so hooking them up was no issue. However I couldnÂ’t plug them in due to the plastic covers on the plugs preventing me from pivoting the wire. I just removed the plastic covers and was on my way. 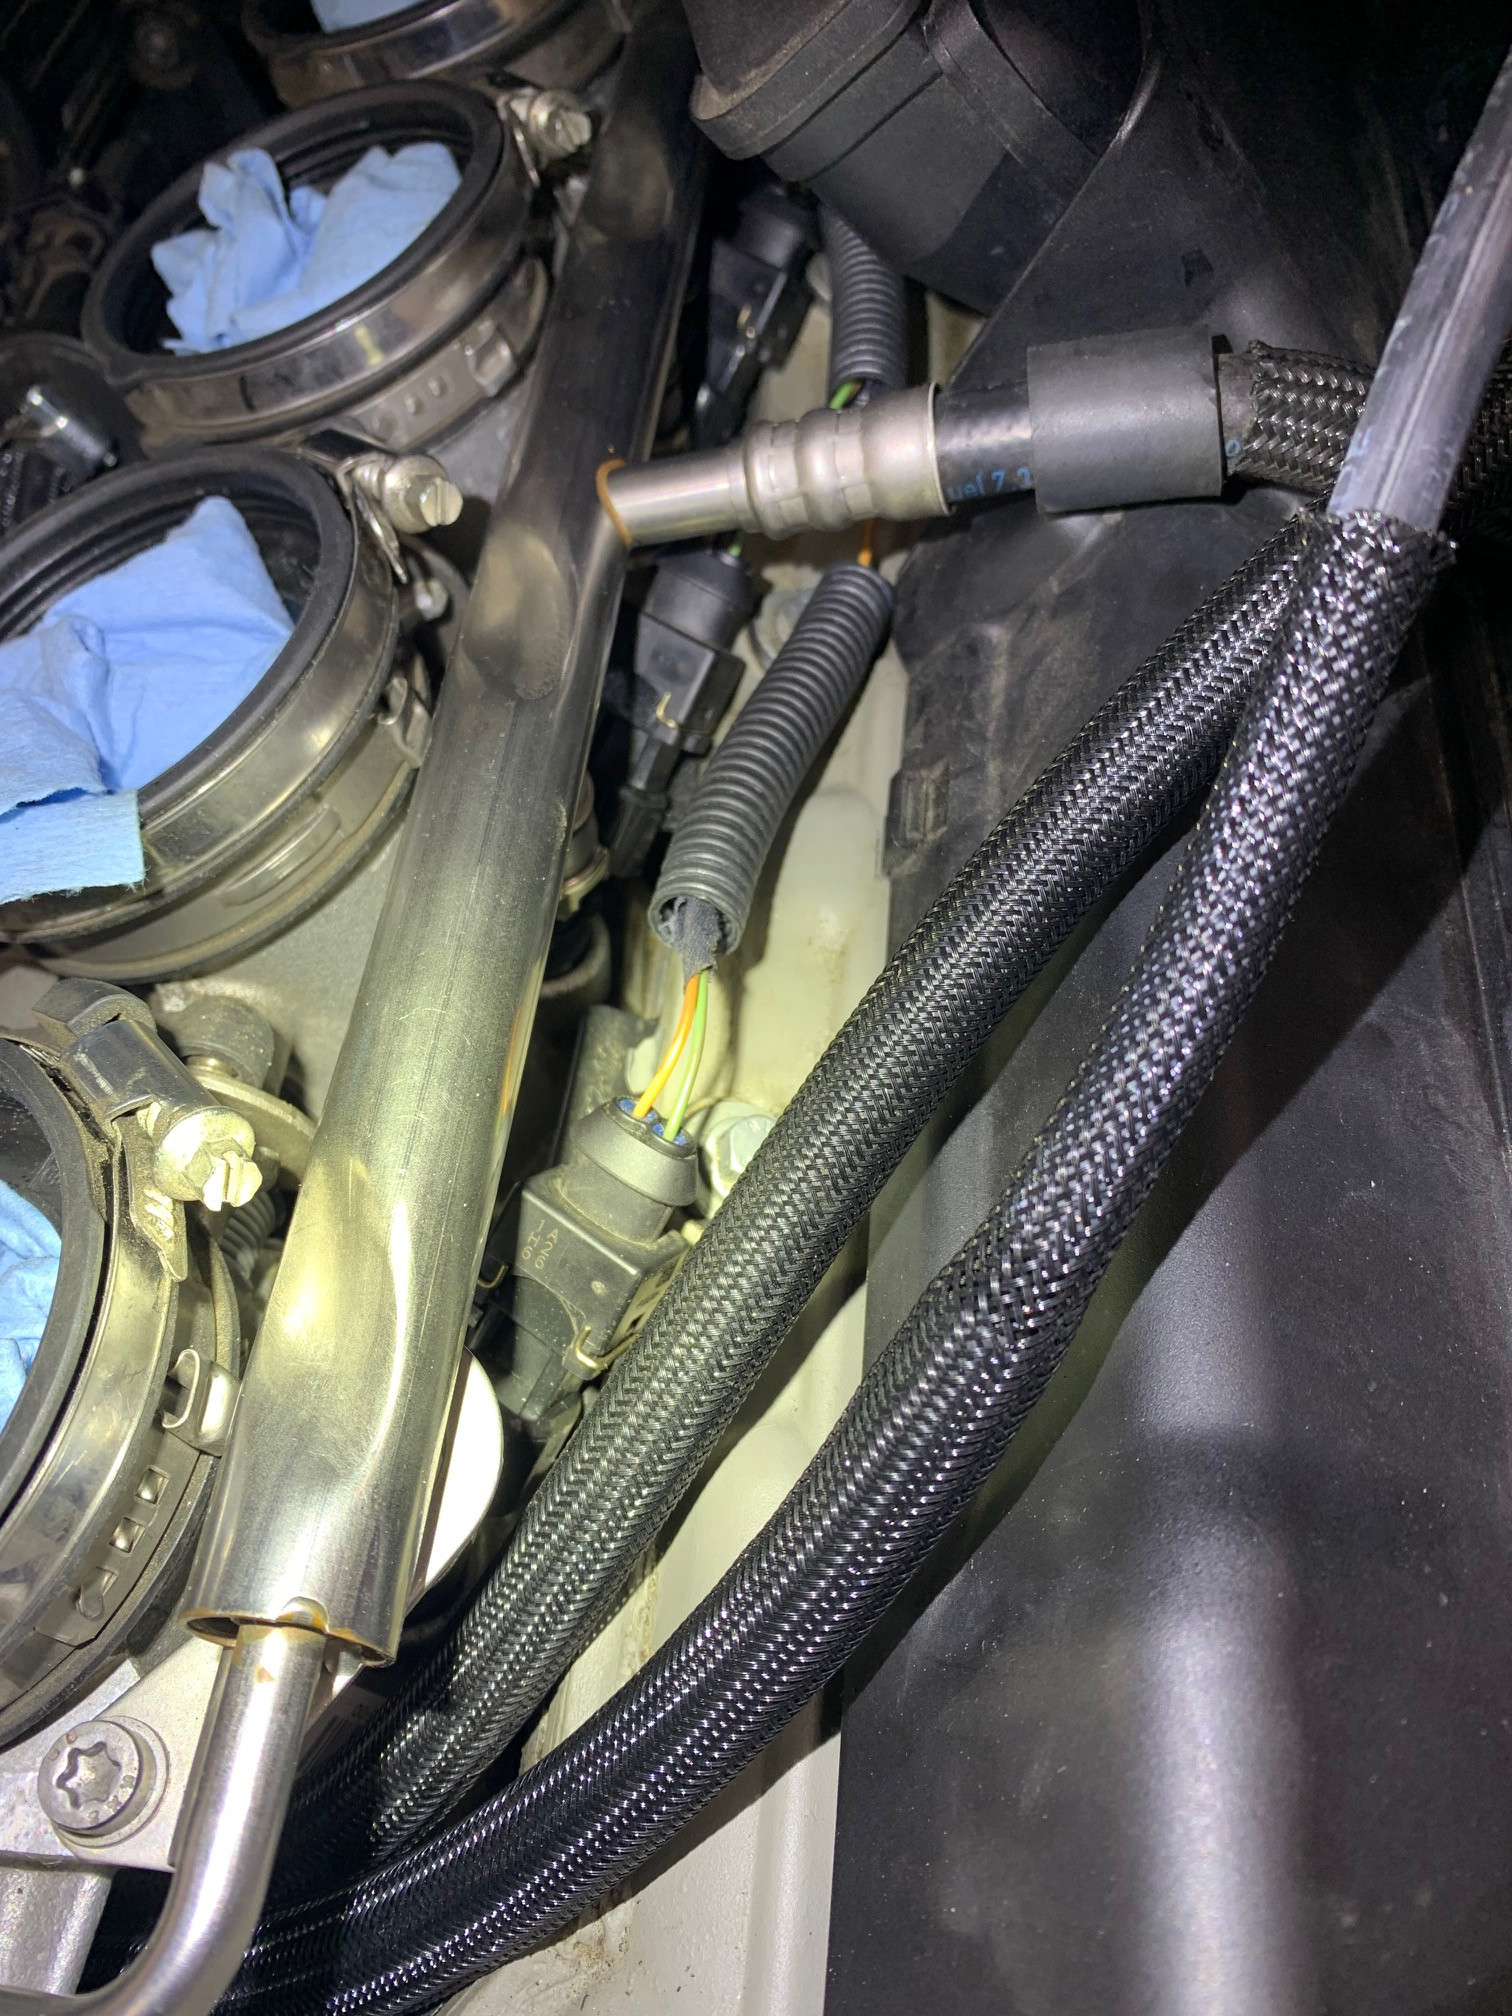  Putting the plenum in place with all of the hoses behind it was a little tricky, I just shoved hoses back behind the air pump without kinking any of them and then gently used a mallet and placed the plenum in place. Mounting the Race cooler wasn't too bad. The bolts and bracket VF sent me were too small (maybe they fit better on a e92). I used longer bolts and spacers to make it all work. Mounting the hoses to it was a little tricky trying to get them not to kink. IÂ’ll probably add some more zip ties to keep the hoses from moving too much or rubbing too much.  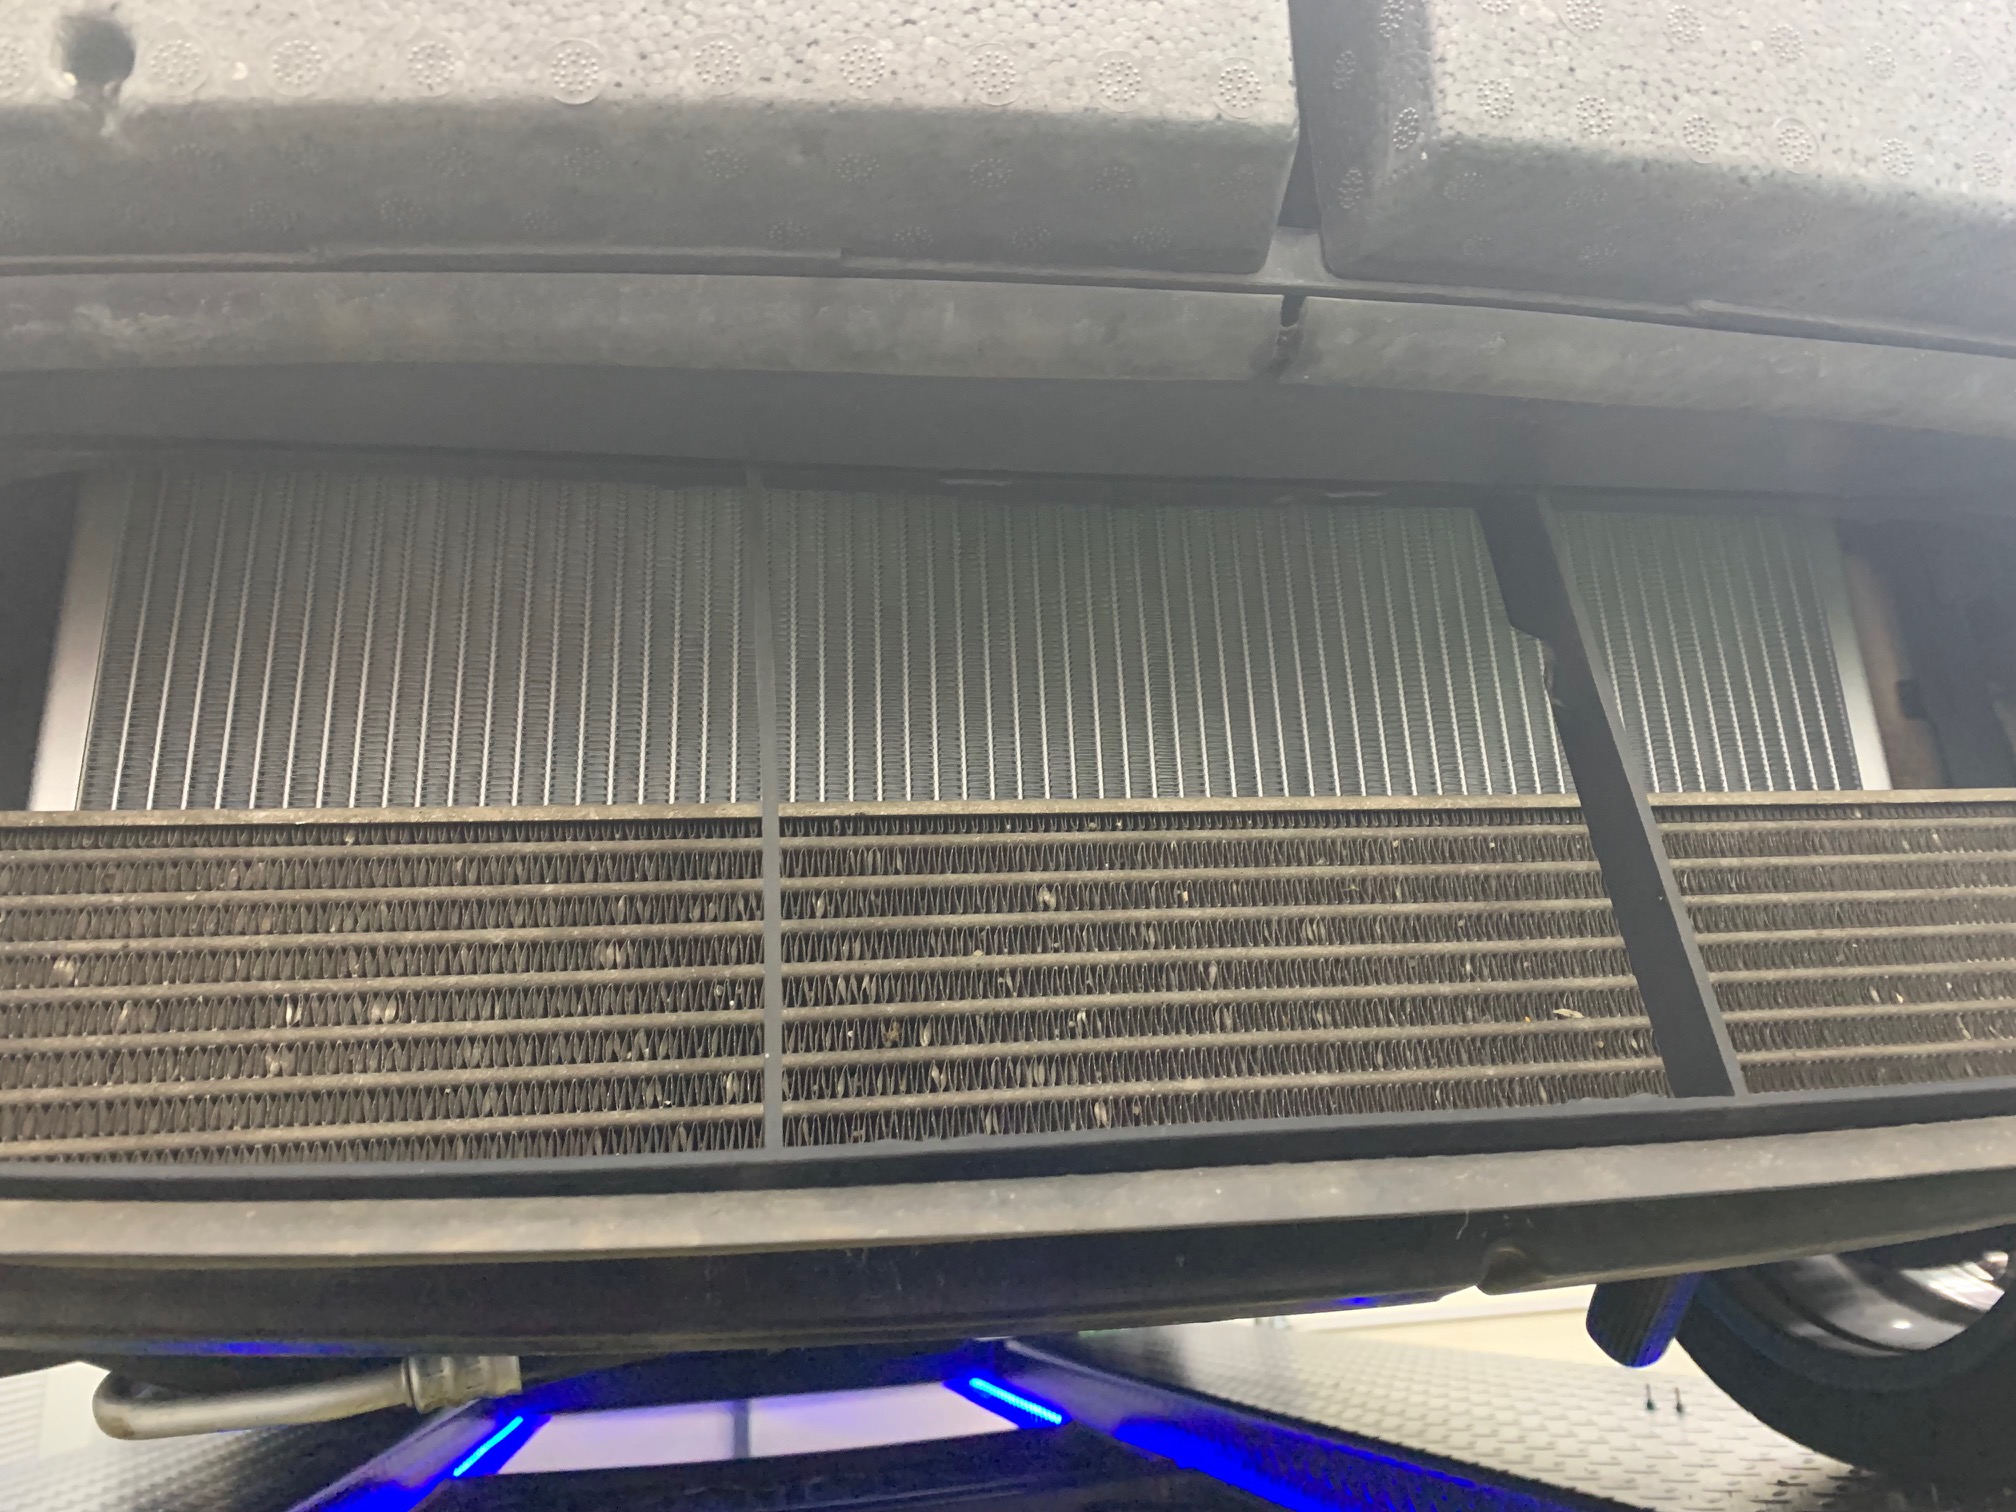 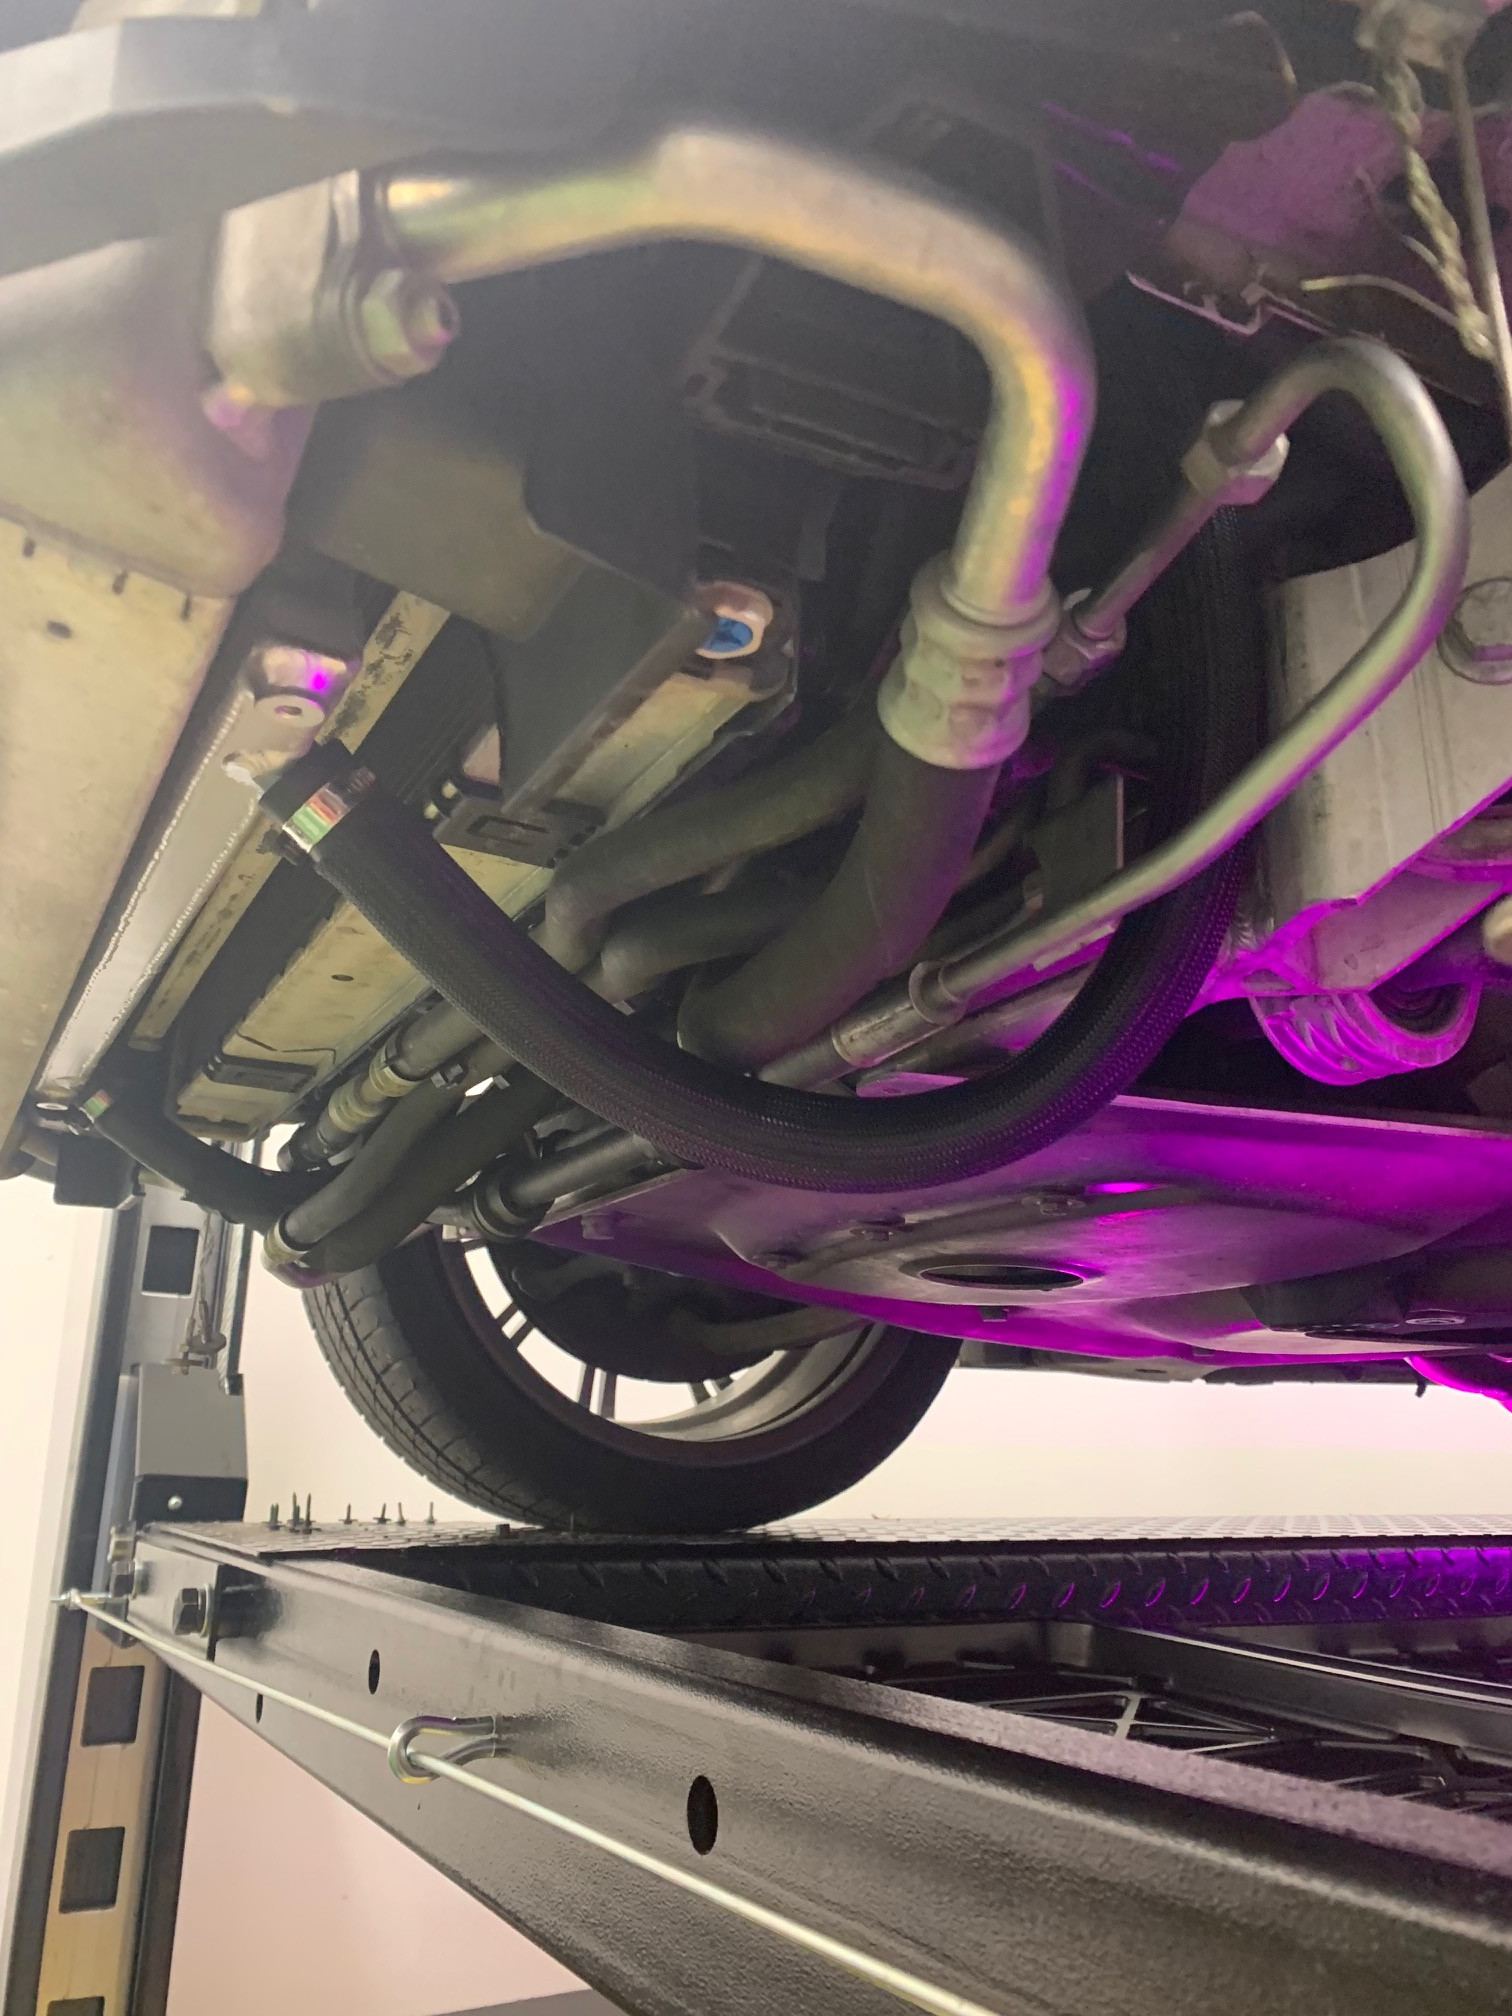 Wiring up the water pump wasn't too bad; however I did not want to drill the electrical fuse box cover (I think others have) didn't want to risk any water getting in. I just used a coat hanger and made a hole in one of the grommets with the wires coming in and ran the wire in and then taped it up. All in all it wasnÂ’t too bad, if anyone has questions or needs help IÂ’d be more than happy to.. adding some additional pics incase anyone wants to see anything.  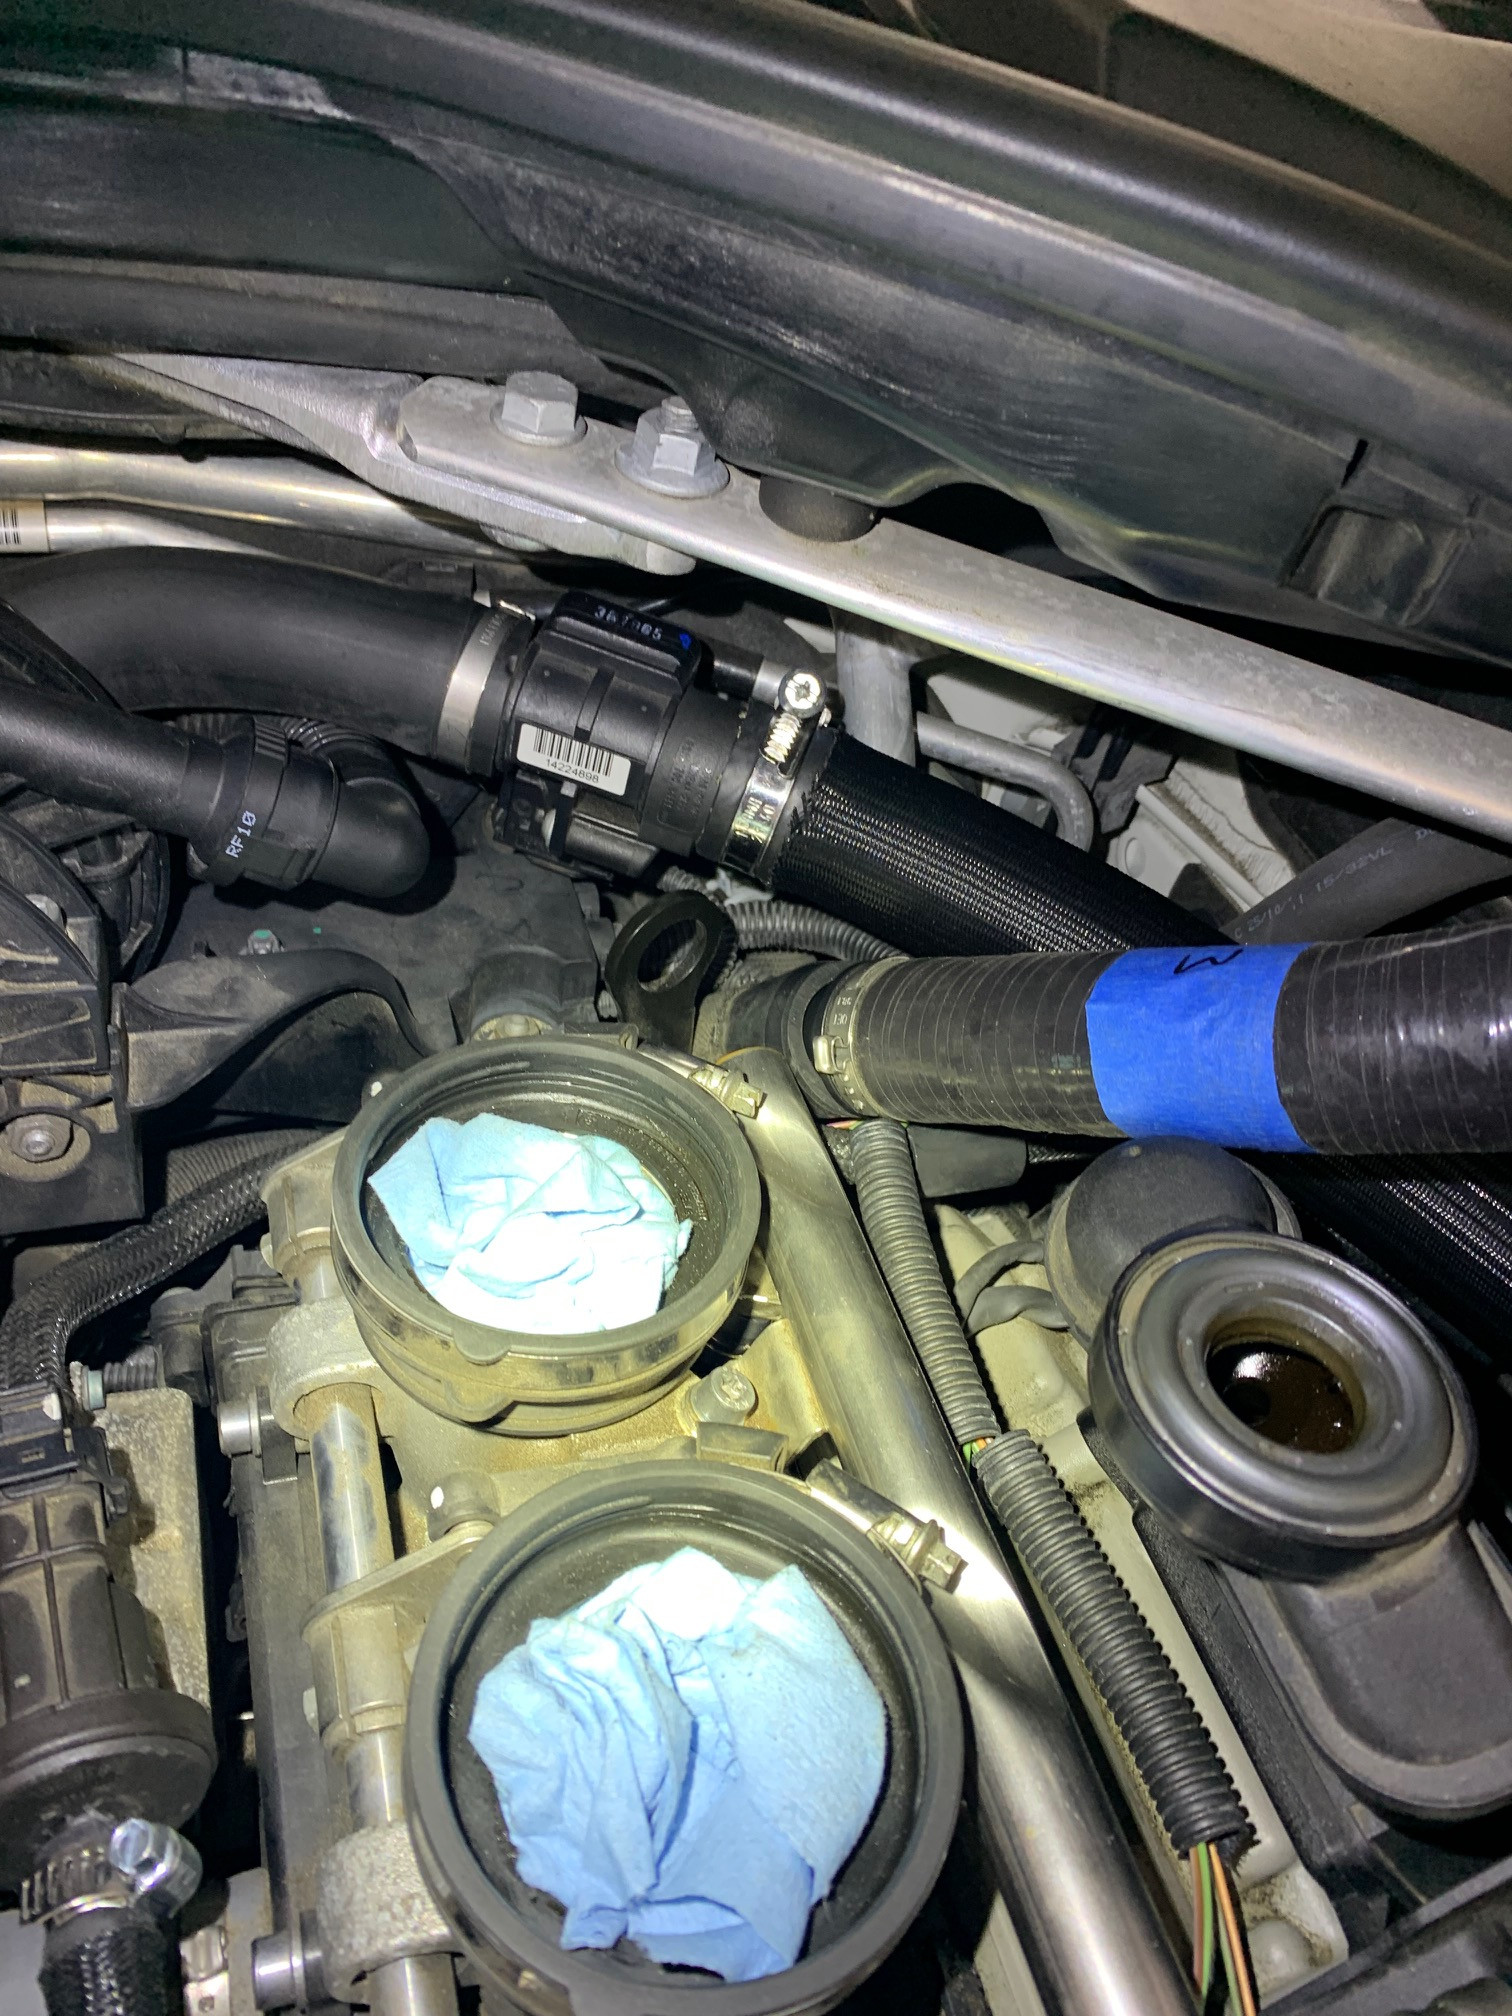 
__________________
Alpine E90 M3
Dakar E36 M3 Last edited by lonatic; 04-13-2022 at 10:13 PM.. |
| 04-14-2022, 08:46 AM | #2 |
|
Astronaut
535
Rep 732
Posts |
I've done a handful of installs/removals for SC kits on the E9X M3 and can agree with you.
I personally bought my kit used for a steal of a price, but If I had to do it all over again, I would have purchased new from the start. I too was in your boat with missing parts and had to order them through ESS. These kits, all of them really are plug and play. It's not a hard task, just a very time consuming one. I think the first time I did the install, it took me a few days but I also replaced every maintenance item I could while I was in there. Having the valve covers off really exposes the S65 but I learned a lot about this motor when I completely tore it apart. I think my start to finish on SC installs is around 4.5 hours now haha. Anyways, great little recap, beautiful dakar, and welcome to the SC club!
__________________
Instagram | @undisclosedm3
"Never think that you are above taking out the trash." |
|
Appreciate
0
|
| 04-14-2022, 09:29 AM | #3 |
|
mTekMods


2478
Rep 3,150
Posts |
What are you using for boost monitoring?
tread carefully if youre planning to turn up the boost with e85.
__________________
E90M3 - Satin Black
F97 X3M - Brooklyn Grey E39 M5 - Silverstone |
|
Appreciate
0
|
| 04-14-2022, 02:13 PM | #4 | ||
|
Private First Class
31
Rep 115
Posts |
Quote:
Quote:
__________________
Alpine E90 M3
Dakar E36 M3 |
||
|
Appreciate
0
|
| 04-14-2022, 08:44 PM | #5 | |
|
mTekMods
2478
Rep 3,150
Posts |
Quote:
|
|
|
Appreciate
0
|
| 04-15-2022, 09:08 PM | #6 | |
|
wannabe
273
Rep 831
Posts |
Quote:
My install experience is similar to yours, although i did the injectors/fuel pump/pulley a year after the initial install. Did you do plugs while you were in there? O2 sensors? Enjoy the new power!
__________________
E90 M3 - 6speed - slicktop - single hump
|
|
|
Appreciate
1
Longboarder3688.00 |
| 04-15-2022, 11:28 PM | #7 | ||
|
Private First Class
31
Rep 115
Posts |
Quote:
__________________
Alpine E90 M3
Dakar E36 M3 |
||
|
Appreciate
0
|
Post Reply |
| Bookmarks |
| Tags |
| id1050, vf650 |
|
|





