269.6KVIEWS
170REPLIES
7APPRECIATES
02-24-2023LAST POST
Hey guys,

Here is DIY on how to install BMW Performance Steering Wheel. It is not very difficult you just need to take your time and pay attention to what you are doing.

Tools:

1. Not very big Flathead Screwdriver
2. 16mm or 5/8 socket with wrench and extensions
3. T25 torx socket ( i think it is T25 but I might be wrong)
4. Very small flathead screwdriver
5. 10mm socket

If you are local ( Bay Area ) I can install it for you

This DIY is for you just to look/read and get an idea on how it can be done. I am not encouraging you to do this installation. I will not be responsible for anything that might happen to you, your vehicle, or anybody who might be helping you, or anything else.


Before you start taking everything apart you need to read PDF Instructions in the Post#3 at the bottom and get familiar with it. Make sure you understand what goes where. After you did that, I would recommend to label supplied BMW harness with A1,A2,A3,A4,A5,A6, and A7 tags. It will be easier to figure out what goes where.

1. Disconnect your Battery and make sure your (-) Negative terminal will not be touching battery
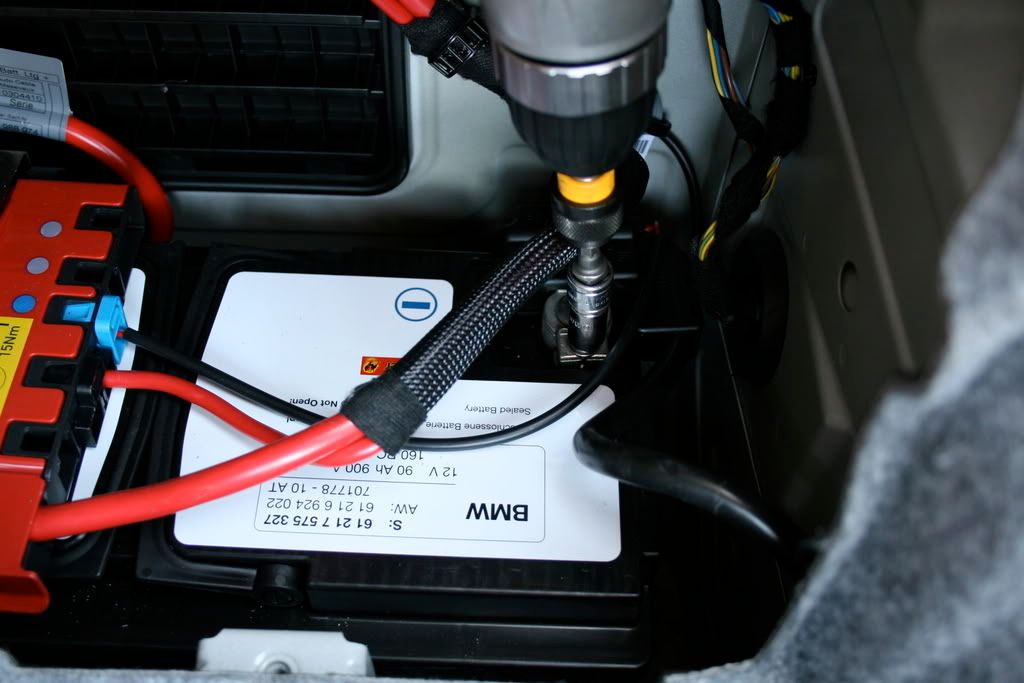
Image hosted on: i114.photobucket.com

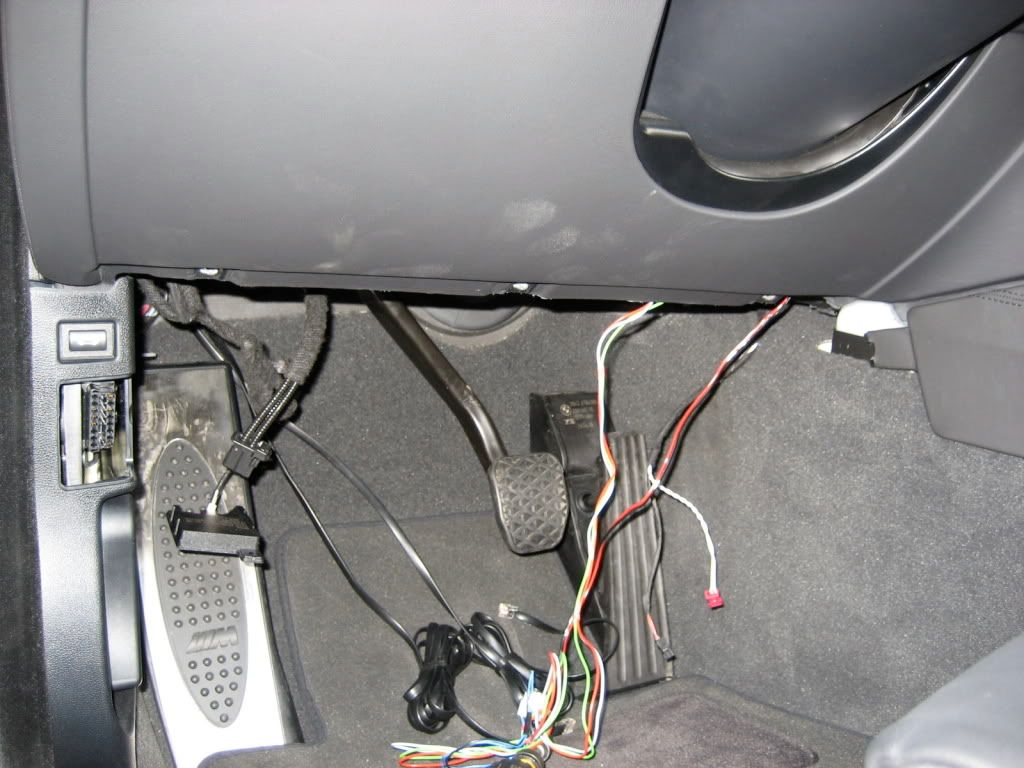
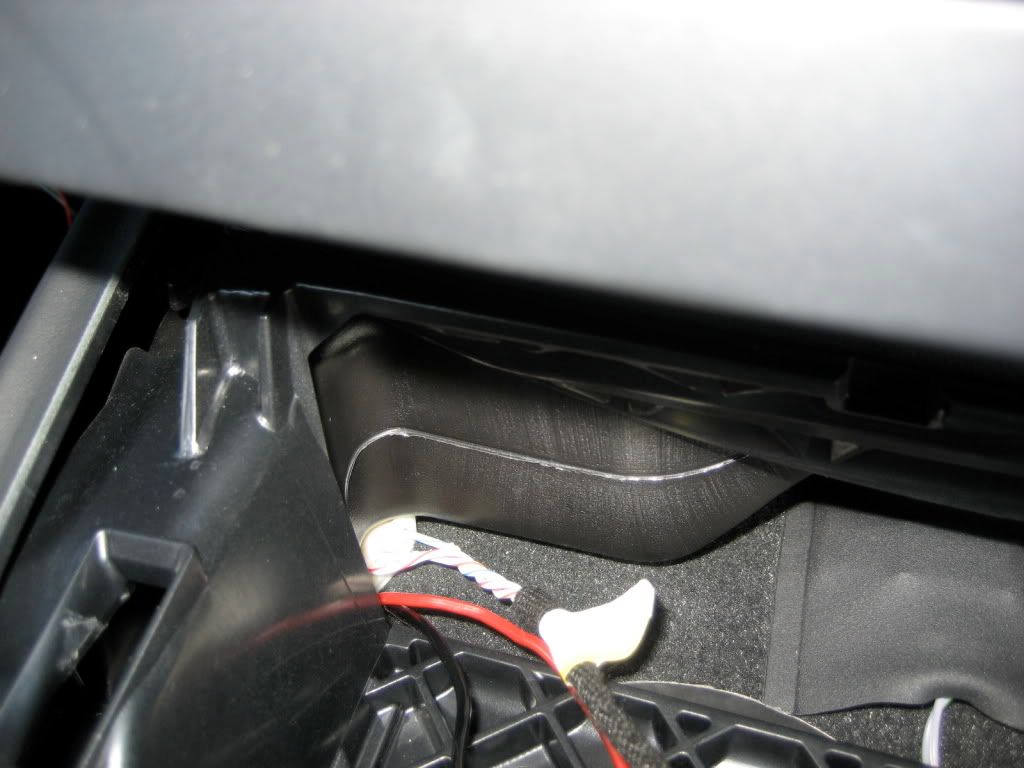
2. Remove lower plastic panels on both sides (passenger/driver). I just have picture of the passenger side
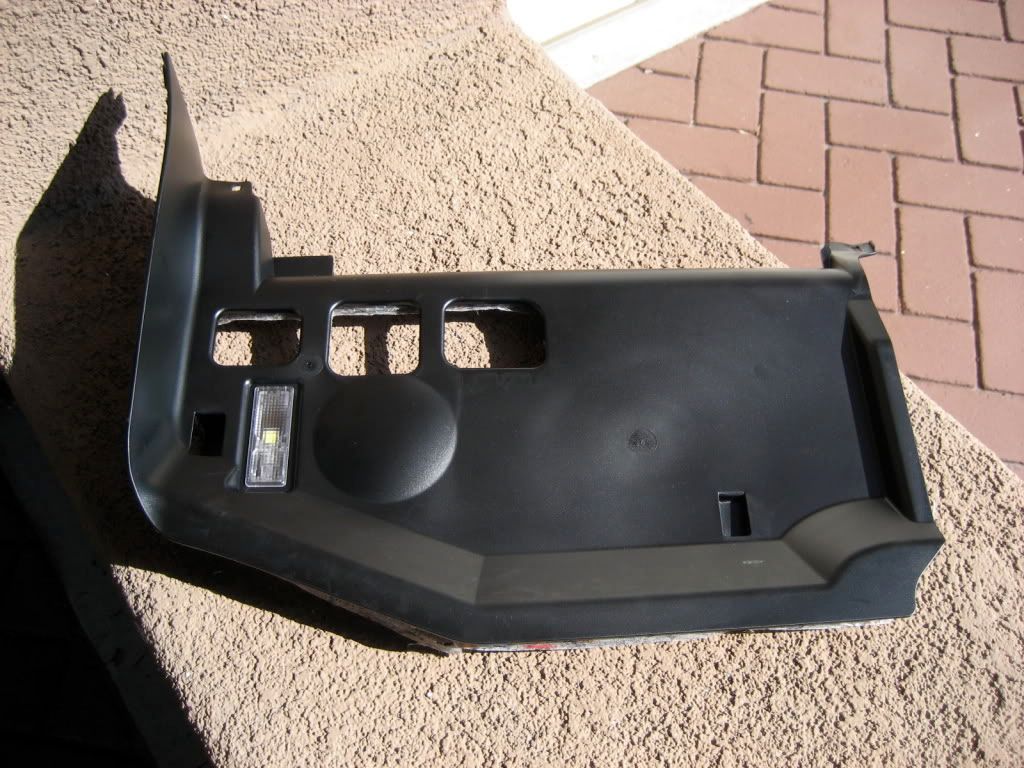
Image hosted on: i114.photobucket.com
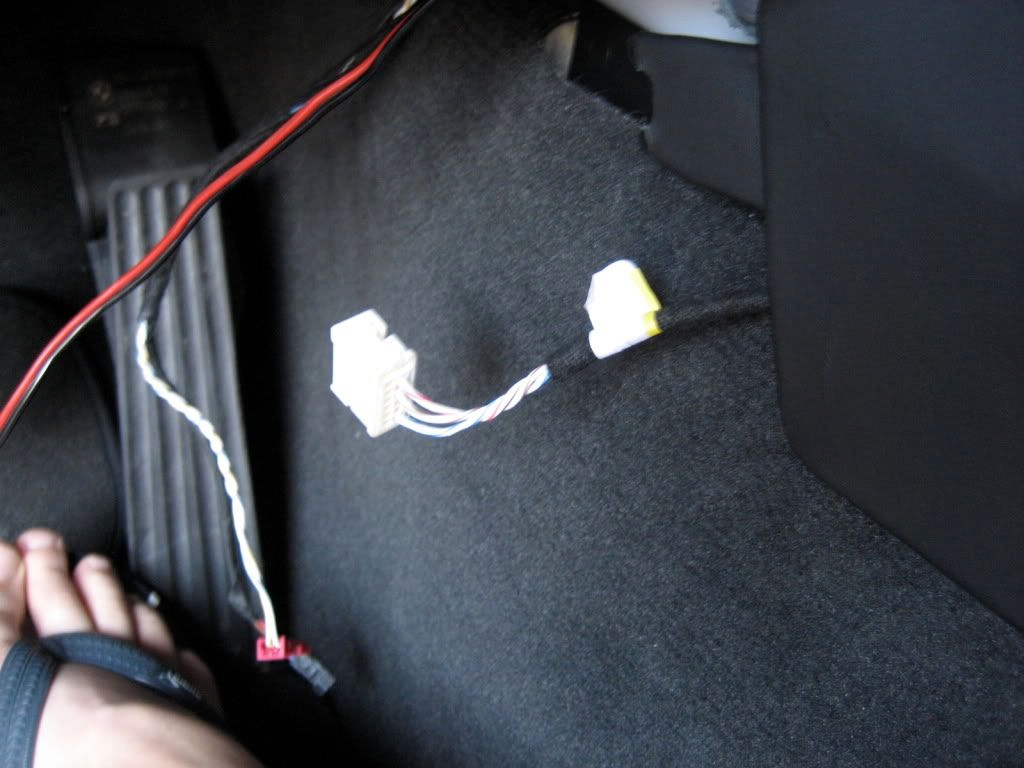
Driver side
Image hosted on: i114.photobucket.com

3. Read PDF instruction and unplug Blue connector
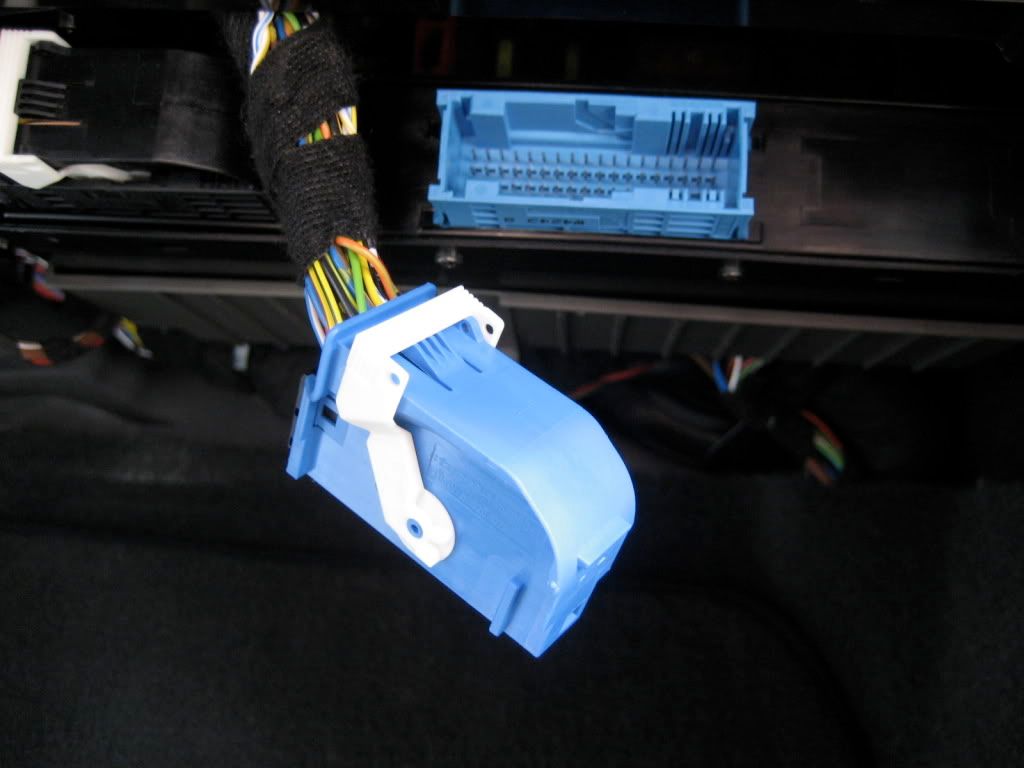
Image hosted on: i114.photobucket.com

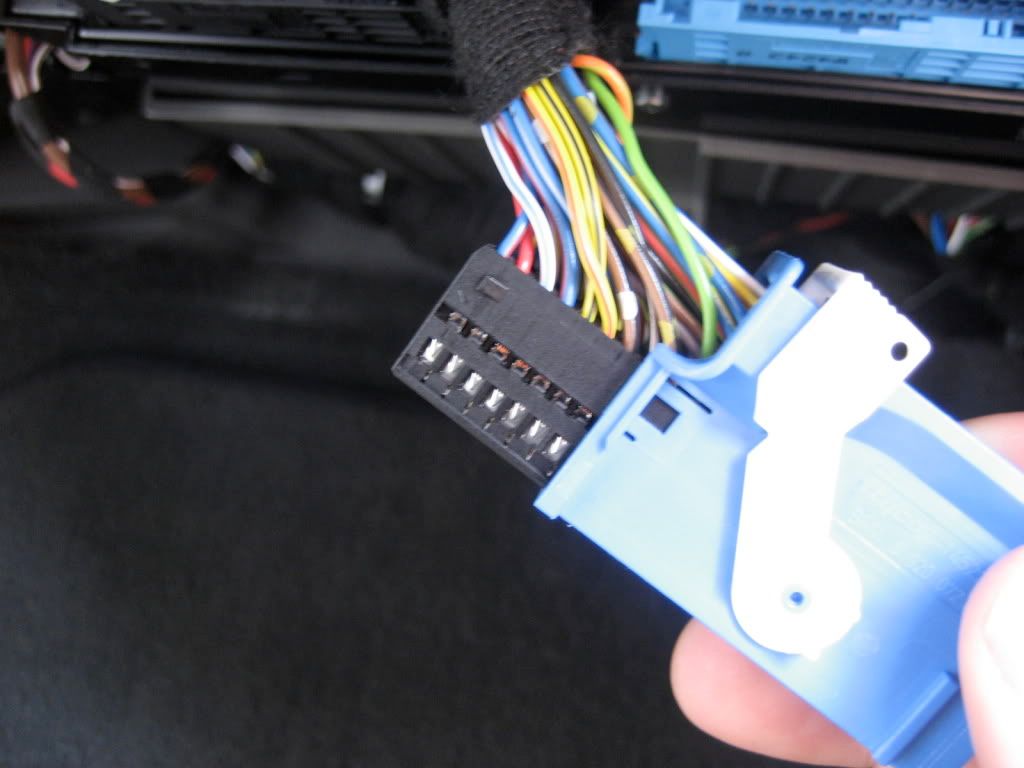
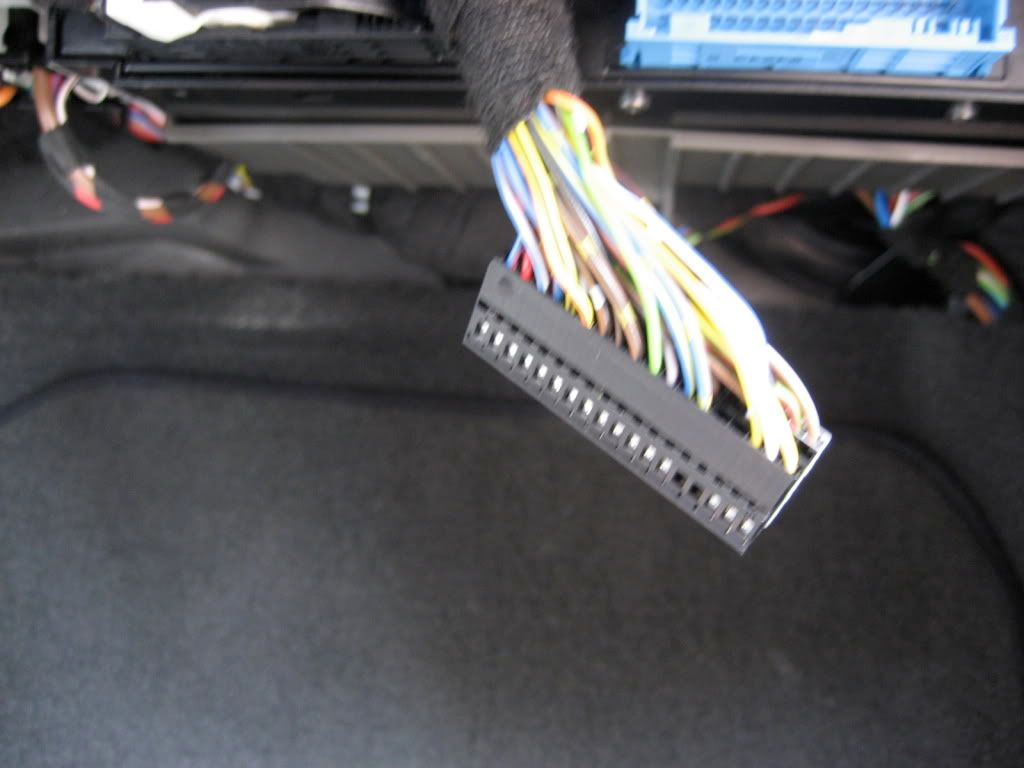
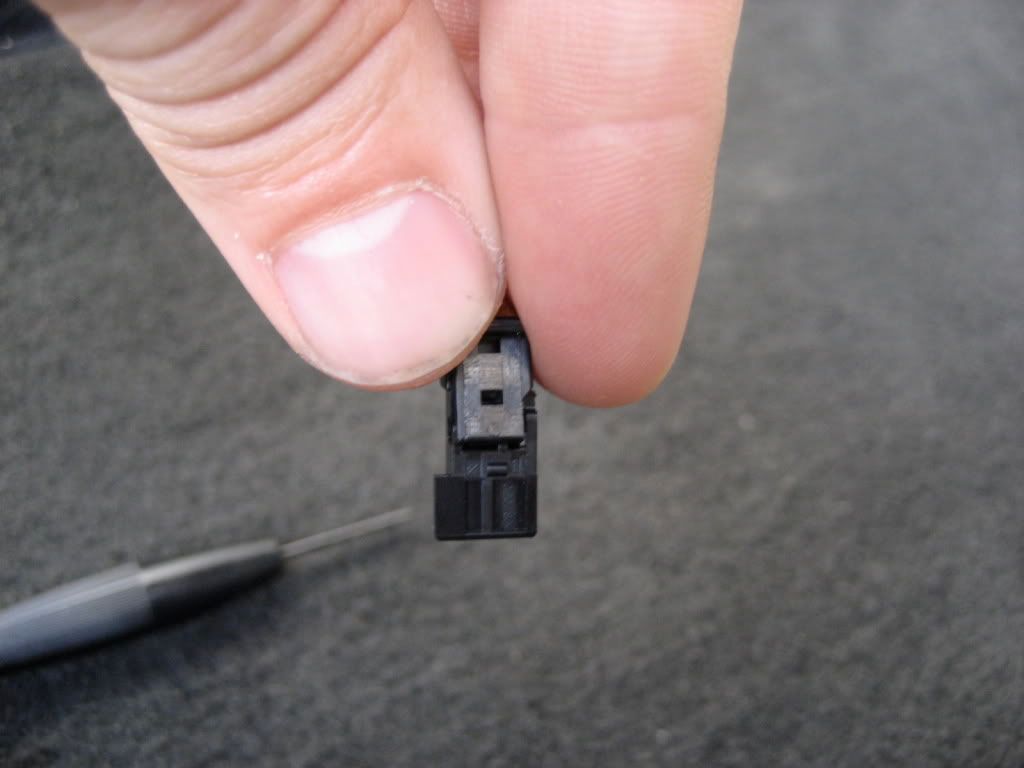
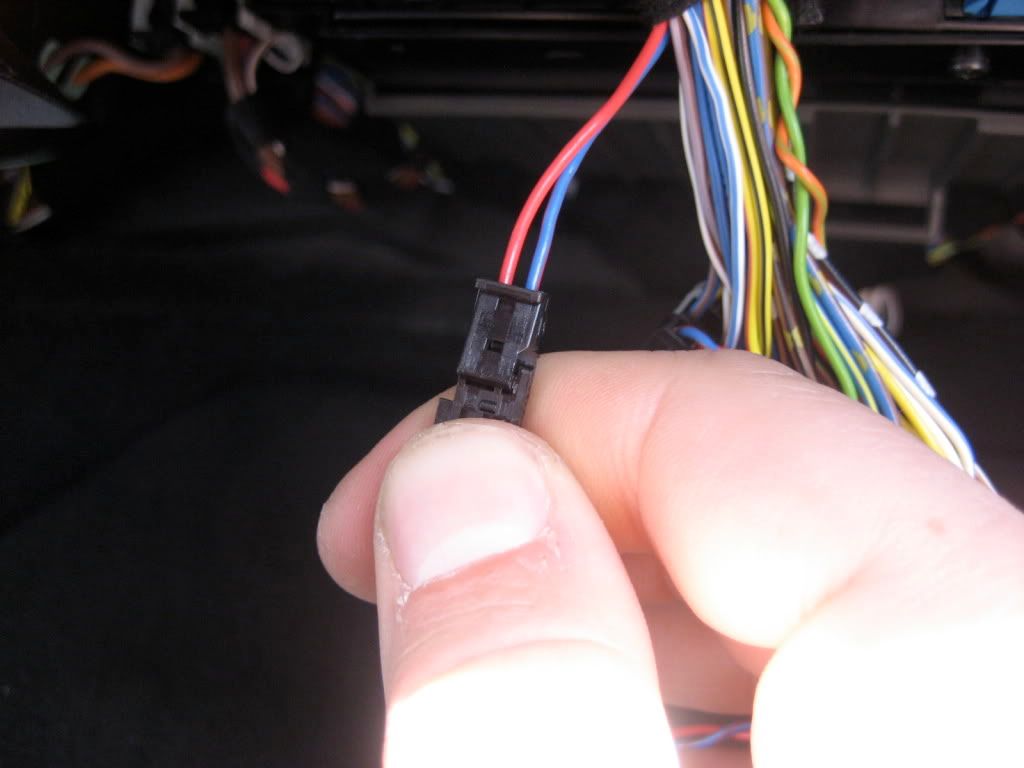
4. Release the side tabs and pop off the Black/Grey connector that is inside the Blue one.
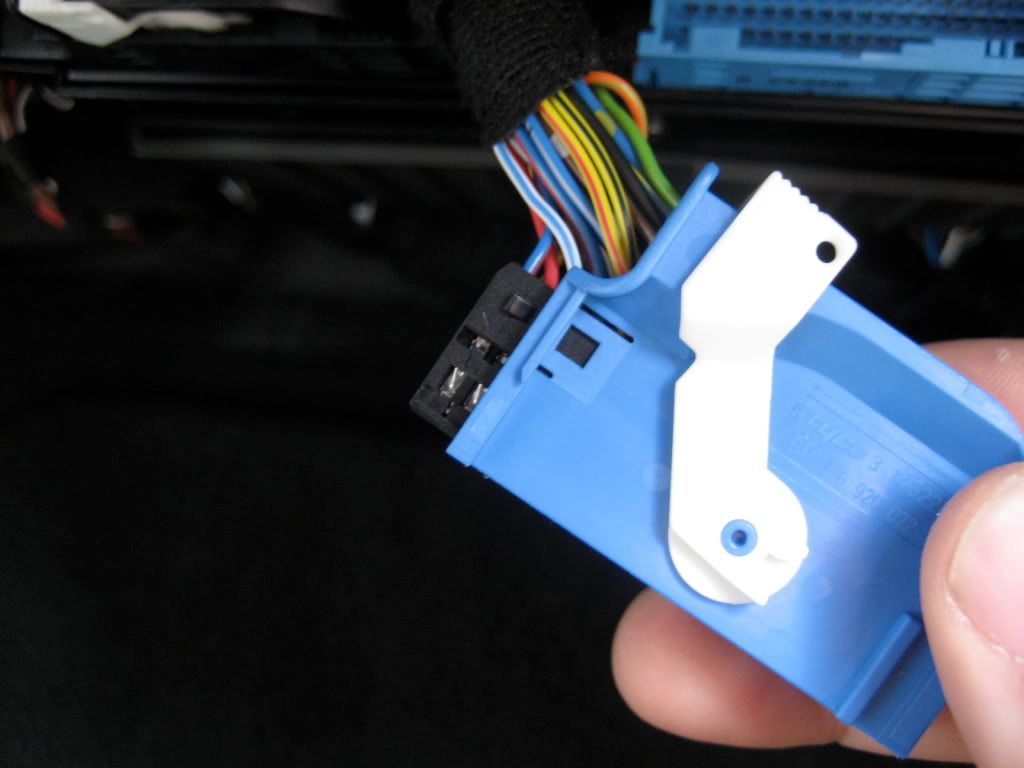
Image hosted on: i114.photobucket.com

Image hosted on: i114.photobucket.com

Image hosted on: i114.photobucket.com

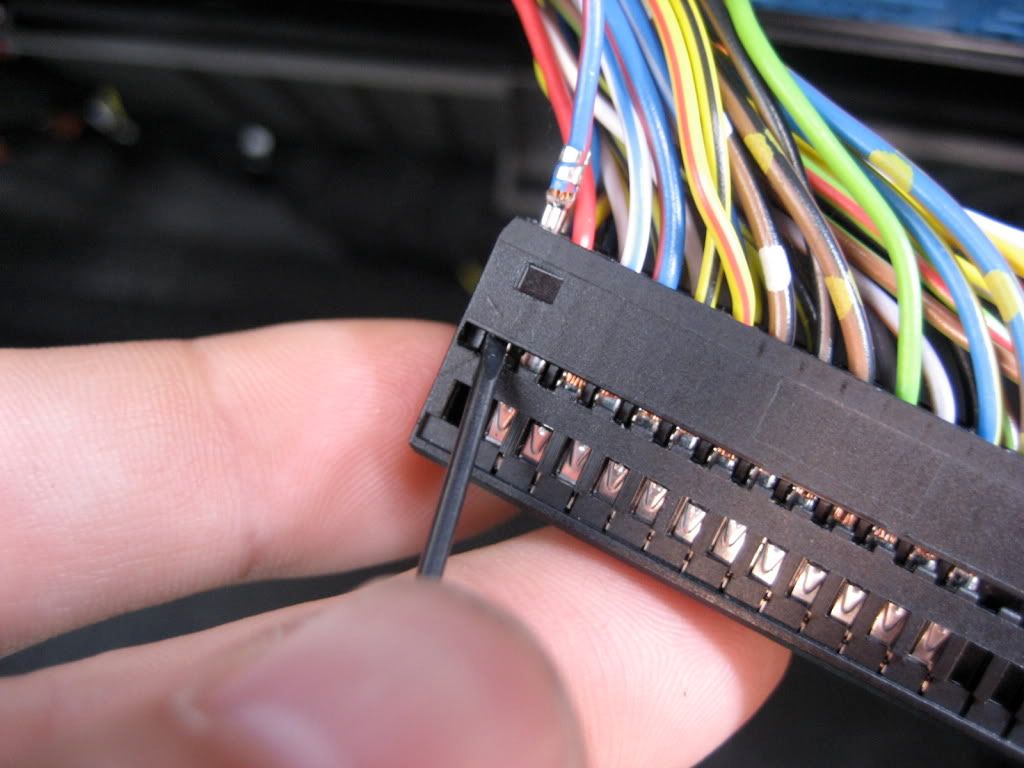
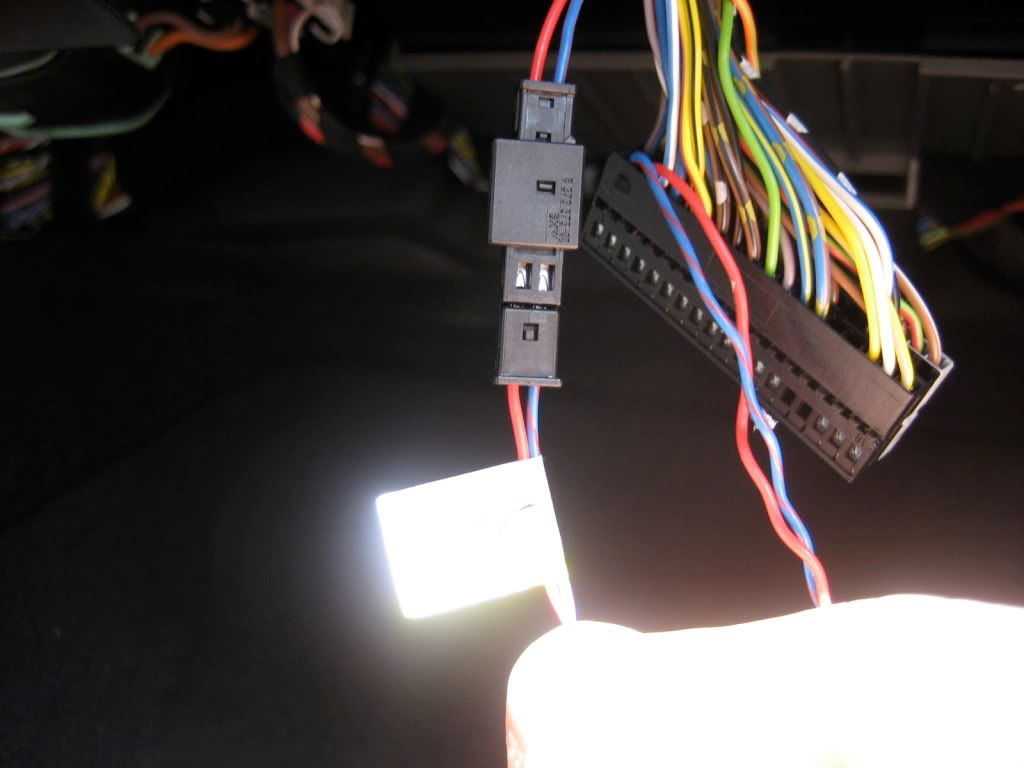
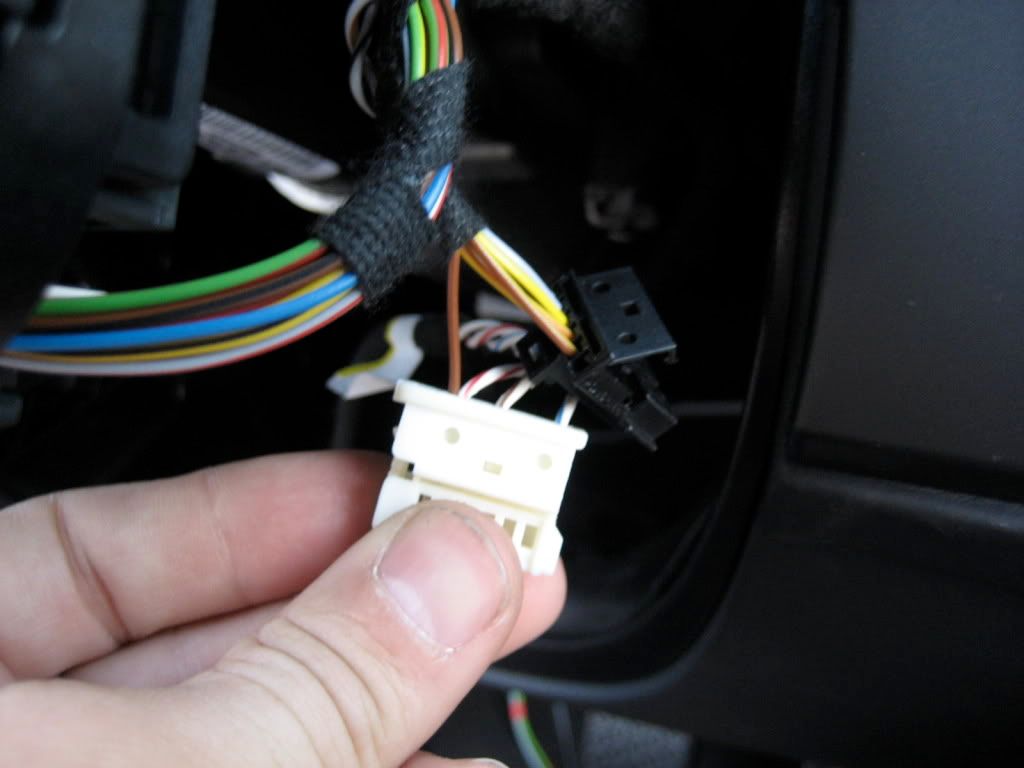
5. Read PDF installation and remove Blue/Red wire from Pin1 and Red from Pin2. Insert A3 into Pin1 and A4 into Pin2. Now install wires that you removed from Pin1 and Pin2 into Connector E

Pulling out wires from Pin1 and Pin2
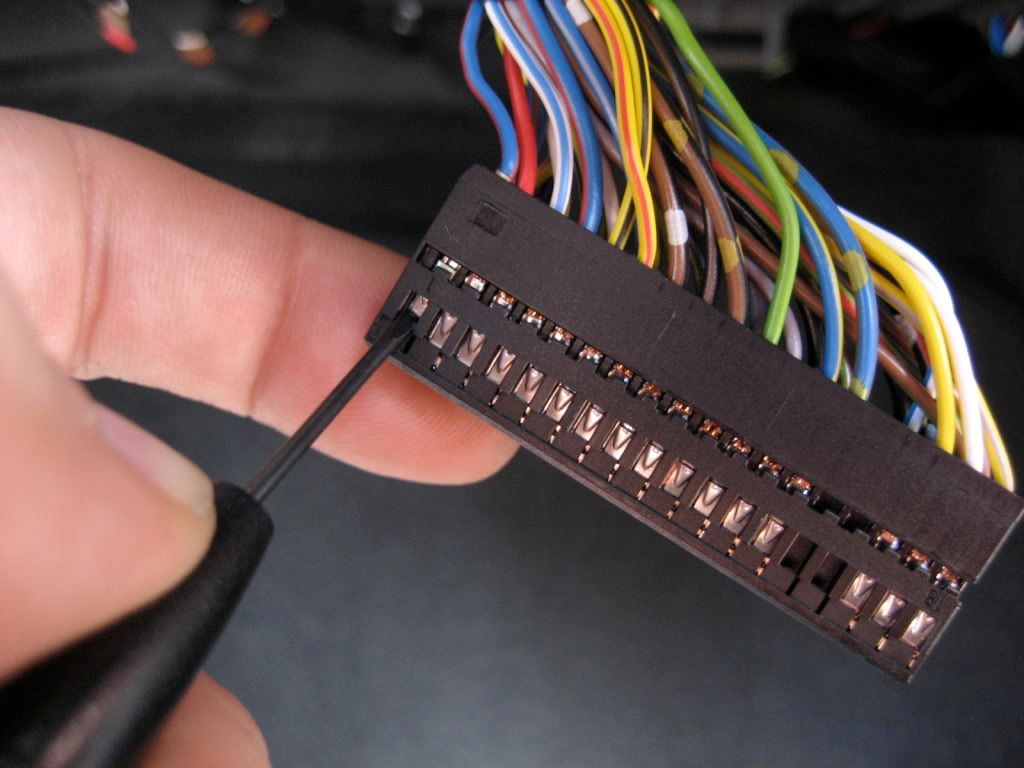
Image hosted on: i114.photobucket.com

Connector E
Image hosted on: i114.photobucket.com

Wires from Pin1 and Pin2 inserted into Connector E
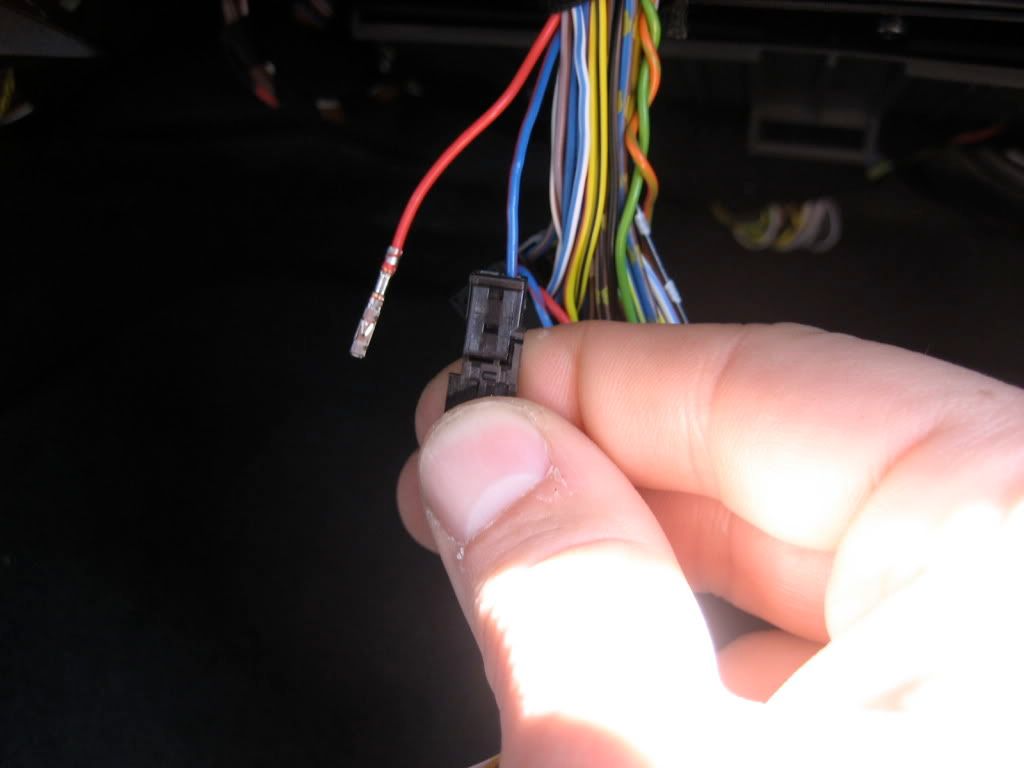
Image hosted on: i114.photobucket.com

Wires A3 and A4 inserted into big Black connector into Pin1 and Pin2 and Connector E connecter to A5
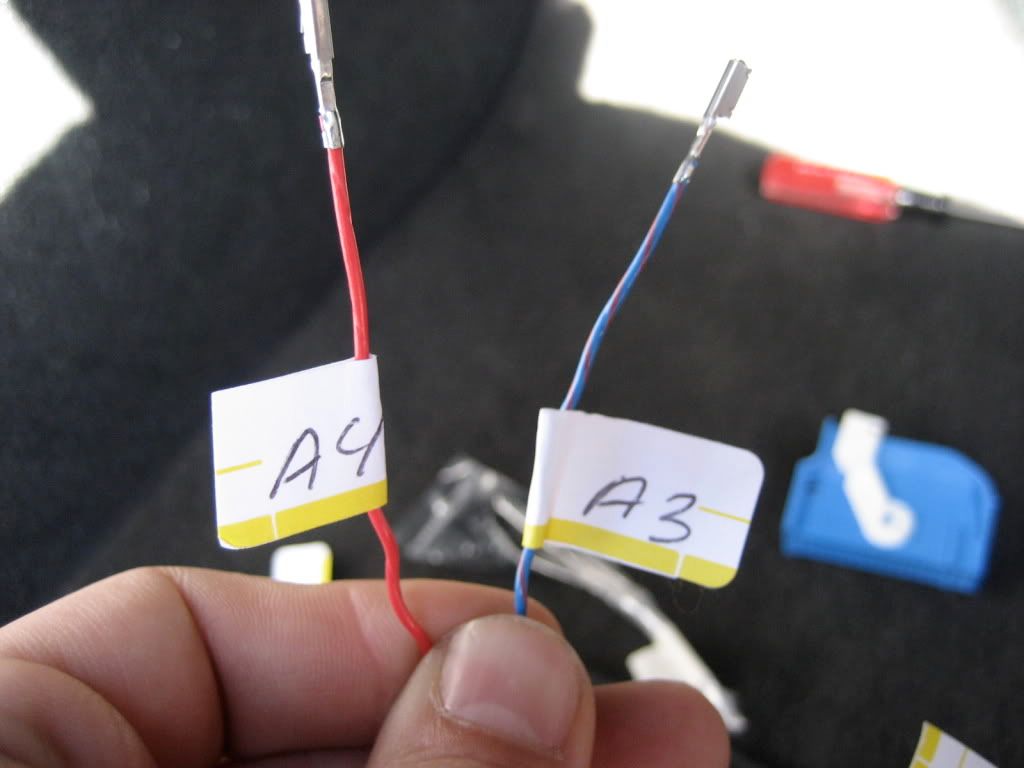
Image hosted on: i114.photobucket.com

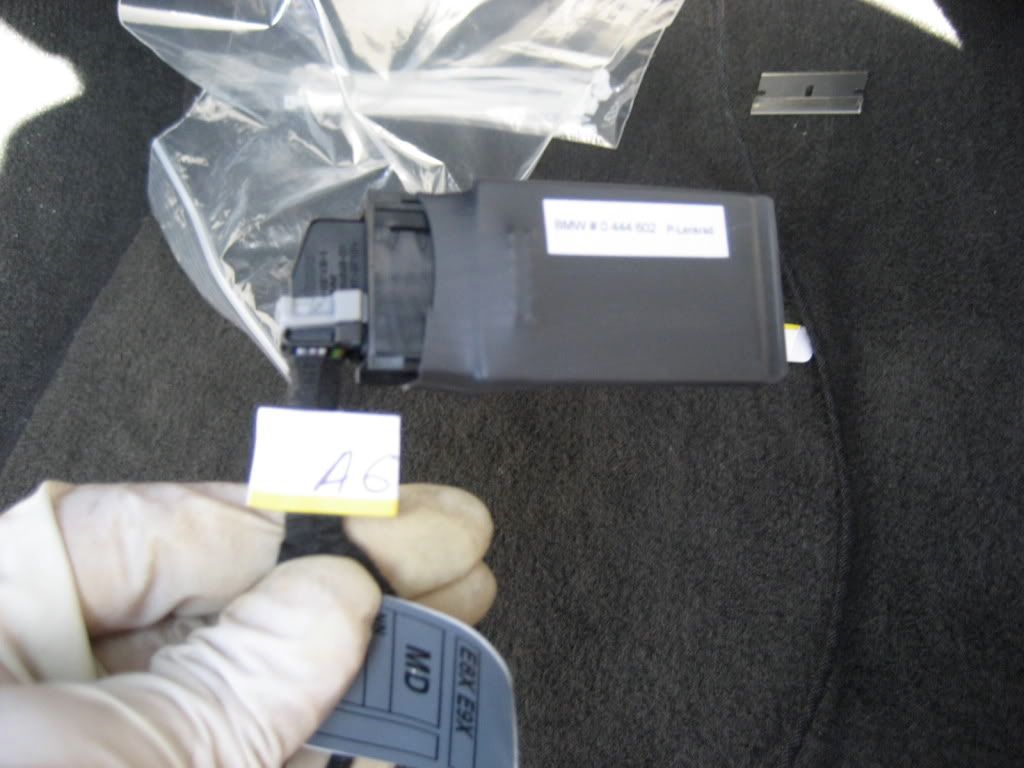
6. Now you can install Control Module B and connect A6 to the module
Image hosted on: i114.photobucket.com

Image hosted on: i114.photobucket.com
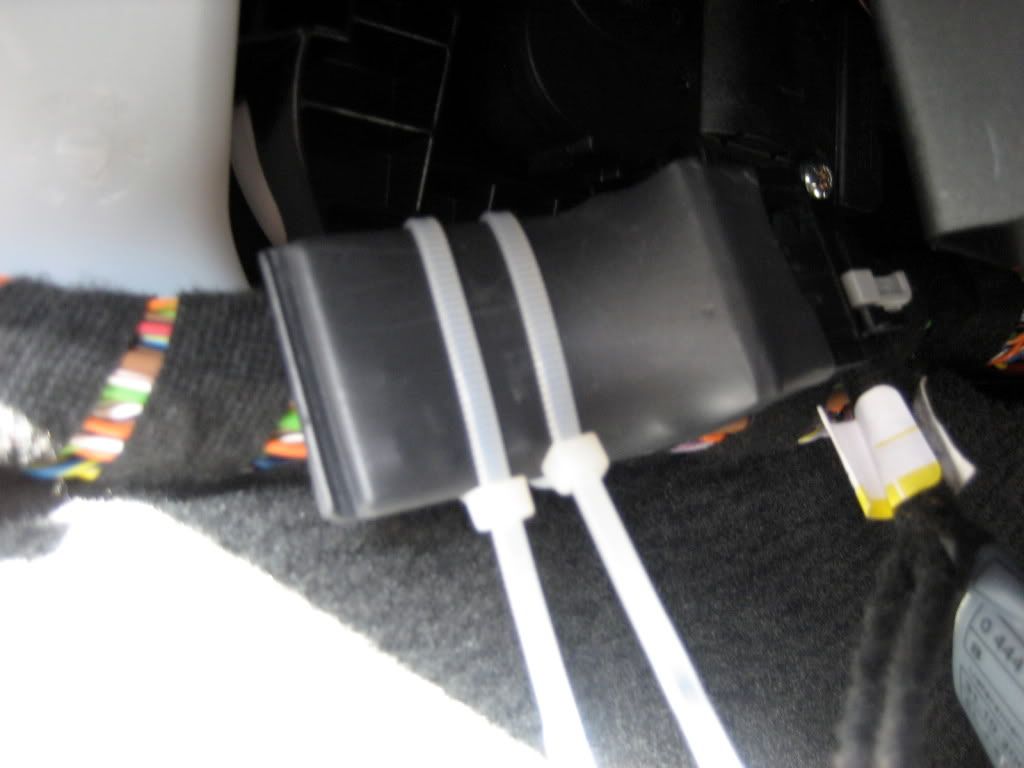
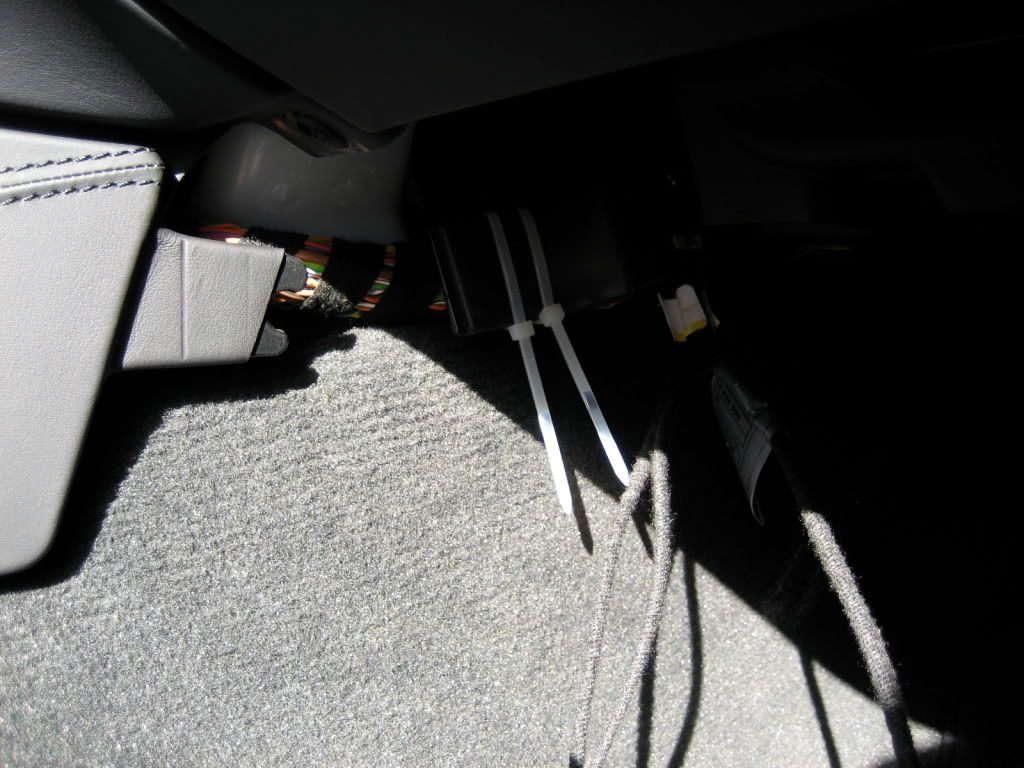
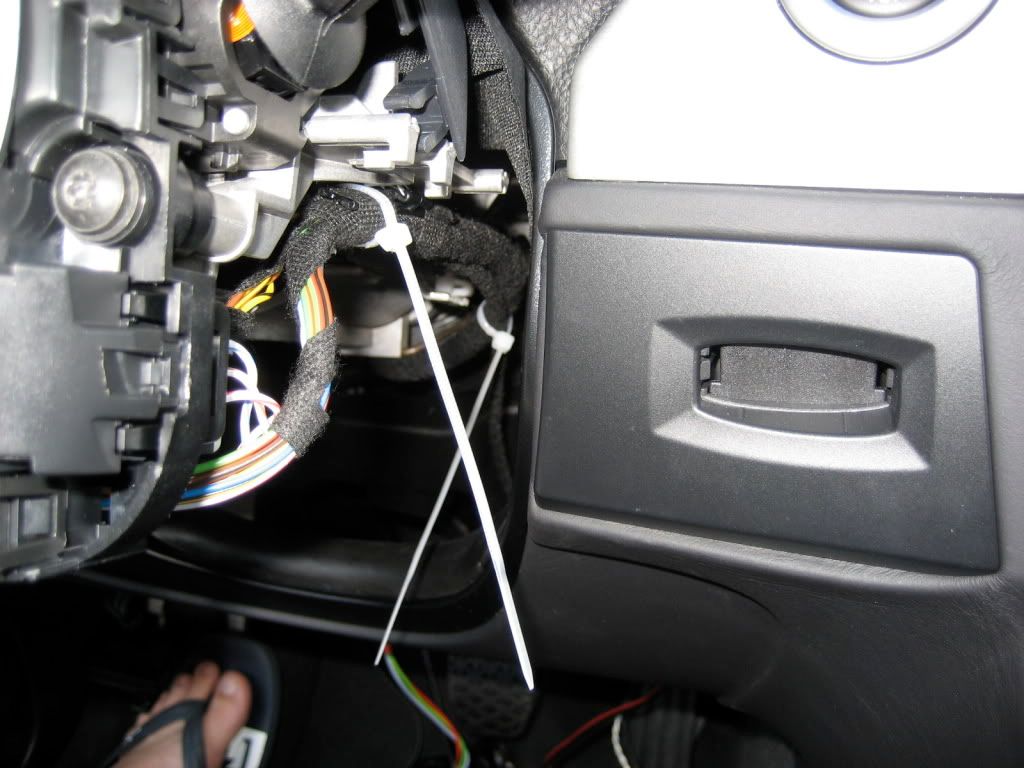
7. Attach module B to the harness using zip-tie like i did or somewhere else ... it is not the best spot because it make a bit hard to install plastic cover at the end.
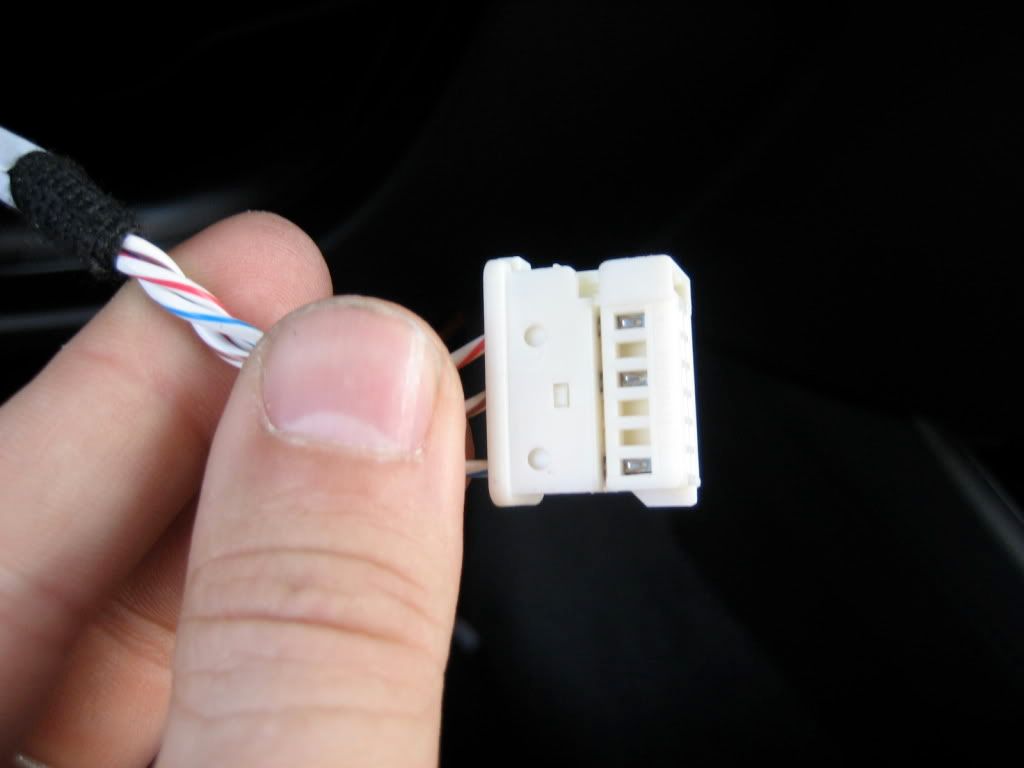
Image hosted on: i114.photobucket.com

Image hosted on: i114.photobucket.com

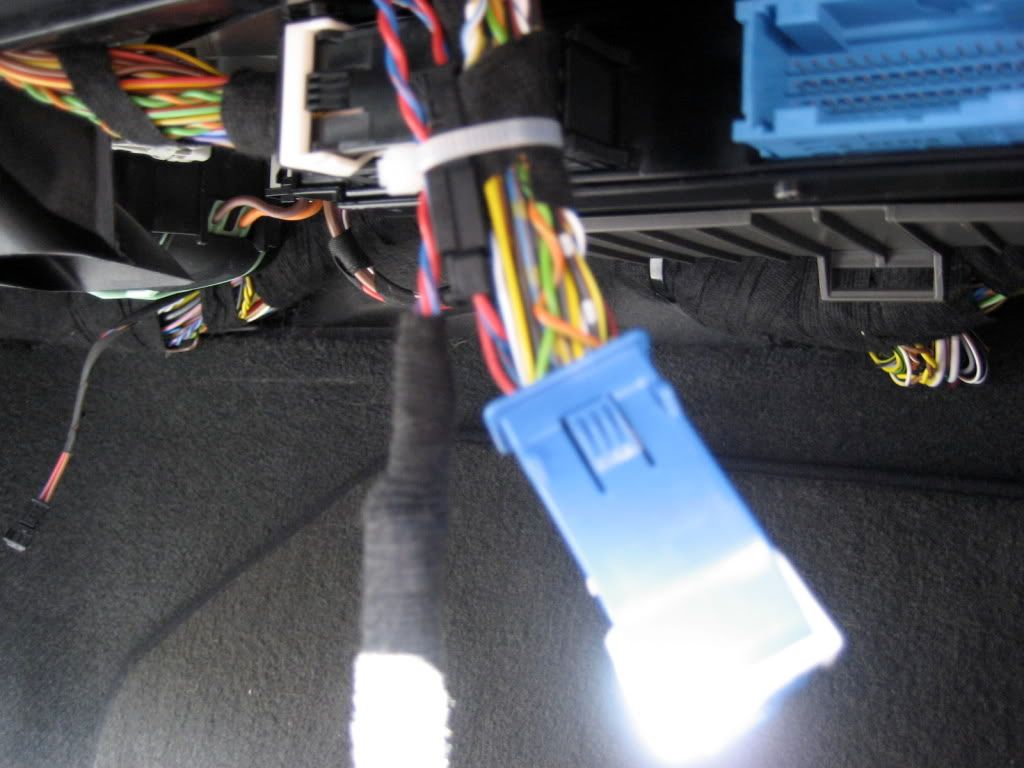
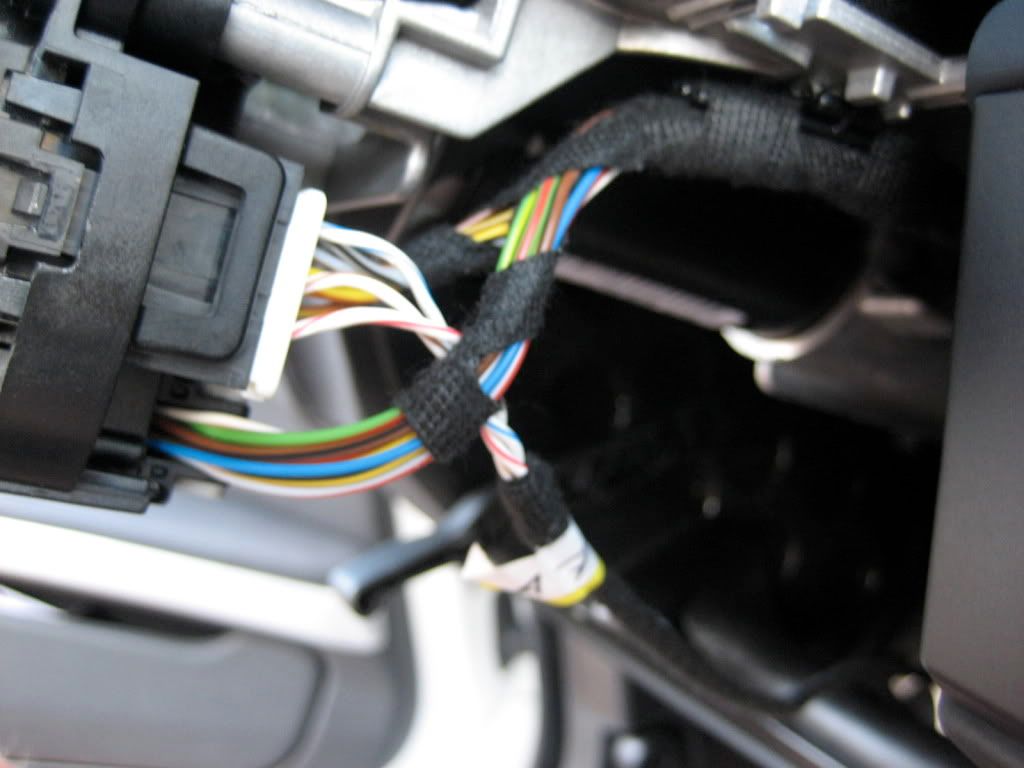
8. Install the Black connector into Blue connector and then reinstall Blue connector. I used zip-tie to get all those wires together ...

Image hosted on: i114.photobucket.com

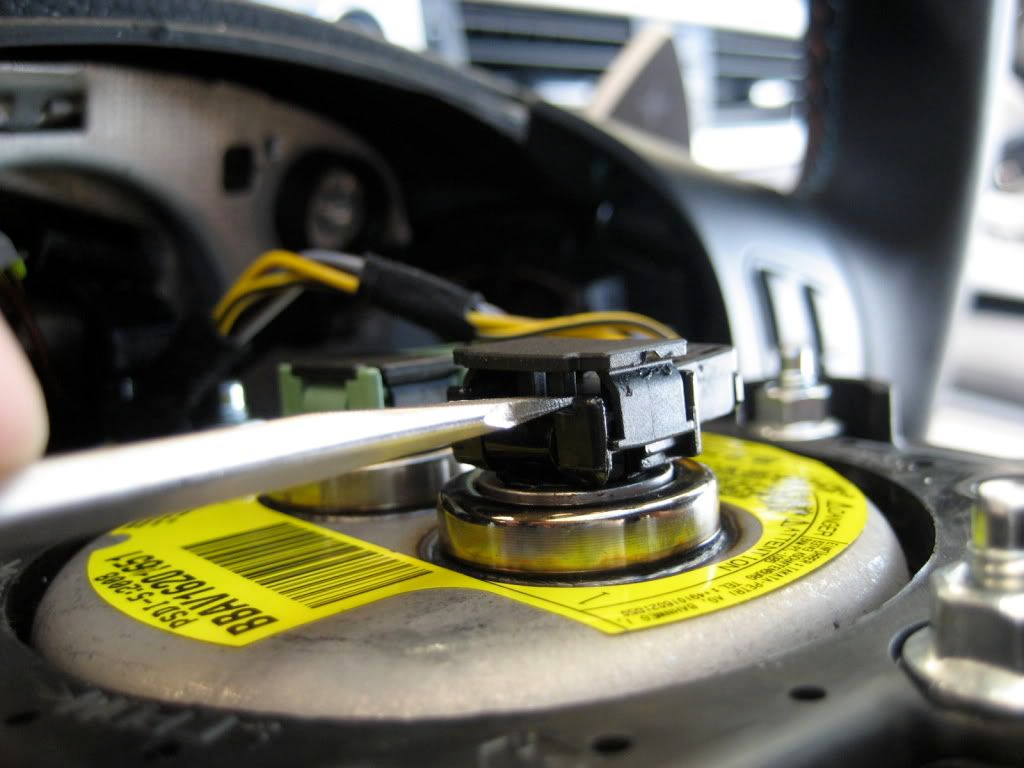
9. Now you need to remove your Airbag. Make sure you have no power going to your car or it can be very bad and dangerous !

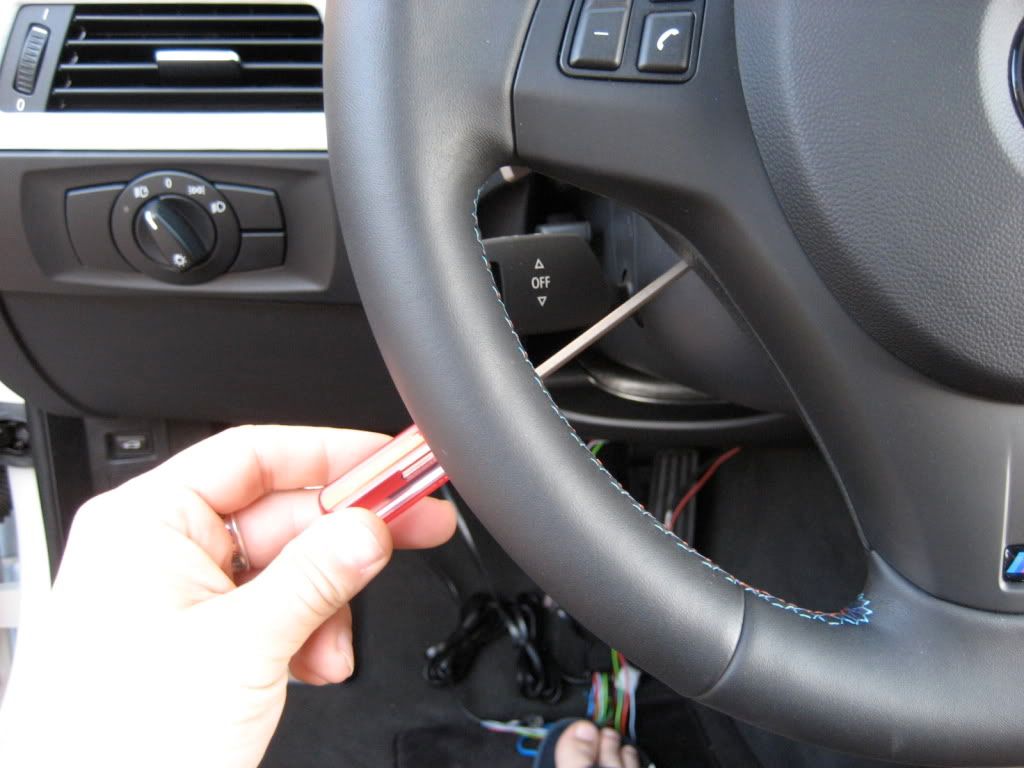
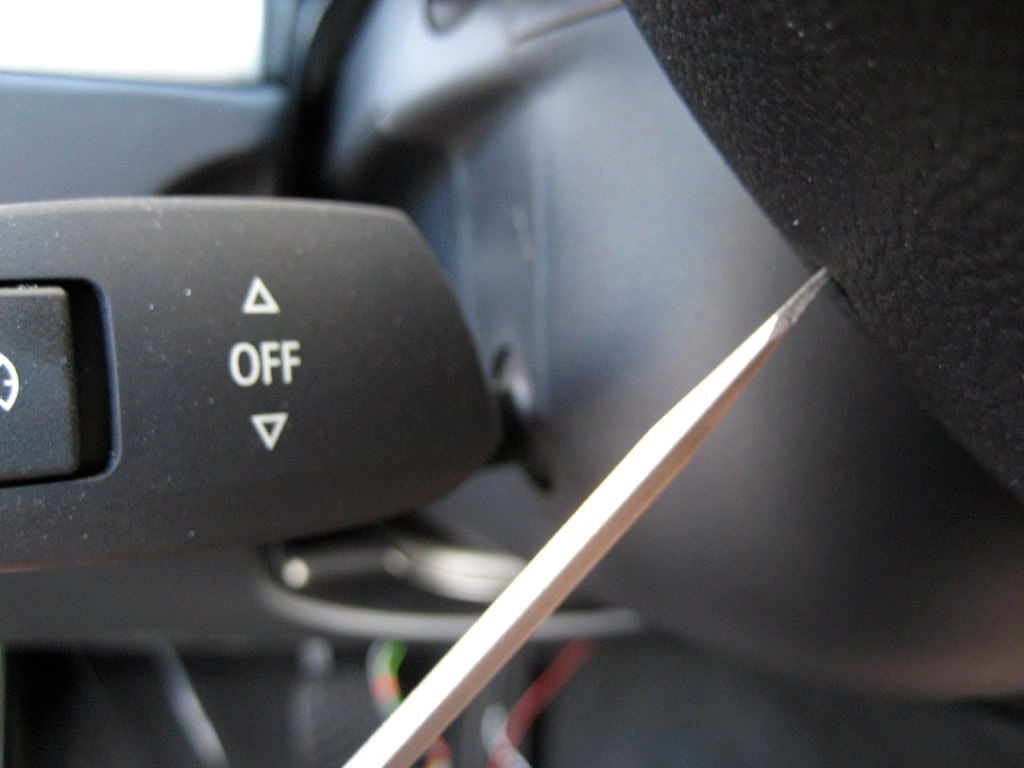
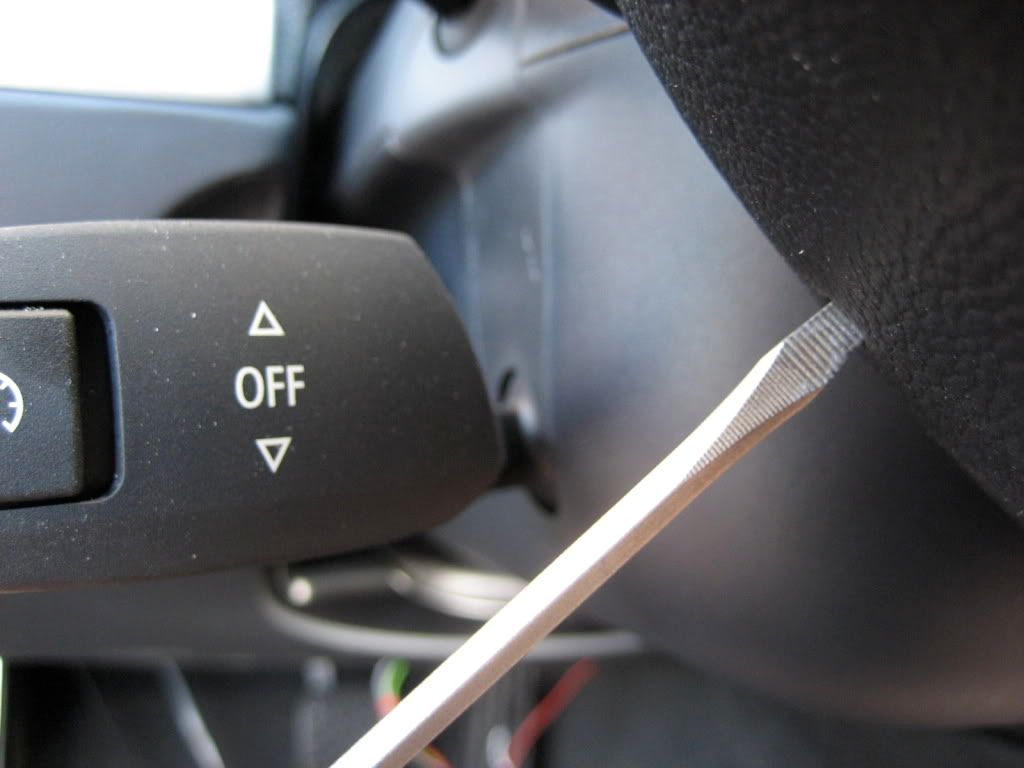
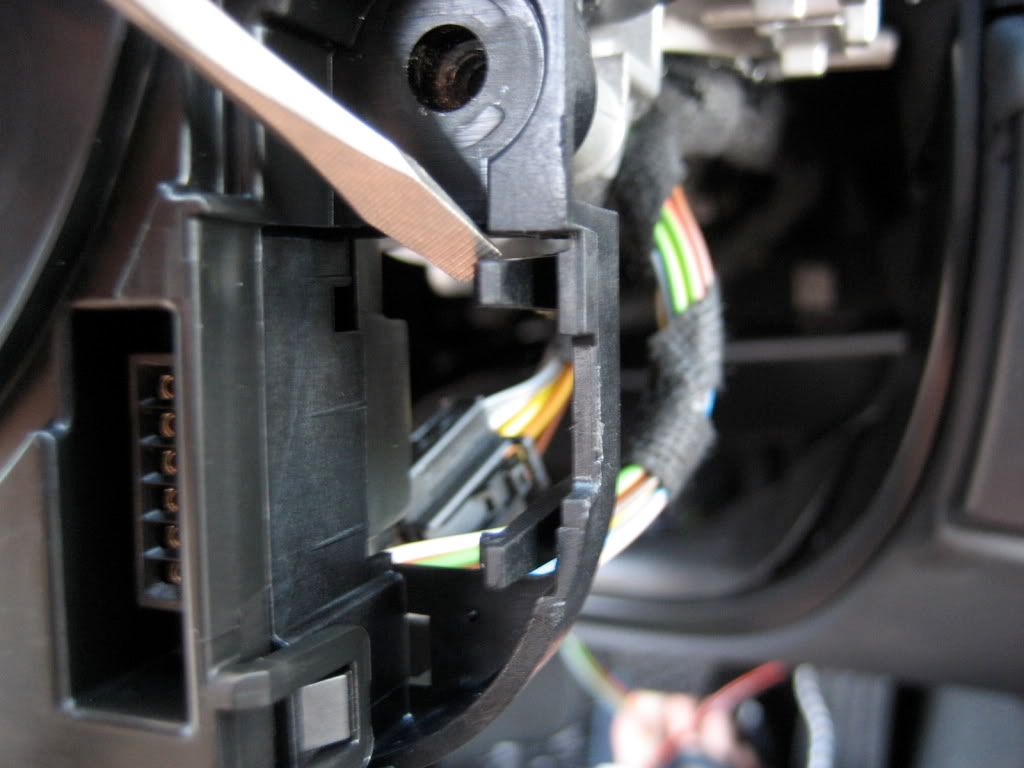
Use medium size flathead screwdriver and insert it into very little openings (one on each side)
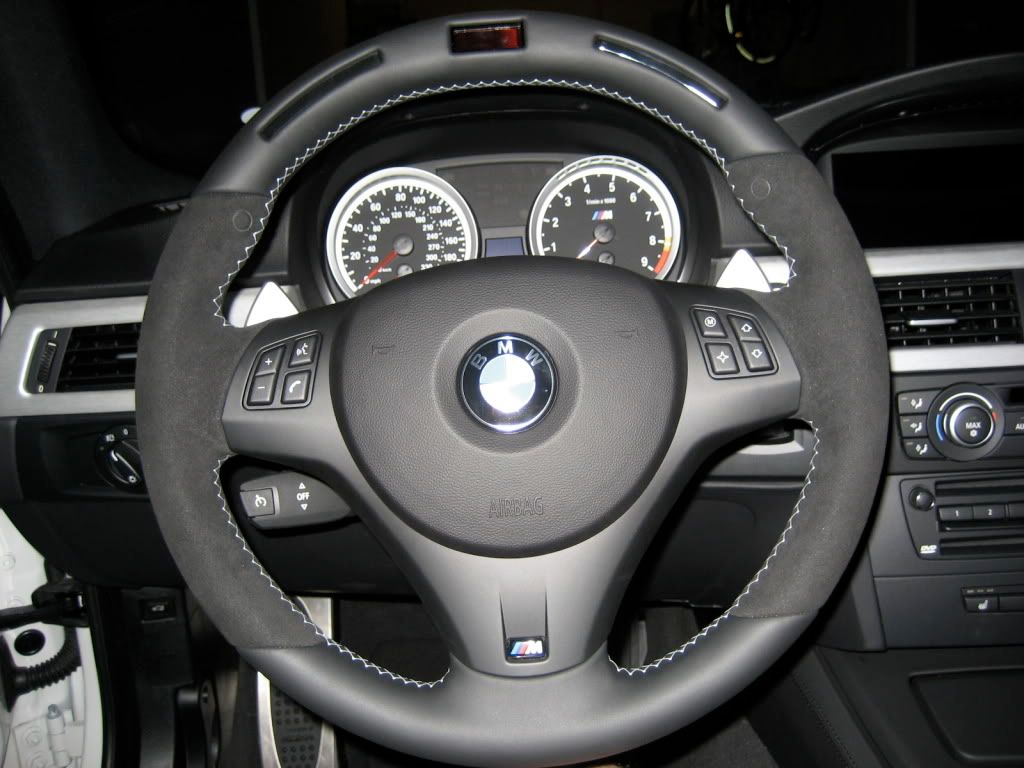
Image hosted on: i114.photobucket.com

Insert screwdriver like this
Image hosted on: i114.photobucket.com

Not like that
Image hosted on: i114.photobucket.com

Push on it with the moderate force and pull that side of the airbag gently

Image hosted on: i114.photobucket.com

Then do the other side
Image hosted on: i114.photobucket.com

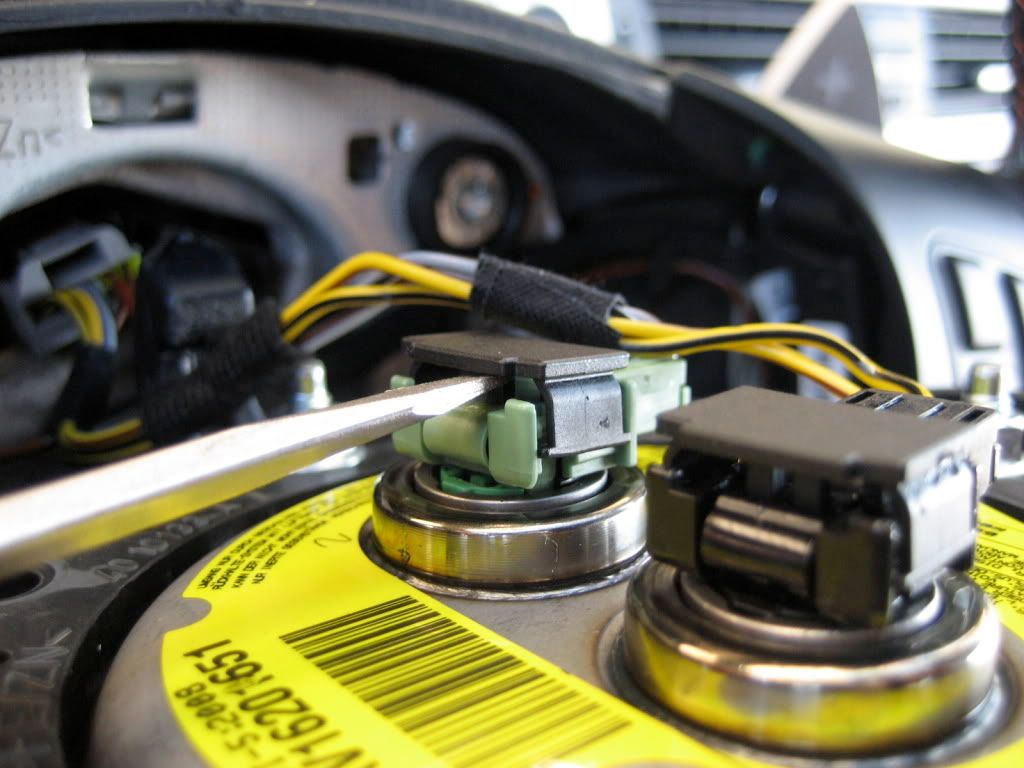
Now you can open Green and Black clips/locks with a flathead screwdriver. Take it easy and don't break them

Image hosted on: i114.photobucket.com

Image hosted on: i114.photobucket.com

Image hosted on: i114.photobucket.com

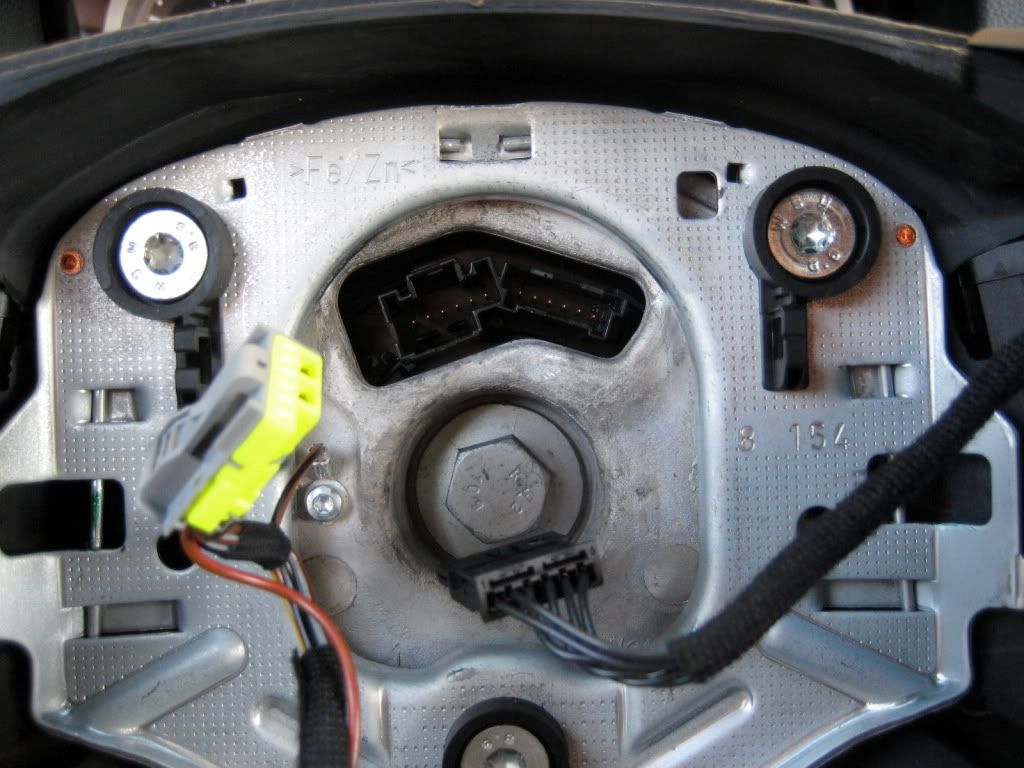
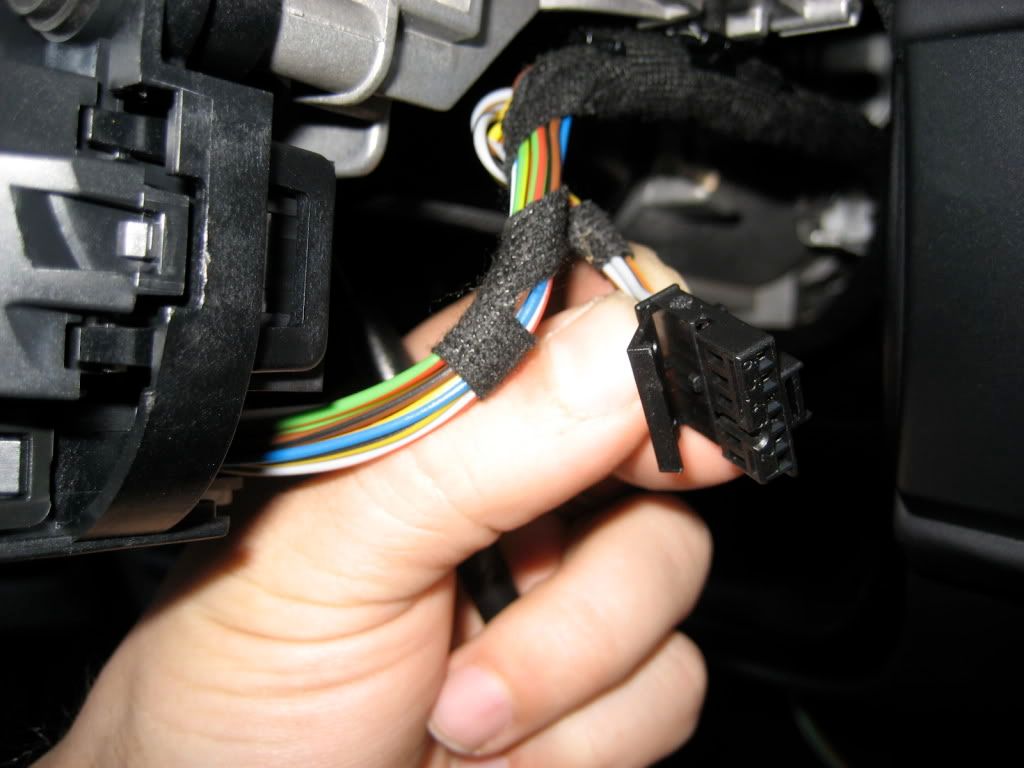
10. Disconnect the connector from the Coil spring cartridge (Grey/Yellow and Black)

Image hosted on: i114.photobucket.com

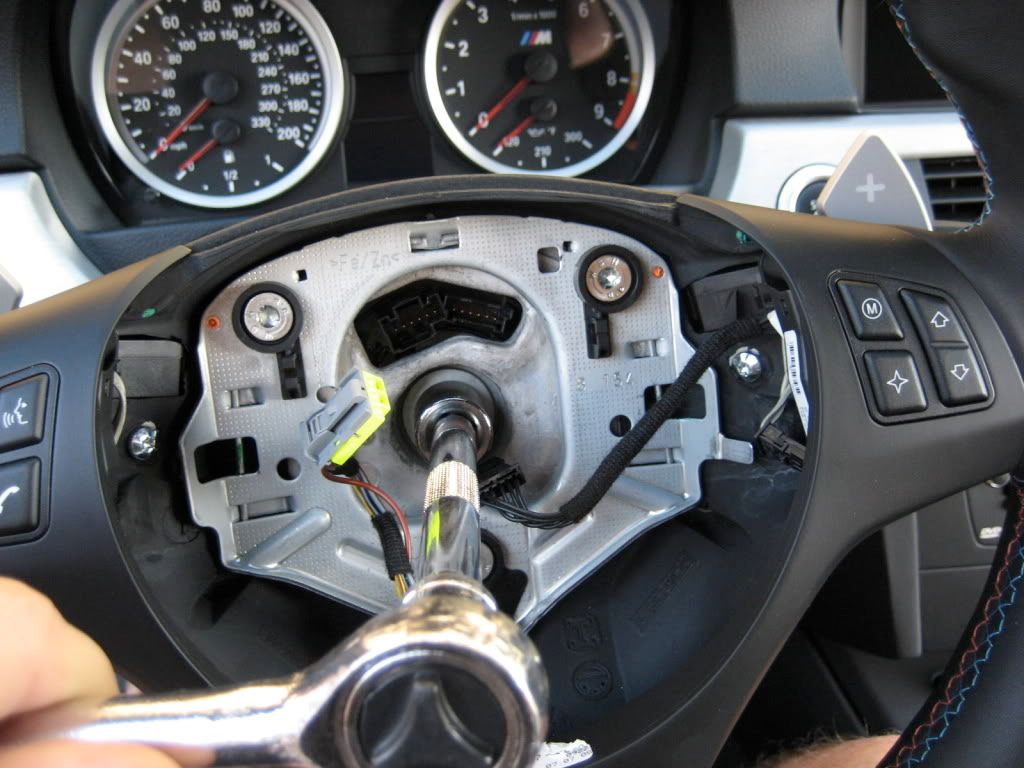
11. Now you can remove your old steering wheel by using 16mm or 5/8 socket

Image hosted on: i114.photobucket.com

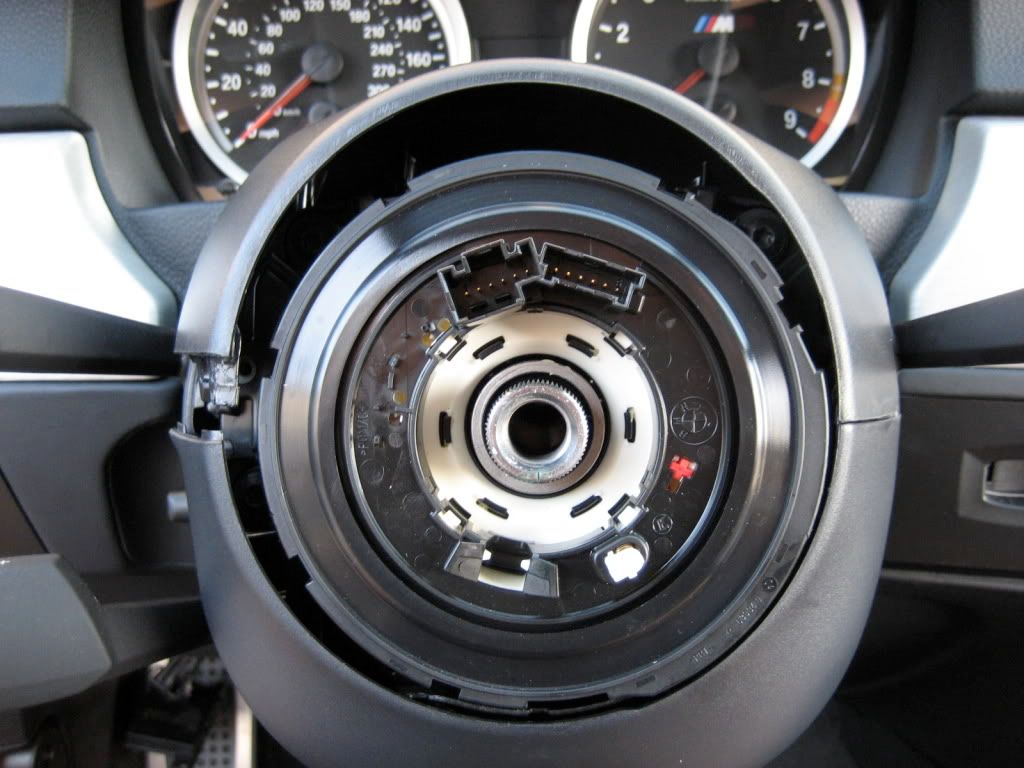
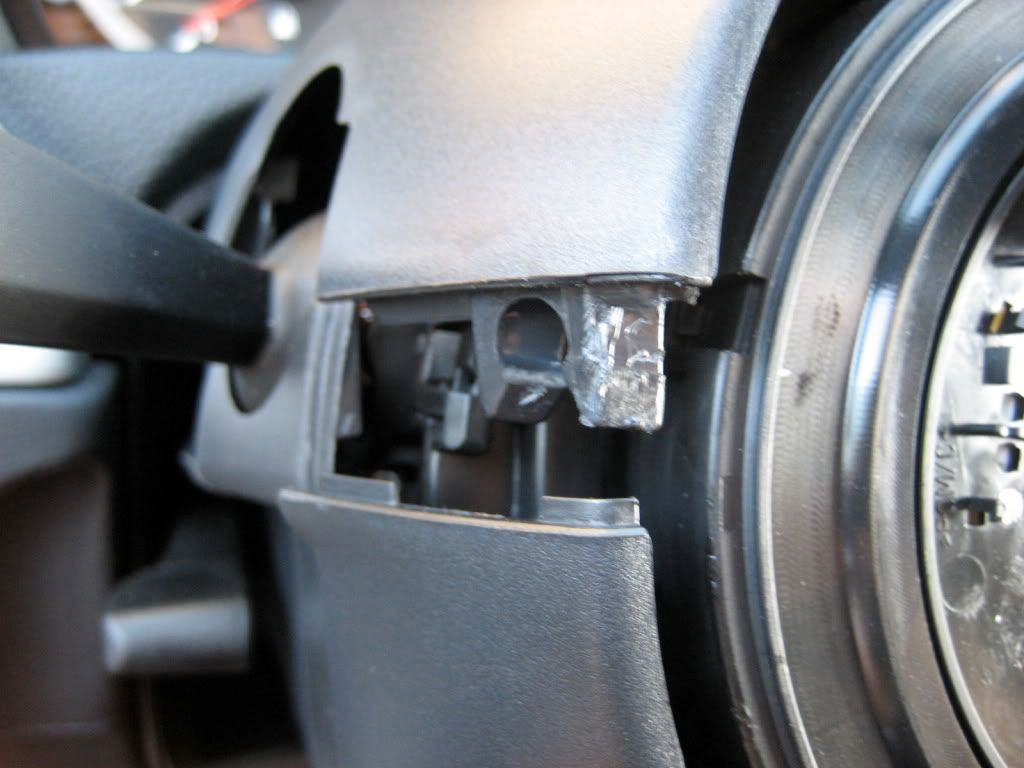
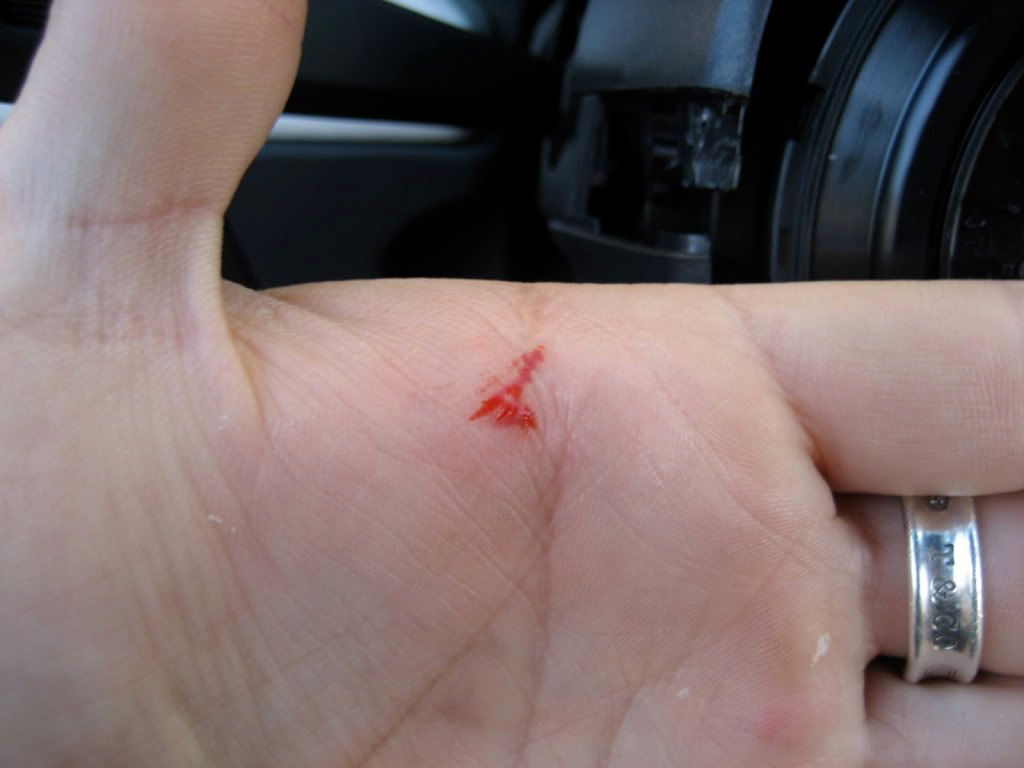
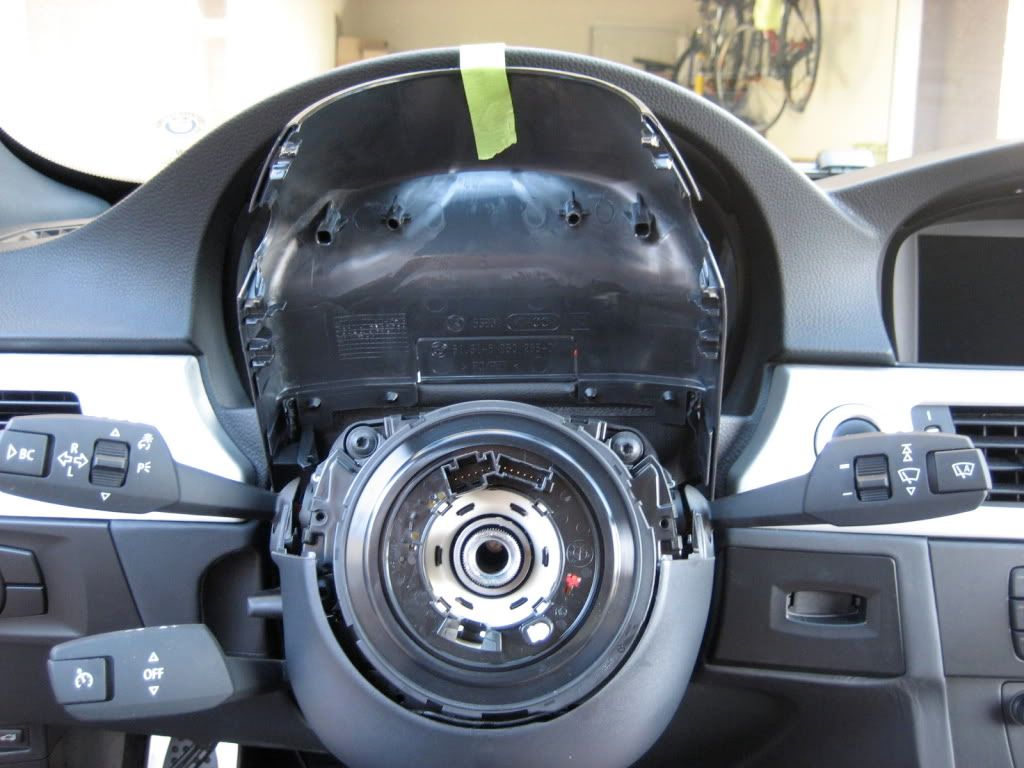
12. Now we need to remove upper/lower steering column trim. Pull the upper part first. Pull it up and do one side at a time. You can use a medium size flathead screwdriver and push it up from the inside, but be very careful and don't punch yourself ... it hurts like a B... trust me

Image hosted on: i114.photobucket.com

Image hosted on: i114.photobucket.com

Image hosted on: i114.photobucket.com

Image hosted on: i114.photobucket.com

Tape the upper part to the dash

Image hosted on: i114.photobucket.com

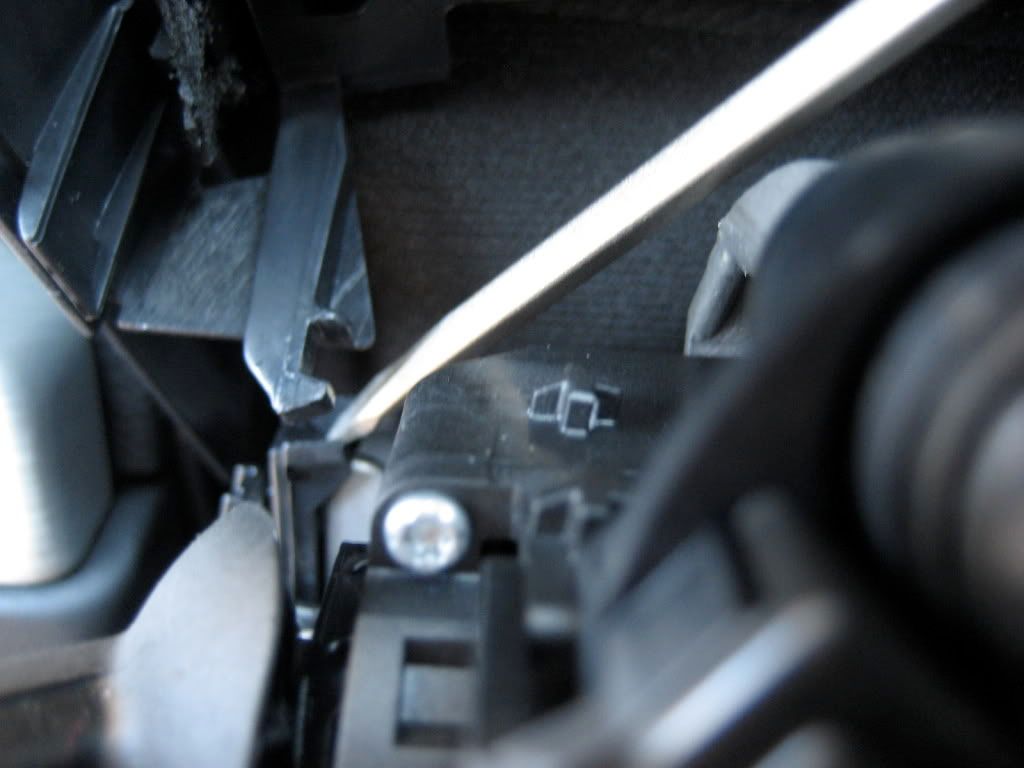
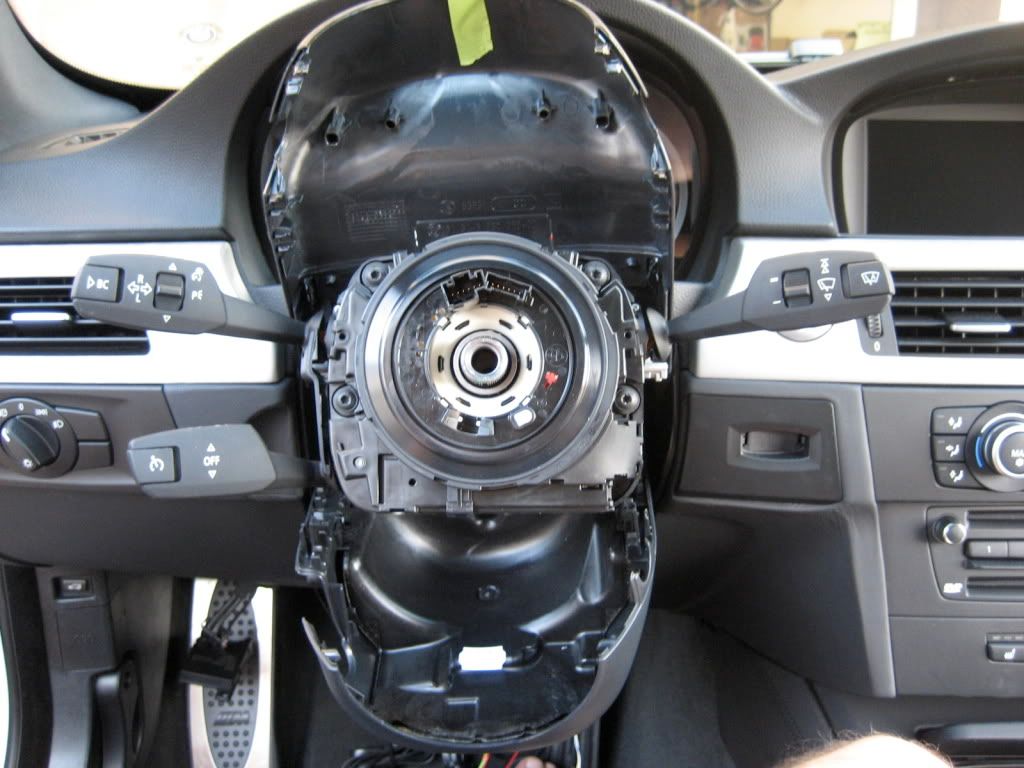
13. Remove the lower part by pressing on the tabs (one on each side)

Image hosted on: i114.photobucket.com

Image hosted on: i114.photobucket.com

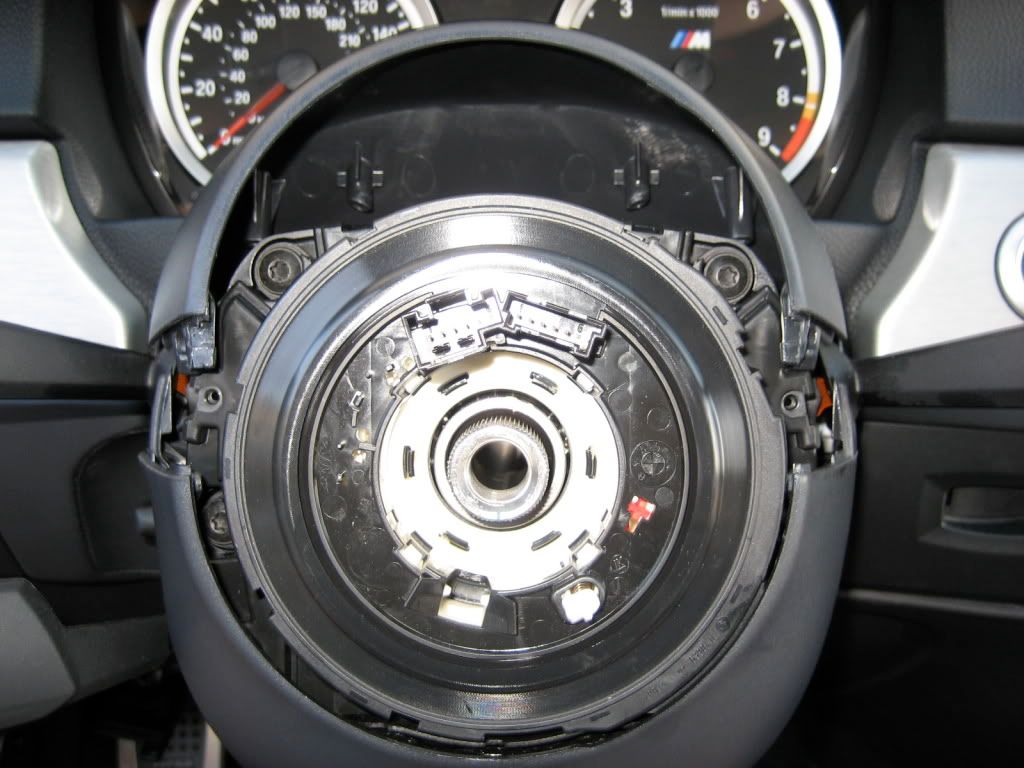
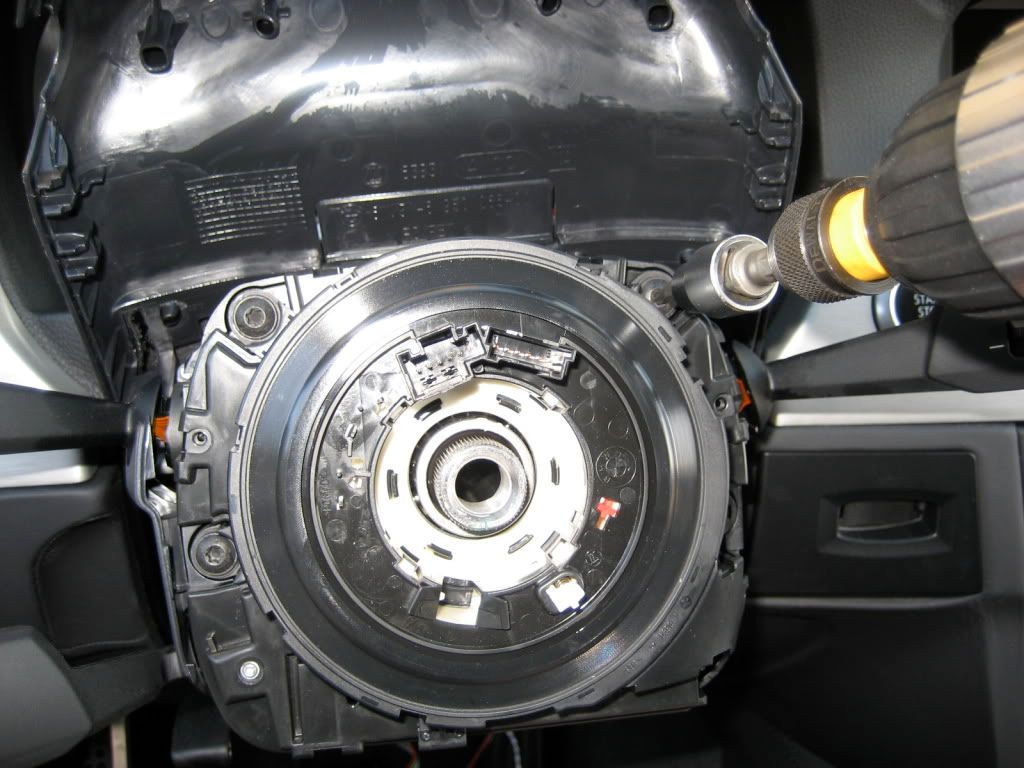
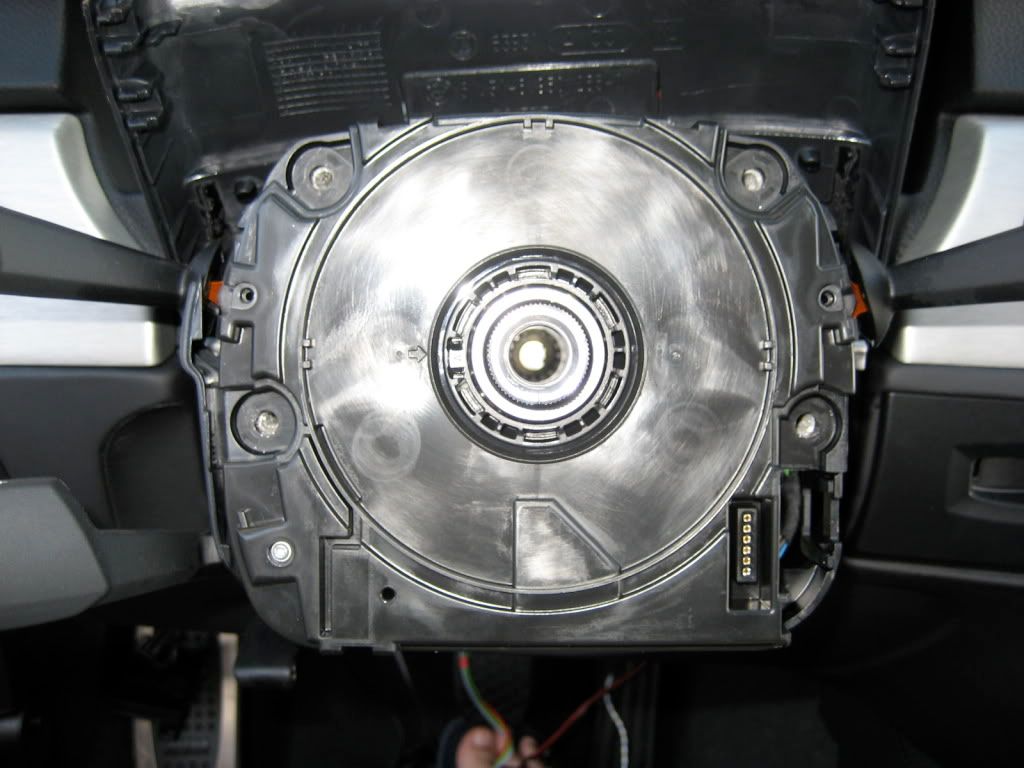
14. Now remove Coil spring cartridge with T15 torx. Unplug Black small connector on the RT side.

Image hosted on: i114.photobucket.com

Make sure not to pull the whole assembly out of the column. Very Important. Unclip all the clips and remove just the Coil spring cartridge and nothing else. These are the clips that are holding it on the side, so make sure to unclip them

Image hosted on: i114.photobucket.com

Image hosted on: i114.photobucket.com

15. Install the new Coil spring cartridge that came with you new PSW. Don NOT connect the Black connector just yet.

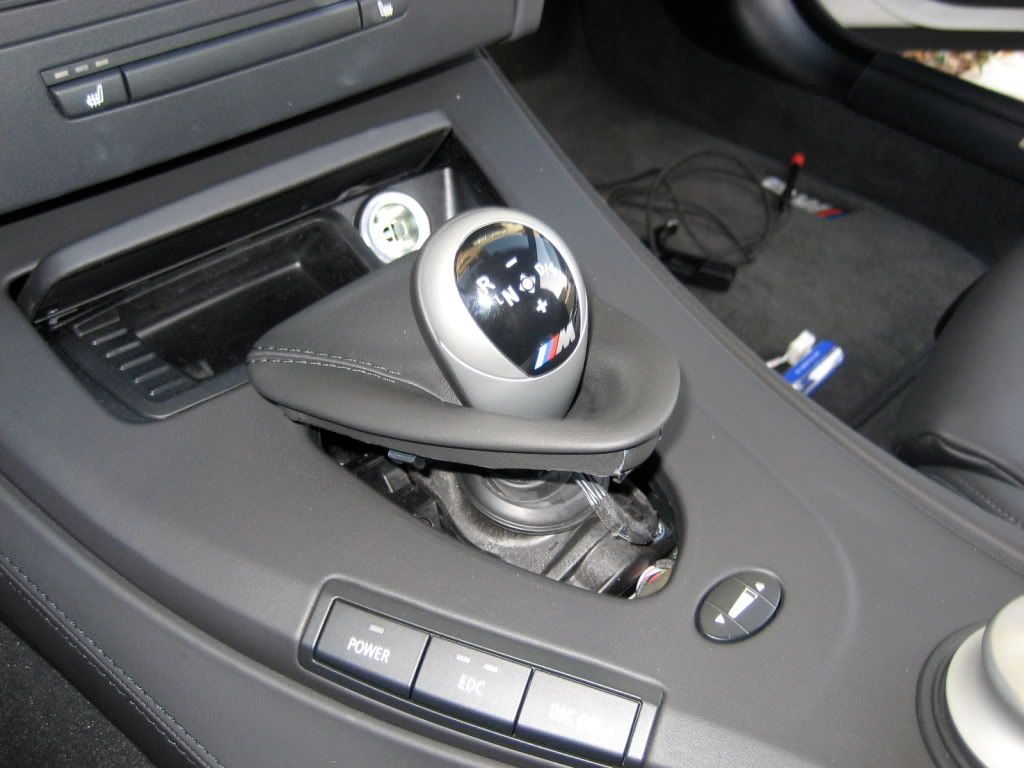
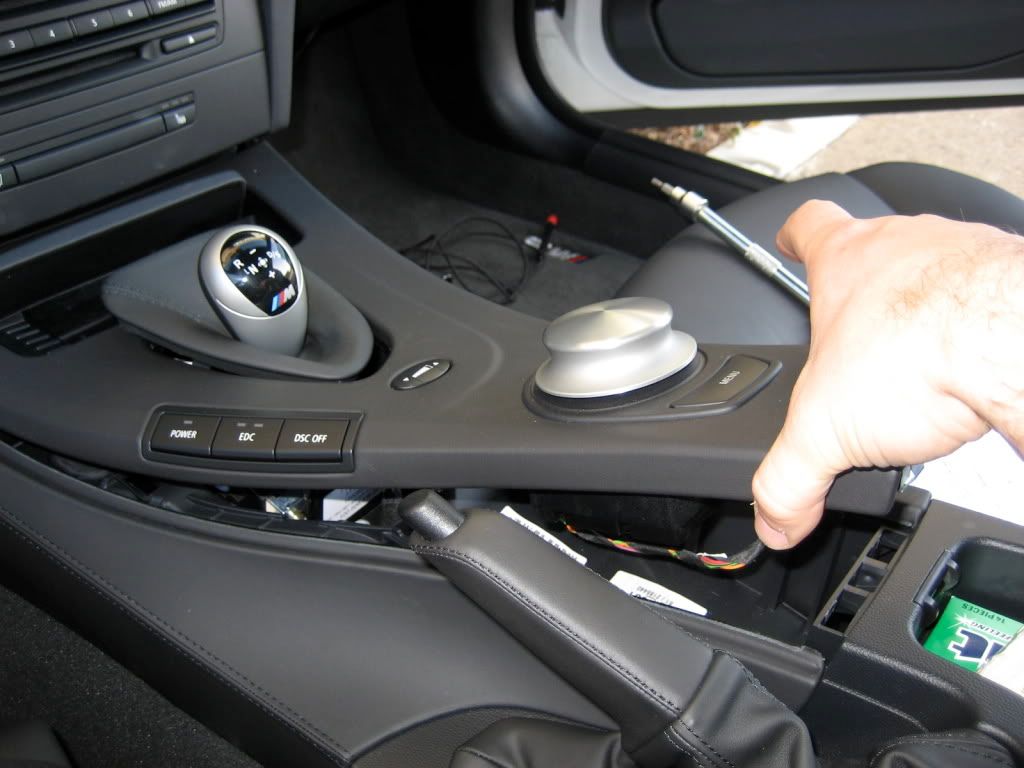
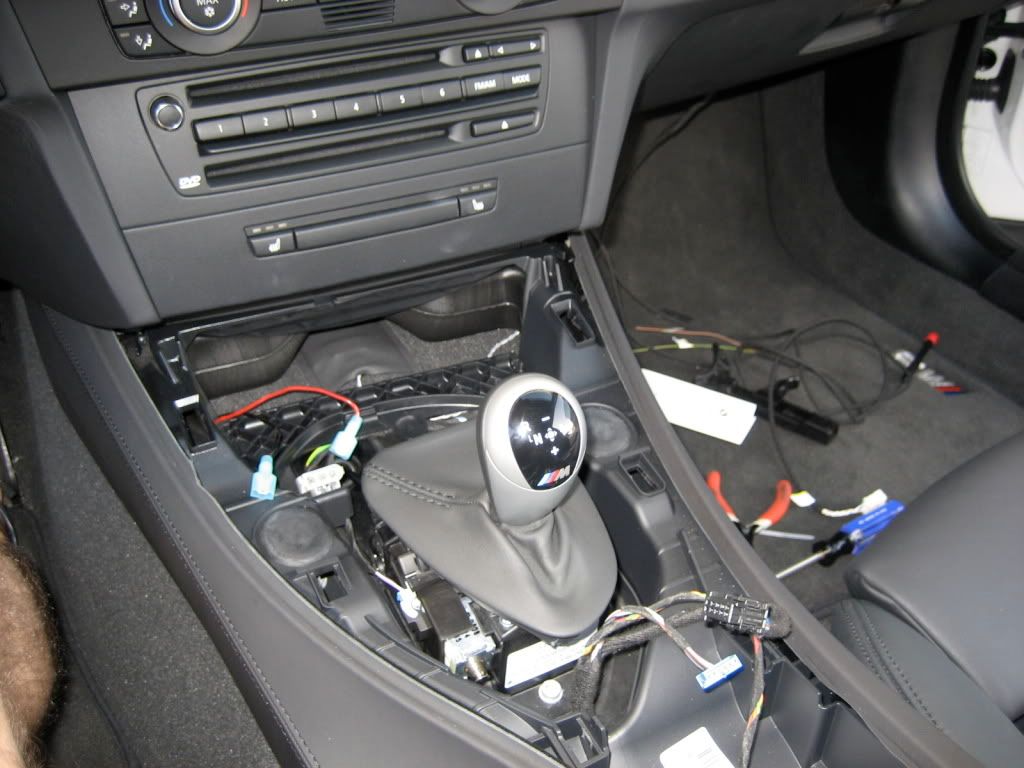
16. Now you need to remove the center console to rout the harness to the steering column. I did it this way but you might decide to do it differently.

Image hosted on: i114.photobucket.com

Image hosted on: i114.photobucket.com

Image hosted on: i114.photobucket.com

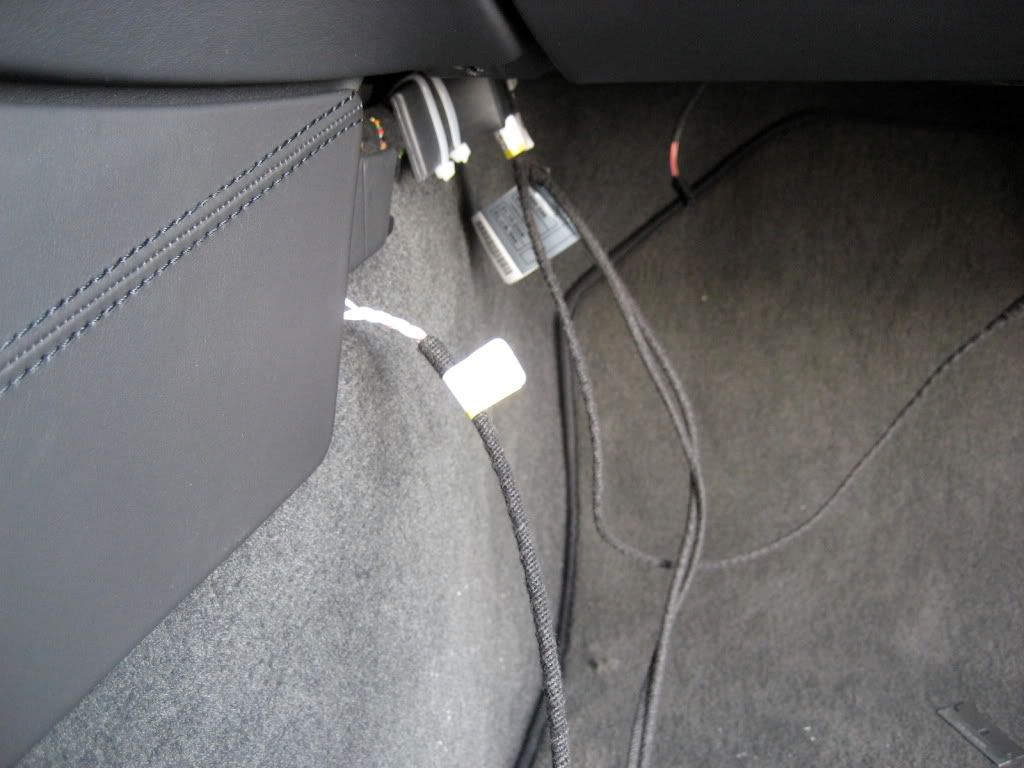
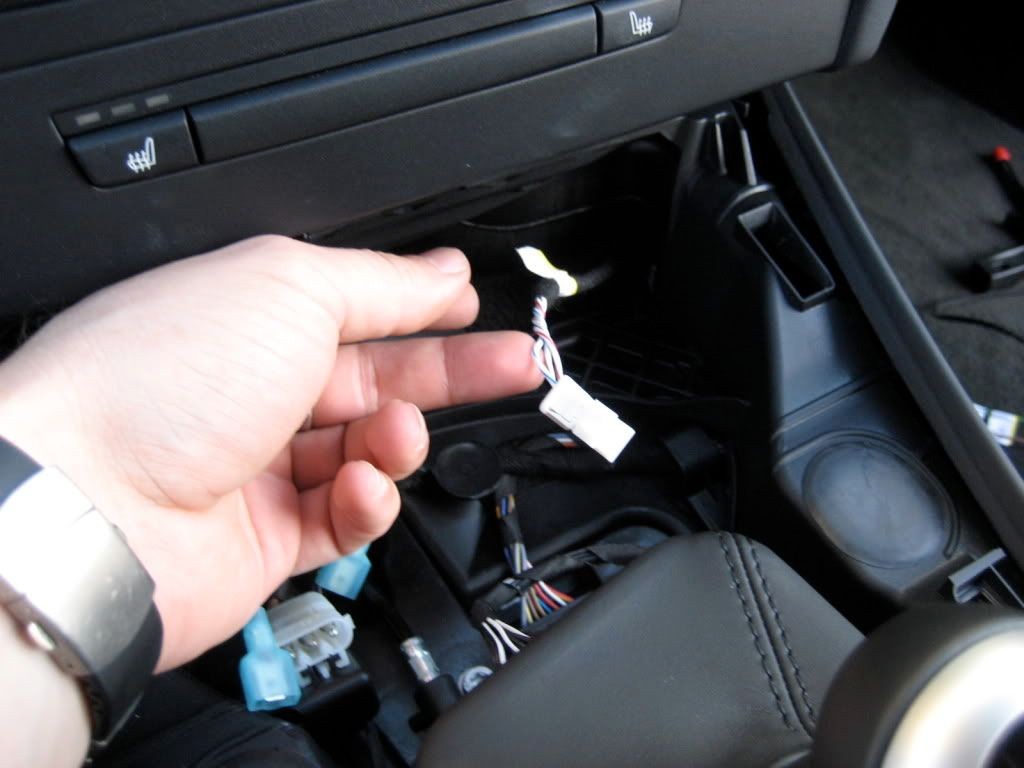
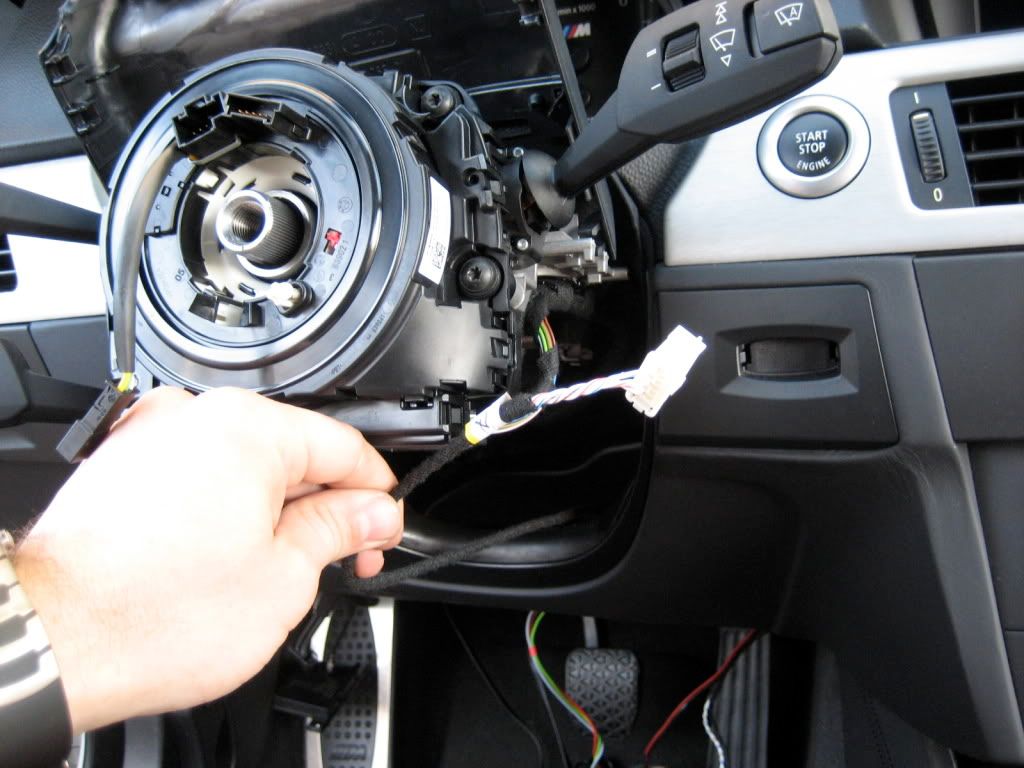
17. This is how I routed A7

Image hosted on: i114.photobucket.com

Image hosted on: i114.photobucket.com

Image hosted on: i114.photobucket.com

Image hosted on: i114.photobucket.com

Image hosted on: i114.photobucket.com

18. Read PDF instruction and remove wires from the Black connector ( the one I told you not to connect to your new Coil spring cartridge) and insert them into A7 white connector. They are numbered 1-6 and you need to insert them the same way ... #1 from Black connector goes to #1 in A7 White connector and so on ...

Image hosted on: i114.photobucket.com

Image hosted on: i114.photobucket.com

Image hosted on: i114.photobucket.com

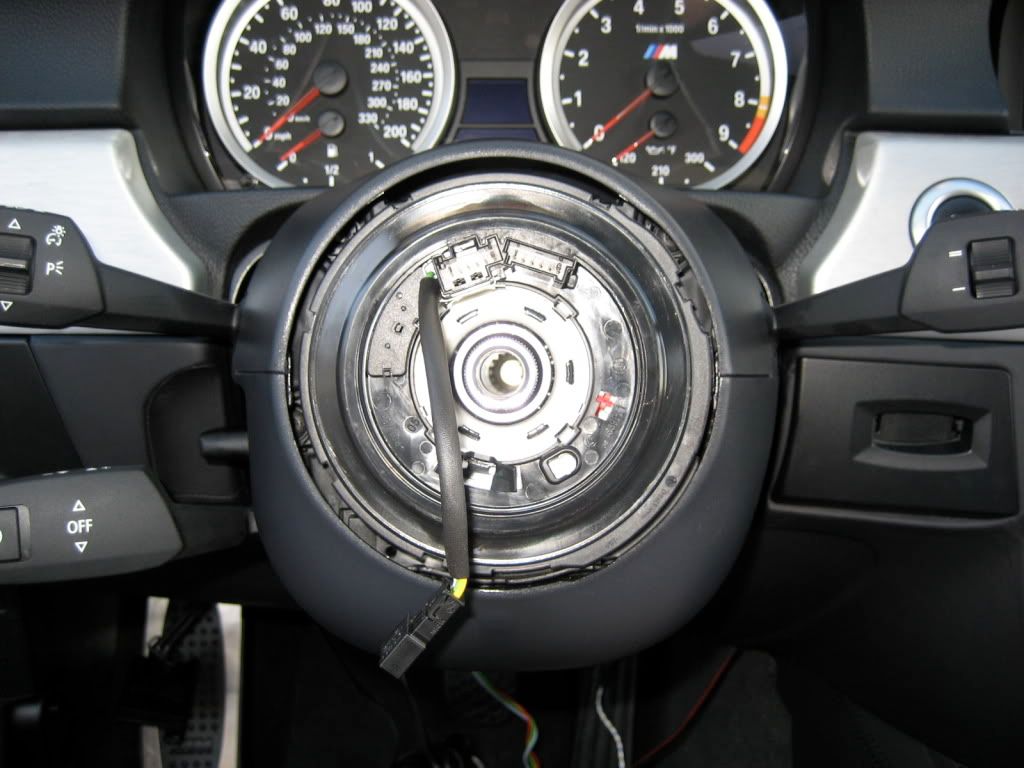
Now you CAN connect A7 White connector into you new Coil spring cartridge

Image hosted on: i114.photobucket.com

19. Zip-tie the wires together and put back steering wheel column trim.

Image hosted on: i114.photobucket.com

Image hosted on: i114.photobucket.com

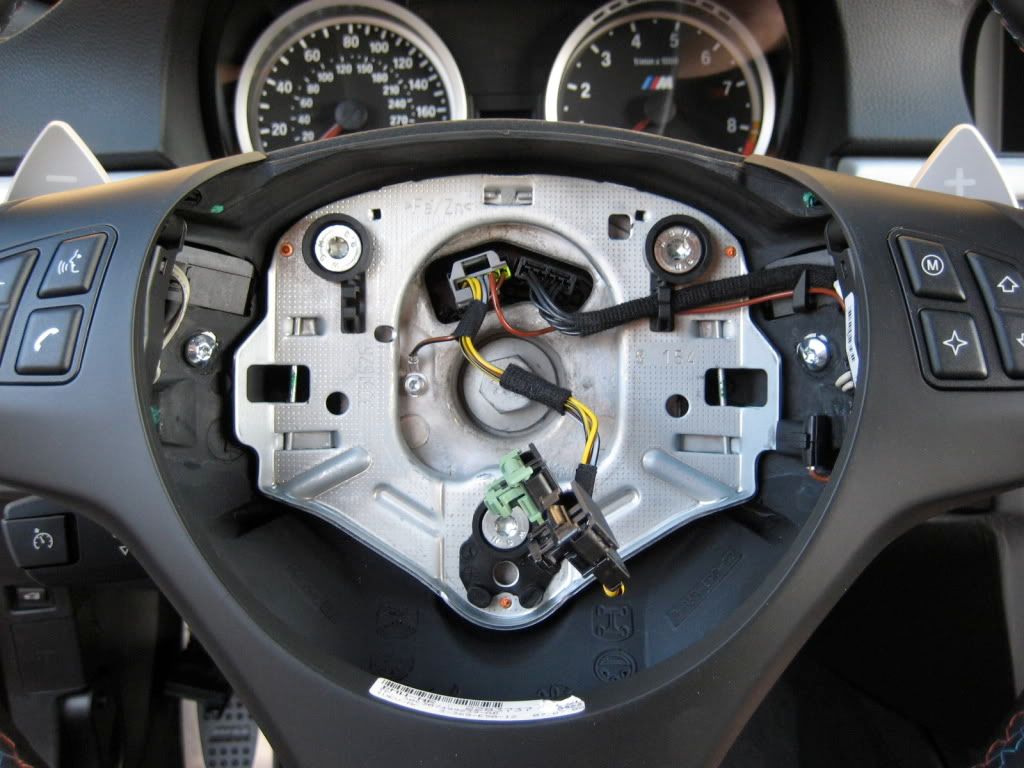
20. Transfer everything from your old wheel to your new PSW and install everything back. Read the PDF file. Connect black connector from the new Coil spring cartridge to the Green connector on you new PSW. The rest is the same. In PDF file it says to connect Black connector to Black but it is actually Green and not Black. Just FIY.

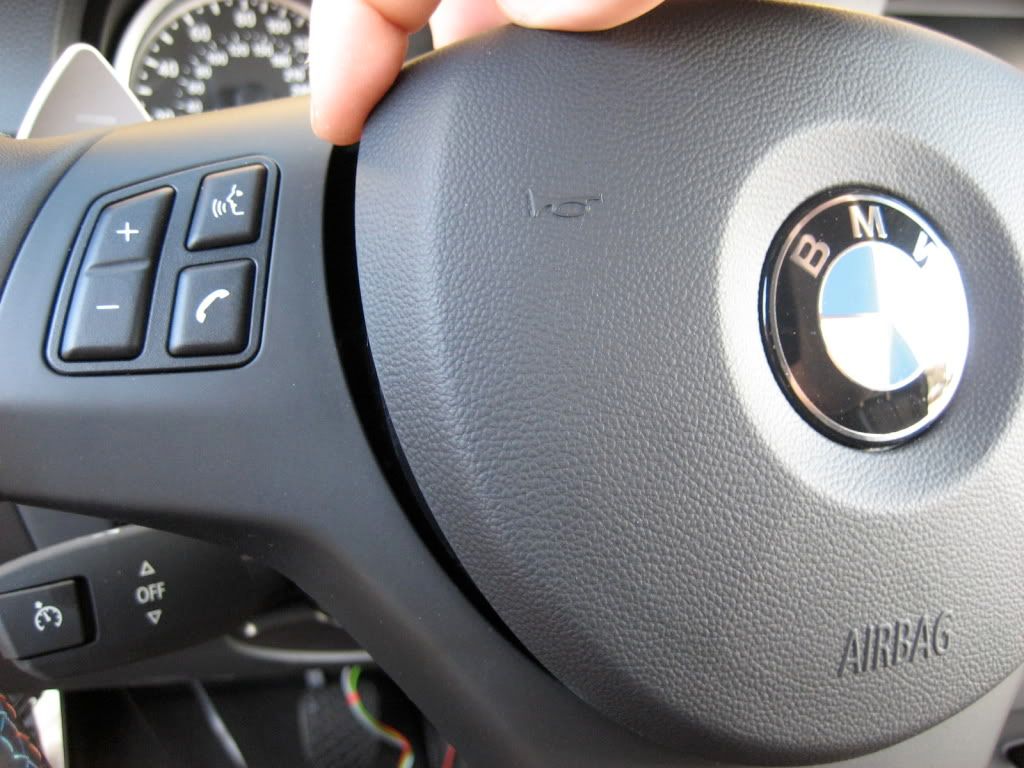
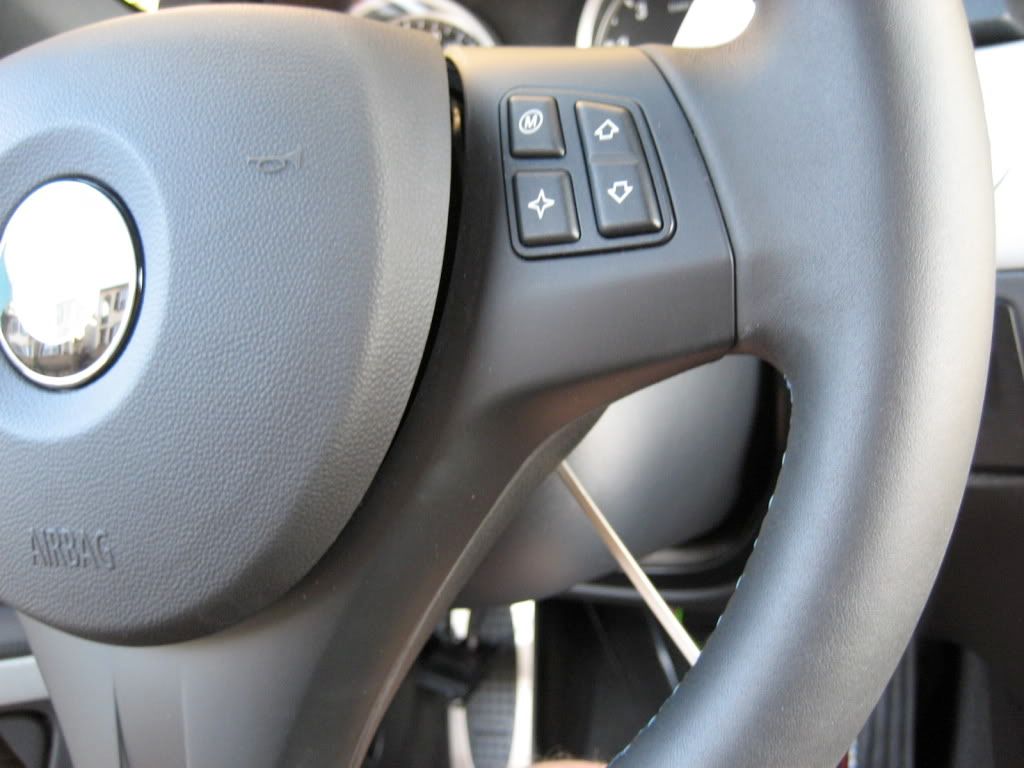
It should look like this

Image hosted on: i114.photobucket.com
:D
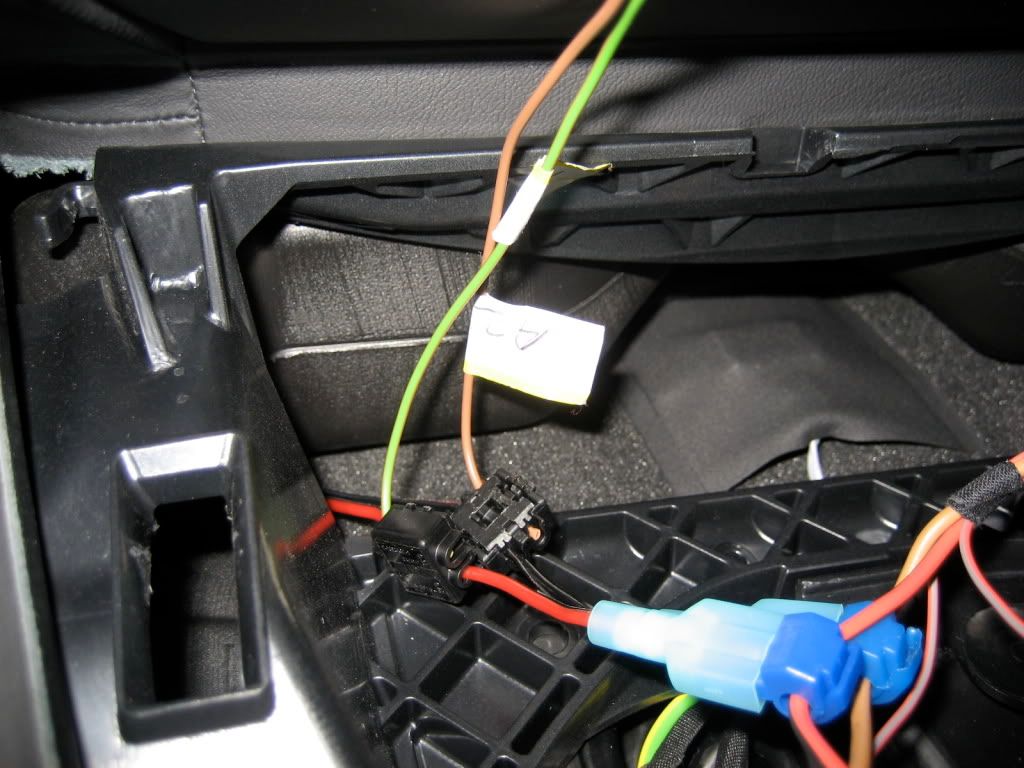
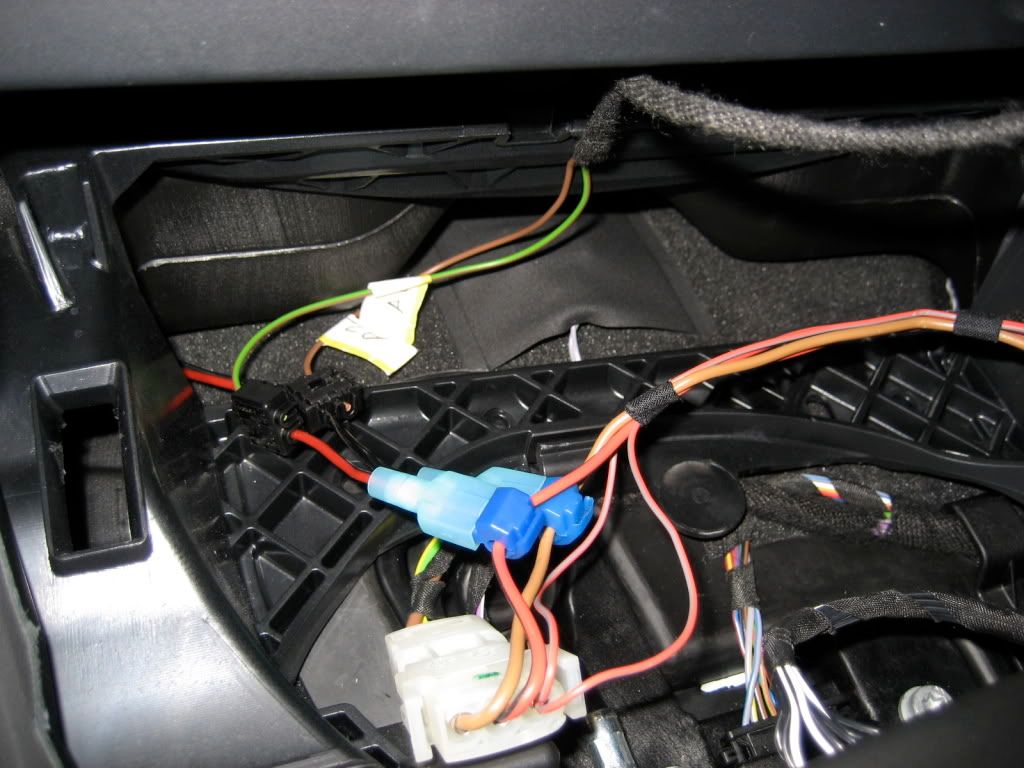
21. Since OBDII port doesn't have two needed wire to connect A1 and A2 I decided to use cigaret lighter as the power source. I have something else taped into this power source so don't pay attention to the Red and Black wires. You need to tap A2 Braun wire in to thick Braun wire and A1 Green/Braun into thick Red/Black wire on your cigaret lighter connector.

Image hosted on: i114.photobucket.com

Image hosted on: i114.photobucket.com

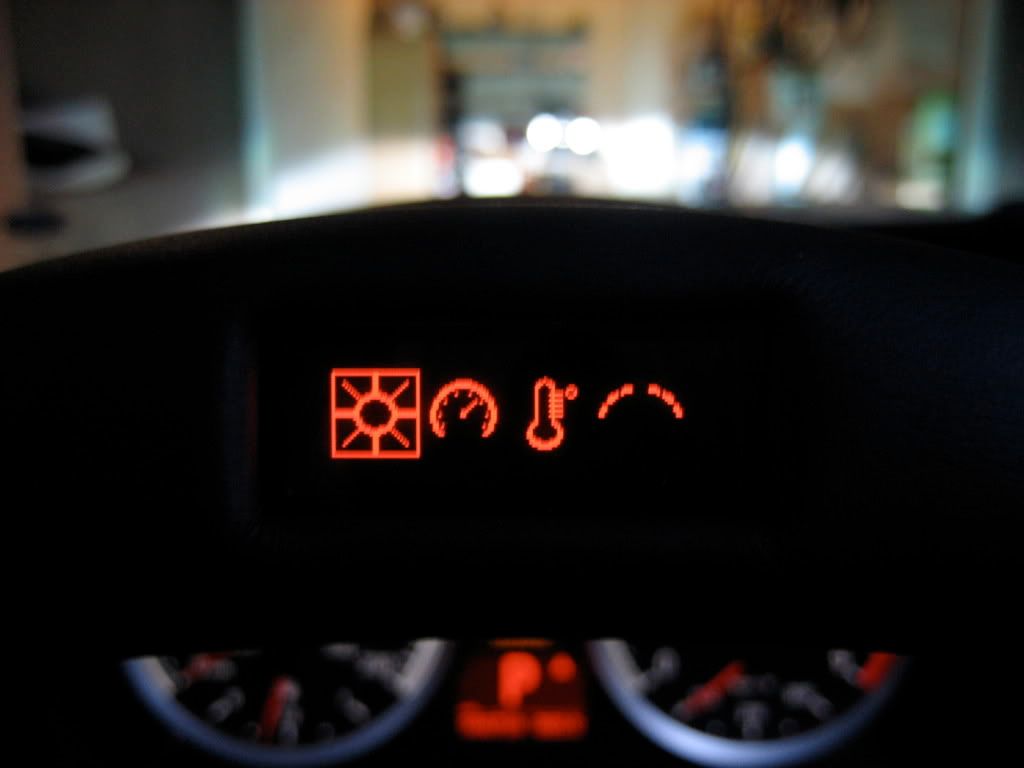
22. Now you can put everything back together. Connect your battery after you are done with everything, start your car and you should get this

Image hosted on: i114.photobucket.com

Image hosted on: i114.photobucket.com

Read the Manual that came with your new PSW to set it the way you like !

I hope this will help :D

PDF FILE HERE
What?? I have to remove my clutch pedal?
urbo73 wrote
What?? I have to remove my clutch pedal?
no you don't ... I have M-DCT :D
Post referenced by doba_s in BMW Performance Steering Wheel - Installed 03-20-2009 · and 2 more related references...
Post referenced by doba_s in Performance Steering Wheel - Installed 03-20-2009
Post referenced by doba_s in BMW Performance Steering Wheel - Installed 03-20-2009
Post referenced by Amir87 in Top Steering Column Cover Removal 09-23-2009
You should really use a torque wrench to tighten the bolt the secures the wheel to the column.
Great DIY!!!
FStop7 wrote
You should really use a torque wrench to tighten the bolt the secures the wheel to the column.
yes you can ... mine is too big and I couldn't use it ... I'll recheck it in a week or so, but there is no way it will get loose ... plus don't remember reading in PDF file anything about using torque wrench to tighten it.
doba_s wrote
yes you can ... mine is too big and I couldn't use it ... I'll recheck it in a week or so, but there is no way it will get loose ... plus don't remember reading in PDF file anything about using torque wrench to tighten it.
I've done wheel swaps on a 335i and an E46 M3, in both cases I'm pretty sure it was recommended to torque to 75lb-ft.

The perf wheel looks good, btw. I just wish it had M stitching.
Awesome DIY - thanks for taking the time to post.
I got my steering wheel installed this weekend...good DIY...but not too technically/mechanically incline so I got BMW here in Bamberg, Germany (Autohaus Sperber) to do the install and programming for me...next project Alcantara my headliner, A pillar and B pillars
:bulge: Awesome DIY Aleks!!!!
I wish I could join installation, and this makes me can't wait mine get installed!!
How long did it take? I might try to install mine today once I get back to SF tonight..

Good Job!! :thumsup:
MentholGuy wrote
:bulge: Awesome DIY Aleks!!!!
I wish I could join installation, and this makes me can't wait mine get installed!!
How long did it take? I might try to install mine today once I get back to SF tonight..

Good Job!! :thumsup:
it took me about 2-3h ... i was trying not to f...k it up haha ...
Genro757 wrote
I got my steering wheel installed this weekend...good DIY...but not too technically/mechanically incline so I got BMW here in Bamberg, Germany (Autohaus Sperber) to do the install and programming for me...next project Alcantara my headliner, A pillar and B pillars
this DIY is for you to get an idea ... you don't need to program anything after you install it ... so I am not sure what your BMW center did ...
tom @ eas wrote
Awesome DIY - thanks for taking the time to post.
thanks Tom ... I called you yesterday and left you a message ... but disregard it ... everything works good !
doba_s wrote
this DIY is for you to get an idea ... you don't need to program anything after you install it ... so I am not sure what your BMW center did ...
Awesome job and post on this project!:bow:

Every time I see a Performance Steering Whell my reaction is first :confused0068: then :drool:.


So you're saying that after you installed the wheel all the functions worked? You did not have to take it in to the dealer for programming or coding to your car?
Alex///M wrote
Awesome job and post on this project!:bow:

Every time I see a Performance Steering Whell my reaction is first :confused0068: then :drool:.


So you're saying that after you installed the wheel all the functions worked? You did not have to take it in to the dealer for programming or coding to your car?
nope ... read PDF file and it says there that you don't need to reprogram it.
I take it the new wheel can only go on one way, a groove in the splines?
David1 wrote
I take it the new wheel can only go on one way, a groove in the splines?
you are right ...
I really like the thickness of the OEM steering wheel.
Is the performance steering wheel similar in thickness ?
If it is I'm buying one today lol.
awesome DIY. there is no way i could do that myself...
rav7ks wrote
I really like the thickness of the OEM steering wheel.
Is the performance steering wheel similar in thickness ?
If it is I'm buying one today lol.
Thickness is just the same...and the alcantara feels great...