

Background
If your Secondary Air Pump went bad or valve is stuck closed you can code it out and leave it in place. But, if one of the Secondary Air Control Valves is stuck open, it causes exhaust leak:
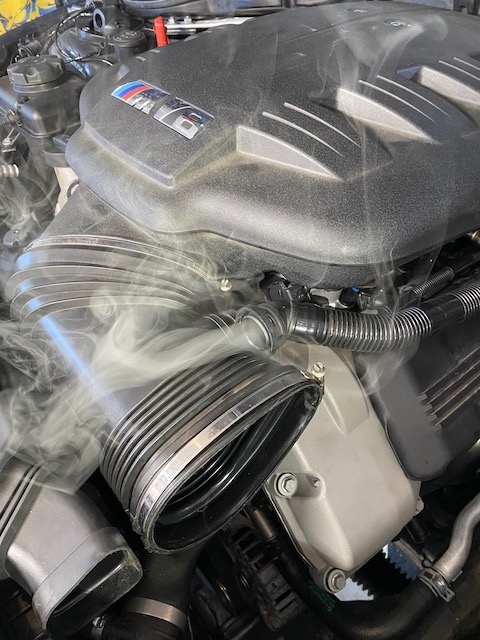
It's debatable how bad is this leak, but in any case introducing exhaust gases into intake seems to be suboptimal, so it's time for SAP delete.
Level
Expert.
Each step is not hard, but number of things you'll have to disconnect and reconnect is huge. It's easy to damage engine wiring harness ($900), or some tubing.
Tools Required
Preliminary Steps
Use this DIY as a guide: https://www.m3post.com/forums/showthread.php?t=735033
Pump Removal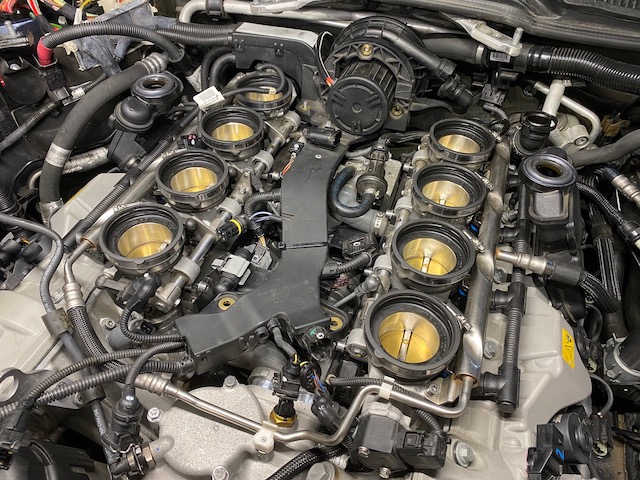
Engine Wiring Harness Removal
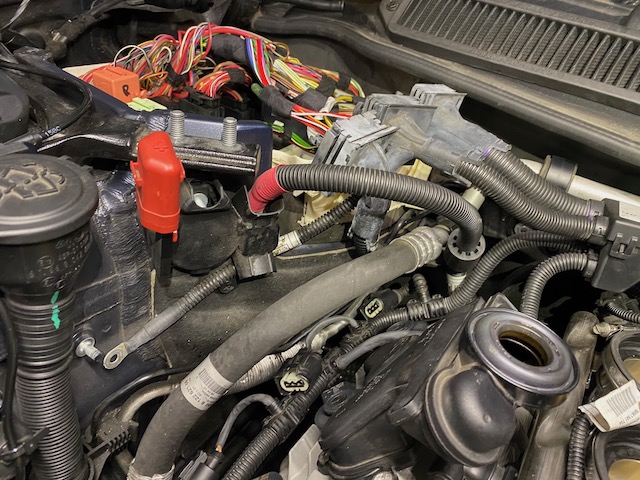
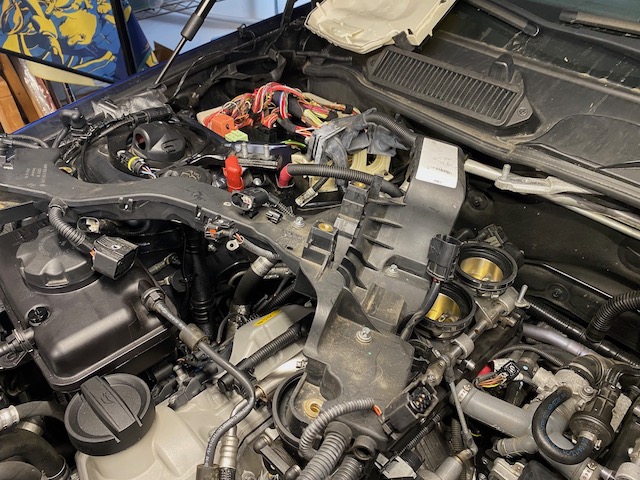
Engine Wiring Harness needs to be taken out of the way:
Valve Hose Removal
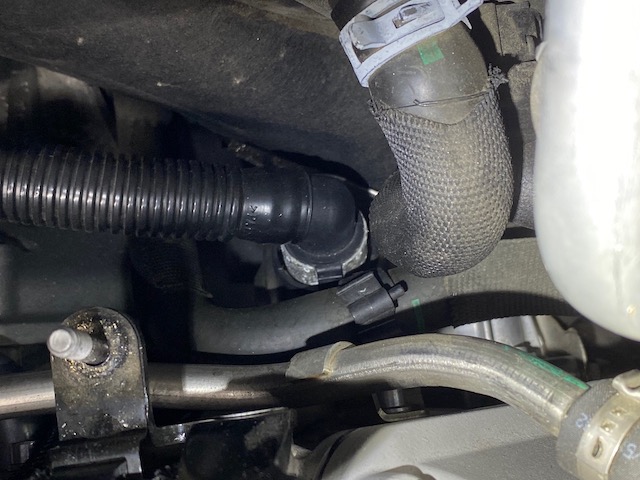
Hose was stuck after all these years, so I had some trouble unplugging it. Wiggling it for awhile, I was able to remove it using groove joint pliers to depress latch and piece of rope around tube bend to pull it up. Latch needs to be depressed on the both sides where the plastic ring has some notches just so - pressing it too strong grabs the valve, too light doesn't unlock the latch.
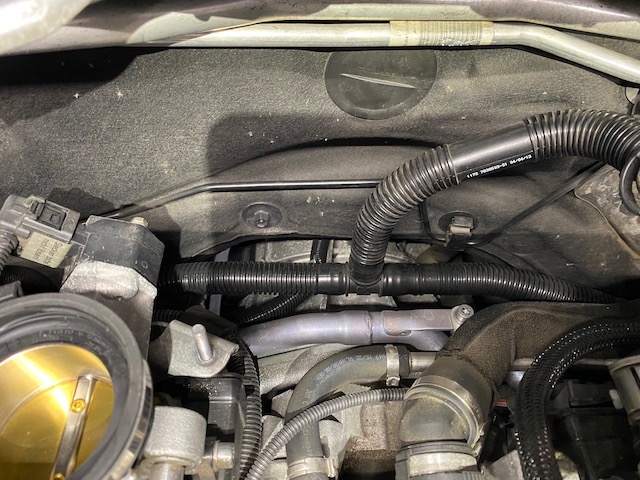
Right valve with tubing attached:
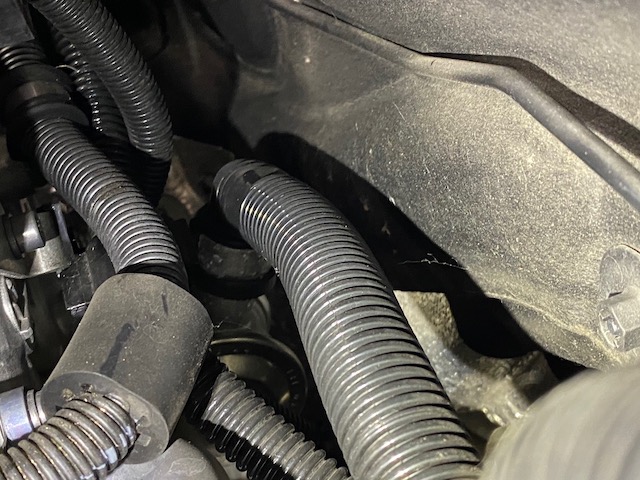
Left valve with tubing attached:
Latch:
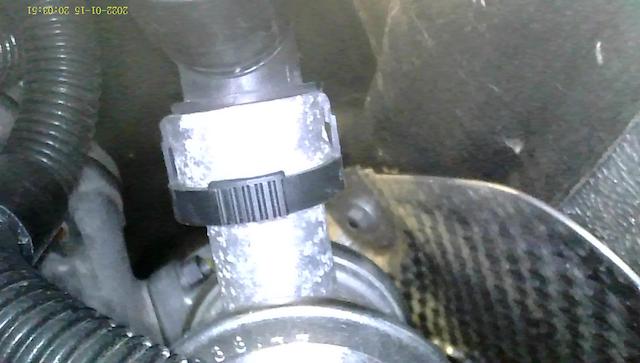
Removing right valve (bank 1)
With wiring out of the way, right valve is trivial to remove. You are not going to be able to see the nuts, so you have to find a nut with your hand, and then remove it using ratchet by feel. (lol)
Right valve removed with gasket still in place
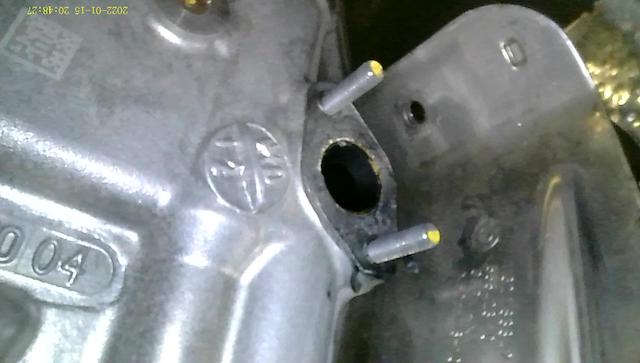
Removing left valve (bank 2)
Now for the hard part. Left valve has some tubing right on top of it, heat shielding behind it, and steering column on the side.
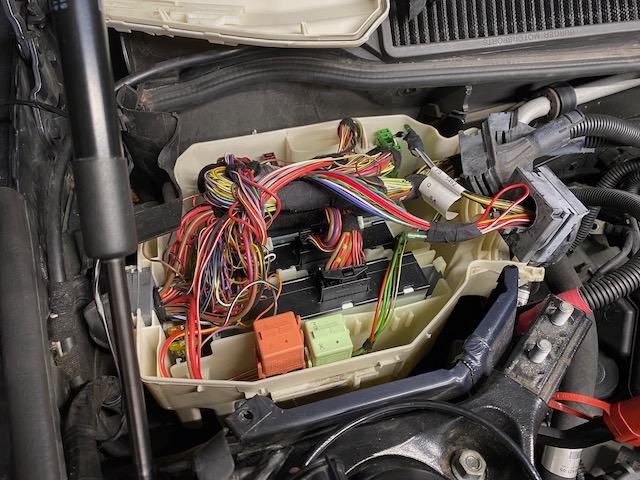
SAP Relay Removal
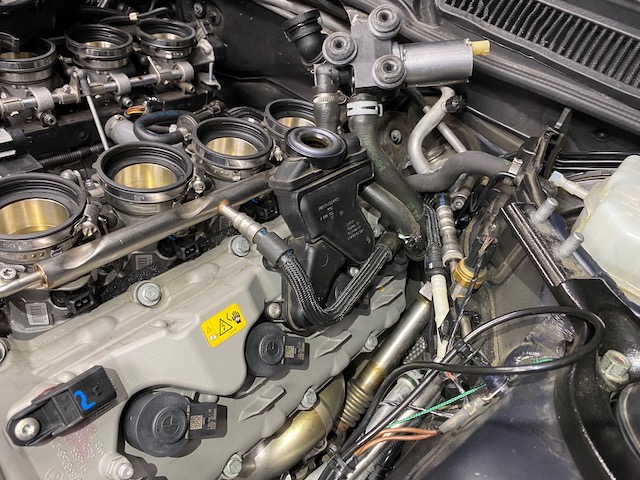
You don't want loose connector to be powered. Remove SAP relay. This is large orange relay in the fuse box.
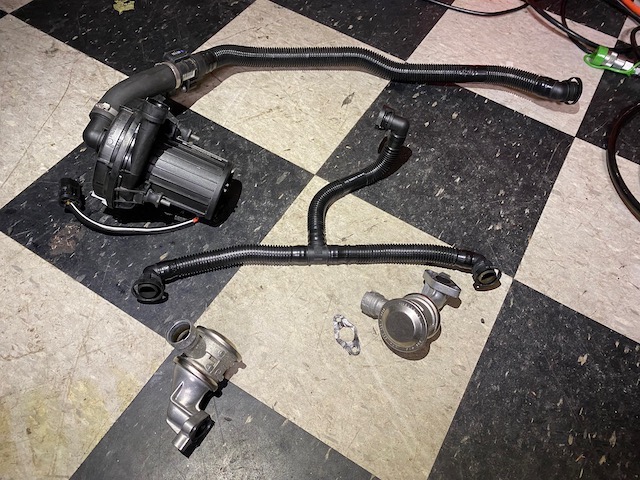
Result
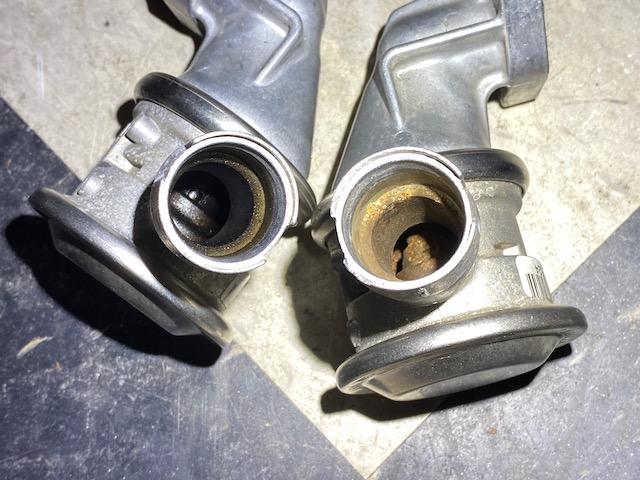
Notice that one valve is just rusted, another one has carbon in it. My guess carbonated valve was leaking. (Although I expected other side since bank 2 was misfiring )
)
Part 2: Fab and Install
I tried to ordered cover plates and intake plug, but one of the cover plates was out of stock. Probably they are not manufactured anymore, so I don't think it's possible to order them anymore.
Order parts
Cover plates fabbing
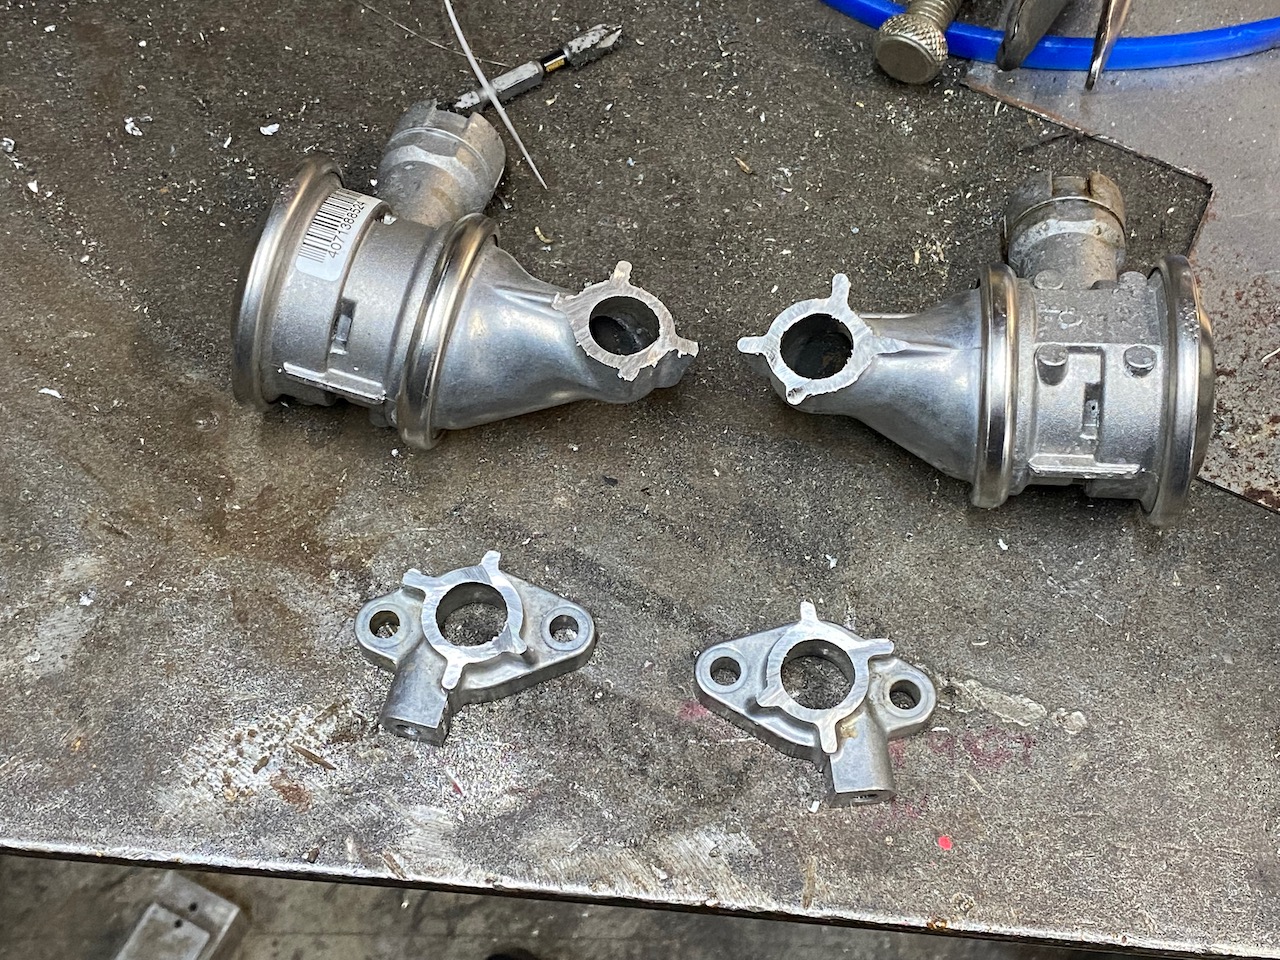
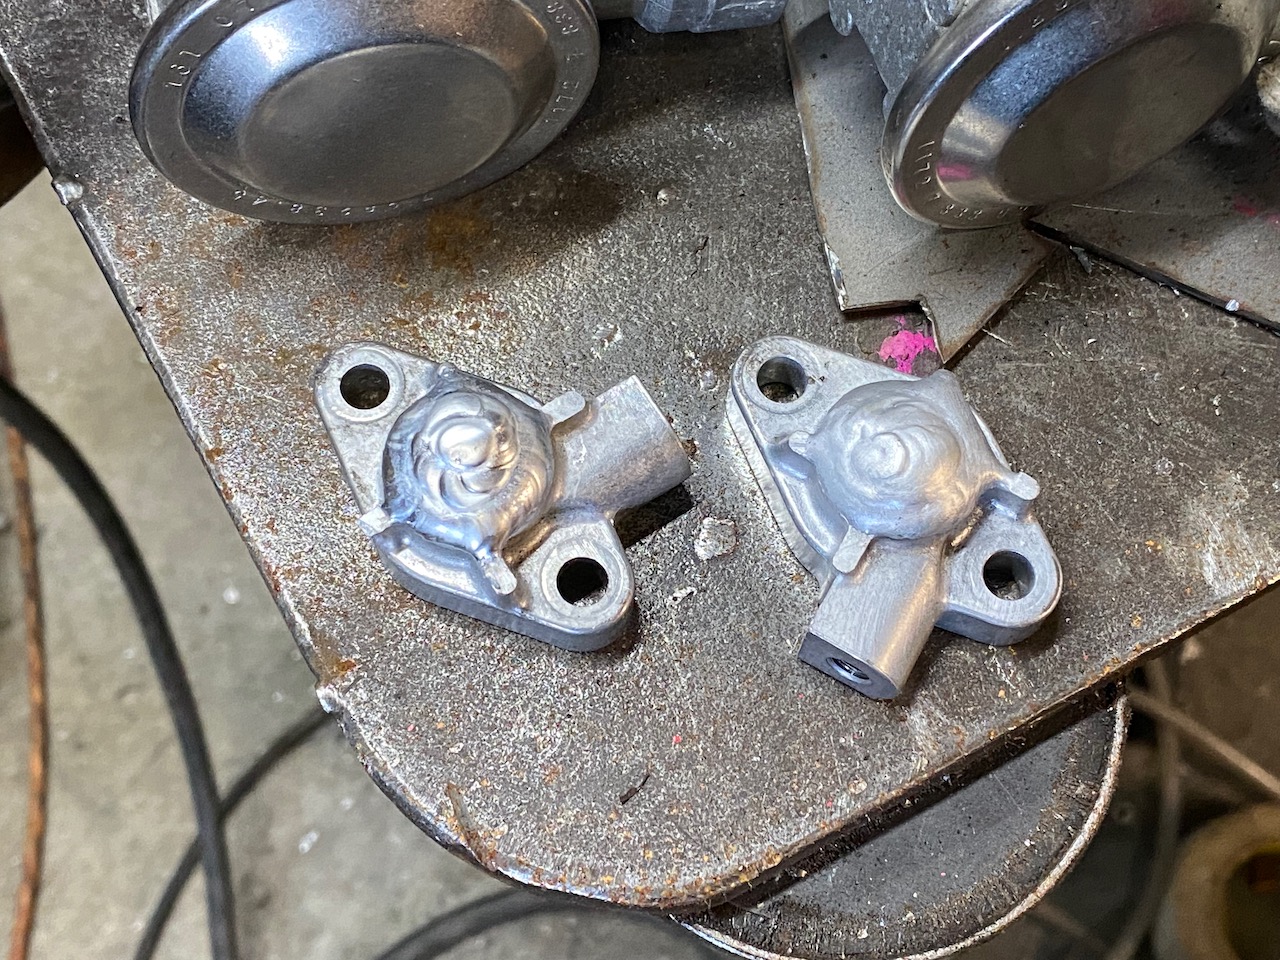
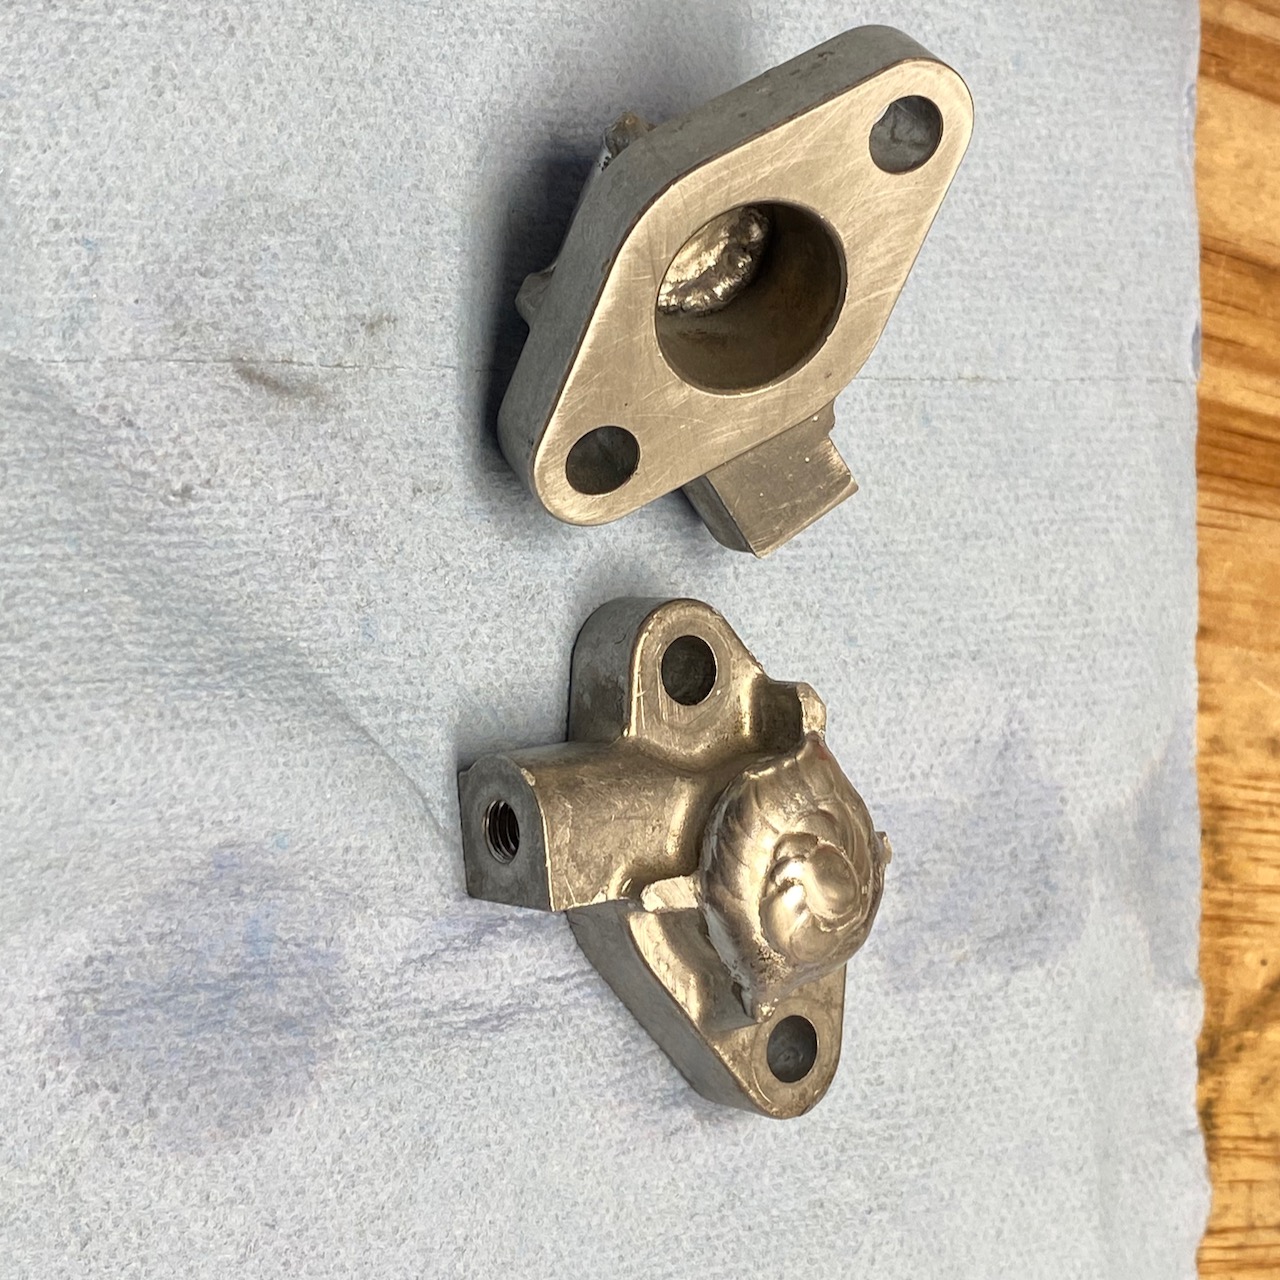
Kris cut and welded valves for me to manufacture cover plates (thanks!):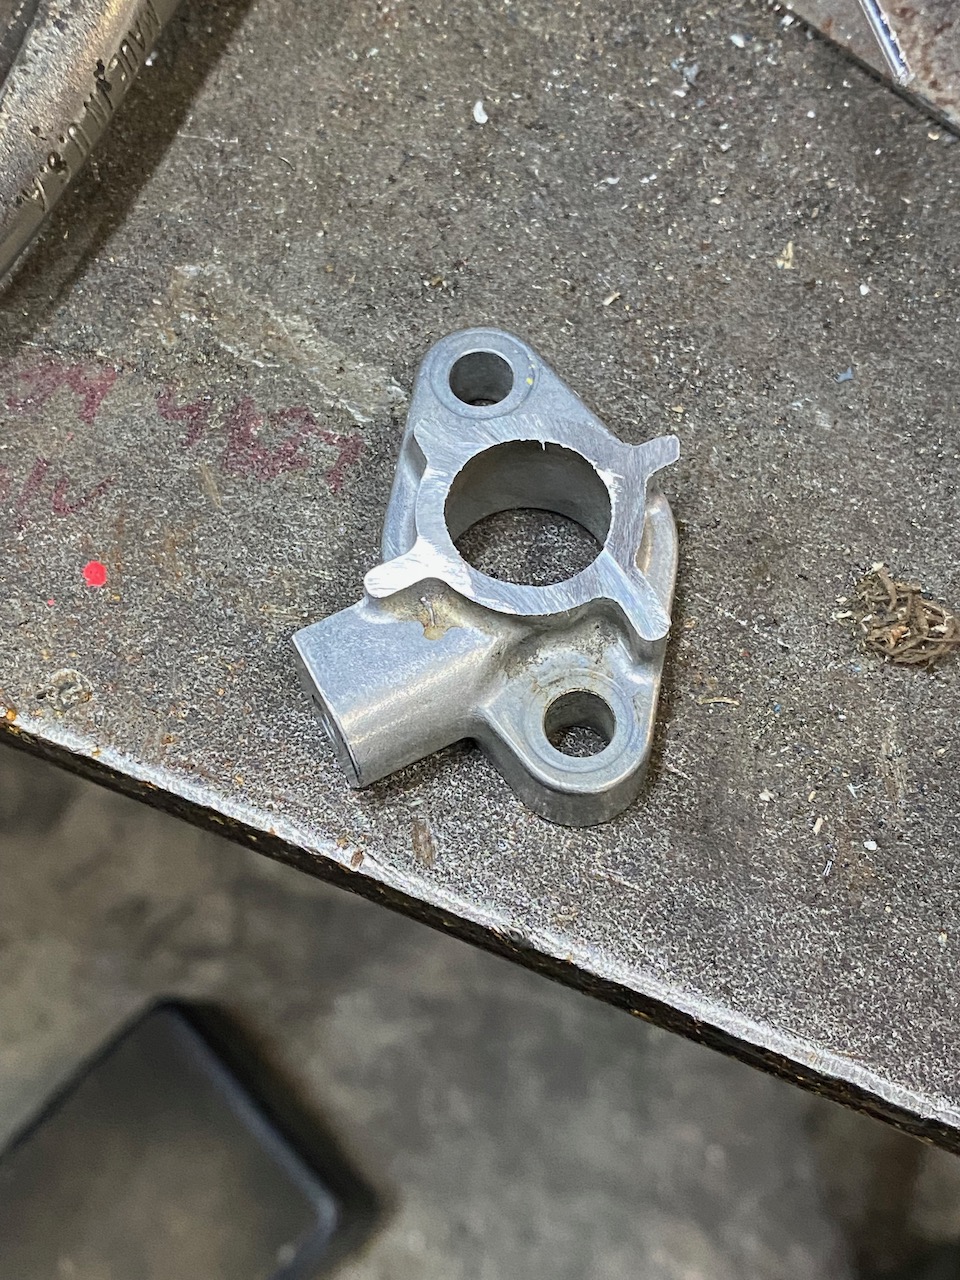
Cover plate install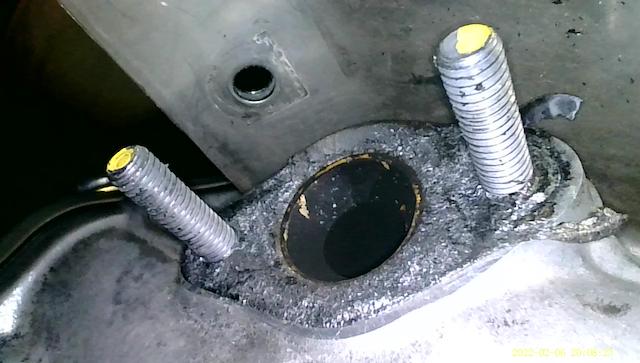
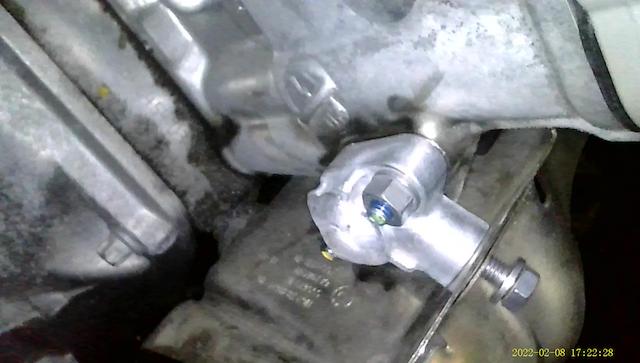
Now it's the time to put everything back together. (Few hours later...)
Dead plug
I originally fabbed it using milk jag plastic cap, but then I realized that however unlikely it can be heated too much and melt. So I re-made it using metal lid from a jam jar.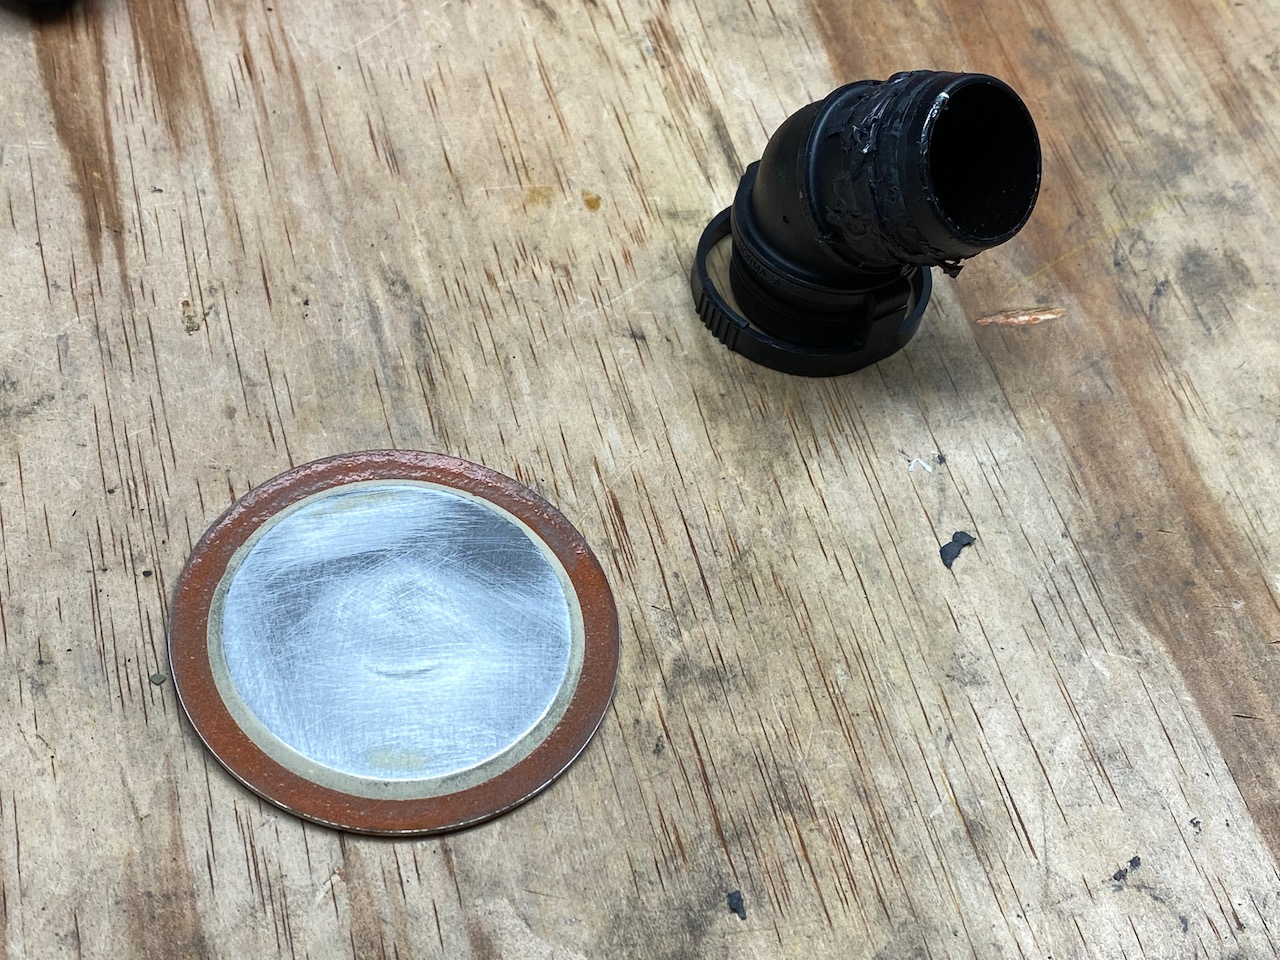
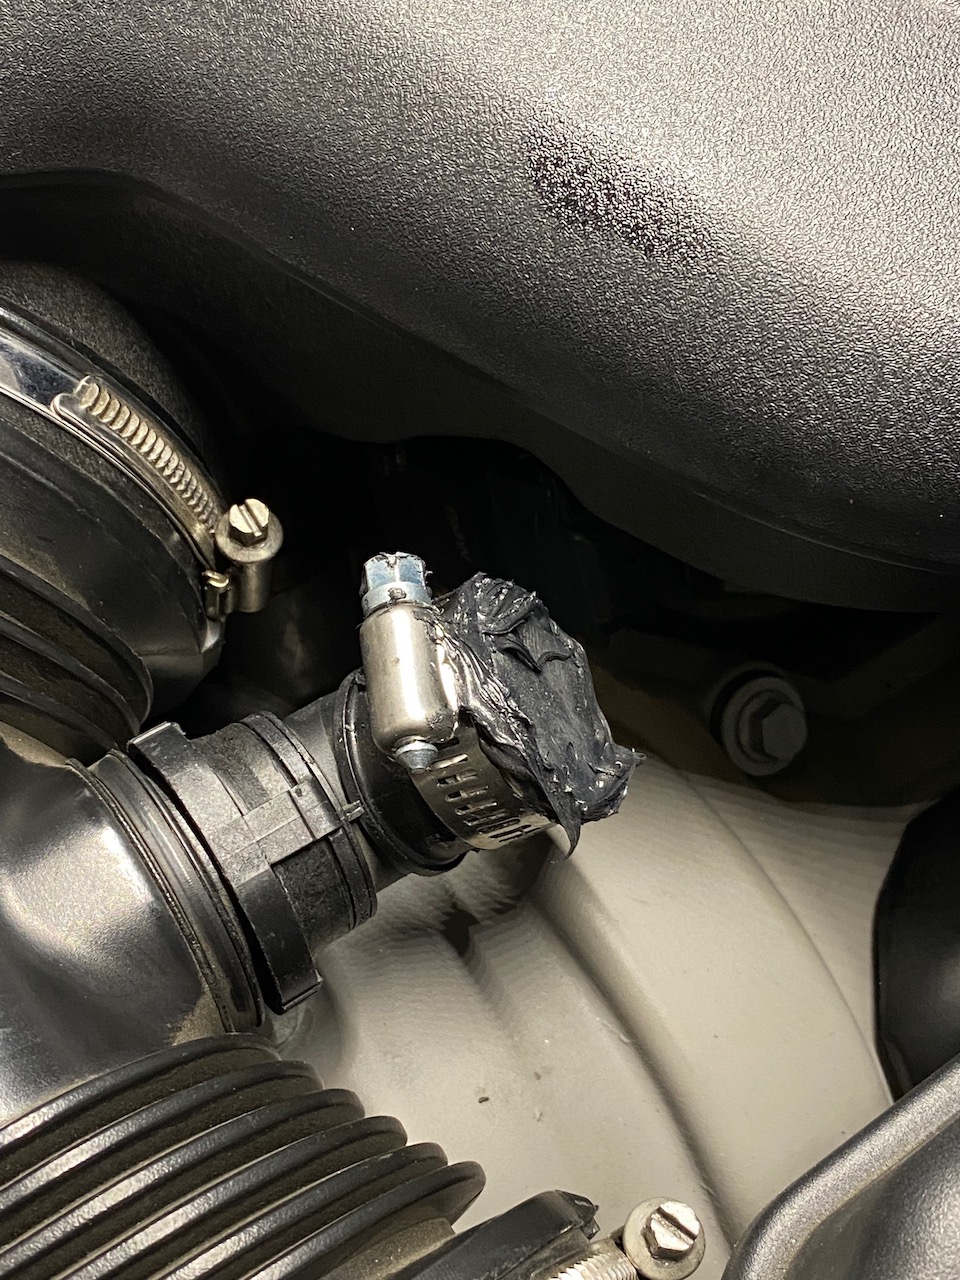
I also had exhaust leak at header-to-midpipe connection. I suspect SAP and exhaust leaks were causing high-rev misfires that ruined few of my track days. I replaced gasket with genuine BMW (third-party leaked right after install), re-did smoke test and did a test drive. All good so far! Now I need to wait for the track day
If your Secondary Air Pump went bad or valve is stuck closed you can code it out and leave it in place. But, if one of the Secondary Air Control Valves is stuck open, it causes exhaust leak:
It's debatable how bad is this leak, but in any case introducing exhaust gases into intake seems to be suboptimal, so it's time for SAP delete.
Level
Expert.
Each step is not hard, but number of things you'll have to disconnect and reconnect is huge. It's easy to damage engine wiring harness ($900), or some tubing.
Tools Required
- Bunch of tools to remove plenum, etc.
- 10mm short socket, 10mm long socket, 1/4 fine tooth compact ratchet, 10mm ratcheting wrench, something long. Sockets and ratchet from Costco's DeWalt set work well (this set is the best deal ever, btw, although set got a bit smaller over the years):
- Groove Joint Pliers (likely)
- Endoscope
https://www.amazon.com/gp/product/B0819Q2YLK
Preliminary Steps
Use this DIY as a guide: https://www.m3post.com/forums/showthread.php?t=735033
- Remove air box (no need to open it up, can be removed as a unit)
- Remove plenum
- Remove cooling liquid expansion tanks bolts, remove both side engine plastic covers.
- Remove plastic cowl covering fuse box and brake fluid reservoir
- Remove both aluminum stiffness beams connecting top of the strut brackets to mid bracket (13mm)
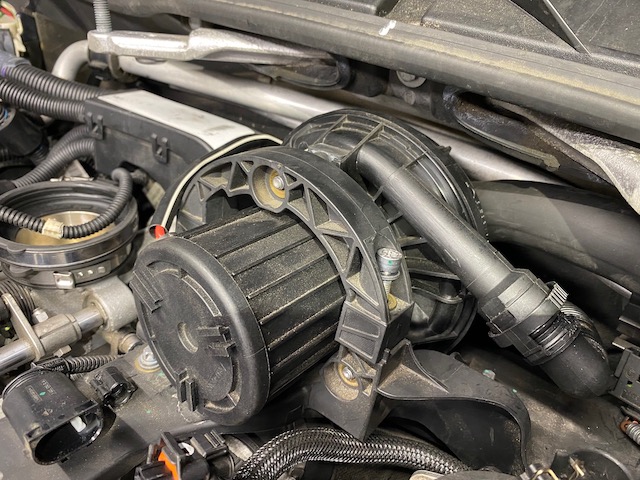
Pump Removal
- Remove four 10mm nuts holding top engine wiring harness
- Remove three 10mm nuts holding pump to the bracket
- Remove two torx screws holding top half of the bracket
- Disconnect pump air hoses and wiggle pump out
- Disconnect pump electrical connector
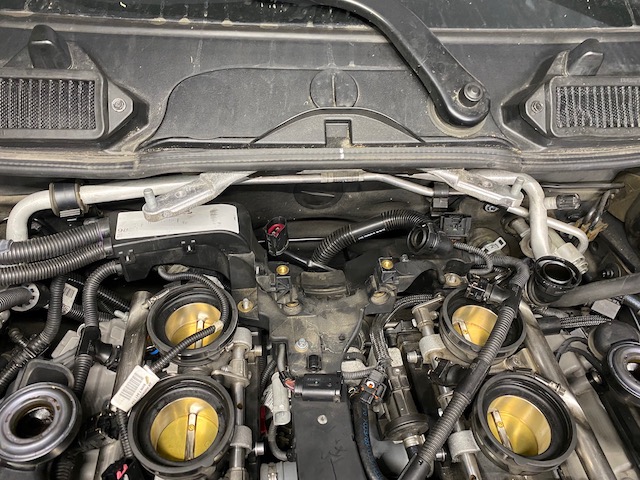
Engine Wiring Harness Removal
Engine Wiring Harness needs to be taken out of the way:
- Disconnect fuel injectors, coils, all sensors
- Unsecrew grounding nuts/bolts (two on each side of the engine)
- Run all the cables out
- Lift harness, disconnect bottom connectors
- Open fuse box: slide white latches to open position, pull black latches up, remove lid
- Remove nut and detach ground connector just outside the box
- Slide rubber harness grommets up from their slots
- Bend entire harness and all wiring to the side
Valve Hose Removal
Hose was stuck after all these years, so I had some trouble unplugging it. Wiggling it for awhile, I was able to remove it using groove joint pliers to depress latch and piece of rope around tube bend to pull it up. Latch needs to be depressed on the both sides where the plastic ring has some notches just so - pressing it too strong grabs the valve, too light doesn't unlock the latch.
Right valve with tubing attached:
Left valve with tubing attached:
Latch:
Removing right valve (bank 1)
With wiring out of the way, right valve is trivial to remove. You are not going to be able to see the nuts, so you have to find a nut with your hand, and then remove it using ratchet by feel. (lol)
- Use short 10mm socket to remove side bolt holding heat shield
- Remove top 10mm nut
- Use long 10mm socket to remove bottom nut
- Remove valve
- Remove gasket. Gaskets are really thin and seem to be glued in place. I cut my fingers while removing them (yes, both times)
Right valve removed with gasket still in place
Removing left valve (bank 2)
Now for the hard part. Left valve has some tubing right on top of it, heat shielding behind it, and steering column on the side.
- Lift DCT heat exchanger pump (not sure how it looks on manual) out of its slots, unclip hose clip on the rear of the engine, unlock side clip by pusing latches from the top with thin-nose pliers and screwdriver, slide clip out of its slot towards forward of the car (this is very strange clip), bend tubing and pump up out of the way around fuel line.
- Use ratcheting wrench to remove side heat shield bolt (socket is not going to fit because of the steering column
- With tubing loose and bent out the way, use short 10mm socket to remove top valve nut
- There is not way to see or reach bottom nut by hand, so you can't guide a socket to remove it by feel.
- Lift your car
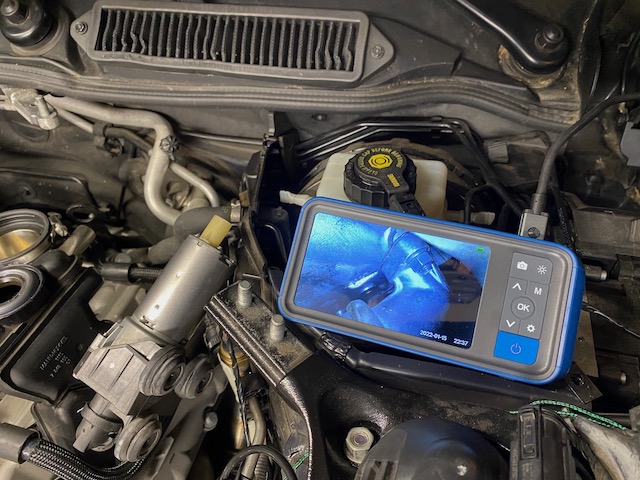
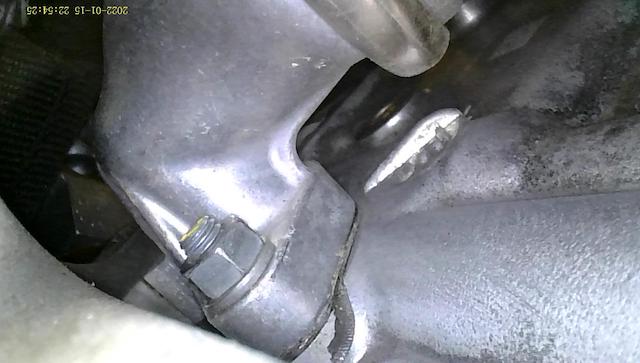
- Use endoscope to locate bottom nut by running camera alongside header, secure camera once good view of bottom nut is achieved.
- Mount endoscope screen in the engine bay
- Lower the car (otherwise you are not going to reach the valve)
- Use long screwdriver or extension to bend heat shielding between valve and firewall toward firewall away from the valve (I used valve as leverage point)
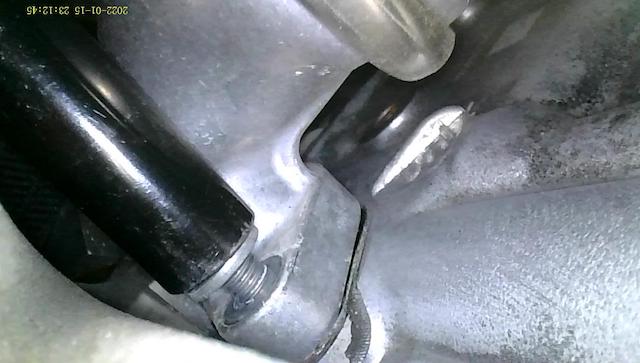
- Guide long 10mm socket to the bottom valve nut using endoscope. Loosen the nut.
- Now the problem is that you can't effectively ratchet loose nut without holding the socket, which you can't reach here with your hand. Use long extension with some tape on it to press on the socket from the side so it's doesn't move when you ratchet the handle.
- Ratchet for 10 minutes
- Remove bottom nut
- Remove gasket
SAP Relay Removal
You don't want loose connector to be powered. Remove SAP relay. This is large orange relay in the fuse box.
Result
Notice that one valve is just rusted, another one has carbon in it. My guess carbonated valve was leaking. (Although I expected other side since bank 2 was misfiring
)Part 2: Fab and Install
I tried to ordered cover plates and intake plug, but one of the cover plates was out of stock. Probably they are not manufactured anymore, so I don't think it's possible to order them anymore.
Order parts
- New gaskets part number 11727838389 Order 3 in case one is damaged during install.
- 4 Nuts 07129904553 plus 2 just in case. Order extra since one is going to be dropped and lost for sure.
- (I reused heat shield bolts)
- Blue loctite, Permatex The Right Stuff Gasket Maker
- Small brass brushes, Dremel brass brushes
- Hose clamp
Cover plates fabbing
Kris cut and welded valves for me to manufacture cover plates (thanks!):
- Cut flanges from removed SAP valves.
- Weld them shut
- Sand bottom part
Cover plate install
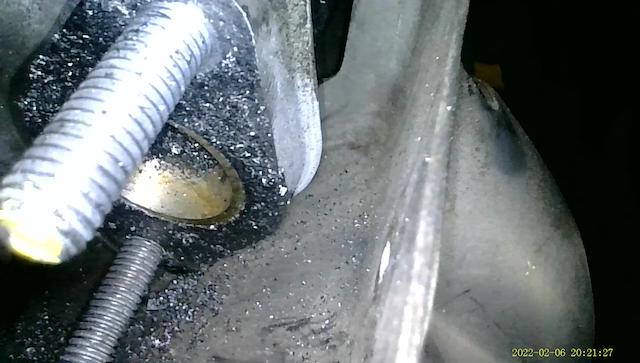
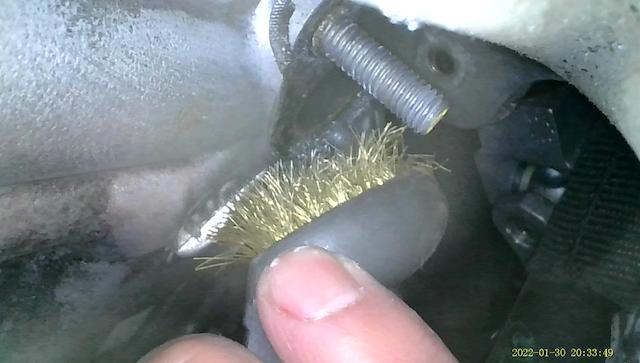
- Gaskets are foil covered in some thermal compound.
- There is a need to remove old compound from the install site.
- I tired all possible chemicals known to man (brake clean, 99% alcohol, googone, etc) without success.
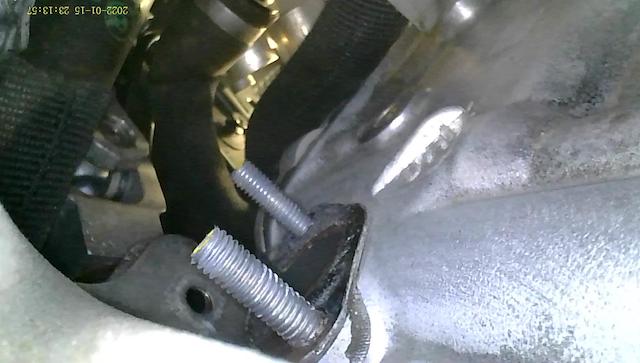
- At the end of the day I scrubbed it off using fingers, brass brushes, and Dremel brass brush on the flex extension. I used endscope for monitoring.
- Vacuum.
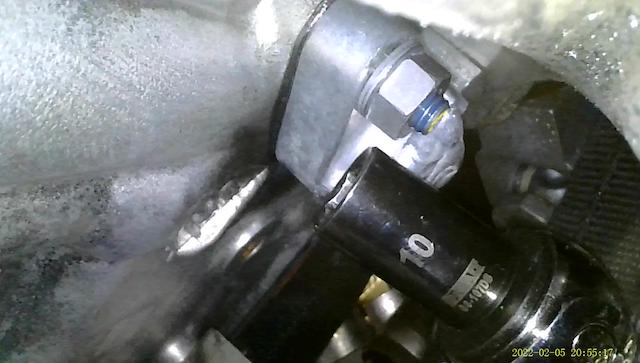
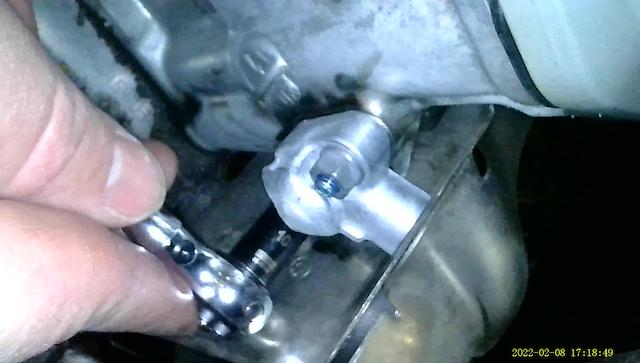
- Once site is clean, install gaskets and plates, use endoscope to see what are you doing.
- I used new nuts and blue loctite since I don't want to redo it ever. BTW, since it's only M6 it should be wrenched quite gently.
- Screw in heat shield bolts. I used sticky mounting putty to stick bolt into ratcheting wrench for the left side since it's hard to reach. I'm pretty sure I threaded this one anyway.
Now it's the time to put everything back together. (Few hours later...)
Dead plug
I originally fabbed it using milk jag plastic cap, but then I realized that however unlikely it can be heated too much and melt. So I re-made it using metal lid from a jam jar.
- Cut off end connector from airintake-to-SAP hose. Remove plastic tubing from flange.
- Procure jam jar lid and sand plastic off from inside surface.
- Cut jam jar lid to size with some tabs.
- Bend tabs and put bunch of gasket maker on it
- Install it on connector.
- Use hose clamp over tabs to secure cap to connector.
- Liberally apply gasket maker all over.
- Let it cure.
- Install on airintake tube.
I also had exhaust leak at header-to-midpipe connection. I suspect SAP and exhaust leaks were causing high-rev misfires that ruined few of my track days. I replaced gasket with genuine BMW (third-party leaked right after install), re-did smoke test and did a test drive. All good so far! Now I need to wait for the track day
