Lessons Learned:
(just notes to my future self if I had to replace the PS pump again. I didn't do it exactly like this, but if I had to, I'd do it in these steps and in about this order)
1) Order your replacement parts. (Pump, crush washers, reservoir, fittings, clamps, CHF-11S fluid...)
Disassembly:
1) Put the car on jack stands.
2) Remove the front wheels, forward half of each front wheel well liner and the nose of the car. (Keeps all of the felt parts from getting soaked).
Remove the aluminum skid plate (So it won't retain any spilled coolant/PS hydraulic fluid).
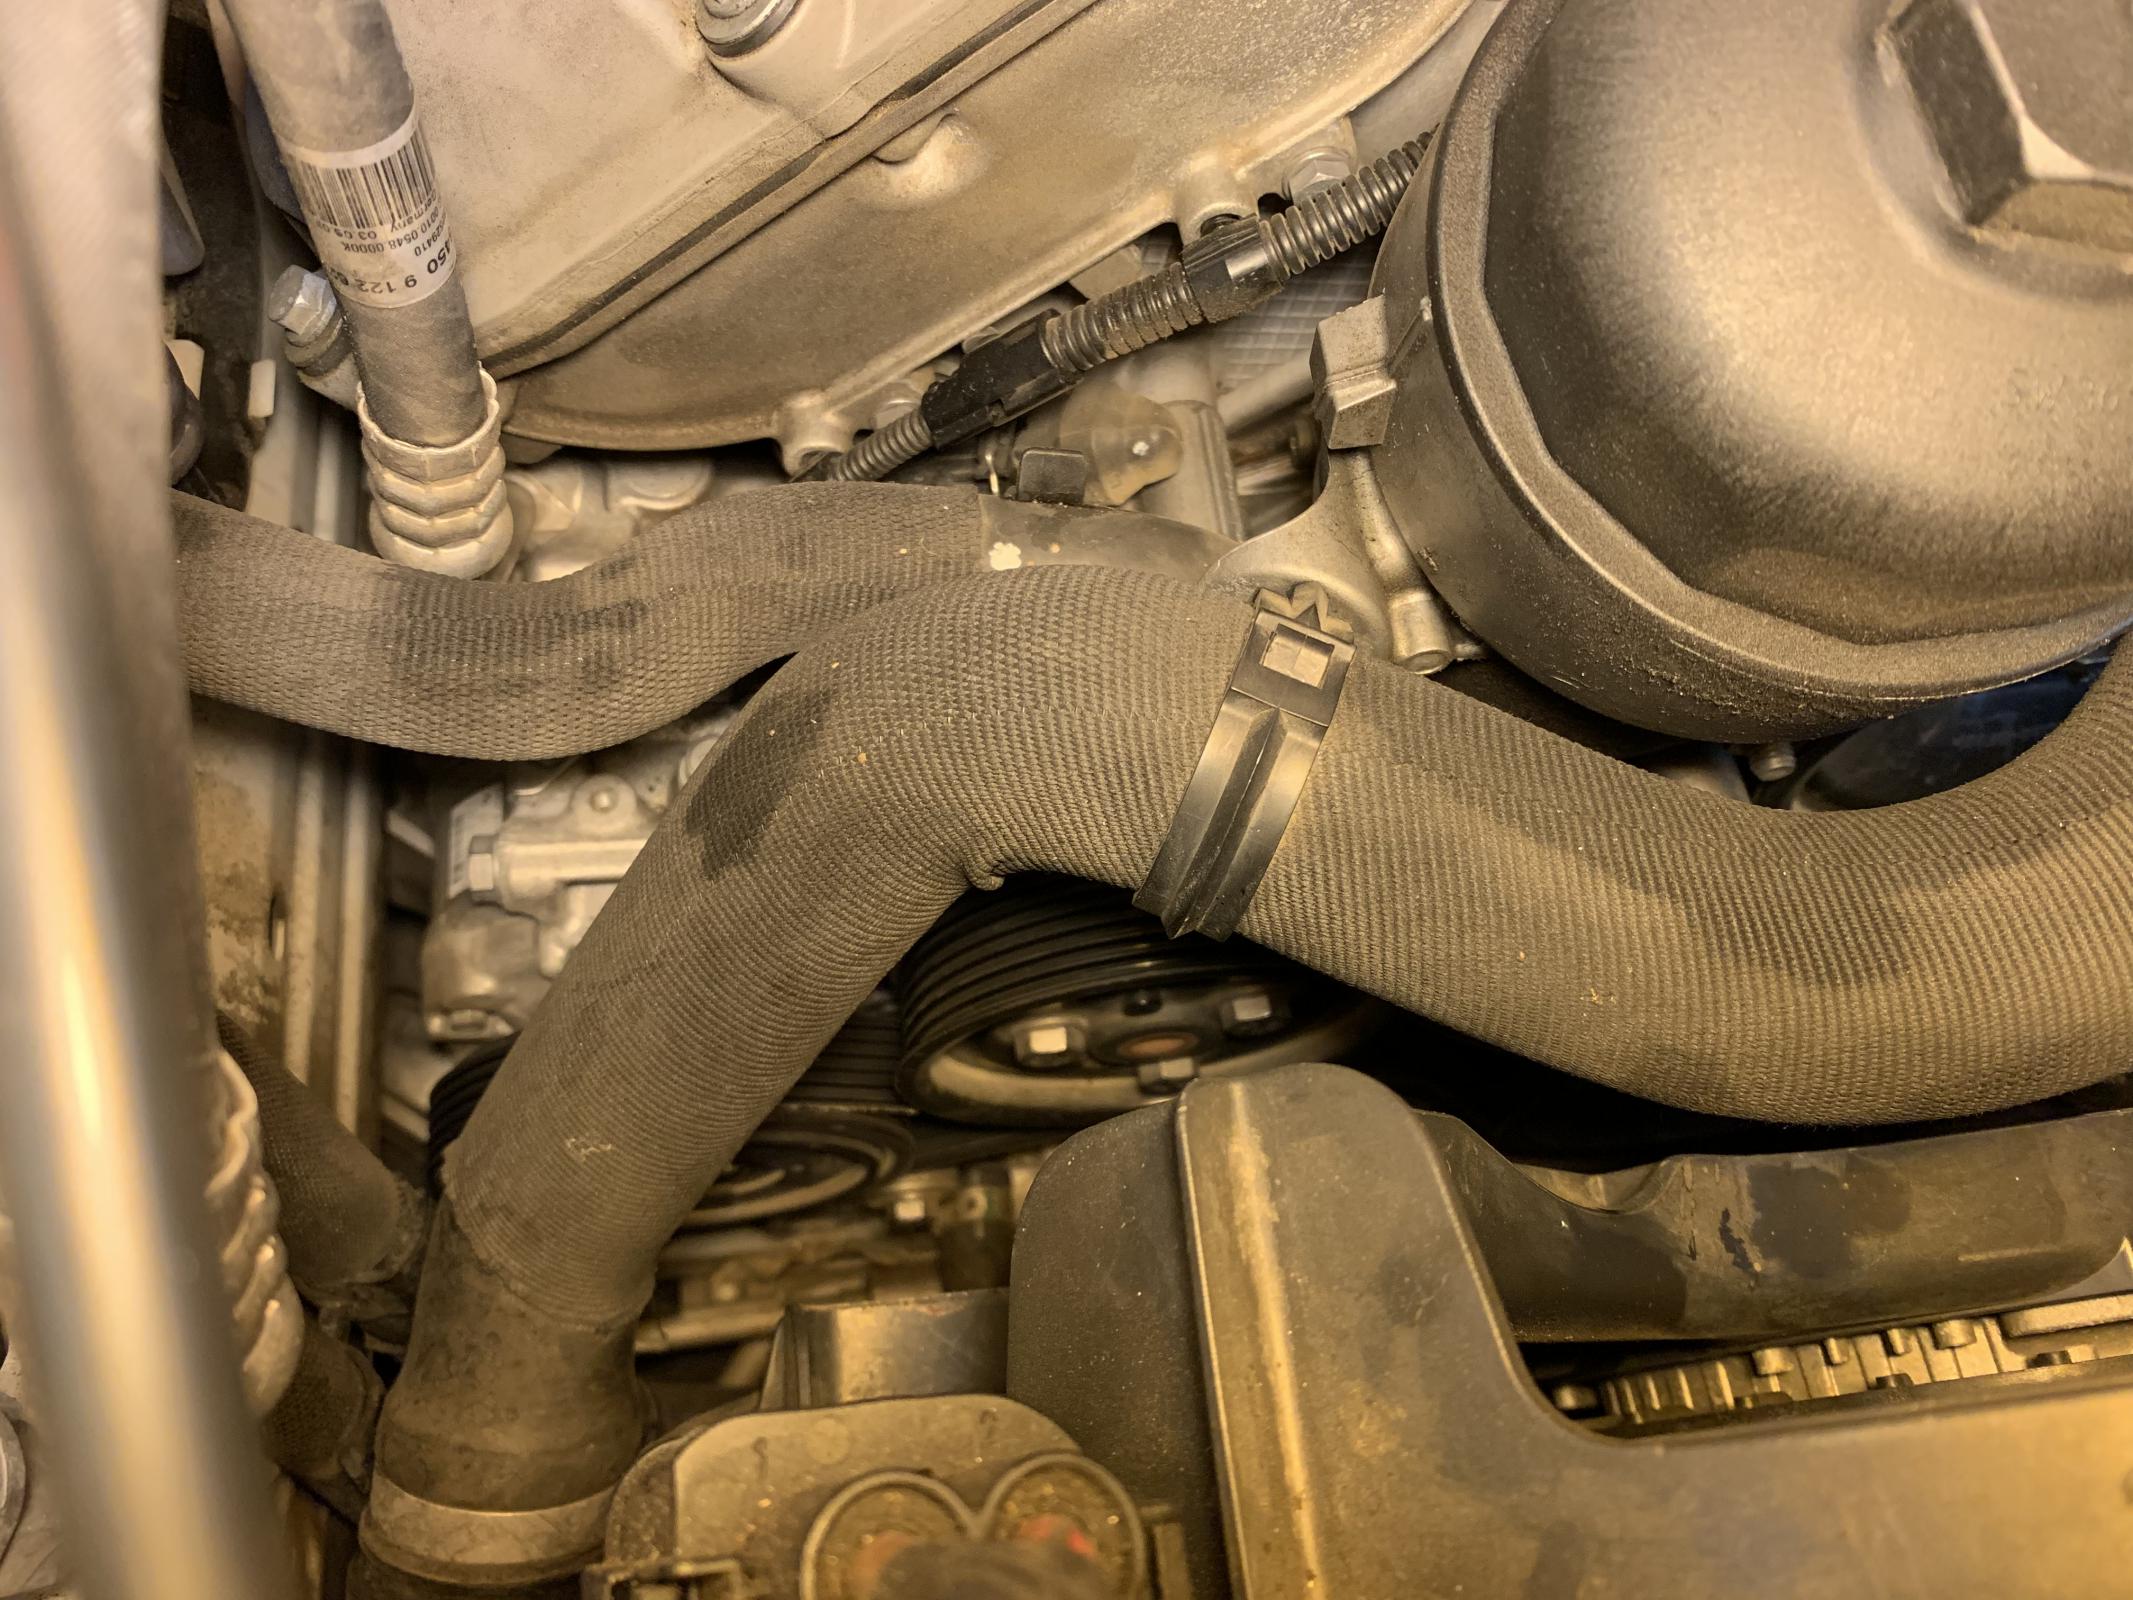
3) Open the cap on the expansion tank and drain the radiator (blue plastic drain plug on bottom face of driver's side) into a clean bucket.
4) Remove the rubber boot between the intercooler discharge pipe and intake plenum.
5) Disconnect the water hose end from the expansion tank. (A 2nd bucket for dirty coolant to drain into).
6) Disconnect the lower radiator hose, but only the end at the water pump housing. You can leave the hose end at the passenger side radiator connected. (Move the 2nd bucket for any dirty coolant to drain into).
7) Unclip the radiator hose and expansion tank water hose and tuck them out of the way.
(The radiator hose end nestled between the expansion tank and oil fill cap.)
(The water hose was just folded back towards the drivers side of the car.)
Remove the radiator hose clip from the oil filter housing (from the back side of the clip, there is a small retaining pin. I used a 90 degree pick and pushed the retaining pin toward the front of the car, into the diameter of the clip where the hose would reside. This will release the barb of the clip from the oil filter housing).
8) Remove as much fluid from the PS reservoir as possible (turkey baster/syringe).
9) Disconnect PS pump suction line (4) from the reservoir (use your oil catch pan).
Disconnect the PS cooler return line (24) from the PS reservoir (totally baked on Mofo).
Unclip both lines from each other and under the front of the chassis and let drain into oil catch).
10) Using the belt tensioner, release the water pump and alternator belt. Remove the 4 HHCS that retain the WP pulley.
11) Only loosen the 3 HHCS that retain the PS pump pulley.
12) Using the belt tensioner, release the A/C and PS belt (pull it/fold it toward the drivers side as far as possible.)
Remove the three HHCS that retain the PS pulley to the pump and remove the pulley.
13) Remove the A/C and PS belt tensioner (2 HHCS).
Loosen the A/C and PS stationary idler retaining bolt enough to remove the water pump pulley.
(Sadly, removing the WP pulley is necessary to allow access to the banjo bolt on the pressure line of the PS pump).
14) Remove the HHCS (8).
Remove the banjo bolt (10) and the two crush washers (11) from the pressure port of the PS pump.
Remove the three Torx fasteners that retain the PS pump mounting bracket to the pump.
Remove the three HHCS that retain the PS pump mounting bracket to the engine.
Remove the PS pump/Suction hose assembly.
(It was necessary for me to remove the mounting bracket from the pump in order to wiggle the pump out past the fan assembly)
15) Note the orientation of the suction hose assembly relative to the orientation of the pump.
Remove the clamp (6) that retains the suction hose to the pump and remove the pump from the suction hose.
16) Remove PS pump reservoir (if replacing or cleaning).
Reassembly:
1) Slip the clamp (6) (I used an 24.1mm Oetiker clamp) onto the suction hose and install the suction hose onto the new pump.
Correctly orient the suction hose assembly relative to the pump, prior to tightening the clamp.
2) Loosely install the PS pump/Suction hose assembly past the radiator fan and back into its approximate place.
Loosely install the PS pump mounting bracket onto the pump using the three Torx fasteners.
Loosely install the PS pump mounting bracket onto the engine using three HHCS.
Tighten the three Torx fasteners and the three HHCS.
Install the banjo bolt (10) and the two crush washers (11) onto the pump.
Attach the steel elbow (5) of the suction hose assembly to the chassis using the HHCS (8).
3) Install new (or cleaned) PS pump reservoir.
Route the PS pump suction hose toward the reservoir.
Slip the clamp (I used a 24.1 mm Oetiker) over the hose and attach the hose to its nipple on the reservoir and tighten the clamp.
Cap the return nipple on the reservoir.
4) I followed the process in the thread below with the exception that the reservoir end of my return hose was already detached and laying in my oil catch can. I put a clear plastic lid underneath the hose end so that I could see when clean green fluid stated coming out.
https://www.m3post.com/forums/showthread.php?t=1162286&page=1&pp=22
5) Route the PS pump return hose back toward the reservoir. Slip the clamp over the hose, attach the hose to the reservoir and tighten the clamp.
Fill the reservoir.
Snap the suction and return hoses back into their respective clips.
6) Install the water pump pulley using the four HHCS. Using the tensioner, reroute and install the WP and alternator belt.
7) Install the A/C and PS pump tensioner using the two HHCS.
Tighten the fastener that retains the fixed idler for the A/C and PS pump belt.
Install the PS pump pulley onto the pump using the three HHCS.
Using the tensioner, reroute and install the A/C and PS pump belt. (I found it easiest to have the last loop be over the A/C pulley).
Tighten the three HHCS that retain the PS pump pulley to the pump.
8) Reattach the radiator hose clip to the oil filter housing.
Reattach the radiator hose end to the water pump housing and clip into place.
Reattached water hose end to the expansion tank and clip into place.
Reinstall the blue radiator drain plug.
Refill cooling system.
Install the intercooler/intake boot.
9) Test: Even though I went thru the PS flushing process and topped off the PS pump reservoir, I wanted to fire the engine and cycle the steering hard stop to hard stop to work out any air that might still be in the system. The level didn't noticeably drop, so 2 thumbs up on the flushing process by Bushum.
I also wanted to run the car to check for any PS fluid or coolant leaks.
10) Reinstall the aluminum skid plate, the nose, fender liners and front wheels. Remove from jack stands, torque the lug bolts, and test drive.
Recheck fluid levels after test drive.