160.7KVIEWS
363REPLIES
95APPRECIATES
02-02-2026LAST POST
13 E92 M3 6MT

OEM BMW Edition Grill Set
Front Clear Bra
RE SSK
Macht Schnell Shift Knob
iND Shifter extension
AMS Shift Knob
OEM BMW Sports Steering Wheel
OEM GTS Exhaust
Challenge Sport X-Pipe
Brembo F/R 380mm BBK
KW Clubsports
Volk Takata TE37s
Macht Schnell TPMS Emulator
ESS VT2 535 SC
Motorsport 24 Radiator
Motorsport 24 Oil Cooler
RKP GT4 Front Splitter
VARIS GT Wing
Challenge CF/Kevlar Trunk Lid
OEM BMW Motorsport ALMS Mirrors


Here we go.

I arrived at the idea of a Porsche color when I saw a "Speed Yellow" M3 for sale on Autotrader.
That, combined with INDs Green Hell, got me thinking about an individual build. After researching
some dealerships I found myself sending emails to Steve Thomas BMW. They quickly responded
that they could get me a Porsche RS Green M3. I honestly could not be happier with Steve Thomas.
They run a great dealership with fantastic customer service. As I stated previously, I ordered this
car back in May 2012!

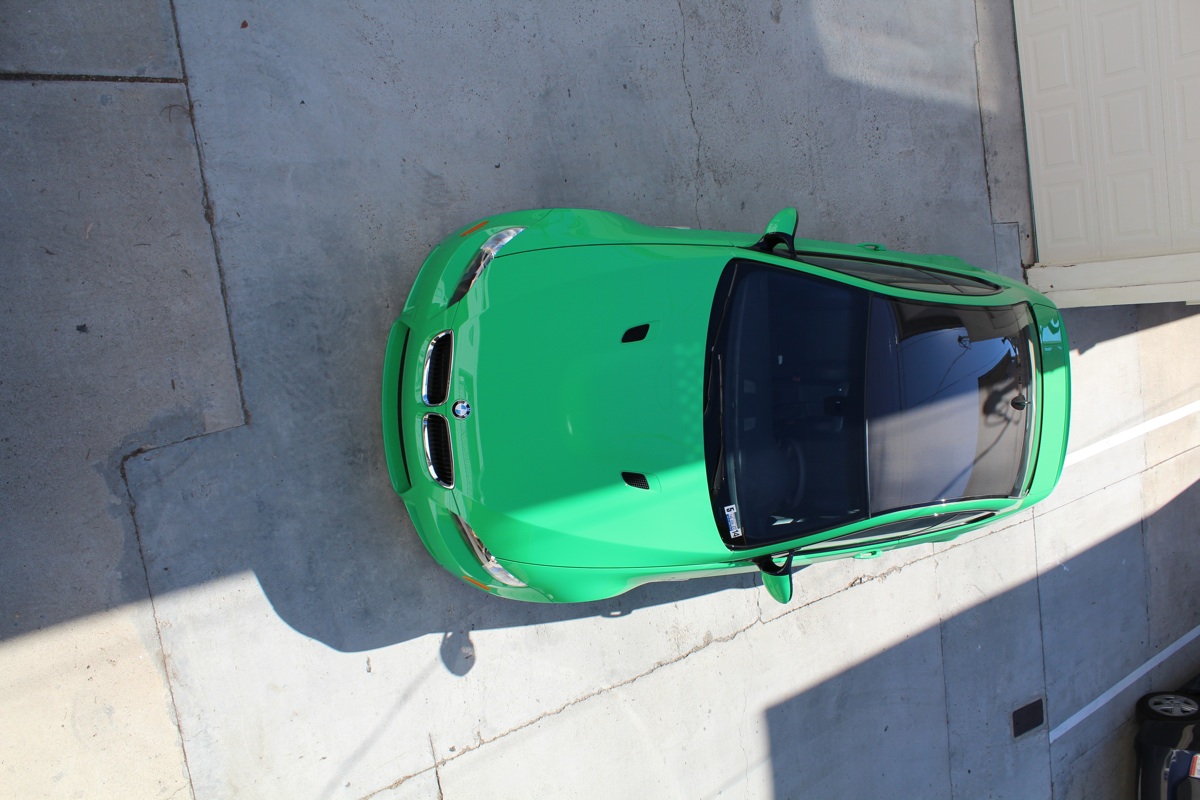
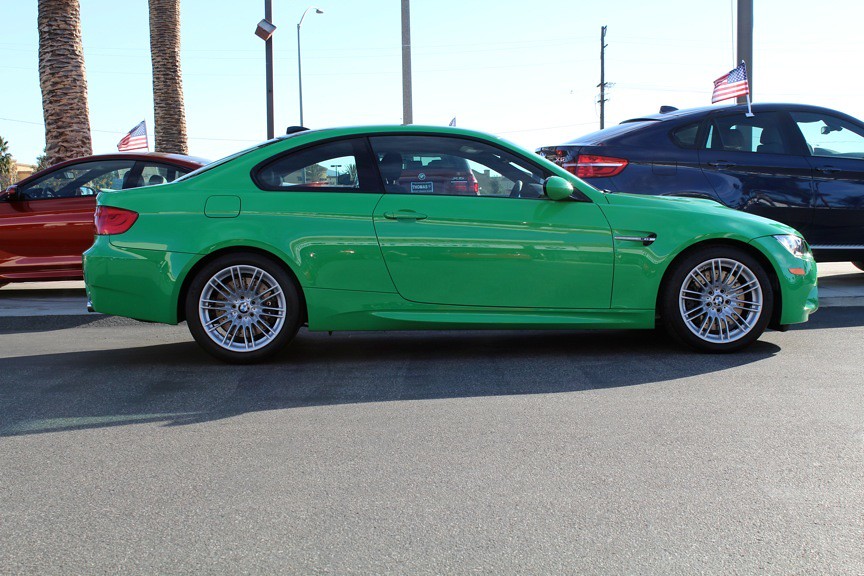
Here she is not long after I picked her up towards the end of January this year!
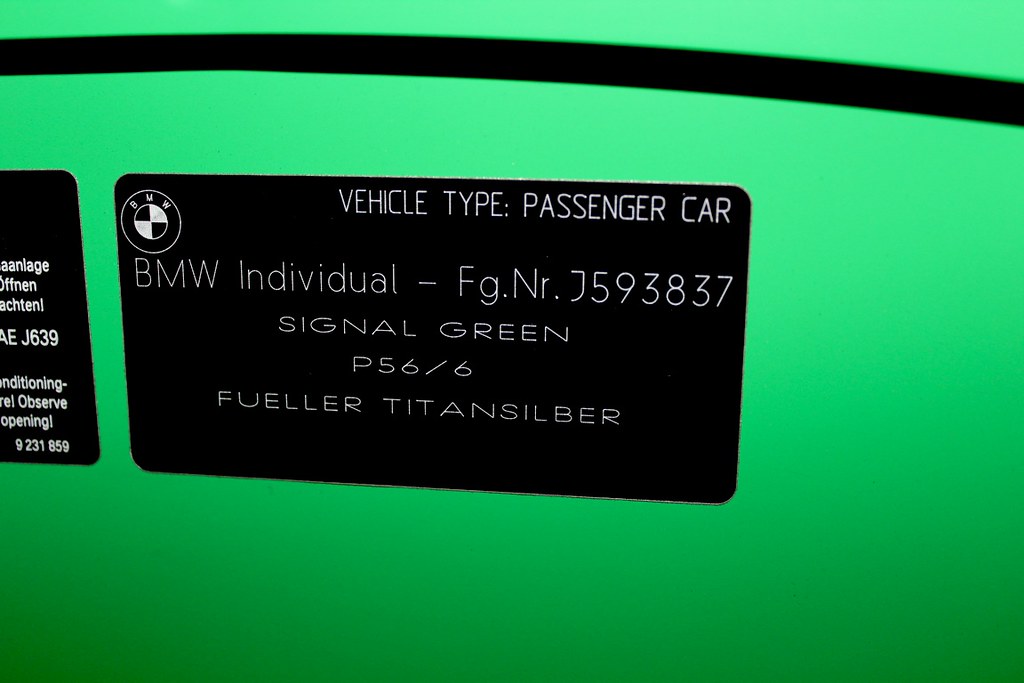
Image hosted on: farm9.staticflickr.comSignal Green by JMEllis, on Flickr

Image hosted on: farm9.staticflickr.comTop View by JMEllis, on Flickr

Image hosted on: farm4.staticflickr.comIMG_0033 by JMEllis, on Flickr


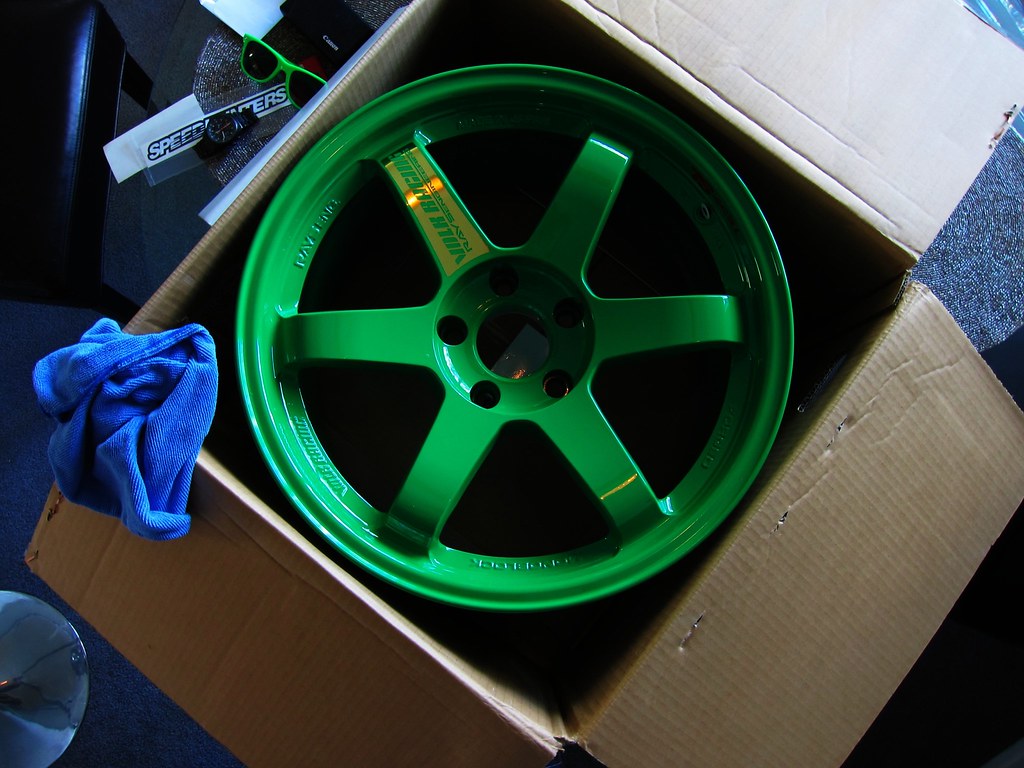
TE37SLs in Takata Green!
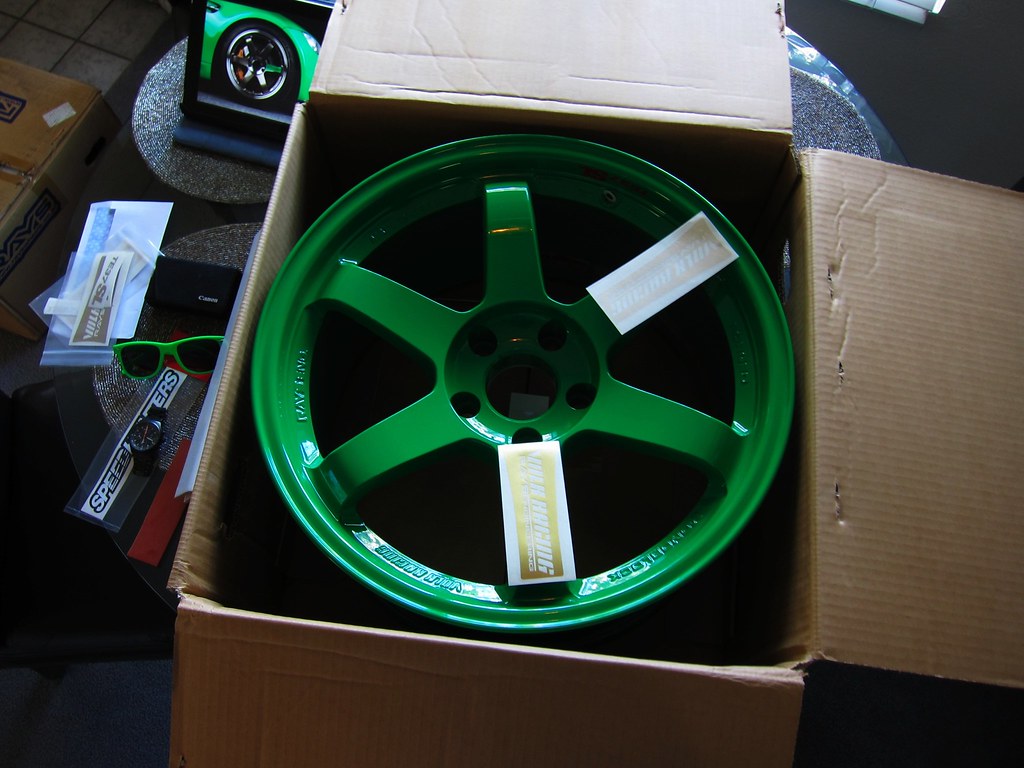
Image hosted on: farm9.staticflickr.comIMG_0349 by JMEllis, on Flickr

Image hosted on: farm9.staticflickr.comIMG_0352 by JMEllis, on Flickr

Image hosted on: farm9.staticflickr.comIMG_0358 by JMEllis, on Flickr

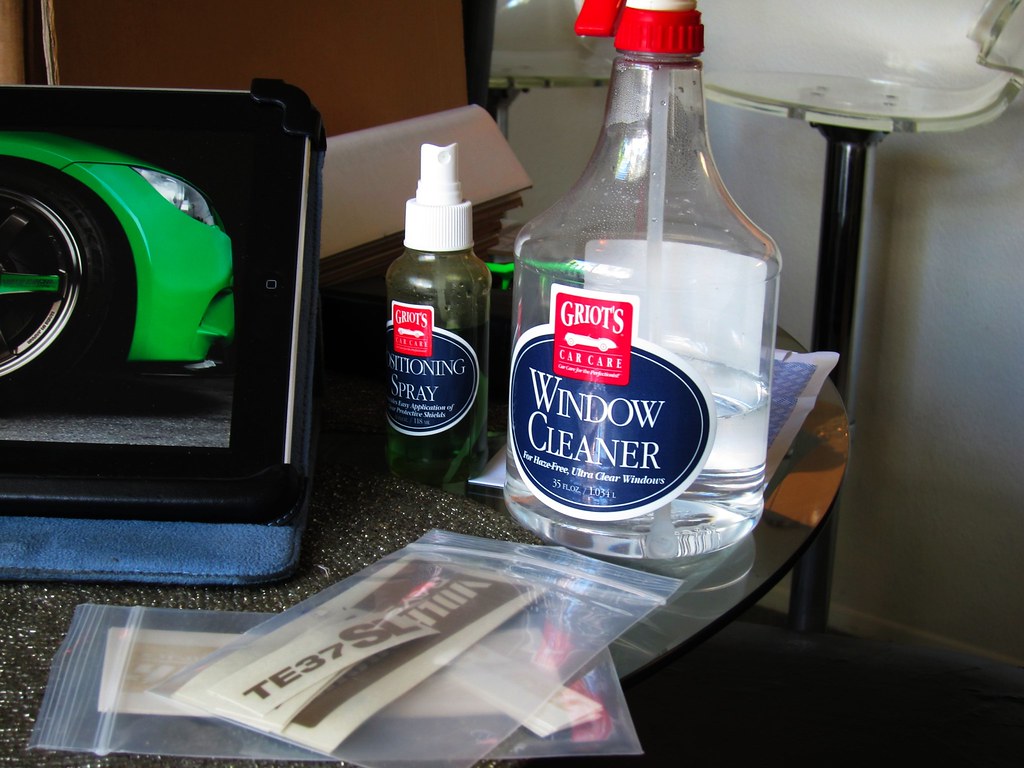
I originally considered going with a matte gold sticker but after trying both. I decided on
gold foil. Griots makes some expensive... ahem good products. I used their positioning
spray to mount the foil stickers. Word of warning, gold foil is a pain to mount!
Thank you again for the business Jason!! You my friend have def raised the bar! this is one of my new favorite cars on the forum Bravo my friend Bravo :clap: :bow:

can't wait to see it in person at bimmerfest!!

PS thank you for the new wallpaper on my computer
GOLFFRR wrote
Thank you again for the business Jason!! You my friend have def raised the bar! this is one of my new favorite cars on the forum Bravo my friend Bravo :clap: :bow:

can't wait to see it in person at bimmerfest!!

PS thank you for the new wallpaper on my computer
Kind words man... looking forward to bimmerfest!

Jason
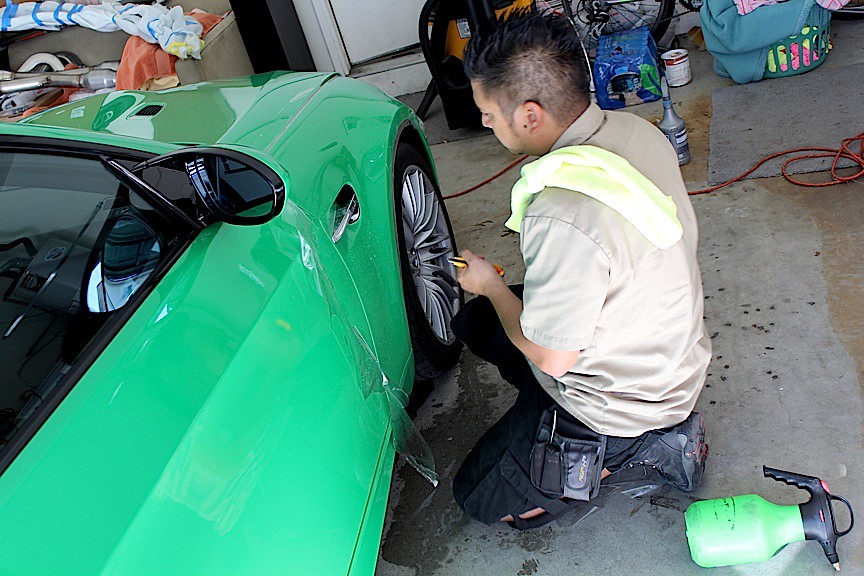
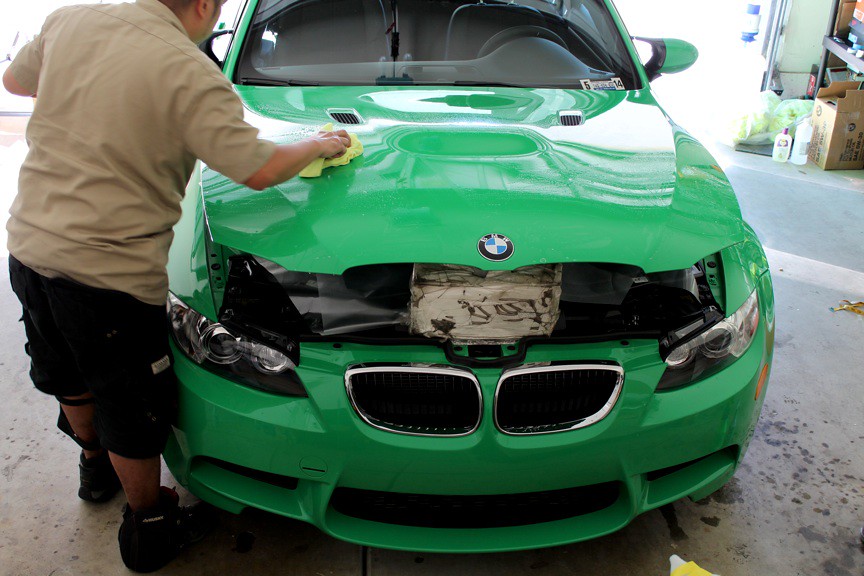
The wheels were the first modifications to arrive but they were not the first modifications on the car. The first modifications were a full set of BMW Edition Grills and a full front clear bra.

Bain Mendoza from Doza Designs installed the clear bra. He is a mobile installer that came highly recommended.

Image hosted on: farm9.staticflickr.comFender Bra by JMEllis, on Flickr

He custom cut my clear bra that extended around panel edges.

Image hosted on: farm9.staticflickr.comHood Bra by JMEllis, on Flickr

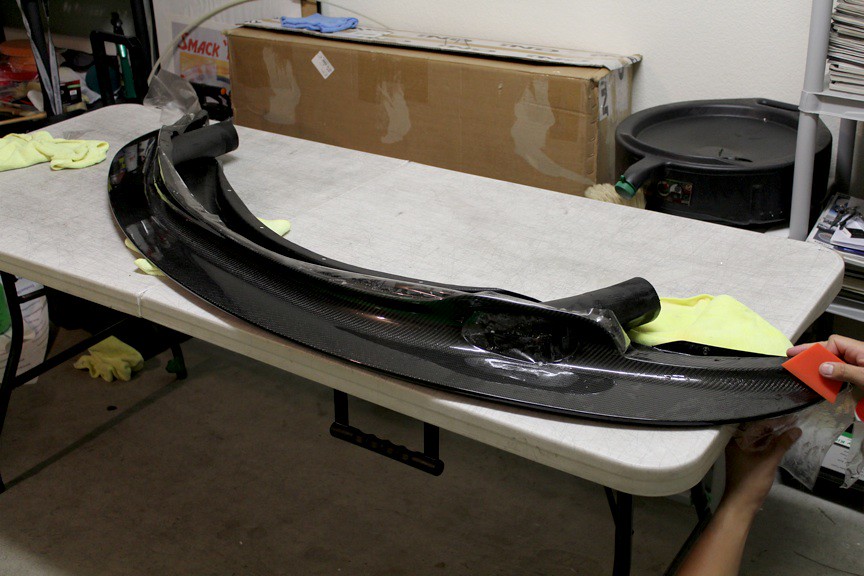
He did fantastic work and even cleared my GT4 lip!

Image hosted on: farm9.staticflickr.comFront Lip Bra by JMEllis, on Flickr

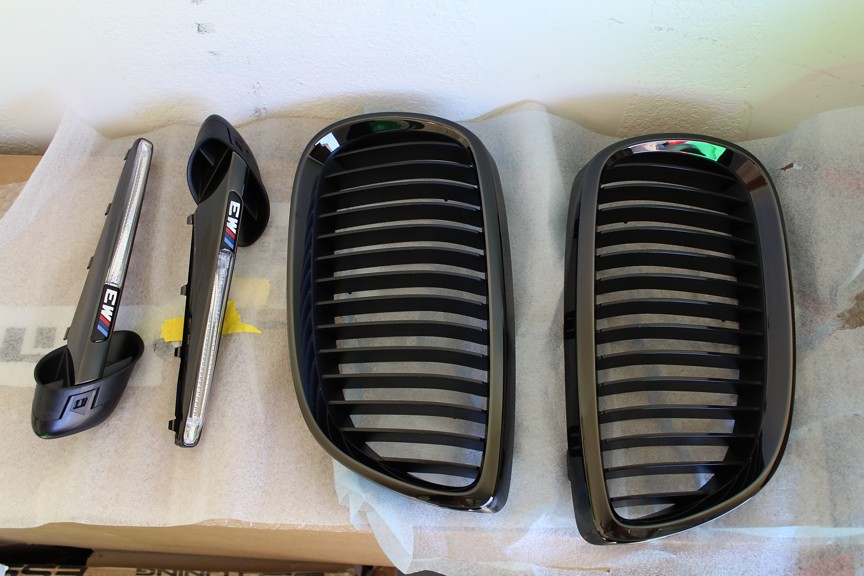
Here are the grills ready to go on.

Image hosted on: farm9.staticflickr.comGrills by JMEllis, on Flickr

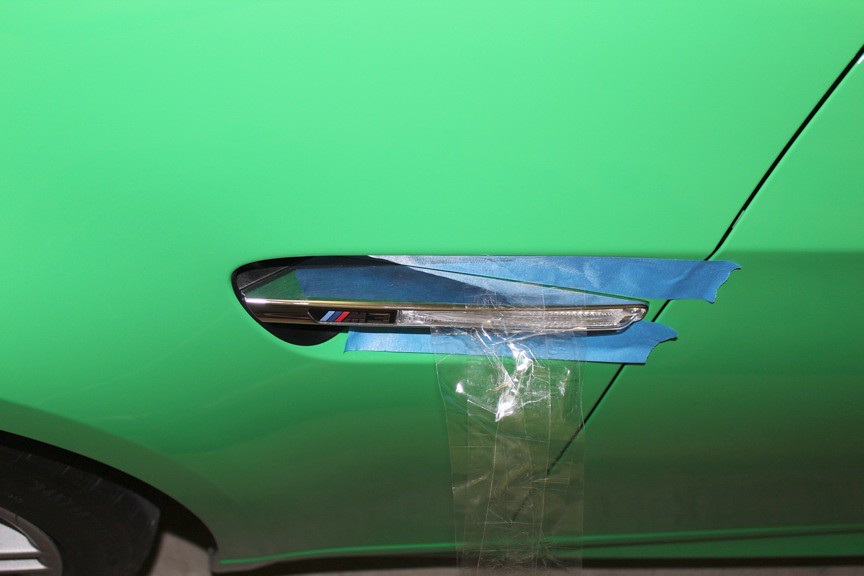
I utilized the DIY pages quite a bit during this build. For the tricky side gills I used the tape method described in the DIY section. Basically, you use packaging tape for leverage to pull the chrome gills off and then simply pop in the new ones. Pretty simple but it takes a little more force than you would think . I doubled up on the tape. I used two pieces of tape top and bottom before pulling.

Image hosted on: farm9.staticflickr.comIMG_0103 by JMEllis, on Flickr

Jason
awesome car! :thumsup:
Love this color... Great Build
Unbelievable ride. I am still in awe that you ordered a Signal Green Individual car. I can't even imagine the cost and all the red tape cleared for you. I have got to hand it you. :happyanim::thumbsup::thumsup::bow:

The only thing I would recommend is getting the wheels in another color for contrast.
car is epic! and I did not know the logo was gold leaf! SICK!
nice shots
tpowerdinny wrote
Unbelievable ride. I am still in awe that you ordered a Signal Green Individual car. I can't even imagine the cost and all the red tape cleared for you. I have got to hand it you. :happyanim::thumbsup::thumsup::bow:

The only thing I would recommend is getting the wheels in another color for contrast.
Steve Thomas made it look easy. From my perspective, I ordered the car then waited 9 months.

Gotta say, I love the green wheels and I probably wont be parting with them.
mkPOTO wrote
car is epic! and I did not know the logo was gold leaf! SICK!
Not gold leaf... gold foil. Basically a foil sticker. Not actual gold. PITA to mount.

Jason
JEllis wrote
Steve Thomas made it look easy. From my perspective, I ordered the car then waited 9 months.

Gotta say, I love the green wheels and I probably wont be parting with them.
Don't part with them... just get a second set :) :party0030::bulge: :bellyroll :thumsup:

Awesome man. Congrats and enjoy!!!

Edit: Duuuuuuuuude... you have green wheels but not a green plenum... come on do it for me, do it for America lol :)
This is a factory oem color. Wow. I would have never guessed. Congrats on the loudest thing on the road since the whistle tips.
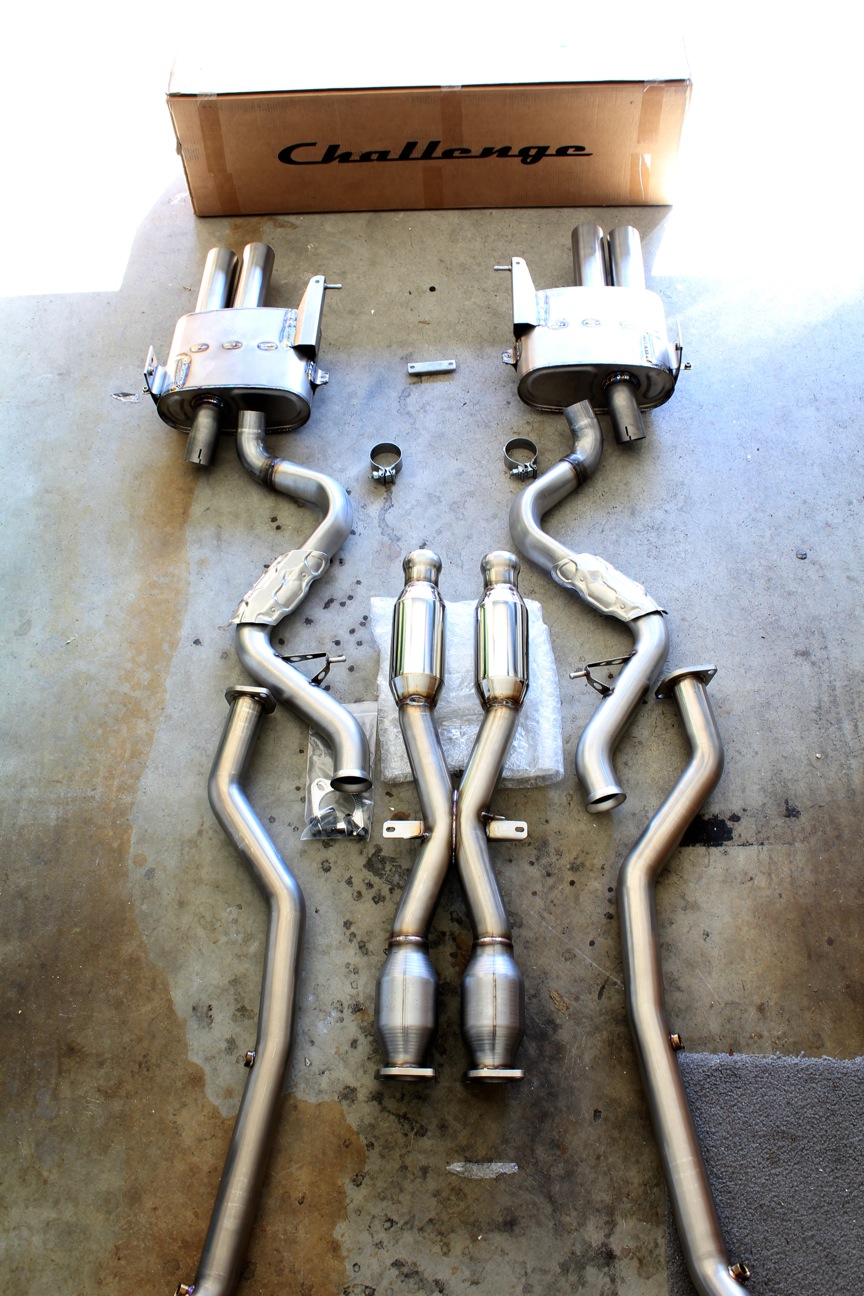
When IND offered me an OEM M3 GTS exhaust, I could not refuse. I combined the OE GTS rear section with a challenge sport center section which utilizes sport high flow cats.

Image hosted on: farm8.staticflickr.com

A few notes, removing the stock exhaust is required for installation of the Rogue Engineering short shift kit. I combined the installation of the SSK and the exhaust system.

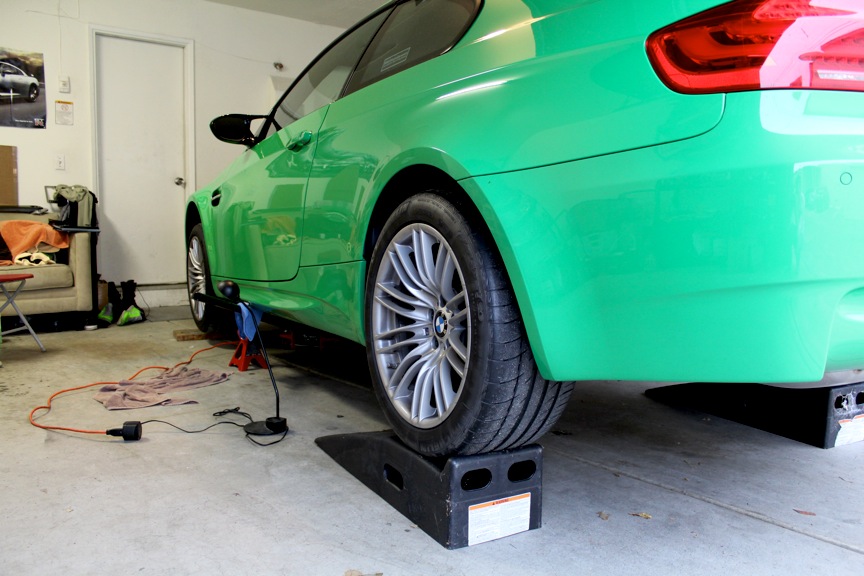
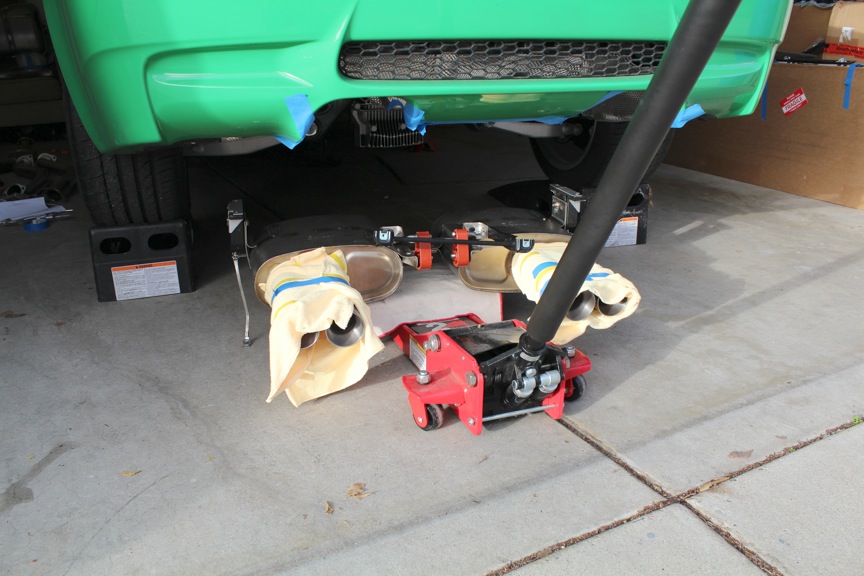
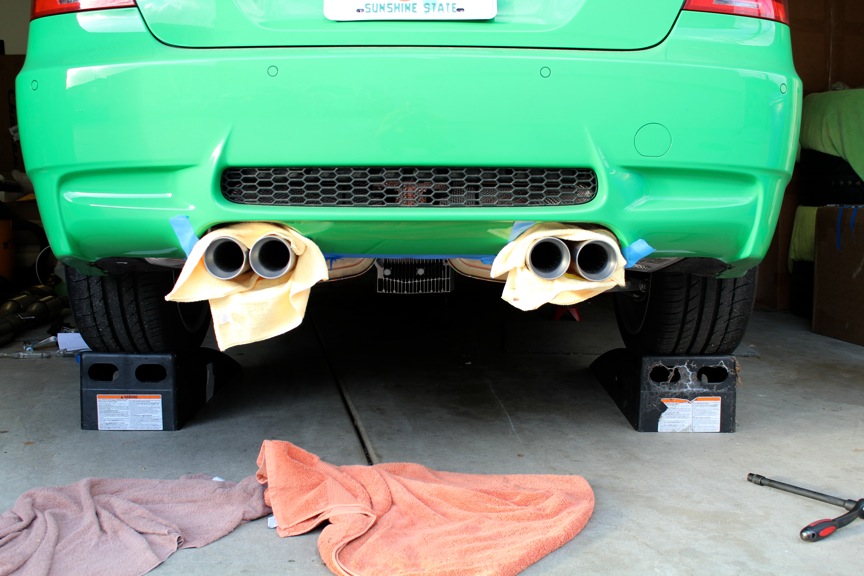
I backed up the car up on ramps and used jack stands for the front.

Image hosted on: farm9.staticflickr.comIMG_0106 by JMEllis, on Flickr

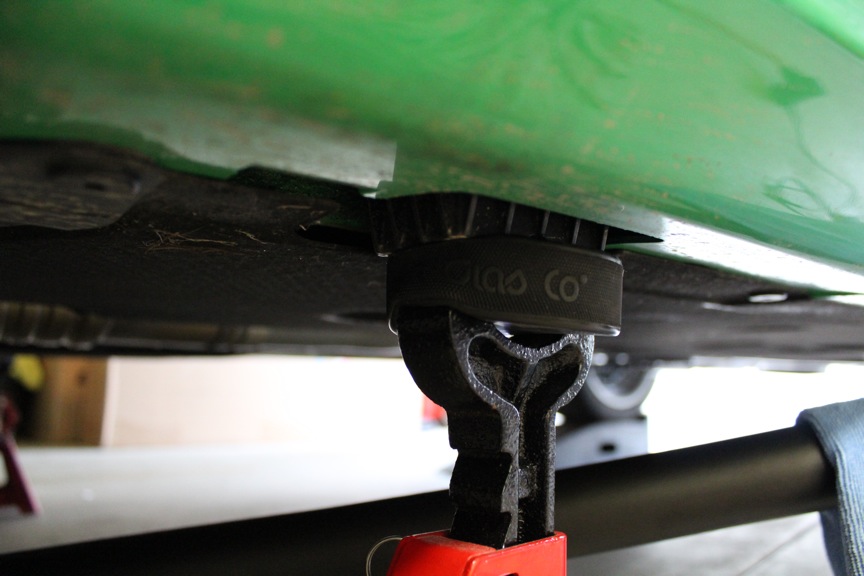
The hockey puck trick is a great way to keep your OE jack points looking good.

Image hosted on: farm9.staticflickr.comIMG_0108 by JMEllis, on Flickr

Here is the OE GTS exhaust and the Challenge center section ready for install. Note how the Challenge center section is perfectly suited to connect to the OE GTS rear exhaust section.

Image hosted on: farm9.staticflickr.comIMG_0029 by JMEllis, on Flickr
Silicon spray makes removal and the replacement of OE exhaust bushings much easier.

The rear valence prepped for install.

Image hosted on: farm9.staticflickr.comIMG_0116 by JMEllis, on Flickr

The GTS rear section bolted right up with zero problems.

Image hosted on: farm9.staticflickr.comIMG_0117 by JMEllis, on Flickr

At this point it was time to install the Rogue SSK. I have to say, installing the SSK was one of my least favorite parts of the build. Being under the car for extended periods of time was not fun.

I do not have any pics from under the car. There are quite a few DIYs for SSK installs. The trickiest part is removing the carrier bushing.

Image hosted on: farm9.staticflickr.comIMG_0114 by JMEllis, on Flickr

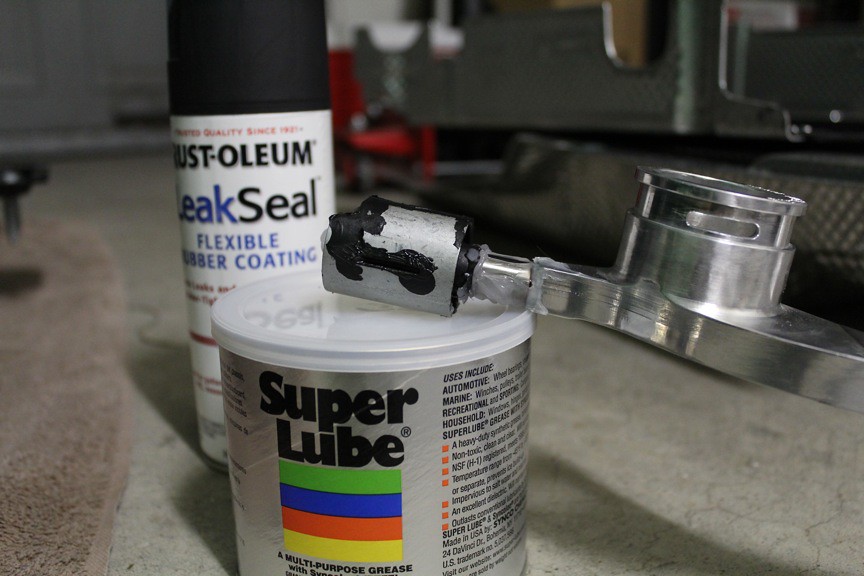
I used an allen wrench as a pry bar. I then used Rustoleum rubber spray paint to re-cover the connection points. The Rustoleum product was identical in feel and look to the rubber covering that was on the connection points from the factory. RE recommends a grease with teflon for the install. I found SuperLube which was recommended by the RE tech I spoke to.

Image hosted on: farm9.staticflickr.comIMG_0120 by JMEllis, on Flickr

I re-installed the carrier bushing by placing a large wrench over the top of it and then pushing up with basically all my might until it snapped into place with a loud "flack".

Take care when you re-install the rubber boot around the shift lever. Its hard to get it lined up correctly.

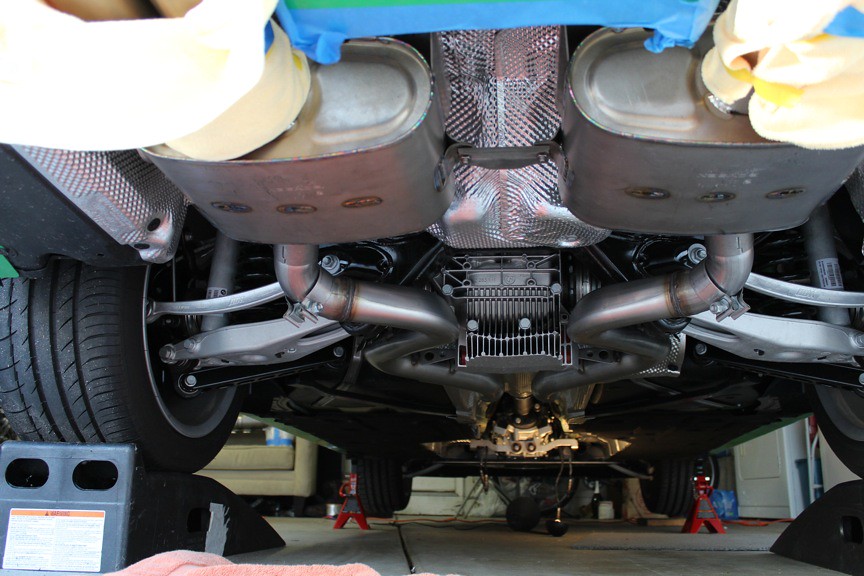
With the SSK installed I bolted up the Challenge center section. Its much easier to get to the header flangs with the skid plate removed. There are six bolts around the outside of the skid plate as well as one at the center of the front center jack point. I was able to get enough room by removing the four rear bolts and the center bolt. The skid plate moved enough to give me room around the header flangs.

Here is the car with the center section and heat shields removed. The pic gives you and idea of how much wiggle room you are going to have.

Image hosted on: farm9.staticflickr.comIMG_0118 by JMEllis, on Flickr

Jason
does this car have a name yet? may i propose "Kermit"? :D
Darth One wrote
does this car have a name yet? may i propose "Kermit"? :D
Ha... I love the name. When I was deep into Porsche tuning, Sharkwerks had a project Kermit which was a 997 GT3 RS in Signal Green.

Jason
Great writeup. Its always refreshing to see a DIY'er.
EPIC! I want to read more!
congrats on a cool build. in for more updates.
JEllis wrote
Ha... I love the name. When I was deep into Porsche tuning, Sharkwerks had a project Kermit which was a 997 GT3 RS in Signal Green.

Jason
ZKERMIT is definitely an icon. Remember "kermit" from 2007 when they started that. Awesome car, pretty famous on a lot of tv shows.

Ker///Mit is not a bad idea for your M though. I like it.
JEllis wrote
Ha... I love the name. When I was deep into Porsche tuning, Sharkwerks had a project Kermit which was a 997 GT3 RS in Signal Green.

Jason
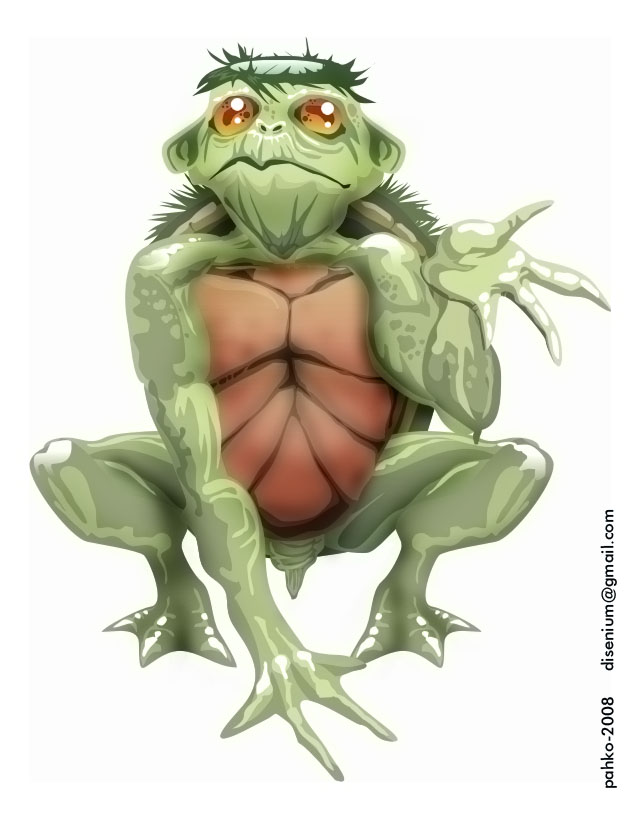
Very nice build and you car looks sick. But for a name I will call it Kappa. That is a Japanese name for a water demon. Since your M is a monster why not use a montser name.

Image hosted on: fc01.deviantart.net
Sick ride man and def took it to the right place for the extra love,IND FTW !
:bulge: WOW bro your M is a legit monster, iND did a fantastic job with the build and so did you:thumbsup:

thanks so much for sharing and as far as a name goes i think we can all agree what she should be called;)...:thehulk: