Tools needed:
Bumper/ headlight removal -
10mm
Torx , 30
Headlight work -
Torx 20
putty knife/scraper
chisel
butter knife
(choose your weapon)
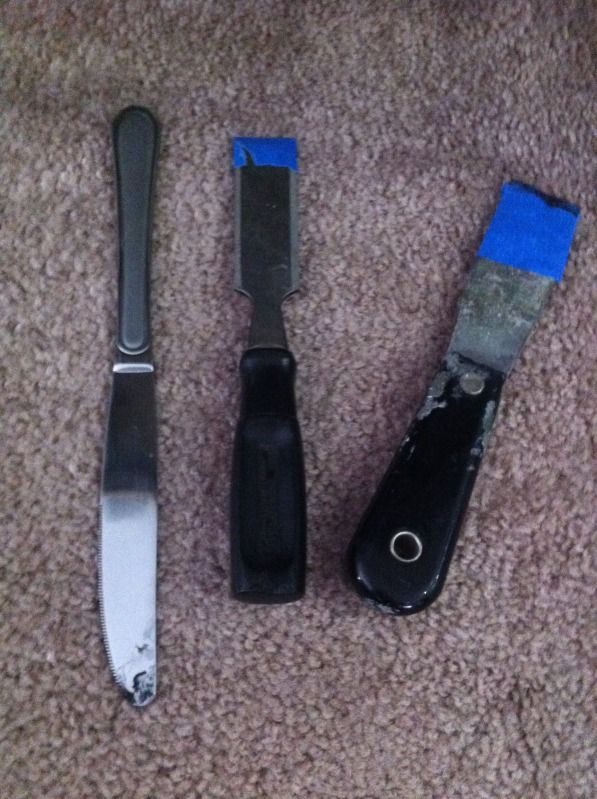
All I ended up using was the putty knife
1. First thing's first! Remove the front bumper and headlights
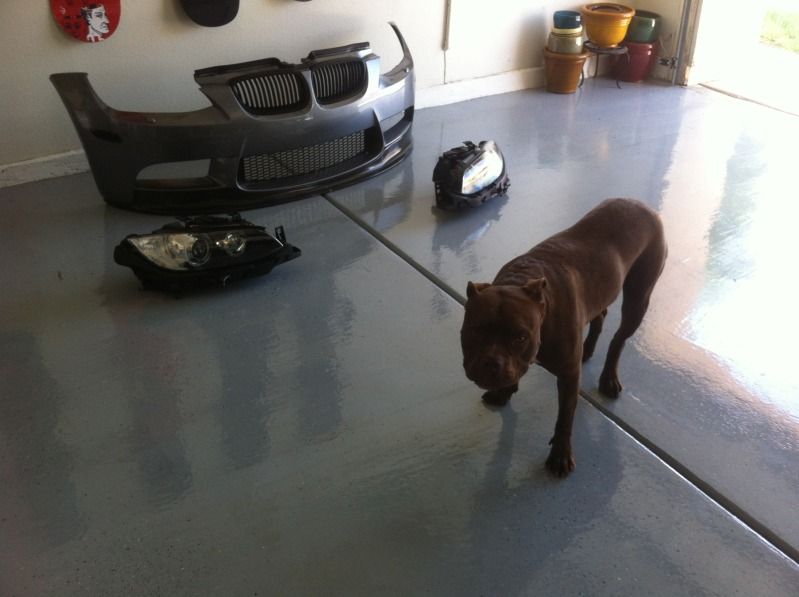
2. Unscrew the screw on the corner of the headlight below the headlight vent. Remove the vent also. Set them aside and it would be wise to separate the hardware for each headlight. Remove the headlight shim located on top of the headlight also.
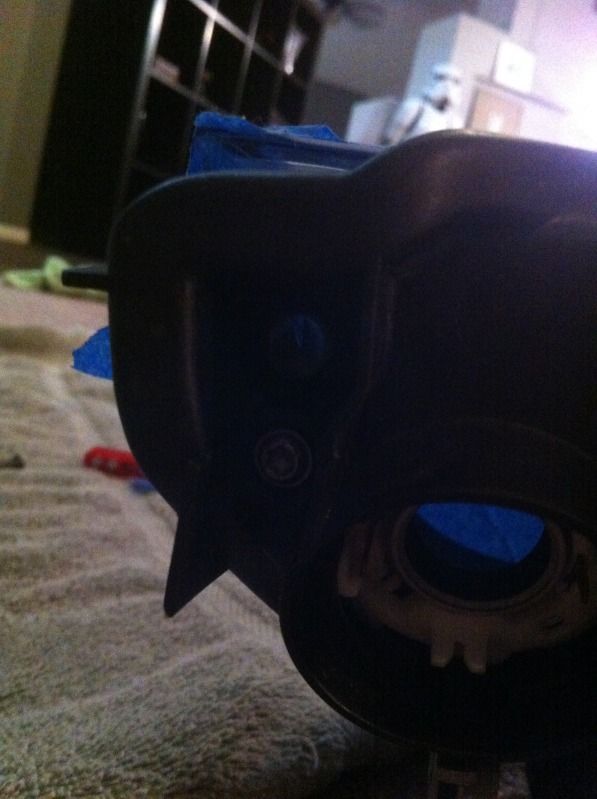
3. Set the oven for 215. You'll be baking them for 8 minutes. I covered the headlight face with painters tape, since I'm pretty clumsy and I'r probably end up scratching them up. you can remove the bulbs and cover up the orifices with painters tape, but I just left the bulbs except the turn signal bulb.
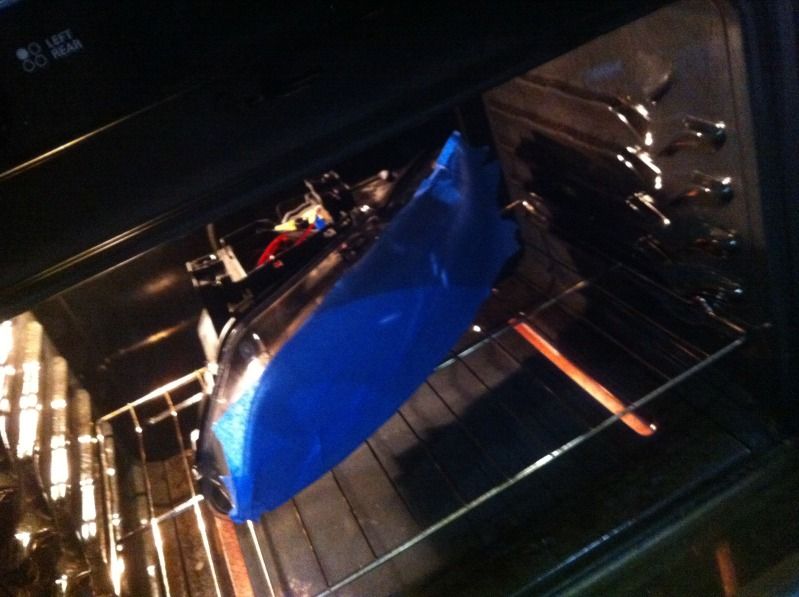
4. Pry! There's only 2 areas where it's safe to do so. It's on top and the bottom of the headlights. It's the only spot where a tool fits. Once you get your tool in there, slowly twist the putty knife. Once it starts to separate on the top, flip the headlight upside down and do it for the other side. After they've separated far enough, move the tabs over the lock or else you won't be able to separate them . See below.
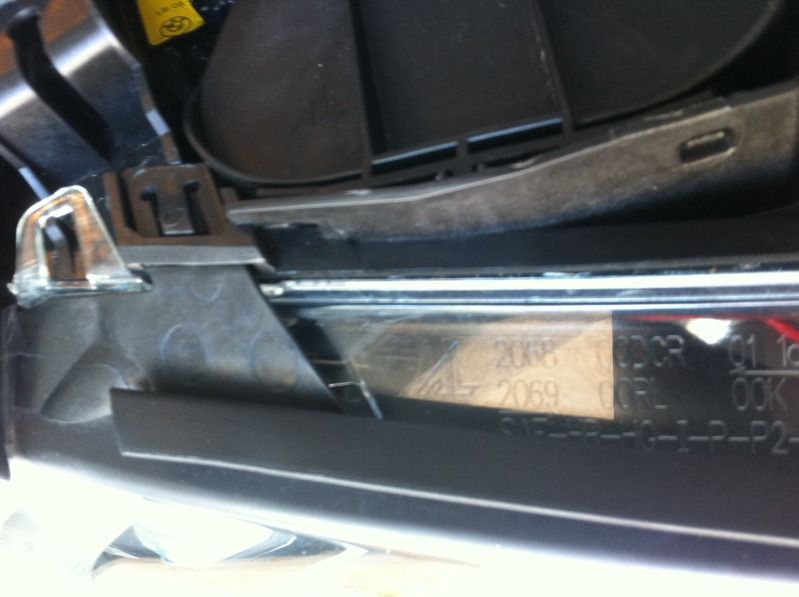
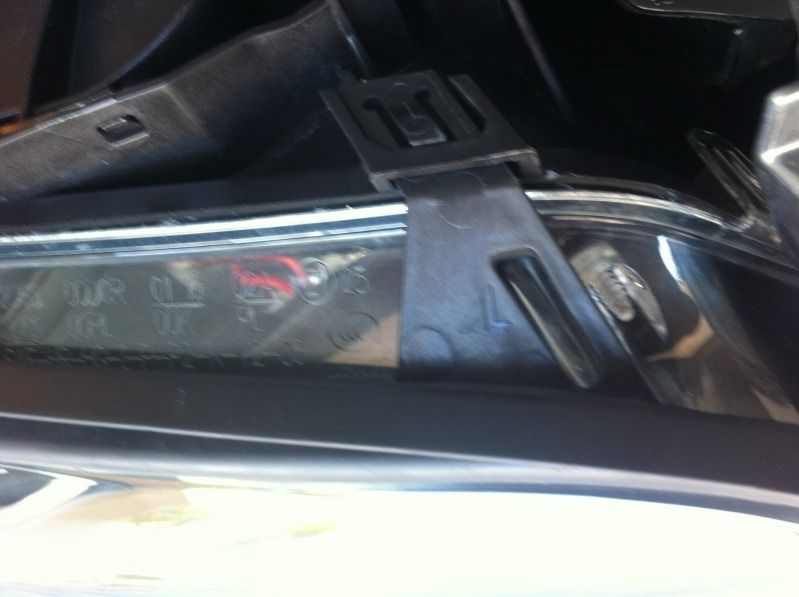
5. Now you should have 2 pieces. At This point you can separate the turn signal housing and paint whatever piece you want to. You can also choose to "delete" the corner LED or solder in a white LED.
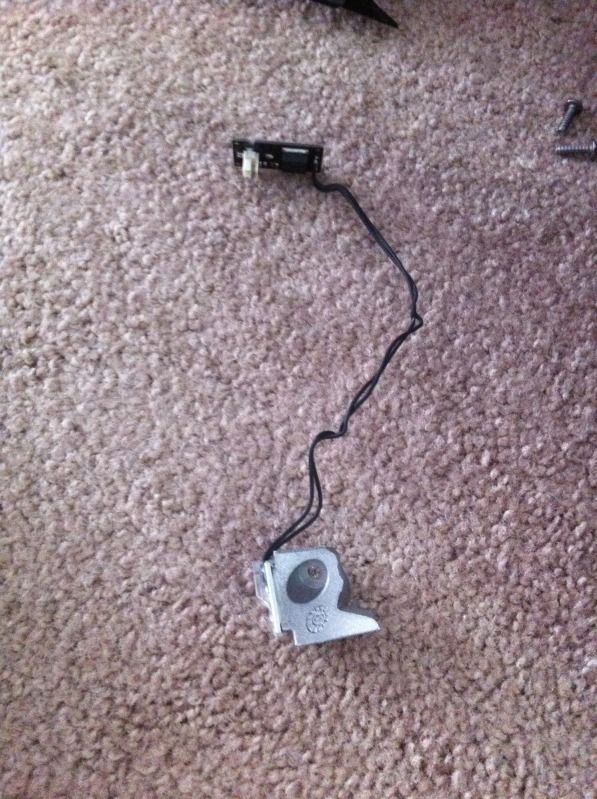
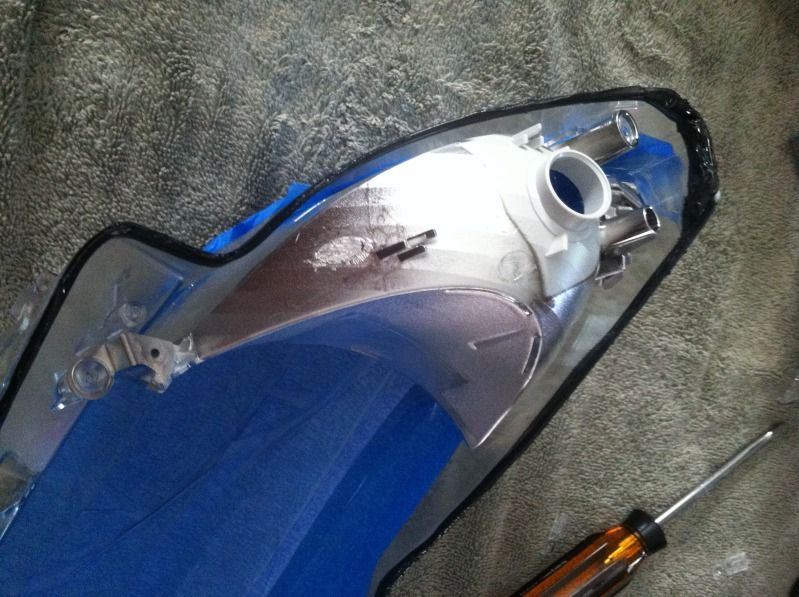
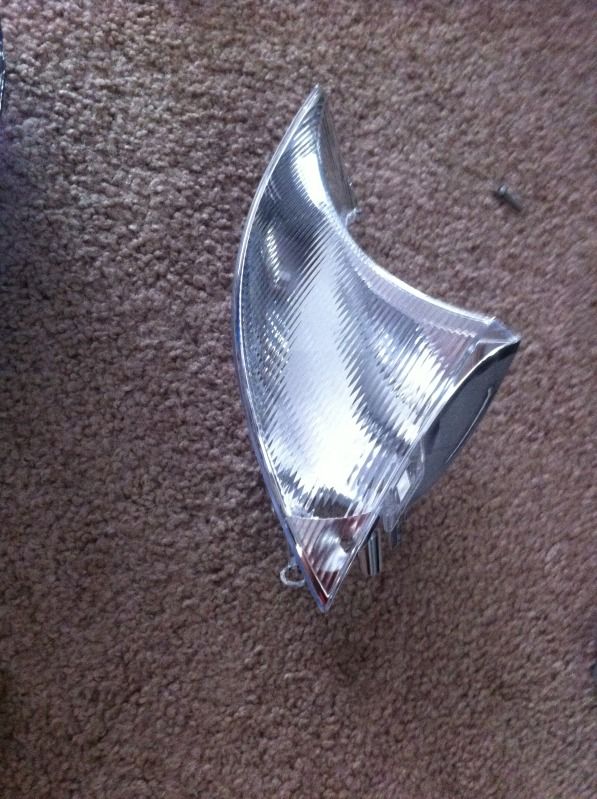
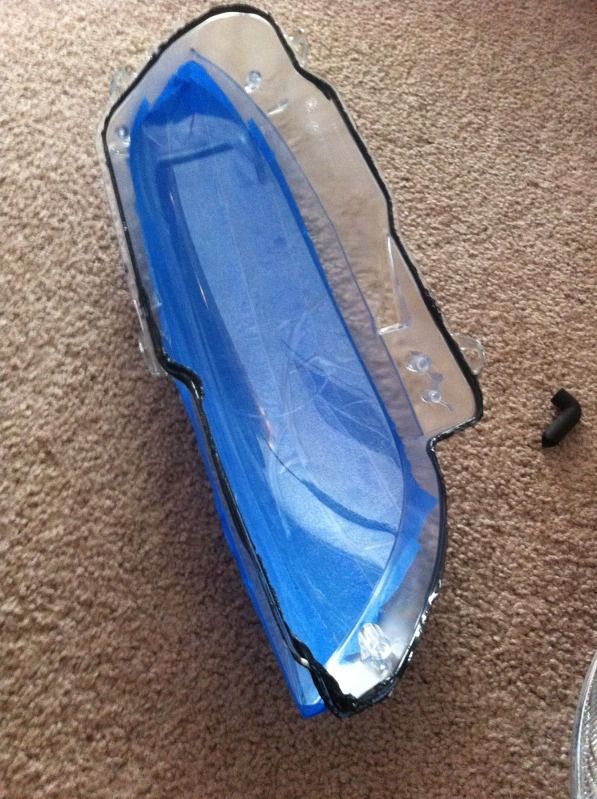
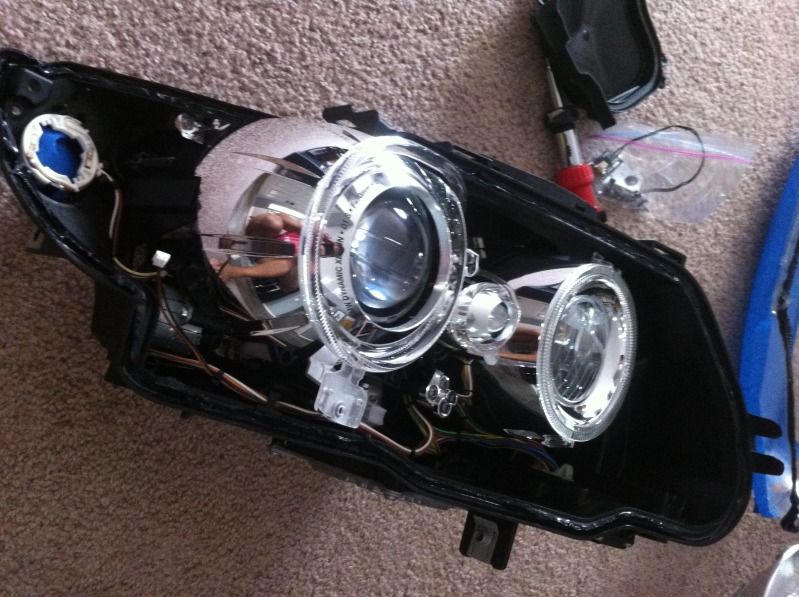
6. Remove/ Unscrew the outer angel eye. You'll be reusing these pieces to modify the Umnitza angel eyes. Unscrew the outer and inner shrouds if you want to paint them.
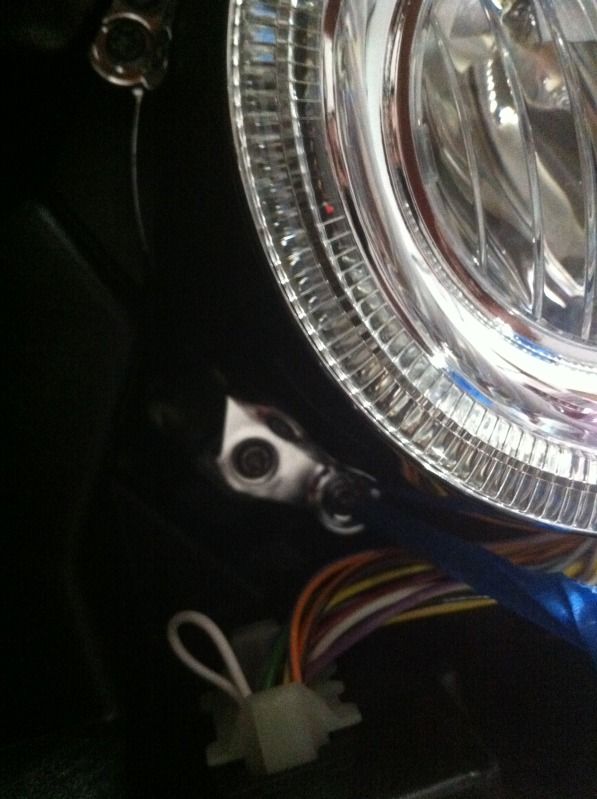
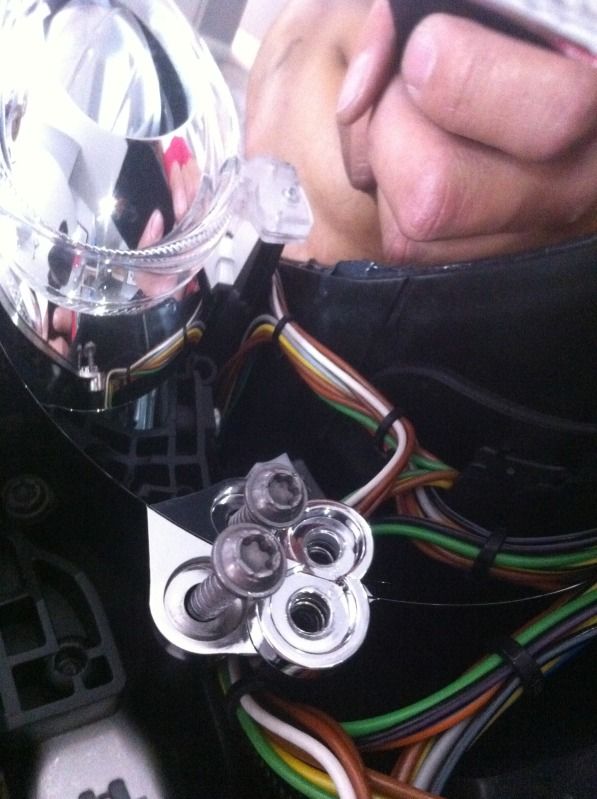
Here's removing the cornering light. Unscrew the ground and disconnect the H8 bulb plug.
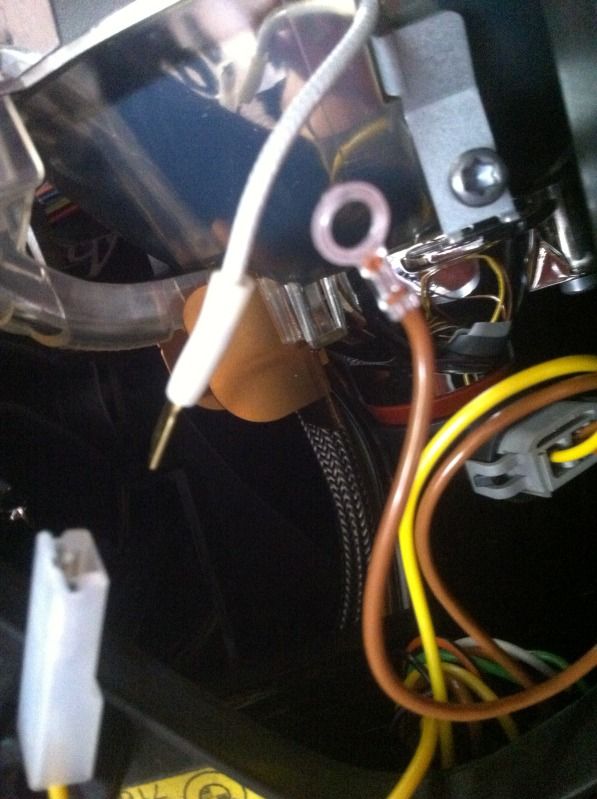
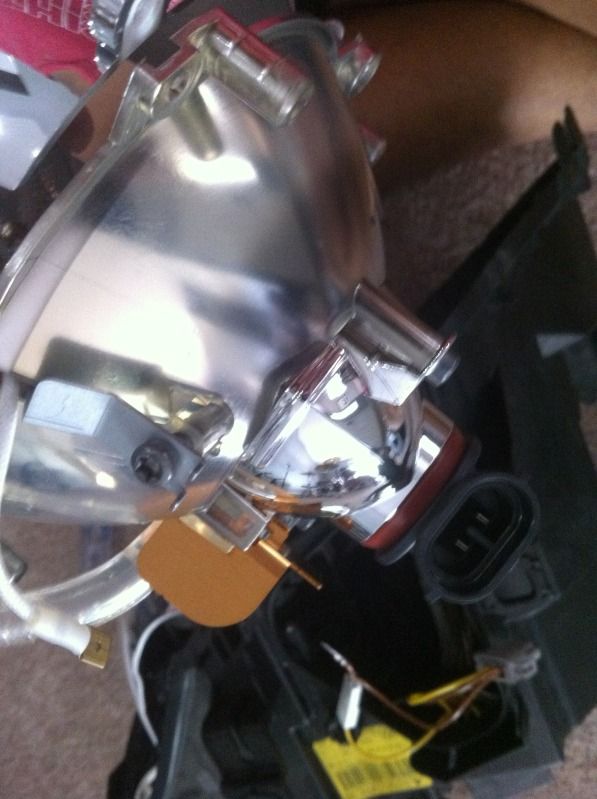
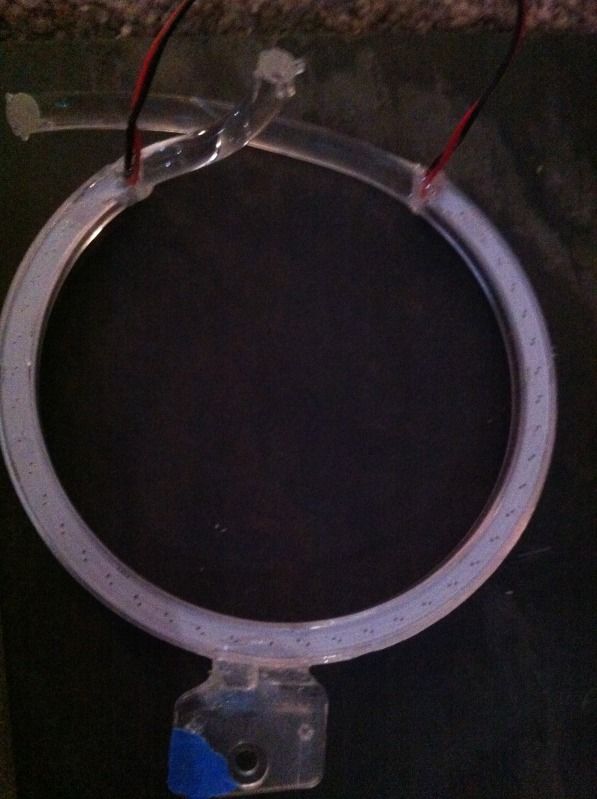
7. Dremel down the Umnitza outer angel eye to the point where the wires are just barely sticking out.
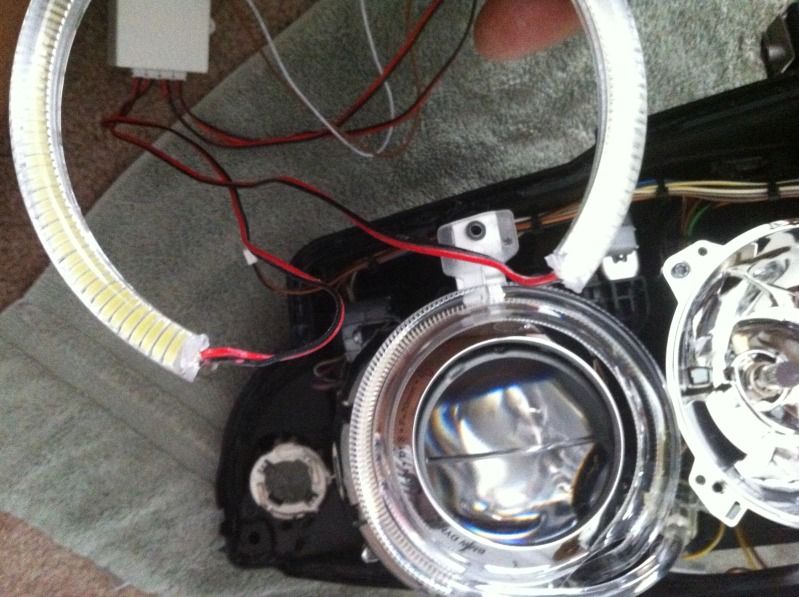
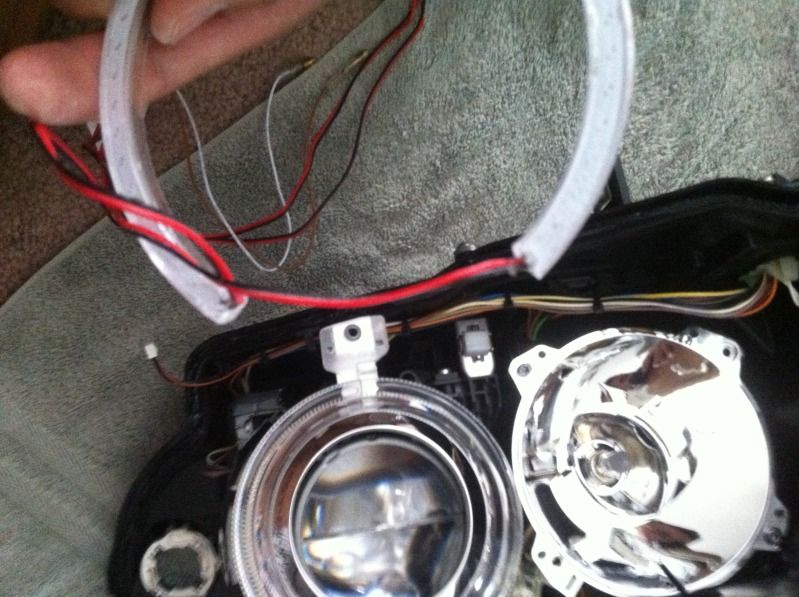
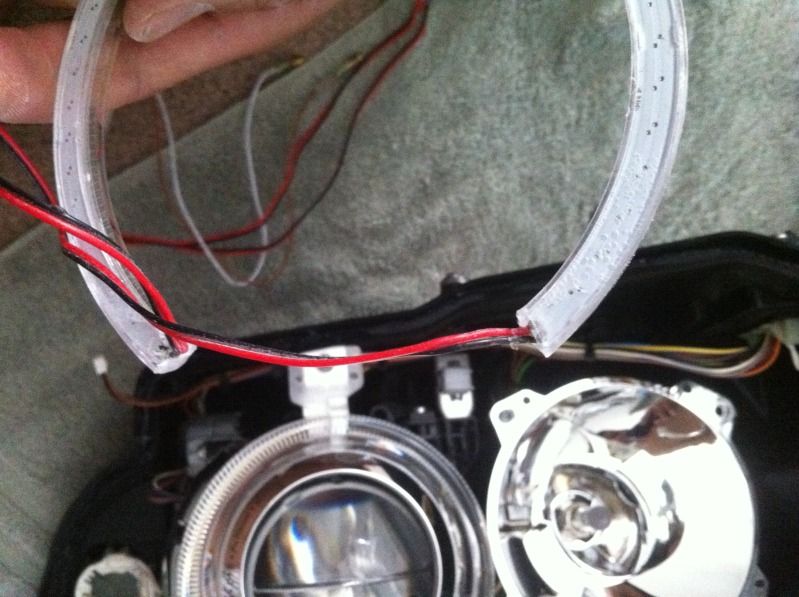
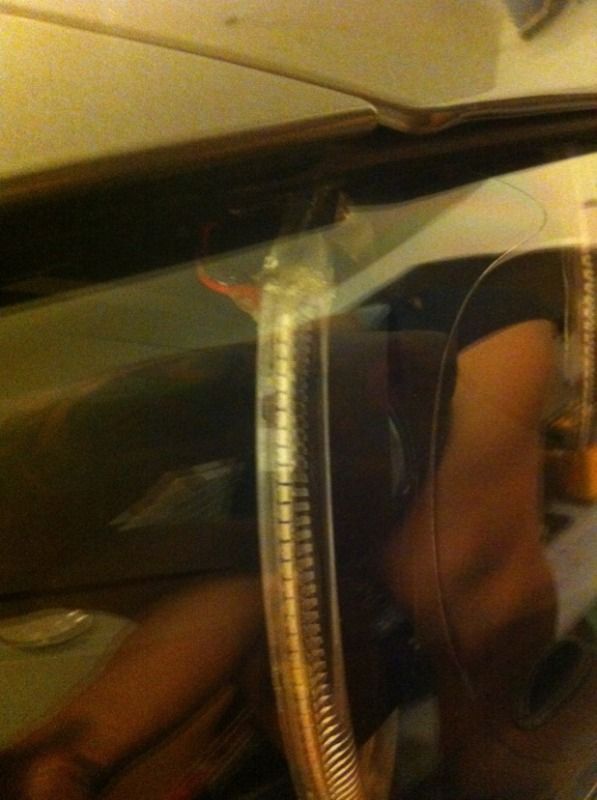
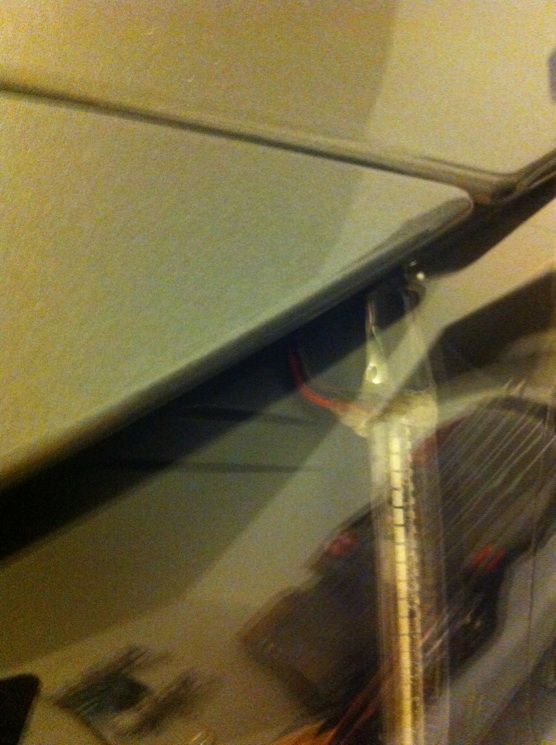
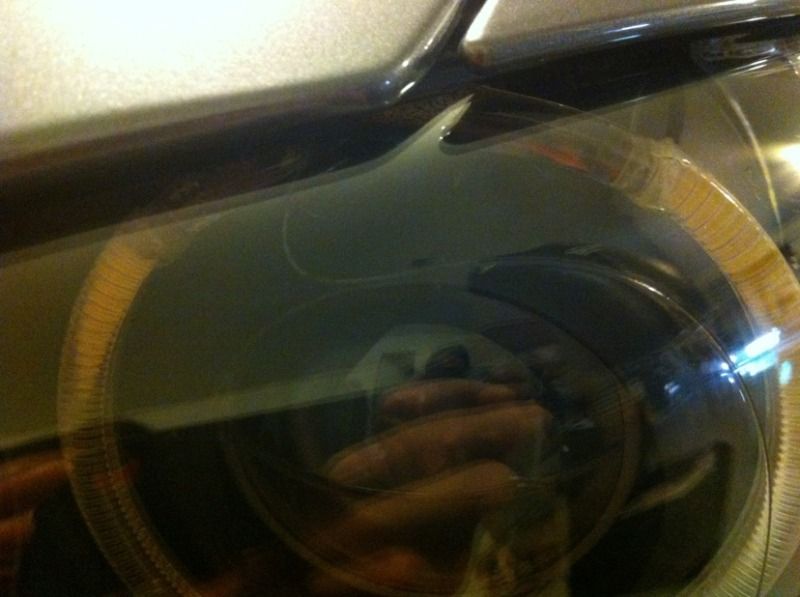
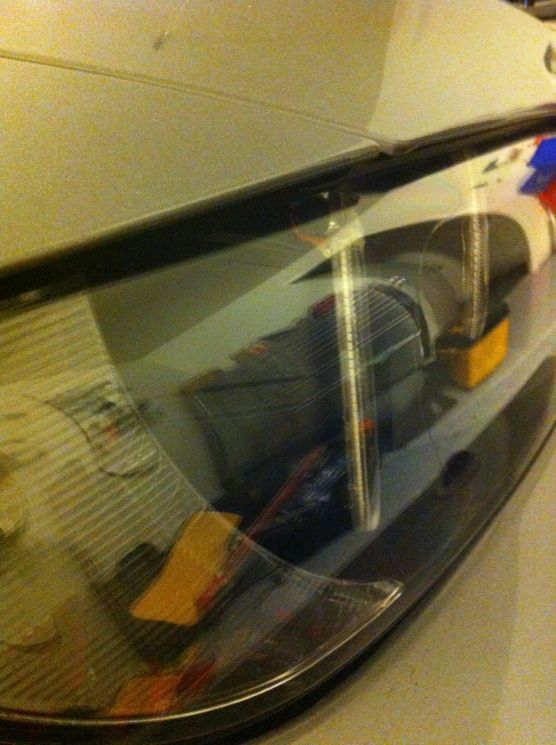
8. Now here's where it gets challenging: You have to cut out the stock outer angel eye to integrate it onto the Umnitza angel eye. Place the Umnitza angel eye over the stock angel eye and mark where the stock one needs to be cut. if it's too short, all you need to do is just use epoxy to fill the space in. Use tape to mock up if everything fits.
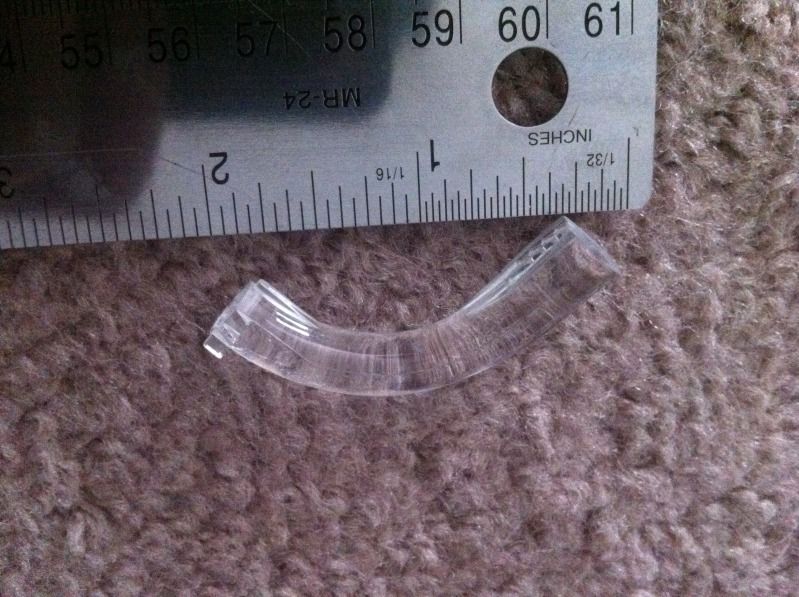
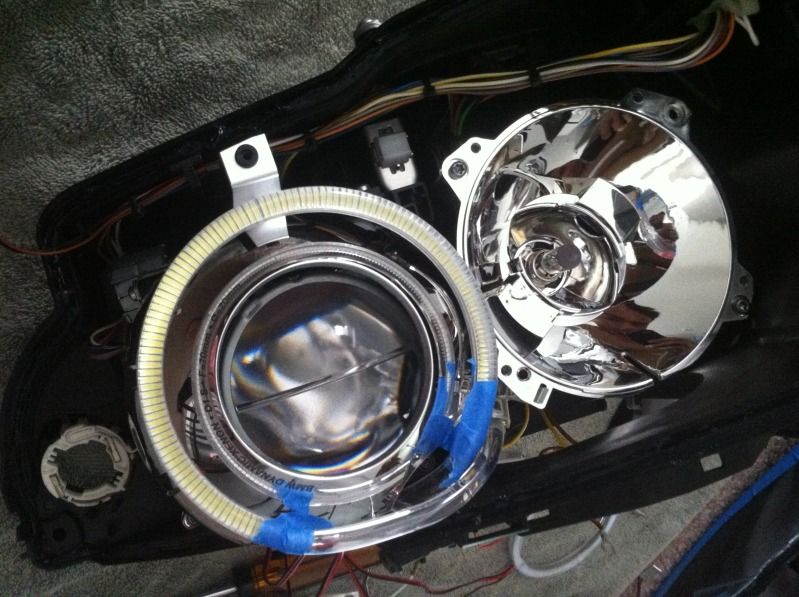
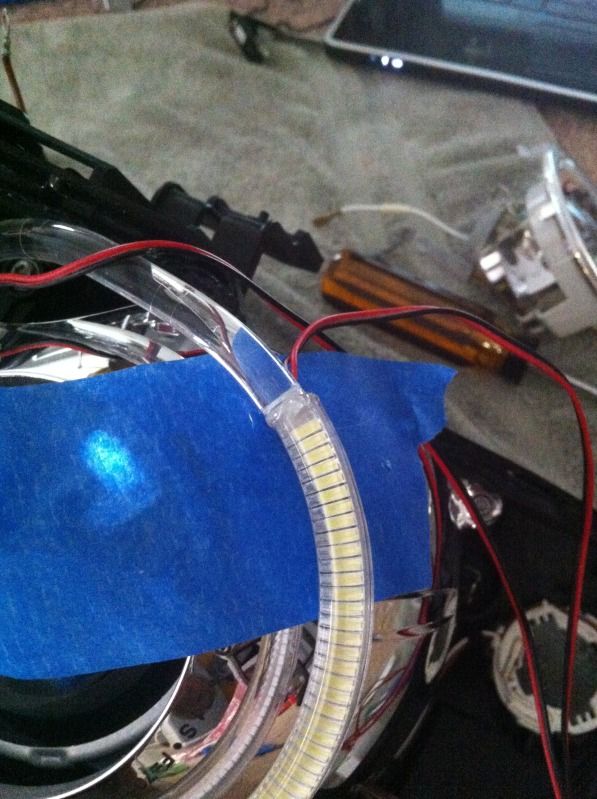
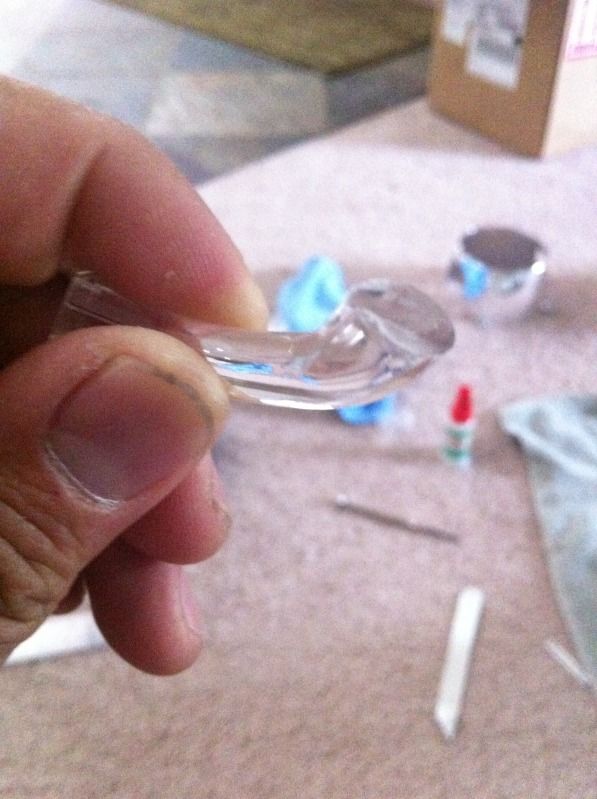
9. Once that's mocked up, you use the bottom tab off the stock angel eye and epoxy it on the Umnitza angel eye. You will end up dremeling a little bit off the the tab to get it to fit since the Umnitza angel eye is a little bigger than stock
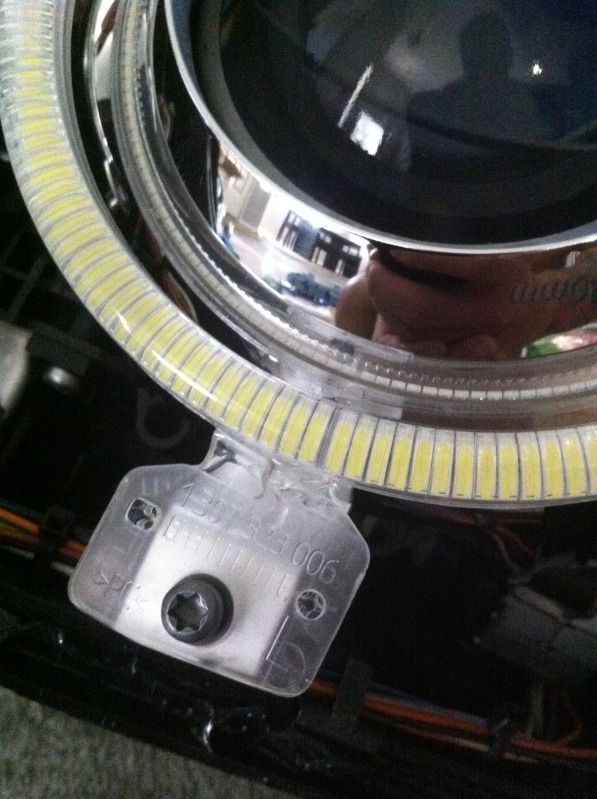
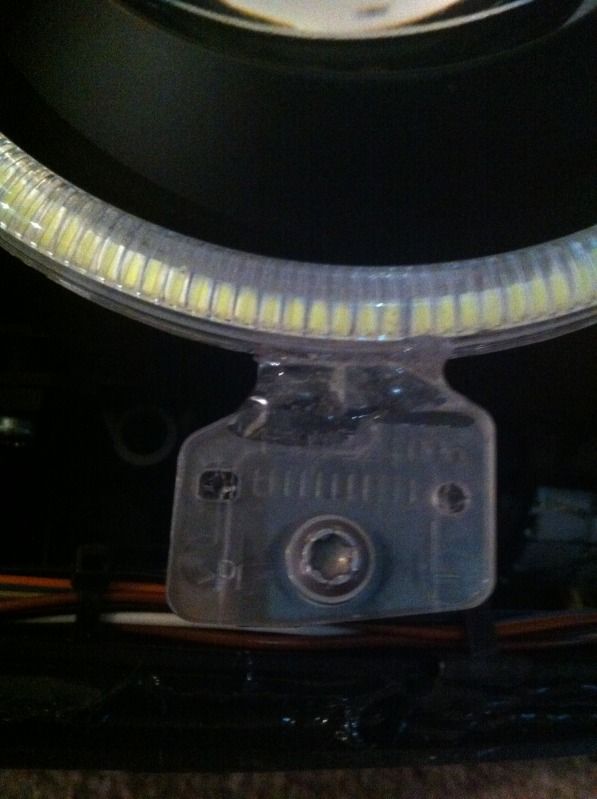
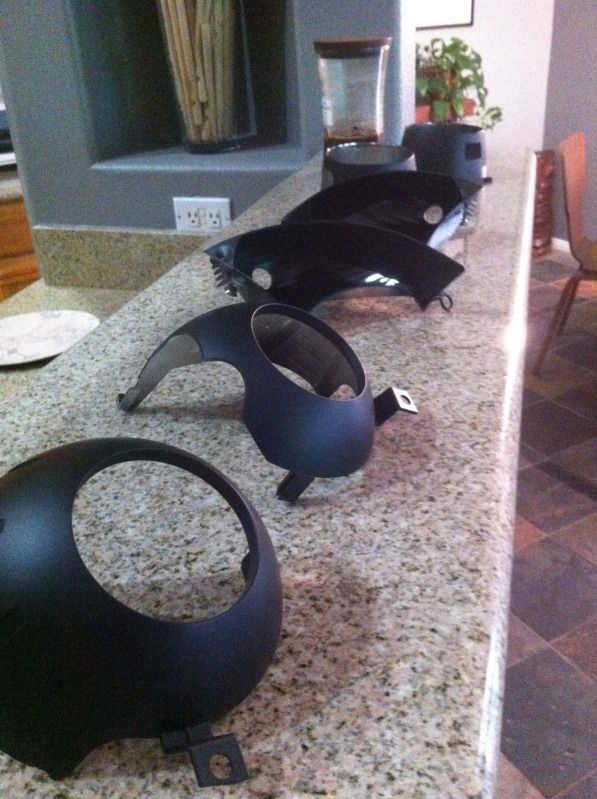
10. Place cardboard between the angel eye so you don't get anything on the chrome housing. If you get tape on the housing, it will peel the chrome off so be careful. This is why I ended up going full blackout
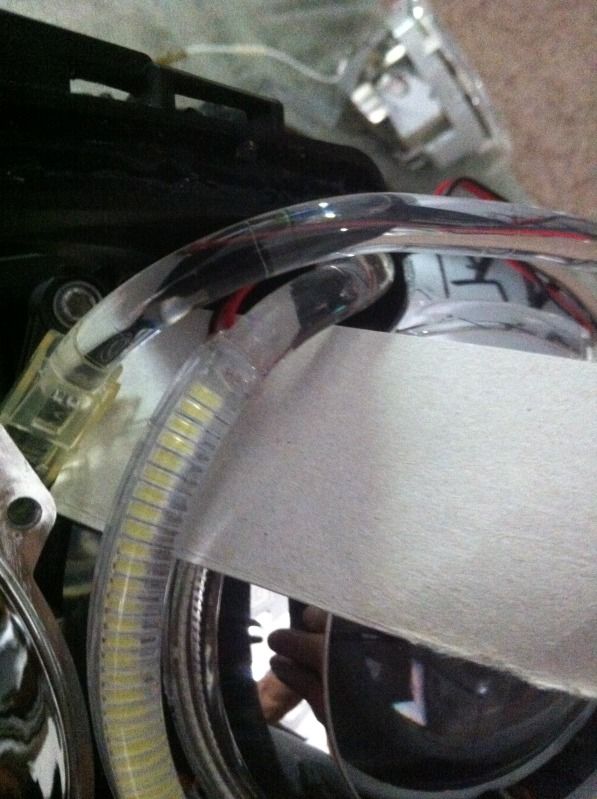
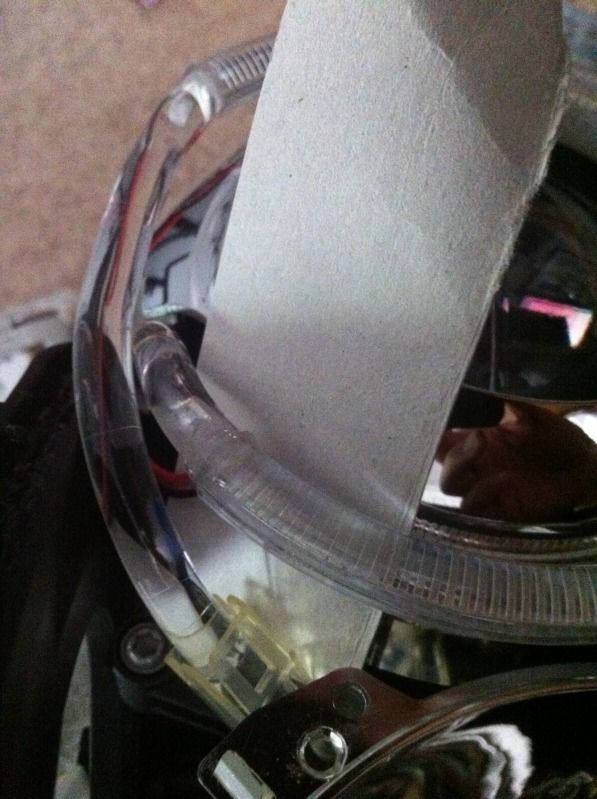
Great Success! Now everything should be epoxied! Remove everything to inspect and epoxy the back side and fill in any areas that you missed.
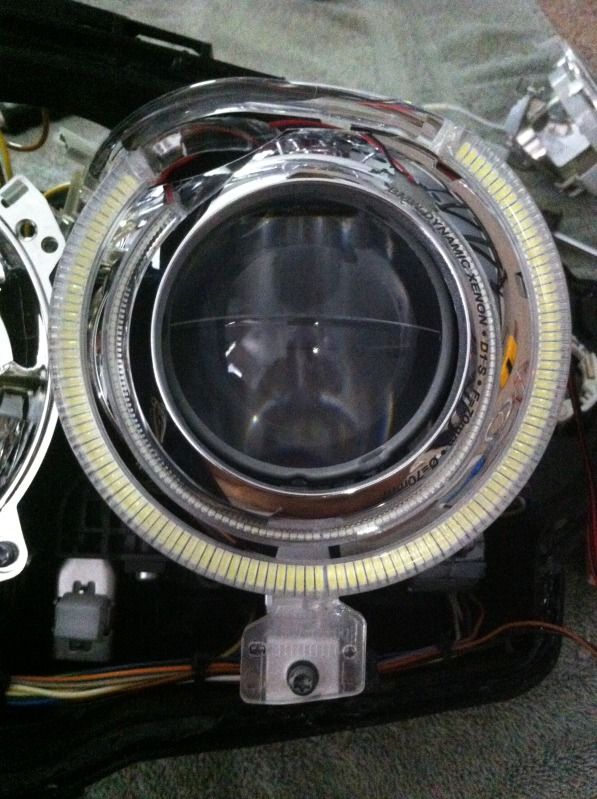
Paint everything you want painted. Be sure to sand and primer or it will flake off.
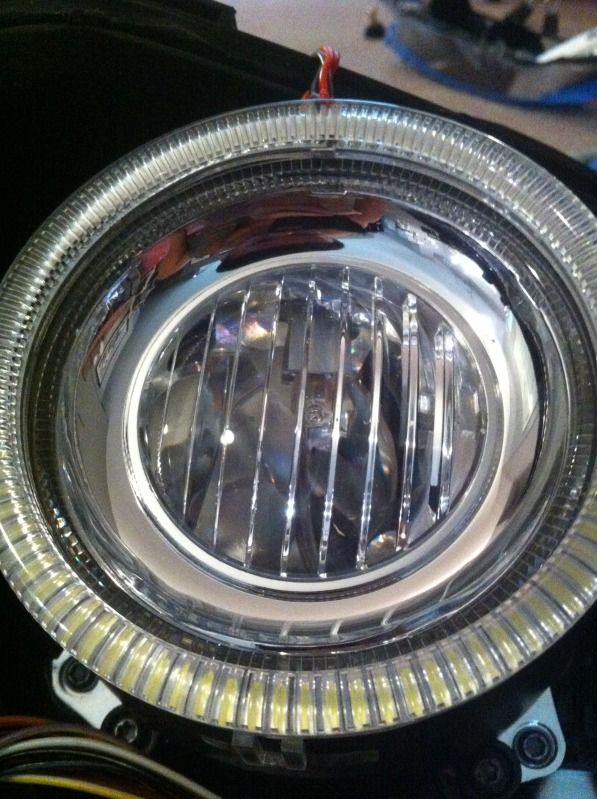
11. Easy part. Epoxy the Umnitza inner angel eye right over the old one. I did this because I needed the inner angel eye to mount the cornering light. If you look at the OSS thread, this looks like the way Luis does it also.
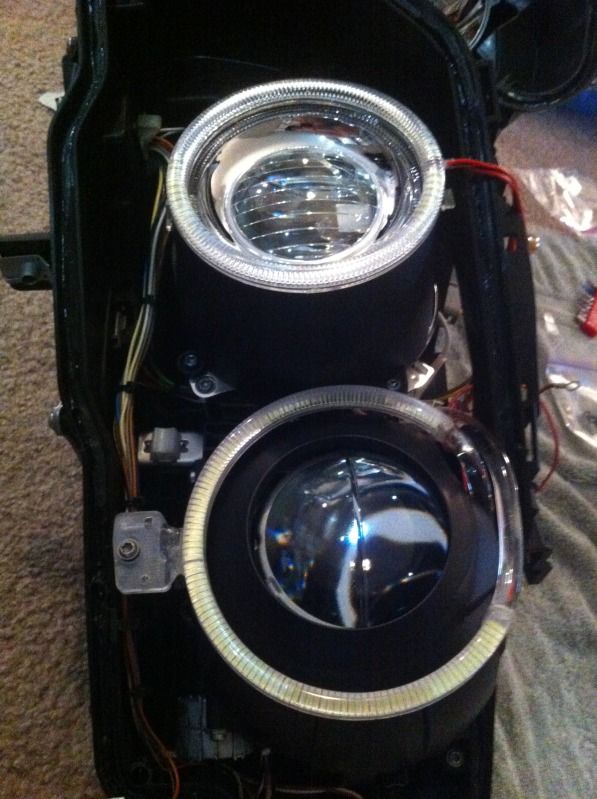
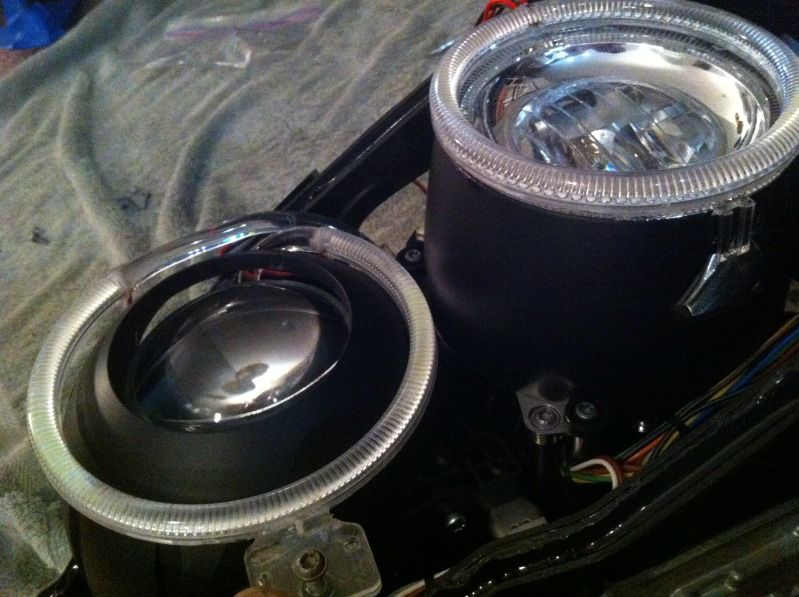
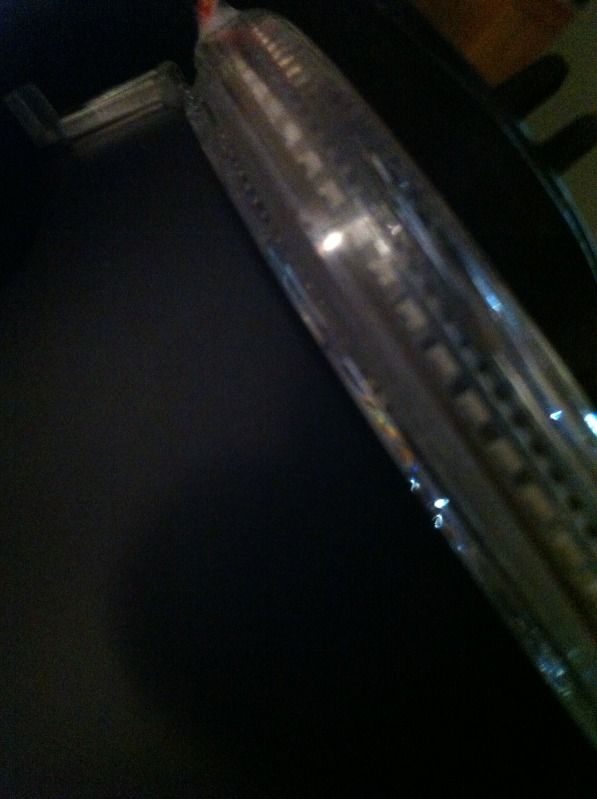
12. Okay so I dont have pictures for the wiring , but all you need to do is tap the brown wire and the red wire to the angel eye H8 bulb harness. The leftover white one hooks up to the low beam power on the Xenon ballast. Once wired, you should temporarily reinstall and power up the car to see if it works.
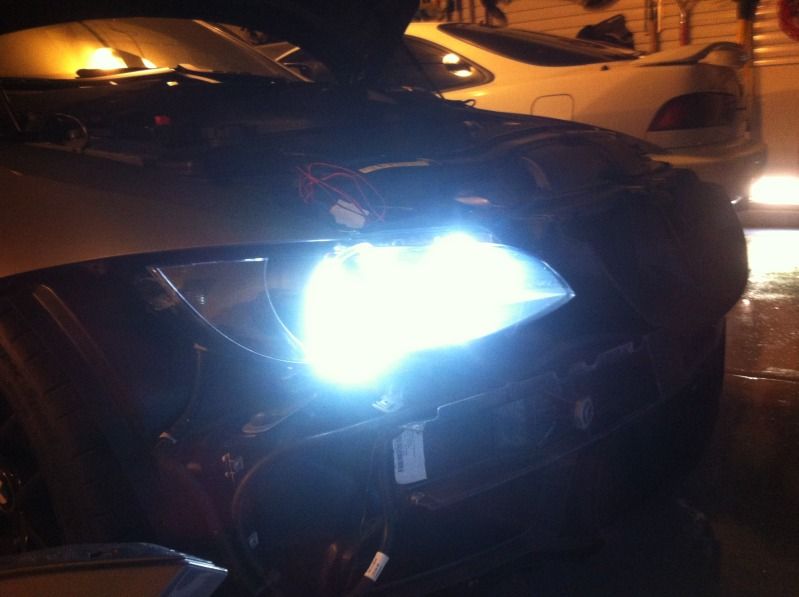
13. Place the headlight cover as much as you can on the housing and re-bake.
14. Firmly press the two halves together. Be sure that the tabs lock in place. Then screw in the corner housing screw.
15. Everything should be done now. All you need to do is re install the headlights back in! Be sure to realign the headlights at night.
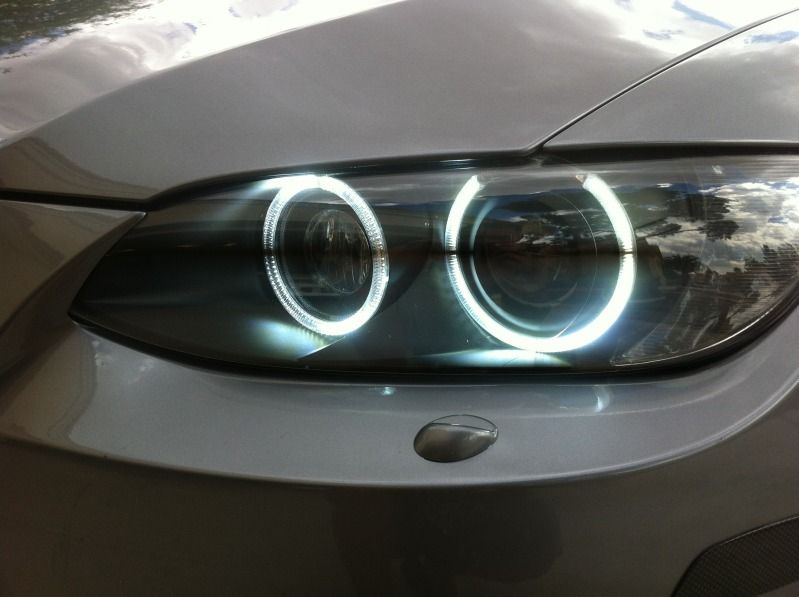
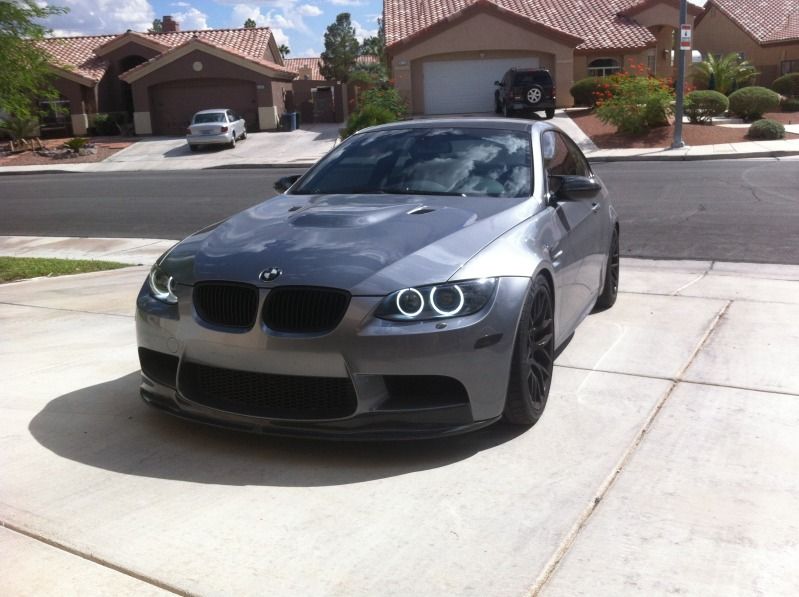
For any question or help, pm me!
Bumper/ headlight removal -
10mm
Torx , 30
Headlight work -
Torx 20
putty knife/scraper
chisel
butter knife
(choose your weapon)
All I ended up using was the putty knife
1. First thing's first! Remove the front bumper and headlights
2. Unscrew the screw on the corner of the headlight below the headlight vent. Remove the vent also. Set them aside and it would be wise to separate the hardware for each headlight. Remove the headlight shim located on top of the headlight also.
3. Set the oven for 215. You'll be baking them for 8 minutes. I covered the headlight face with painters tape, since I'm pretty clumsy and I'r probably end up scratching them up. you can remove the bulbs and cover up the orifices with painters tape, but I just left the bulbs except the turn signal bulb.
4. Pry! There's only 2 areas where it's safe to do so. It's on top and the bottom of the headlights. It's the only spot where a tool fits. Once you get your tool in there, slowly twist the putty knife. Once it starts to separate on the top, flip the headlight upside down and do it for the other side. After they've separated far enough, move the tabs over the lock or else you won't be able to separate them . See below.
5. Now you should have 2 pieces. At This point you can separate the turn signal housing and paint whatever piece you want to. You can also choose to "delete" the corner LED or solder in a white LED.
6. Remove/ Unscrew the outer angel eye. You'll be reusing these pieces to modify the Umnitza angel eyes. Unscrew the outer and inner shrouds if you want to paint them.
Here's removing the cornering light. Unscrew the ground and disconnect the H8 bulb plug.
7. Dremel down the Umnitza outer angel eye to the point where the wires are just barely sticking out.
8. Now here's where it gets challenging: You have to cut out the stock outer angel eye to integrate it onto the Umnitza angel eye. Place the Umnitza angel eye over the stock angel eye and mark where the stock one needs to be cut. if it's too short, all you need to do is just use epoxy to fill the space in. Use tape to mock up if everything fits.
9. Once that's mocked up, you use the bottom tab off the stock angel eye and epoxy it on the Umnitza angel eye. You will end up dremeling a little bit off the the tab to get it to fit since the Umnitza angel eye is a little bigger than stock
10. Place cardboard between the angel eye so you don't get anything on the chrome housing. If you get tape on the housing, it will peel the chrome off so be careful. This is why I ended up going full blackout
Great Success! Now everything should be epoxied! Remove everything to inspect and epoxy the back side and fill in any areas that you missed.
Paint everything you want painted. Be sure to sand and primer or it will flake off.
11. Easy part. Epoxy the Umnitza inner angel eye right over the old one. I did this because I needed the inner angel eye to mount the cornering light. If you look at the OSS thread, this looks like the way Luis does it also.
12. Okay so I dont have pictures for the wiring , but all you need to do is tap the brown wire and the red wire to the angel eye H8 bulb harness. The leftover white one hooks up to the low beam power on the Xenon ballast. Once wired, you should temporarily reinstall and power up the car to see if it works.
13. Place the headlight cover as much as you can on the housing and re-bake.
14. Firmly press the two halves together. Be sure that the tabs lock in place. Then screw in the corner housing screw.
15. Everything should be done now. All you need to do is re install the headlights back in! Be sure to realign the headlights at night.
For any question or help, pm me!