|
|
 |

|
|
|
| 12-21-2010, 07:26 PM | #4 |
|
Major General
 
527
Rep 5,392
Posts
Drives: 08 JB E92 M3
Join Date: Sep 2008
Location: Bay Area, CA
|
Nice, more info please. Pricing etc
|
|
Appreciate
0
|
| 12-21-2010, 09:34 PM | #5 |
|
Brigadier General
3168
Rep 3,109
Posts
Drives: 2023 iX M60 Oxide
Join Date: Jun 2007
Location: UT
|
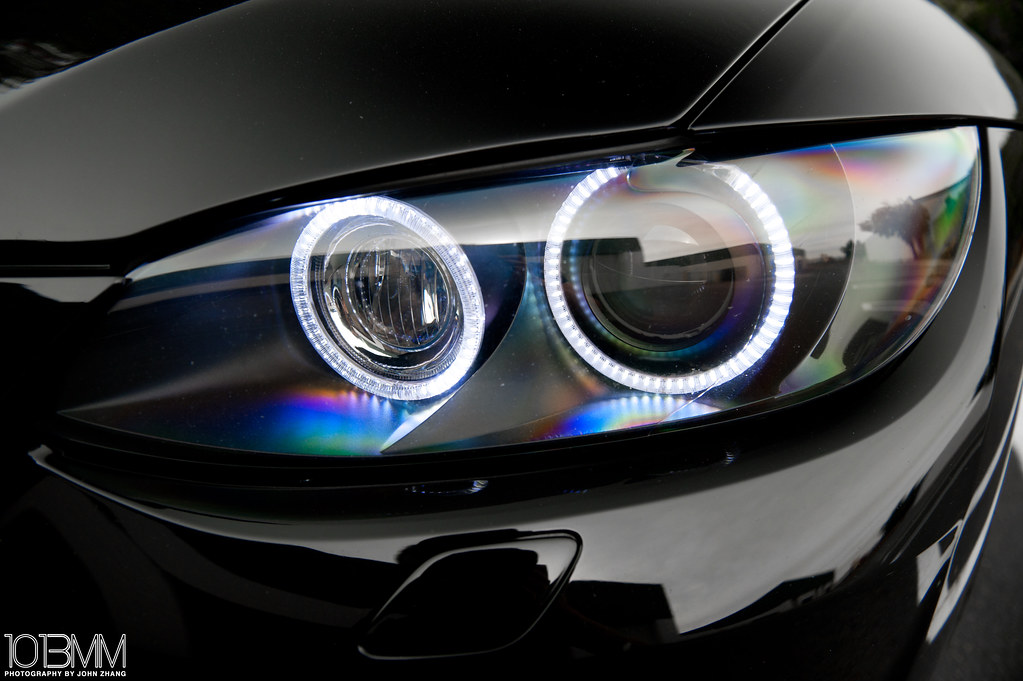
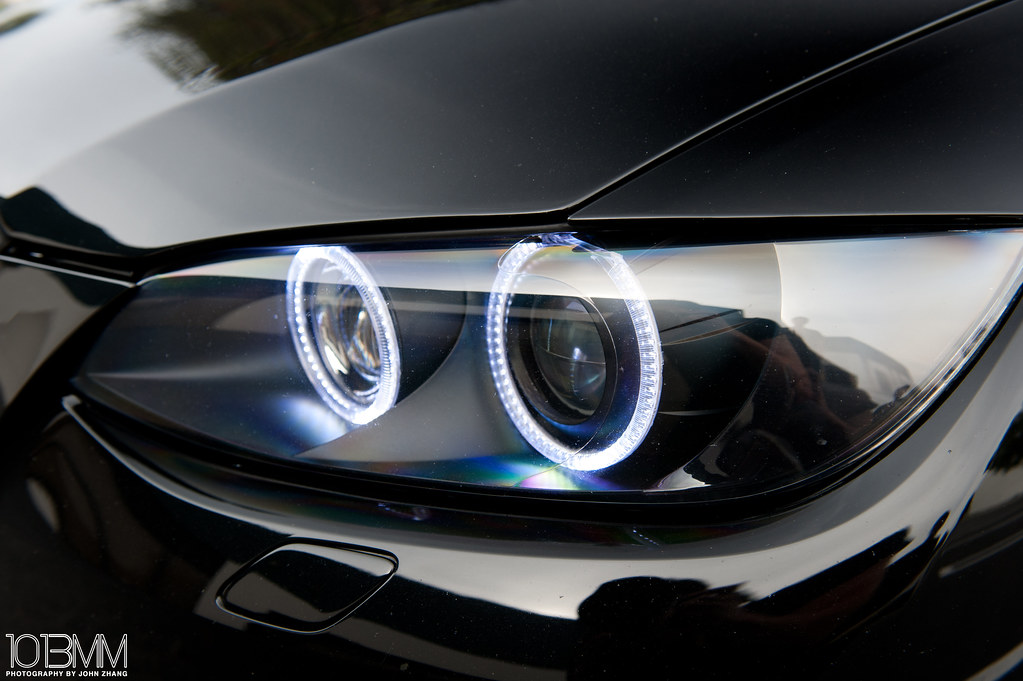
Nice. This kit has always looked a little off to me, I'm used to the outside rings being larger than the inside ones, and sitting further back, 'floating' over the chrome. Not sure if using the same size for inside/outside is cost savings or what. Still looks good though.
|
|
Appreciate
0
|
| 12-23-2010, 09:43 AM | #6 |
|
Just call me J.J. McClure

158
Rep 2,834
Posts |
So let me get this straight. I have to take my headlight assembly appart to fit these? Hmmm... Anyone volunteer to be the first to do it on their own??
__________________
MODS: Meisterschaft GT Racing Exhaust / BMC Air Filter / UUC SSK & DSSR (Modded)/ RPI Scoops / Passport SRX Hardwired / Custom Wrap 3M Clearbra / 20% Tint / 50% Windshield Tint / Key Hole Delete / Matted Out Accessories / VRS Type II Diffuser / Smoked Reflectors / Euphoria 6K LED Interior Lights / Rear Fog Light Mod / 6000K HID's / 6500K LUX H8 Angel Eyes / RDash License Plate LED Kit / LED Xenon Reverse Lights
"M3 drivers have no friends"  |
|
Appreciate
0
|
| 12-23-2010, 10:02 AM | #7 | |
|
Colonel
 
358
Rep 2,937
Posts
Drives: 2013 Estoril 328i M Sport
Join Date: Oct 2007
Location: Beverly Hills, CA
|
Quote:
|
|
|
Appreciate
0
|
| 12-23-2010, 07:48 PM | #8 | |
|
Brigadier General
3168
Rep 3,109
Posts
Drives: 2023 iX M60 Oxide
Join Date: Jun 2007
Location: UT
|
Quote:
|
|
|
Appreciate
0
|
| 12-23-2010, 08:56 PM | #9 | |
|
Lieutenant General
2419
Rep 13,091
Posts |
Quote:
 |
|
|
Appreciate
0
|
| 12-24-2010, 04:05 PM | #10 |
|
Brigadier General
380
Rep 4,093
Posts
Drives: 21 X6MC
Join Date: Jul 2008
Location: Seattle
|
yizzer.... Not that bad to do it yourself.
|
|
Appreciate
0
|
| 12-29-2010, 01:25 AM | #11 | |
|
Banned
209
Rep 2,492
Posts |
Quote:
    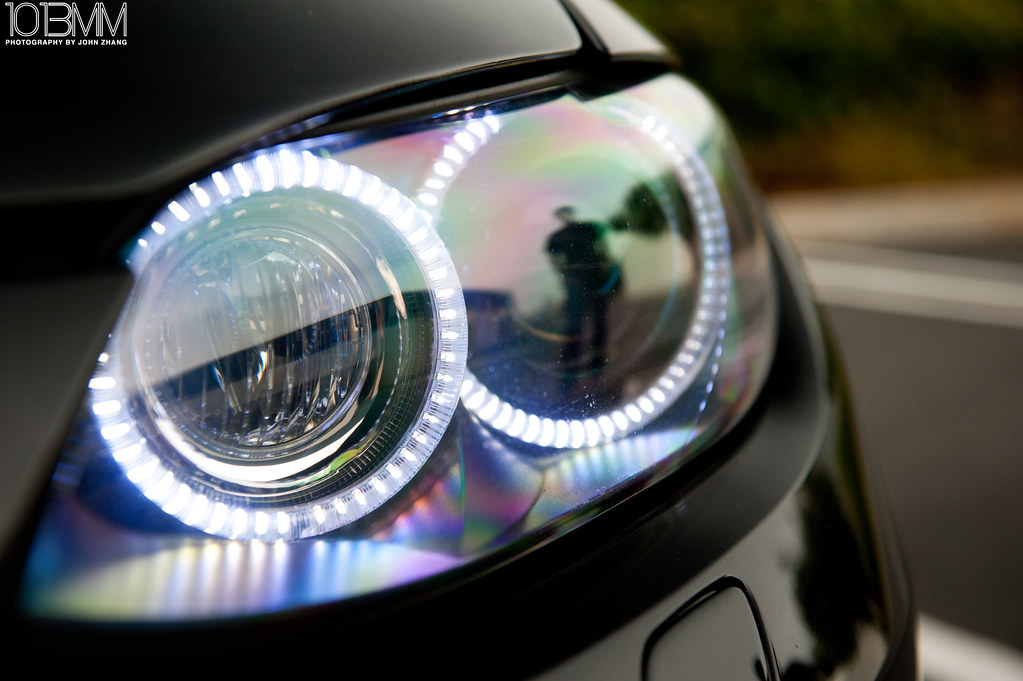     For all you HD fans out there the HD version is here. Regarding the flickering issue: There is no flickering of the lights when you see it in person. There is a scientific explanation to it, but I'm not a scientist. HOWEVER, I am a photographer and through my past experience, I have encountered this issued through my lens. Basically look at a TV or monitor through your camera and you will see this flicker, when you can't see it with your naked eye. |
|
|
Appreciate
0
|
| 12-29-2010, 03:28 PM | #12 |
|
Brigadier General
127
Rep 4,144
Posts |
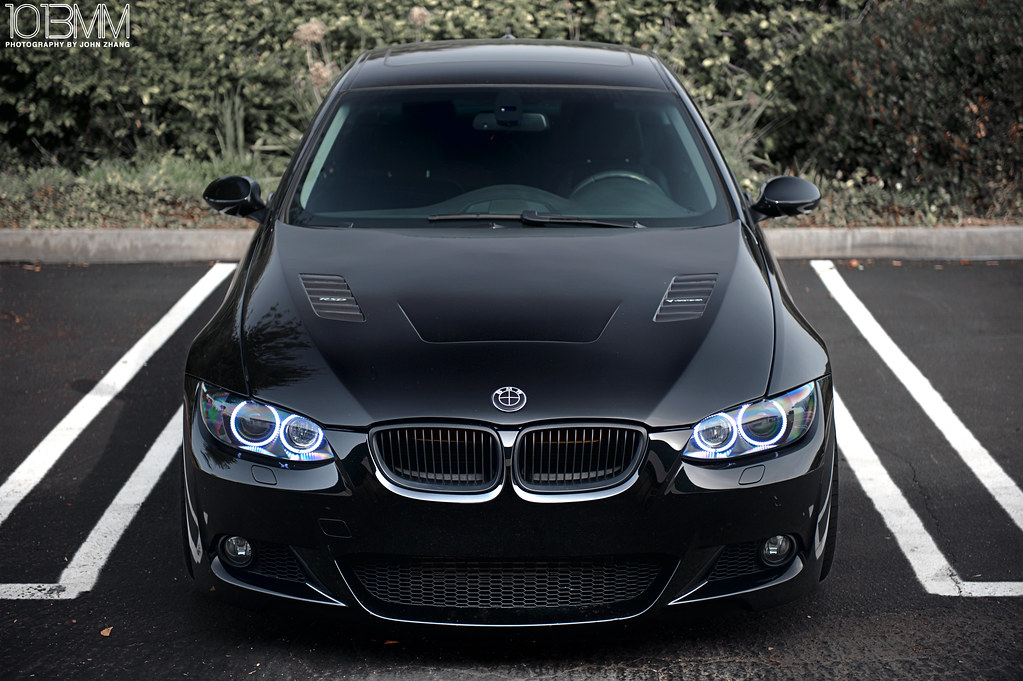
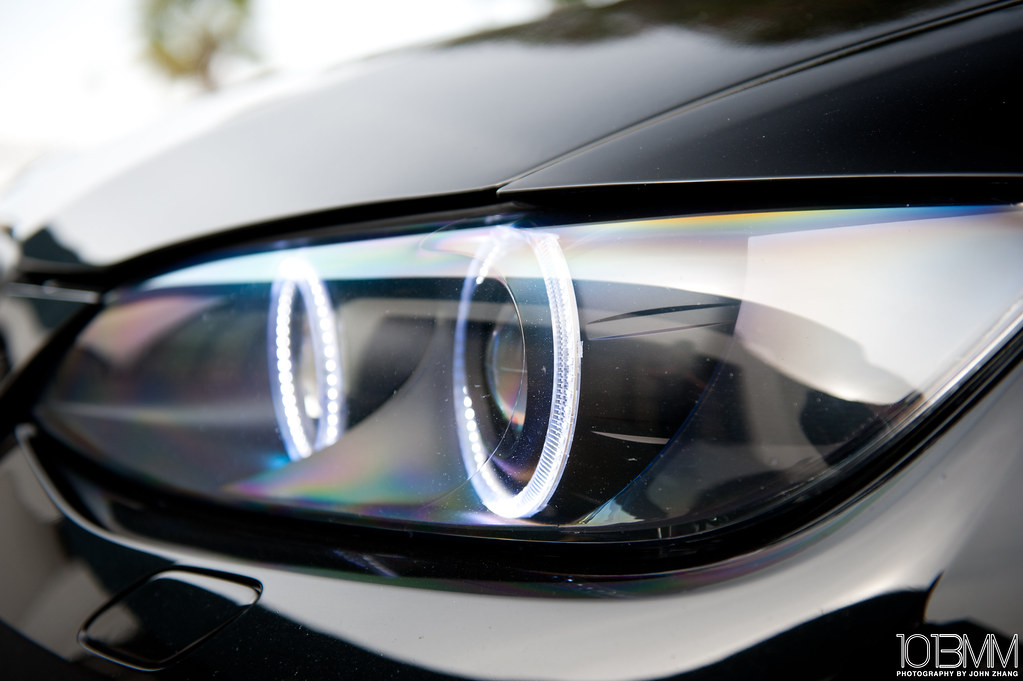
Lemme get this straight. This is a DIY, right? You have to open up the headlights. How is this done? I was under the impression that this is akin to black magic or something. Once the headlights are out is it really that easy to open them up to replace the rings? TIA.
awei130, Is that your car? Looks good. Cheers. P.S. Which Kevin? Last edited by ersin; 12-29-2010 at 03:30 PM.. Reason: added P.S. |
|
Appreciate
0
|
| 01-02-2011, 12:24 PM | #14 | |
|
Brigadier General
3168
Rep 3,109
Posts
Drives: 2023 iX M60 Oxide
Join Date: Jun 2007
Location: UT
|
Quote:
There is one screw and two rubber tube vents (they're not actually air tight, might surprise some), remove them. Pop them in the oven at 200 or so for 10 min, put on some thin gloves (I had a pair of pit crew gloves) so you still have dexterity, pull them out of the oven, pop off the clips and the lens should peel right off with very minimal prying to get it started. Sounds scary, until you realize that the headlight internals get much hotter during operation, especially halogen DRL on a 100 degree+ day. No way the heat will hurt. I have seen people suggest a heat gun, very bad idea, not only do you get to fight with uneven heating but most guns have a choice of 500 or 1000 deg, either is capable of melting something. putting them back together is easier. the sealant is tough and tacky at room temp, i was able to fit them together within a few mm and attach two of the clips, and then popped them back in the oven for 5 min, pulled them out and squeezed them the rest of the way, installed the screws, rubber vents and was done. for those extra cautious, you could also run an additional small bead of silicone on the seam, easy to cut if you want to reopen for whatever reason. |
|
|
Appreciate
0
|
| 01-02-2011, 12:41 PM | #15 | |
|
M-Flight Member
38
Rep 1,085
Posts |
Quote:
__________________
2011 Le Mans Blue M3// Black extended Novillo w/ Blue Grey Aluminum trim/DCT/ZTP/ZCW/ZPP/ZCP Premium Sound ///Akrapovic Evolution Exhaust
2015 Audi S4 Prestige, Brilliant Black S-tronic 2012 Le Mans Blue 135i M Pkg DCT |
|
|
Appreciate
0
|
| 01-03-2011, 03:28 AM | #18 | |
|
M-Flight Member
38
Rep 1,085
Posts |
Quote:
__________________
2011 Le Mans Blue M3// Black extended Novillo w/ Blue Grey Aluminum trim/DCT/ZTP/ZCW/ZPP/ZCP Premium Sound ///Akrapovic Evolution Exhaust
2015 Audi S4 Prestige, Brilliant Black S-tronic 2012 Le Mans Blue 135i M Pkg DCT |
|
|
Appreciate
0
|
| 01-03-2011, 04:12 AM | #19 |
|
Lieutenant

17
Rep 568
Posts |
I just got the LS3 installed a couple days ago, and I love it. Way better than my cheapo GP Thunders. The LS3 angel eye is my favorite mod on my car. I couldn't be happier with the product and the service of BavX.
__________________
Understeer is when you hit the wall with the front of the car and oversteer is when you hit the wall with the rear of the car. Horsepower is how fast you hit the wall, torque is how far you take the wall with you."
|
|
Appreciate
0
|
| 01-04-2011, 11:38 PM | #20 | |||||
|
Banned
209
Rep 2,492
Posts |
Quote:
Quote:
 Quote:
Quote:
 |
|||||
|
Appreciate
0
|
| 01-15-2011, 05:47 AM | #21 |
|
Captain
215
Rep 875
Posts |
Hi Guys, I have a few questions for the folks that did this as a DIY.
- how are the rings mounted? are they glued on or there are screws to mount them? - I am assuming this kit won't cause any error message while it's running but for those that have 2010-2011 models, do you run into any error message during cold start? - the kits seems to have a plug and play H8 connector. what happens to the original H8 blub? Is that left to be in the original slot and just not plugged in? Thanks in advance for your help. It would be great if someone can post a DIY on the mounting and wiring of the ring.  |
|
Appreciate
0
|
Post Reply |
| Bookmarks |
|
|