

 |
|
 |

|
|
|
| 07-02-2019, 01:55 PM | #1 |
|
BimmerPost Supporting Vendor
9587
Rep 10,877
Posts  |
IND | RKP E9X M3 X-Pipe Install Guide
 Begin by raising the car safely on an automotive lift.    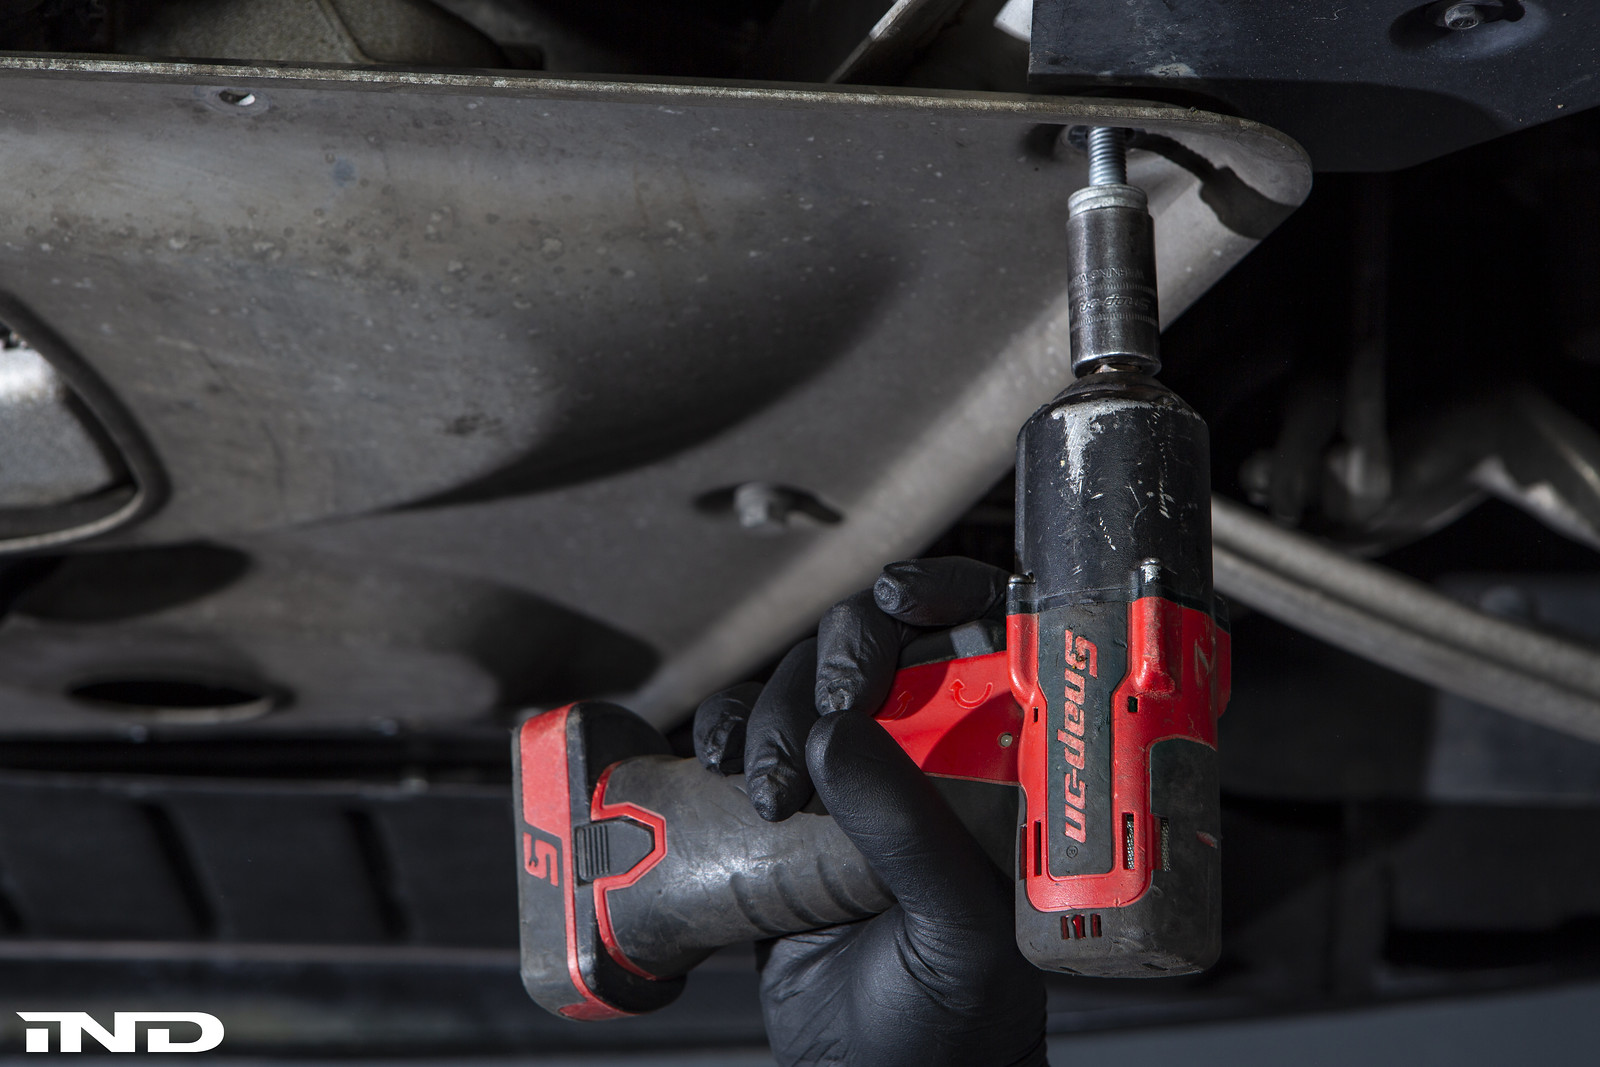 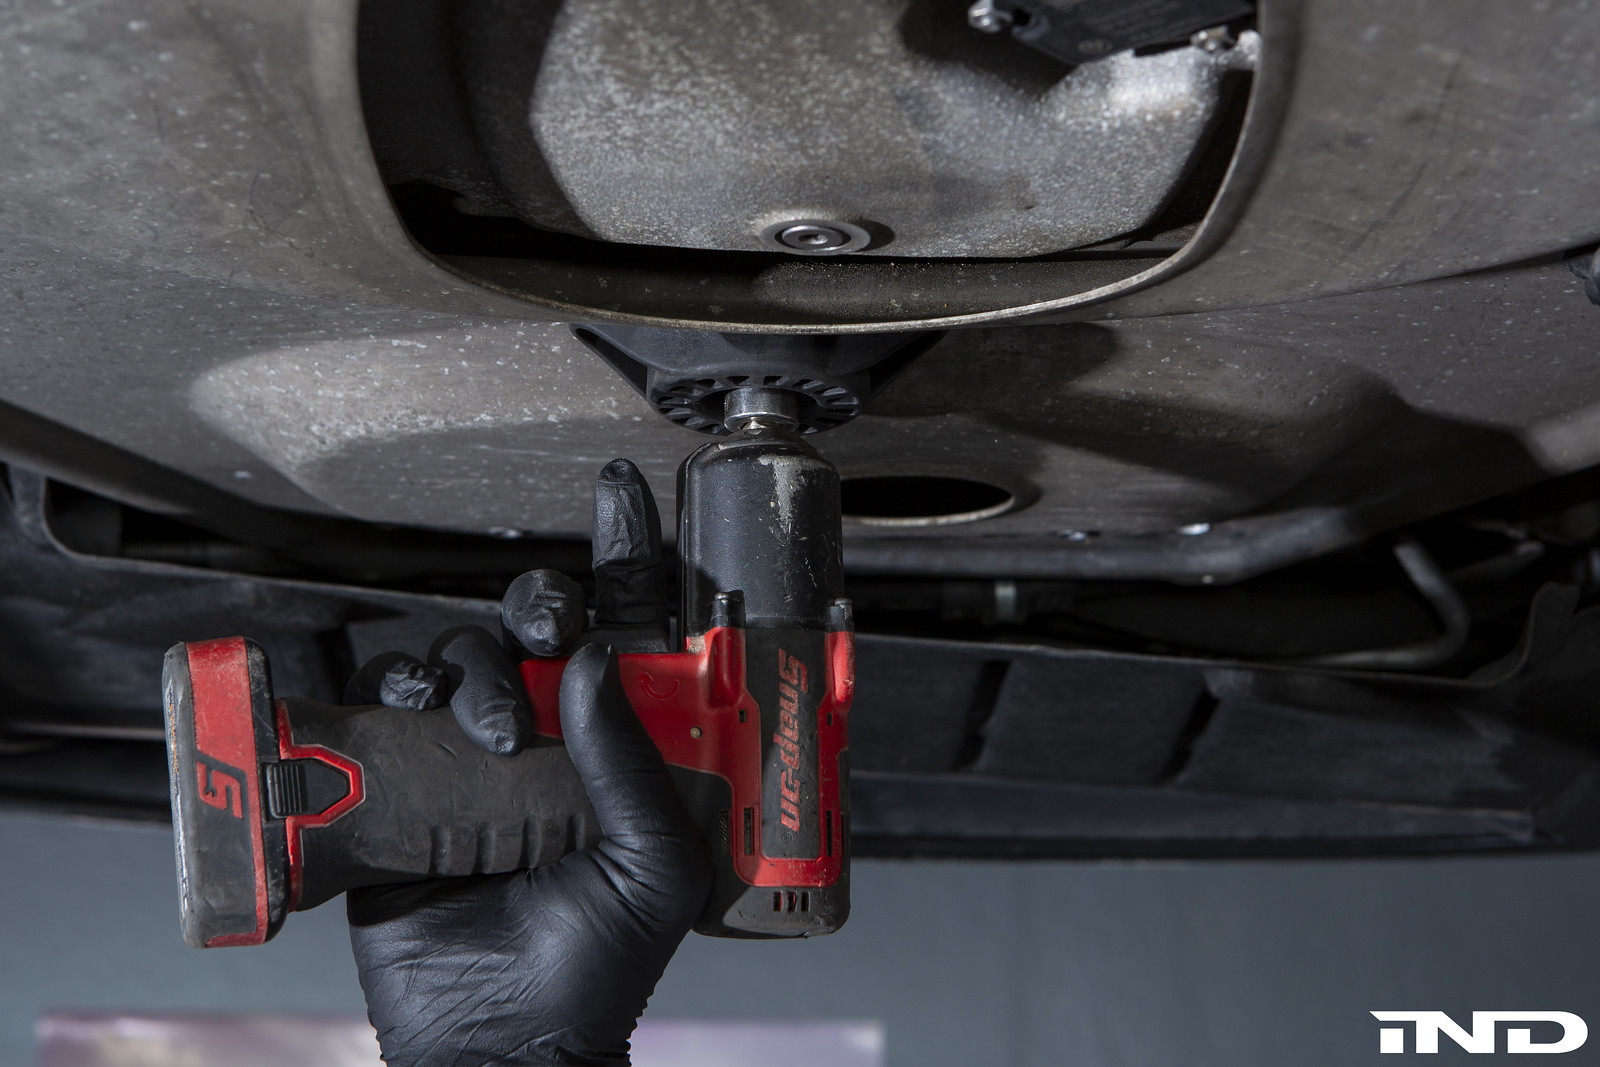 Remove the eleven 10mm bolts securing the felt underpanel and metal undertray. The final 10mm bolt is recessed in the center of the metal undertray. Once all the hardware is removed, set aside the undertray.   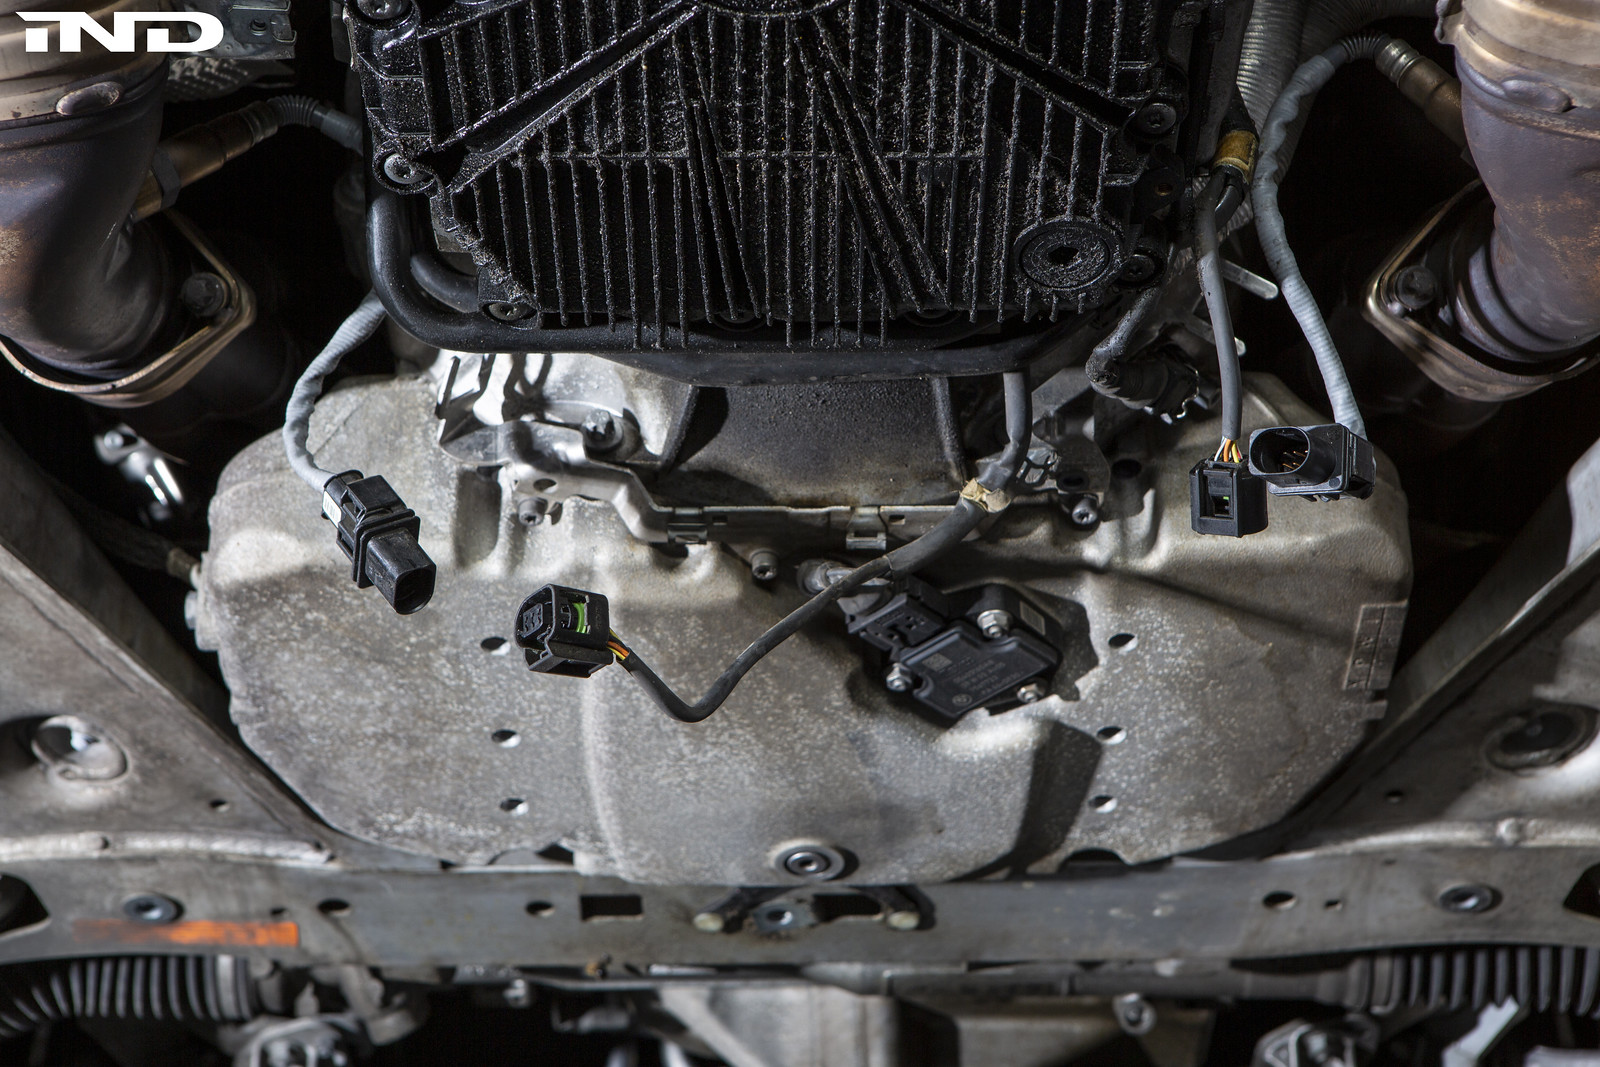 Disconnect the O2 sensors and then remove the 13mm bolts directly behind the primary cats and after the secondary units.     Using an E12 Torx and a 14mm wrench, remove the hardware affixing the primary cat section to the header.   NOTE: The four 13mm bolts on the x-pipe brace are all that hold the x-pipe on at this point. With a friend bracing the exhaust, remove these four bolts, wiggle the x-pipe free from the header / rear section respectively, and set onto the ground. 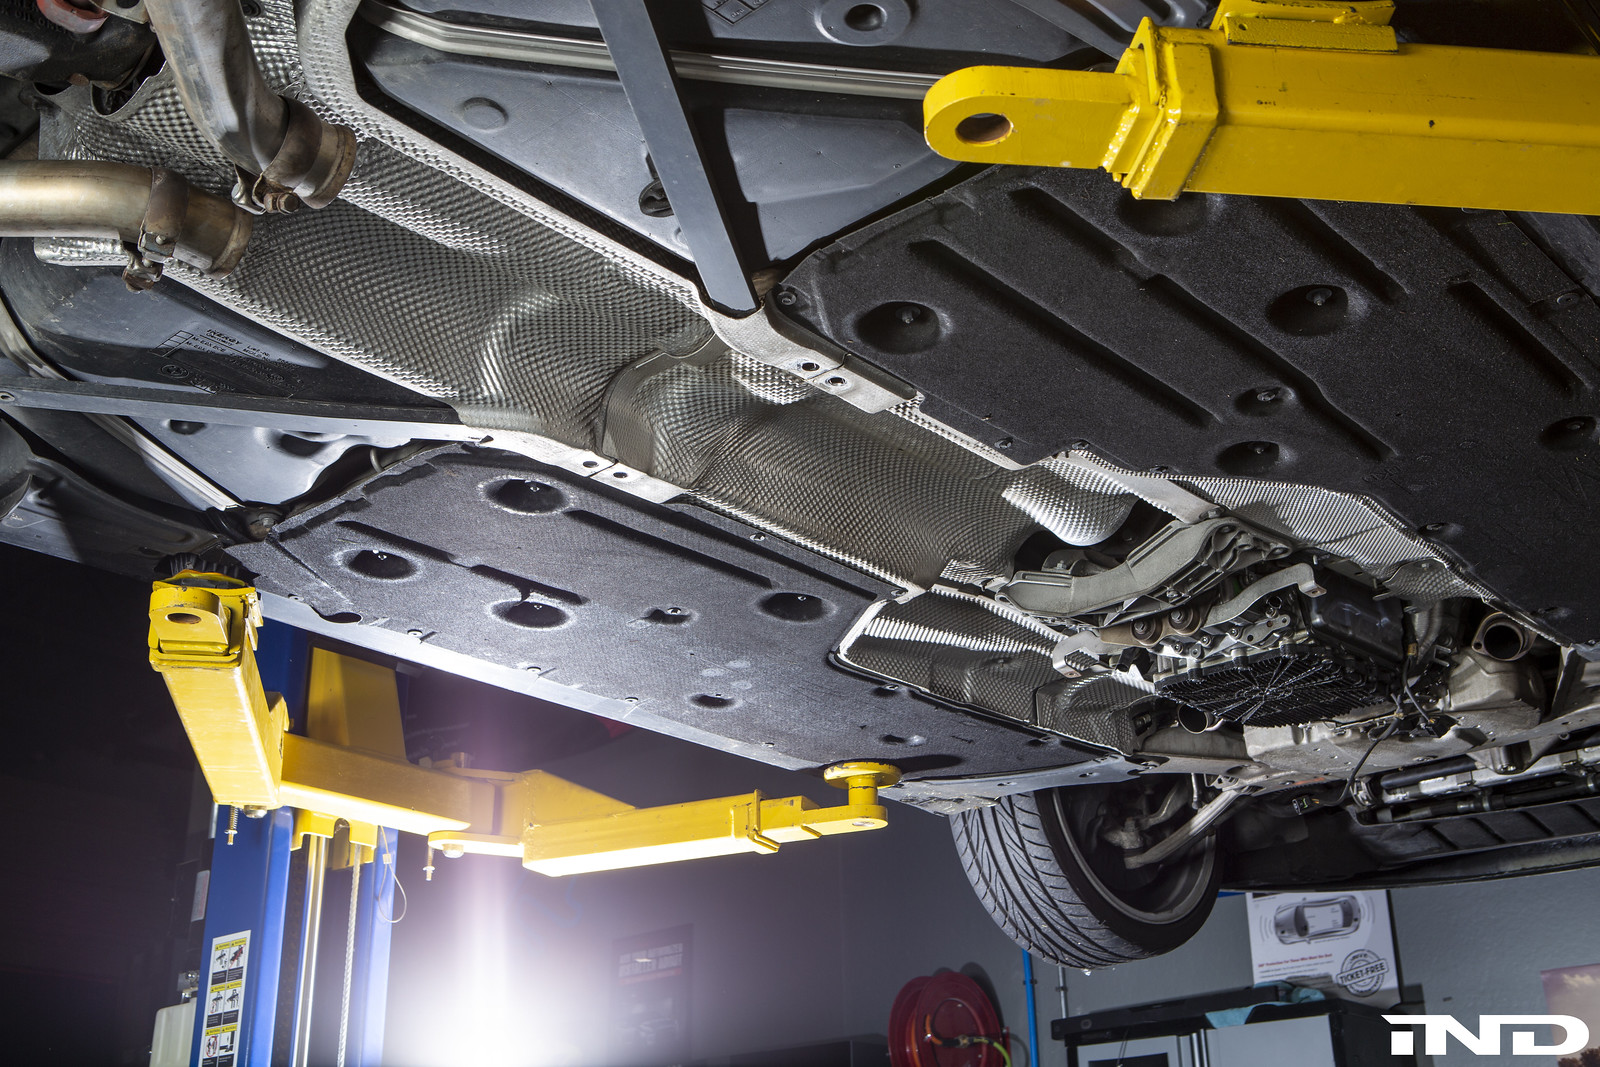 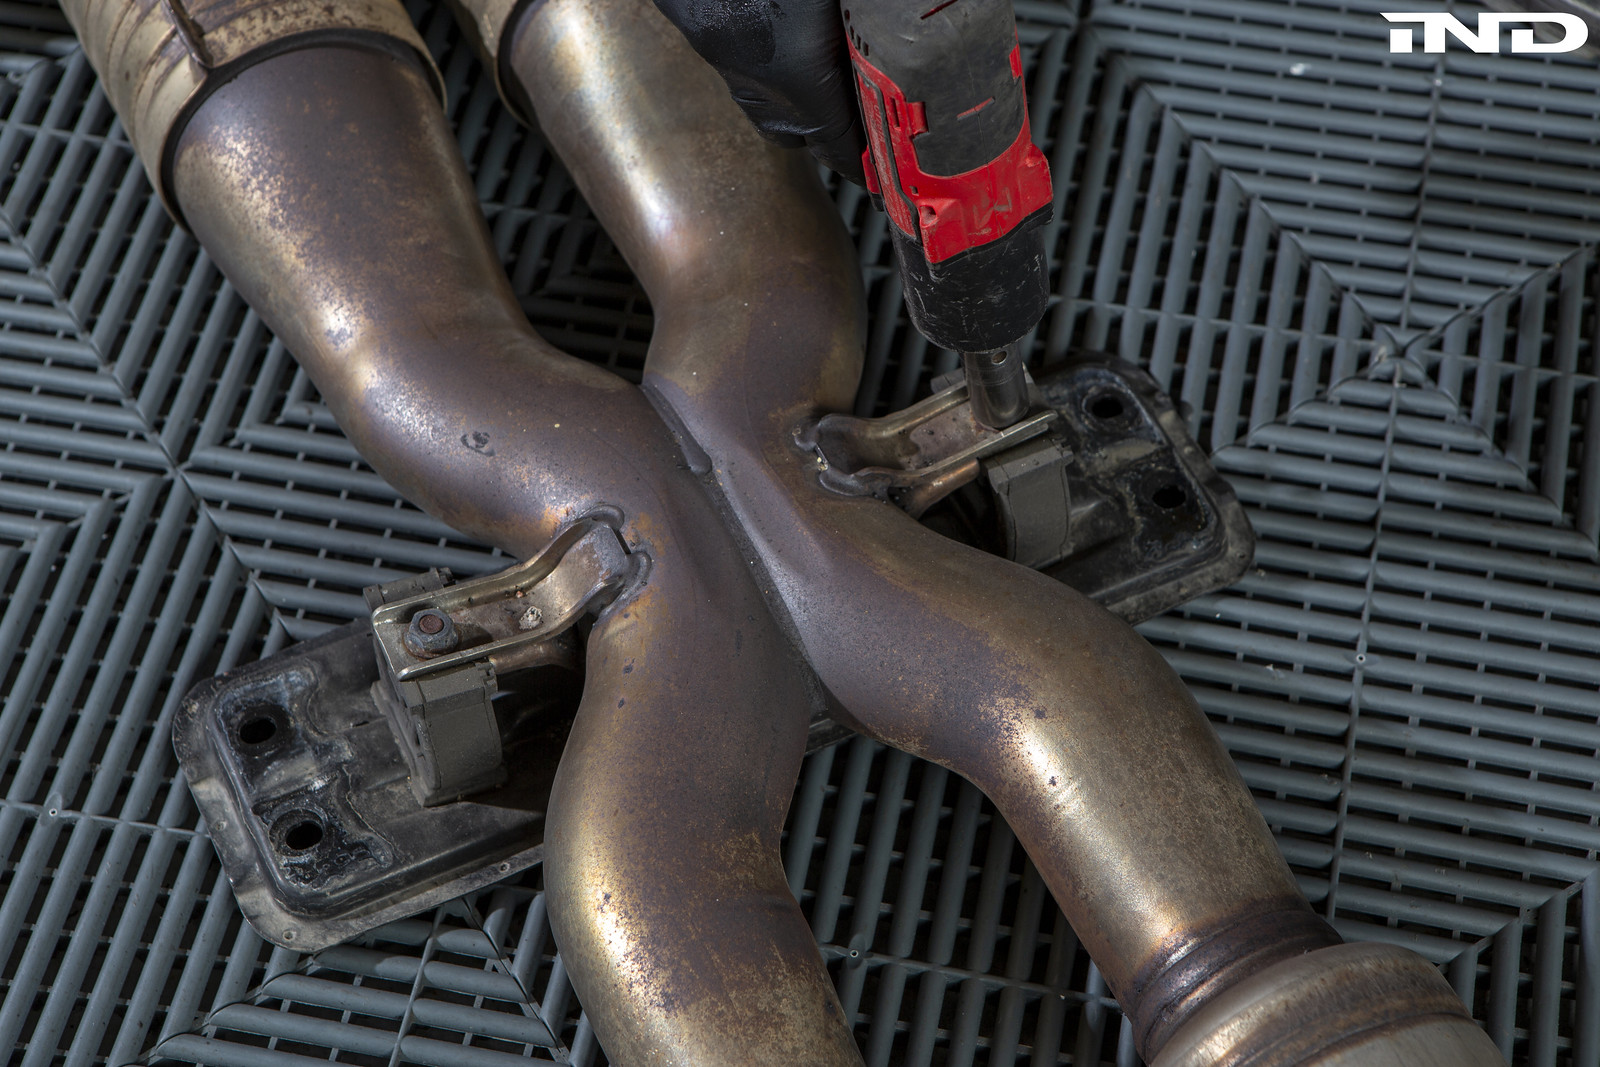 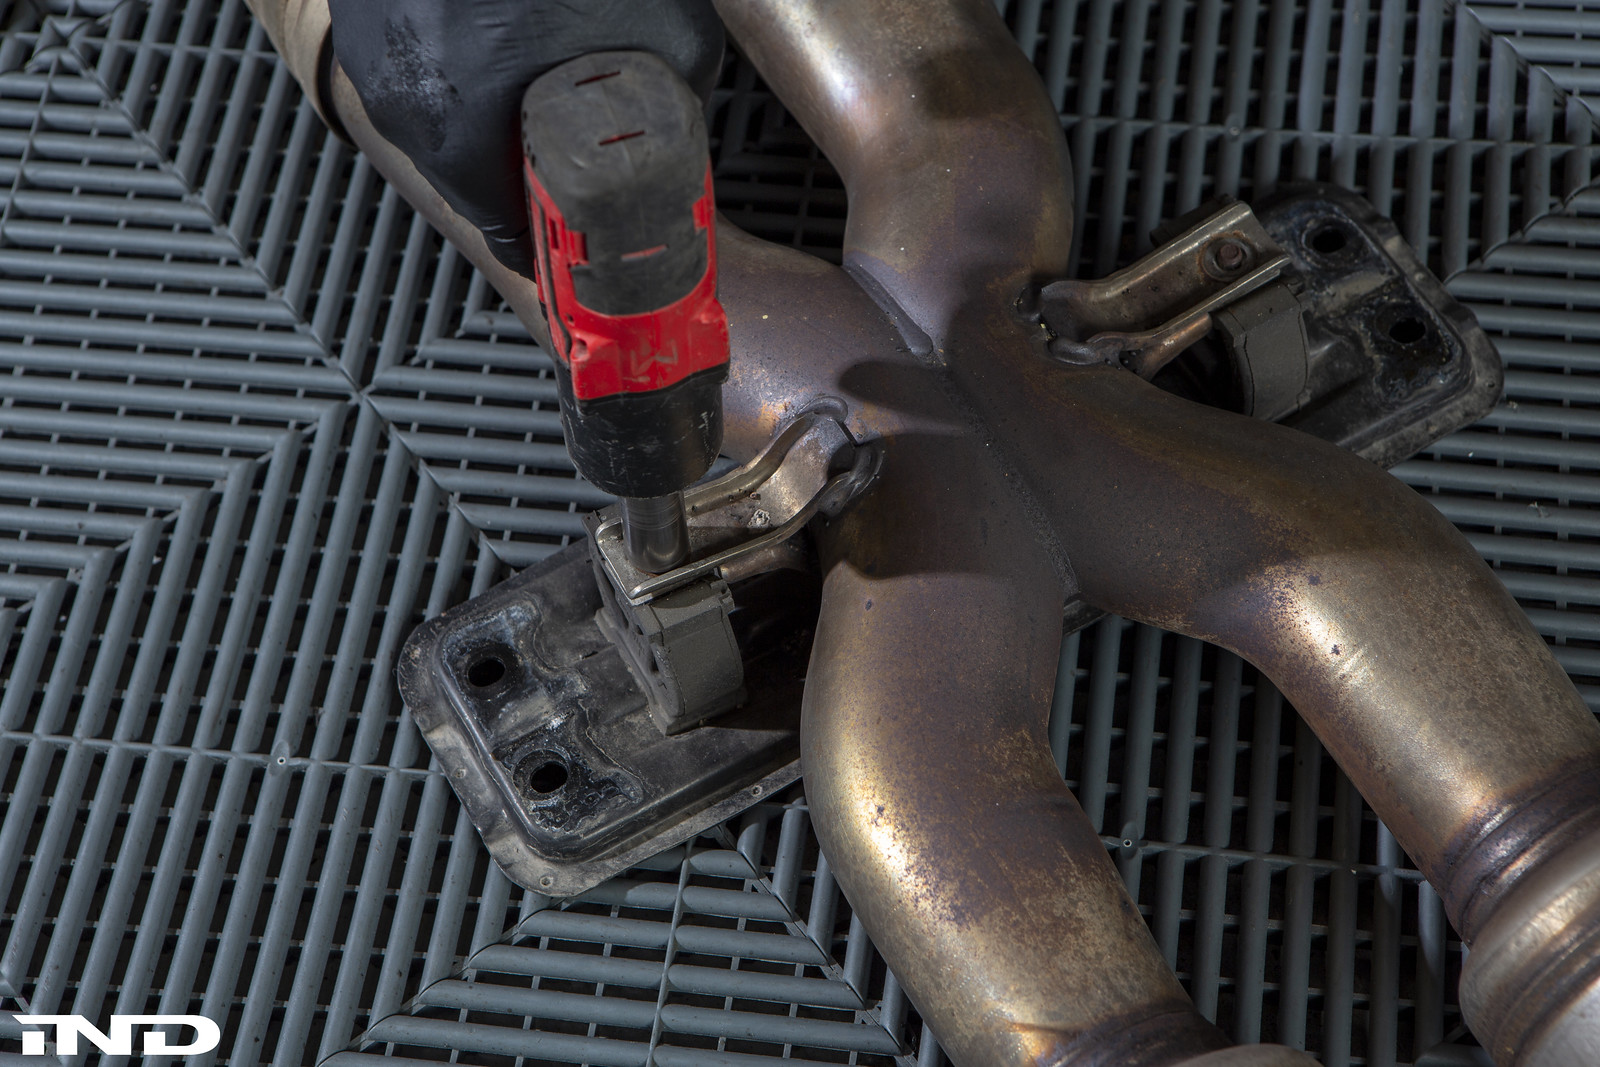  With both the OE and RKP x-pipes side by side, transfer the OE brace / hangers over to the RKP unit by removing / installing two 13mm bolts. 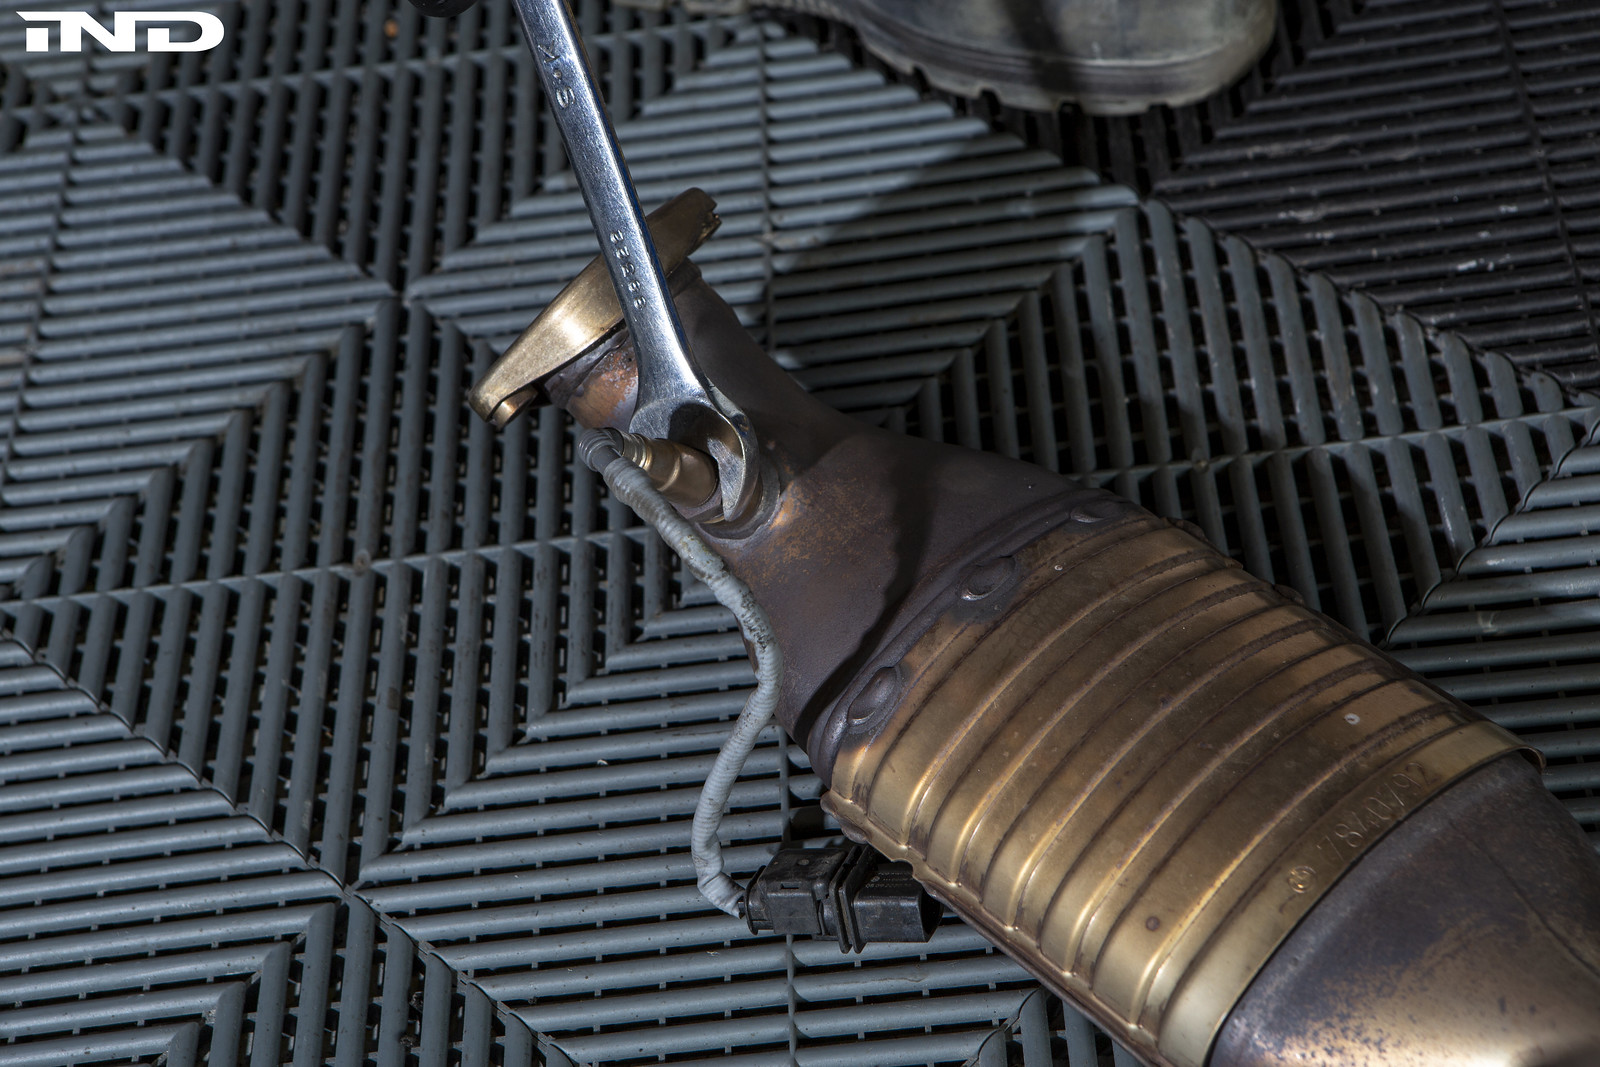    Using a 22mm wrench, remove the four O2 sensors from the OE x-pipe and transfer them onto the RKP unit.  Installing the RKP x-pipe is the reverse of removalbegin by installing the four brace bolts and then proceed to follow the previous instructions in reverse. 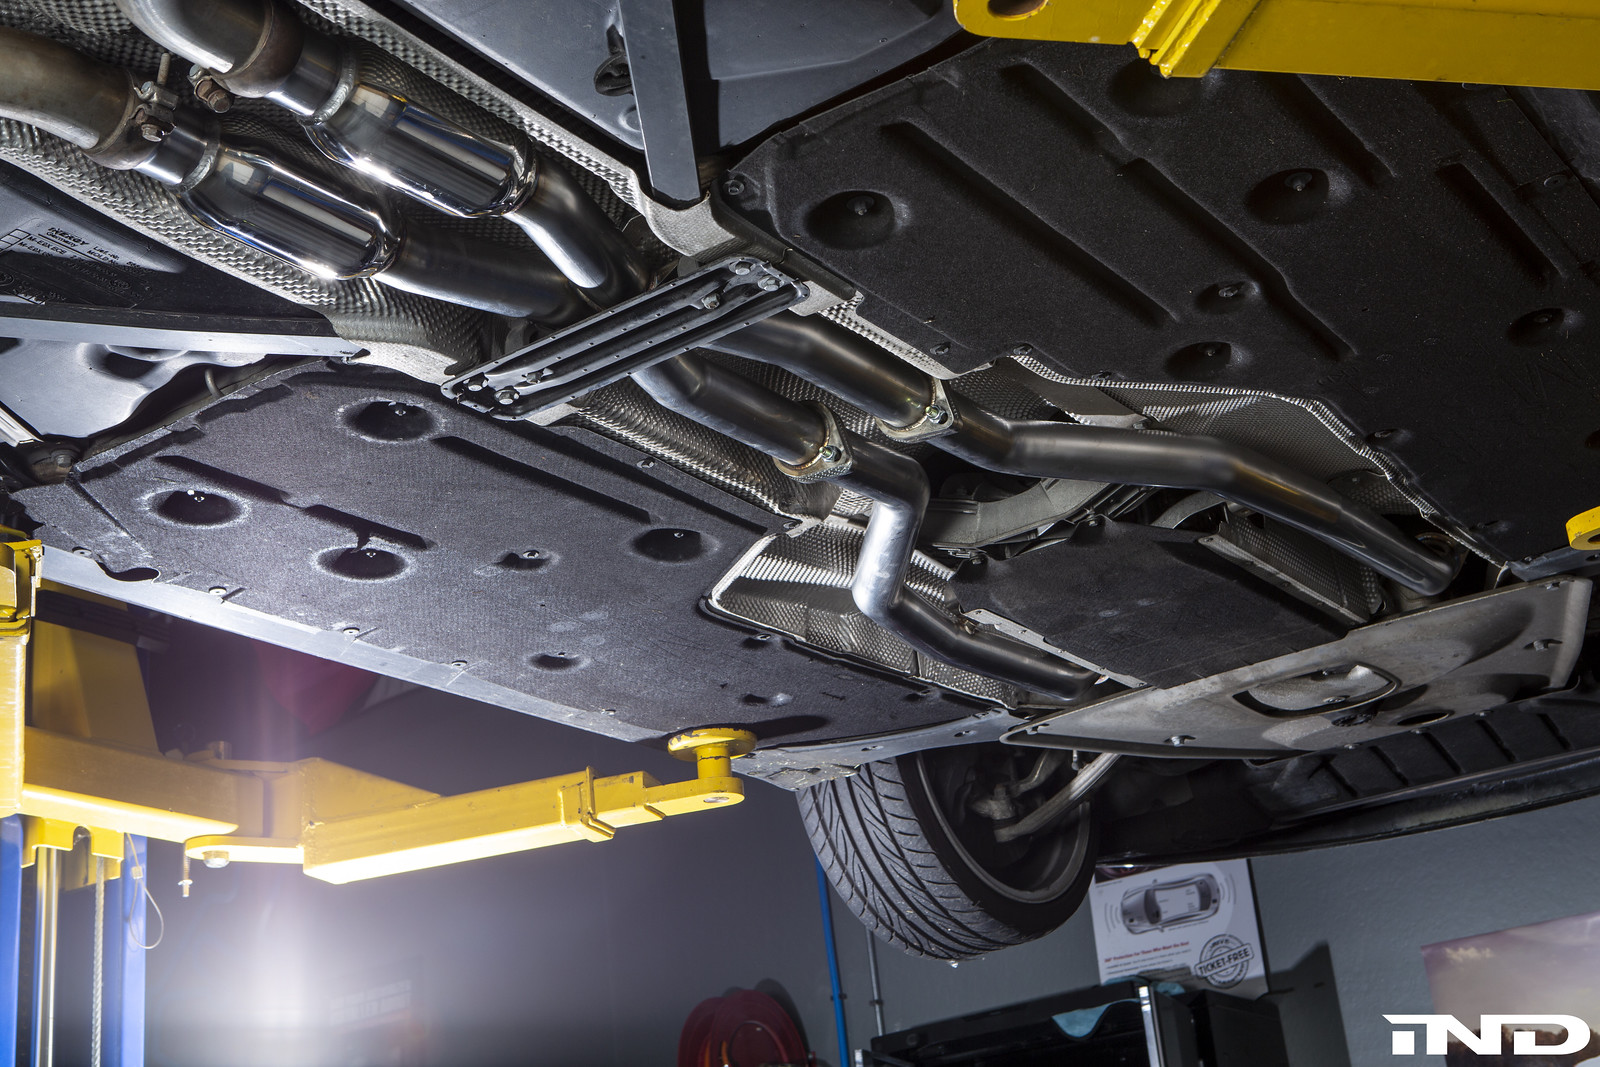   With everything installed properly, torque everything to spec. Lower the car to a comfortable level and start it to check for exhaust leaks. If no leaks persist, re-install all the paneling and torque to spec.
__________________
|
Post Reply |
| Bookmarks |
| Tags |
| challenge, challenge race, challenge sport, challenge x pipes |
|
|


