|
|
 |

|
|
|
| 06-28-2015, 06:14 PM | #134 |
|
Private First Class
 
62
Rep 117
Posts |
did my plugs today. 63300 km. passenger rear is pain for sure. esp. trying to get it to torque spec.
growls differently. don't notice anything else yet. |
|
Appreciate
0
|
| 09-21-2015, 09:33 PM | #136 | |
|
Lieutenant
 206
Rep 487
Posts |
Quote:
__________________
2004 M3 E46 LSB 6MT
2008 M3 E92 6MT 2024 M4 Competition xDrive |
|
|
Appreciate
0
|
| 12-09-2015, 09:12 PM | #138 |
|
Brigadier General
 
514
Rep 3,482
Posts |
Hmmm one of my coil wires wiggled loose so on my second drive I got a misfire. Stopped the car (luckily I was on the way to work and was already in my garage), took the engine bay apart and found one of the wires came off the coil. Plugged it back in, no misfire, but I still get all the check engine lights. Am I going to have to get this reset? (Nearest BMW dealer is 200 miles away).
__________________
2011 e90 M3 Space Grey DCT ZCP- eAs, BMW Performance, Agency Power, Macht Schnell, iND, Milltek, Volk, Challenge, Stoptech, Ohlins
BMWCCA:518970 |
|
Appreciate
0
|
| 12-10-2015, 11:08 AM | #139 |
|
Brigadier General
514
Rep 3,482
Posts |
Little update: The engine malfunction code went away, but the increased emissions code is still present. Should I pull the negative terminal on the battery and try "resetting" the ECU?
__________________
2011 e90 M3 Space Grey DCT ZCP- eAs, BMW Performance, Agency Power, Macht Schnell, iND, Milltek, Volk, Challenge, Stoptech, Ohlins
BMWCCA:518970 |
|
Appreciate
0
|
| 12-11-2015, 11:05 AM | #140 |
|
Brigadier General
514
Rep 3,482
Posts |
Ok, so in case anyone is a moron like me, just pull the negative terminal off if you pop the increased emissions code and it'll go away

__________________
2011 e90 M3 Space Grey DCT ZCP- eAs, BMW Performance, Agency Power, Macht Schnell, iND, Milltek, Volk, Challenge, Stoptech, Ohlins
BMWCCA:518970 |
|
Appreciate
0
|
| 01-01-2016, 06:40 PM | #141 | |
|
Colonel
 
994
Rep 2,493
Posts |
Quote:
|
|
|
Appreciate
0
|
| 01-01-2016, 07:21 PM | #142 | |
|
Retired Curmudgeon

3131
Rep 4,227
Posts |
Quote:
__________________
 '19 X3 M40 Carbon Black/Oyster, '21 X7 40i AW/Black, Past BMWs: '18 M550i, '18 330 GT, '16 X5 40e, '11 E90M3, '06 X5 4.4, '03 330i ZHP, '02 M3, '97 Z3 2.8, '95 M3 (2x), '94 530i (manual), '92 525i (manual), '88 M3, '87 325iS |
|
|
Appreciate
0
|
| 10-04-2016, 07:12 PM | #143 |
|
Captain
160
Rep 773
Posts |
Thanks for the great write up and pictures. Your post is giving me a lot of confidence to do this myself. Without pictures, it's all greek to me. haha I'm 67k and i believe the dealer did it at 37k. I just need to get the right tools and the courage to go forward...
__________________
2008 E64 M6
2011 E92 l SSII l Fox Red - 145k and Totaled. 2012 Toyota Prius C - 145k and Totaled. 2002 Nissan Pathfinder - 301.6K and Junked. 2000 Mitsubishi Montero Sport - Rolled & Totaled. 1995 Cadillac Fleetwood - RIP. |
|
Appreciate
0
|
| 05-22-2017, 10:04 AM | #144 |
|
Pingu
240
Rep 488
Posts |
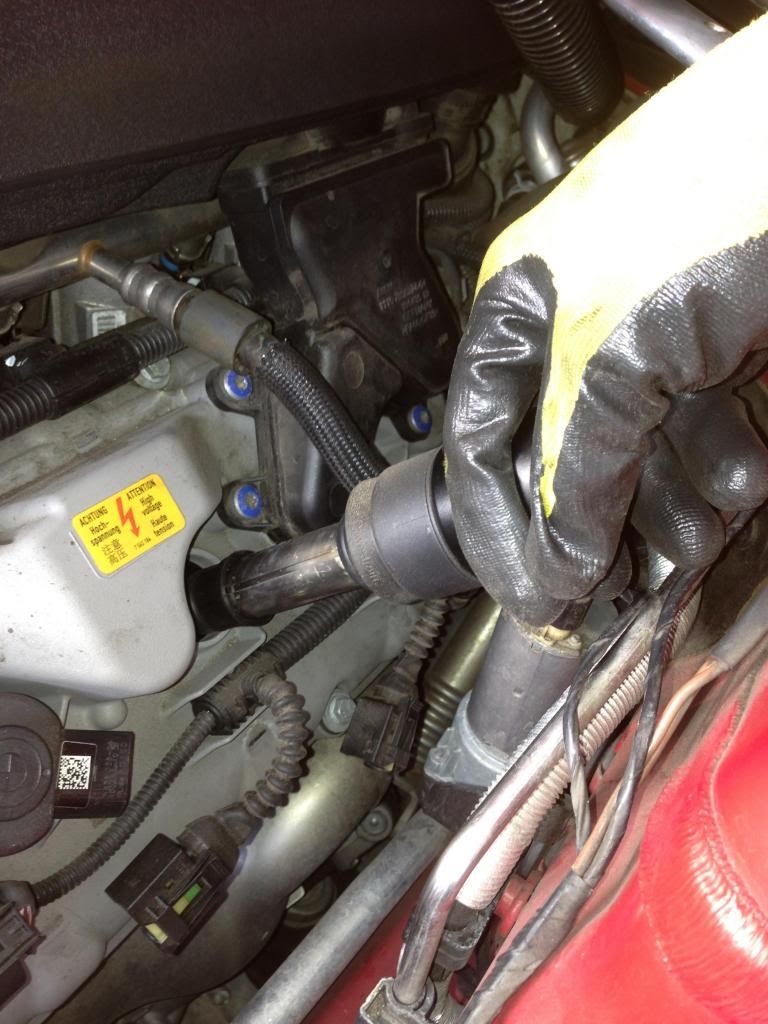
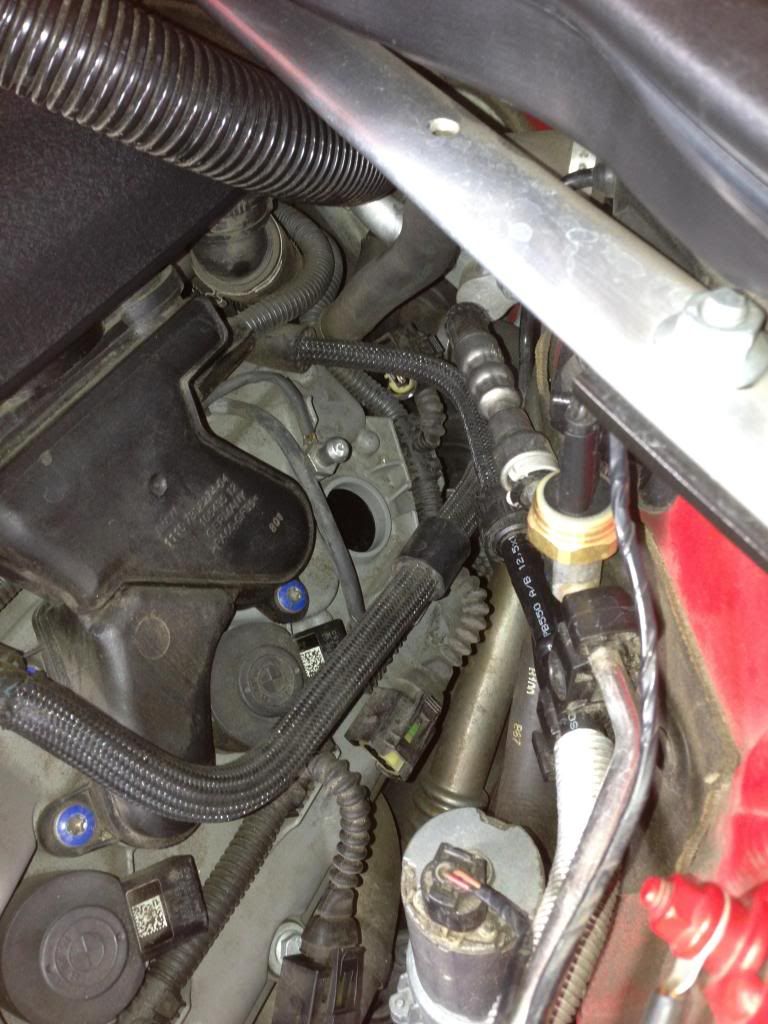
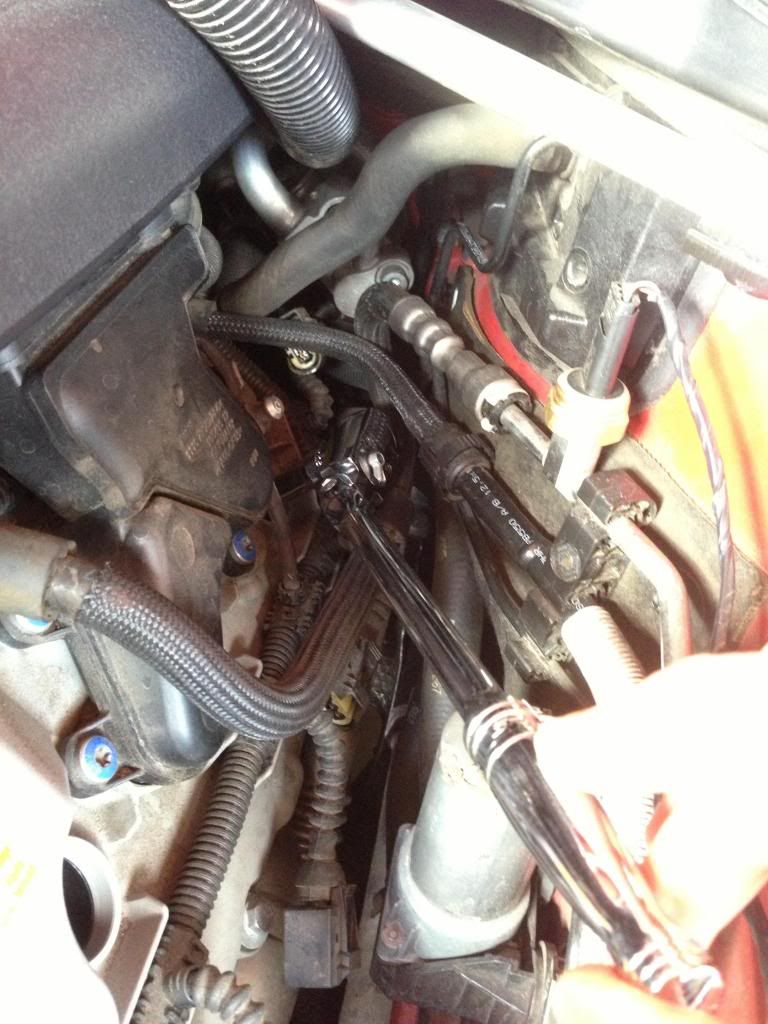
This thread helped a ton doing this yesterday. Have the TXStig tool but I used an ethernet cable to get the two coils against the firewall out, made it a lot easier. Those coils are really difficult to get back in because there's not a lot of leverage. Putting the last one in I dropped the TXStig tool into my engine bay and it's now sitting on top of the engine splash guard.
") |
|
Appreciate
0
|
| 05-22-2017, 11:02 AM | #145 | |
|
Major
 415
Rep 1,171
Posts |
Quote:
|
|
|
Appreciate
0
|
| 05-22-2017, 11:24 AM | #146 | |
|
Pingu
240
Rep 488
Posts |
Quote:
|
|
|
Appreciate
0
|
| 05-22-2017, 11:49 AM | #147 | |
|
Major
415
Rep 1,171
Posts |
Quote:
|
|
|
Appreciate
1
nah dude240.00 |
| 11-10-2018, 12:42 PM | #148 |
|
Private

31
Rep 69
Posts |
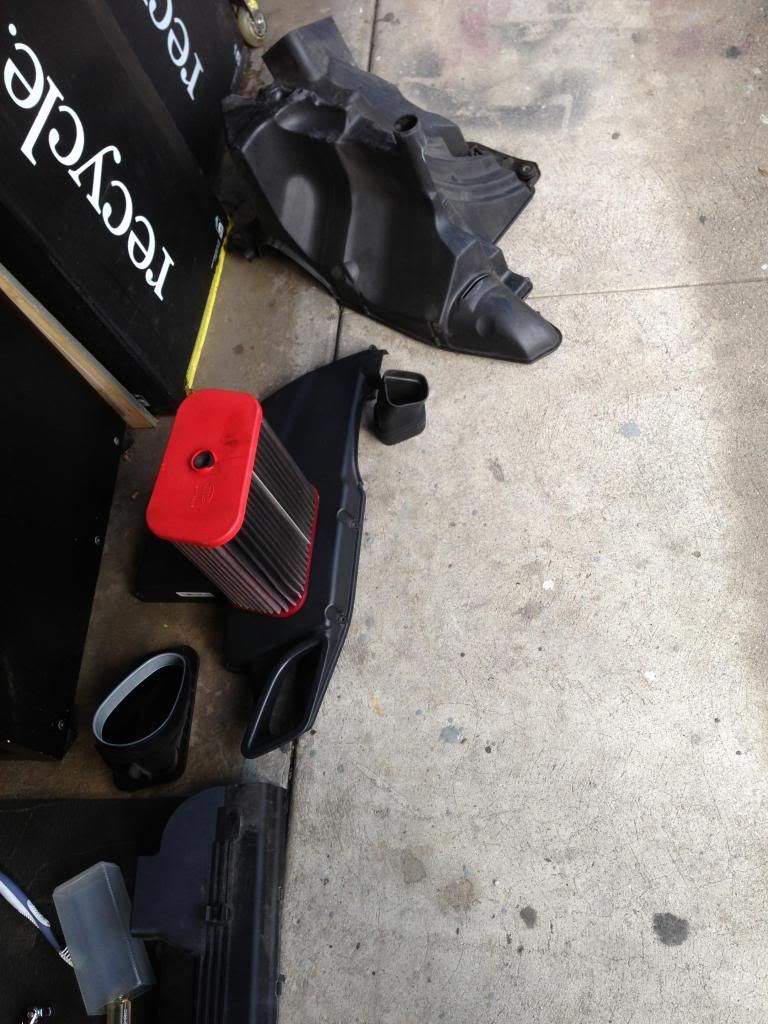
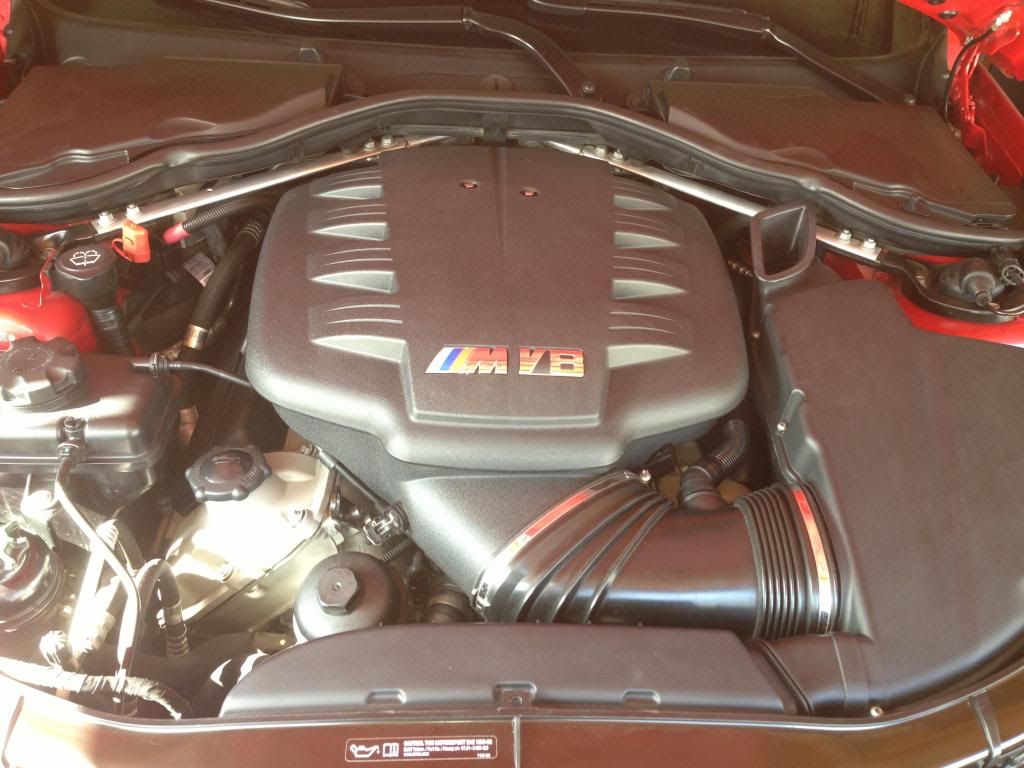
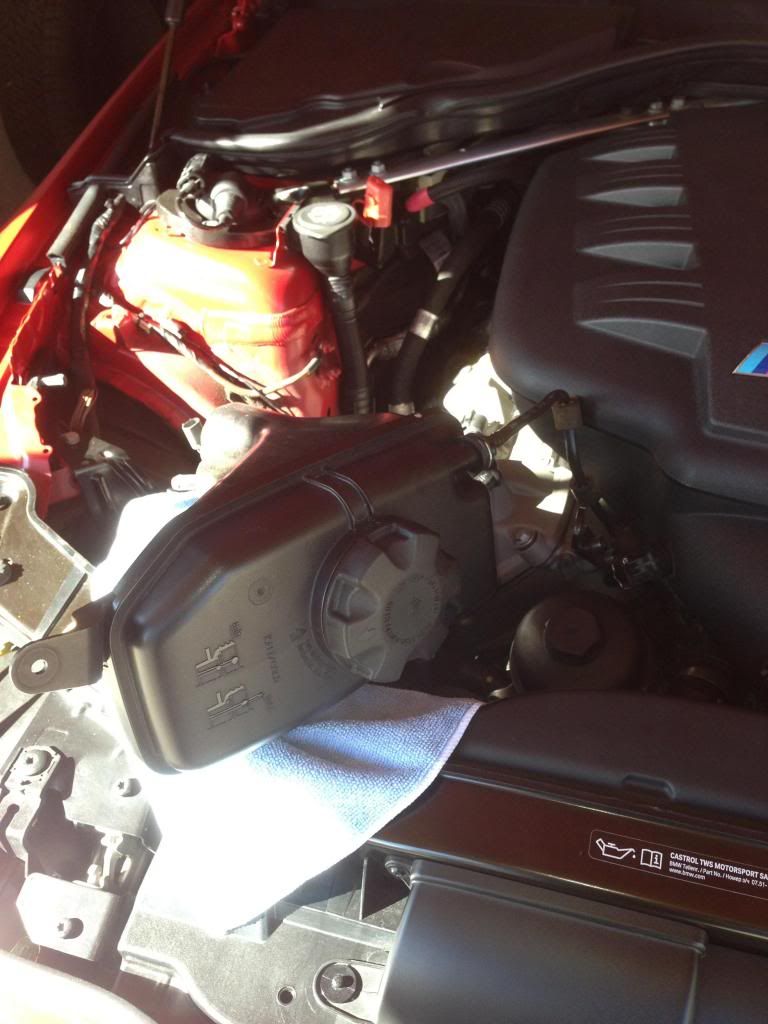
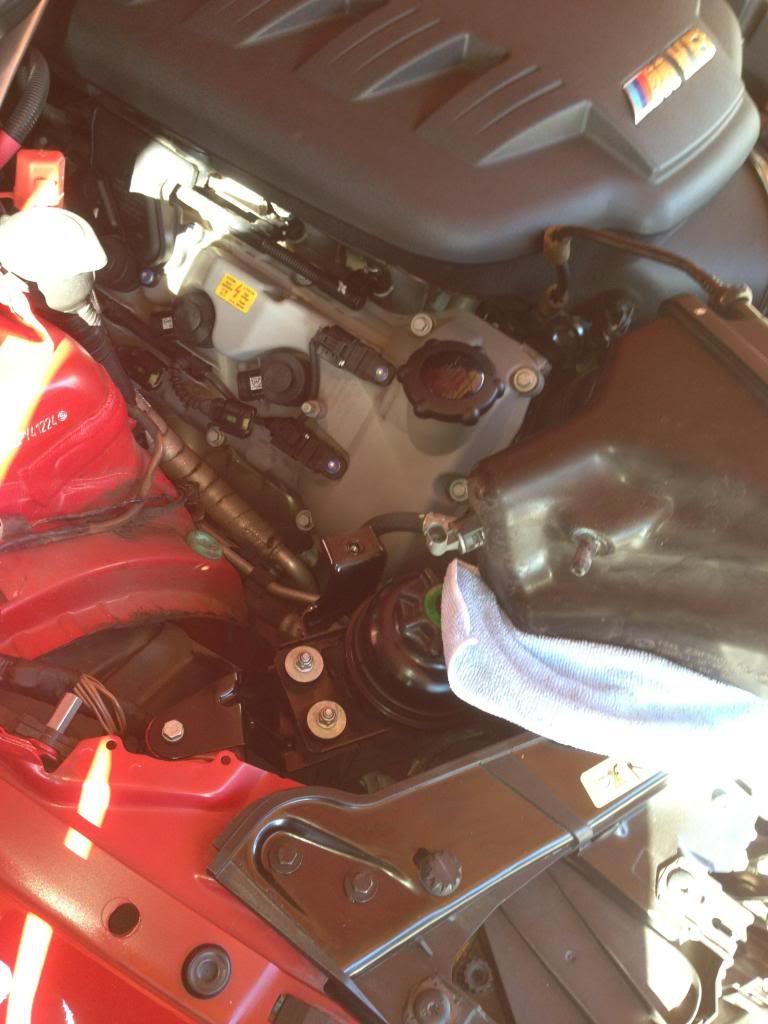
After watching a few videos and reading some other posts, I did my first spark plug change on my e93 M3 a few days ago. I like OP's method of getting to the plugs over others, because this way there are the fewest things to take out or move.
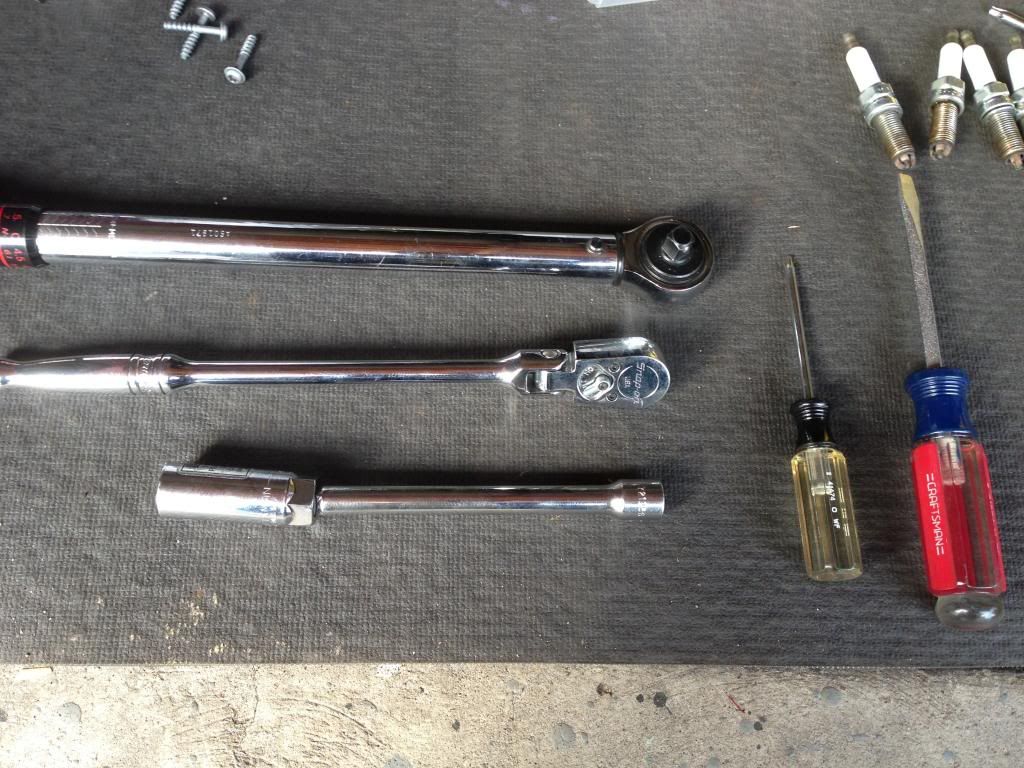
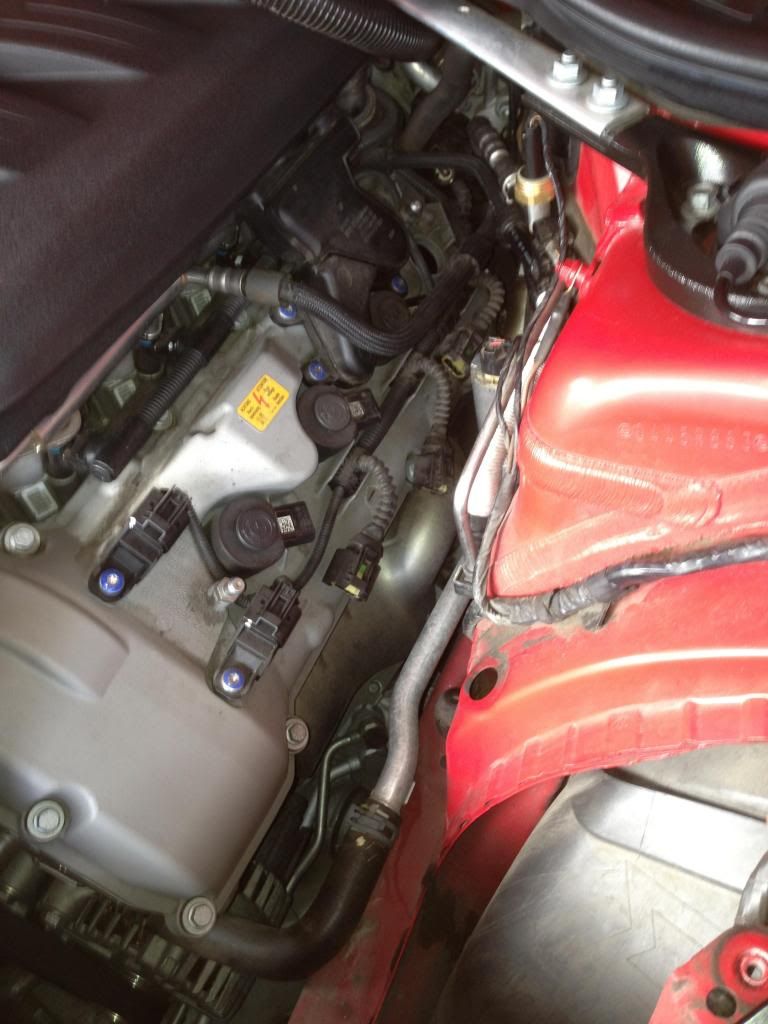
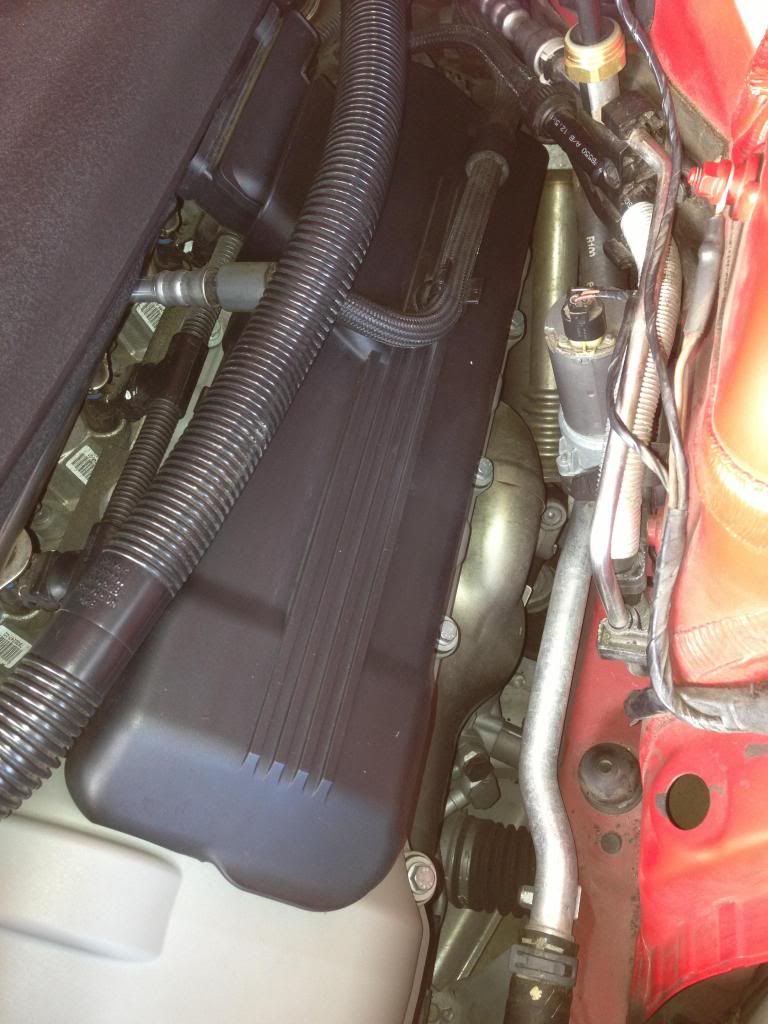
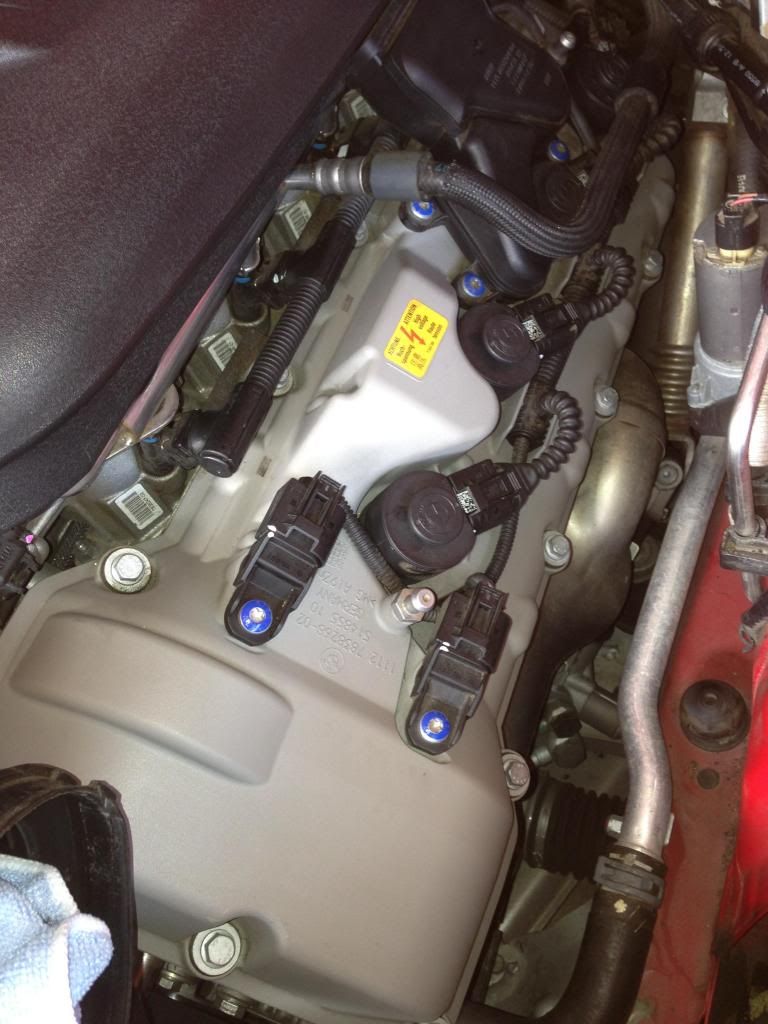
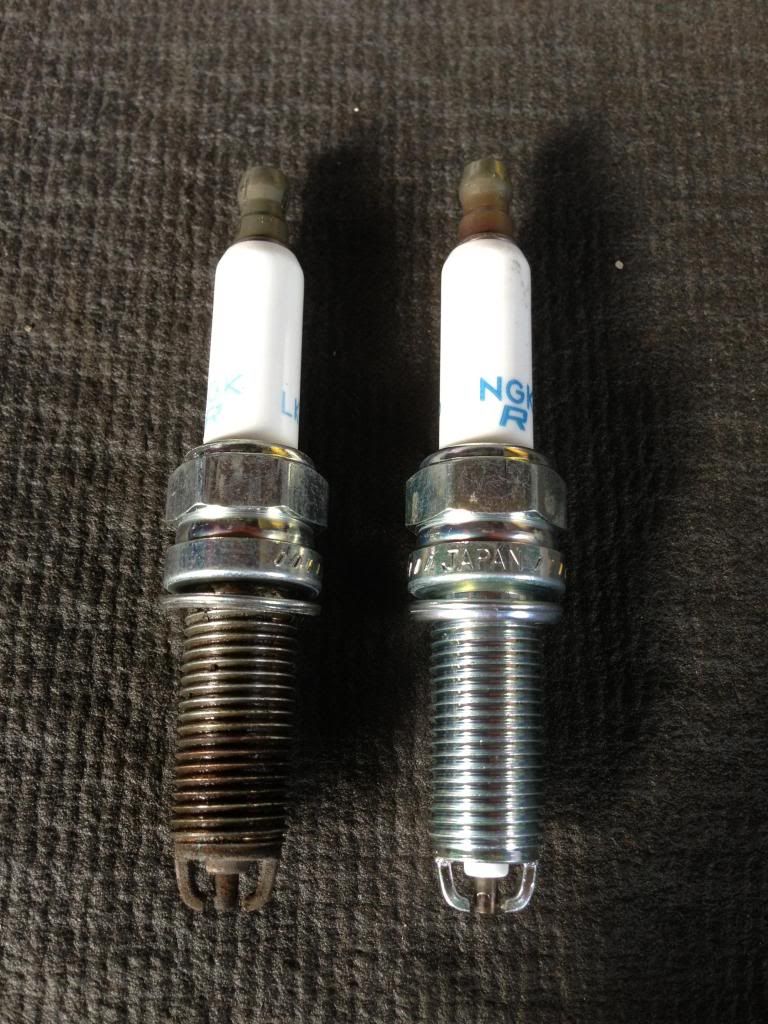
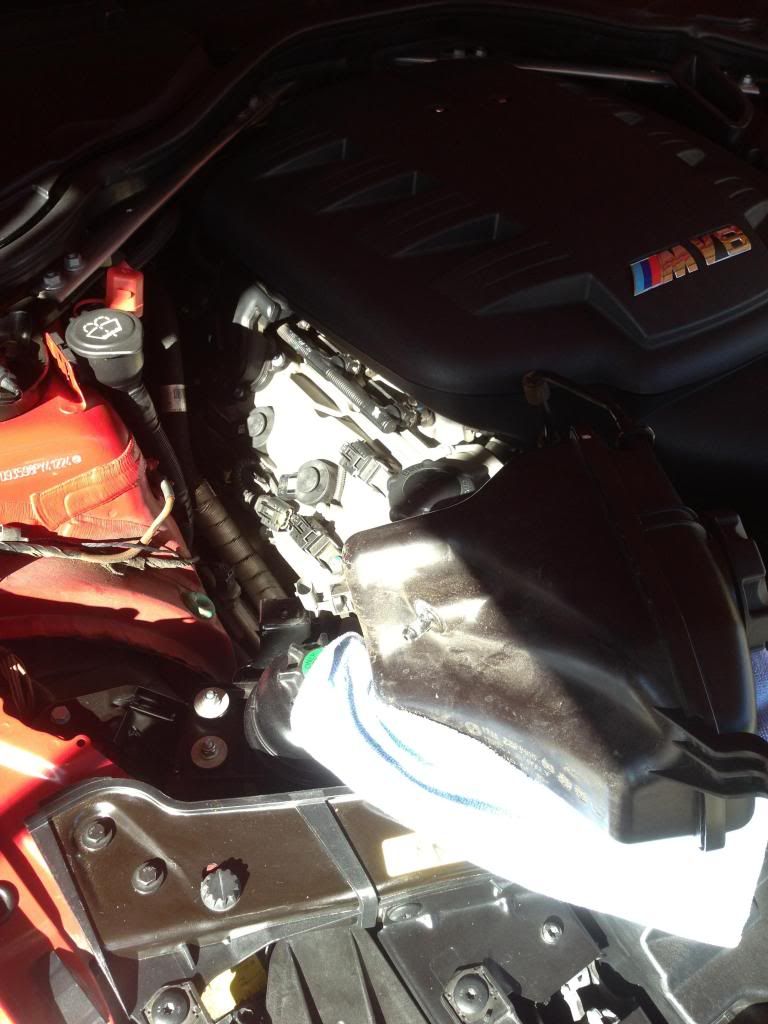
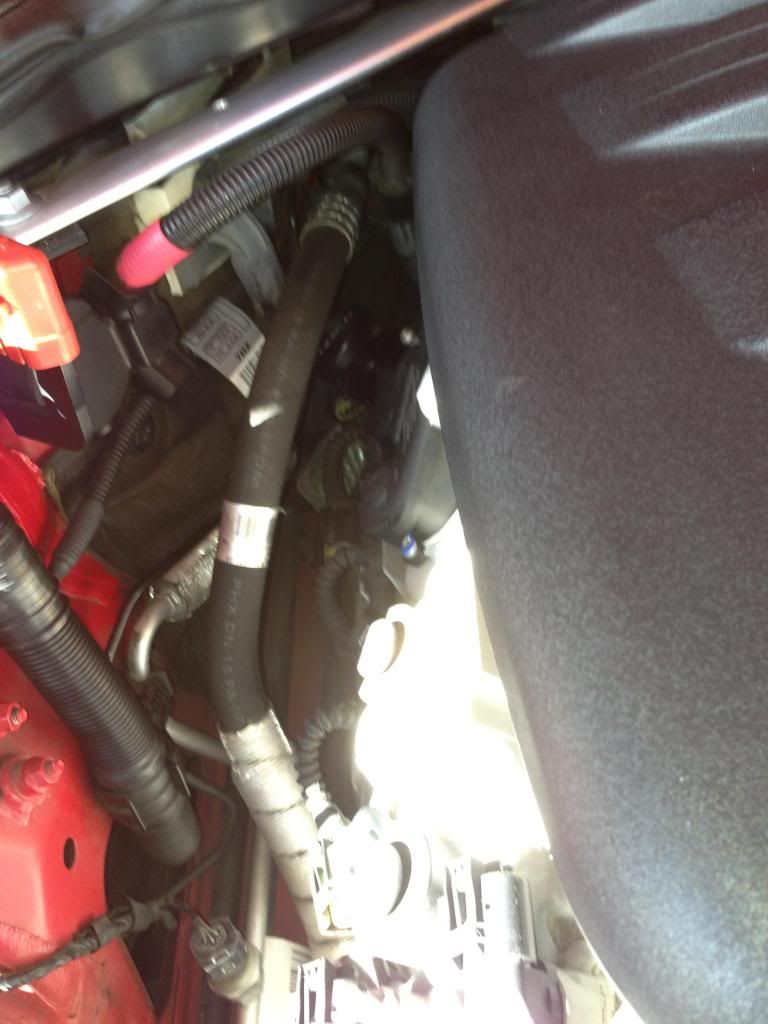
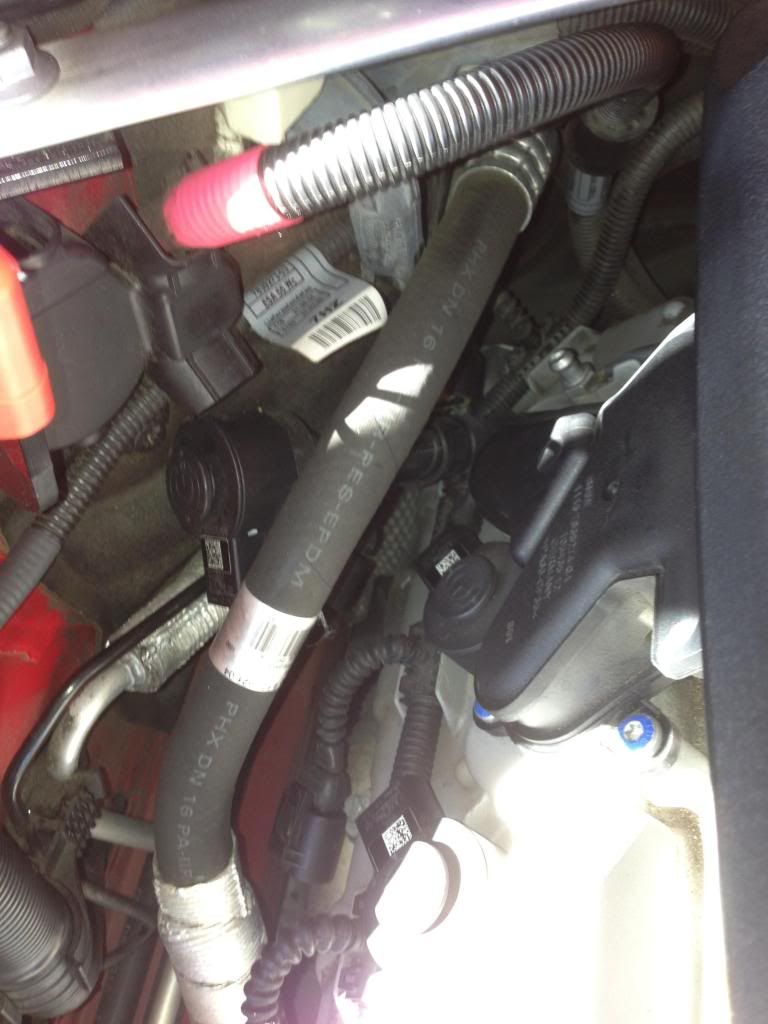
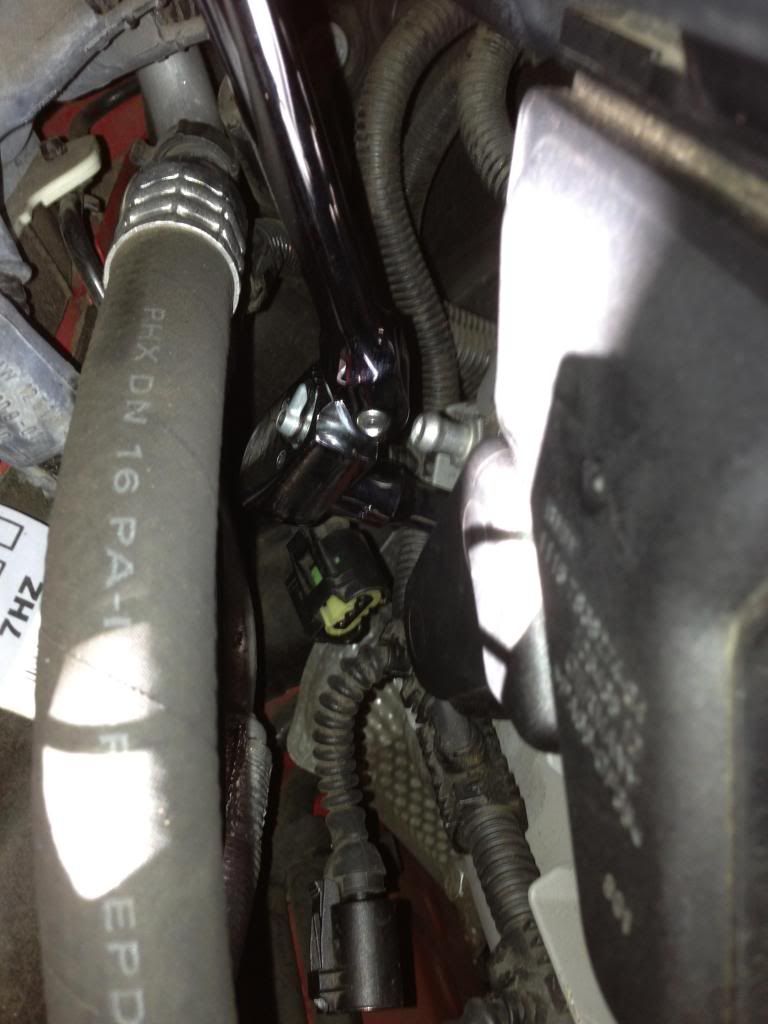
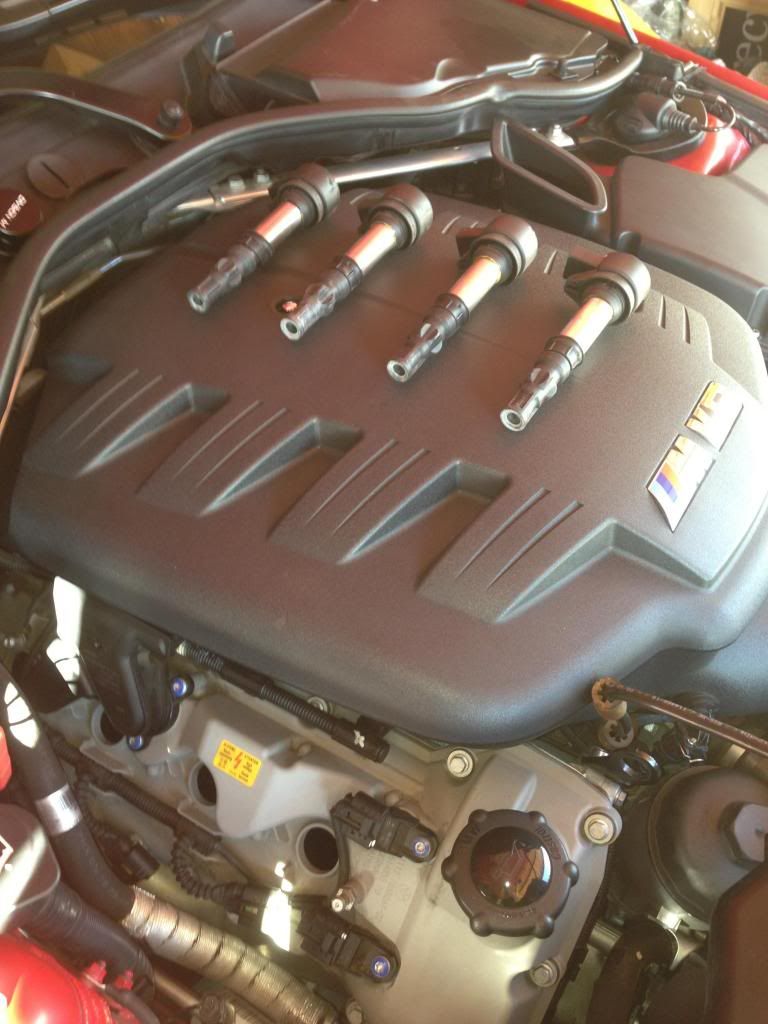
TL:dr: Get the coil pulling tool. Absolutely use a universal joint with an extension and a swivel spark plug socket - and have several lengths of extensions. And finally, try a 6.5x150 flathead screwdriver and some penetrating oil if you over-tighten the spark plug and break off the threaded part. I was initially against getting the coil pulling tool, preferring to jerry-rig a wire-hanger or use ethernet cable instead of spending money on it. However after reading other posts of people saying it sped the whole thing along, I decided that for me, speed was more important that doing it for free with existing things. Mostly because I was doing it in my apartment building's garage and I'm not supposed to be working on the car in there. So I wanted to get it done quickly. I can say that it's great. I pulled out the easy-to-access coils in a second. Even the difficult ones took me a few minutes max to figure out (using a long screwdriver to lever out the tool was helpful). For the actual spark plugs, I used a swivel spark plug socket - but also a universal joint, and few different length extensions. This was the only way for me to reach the difficult spark plugs and it was not difficult to do. Having the universal joint in particular was great. My only surprise was when I was using the torque wrench on the 6th new plug when suddenly and for no reason, I over-tightened and broke the threaded part of the plug off, while it was threaded in the chamber. I didn't overtighten it past the click much, but much isn't required at that point before it breaks. I didn't realize something was really wrong until I tried to unscrew the spark plug and sparks came shooting out of the chamber. I pulled out the socket and saw the "naked" spark plug still in the spark plug socket but missing the silver threaded part, and said oh shit. I opened the trunk and disconnected the negative battery terminal. This was particularly unfortunate for me because I am overdue (now) for emissions inspection and every time I disconnect the battery (I just replaced the EDC), I reset the computer. Breaking it off also bummed me out for a few other reasons:
Anyway: I did the last sparkplug change and then started googling. One of the great things about the internet is, you're not the first to do that dumb-ass move. I was pleasantly surprised to find a whole bunch of hits right off. I read one account of someone using a flat-head screwdriver and some penetrating oil. Ok. So I get a few flatheads, and eyeballed their widths against an old plug: my goal was to find a screwdriver that was about the same width or a tiny bit wider. I ended up using a 6.5x150 screwdriver (6.5mm tip, 150mm in length). I sprayed wd-40 on it (the penetrating oil I had around) and some in the chamber to try to coat the threads of the spark plug piece. I was not psyched to spray penetrating oil in the chamber, but I had read it was ok. Later when I warmed up the engine I saw some smoke and got a horrible smell, but I turned off the car and didnt see it again. Although I suppose I should have waited longer for the penetrating oil to penetrate, I only waited maybe 5 minutes before inserting the screwdriver into the chamber. When I felt the screwdriver scraping against the threads, I gave it a few firm taps.Then I slowly turned it to the left, in the hopes that I was unscrewing the piece. It felt like I was - there was some firm resistance. I kept turning to the left and then the resistance disappeared! I was psyched. I pulled the screwdriver out and - no part. I stuck an extending magnetic tool down there and that grabbed it. I made sure that I had all the pieces by comparing it to a plug I had just removed. The little washer had also came out. Then because I only had ordered 8 plugs, I didn't have another one to put in the car, until - duh - I realized I had 8 plugs I could use. So of course I put an old one back in until I could order up a new one. As Sean Connery said about torque wrenches, "One click only, Vasili." Last edited by RedCardinal; 11-10-2018 at 01:44 PM.. |
|
Appreciate
1
shimmy232420.00 |
| 12-06-2018, 09:38 PM | #149 | |
|
Banned
30
Rep 213
Posts |
Quote:
|
|
|
Appreciate
0
|
| 12-31-2018, 10:48 AM | #150 |
|
New Member
2
Rep 11
Posts |
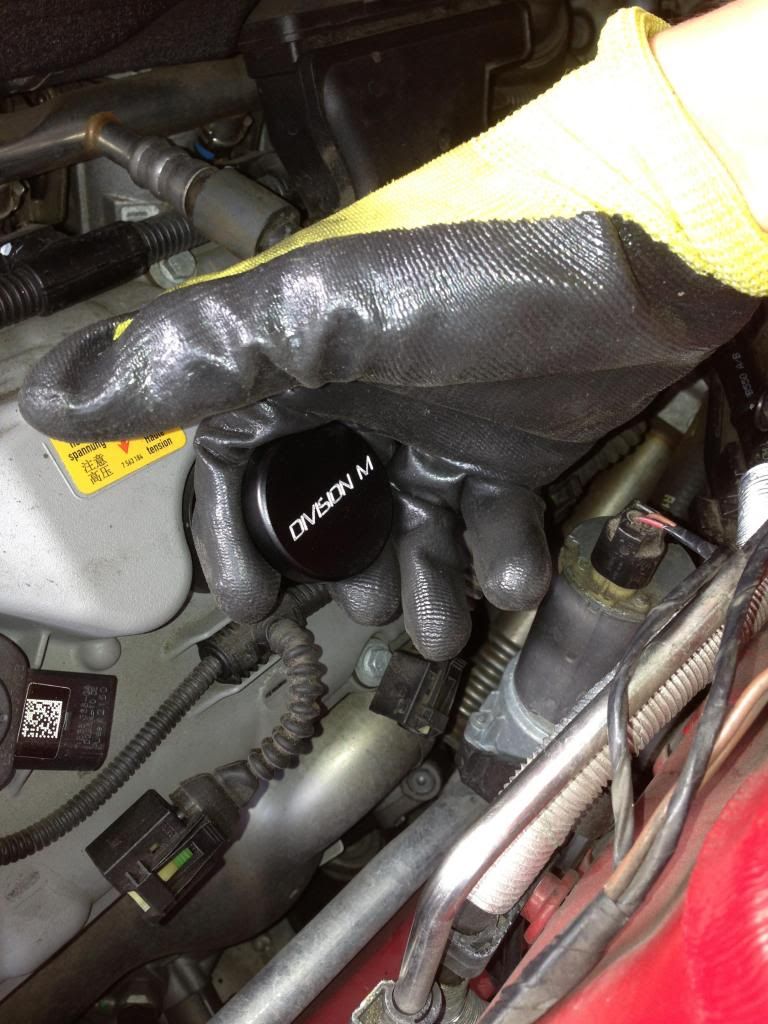
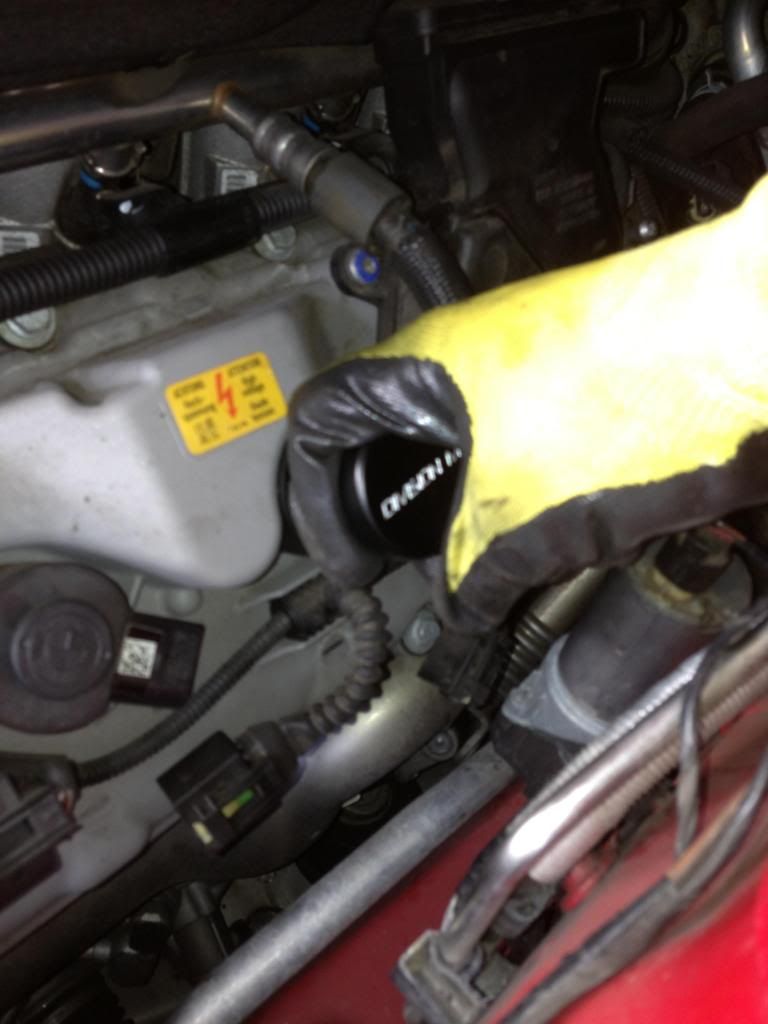
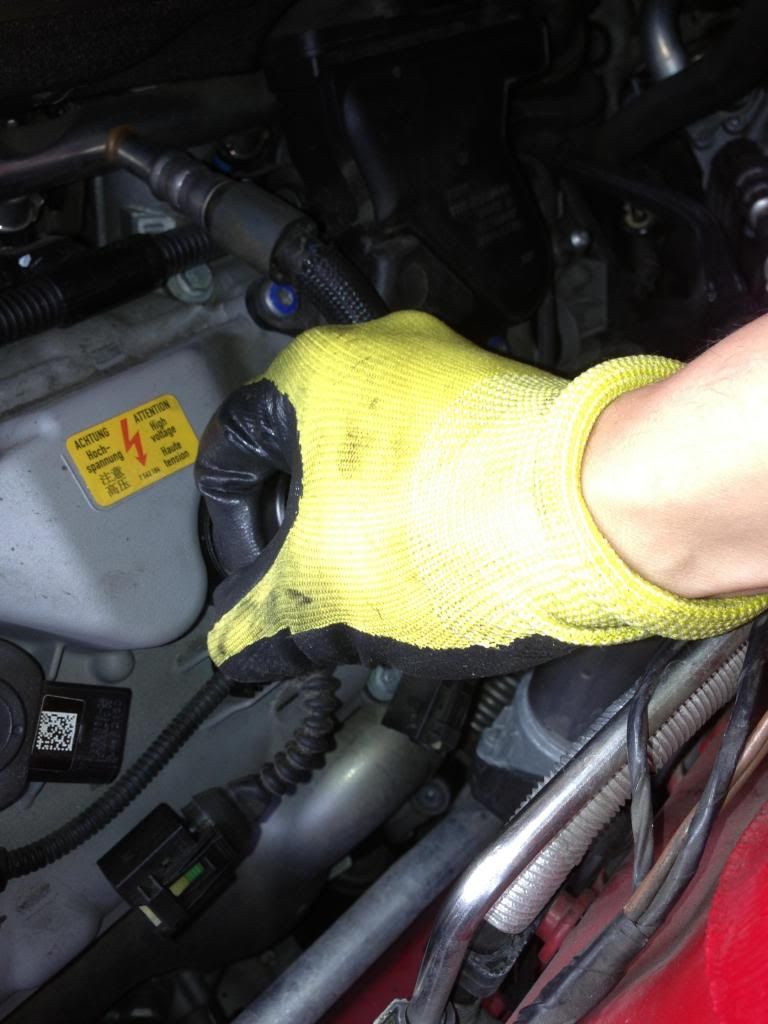
I did mine this weekend. 40k mikes on a 2010.
I used the division M puller, it really made the job easy. I definitely recommend spending the 30 bucks to get this tool, instead of a coat hanger or the other hacks. I was really nervous about the number 4 cylinder based on what I read, but it wasn’t difficult. Part of the reason why could be that the valve cover gaskets were replaced at 35k (done under extended warranty which recently expired) miles, so the coils were pulled fairly recently. But if I had to, I could see how you could get some leverage with the metal cross member to aid in pulling it out. Unlike most cars, it’s easier to start with the drivers side, the first two plugs have very easy access so you can get the technique down. I did break off the plastic post holding the grommet when removing the black plastic spark plug cover on the drivers side. However, I fixed that with epoxy and used grease on the grommet to make it easier to get on and off again later. I was very careful removing it, it just wouldn’t come off easily and I wound up breaking off the tab. The tab stayed attached to the metal post so I could easily get it and reattach it via epoxy. It may break the next time, I’ll replace it if so. It it’s cosmetic so not really worried about it. I used dielectric grease on the boot to aid in a future release of the coils. The dealer apparently used the wrong screws for the assembly of the plastic cover during the valve cover replacement for the cabin air filters, so that was fun trying to fix that. |
|
Appreciate
0
|
| 08-15-2020, 06:10 AM | #152 |
|
Lieutenant
569
Rep 582
Posts |
Done mine like a month ago now. Used coat hanger and it works like a charm. Cylinder 4 is rather easy with this short setup. Cheers for all the diyers out there!
__________________
Current - 2011 E90 M3, Jet Black, 6MT ZCP. Recaro/Bilstein/BBS/StopTech/Haimus/Turner/Pinnacle/BE/Auto Solutions/Macht Schnell/GC/Whiteline/Slon/Alpine
Sold - 2008 E92 M3, AW x FR, 6MT. CF roof is oh-so-Sexy! IG @misterclutch888 Slow Build  |
|
Appreciate
0
|
| 05-23-2023, 11:46 AM | #153 |
|
Lord
14
Rep 111
Posts |
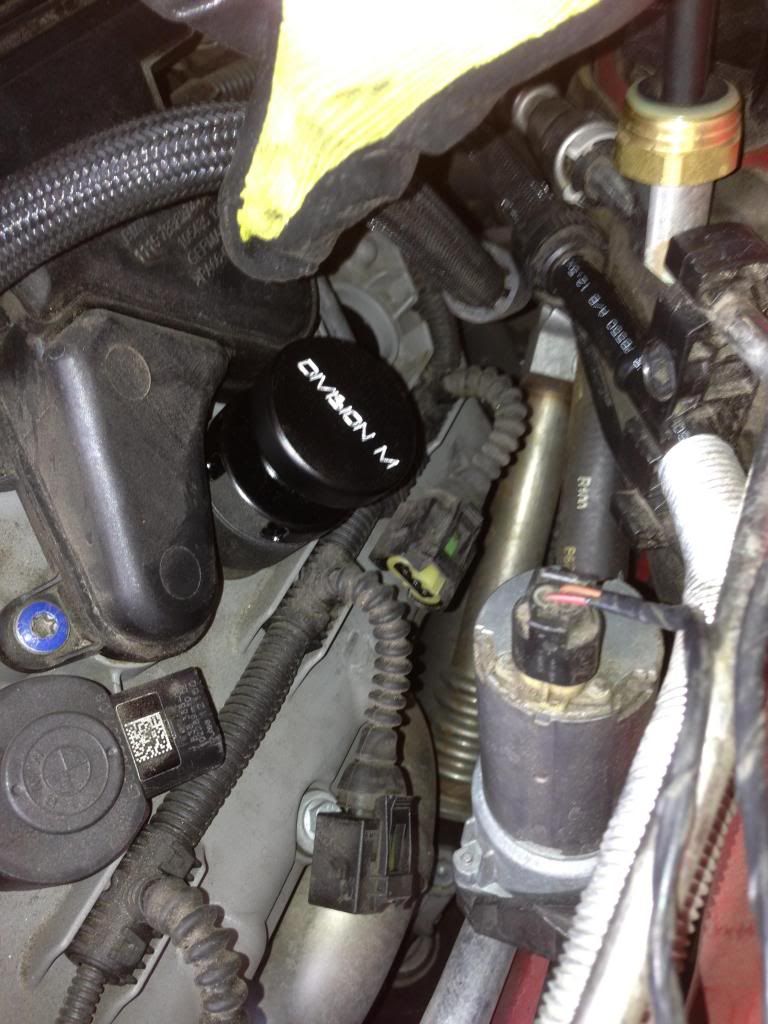
broke one of the round plastic pieces on top of the ignition coil on coil #3 on the passenger side, even while using the division M tool
 i ended up rotating the head of the coil back and forth a tiny bit first before using the tool to pull and release it i imagine if you rotate the coil to much, it will detach the rubber coil boot and get it stuck in your manifold Are there opinions on whether dielectric grease is recommended or not, not sure how it may dirty up the spark plug tube with heat and age. |
|
Appreciate
0
|
Post Reply |
| Bookmarks |
|
|