Here are some images to help understand the install process.
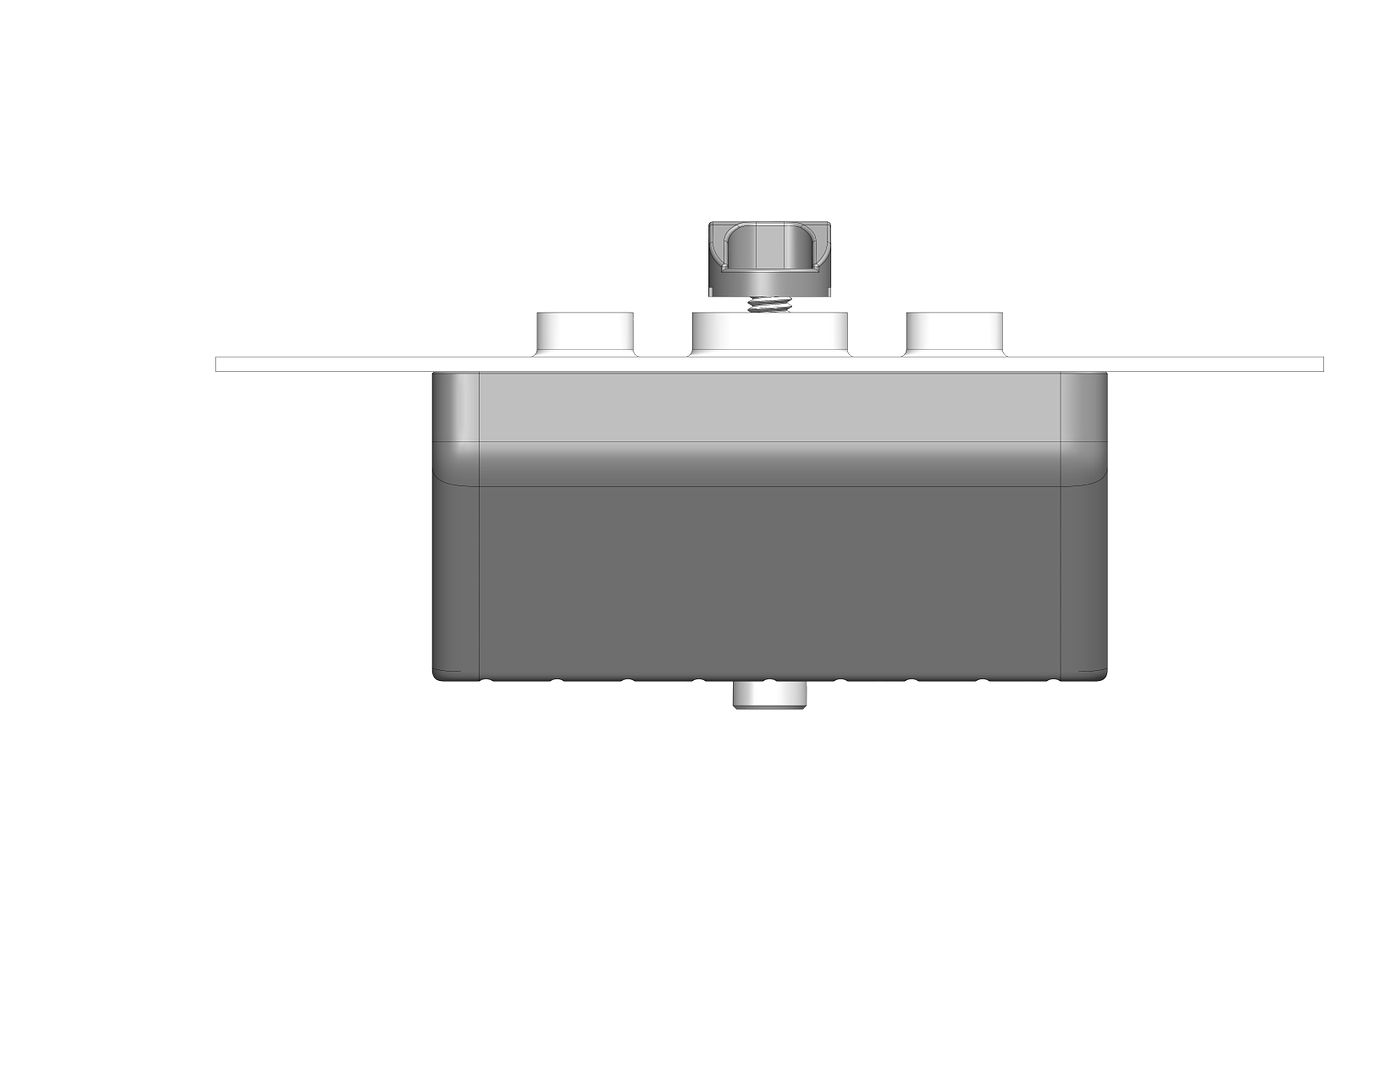
1. Place the screw through the jackpad and get the custom nut started on the threads a couple full turns only.
2. Align the nut so that it can be inserted into the slotted hole in the chassis of the car, bring the jackpad and screw/nut up to the chassis while holding the jackpad in one hand and holding the head of the screw in the other to keep it from moving.
3. Once you have the nut and screw up into the chassis you need to rotate the screw and nut 90 degrees and then let it lower and engage the formed boss inside the chassis. The nut has grooves in the bottom that help it lock into place and not rotate. But you need to tighten the screw "while holding or pulling it down" or at least not pushing it up. If you push it up it will all just spin freely and not tighten. Make sense!
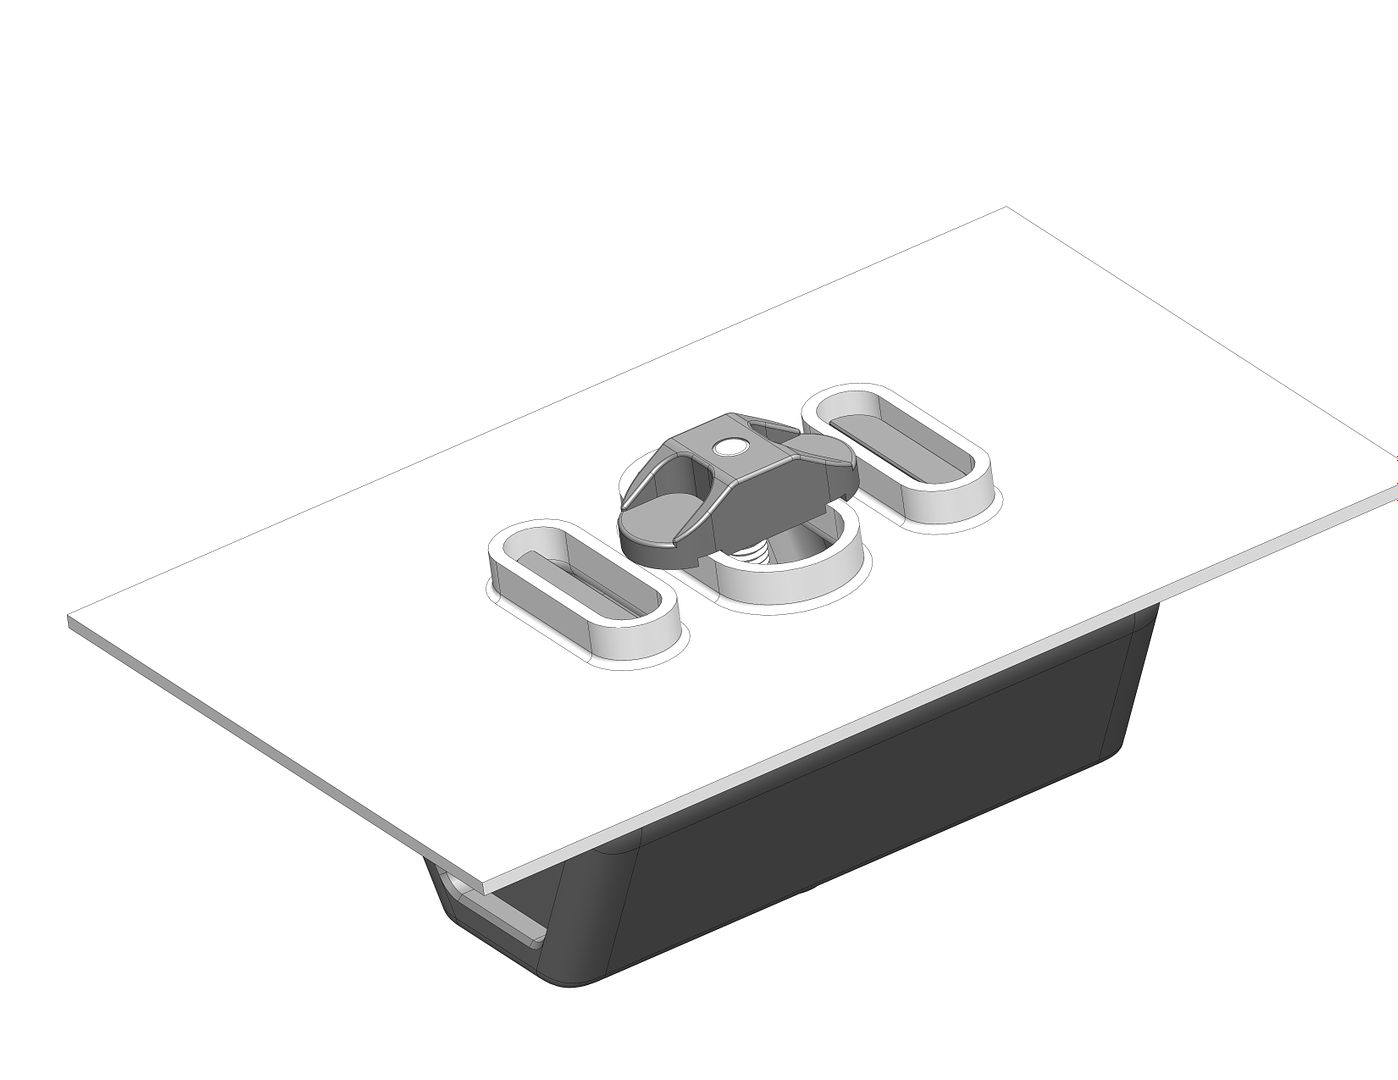
Pad in place, nut fed through the chassis.

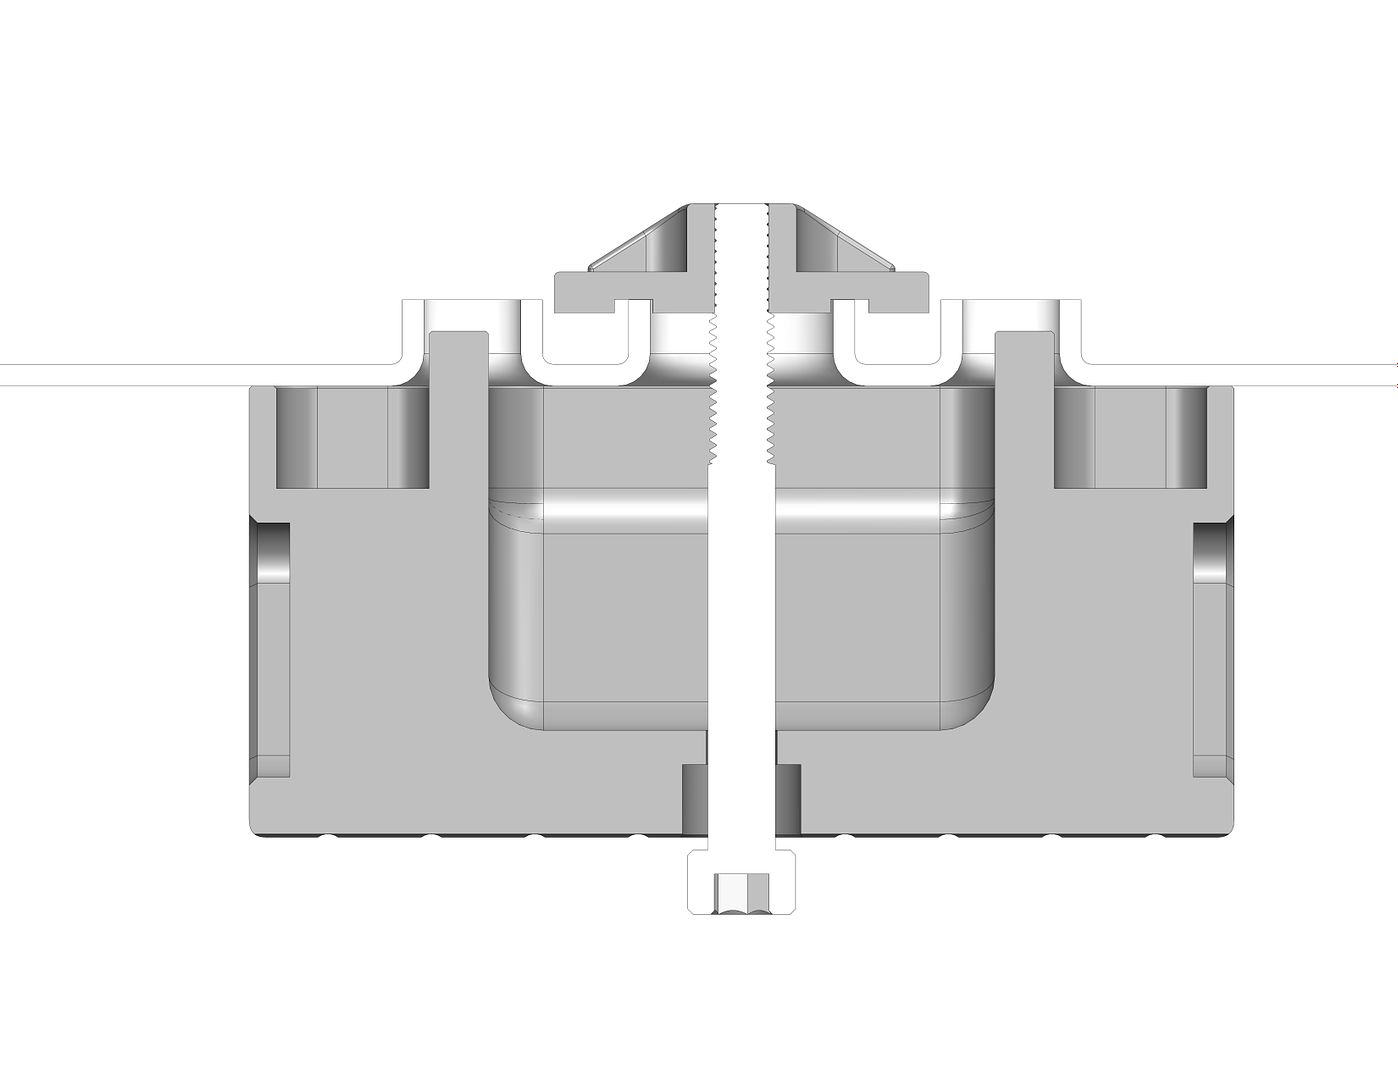
Rotate 90 degrees and lower into place, then tighten without pushing the screw "up".
__________________
2012 E92 M3 ZCP MCS 2WR coilovers 600F/900R, Performance Friction ZF54 front BBK, stainless lines, Ferodo DS 2500 rear pads, Hotchkins F/R swaybars, solid subframe mounts, BE Bearings, ARP rod bolts, Bimmerworld motor mounts, AFe intake, underdrive, CSF radiator, GT4 front lip (ebay), APR GT 500, ebay side skirts, RaceEng tug, 15mm/10mm spacers on ZCP wheels, Apex ARC 8 18x10 square track wheels with Pirelli 265 DH slicks