Tools Required:
- Trim removal tool a small plastic pry-bar
- T10 Torx screwdriver
- T20 Torx screwdriver
- Various small Common and Philips screwdrivers
- 10mm socket wrench to disconnect battery terminal
BEFORE YOU WILL START ANY WORK, PLEASE REMOVE CD/DVDs FROM YOUR CCC NAVIGATION UNIT AND THEN DISCONNECT NEGATIVE TERMINAL FROM THE BATTERY.
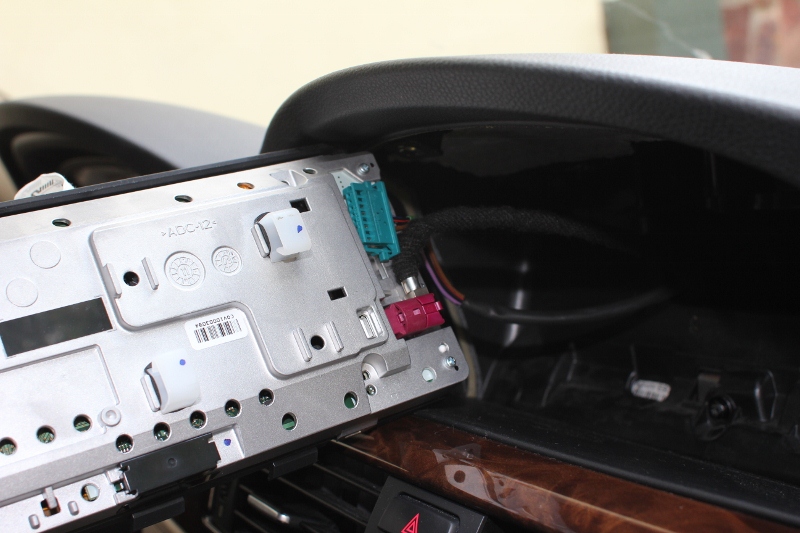
Dissassembly of old CCC Navigation Display and Installation of new Central Information Display.
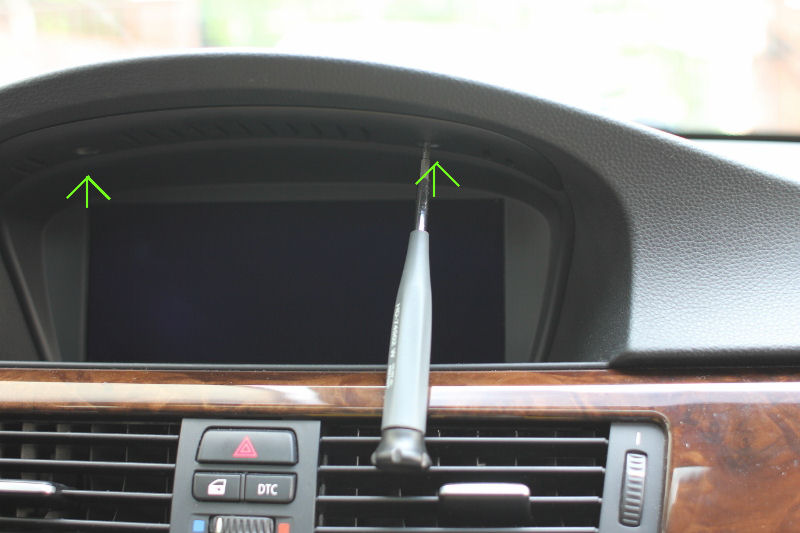
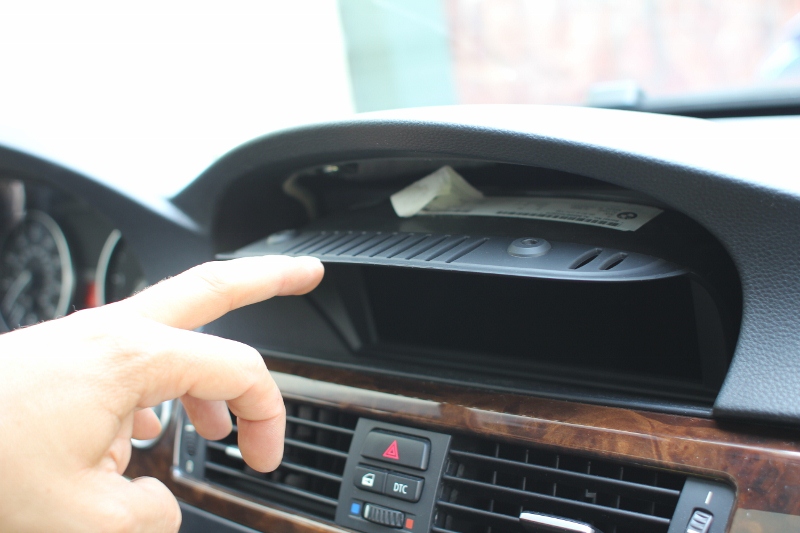
Take out two T10 torx screws and remove old Display Screen.

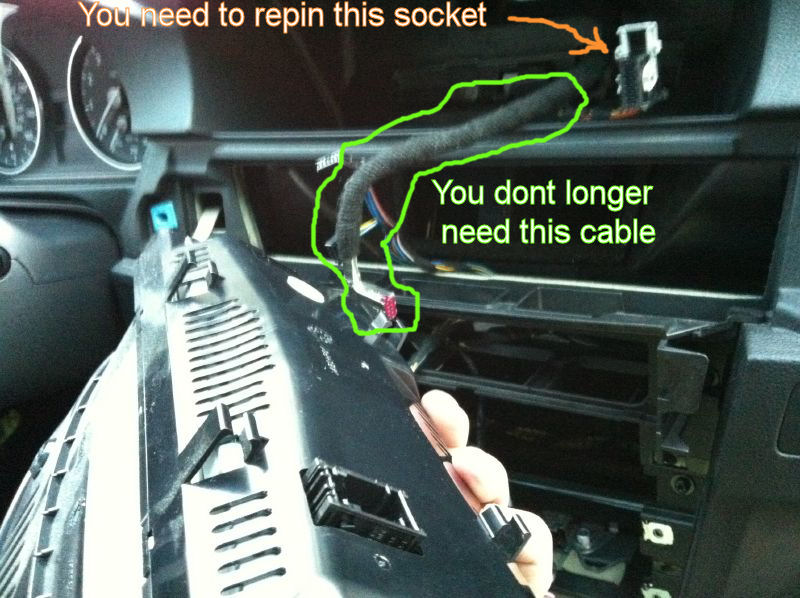
Unplug power connector (black plug) and LVDS screen connector (silver plug). You no longer need the display screen connector, so you can insulate this socket with black tape and hide inside the hole in the dashboard.
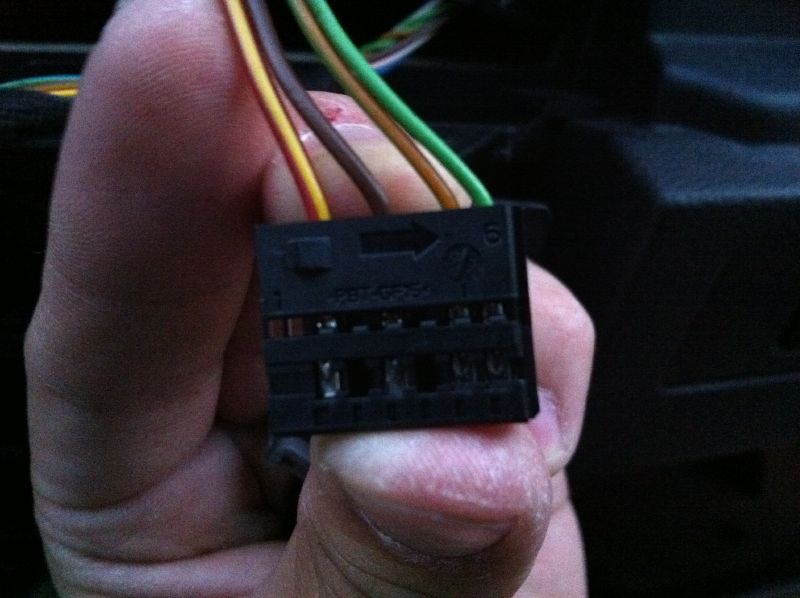
Once the old display will be out, you need to change pins in the power socket.
You will need new CID Power socket #6113 6954526.
Start one by one switching wires to the holes with the same numbers:
1 to 1 (Red/Yellow)
3 to 3 (Brown)
5 to 5 (Orange/Grey)
6 to 6 (Green)
Each time, when you plug new wire to the hole you need to hear a click. After repining 4 wires, you need to press down plastic tab at the top of the socket.
This is how new CID Power socket #6113 6954526 should look like (sometimes this socket has blue color).
It is time to install brand new HD screen connector #61119185171. ConnectBordeaux plug into the the same color socket at the back of the HD display screen. The other end of the cable run down in the hole towards the CCC/CIC Navigation Unit. Also connect new power connector to the HD screen.

Insert new display screen into the hole in the dashboard and secure it back using two previously removed T10 Torx screws.
CONGRATULATIONS, YOUR NEW HD DISPLAY IS ALREADY INSTALLED.