Okay time to finish this thing up. I miss driving the beast!
One of the biggest hold ups getting the car back together was caused by some little rivets.
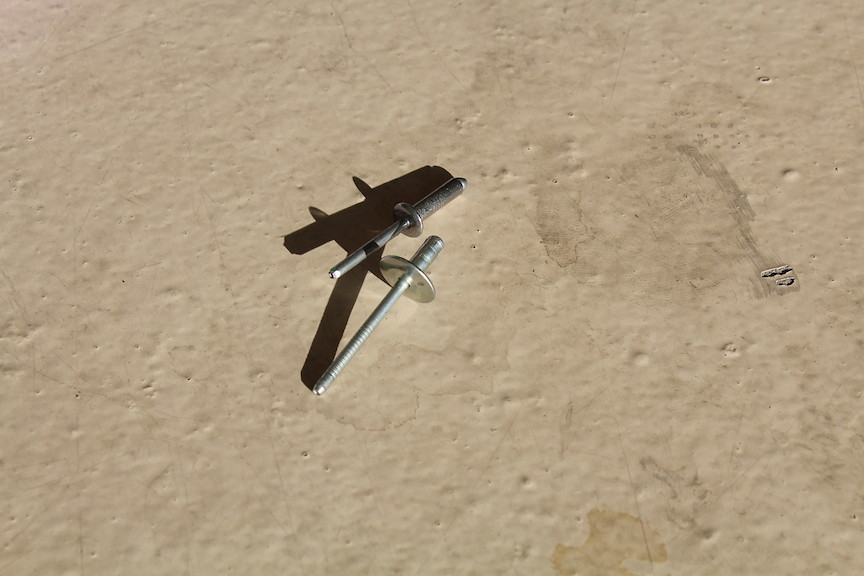
What you see in this pic is the rivet, or at least close to, that originally served as a guide to mate the front clip to the front bumper support and a stainless steel rivet that RealOEM quoted as being the correct rive. In the end the larger aluminum rivet did not work and I ended up using the stainless steel rivet. In hindsight, I would have saved a lot of time and frustration if I had just used a good set of stainless steel nuts/bolts. The rivet is no load bearing and merely serves as a guide to the hold the two large pieces together prior to installation.
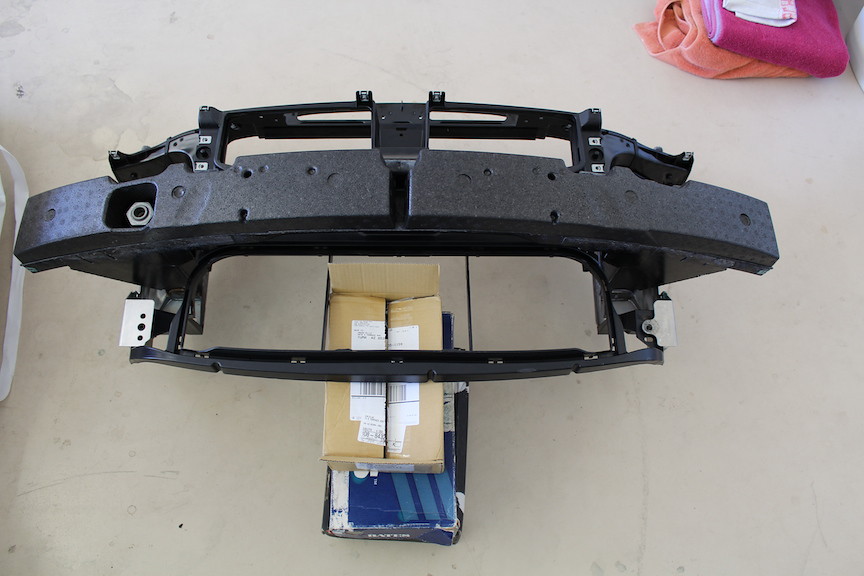
What you see here is what the rivets align prior to install. Your looking at the front clip, front bumper support as well as the brackets for the oil cooler.
The car looks like something is missing!
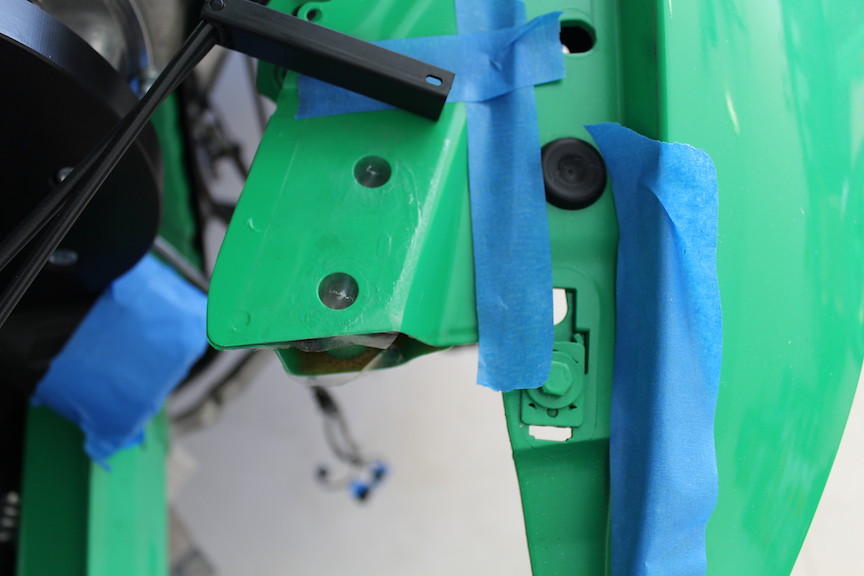
When I removed the original front clip it pulled off some paint around the frame. I used my trusty Porsche touch up paint. I then applied some 3M packaging tape over the mount point to avoid scratching upon re-installation.
You can also see the painters tape I applied to help with lining up the front clip.

The power steering cooler, radiator and AC condenser bracket had a couple scratches on it so I touched those up with some Testors acrylic. I am anal!

Here you can see the front clip, bumper support and oil cooler brackets prior to the alignment rivets being installed. The rivets install in the center hole. The red marks are to help me align the front clip onto the frame of the car. I made the marks prior to disassembly.
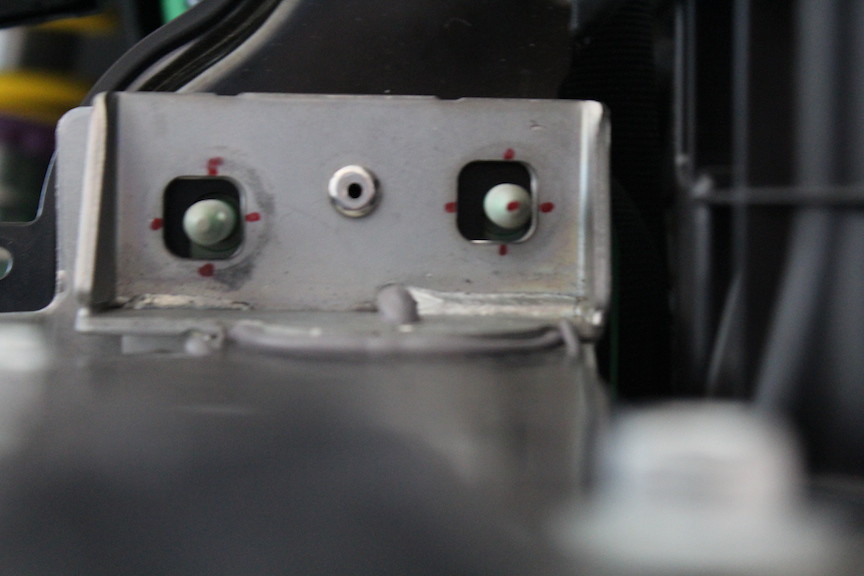
Here you can see the rivet installed as well as the front clip installed on the frame. You can also see that my red sharpie marked are lining up with the bolts. Note that the bolts were not centered prior to disassembly.
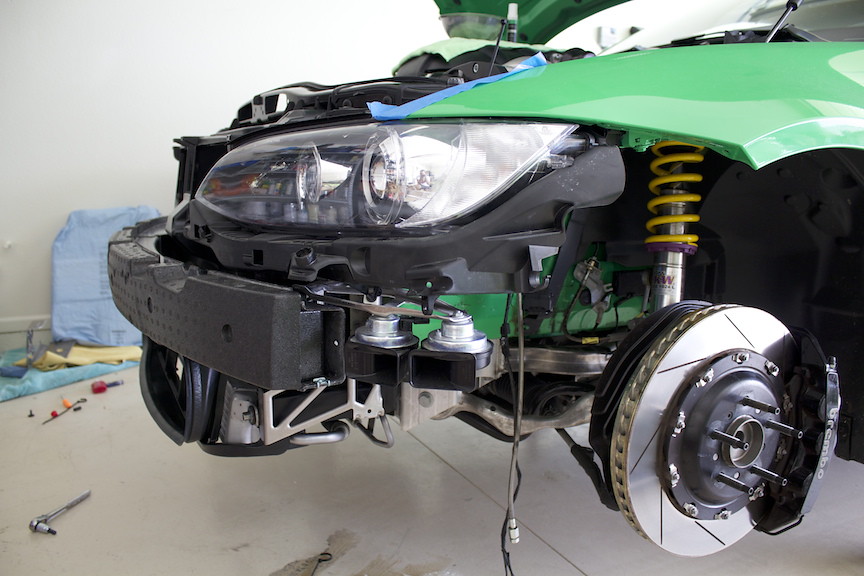
Front clip, bumper support, oil cooler brackets, oil cooler and lights re-installed!
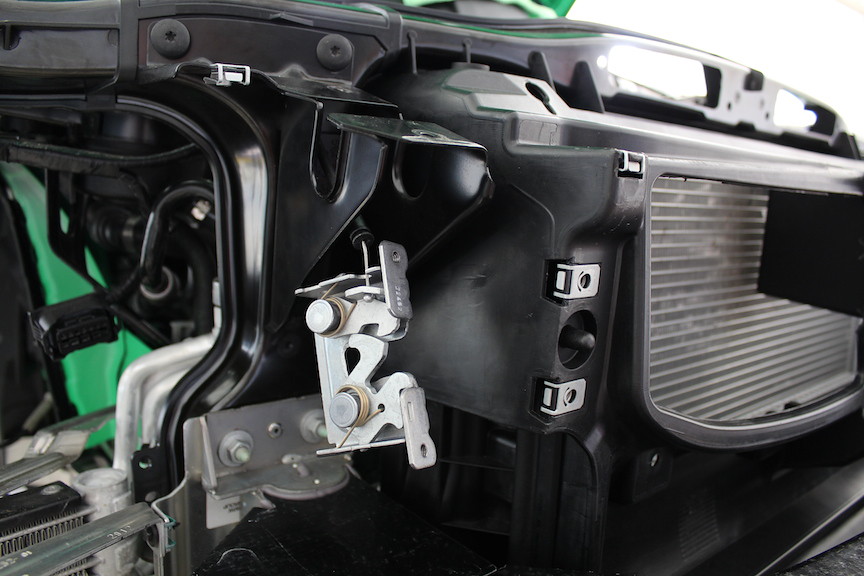
Here is a picture of one of the hood latches. There are two and they are sort of painful to disassemble. Be really careful with these as you can damage the wires very easily.
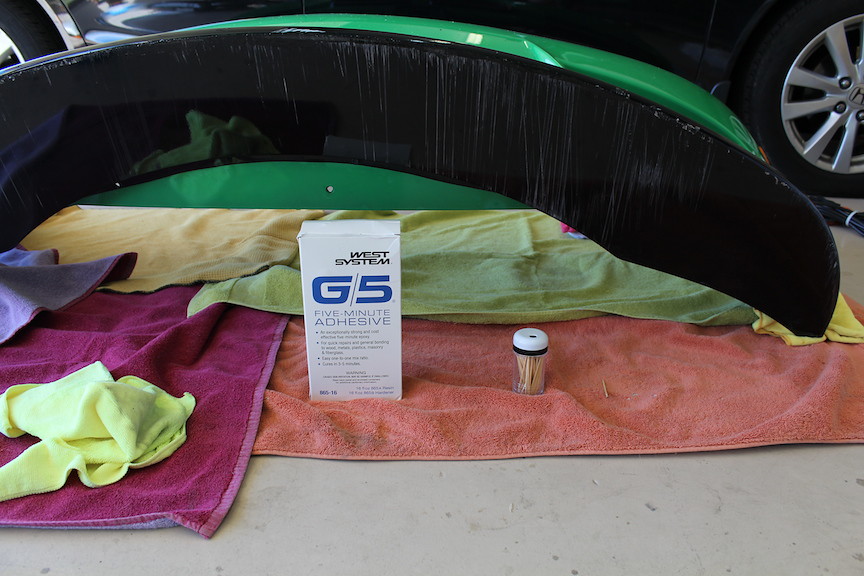
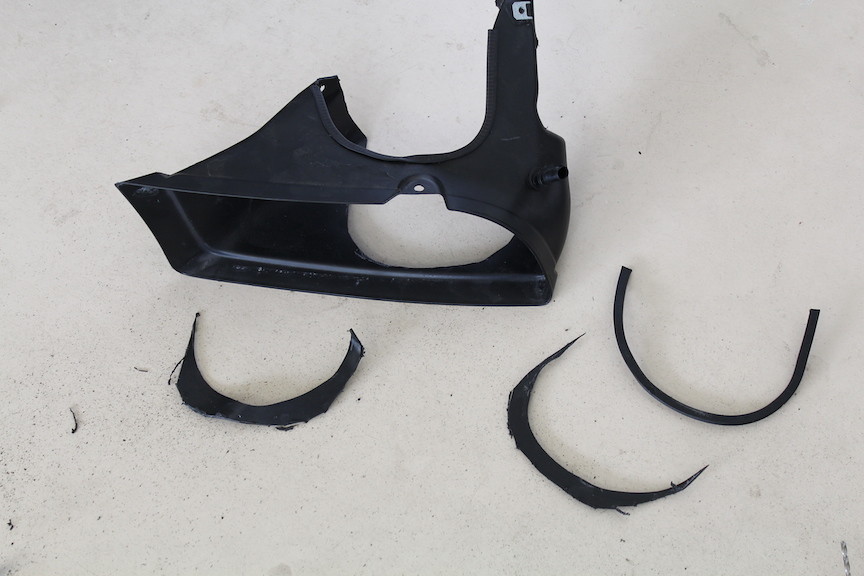
Shifting focus, here is the bottom of my RKP GT4 splitter. The splitter has been all over downtown LA, to and from Vegas and all over San Diego. As well as multiple trips between AZ and CA. Its a tough piece and as you can see I have struck it numerous times. The front edge is especially worn in places. I decided to do some preventative maintenance on the edges to prolong my expensive front lips life.
First I needed a good easy to use epoxy. I saw this stuff recommended on a different car forum.
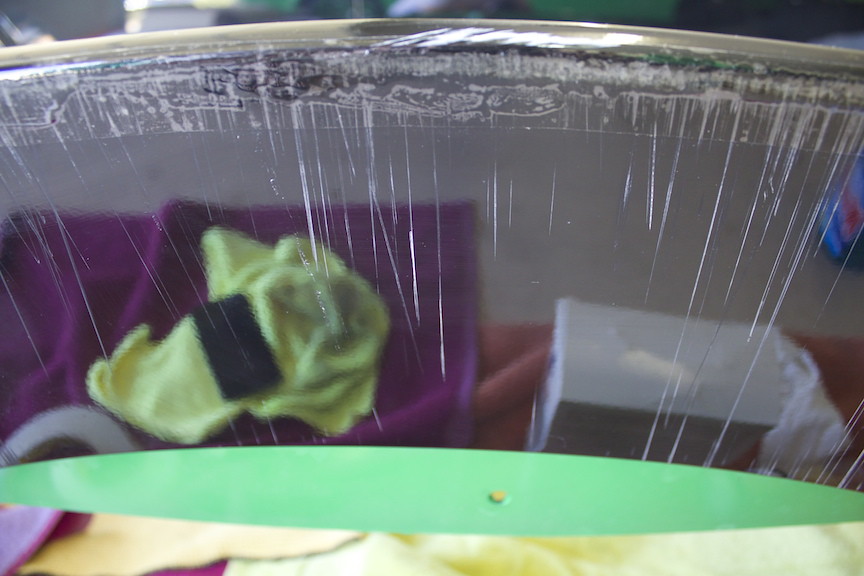
I should have taken some closer before pictures to show you how the resin had been completely worn off in places exposing scuffed up CF and fiberglass. Here is the edge with some epoxy added to some of the more worn areas.
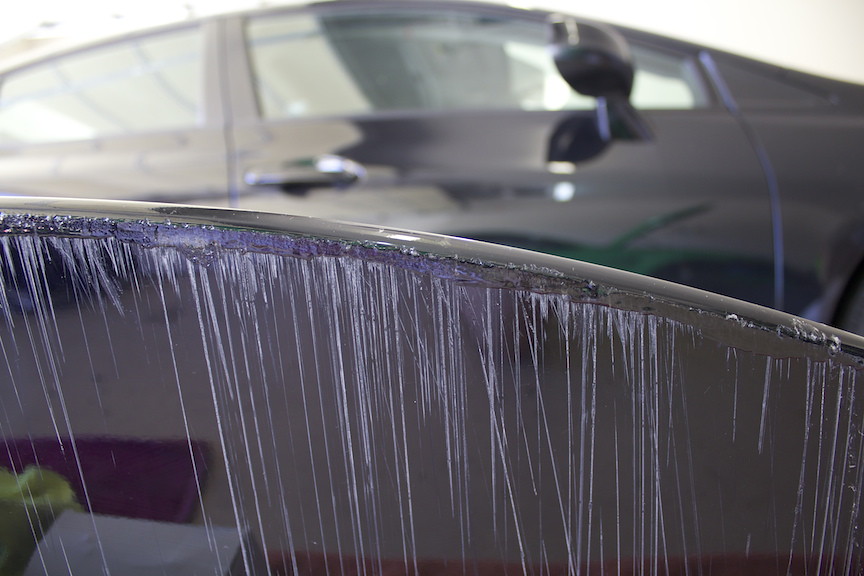
I then added some helicopter rotor blade tape to the edge. This stuff is fairly easy to find on Amazon but its not cheap. A single roll is around $90 but its supposed to be scuff resistant. I am not sure how much it will help. I got the idea from my Porsche days. I guess I will update you guys as I put more miles on the car.
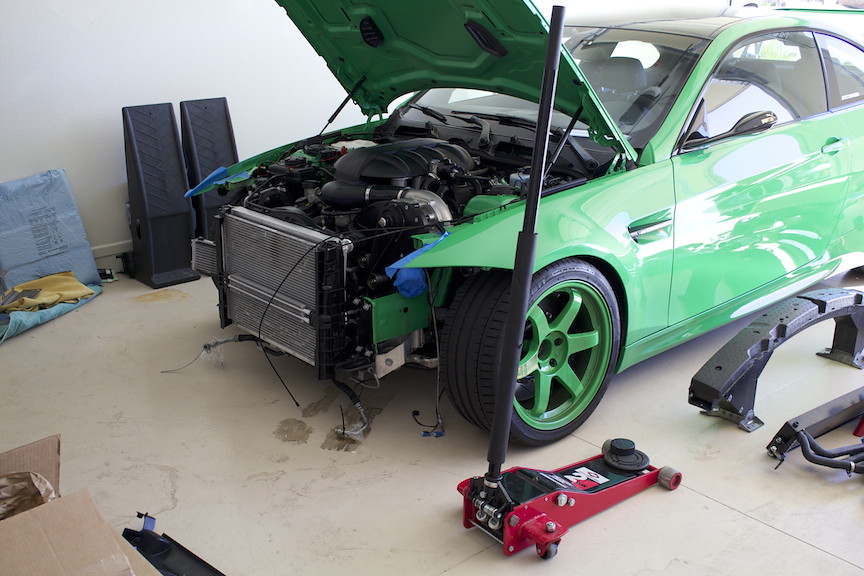
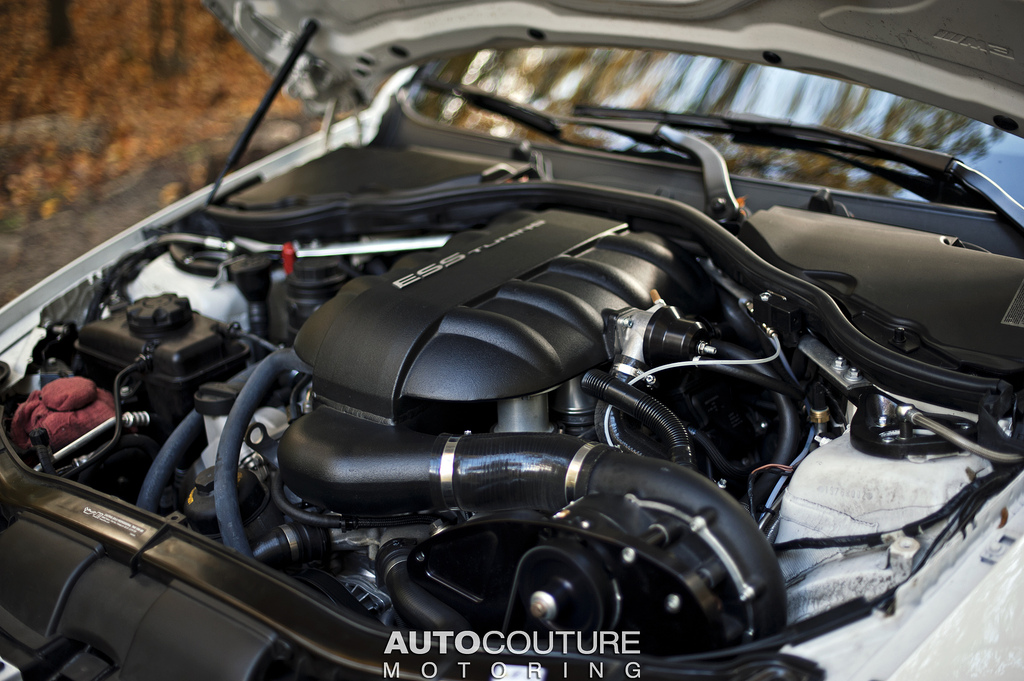
Switching gears, cars with ESS SCs and wide font wheels/tires often experience scuffing on the inner front fender where the filter presses the fender liner towards the wheel. There are some good tricks I learned from Malek at MRF but I was still getting some scuffing at full lock.
I was able to track down a smaller diameter filter through AFE. The filter is virtually the same aside from the large ends diameter which should reduce distortion of the fender liner.
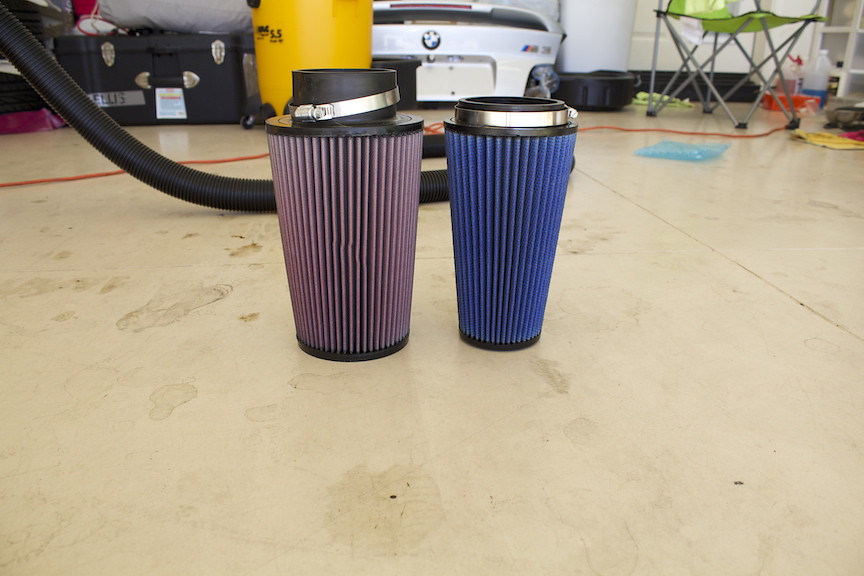
To further reduce the fender liner problem, I cut the front brake duct even more to allow the filter to sit as close to the front of the car as possible.
Installed back into the car the new filter should provide some more clearance. It also looks kinda cool next to the green.
Finally, lets talk about the power steering overflow issues these cars have.
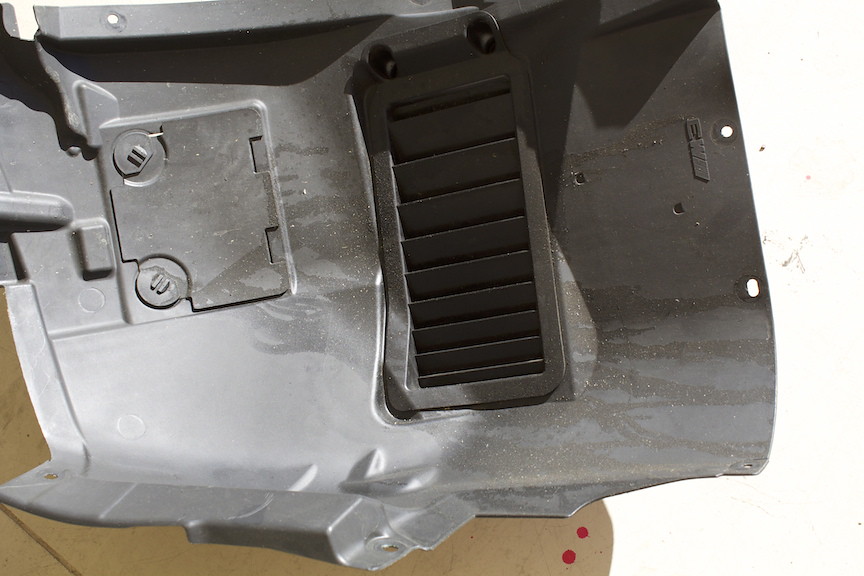
Here is my passenger side fender liner after my last track day. What you are seeing is power steering fluid that has sprayed the fender liner as well as under the hood and pretty much everything else in proximity.
One solution you see a lot is this:
But, this is just a temp fix and eventually you are going to have to top off the reservoir.
When I tracked my car last I brought this problem up to Ilia of IND and he mentioned a solution that 3D Design came up with. Essentially a secondary reservoir above the first that the power steering fluid can expand into and then flow back into the system as needed. Its a really clever design and I am surprised they are not more popular.

The installation is very simple. Take the OE cap off and screw on the 3D expansion reservoir. Then put the cap back on the 3D reservoir... done!

The expansion chamber installed. You can see the vent holes for the fluid to expand.

Installation complete!
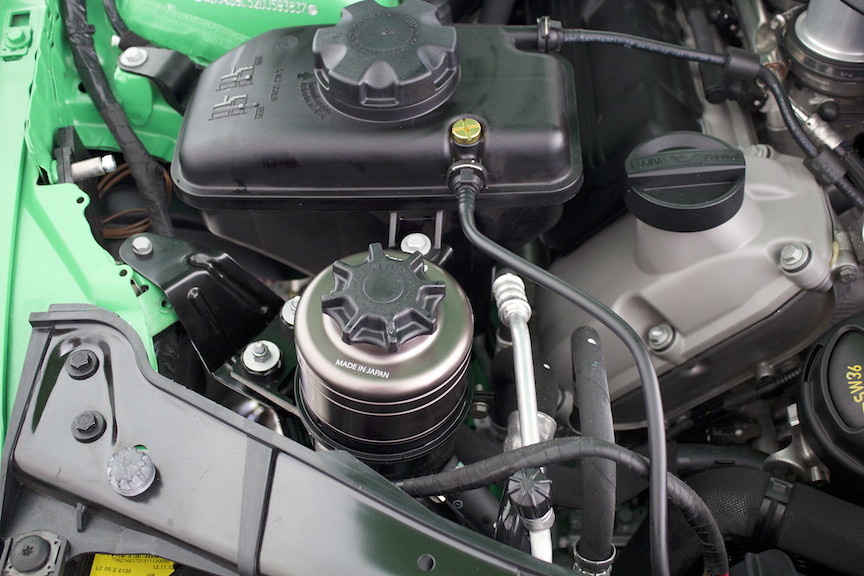
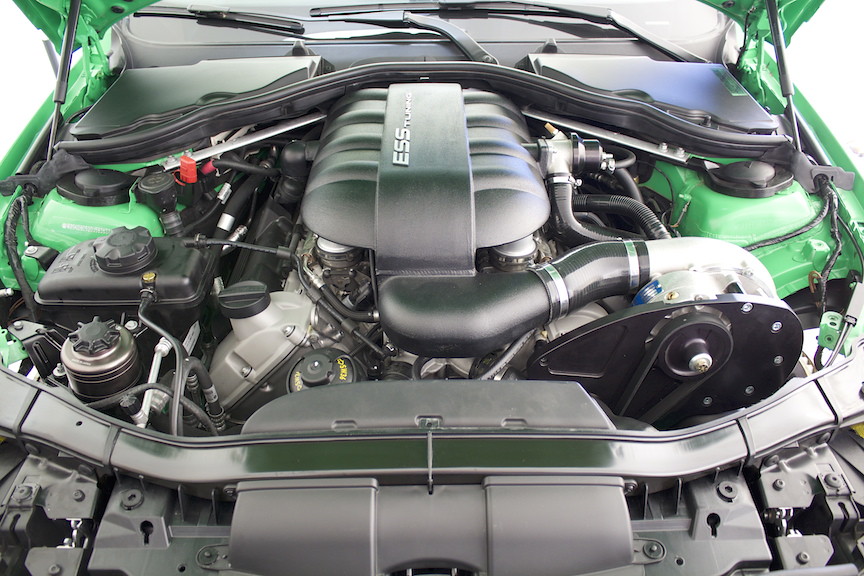
So there you have it. VT1-550 sans the cooling elements I previously had. Brass bleeder screw for the coolant tank and expansion chamber for my power steering fluid!
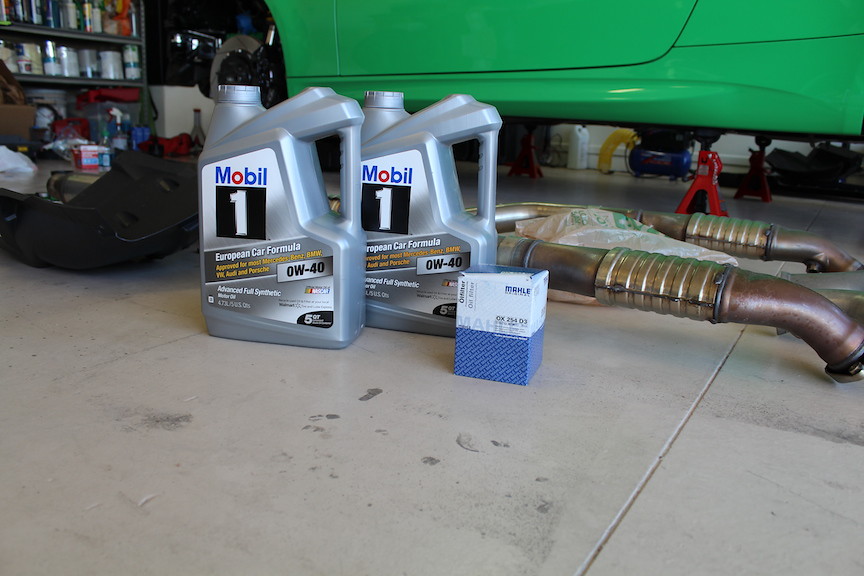
Oops, one more thing. With the installation and maintenance of my oil system I conducted another oil change. This time with the thinner M1 0W-40!
And finally a picture of the completed work!