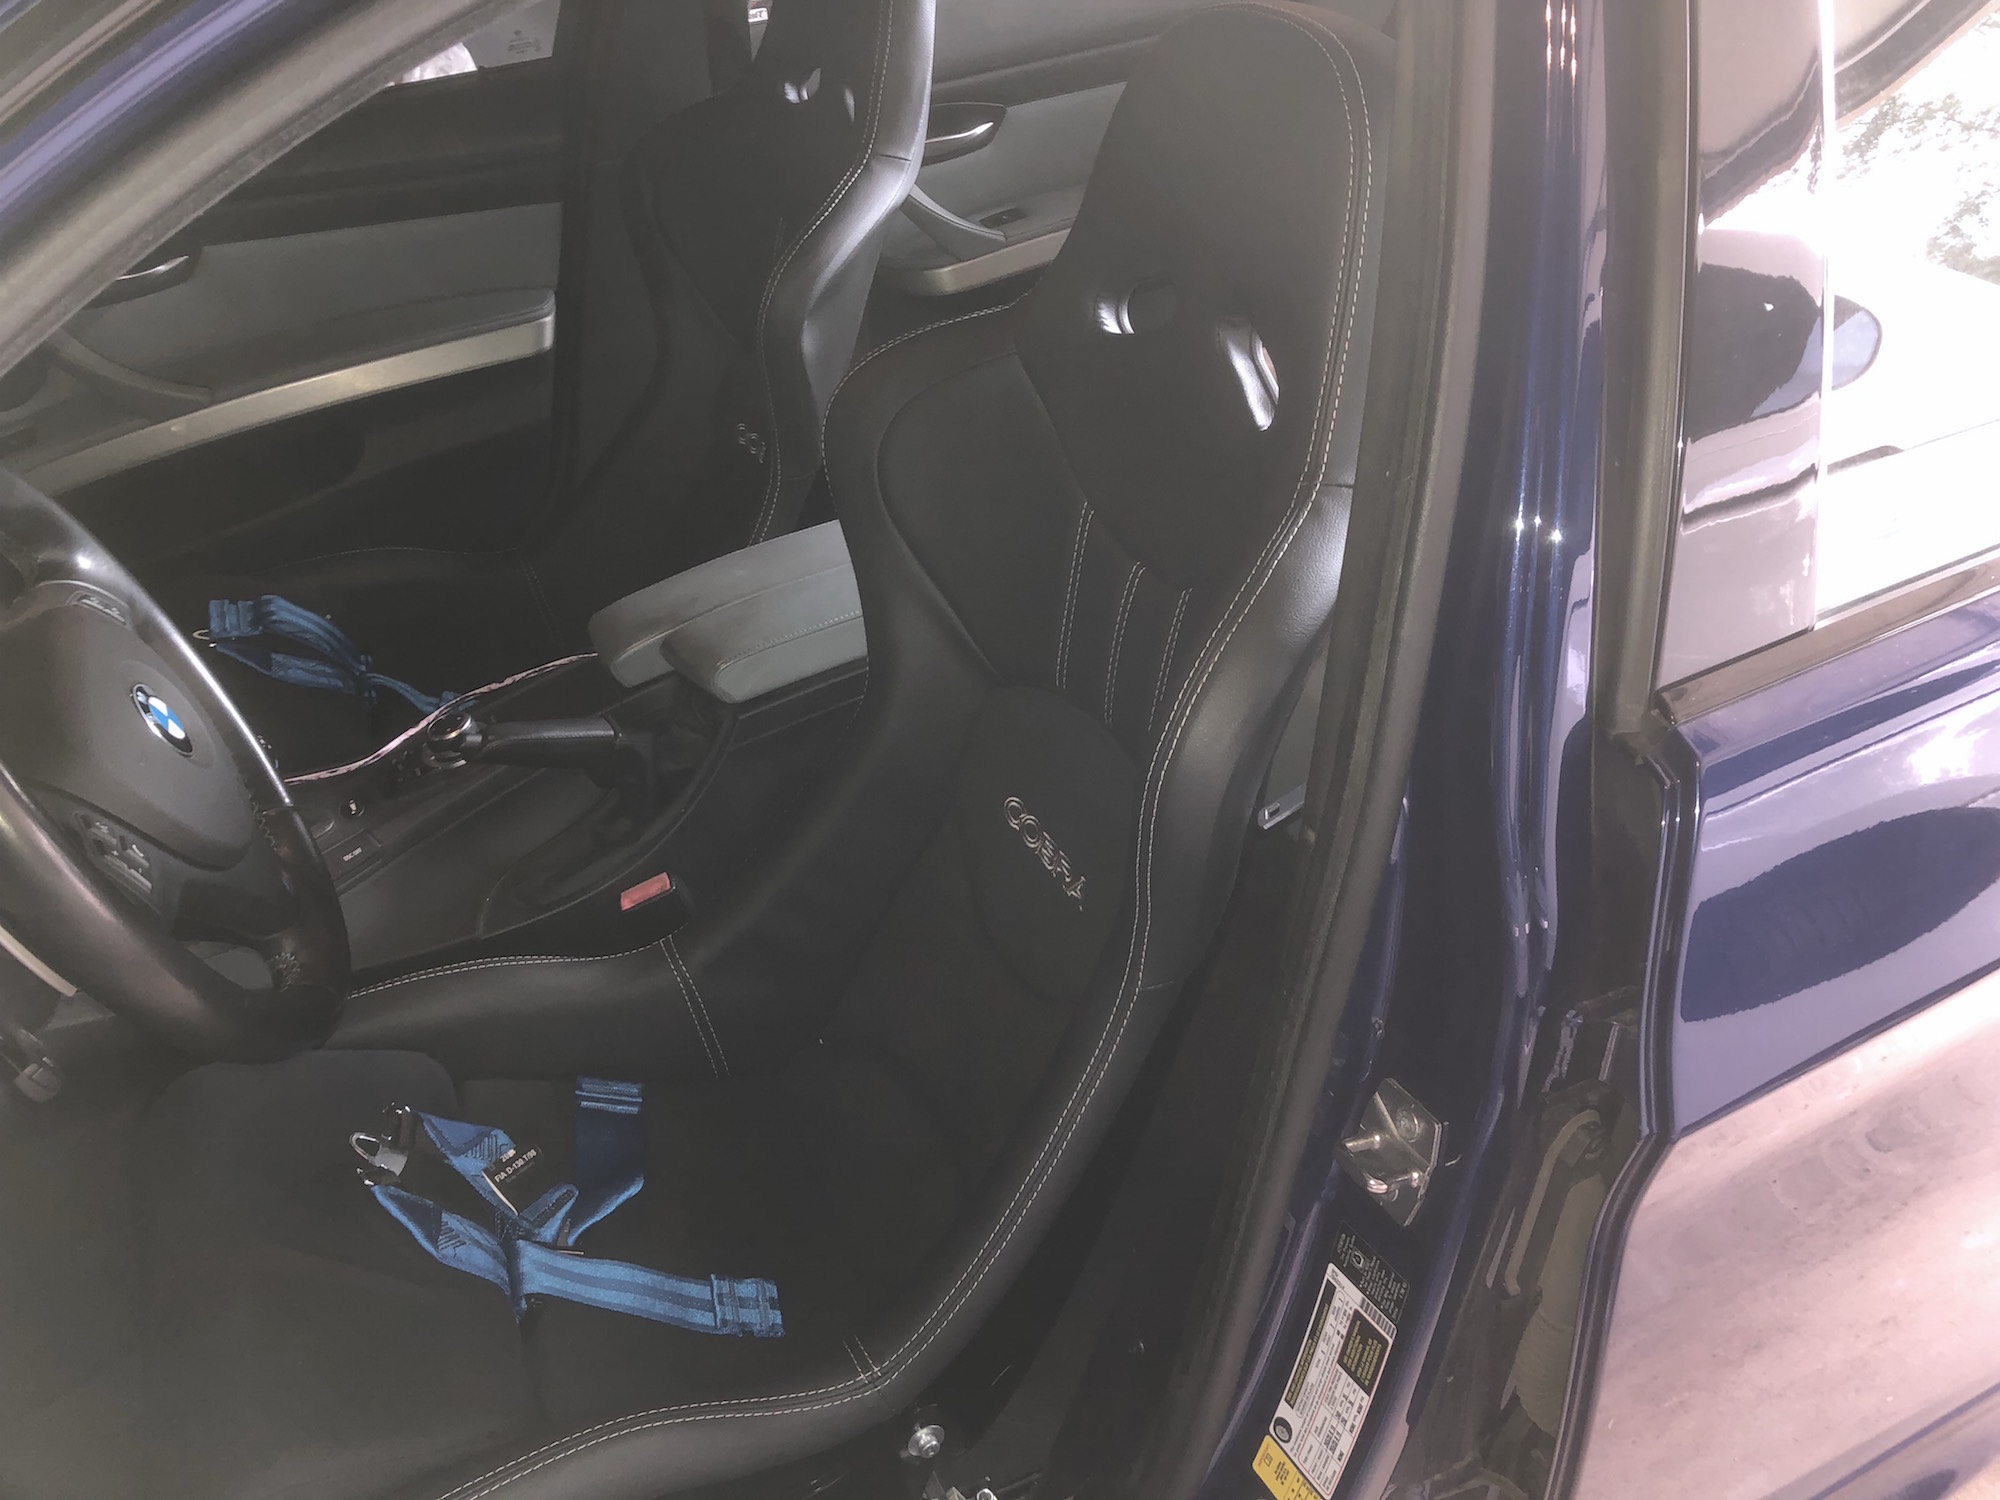
I finally got my Cobra Nogaro's installed in my E90. The install should have been fairly straight forward, however, turns out there are a few different permutations of the seats and mine were slightly different than the ones Brey-Krause used to make the original mounts. Fortunately, BK had figured this out and had already made a change to the design so they shipped me out a new set.
To answer
Candide13 question from the Chit-chat thread, yes, they fit:
The parts I used were:
Seat mounts for OEM Sliders
Sub-strap
Lapbelt mount (More on this later in the post)
These
switches from Amazon instead of the expensive OEM originals
Regarding the lap belt mount, BK had recommended the R-9287 part which is supposed to bolt in between the slider and the floor. I had bought one but the mounting hole didn't line up with my sliders. I had also purchased the lap belt mount linked above as a back up plan and it turns out, it's a better solution because it mounts on top of the slider so it slides with the slider. Here's a closeup pic:
You can see that it has a hole for the shoulder/lap belt to attach as well as a loop for your harness lap belt. The drawback is that you may have to drill a hole in your slider to mount it (some sliders have both holes already but mine only had one).
Now on to the "what I wish I had known prior to starting this project section".
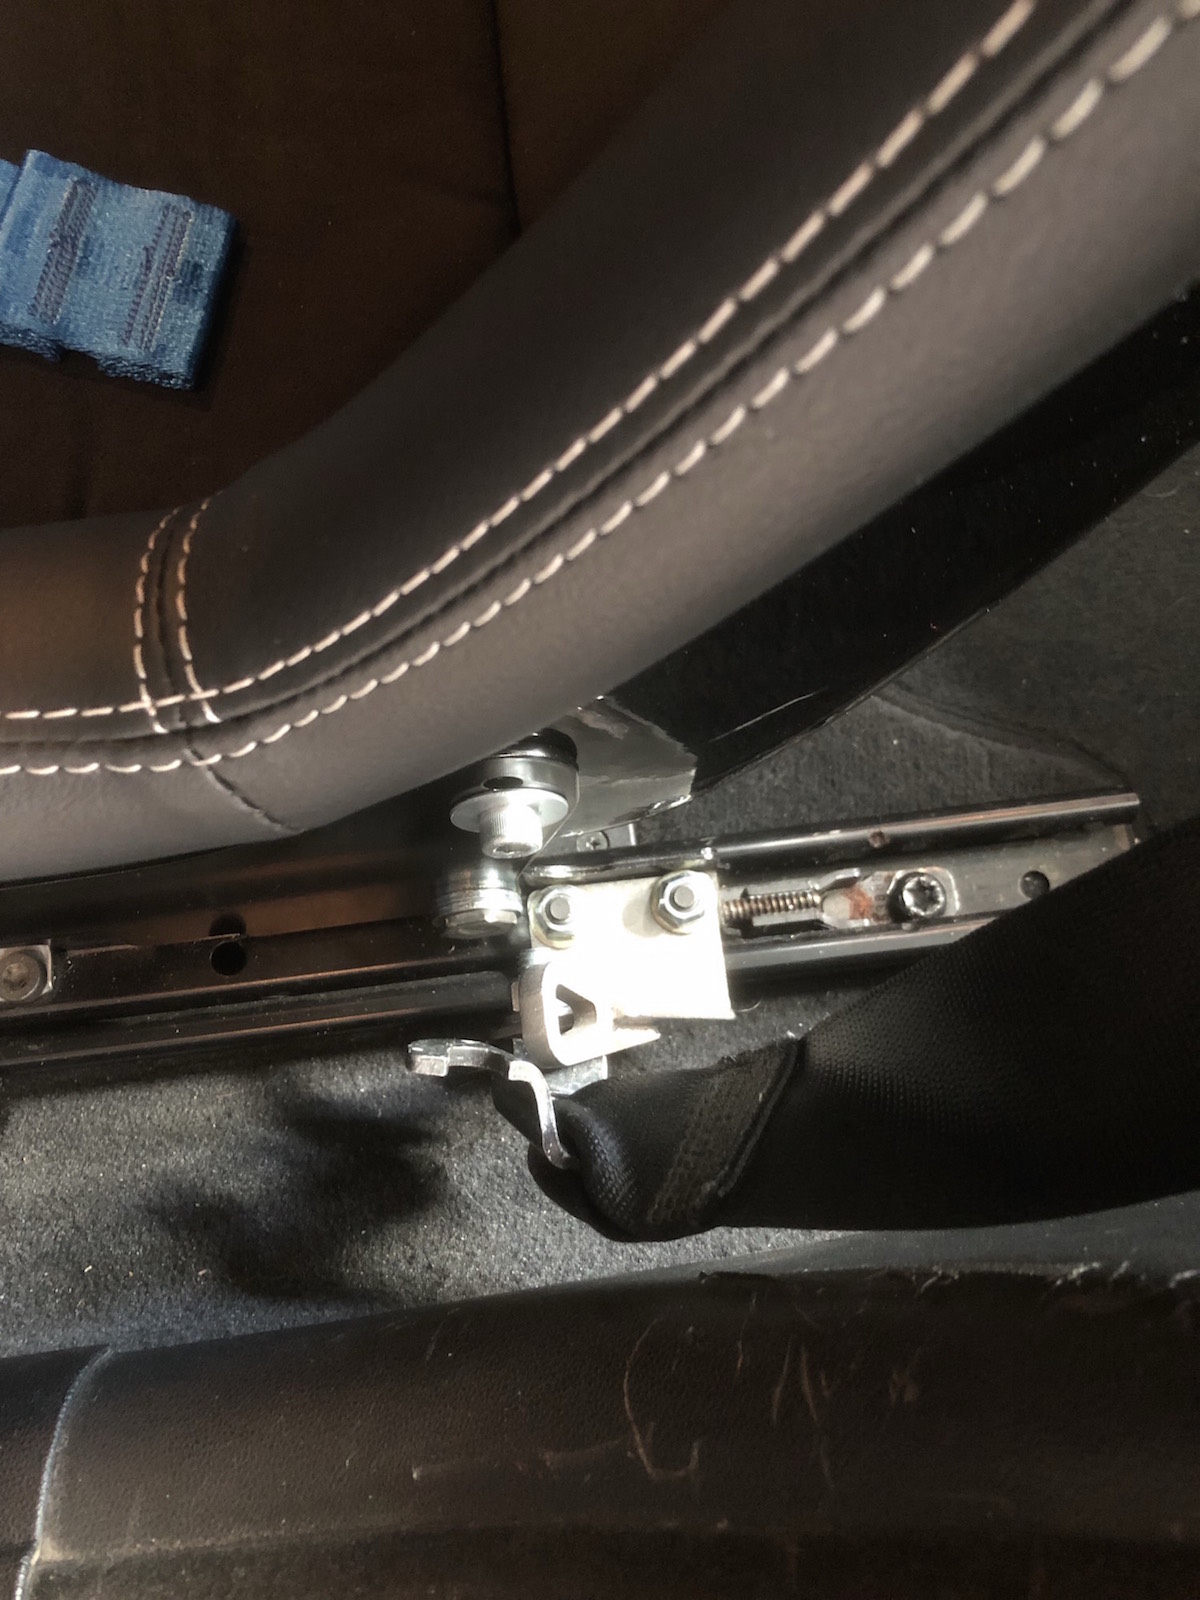
The biggest obstacle I had to overcome was that the mounts, mount on the outside of the sliders. This doesn't seem like a big deal except that means that the rear torx bolt has to now go on the inside which puts the nut on the outside. For the outboard side of the seat that's not a big deal; however for the inboard side it is. The inboard bracket has a 90 degree bend in it. That makes it impossible to get a wrench in there to tighten the thin 19mm nut as shown here (see the nut in the yellow circle):

What I had to do was to also remove the lap belt receptacle bracket (yellow arrow). One of the bolts holding that down is shown in the red circle (like the slider bolts, they are installed with red loctite so they required quite a bit of torque to remove). That bolt happens to sit under the edge of the mount. It also has a square nut that is inside the slider and is difficult to line back up with the bolt when putting it back together. The other issue with that setup is that the black spacer that comes with the mounts is too thin and results in the nut bottoming out before it's snug on the mount. I ended up buying some 10.9 m12 washers and found that two of those in place of the black spacer was just right.
In order to put it all together, I had to put the 19mm nut on the torx bolt and tighten it hand tight. I then rotated the mount up about 75 degrees. That gives you enough clearance to fit a socket over the 19mm nut. I then tightened it down the 19mm nut all the way, put the lap belt receptacle bracket back in, put the torx bolt shown circled in red in and then lowered the mount down on top of it, finally putting in the front torx bolt and nut and tightened it all down. I then inserted a pen through the hole on the bottom of the slider to hold the square nut up against the torx bolt holding the lap belt mount and tightened that down. The other torx bold and square nut holding down the lap belt mount is easy to access so long as the slider is slide far enough back. Of course, all these bolts need loctite so you need work fairly quickly to get things done before the loctite sets.
Some other things that fall into the "wish I had known" category are to make sure you raise the seat all the way before removing it. That will make it very easy to access the 19mm thin nut.
Regarding the switches used for the slider, the little bulbs you have to remove are glass so be careful (I crushed one, getting bits of glass all over the place). The easiest way to remove the bulbs (after you opened up the switches), is to grab the plastic base to remove the bulb/base assembly, then use a needle nose pliers to gently pull the bulbs up and out. I went the extra mile and put shrink wrap on all the wires that fit onto the switch to avoid any shorts.
I also found that none of the wires from the stock seat were really long enough to go from the motor and yellow plug, to the switch. I ended up having to splice some wire together. I originally bought one of those cheap soldering irons off Amazon but, even though it was 100w, it would not heat the wire up hot enough to melt the solder. I ended up buying a Weller 140w soldering gun from Home Depot that did the job.
For the sub-strap mounts, you have to screw the inner bolt in until only a few mm is sticking out from the jam nut in order for it to fit properly. Make sure the sub-strap mounts don't push the seat mounts outward or that could cause the sliders to twist making it very hard to line up the holes to the floor.
Also not mentioned in the mount instructions is that the silver space replaces the plastic one from the front of the seat sliders (the black one is supposed to replace the thin black washer in the rear, but as I mentioned above, I found that two m12 washers were a better fit).
The first seat took me a very long time to install (mostly because of the differences in my sliders as mentioned above). I was able to get the second seat installed over two evenings, so much quicker.
My initial impressions of the seats are that they are very comfortable. The ride height isn't much lower than stock (I'm only 5' 7" so I didn't want to end up being too low in the car). I used the top hole in the front and the second from top in the back. That results in a seating position that works well with my helmet but means there's space between the back of my head and the seat when I'm not wearing my helmet. I might get a pad to put over the top of the seat to prevent my head from snapping back in case someone rear ends me. The seats seem very snug and supportive.
Can't wait for my next track day to see how they feel!