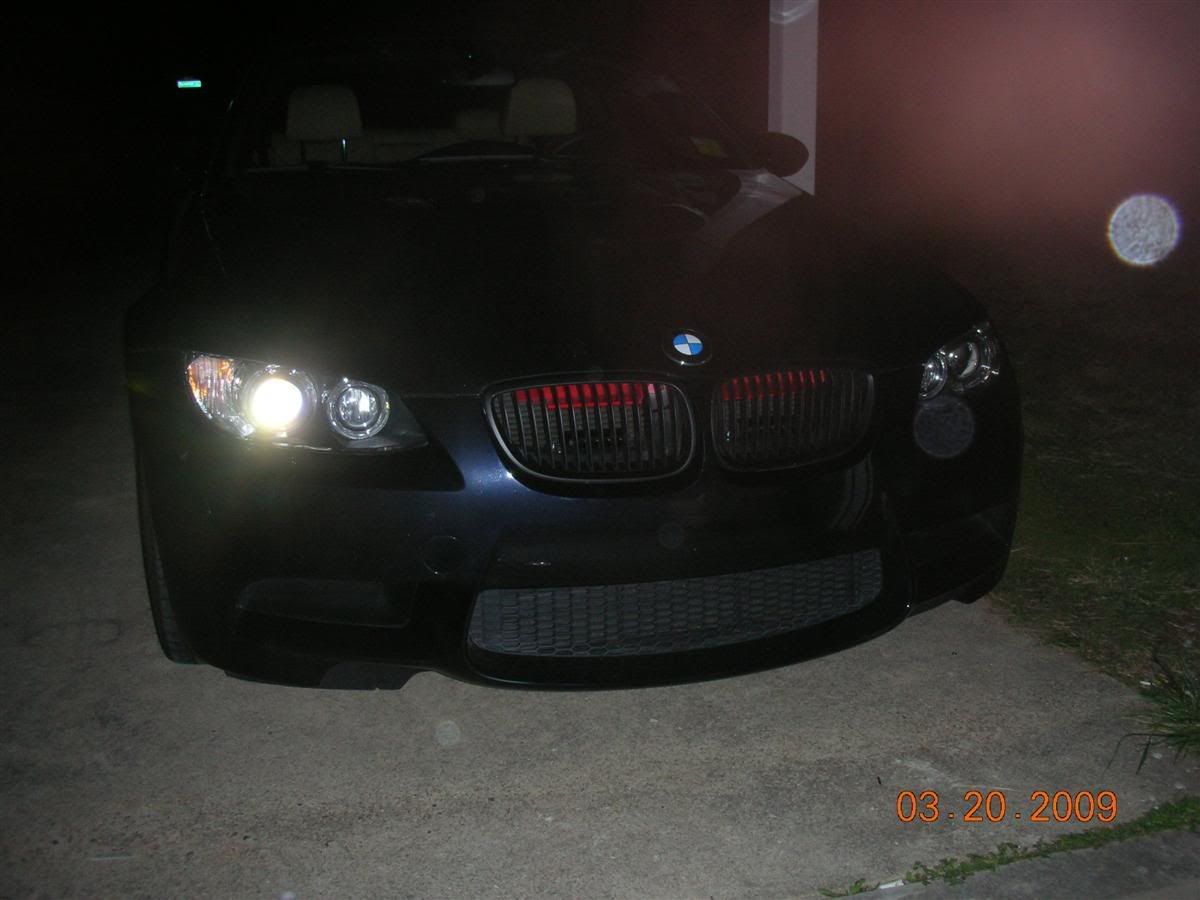
I've had this thing sitting in my floor for over a year. I went to a local shop and they quoted me $325 to install it, no thanks. With the help of doba_s, I was finally able to get it installed today. As far as difficulty, I wouldn't say it was too bad; no harder than my angel eyes in my E46. The hardest part, by far, was running the cables through the firewall. If I had really small hands, it would have been cake. I opted out of the rear detectors for now because I didn't want to deal with running wires through the length of the car and I figured two up front is better than four sitting in my house. The last two can easily be added later.
This is just a guide. It's not my fault if you screw up your car during the install
Tools needed:
Torx T-15 bit & driver
Knife/razor blade
Small screwdriver
Allen wrenches
8mm socket with extension
Wire snips - optional, but makes cutting zip ties easy
Time:
This took me ~7 hours, but I doba_s and I were PMing back and forth for the first hour or so while I tried to figure out where the grommet was. I also had to re-route the wires a couple times because I wasn't paying attention and that's a real bitch. I feel that I could do it again ~4 hours or so.
Prepping the car
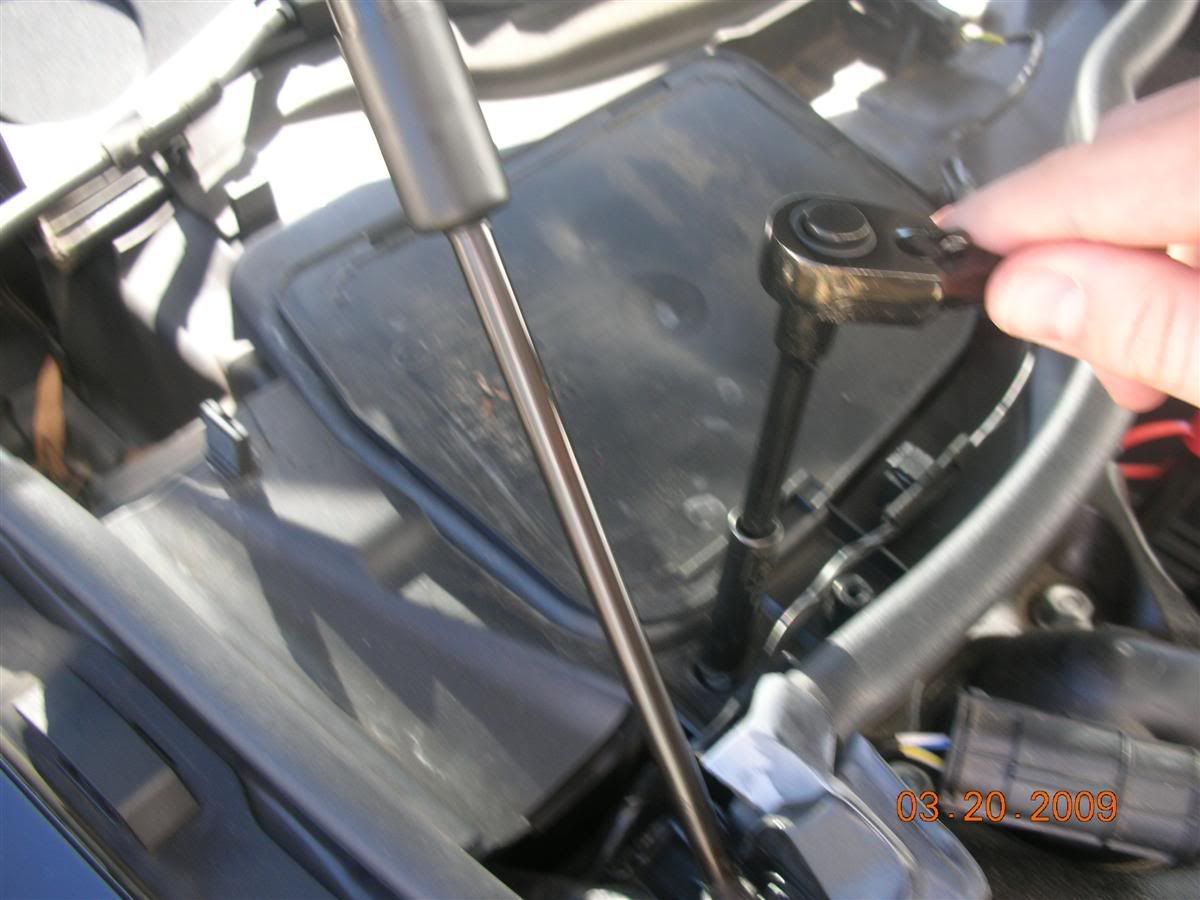
1. You'll need to remove the two air filters and the big plastic piece that spans the width of the car. There are 3 8mm bolts holding each air filter down and 2 8mm bolts holding the plastic piece down.
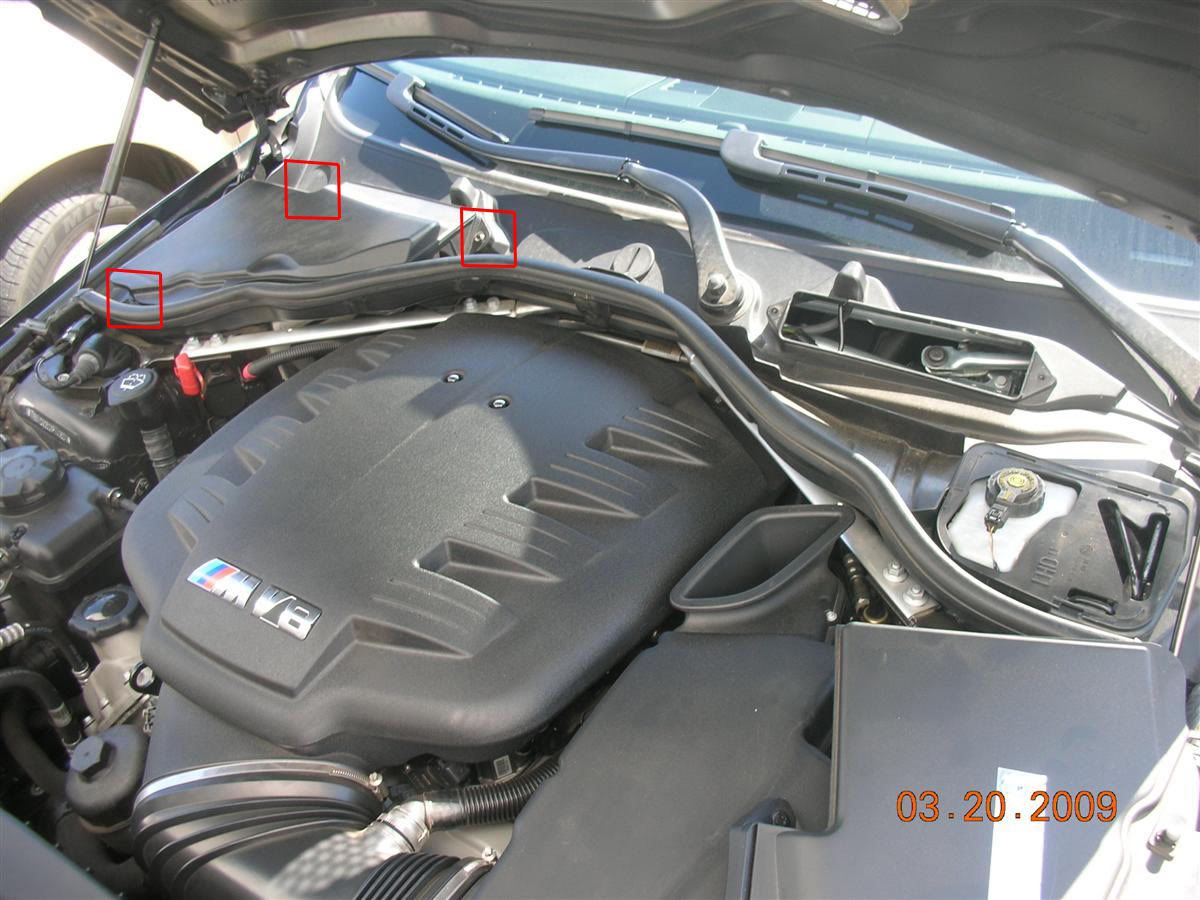
Notice that the bolts that hold the plastic piece down have more threads than the bolts that hold the filters in place.

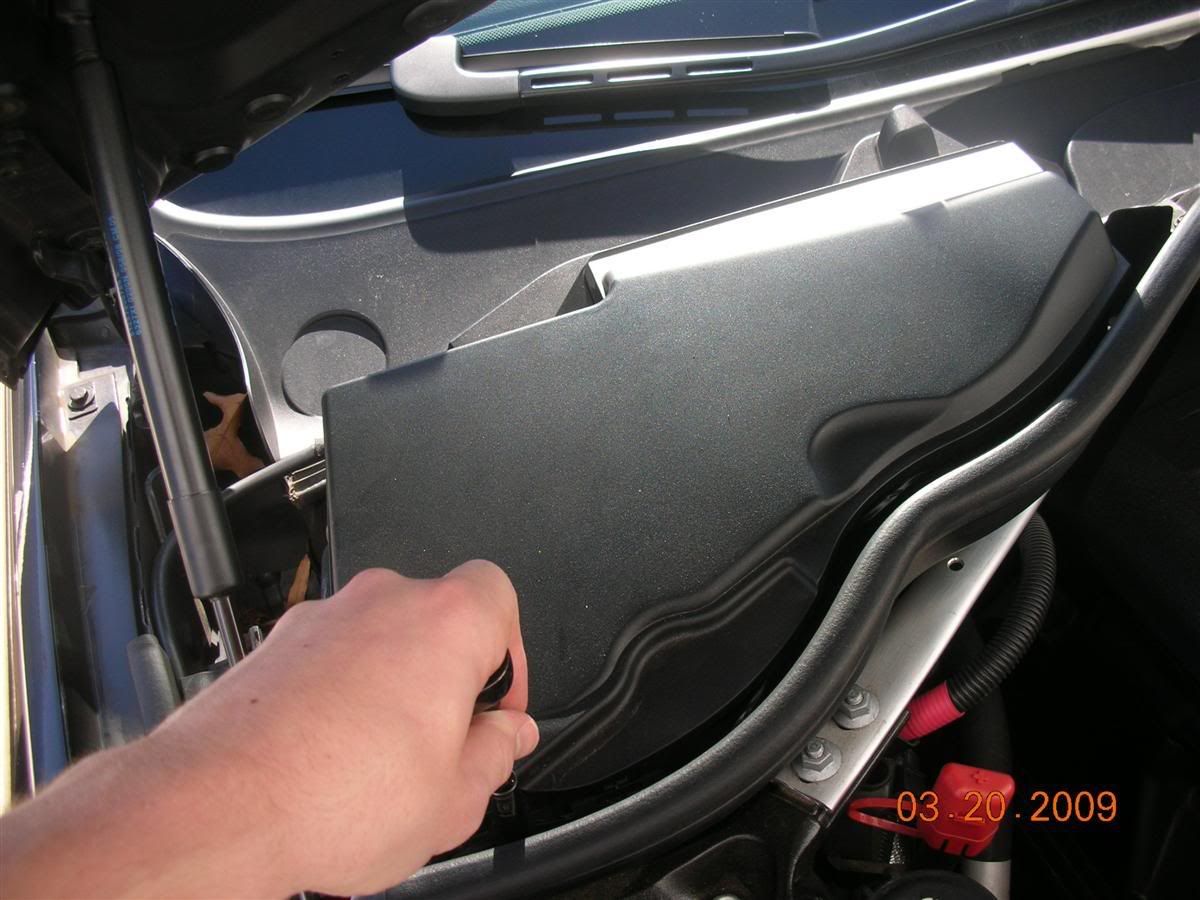
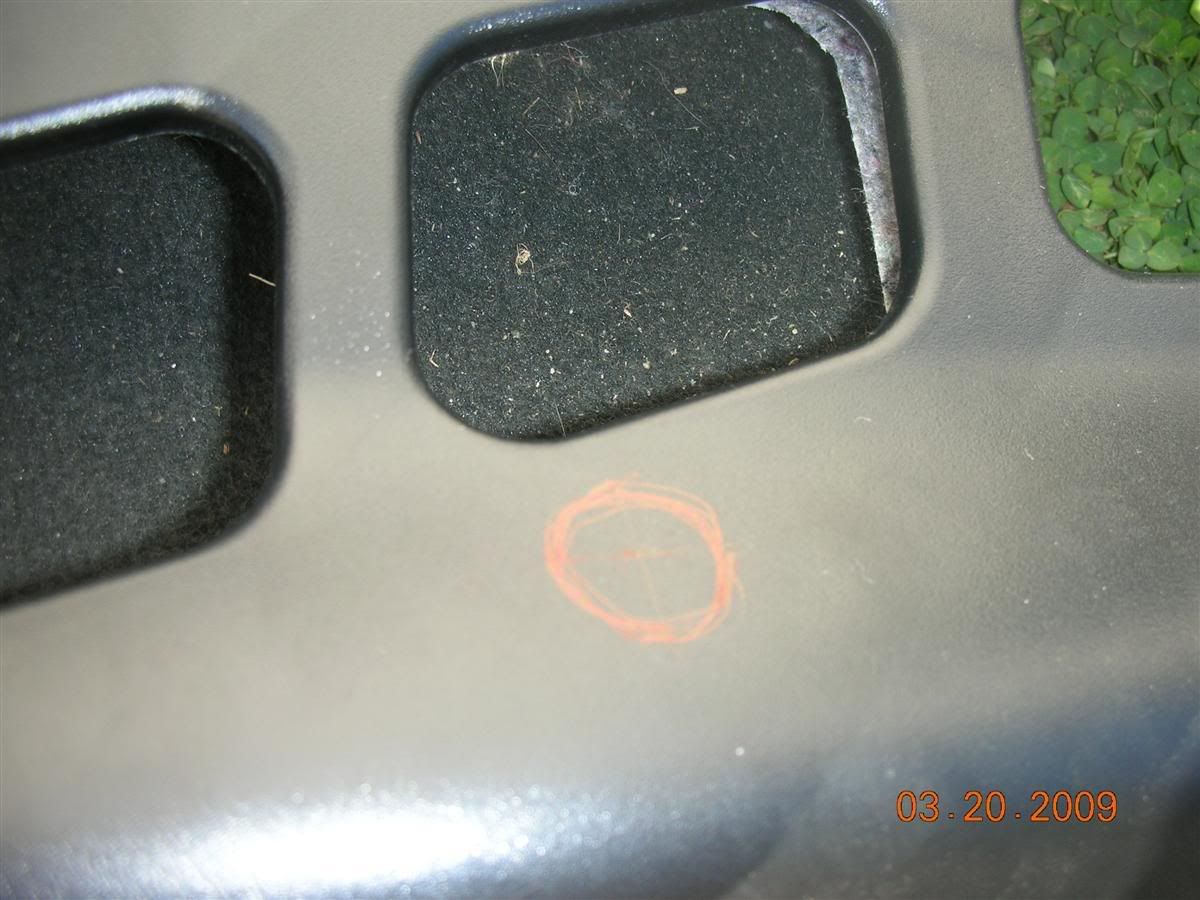
On the passenger's side, there is a sensor you'll need to remove. There is a small circle on the right side. Push it with a pencil or knife and rotate the entire thing up. It will pop out very easily.

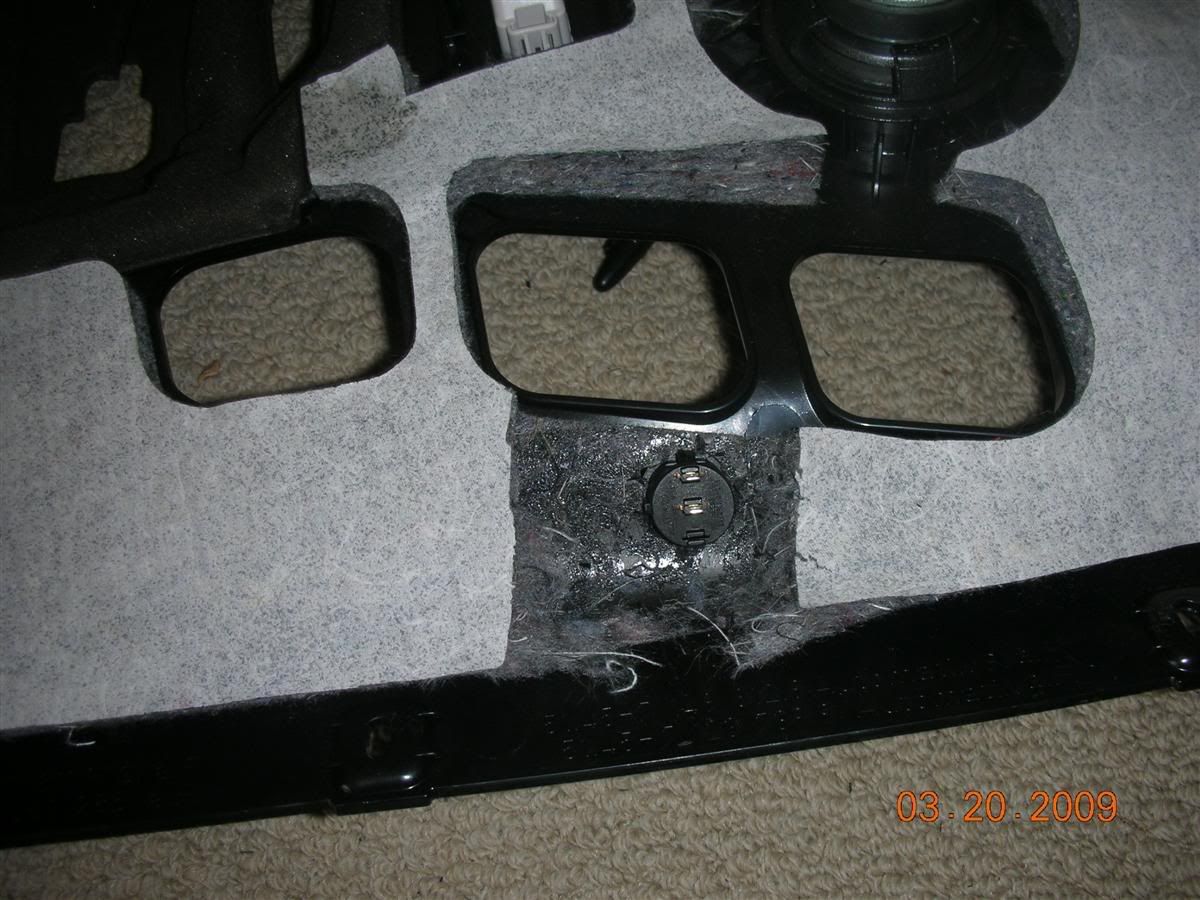
After the sensor is free, release the wires. They're attached with a plastic clip attached to a metal clip. I was able to slide the plastic off of the metal for one, but had to pry the metal & plastic off together for the others. The same type of clips hold a sensor in place on the driver's side filter. You can see the entire clip assembly in the third picture

Once you get both filters off and the wires freed up, you can remove the big plastic piece. It's held down with the 2 8mm screws and 2 rubber pieces on each side of the car. Just move them out of the way and the entire piece comes out pretty easily. I forgot to circle it, but one of the bolts is right behind the hydraulic arm in the first picture.

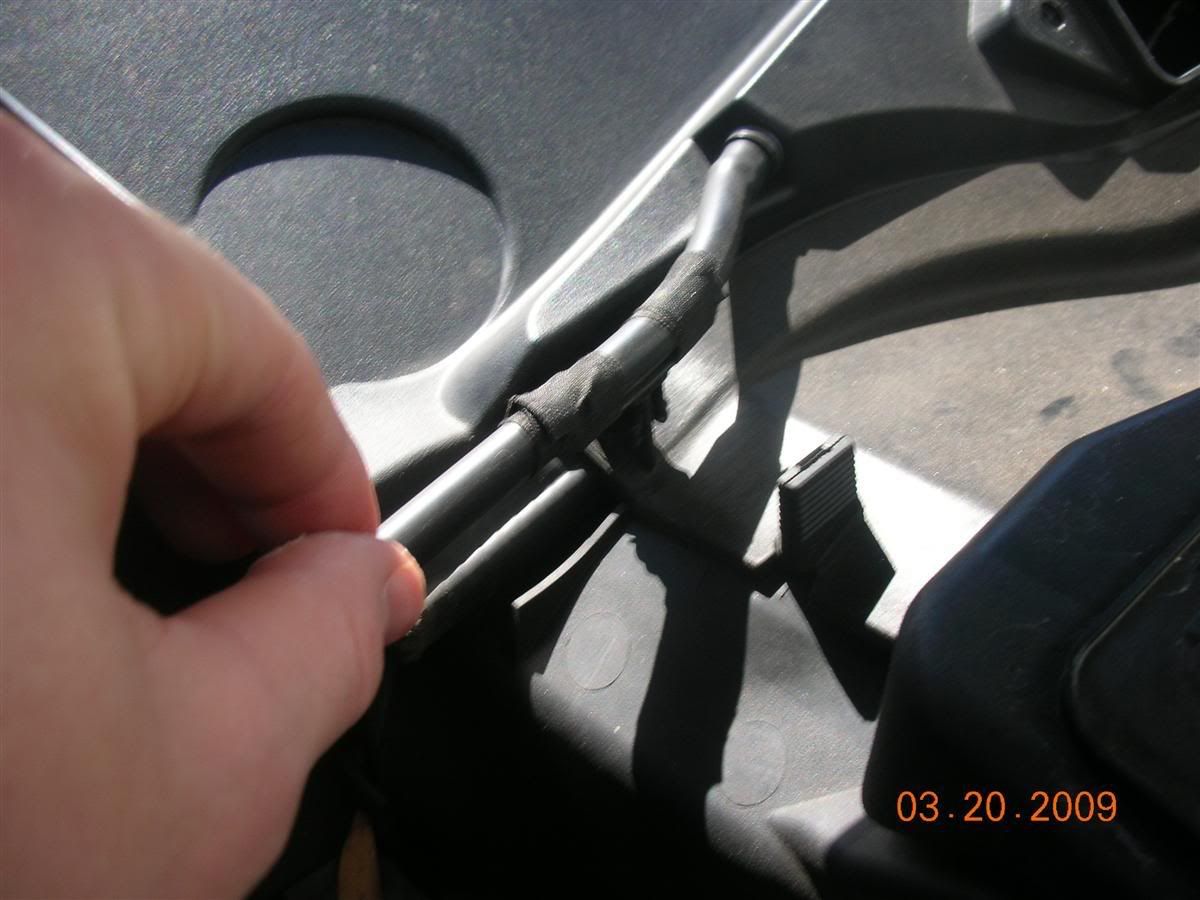
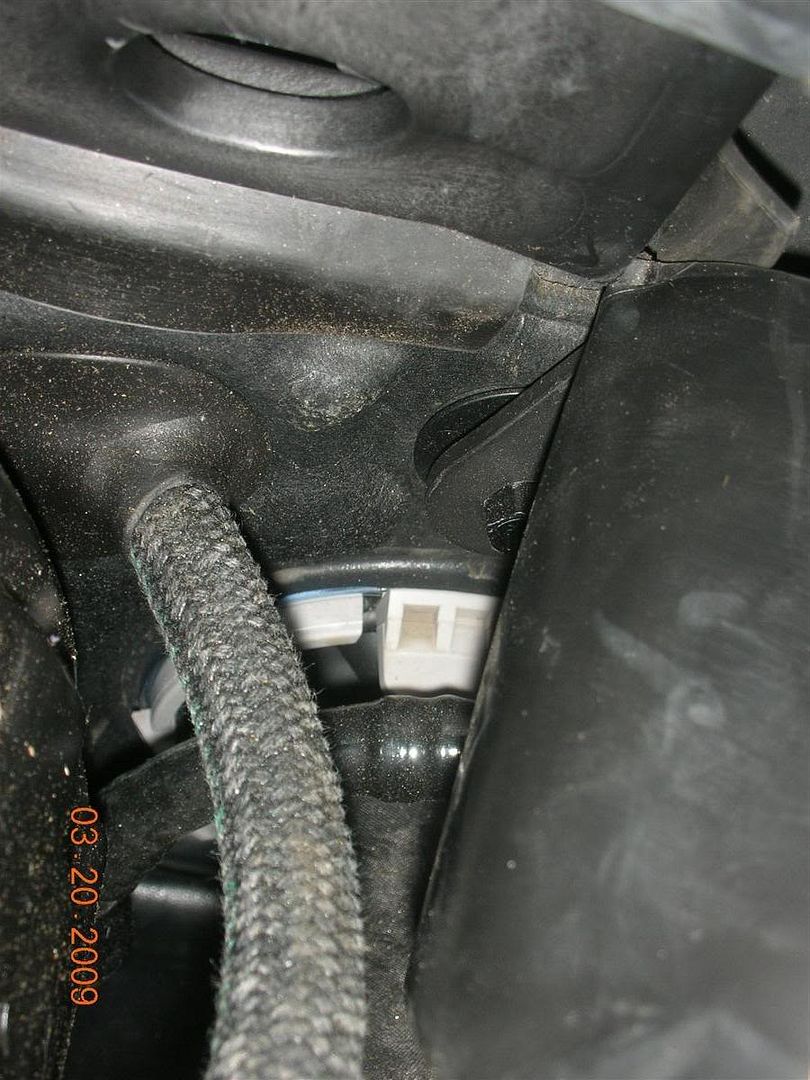
Go back to the driver's side. There is a small rubber tube chilling on its own; pull it out. I didn't get a picture of it in place, but here's where it was. You can see the white clips for the grommet you'll be using to pass through the firewall in the bottom of the picture.
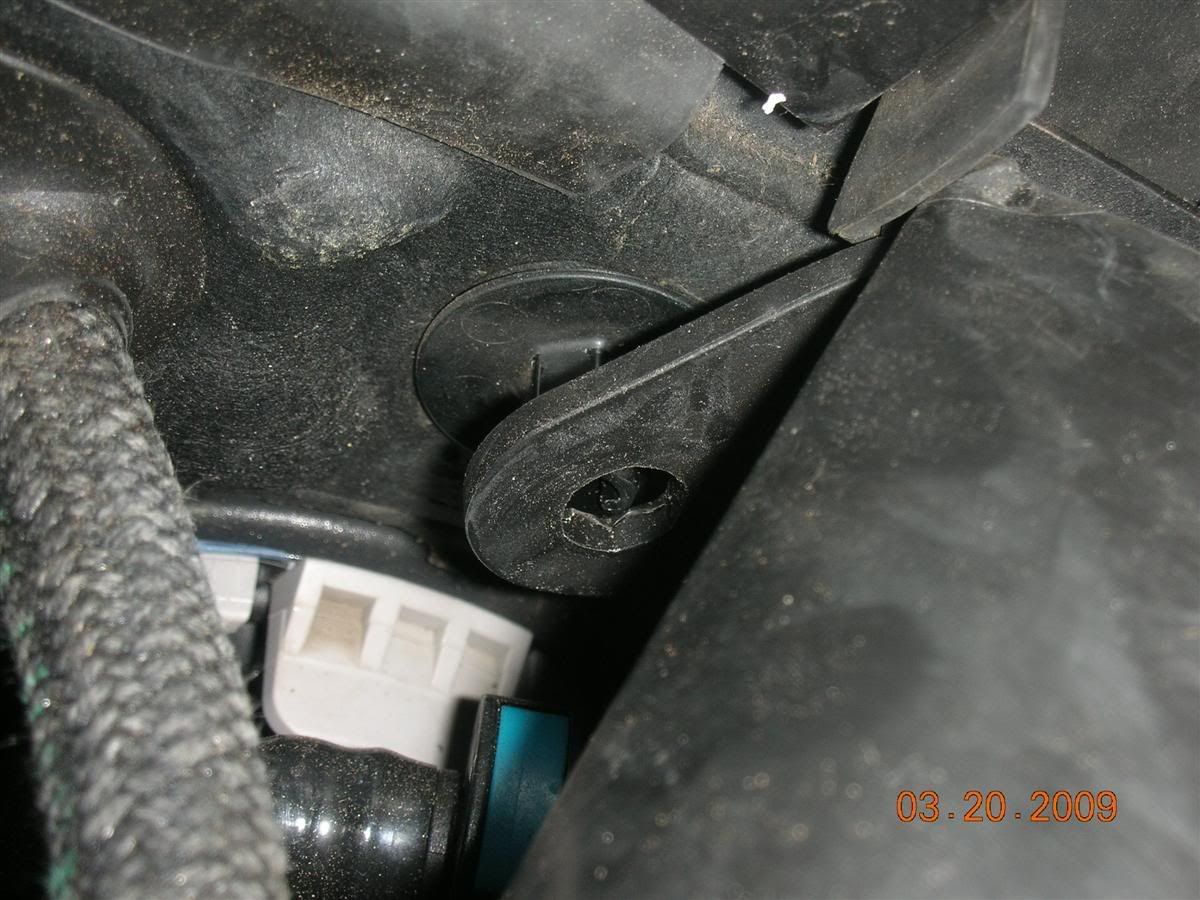
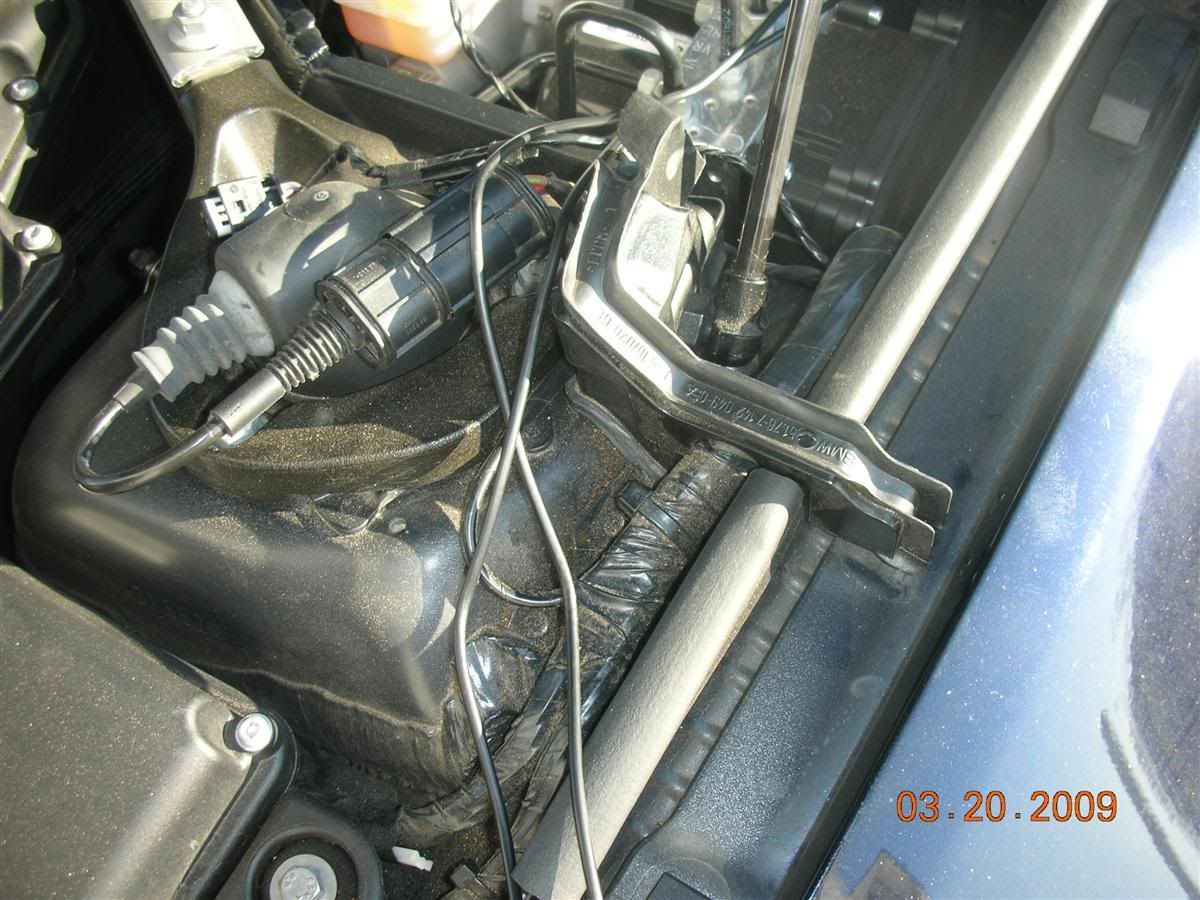
There's a rubber box right beside that tube. It's attached to the fender with a pop rivet and to the firewall with a 10mm bolt. You don't need to remove either, just slide it off of the bolt so you'll have more room to work later. For reference, you can see the hole where the rubber tube was at the top of the first picture.
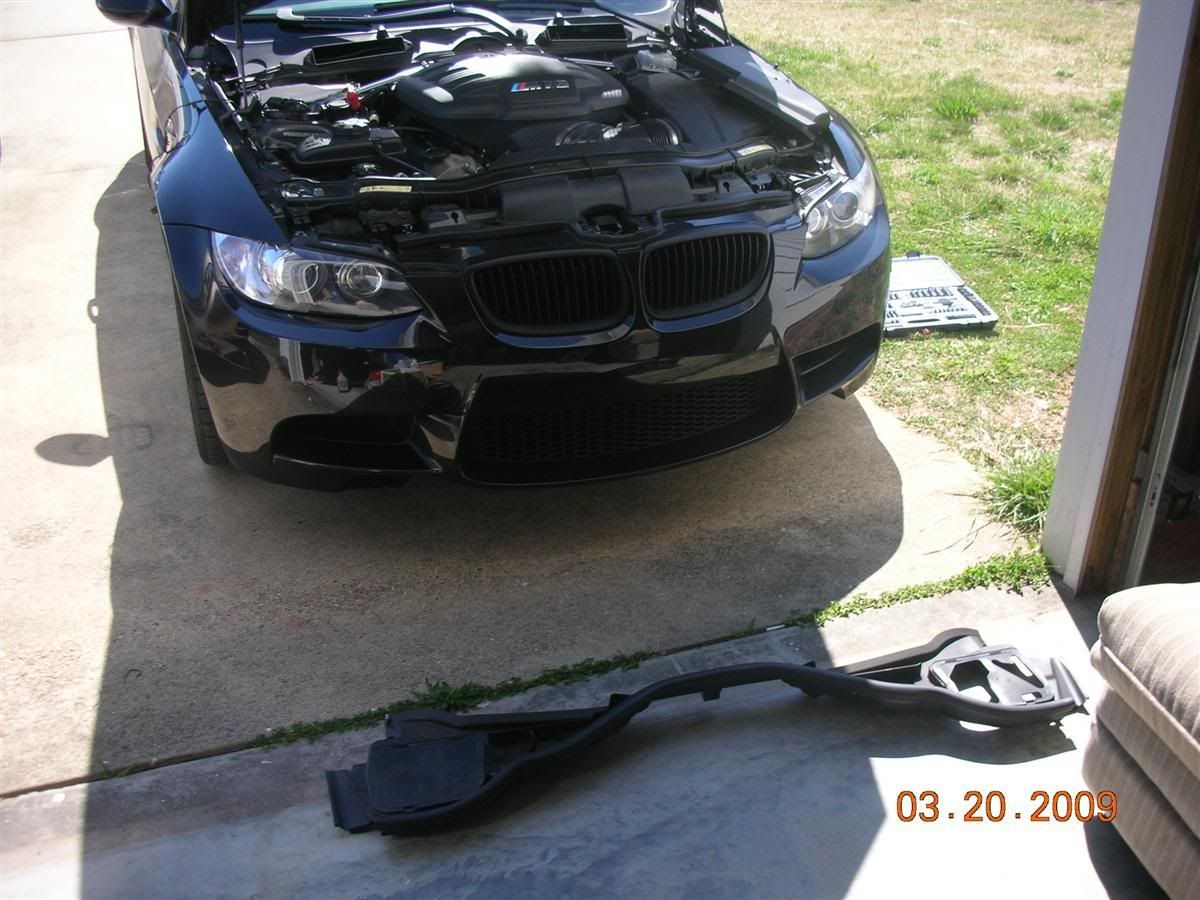
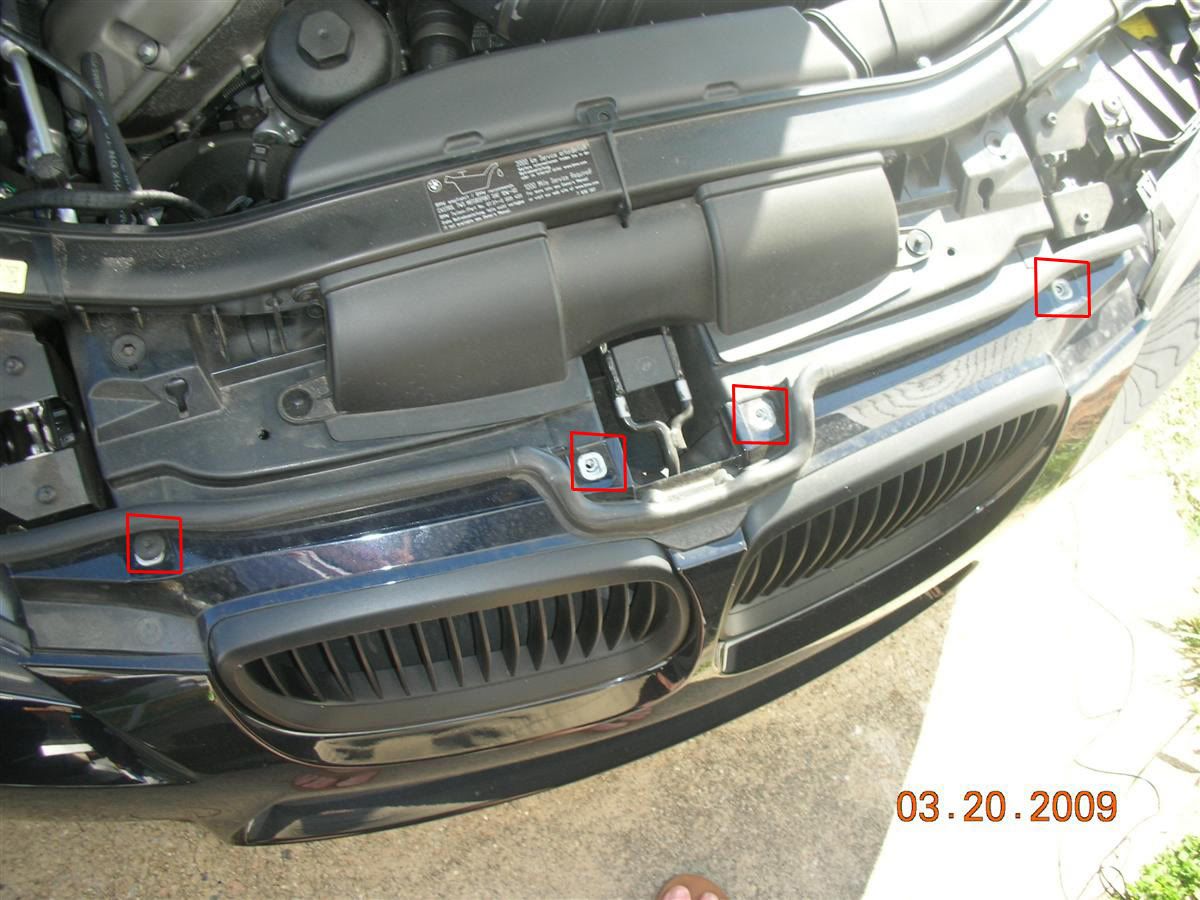
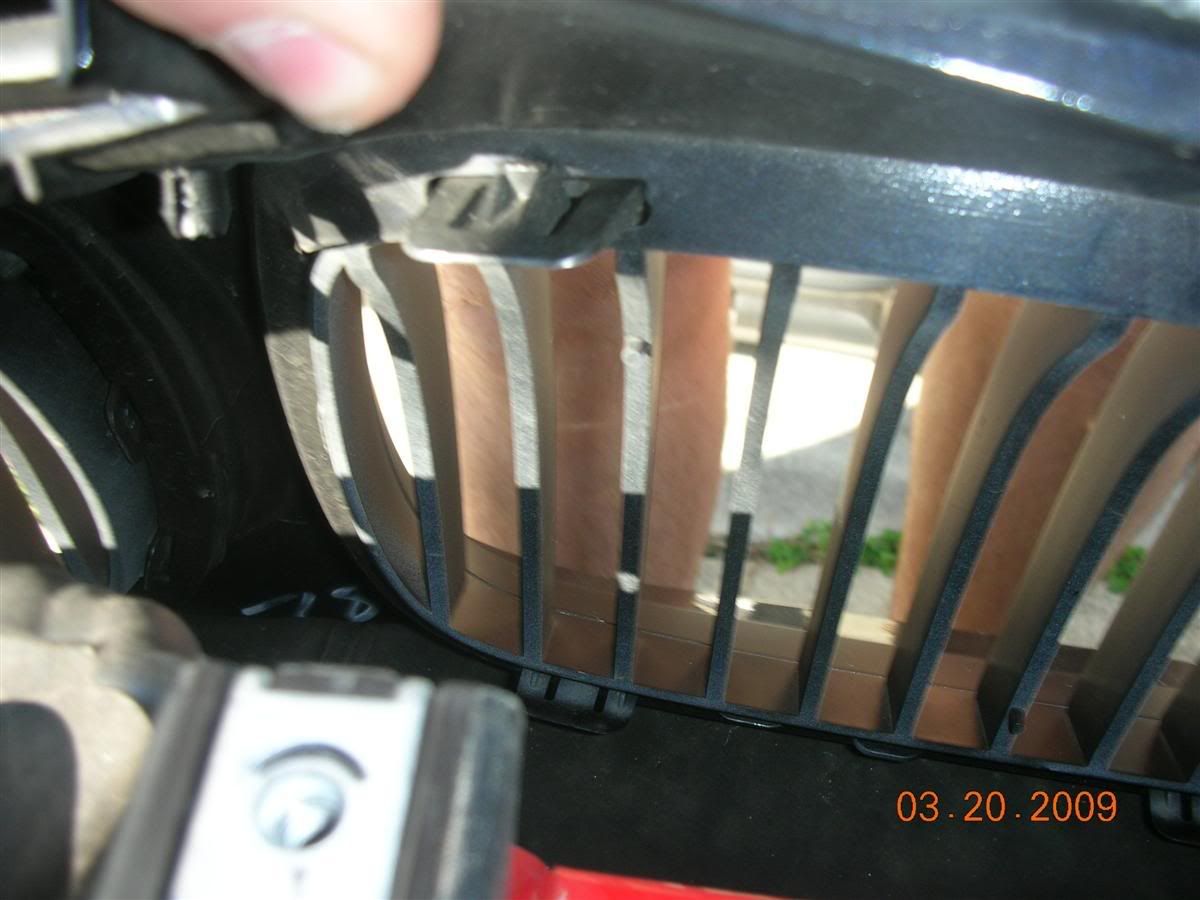
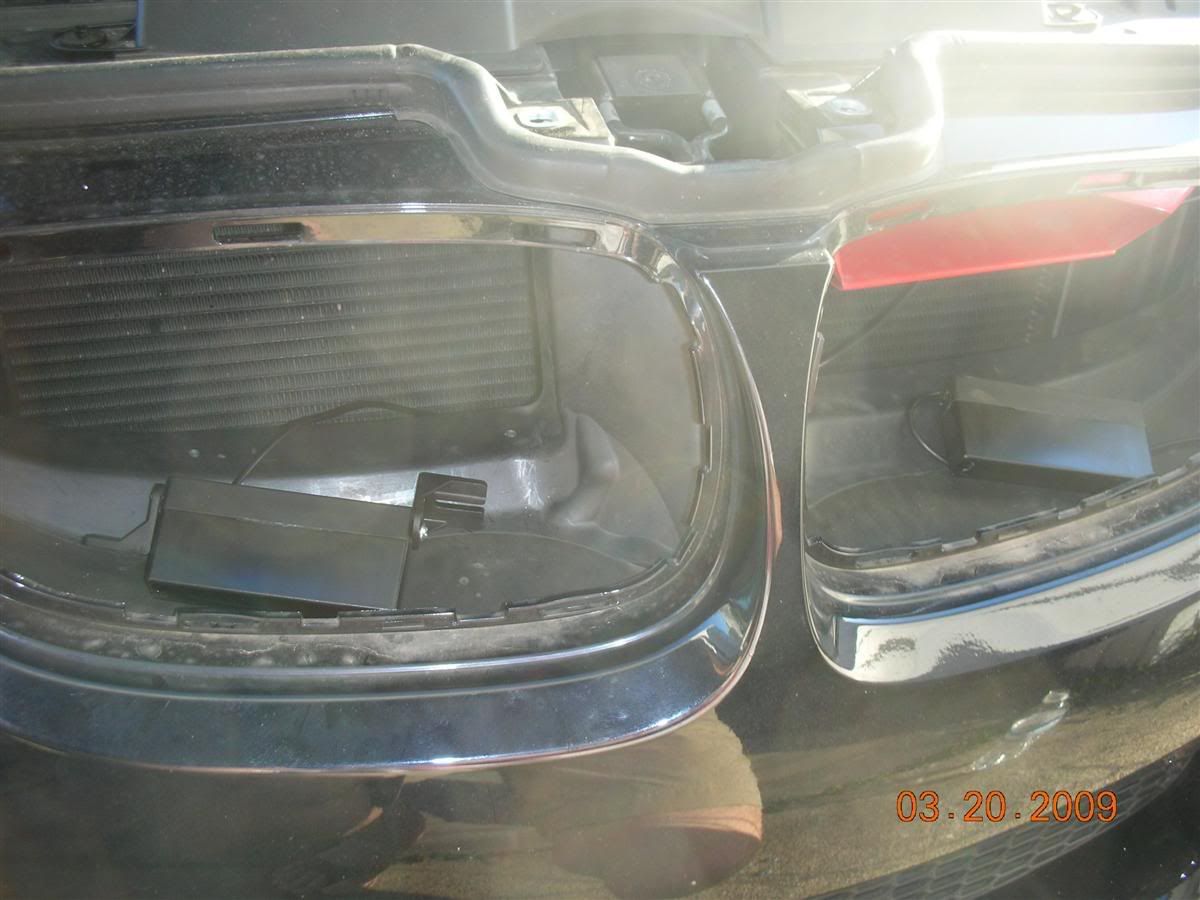
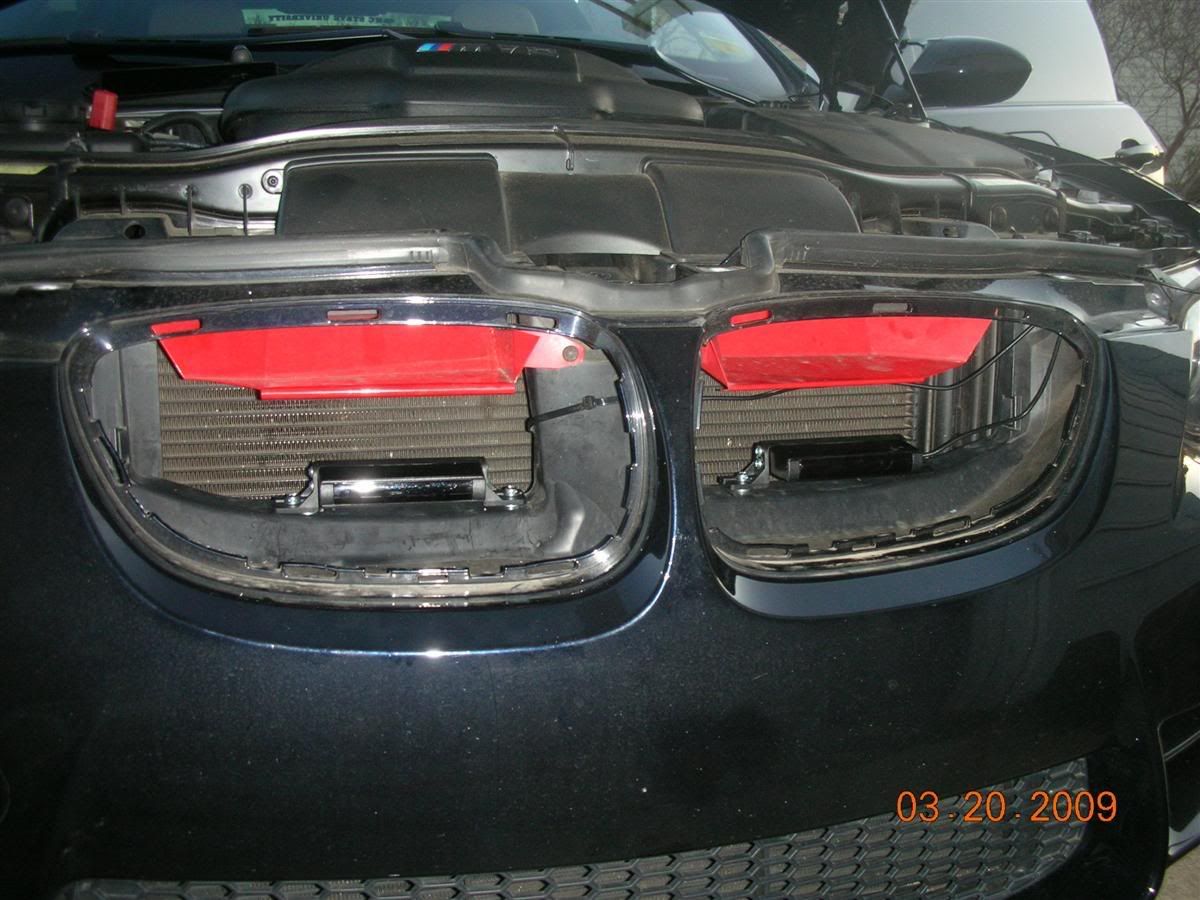
There are 4 bolts holding the top of the bumper in place. Remove these, push the bumper out, and reach in and release the grilles. They're held in place with plastic tabs. I used my finger to bend them down, but a flat head screwdriver works too.
Time for the interior. Use the torx driver and remove the 3 T-15 screws holding the panel below the steering wheel in place. It simply drops down once these are out of the way.
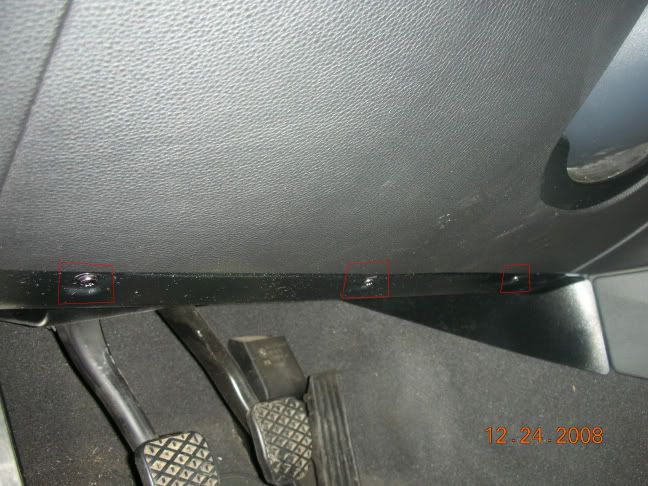
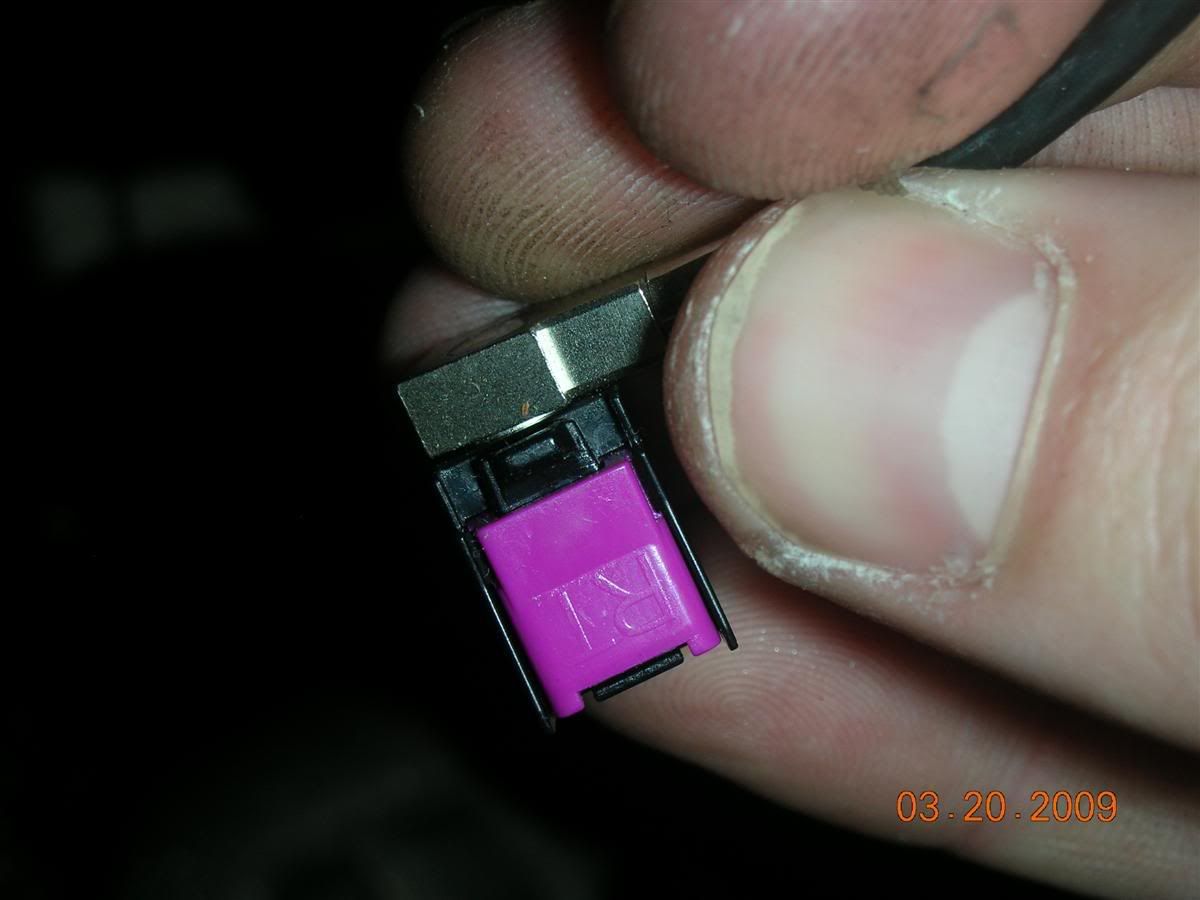
There are 4 connections under there. 2 of them simply slide out, but the one on the far left, with a purple/black tab, needs to be depressed in order to be removed. I used my knife, anything small works. The big one also needs to be depressed to slide out, but it's big enough for your fingers. Also, remove the wires from the clip holding them down so you can pull the entire panel out.
Now's a good time to take the clutch spring out if you haven't already. There's a link in my sig on how to do that.
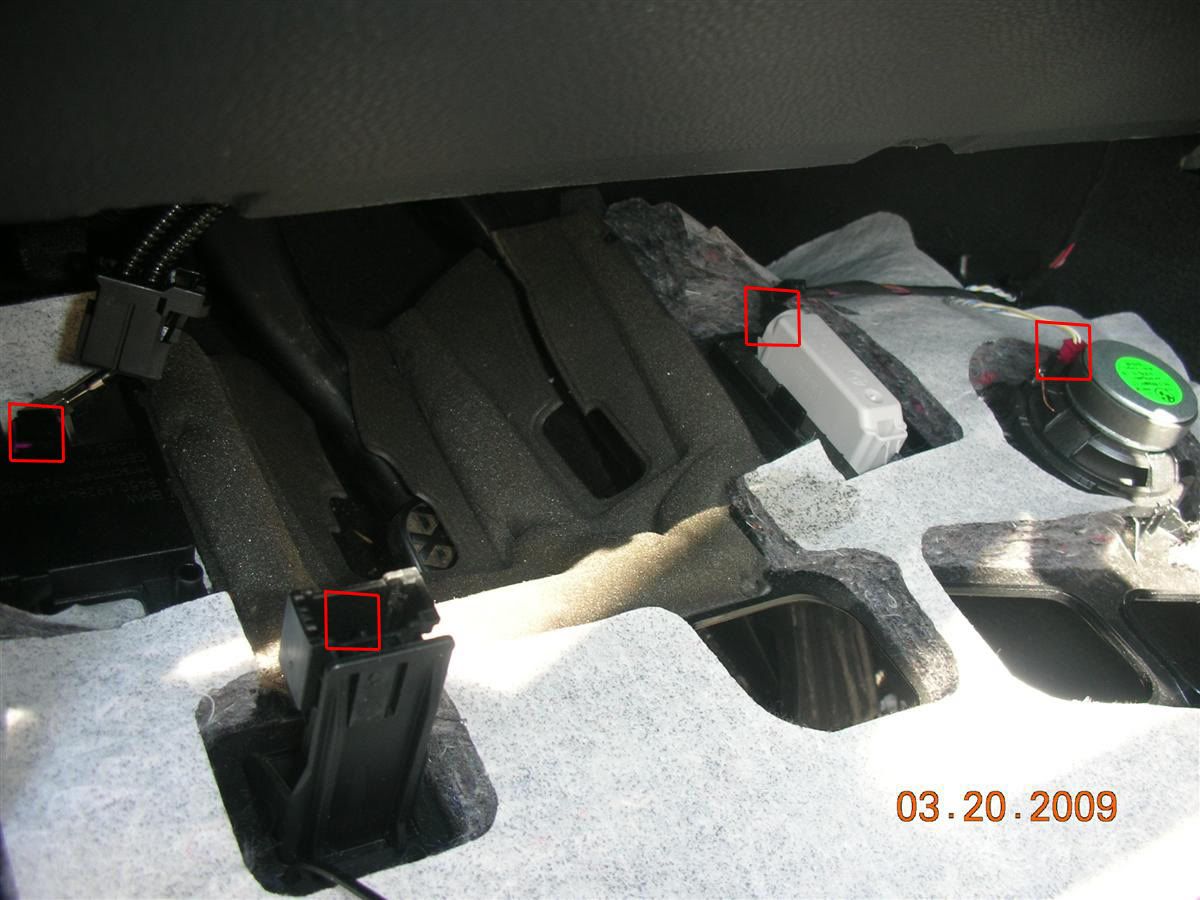
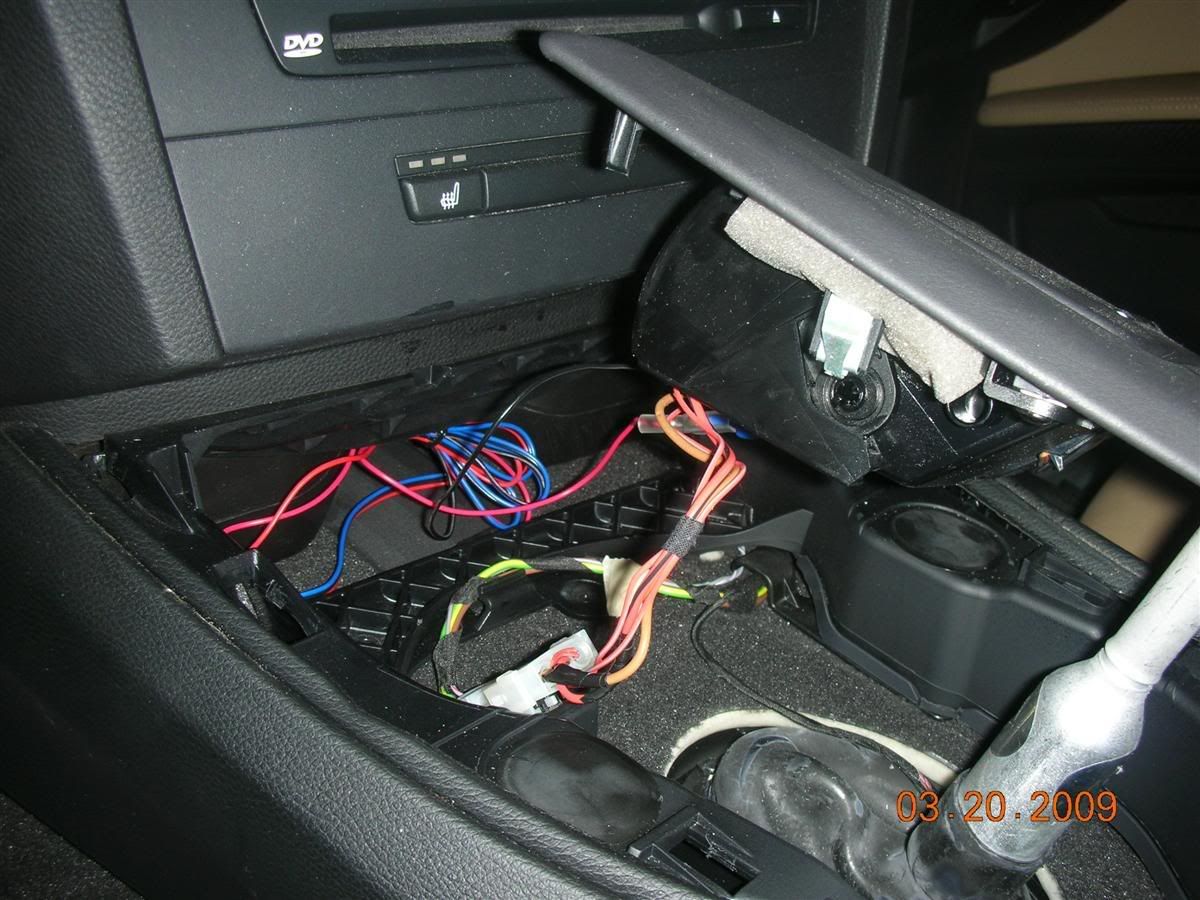
Next up is the center console. The shifter trim comes off by pushing in around the edges and pulling up. To remove the knob, put it in 2nd and pull up. Although, I think you can remove the center trim without pulling the knob off. To remove the iDrive wheel, pull up. I didn't remove the connections for power, DSC, or EDC, there was enough slack to work with.

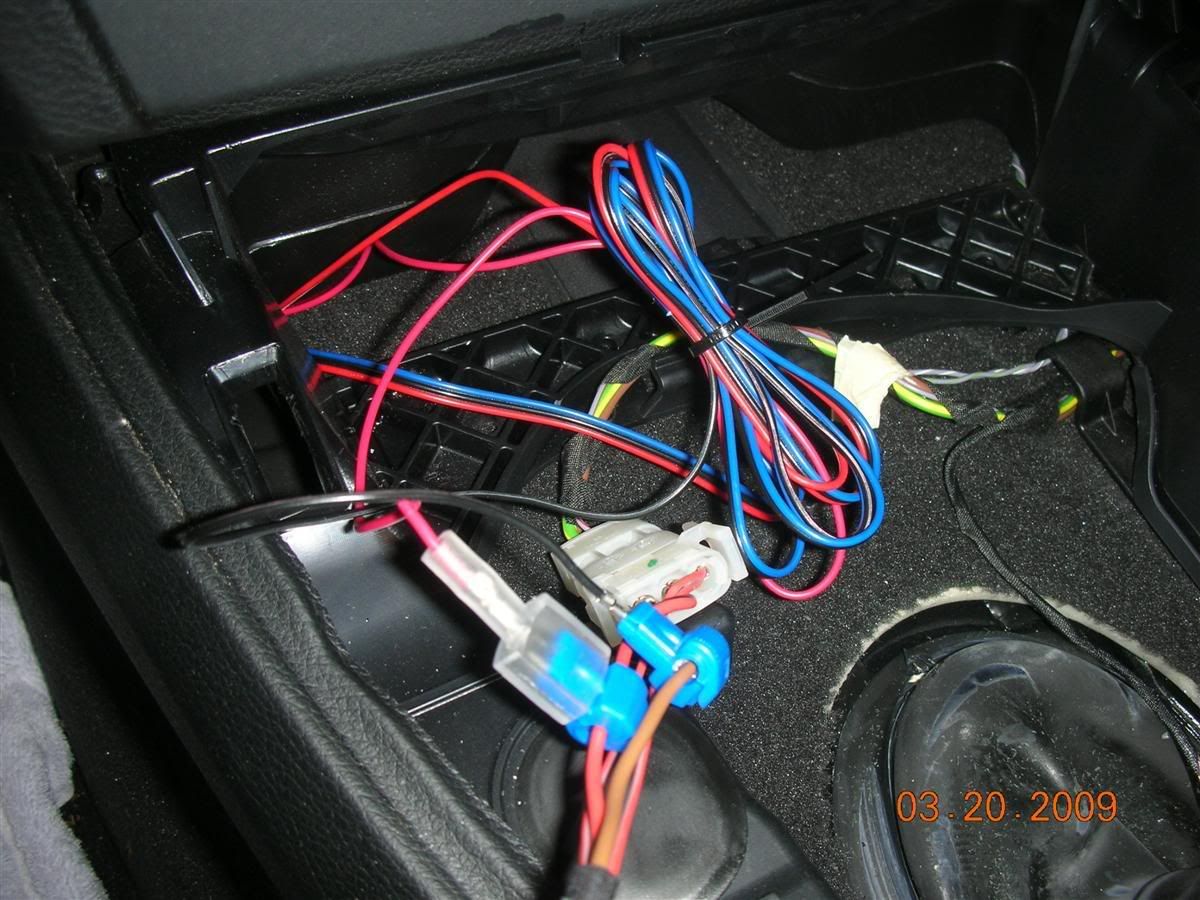
Under the console are all the wires for the cigarette lighter. Remember, on the connector,
GREEN DOT GOES ON TOP.
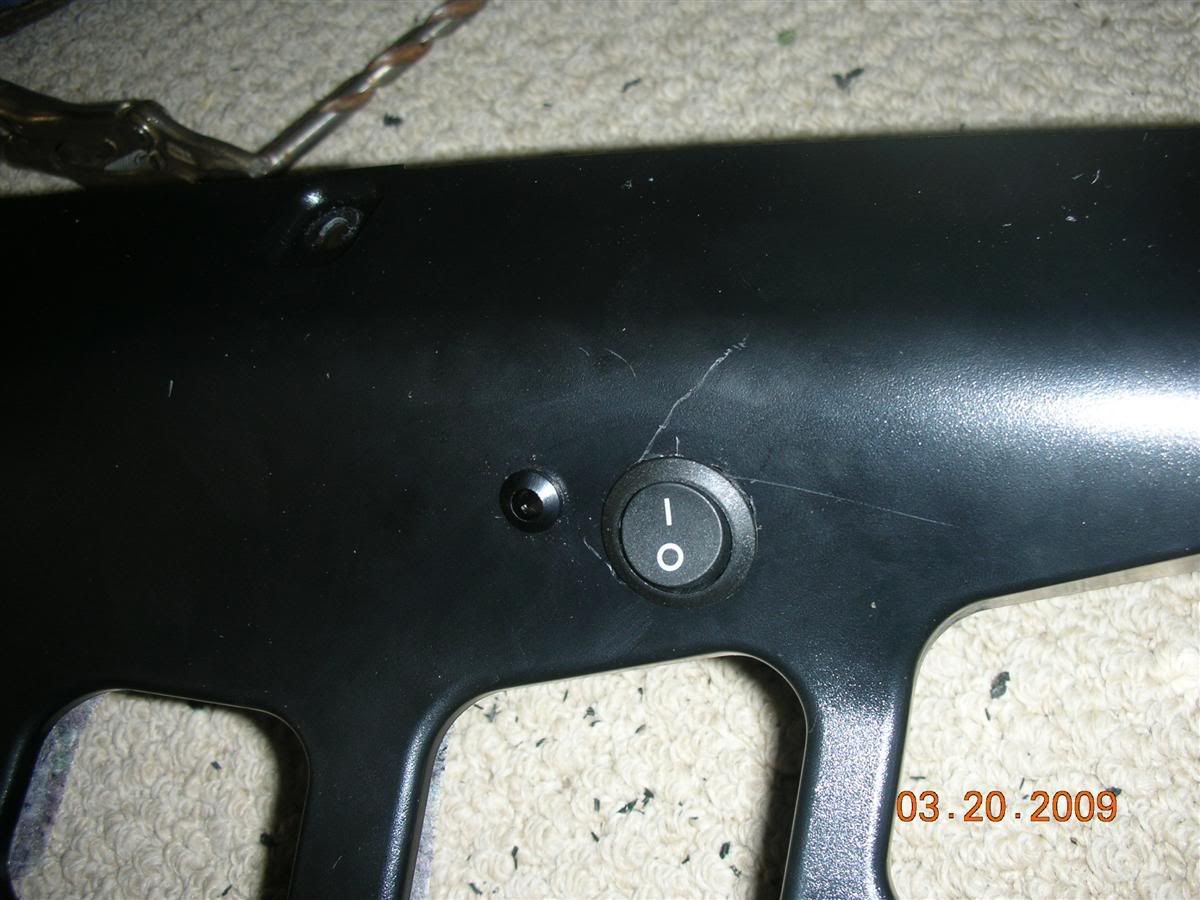
I mounted my switch and LED on the panel. You can mount them wherever, but here's how I did it. The switch is 2cm wide, the LED housing is 1/4". Mark where you want to put them, and drill the holes. It's that easy. I slipped at some point and scratched the panel, but I really don't care, it's under the steering wheel. After I was done, I ran the buzzer wire through one of the vent holes and screwed it to the panel.
 Running the wires and mounting the receivers
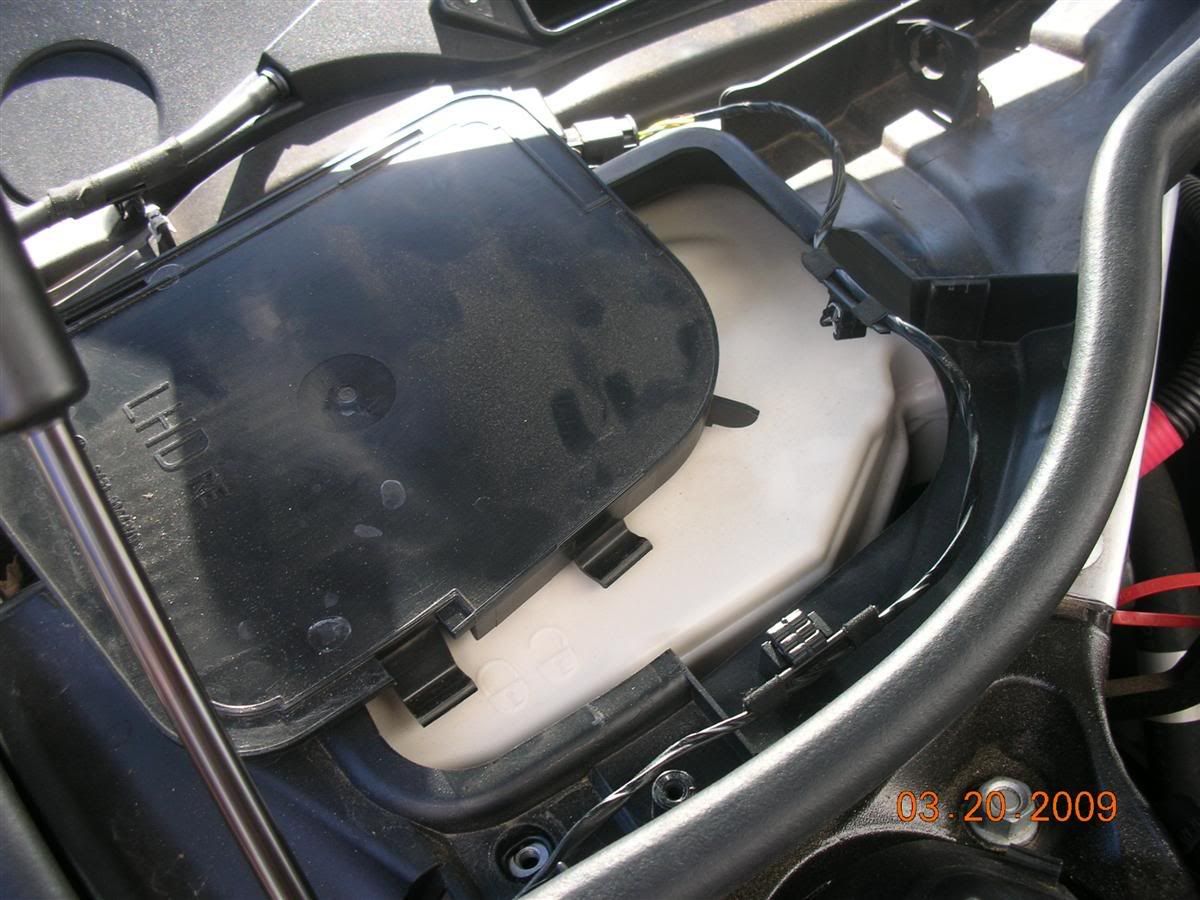
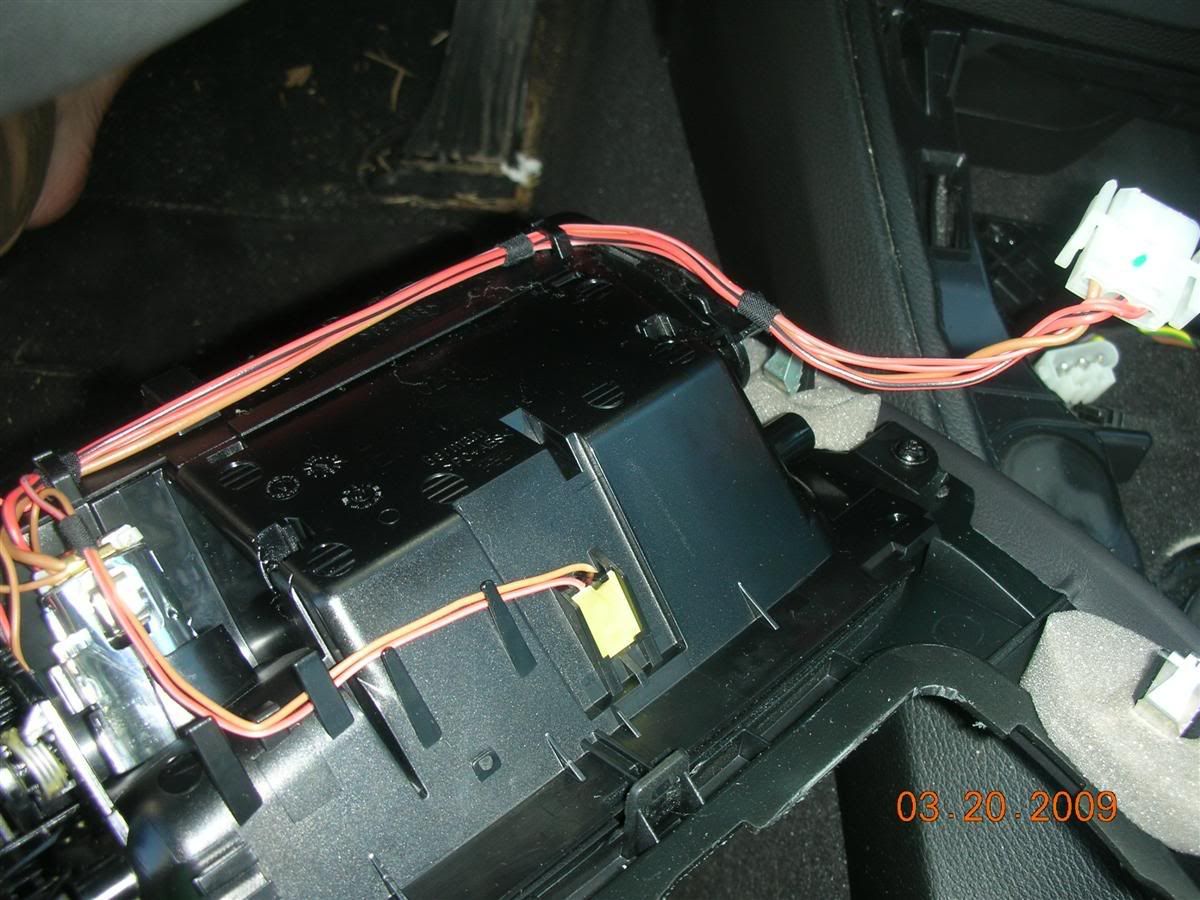
Here comes the fun part. There is a white ring around the grommet that you'll use. It's under the white tank (steering fluid?) up against the firewall. You'll have to maneuver your hand to unclip 2 of them in order to get enough play in the grommet to work with it. It doesn't take much to release them. Once you get them released, get back inside the cabin. Here's what you're working with.
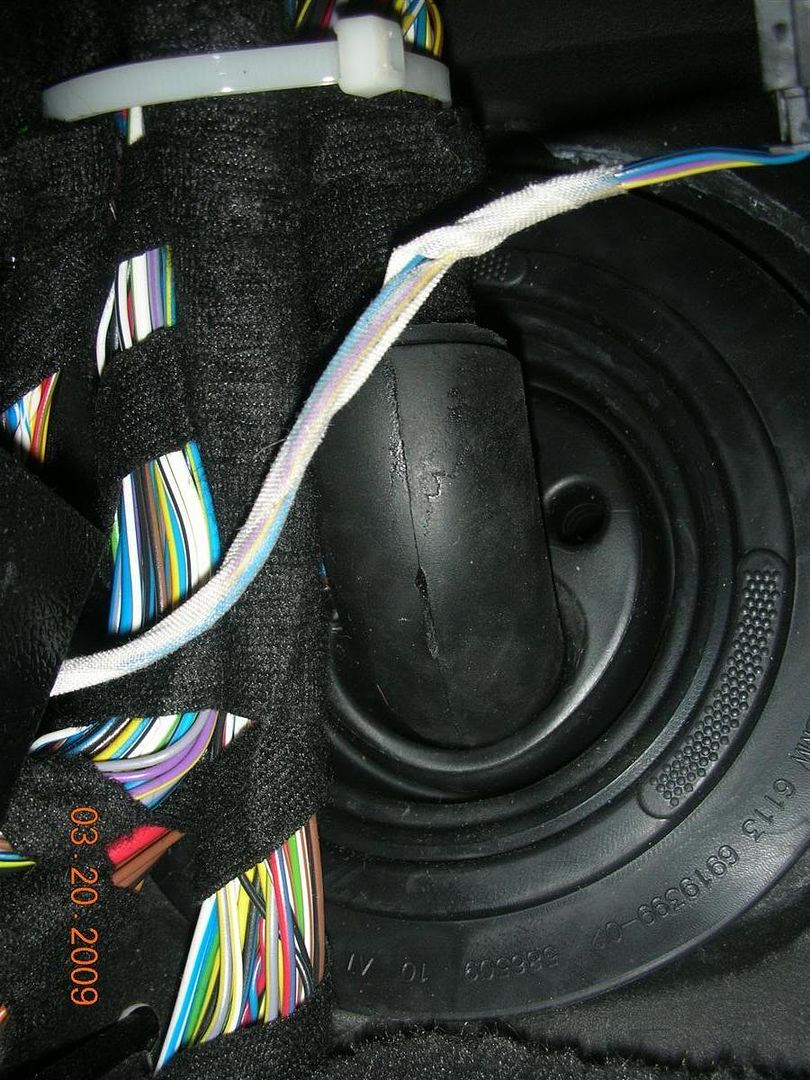
That small hole at the top right is the nipple I cut to run the wires. There are 3 nipples, but I couldn't get to the other two. I was able to pull most of the white ring inside the car, pull the nipple around, and snip it off. Then I took a razor and sliced down to make it easier to pull the wires through. I probably cut too much, but it's tight down there and I couldn't really see how far I had gone.

Take the two front receivers and pull the wires through the kidneys, in front of the air box, and then follow the stock wiring around the air box,
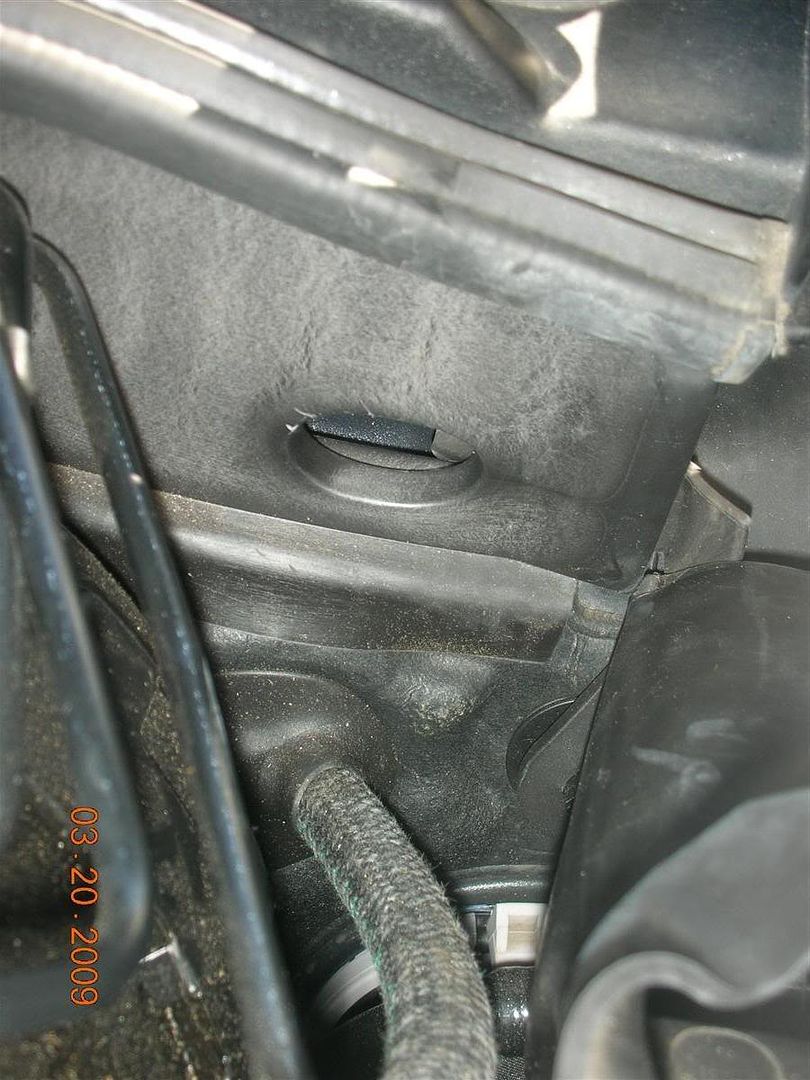
to the left of the hydraulic arm (I had to re-run both wires because I wasn't paying attention), and down into the grommet. There's a plastic piece that sits between the fender and hood that crosses over the stock wiring. You can remove it by releasing the tabs that hold it in place.
My wires have tapered rubber at the ends to make it easier to seal the firewall if you're cutting holes. I used a razor to take one off, and left the other to help seal the hole in the grommet.
If you have intake scoops, you're going to have to remove them. I debated and tried different mounting points, but this is the best place and easiest to level. I found it best to mount the brackets to the receivers, but only tighten the top screw to allow some rotation for leveling. I marked where the brackets were, used the self tapping screws to make holes, and leveled them out using washers. After getting the heads leveled, go ahead and pull all the slack out of the wires. I zip tied the driver's side to the column in the middle to keep it from waving around. If you can find a better way to route the wires, let me know.
 Powering Up
Now comes the easy part. Here's a simple wiring diagram:

I went ahead and snipped the blue wire because I don't care about an auto-mute. The red wire that connects to the main box goes to one side of the switch, and the other red wire (the one with the fuse), goes to your power source, which in this case is the cigarette lighter. I don't have many pictures of this part because it was getting late and I was just trying to finish up. At this point you have your wires from the receivers in the car. Pull all the slack through and zip tie everything to the stock wiring under the hood. Roll the wire up and tie it up. I put my wires and box behind/under the steering wheel, you can put it anywhere.
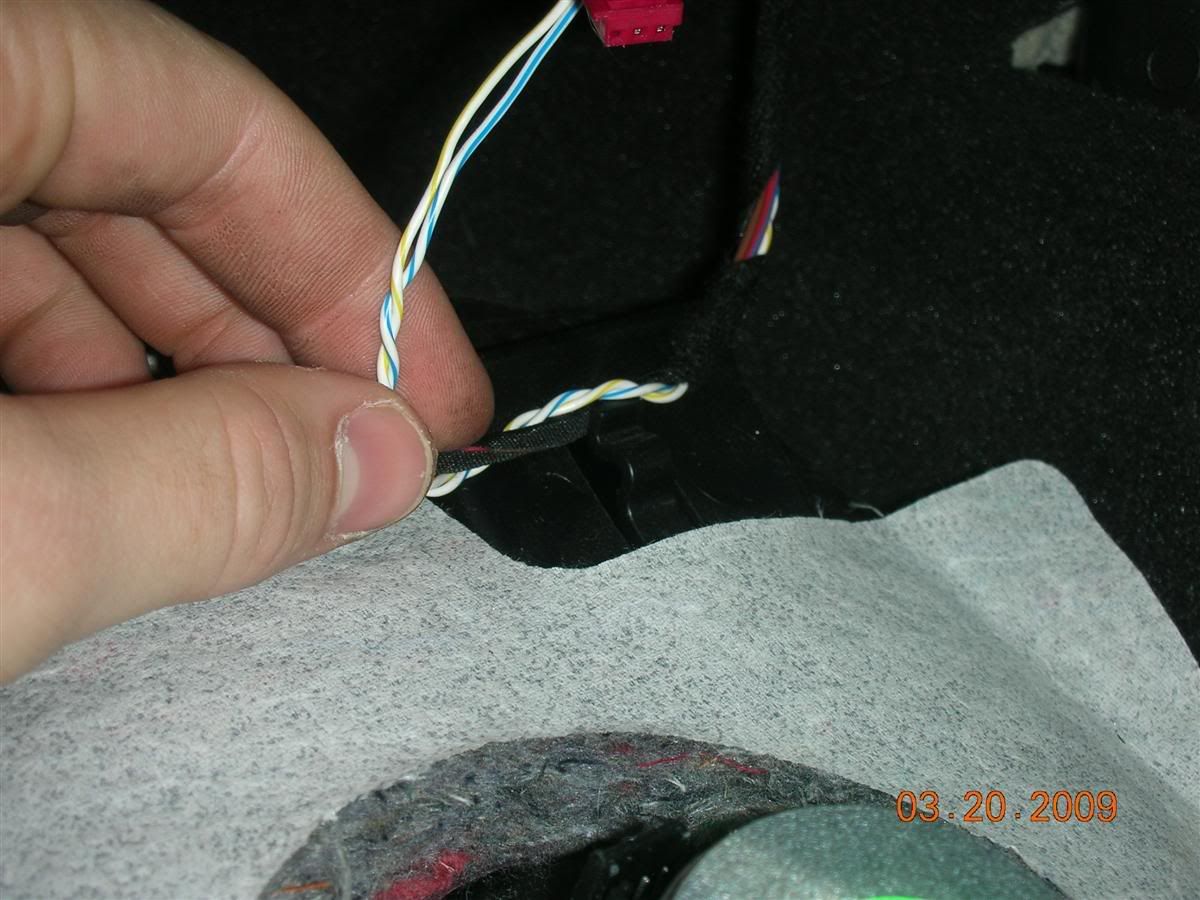
The wires you're tapping are the 2 larger of the four. The red wire with a black stripe is positive and the brown wire is the ground. I cut a coat hanger, ran it from the console to the foot well, taped the wires to it, and pulled it back through, which is the easiest way I can think of doing it. Use the supplied taps to piggyback the pos/ground. I ran the end of the ground for the Blinder into the tap before I clamped it down and it worked fine. The positive lead simply plugs into the tap after you've clamped it. You're going to want to tap the wires from the cig lighter back a few inches from the connector in order to leave room for the ash tray when you put the console back in.
Once you get all the wires tidied up and everything is working, it's just a matter of putting everything back where it was and you're done.