Did this whole job a few weeks ago, sourcing multiple threads as a guide. Decided to condense all of this into one thread with a simple step by step for any one else who needs to perform this job.
This was my problem: https://www.m3post.com/forums/showthread.php?t=1808462
I had scheduled maintenance coming up so I decided to tackle everything at once, part numbers are for a manual transmission 07/2008 E90 M3
BMW LKR8AP G-Power Spark Plug - NGK 4471
X 8
BMW Repair Wiring Harness Coolant Sensor - Genuine BMW 12517847971
BMW Temperature Sensor - Genuine BMW 13621433076 (purchased mine on eBay, way cheaper for OE)
BMW Oil Filter Housing Gasket - Genuine BMW 11427838276
BMW Oil Pressure Switch - Rein 12618611273
BMW O-Ring - Genuine BMW 17212283511
X 2
BMW Thermostat - Mahle Behr 11537836155
BMW Water Pipe O-Ring - Reinz 11531406249
X 4
BMW Water Pump O-Ring - Reinz 11511711484
BMW Coolant/Antifreeze (1 Gallon) - Genuine BMW 82141467704
BMW Fuel Tank Vent Valve - Bosch 13907838281
BMW A/C Drive Belt - Genuine BMW 11287841529
BMW Serpentine Belt - Genuine BMW 11287837898
VAC MOTORSPORTS OIL DIVERTER VALVE, BMW S65
Redline Water Wetter
Distilled Water
Used these threads for guidance:
https://www.m3post.com/forums/showthread.php?t=1312849
and
https://www.m3post.com/forums/showth...highlight=epic

1.
Remove Intake: start by removing the suction hood (#8) by removing (2) x T25 screws (#10) then use a trim tool to remove the rivets (a screwdriver will crack/break the expanding rivets) and remove the 2 pieces that make up the suction hood. Then loosen the hose clamp from the intake boot, then remove the whole intake assembly (#1) in one piece by removing (2) x 10mm bolts (#6)

2.
Remove plenum: loosen then remove hose clamp, 6mm socket, from plenum to boot, unclip vacuum hose from boot. Loosen (8) x 6mm hose clamps (4) on each side, loosen on the tighter side. (If you completely loosened the clamp make sure to re-tighten before re-installing the plenum otherwise you will be pushing the 6mm away from you when trying to tighten) Unclip the sensor at the front left of the intake, unclip the vent hose underneath the front of the plenum, and lastly unclip the hose at the very back right bottom of the plenum. Squeeze and pull down/out for both. The rear hose is a PITA. Finally remove the entire plenum.

3.
Replace Spark Plugs: Simple task. Remove ignition coil cover. (No need to loose coolant tank for the passenger side, if i can do it, so can you, lol) Unplug connection to ignition coil. Pop off each ignition coil using a remover or very very carefully with a screwdriver and towel. You need 5/8" swivel socket and an extension. The furthest back most plugs are not that hard, I really dont know why people struggle. You dont need a ton of extensions, one 6" with the swivel socket and some tape to secure the socket to the extension will do it. I probably should have changed my spark plug tubes, too. Plugs were done by previous owner on 04/11/2018, invoices do not show mileage.


4.
Replace Fuel Breather Valve: If the part is bad, you will experience rough idling. An easy replacement while youre doing all this. First unplug sensor. Next undo hose by pushing valve and squeezing, once you feel the tabs are free, pull off. This took me a while. Now you can either loosen and remove the entire hose from the engine or loosen and remove the hose from the breather valve. The valve comes out by slipping it off the mounting tab. I removed the entire hose so I had the valve with the hose still attached, completely off the car, then slowly removed the hose from the valve using some pliers.

5.
Thermostat - Remove Coolant Hoses: Drain coolant tank to avoid a giant mess. Put some towels or a bucket or pan, anything to catch spilling coolant, underneath the car. I used a harbor freight pump which made draining a breeze.

Next, remove hoses from coolant tank and remove radiator hoses. Pry the clips up and wiggle the hoses off. Some coolant will spill, be ready. I drained my radiator completely just to be on the safe side. And my coolant looked old and oily, which also made me want to drain it.

There is no need to undo the fuel rail, just unclip the fuel line from the clip on thermostat cover. Undo the coolant temp sensor, loosen the sensor now if you're going to replace it (22 Socket), then remove the (3) x 10mm bolts and remove the housing. It might be stuck a bit, use a small amount of force.


Pry out old thermostat, clean the housing using a 3M scotch-brite pad, replace and hand tighten coolant temp sensor, put in new thermostat and re-insert or leave it out if youre going to continue with the water pump and Oil Filter Housing gasket, just leave you more room.


6.
Water Pump - Remove Fan: Unscrew (1) x 10mm bolt from top left of the radiator, undo the big power connector, then carefully pull the whole thing up and out. I was being rough and did not damage my radiator fins. When re-installing, remember to line up the bottom tabs and clip your hoses back into the clamps.

Next, remove the slim coolant hose that runs in front of the pump.

Once that is out, you need to remove the belt. But before you do that, loosen the (4) x 10mm on the water pump pulley. I actually did not and was able to hold the pump with my left and break them loose with the socket wrench. Not sure if they were just were not torqued properly, but its an option. Now, remove the cap on the top right side tensioner and with a 14mm box wrench or short socket on a ratchet, anything that will give you ample leverage, press down until it stops. If you're having trouble removing the belt you're not pressing down enough. It will physically stop.

You cannot remove the belts until you have the power steering belt off, and you cant remove either until you have the oil cooler lines disconnected. So move the belt out of the way and remove the (4) x T30 bolts holding in the water pump. If you're using the harbor freight pump, suck out some of that coolant from the top to avoid more mess. If the pump is stuck or you're having a hard time removing it, you can use the middle threads on the pump to back the pump out, screwing down one side at a time until it can easily be pulled out. Swap out the pump's O Ring and set the pump aside.


7. Oil Filter Housing (finally) - Remove Oil Cooler lines: I pumped out the oil from the oil filter housing before doing any of this (Remove the filter then pump it out, you can re-use or drop in a new filter). First remove the (1) x 10mm bolt holding the oil cooler lines clip down. Be gentle, its fragile. Next remove the (2) x 10mm nuts that hold the oil cooler lines into the oil filter housing. move those out of the way, there is flex in the lines, you wont bend or snap anything. Oil will spill out, be ready. Then unplug the oil pressure switch.

 Remove Belt:
 Now loosen the (3) x 10mm bolts on the power steering pulley. Using a 14mm box wrench or ratchet, again, push down hard on the lower tensioner until it stops, and remove the belt. Once the belt is off, remove the power steering pulley, CAREFULLY, do not pry it or the edges will crack and you will need to buy a new one. Remove the (3) x 13mm or 10mm, i dont remember, bolts holding the power steering pump to the bracket. Pull the pump out, down and out of the way. Also remove the tension pulley on the oil filter housing, (1) x 13 or 14mm bolt and remove the belt.

 Remove AC bracket:
 Not sure if this was necessary, but i removed it anyway. (2) x 13 or 14mm bolts on the AC compressor, one on top and one directly underneath. Can be accessed from under the car. Its a pain to remove and especially a pain to re-install because the mounting points are sleeved. You can move the AC compressor around a bit to make it fall into place when reinstalling.

Not sure if this is necessary either, but unclip this wire and unplug its connector and you are ready to remove the oil filter housing.
 Oil Filter Housing Removal:
 First you need a T30 bit, measure it against the harmonic balancer and the one T30 bolt that sits behind it. Cut that T30 bolt using an angle grinder, saw, dremel, plasma cutter, or your teeth. Just get it to the right length where it will fit in an 1/4 wrench or ratchet that will fit behind the harmonic balancer. Use electrical tape or whatever to hold the shortened bit in place. Once you break that bolt loose, it cannot be removed until you remove the rest of the bolts holding the OFH in and pull the OFH off.
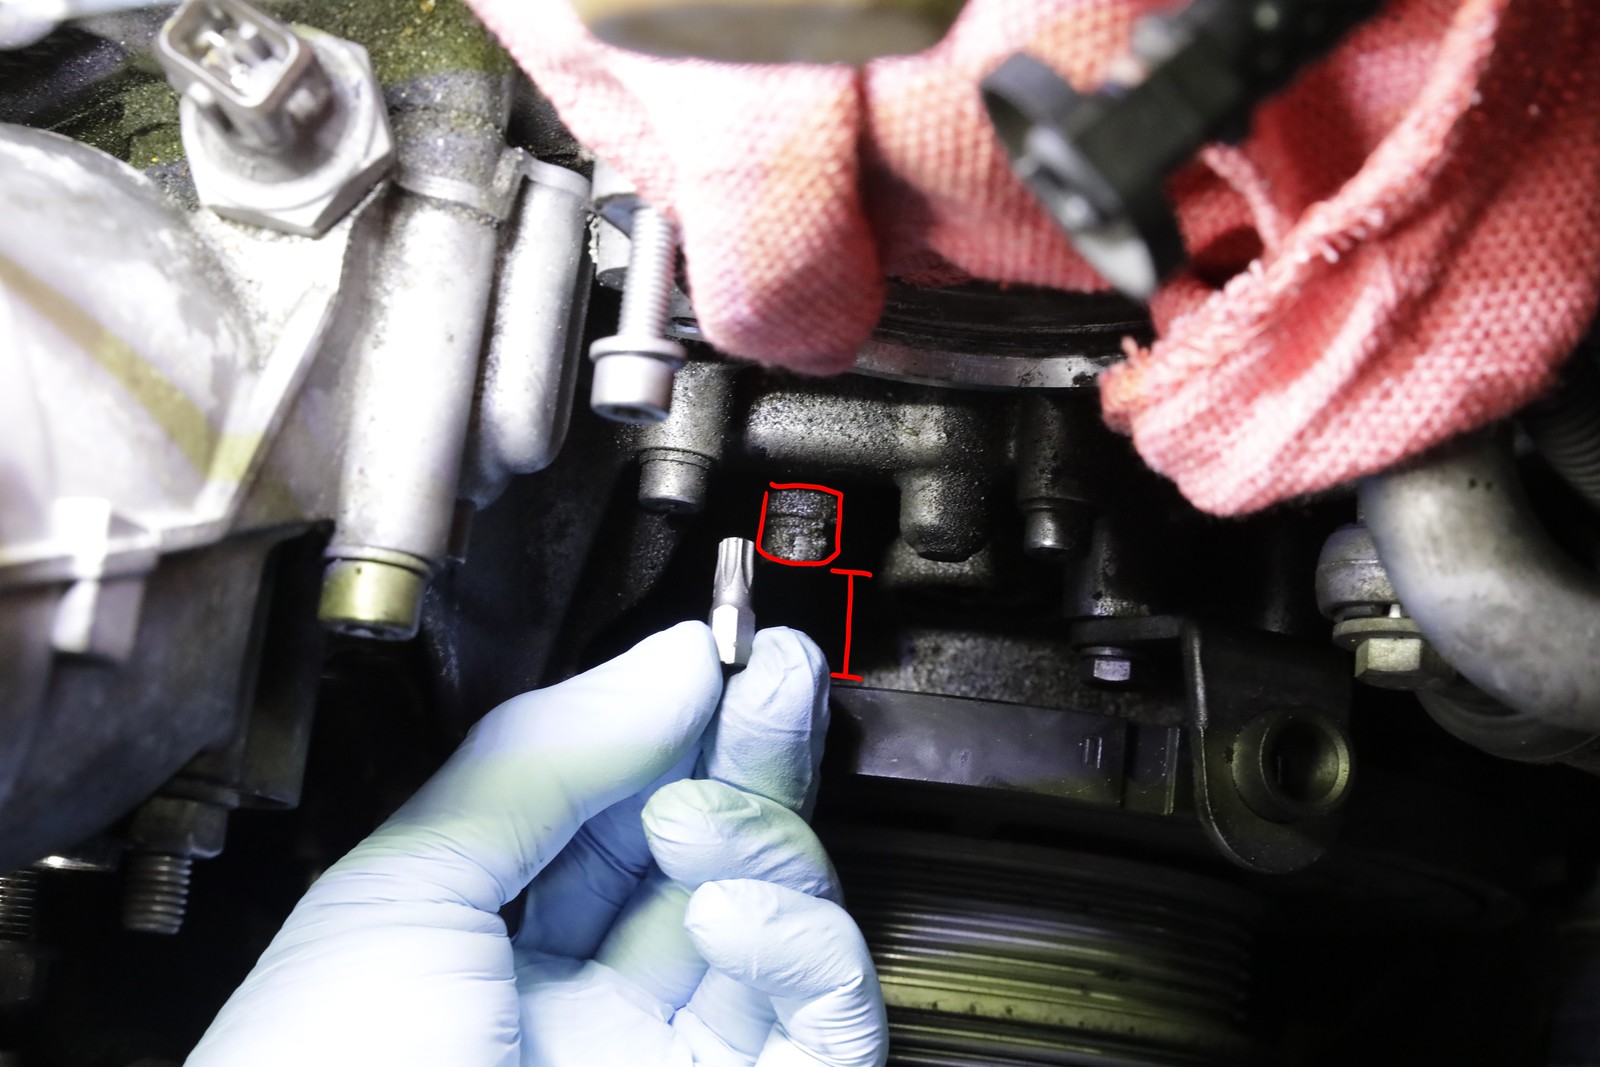

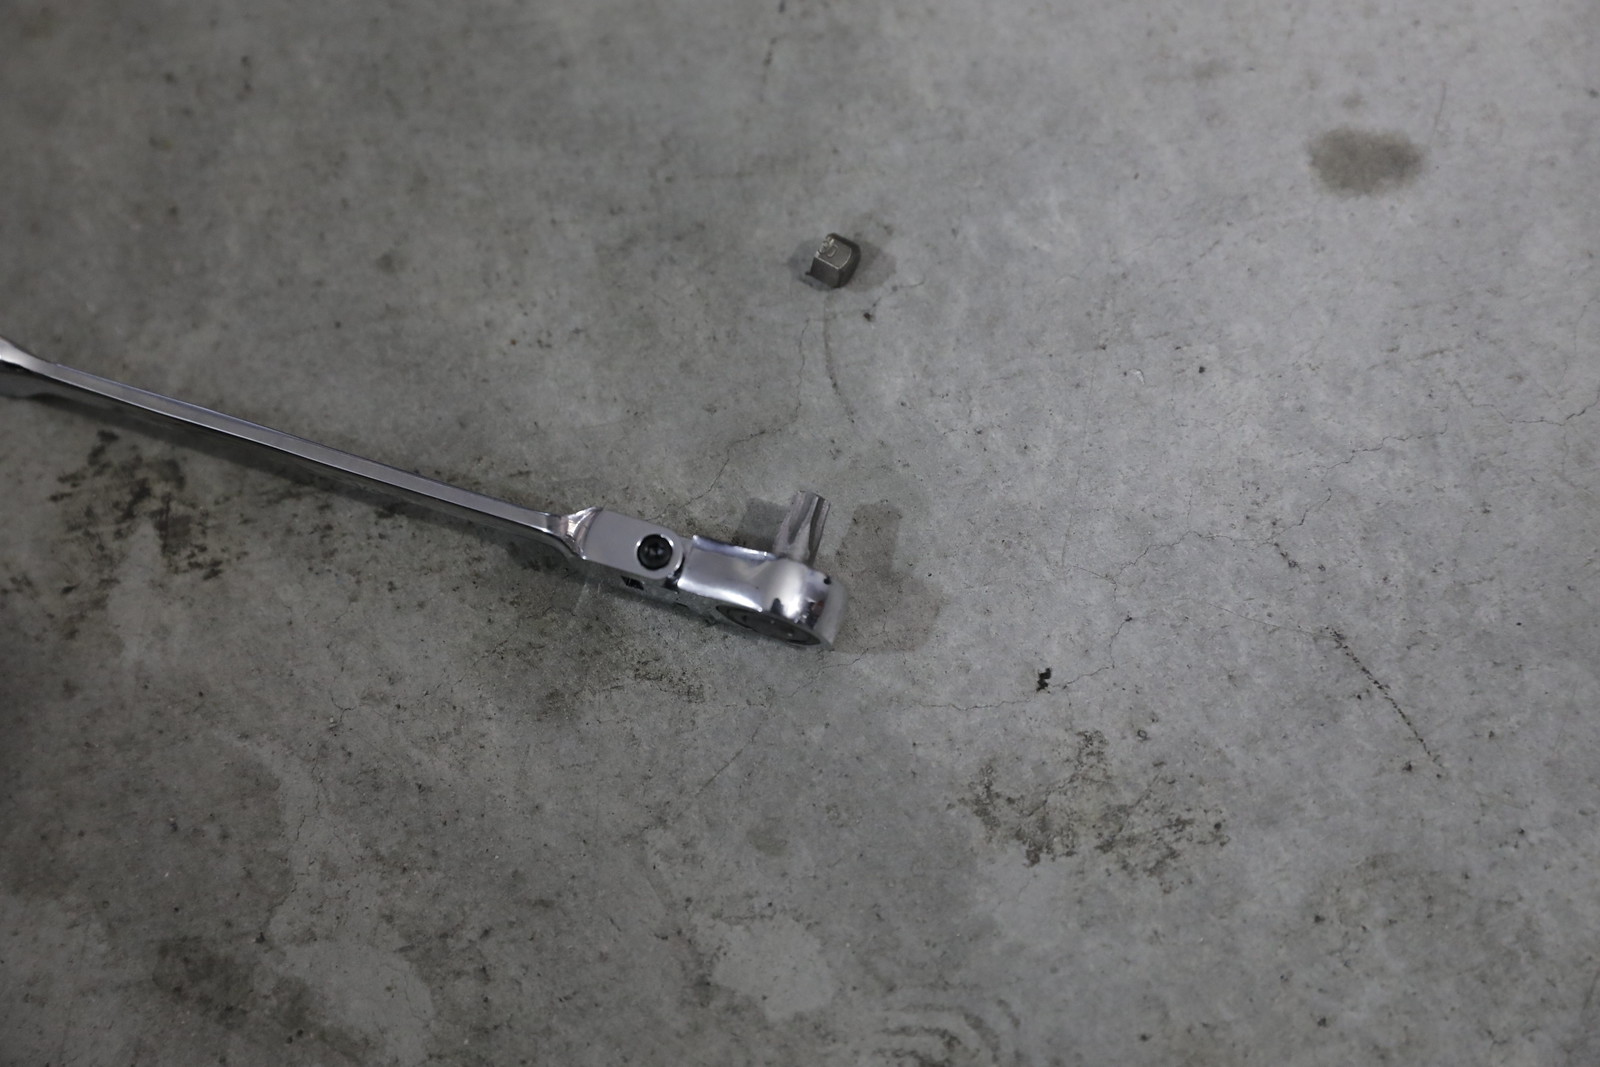

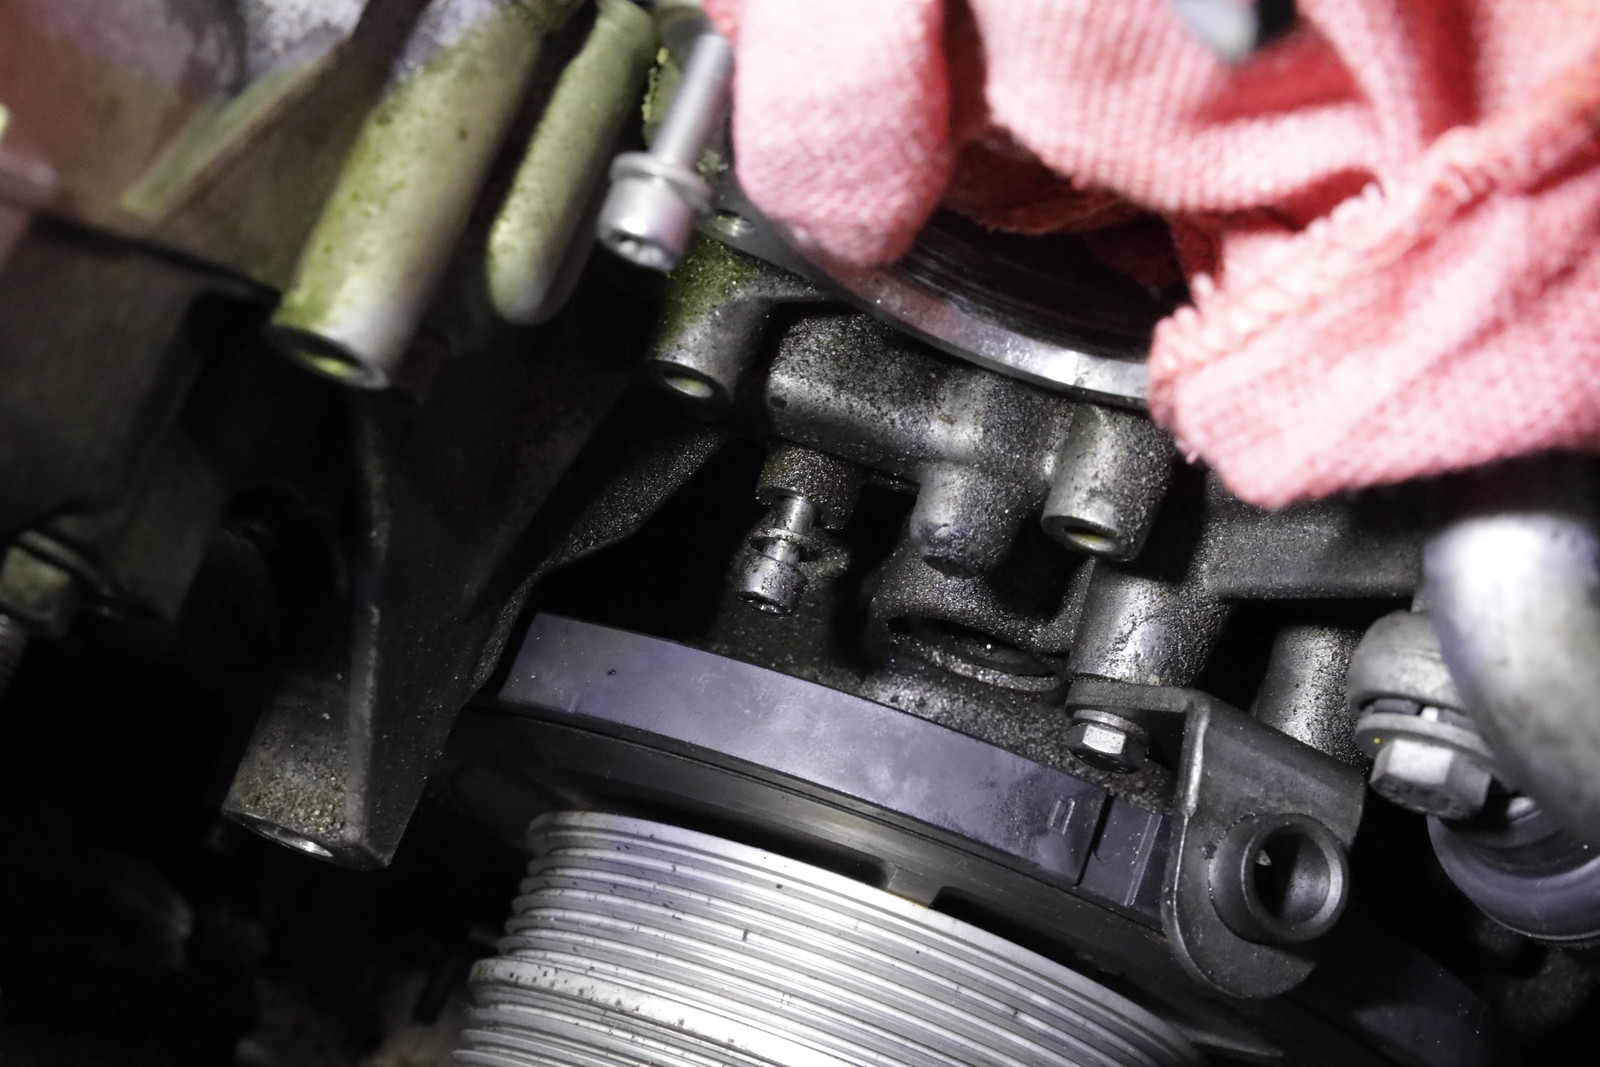
Now undo the rest of the bolts they are a combination of T30 and T40 bolts, IIRC. A member suggested to print this out:
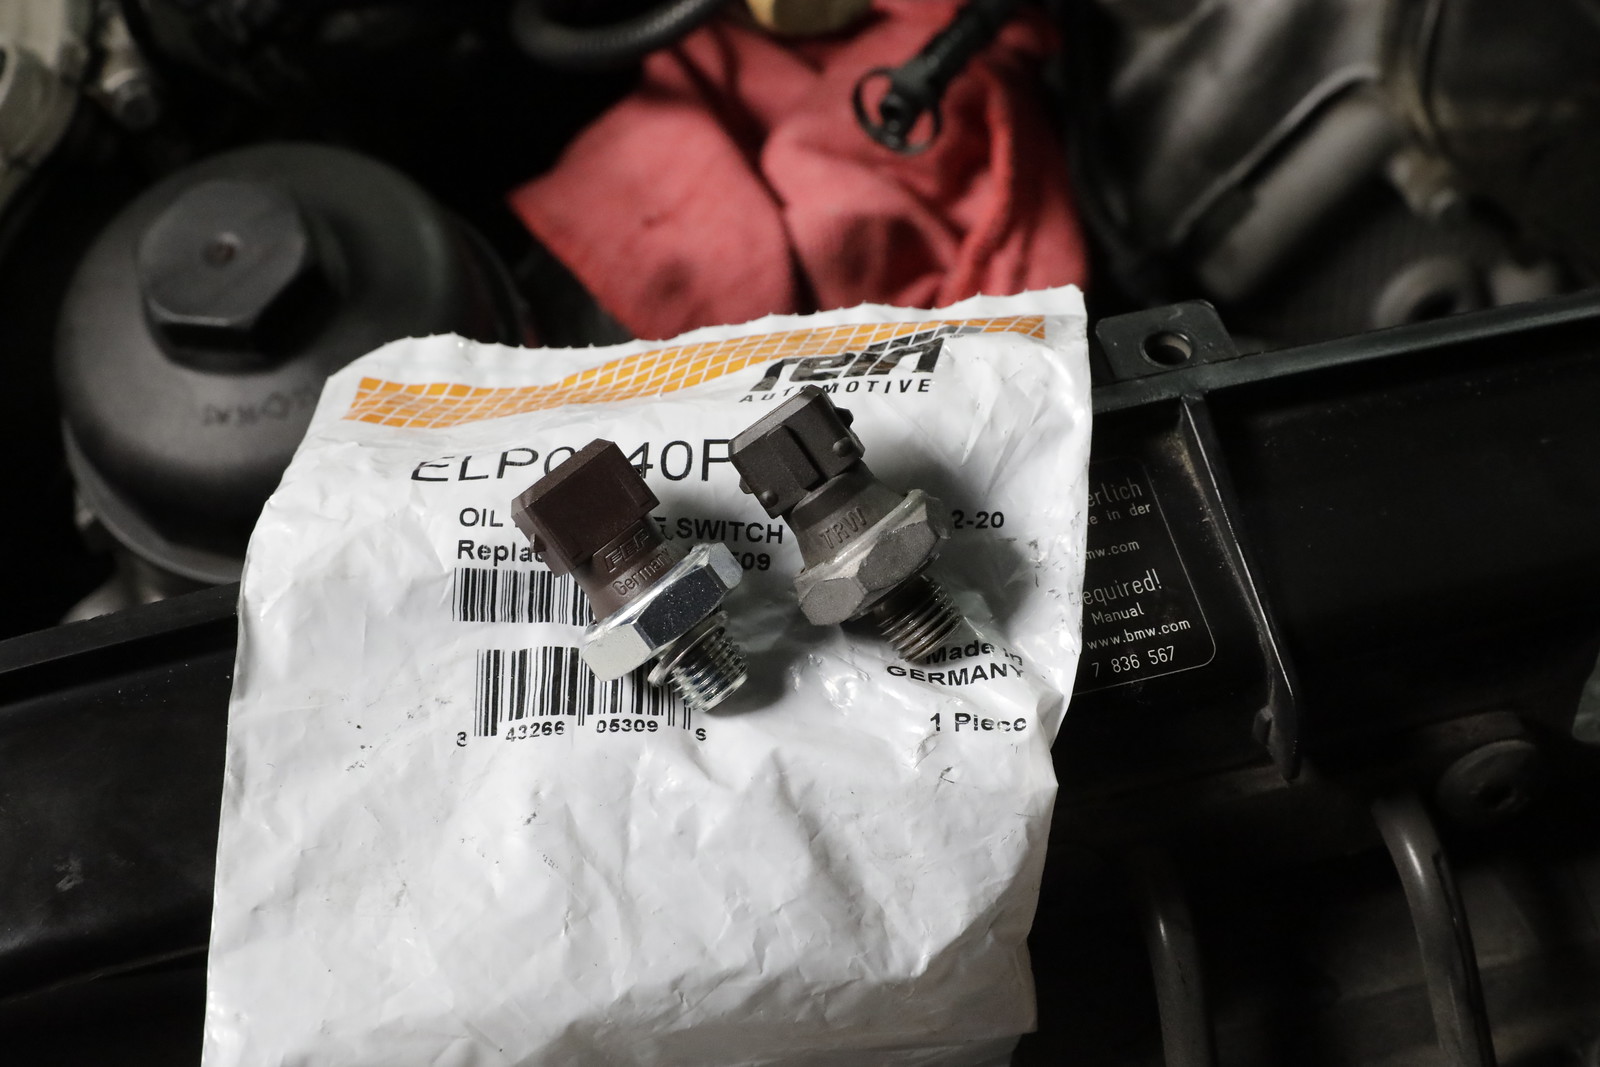
https://www.m3post.com/forums/attachment.php?attachmentid=2362224&stc=1&d=159460 7381 and punch the bolts into the diagram so you dont mix them up. That is exactly what i did and it made the re-install a breeze. Replace your oil pressure switch if needed, pull off the gasket from the block if it didnt come off with the OFH, replace your gasket and clean up the oil from the OFH.


 8. VAC Diverter Valve:
 Remove the (3) x T20 bolts that hold down the oil thermostat in the OFH. Remove the oil thermostat, replace with VAC valve the same way you removed the oil thermostat, and bolt the cap back on. You will need to press down hard to compress the spring. You can technically do this without removing the OFH, but like another member said, you will need to figure out how to press down on the cap while threading the 3 bolts back in. Lube up the spring, valve, and internals for good measure and make sure to tighten your oil pressure switch. There is also no need to open the filter cap.


 9. Reinstall Everything, lol:
 Do everything in reverse. Make sure to replace o-rings, top off oil if needed, and fill and bleed your coolant. Tighten both the oil pressure switch and coolant temp sensor with a 22mm deep socket. There are 4 o-rings that go on the connecting tubes to the thermostat housing. Pull those off and replace all the o-rings. Carefully line them up and insert them back into place. I successfully re-inserted them without cutting or pinching the o-ring, although i almost got unlucky. Just be cautious.

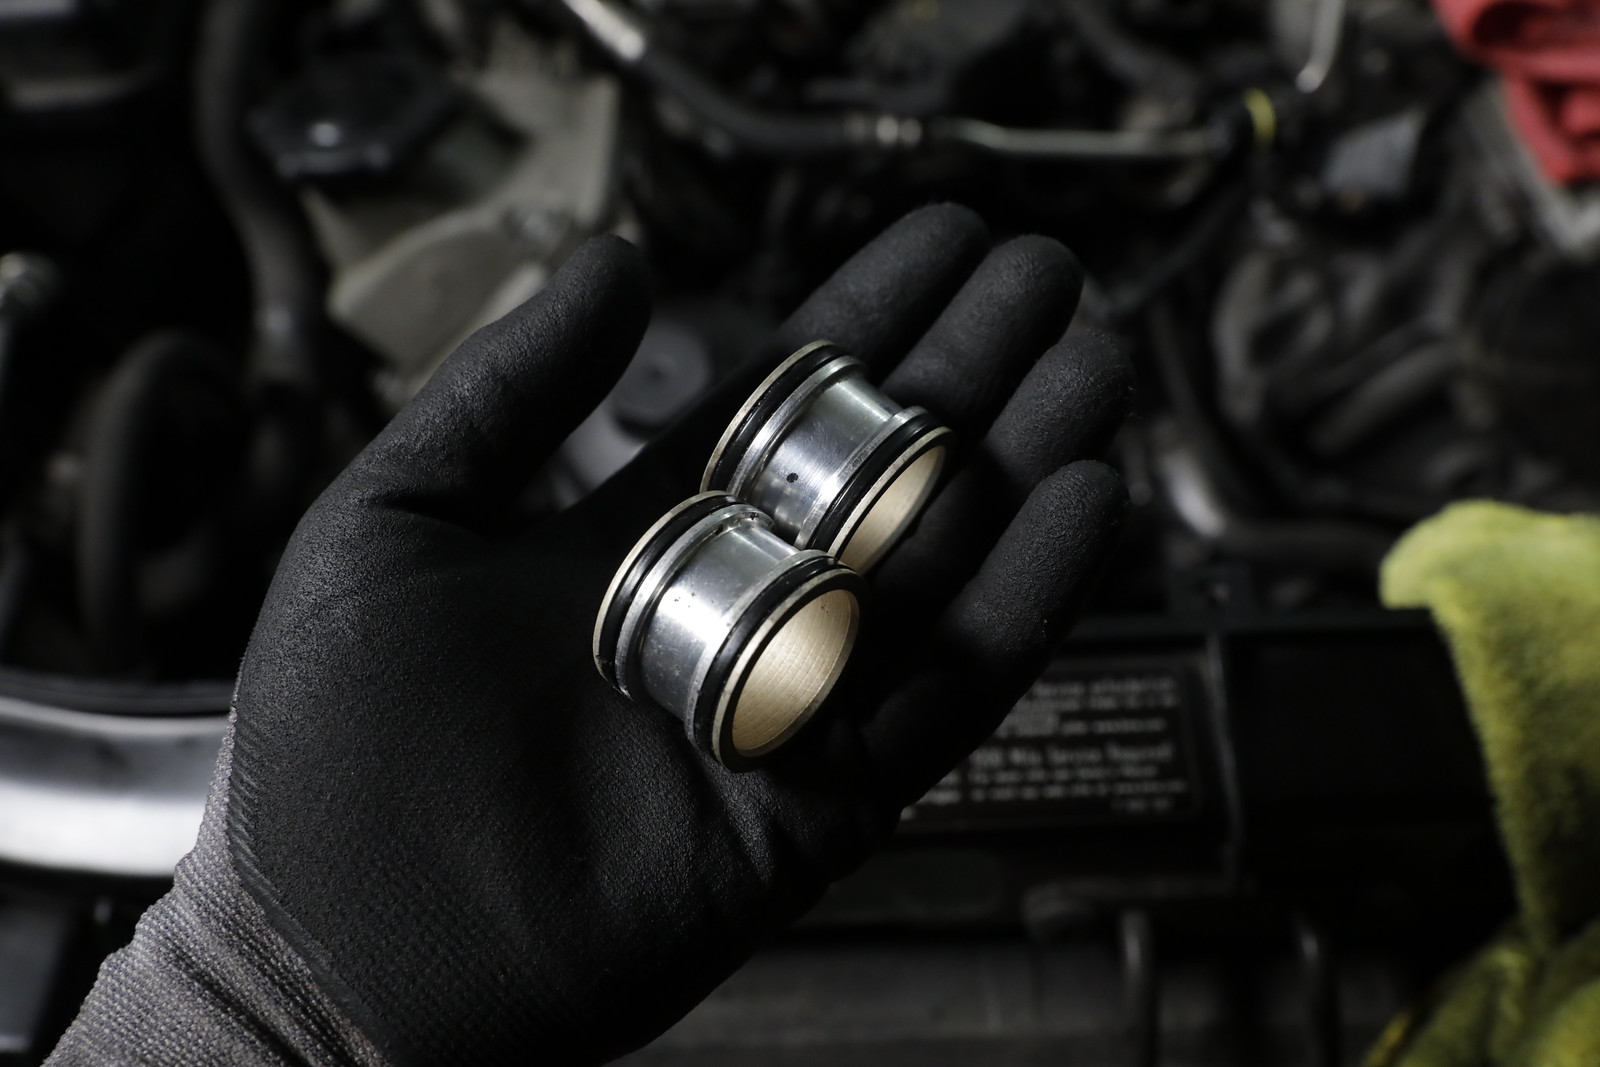
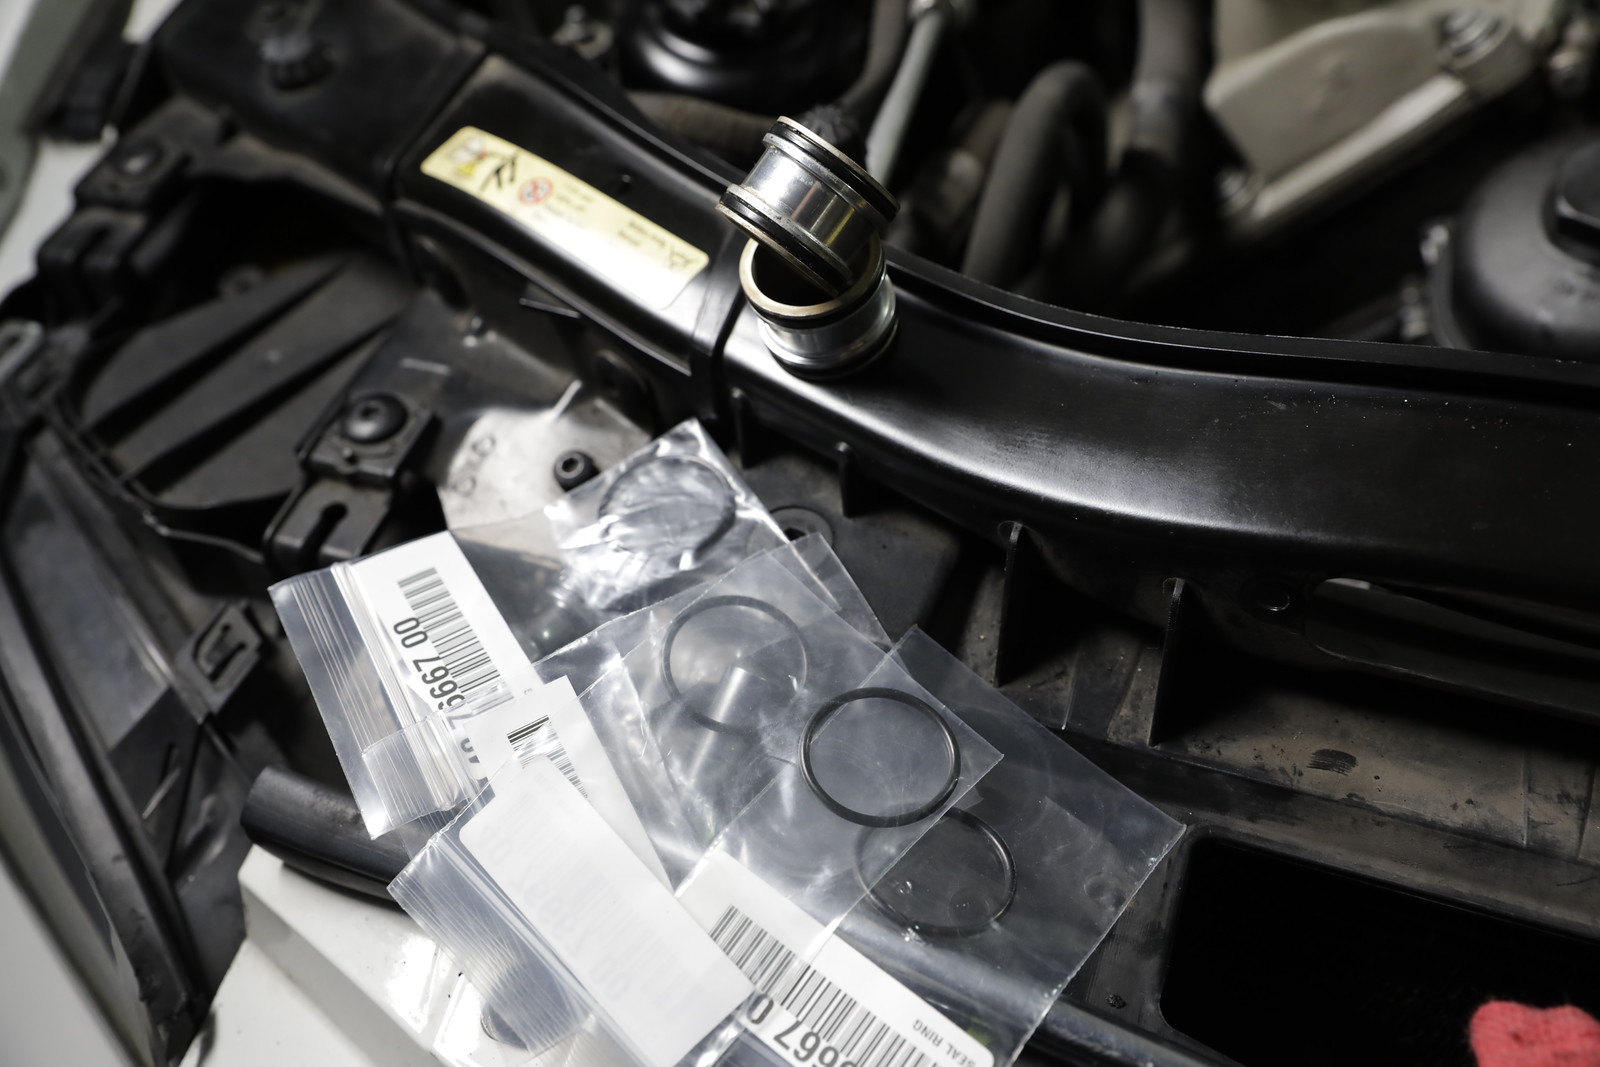
Double check everything, make sure all bolts are tight and torqued to spec, belts are properly seated and all cleaned up.


Now my oil temps are great while cruising, at speed on the freeway, at night, and in traffic with the AC on vs how it was before. I warm my car up an extra 5 min and drive calmly, shifting at 3k, then driving normally once warm. And my normal driving is actually, normal. I dont hoon or gun it to every light on the streets. Hope this helps someone with the job. Feel free to PM! Cheers.