

Link to full album
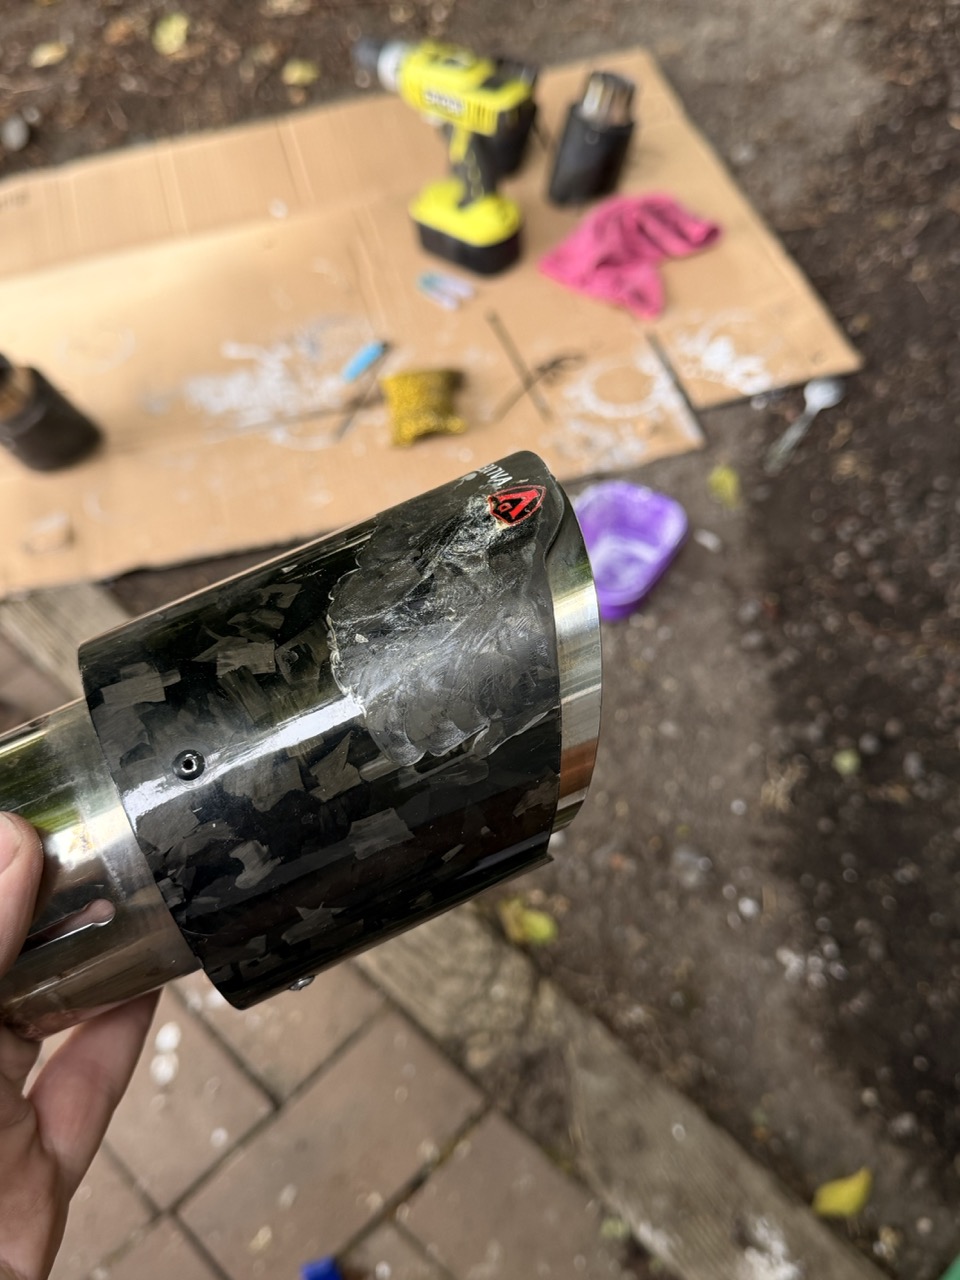
The clear coat on my Valvetronic carbon exhaust tips were chipping and peeling and I wanted to fix it as I felt it was an eyesore. I could have purchased new tips but I thought this would be a fun low stakes project.
I had most of this stuff laying around but I had to purchase a clear coat spray paint, there seemed to be a few options but this Rustoleum 2000F gloss clear had good reviews and looked like it would tick all the boxes for me (and it was only $14!).
I've never spray painted anything before but knew that most of my time would be spent on prep. I wasn't really expecting to be able to save the logos on any of the exhaust tips but also didn't want to sand them off if I didn't have to.
Tools Required:
Optional
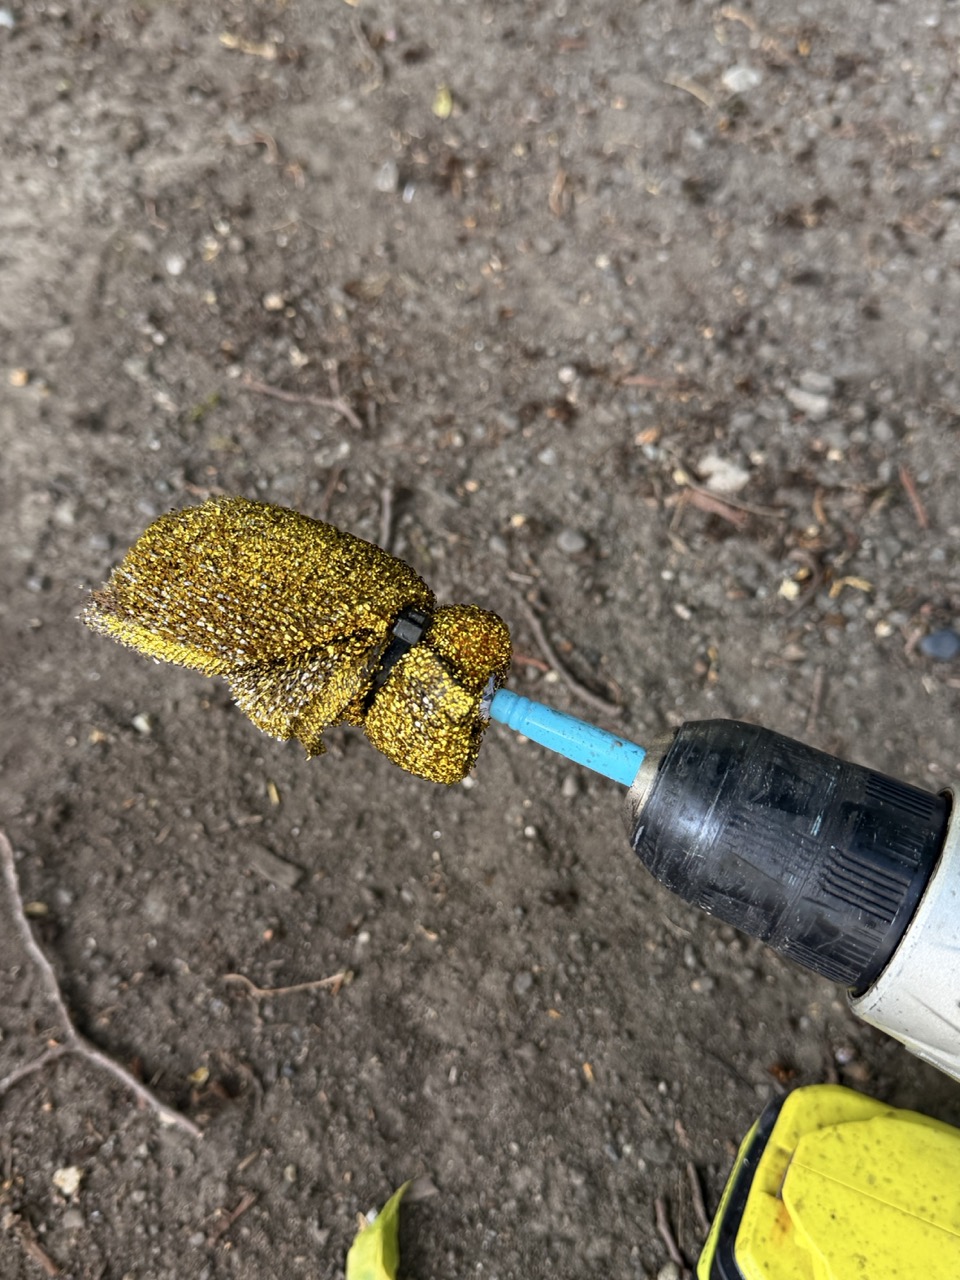
Hack job cleaning tool
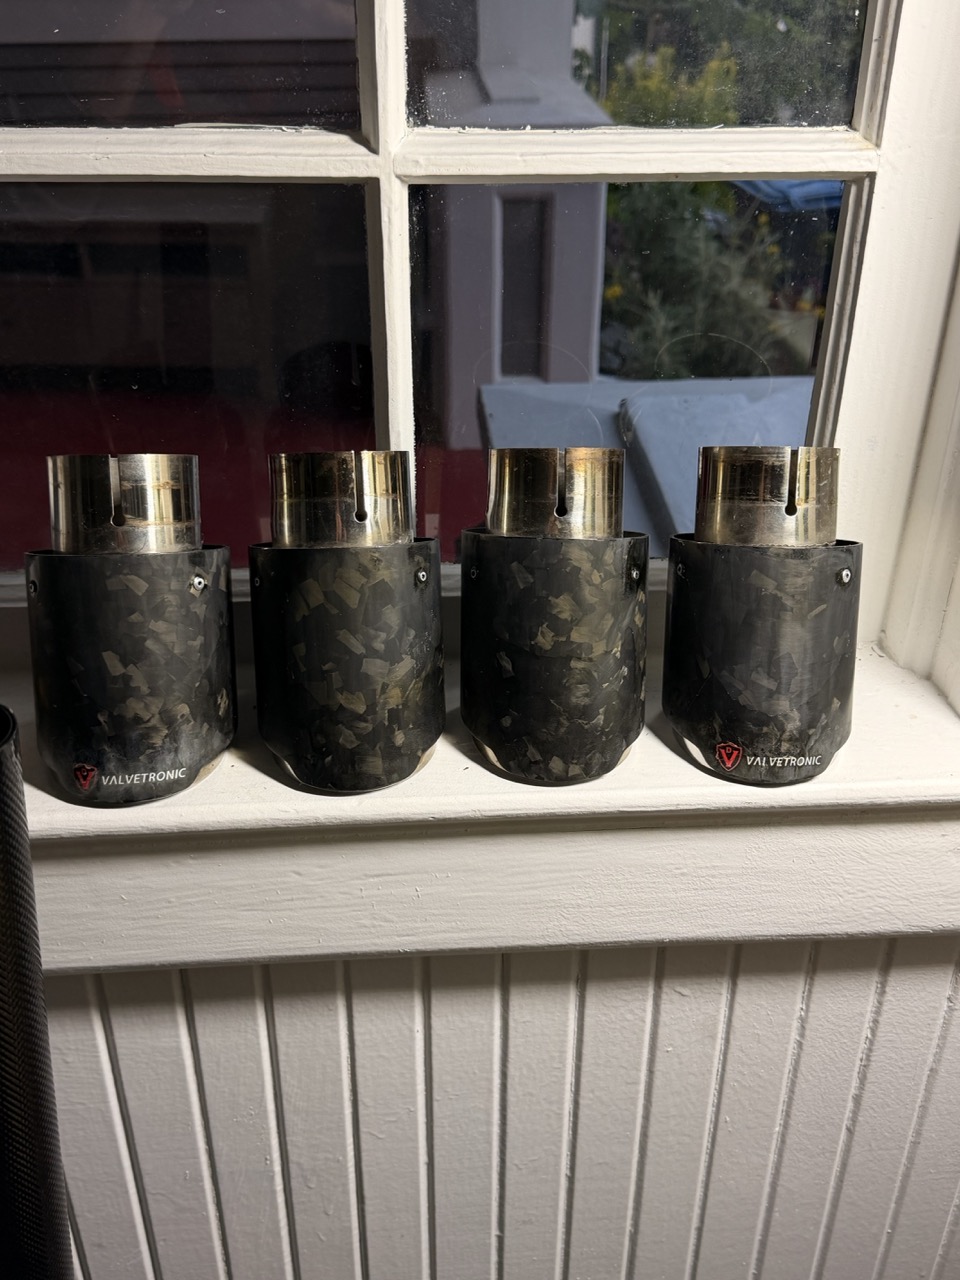
Starting Condition:
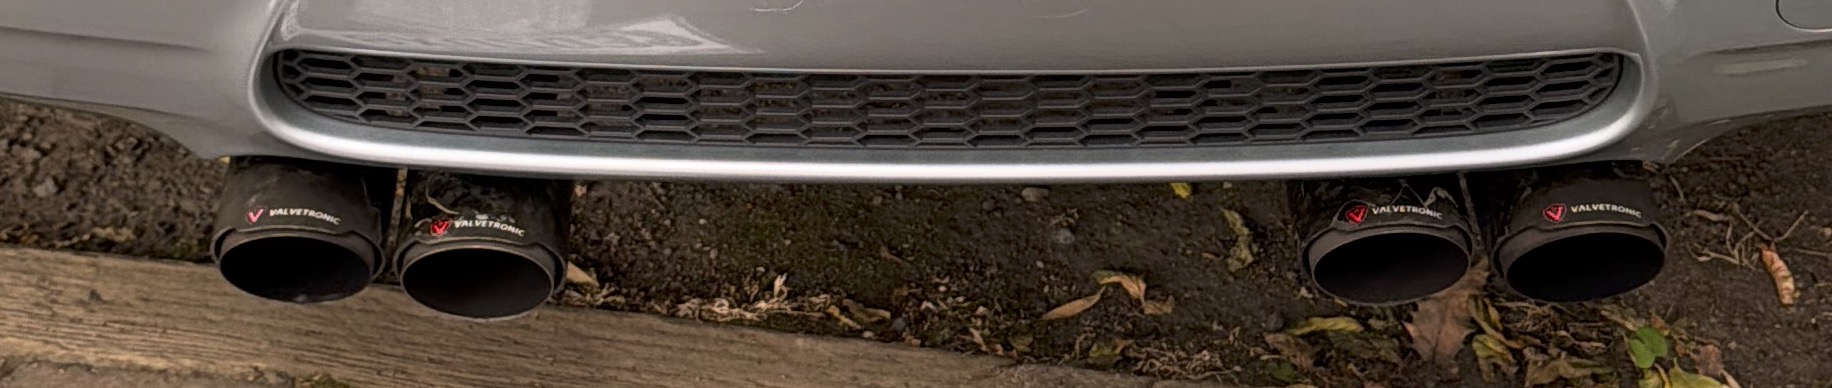
Cleaning inside of exhaust tips
I figured it would be easier to clean the insides of the tips while they were still attached. They had really thick carbon build up that wouldn't come off with normal cleaning.
Steps:
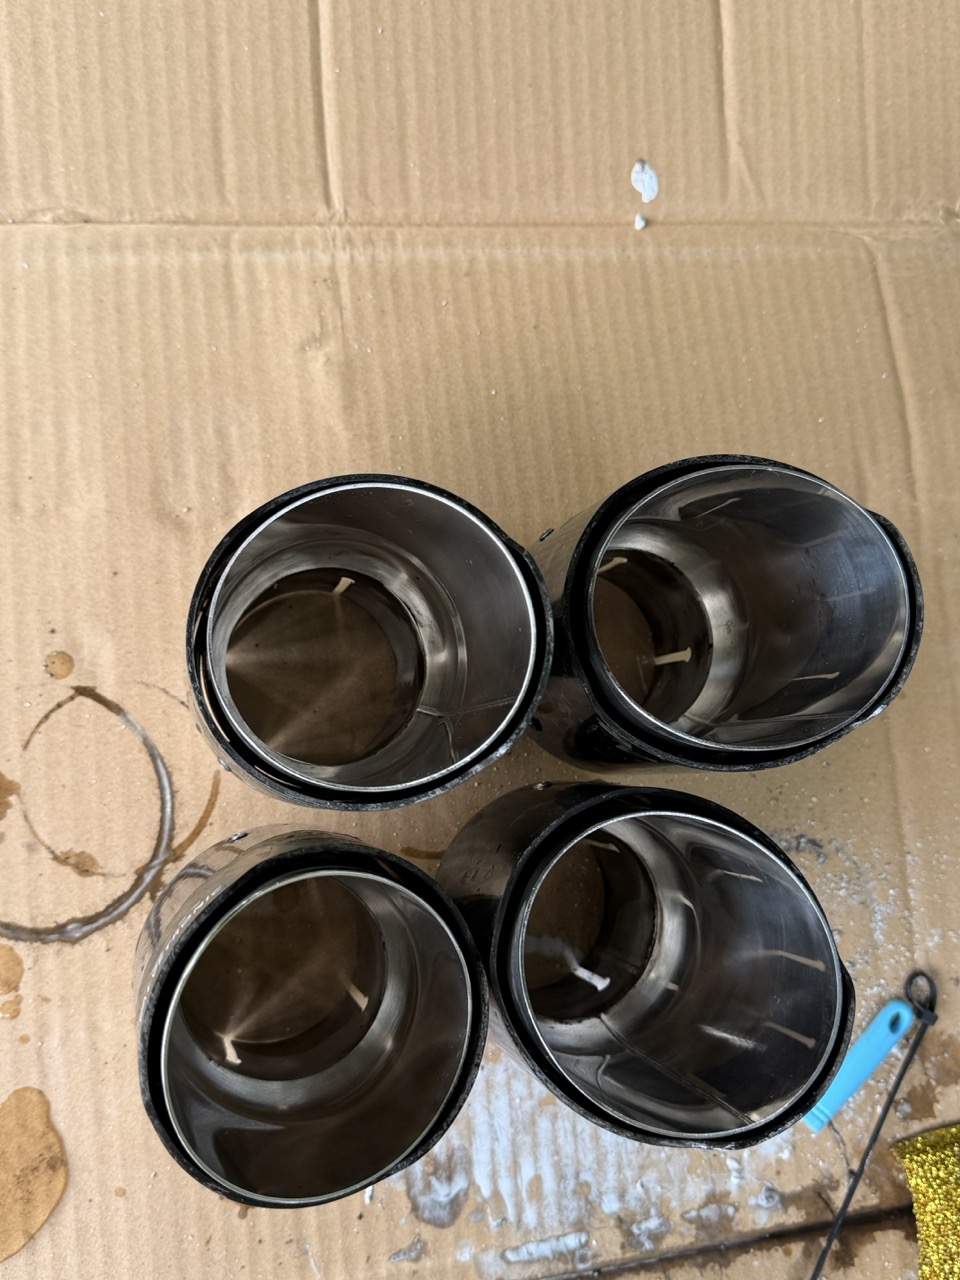
Paint Prep
This part of the process probably made up about 70% of the hands on time, but my exhaust tips were in really bad condition.
I'm not sure about rinsing down with IPA, it react weirdly (discoloured) with one of the exhaust tips where there wasn't any clear coat left and while it didn't come through in the final product I'm glad I didn't wipe all of the surfaces with it..
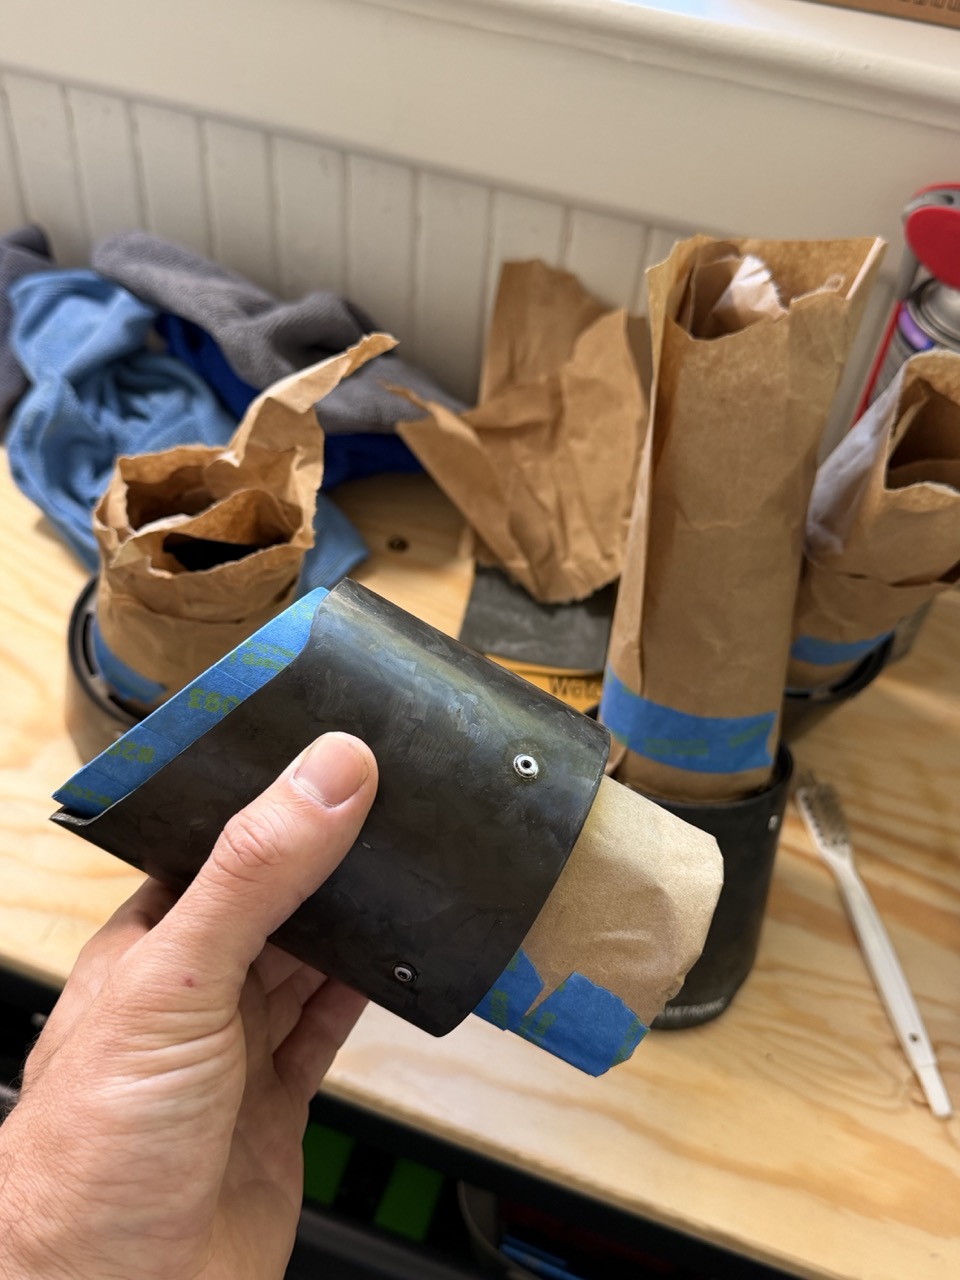
Masking for paint
I suppose this mainly applies to this style of exhaust tip where there is a sleeve of different material that you want painted. But I assume anyone looking at this guide will have this sleeve otherwise why would there be clearcoat?
Painting
I've said a few times now, I've never painted anything with a spray can before. I knew more light coats is better than fewer heavy coats but I didn't know what a good coat looked like. I just knew runs = bad and so light you don't have coverage is also bad.. This took some trial and error and I ended up doing 5 coats. With more experience maybe 3 would be enough but I'm not really sure.
4th coat
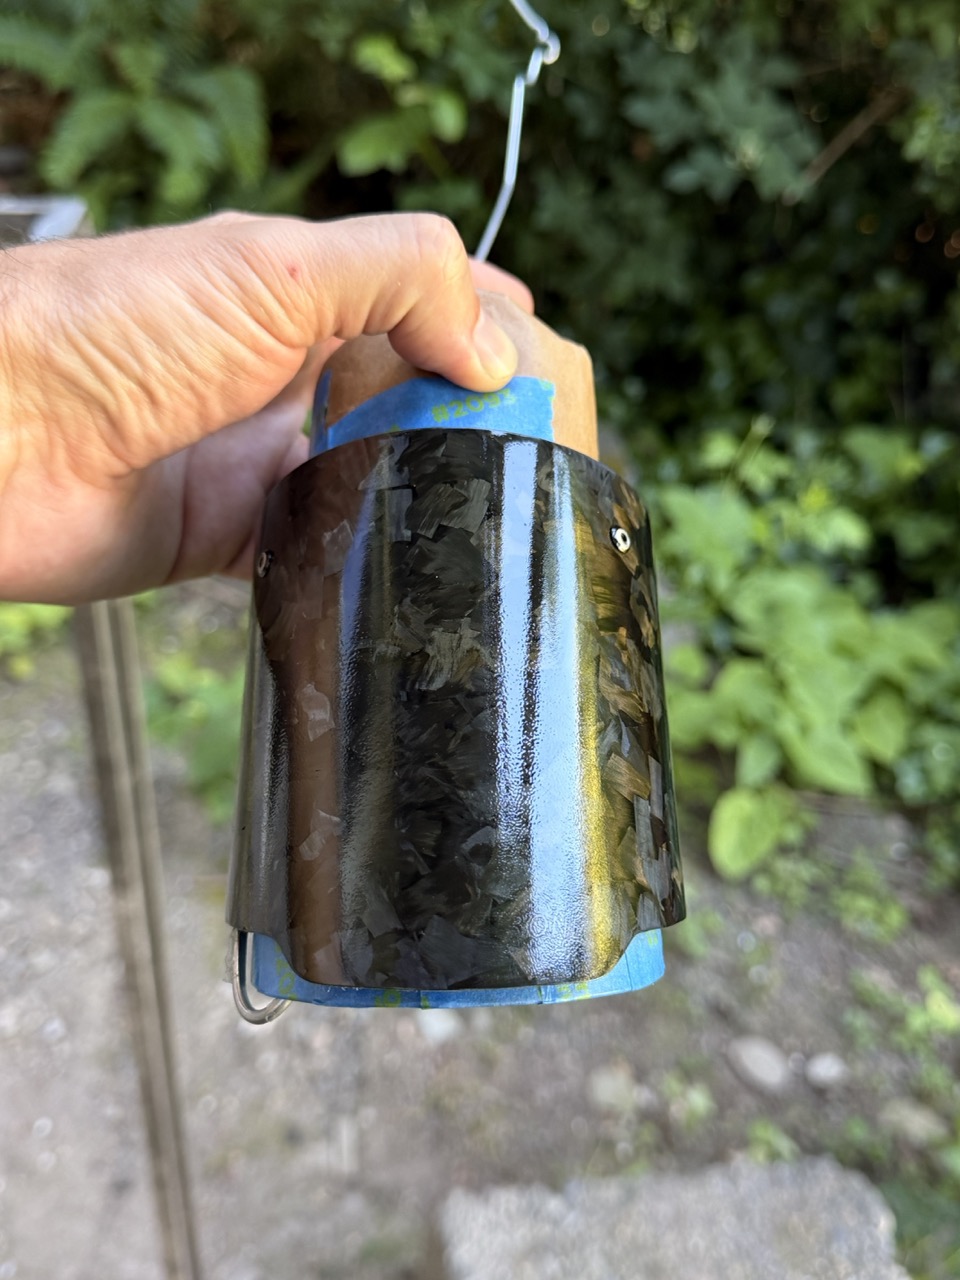
5th coat
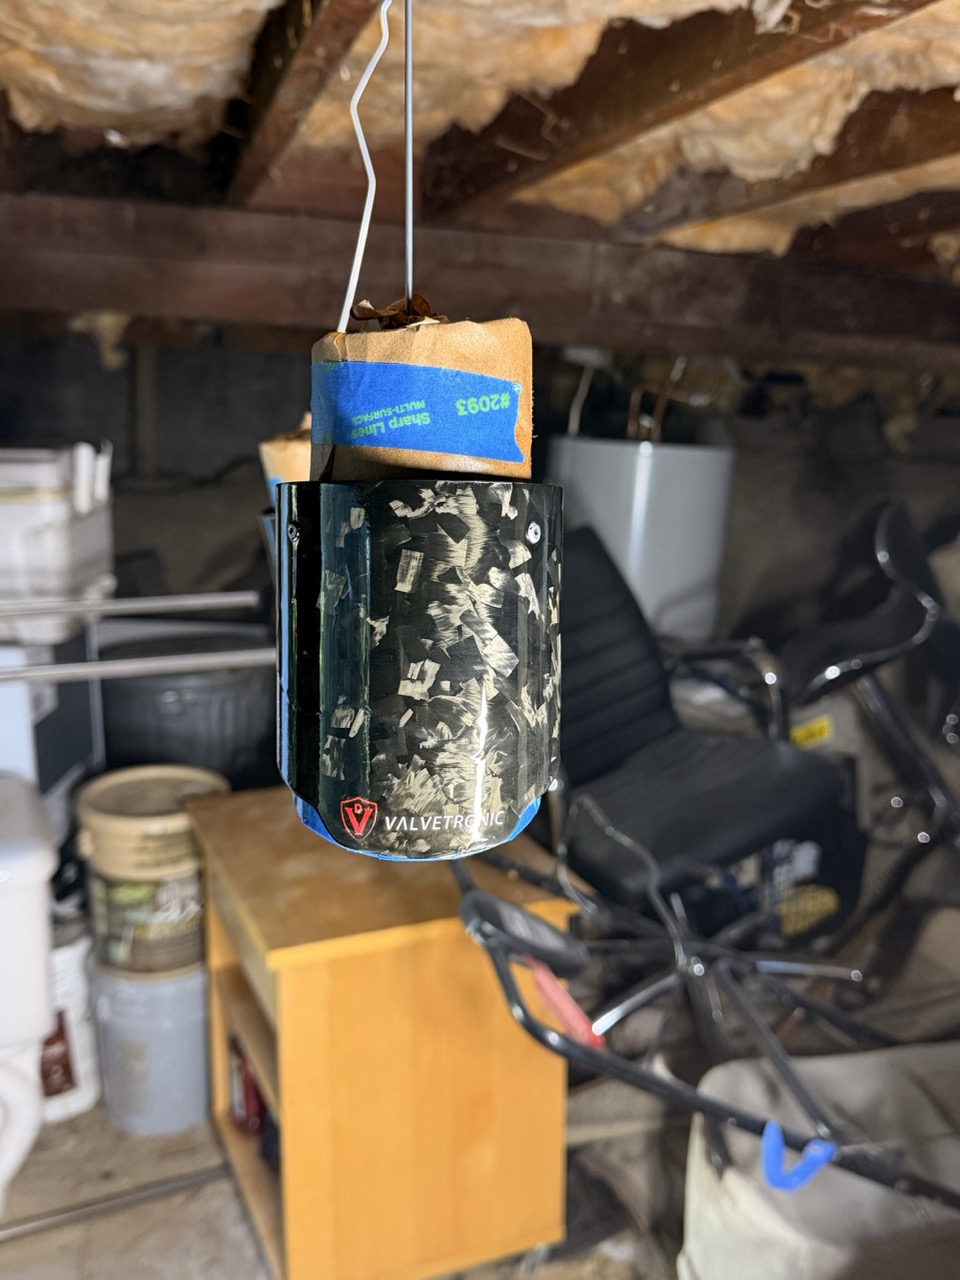
You're probably wondering why we are at 4 coats when I said I did 5.. I came back and found one of the tips in the dirt, I obviously didn't secure it properly. It's alright though as one of the other tips had pretty bad runs where I over corrected from using too light of a coat. I ended up using it as an opportunity to correct the runs and obviously remove the dirt.
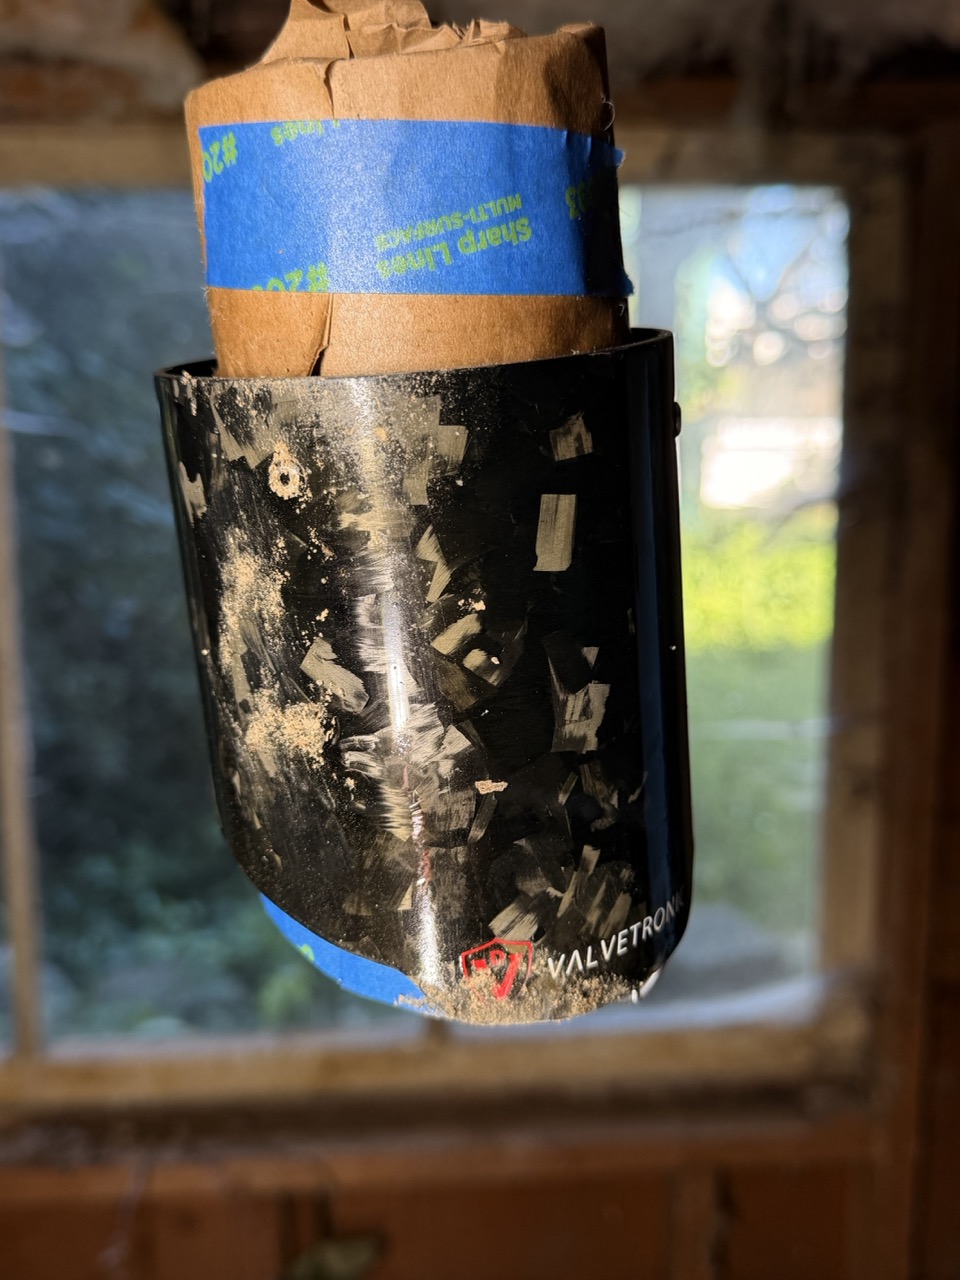
I figured with the drying between coats that the dirt hopefully would only be in the top layer and that if I left it dry overnight I could just lightly sand until the dirt was gone. I also sanded the runs down on the other tip and followed a similar approach to the original prep. Sand until smooth even if you can see lines. I just used the 1500 grit sandpaper here as I didn't want to take too much material off, but I still kept everything wet.
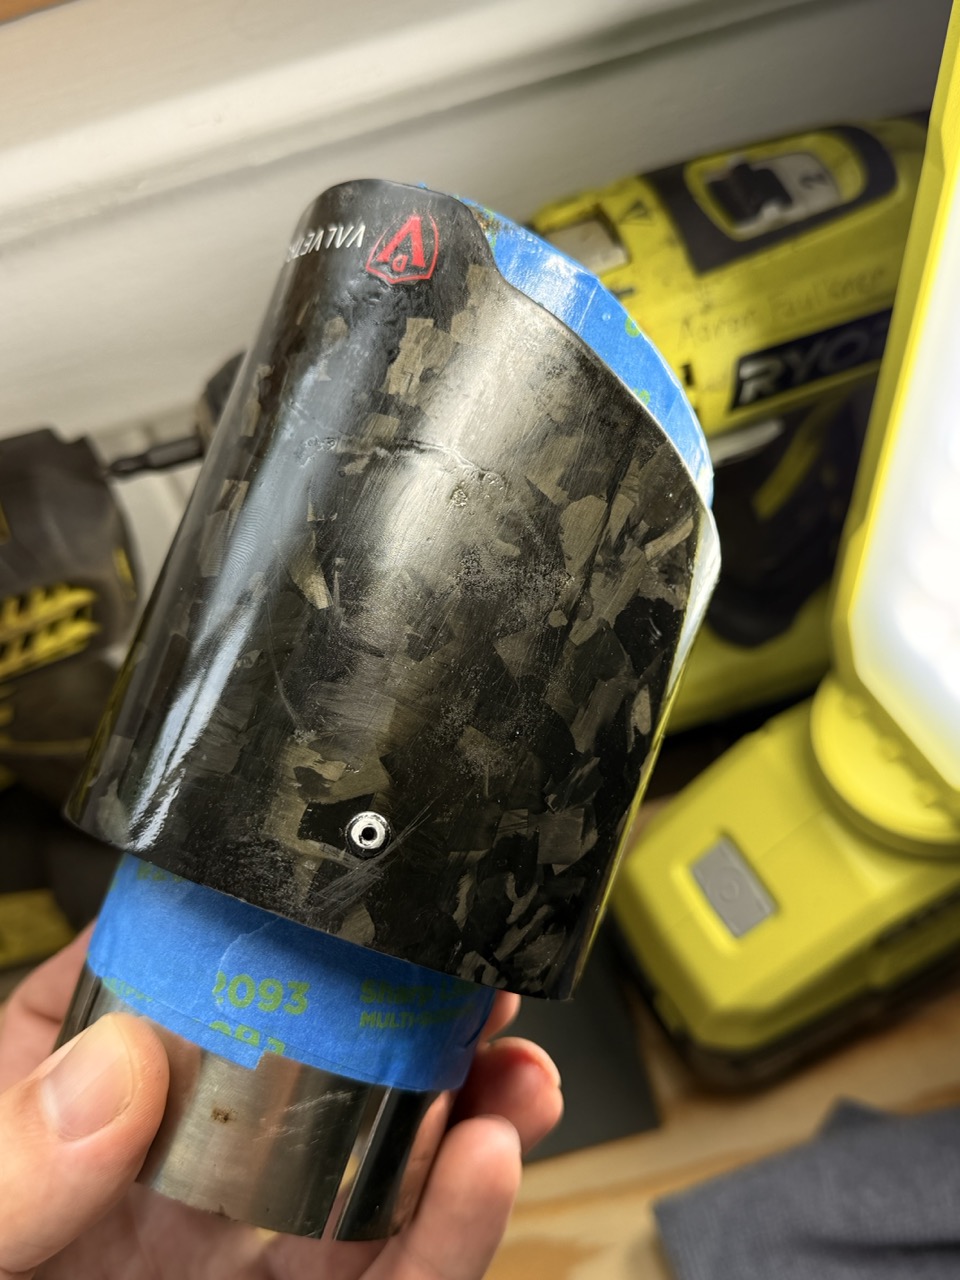
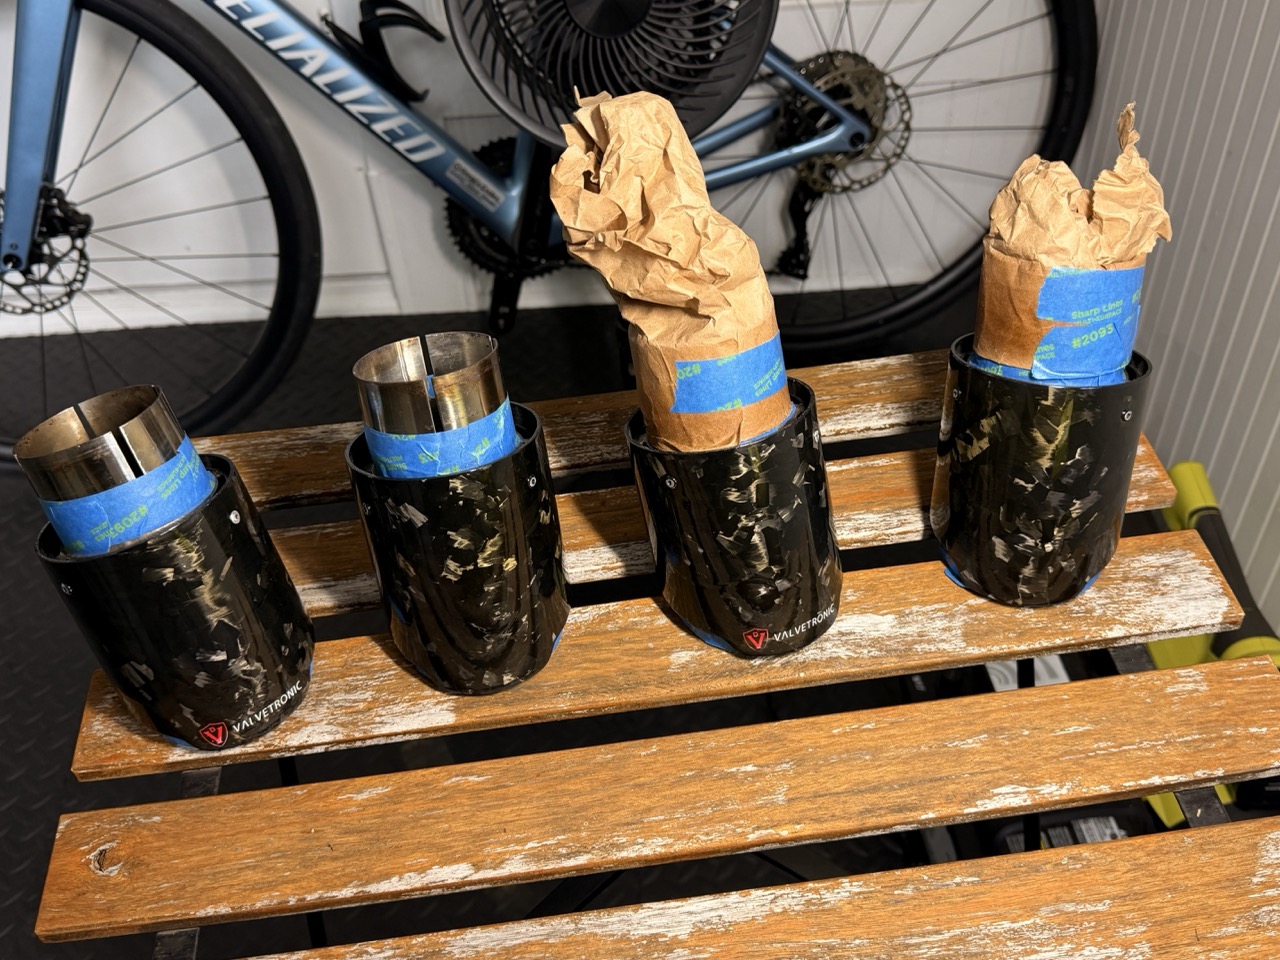
Drying and heat curing
I don't have much to add here, I just followed the instructions on the can. The only place I deviated from the can was where it said to wait 1-2 hours before heat curing but after 5 hours I touched the clear coat and it was still tacky.. It was unclear to me whether this was expected but after comparing to the two tips I didn't have to redo and seeing they were completely dry, I decided to leave them overnight until I couldn't leave a fingernail indent (testing on a spot that wouldn't be seen when installed). This took probably 24 hours, so I expect my coats were too thick.
I hope this helps someone, it's my first write up after learning so much from these forums over the years.
P.S. ignore the absolute dumping ground of my painting area, that space is used by my landlord.
The clear coat on my Valvetronic carbon exhaust tips were chipping and peeling and I wanted to fix it as I felt it was an eyesore. I could have purchased new tips but I thought this would be a fun low stakes project.
I had most of this stuff laying around but I had to purchase a clear coat spray paint, there seemed to be a few options but this Rustoleum 2000F gloss clear had good reviews and looked like it would tick all the boxes for me (and it was only $14!).
I've never spray painted anything before but knew that most of my time would be spent on prep. I wasn't really expecting to be able to save the logos on any of the exhaust tips but also didn't want to sand them off if I didn't have to.
Tools Required:
- High temperature spray clear coat
- 2 x Coat hangers
- Side cutters
- Painters tape
- Wet/dry sand paper (1000 & 1500 grit)
- Hose or bucket of water
- Appropriate tools for removing exhaust tips
- Barkeepers friend
- Steel wool pad
Optional
- Electric drill
- Zip ties
- Something that can be attached to the drill that's long enough to zip tie the steel wool to (I used another brush)
- Isopropyl alcohol
Hack job cleaning tool
Starting Condition:
Cleaning inside of exhaust tips
I figured it would be easier to clean the insides of the tips while they were still attached. They had really thick carbon build up that wouldn't come off with normal cleaning.
Steps:
- With the exhaust tips still attached to the car, create a paste with barkeepers friend powder and water. You don't want this to be very runny at all as you want it to stick to the whole inside of the exhaust surface and if it's too wet it will just pool at the bottom.
- I left it for like 20 minutes and then went back out with my macgyvered auto cleaner. I went to town on it and doing this first was good I think as it didn't matter if I rubbed the carbon at all.
- Just repeat steps 1 and 2 until it's completely clean, it took me two rounds and for the second round I pulled the tips off so I could get all the way through and also clean the start of the rest of the exhaust.
- Make sure to rinse all of the barkeepers friend slurry off. Also in hindsight I should have done this on a slope so the water would run back out of the exhaust, ah well.
Paint Prep
This part of the process probably made up about 70% of the hands on time, but my exhaust tips were in really bad condition.
- Set your station up, ideally outside as this was a messy process
- Wet and dry sandpaper
- Bucket of water or hose
- A good light, but I just did it outside
- Microfiber towels (for drying and checking your progress)
- Patience and music
- Start sanding in a single direction for this stage, I chose vertically
- Not sure if it matters but I thought doing the two stages in perpendicular directions would make it easier to see my progress
- Keep your sandpaper and exhaust tip wet, rinsing everything regularly. I found the sandpaper performed better when it was more wet.
- I started with fairly light pressure as I wasn't sure how much material 1000 grit would take off. I was able to build up to a good amount of pressure without consequence but my thinking was just trying to avoid taking off any carbon. We want to clean the exposed carbon surface up a bit but mostly I just wanted to make a smooth level surface across the whole tip.
- Check your progress regularly, clean and dry and then run your finger looking for ridges. Keep going until it's completely smooth whether you can see a line or not. I could see a line where the clear coat began but I sanded until smooth and the new clear coat hid the line I could see at the end of sanding.
- Repeat this process with the 1500 grit, this time I was just trying to refine the surface not take more material off. I sanded horizontally this time to track my progress and went until I couldn't see any vertical scratch patterns in the material.
- Wash the tips down with water and let them dry completely before beginning any masking or painting
I'm not sure about rinsing down with IPA, it react weirdly (discoloured) with one of the exhaust tips where there wasn't any clear coat left and while it didn't come through in the final product I'm glad I didn't wipe all of the surfaces with it..
Masking for paint
I suppose this mainly applies to this style of exhaust tip where there is a sleeve of different material that you want painted. But I assume anyone looking at this guide will have this sleeve otherwise why would there be clearcoat?
- Make sure the tips are completely dry. I was paranoid about trapping moisture under paint.
- Plan your masking before applying any tape, think about how you're going to get it on and off and the angles you'll be spraying at and where the paint will end up. Probably not such a big deal for clear coat but I was trying to be methodical as I'd never done this.
- Lay down your masking tape, I recommend using something to press the tape down to make sure there are no gaps I had a plastic brush with a thin flat end that worked perfectly.
- I filled the inside of the exhaust with some brown paper that I had from some amazon deliveries, my masking went far enough into the exhaust tip that just stuffing the paper in was sufficient protection.
- Cut your coat hangers in half and bend each piece so there is a hook on both ends. One end will be used to hang the tip from a rafter or however you're planning to keep them in the air and the other hook will thread between the sleeve and the stainless still inner tube.
- Once you've set this up, I pack the brown paper down around the coat hanger.
- Give the whole tip a final wipe down with water or IPA and don't touch the bare carbon again.
- You're ready for paint!
Painting
I've said a few times now, I've never painted anything with a spray can before. I knew more light coats is better than fewer heavy coats but I didn't know what a good coat looked like. I just knew runs = bad and so light you don't have coverage is also bad.. This took some trial and error and I ended up doing 5 coats. With more experience maybe 3 would be enough but I'm not really sure.
- Set the hangered tips up somewhere with good airflow that isn't windy. The can had instructions on temperature and humidity that I stuck to and also I made sure to not be in direct sunlight.
- Ensure you've got good access to 360 degrees of each tip, I didn't want to move them mid coat. Make sure you can spray one at a time without overspraying onto other tips.
- I followed the instructions again here, 15cm away from the object, overlapping sprays and I tried to mimic videos I've seen before of starting and stopping the spray off the object and sweeping across the surface.
- For the first coat I used the low output setting (3) to build a base, for later coats I used the standard flow setting (2).
- For this first coat, I went really light waited 2 minutes then did a second light coat.
- Let dry for 1-2 hours based on the can's instructions
- Re-coat using the regular setting on the can
- Let dry for 1-2 hours
- Repeated until I got to 3 coats total. I think this is where you could make a call and if you'd done a better job than me you might stop here but I had some bare patches that looked matte and other patches that looked really good. So I did one more coat.
4th coat
5th coat
You're probably wondering why we are at 4 coats when I said I did 5.. I came back and found one of the tips in the dirt, I obviously didn't secure it properly. It's alright though as one of the other tips had pretty bad runs where I over corrected from using too light of a coat. I ended up using it as an opportunity to correct the runs and obviously remove the dirt.
I figured with the drying between coats that the dirt hopefully would only be in the top layer and that if I left it dry overnight I could just lightly sand until the dirt was gone. I also sanded the runs down on the other tip and followed a similar approach to the original prep. Sand until smooth even if you can see lines. I just used the 1500 grit sandpaper here as I didn't want to take too much material off, but I still kept everything wet.
Drying and heat curing
I don't have much to add here, I just followed the instructions on the can. The only place I deviated from the can was where it said to wait 1-2 hours before heat curing but after 5 hours I touched the clear coat and it was still tacky.. It was unclear to me whether this was expected but after comparing to the two tips I didn't have to redo and seeing they were completely dry, I decided to leave them overnight until I couldn't leave a fingernail indent (testing on a spot that wouldn't be seen when installed). This took probably 24 hours, so I expect my coats were too thick.
I hope this helps someone, it's my first write up after learning so much from these forums over the years.
P.S. ignore the absolute dumping ground of my painting area, that space is used by my landlord.
