

 |
|
 |

|
|
|
| 09-01-2012, 12:41 PM | #1 |
|
Private First Class
 
8
Rep 135
Posts |
DIY: Umnitza Orion V4 or V2 Angel Eyes
Tools needed:
Bumper/ headlight removal - 10mm Torx , 30 Headlight work - Torx 20 putty knife/scraper chisel butter knife (choose your weapon) 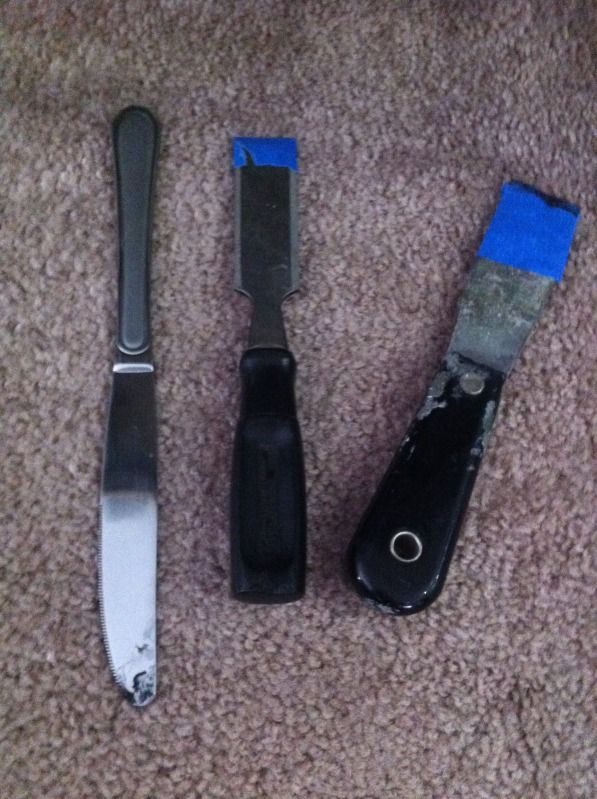 All I ended up using was the putty knife 1. First thing's first! Remove the front bumper and headlights 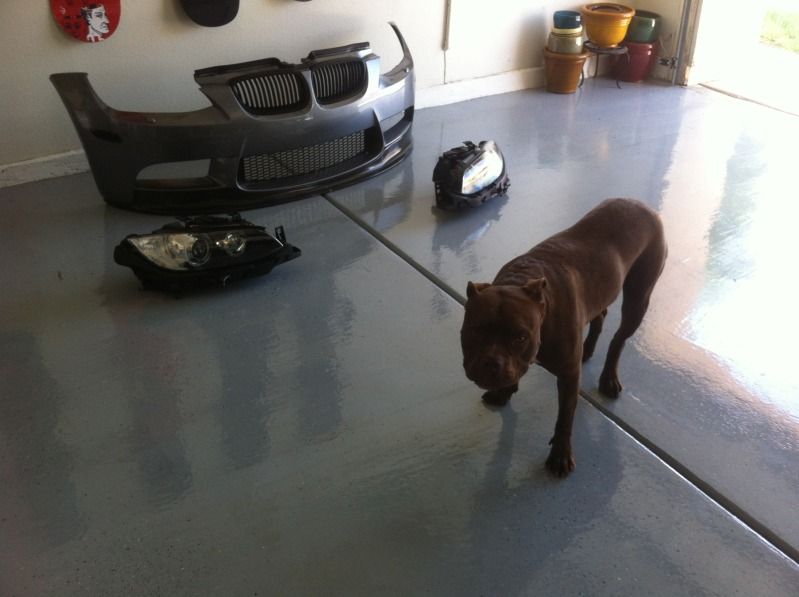 2. Unscrew the screw on the corner of the headlight below the headlight vent. Remove the vent also. Set them aside and it would be wise to separate the hardware for each headlight. Remove the headlight shim located on top of the headlight also. 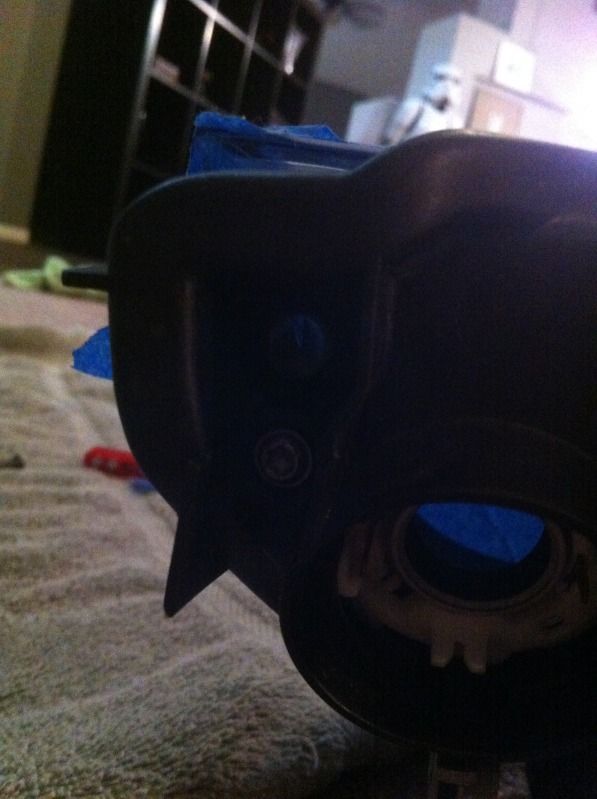 3. Set the oven for 215. You'll be baking them for 8 minutes. I covered the headlight face with painters tape, since I'm pretty clumsy and I'r probably end up scratching them up. you can remove the bulbs and cover up the orifices with painters tape, but I just left the bulbs except the turn signal bulb. 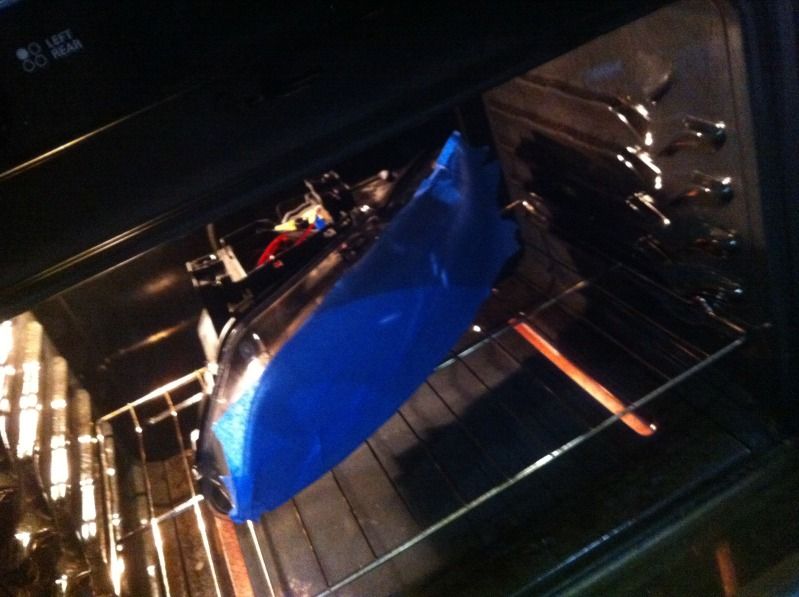 4. Pry! There's only 2 areas where it's safe to do so. It's on top and the bottom of the headlights. It's the only spot where a tool fits. Once you get your tool in there, slowly twist the putty knife. Once it starts to separate on the top, flip the headlight upside down and do it for the other side. After they've separated far enough, move the tabs over the lock or else you won't be able to separate them . See below. 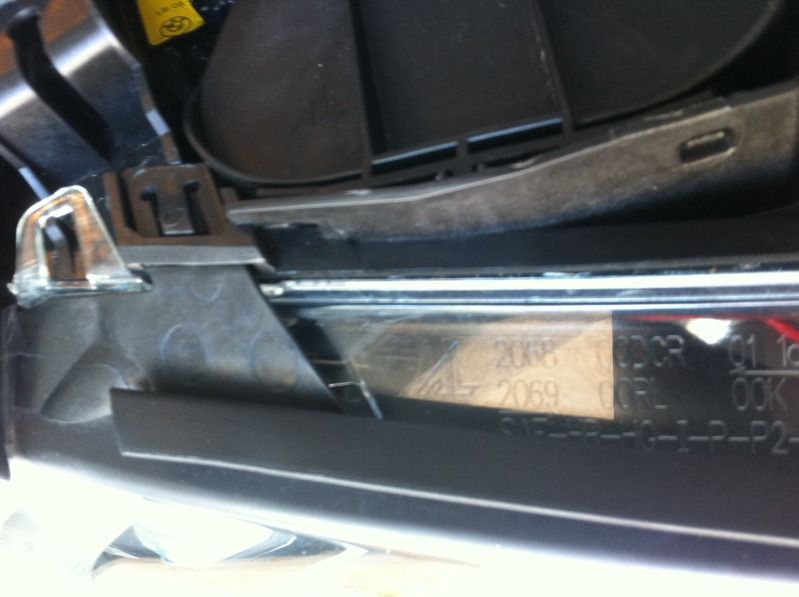 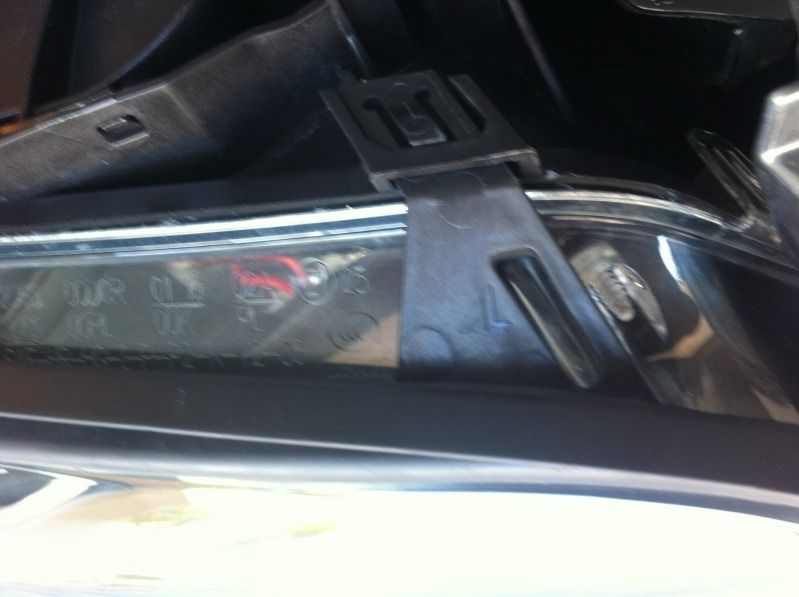 5. Now you should have 2 pieces. At This point you can separate the turn signal housing and paint whatever piece you want to. You can also choose to "delete" the corner LED or solder in a white LED. 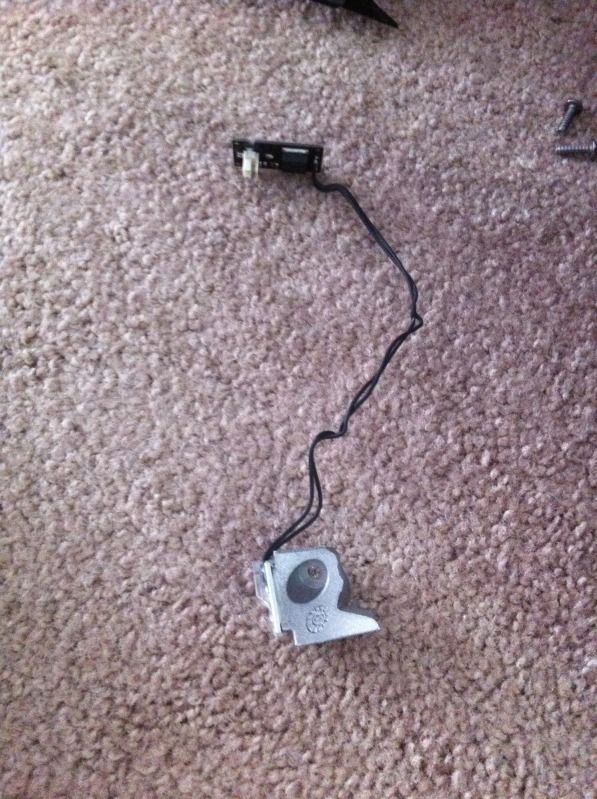 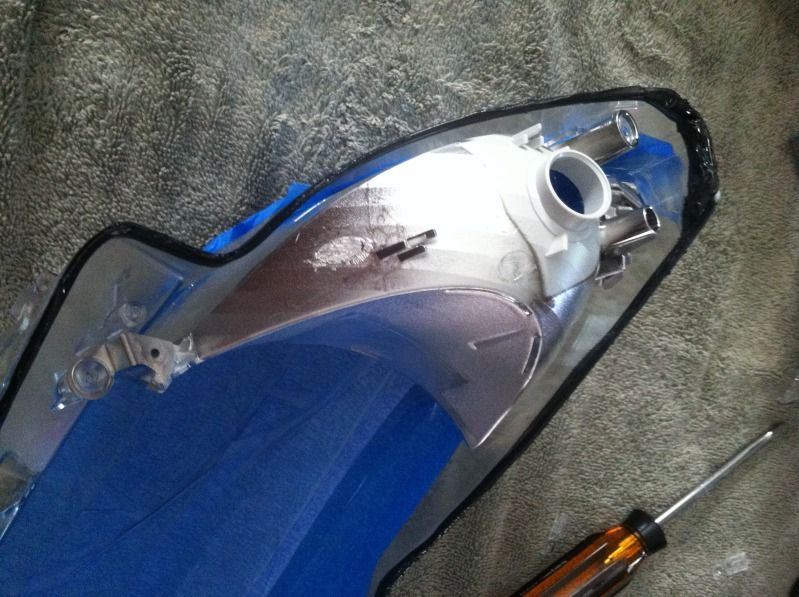 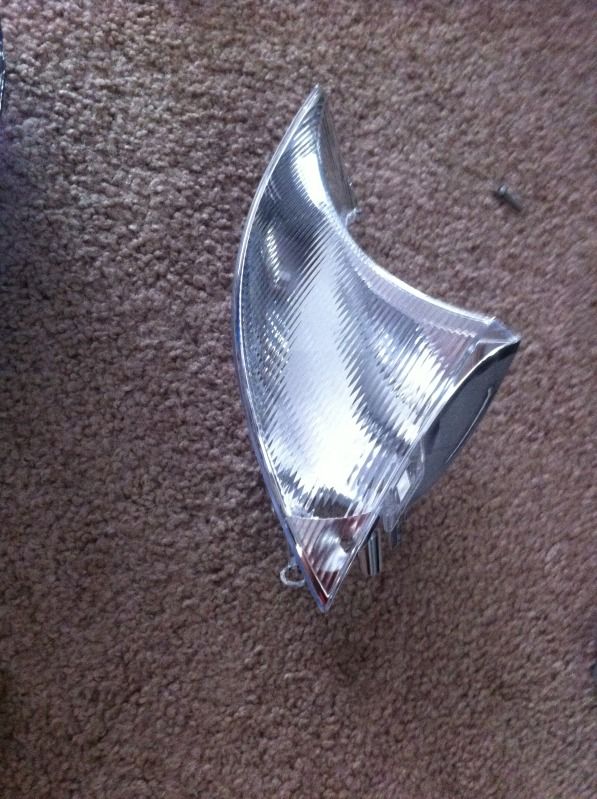 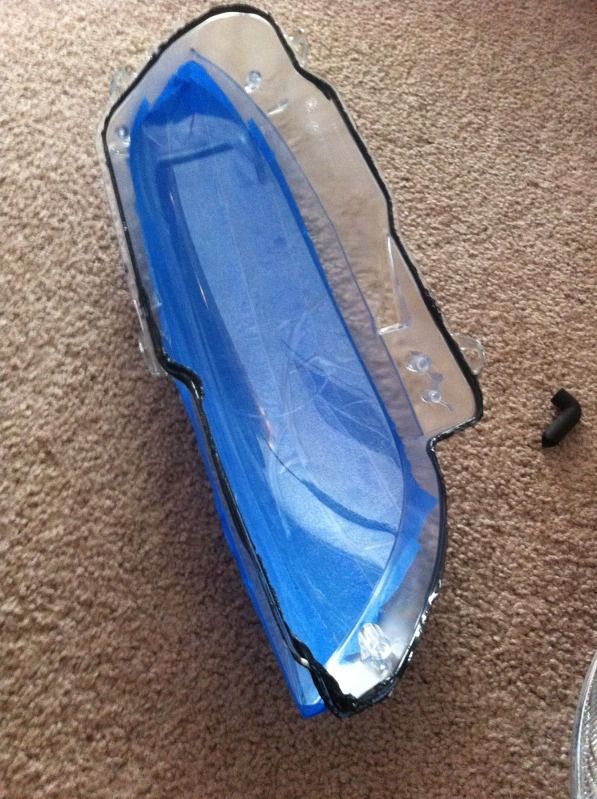 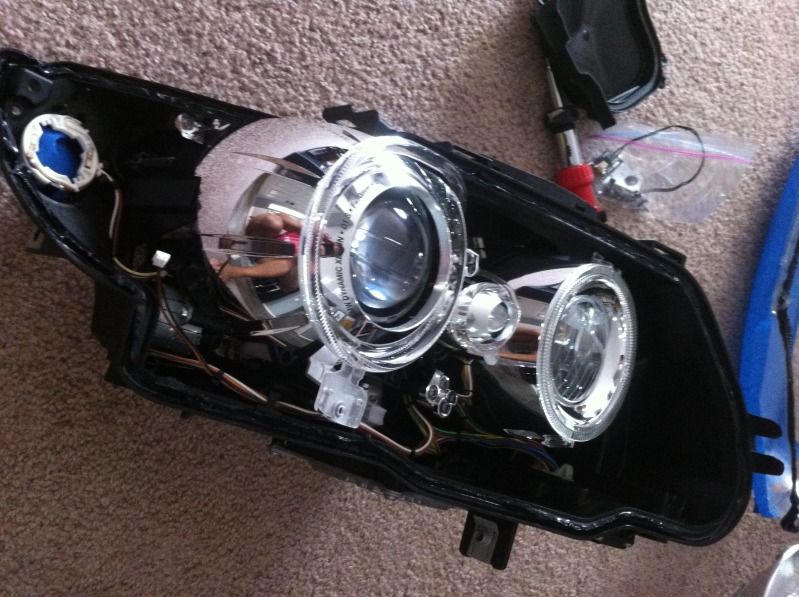 6. Remove/ Unscrew the outer angel eye. You'll be reusing these pieces to modify the Umnitza angel eyes. Unscrew the outer and inner shrouds if you want to paint them. 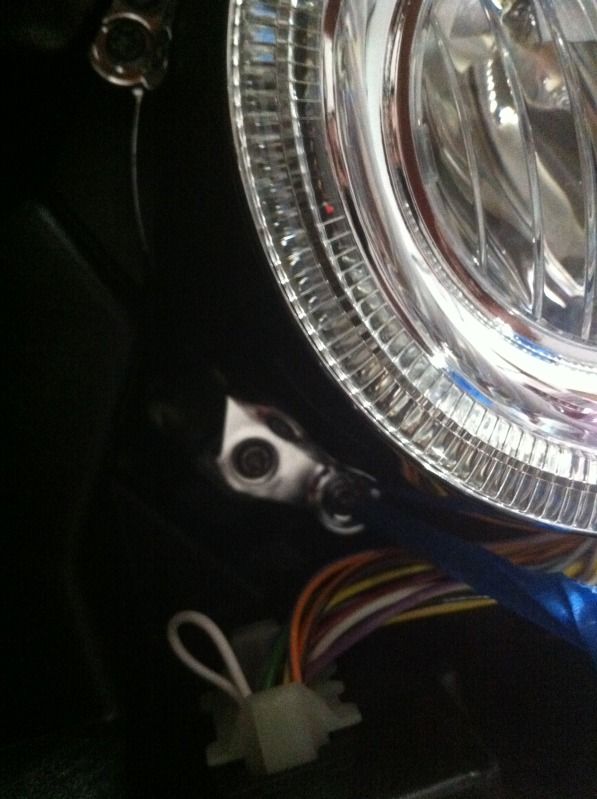 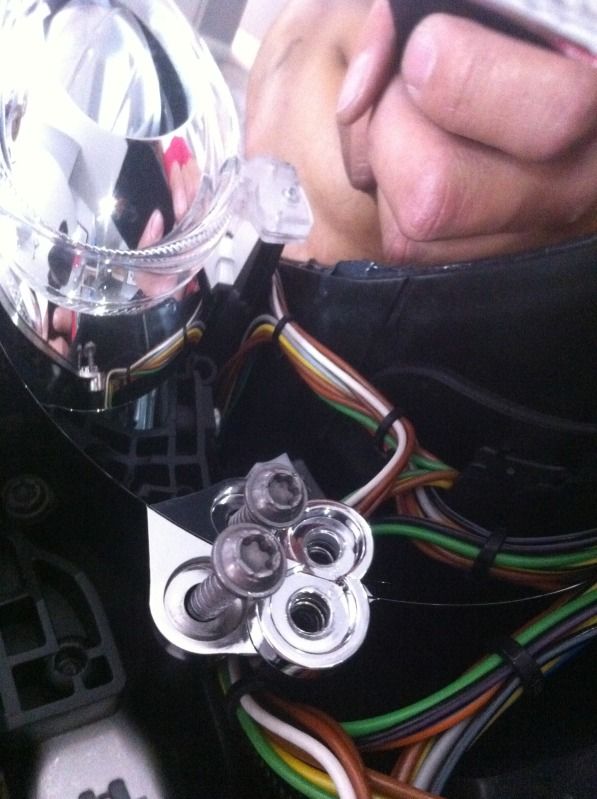 Here's removing the cornering light. Unscrew the ground and disconnect the H8 bulb plug. 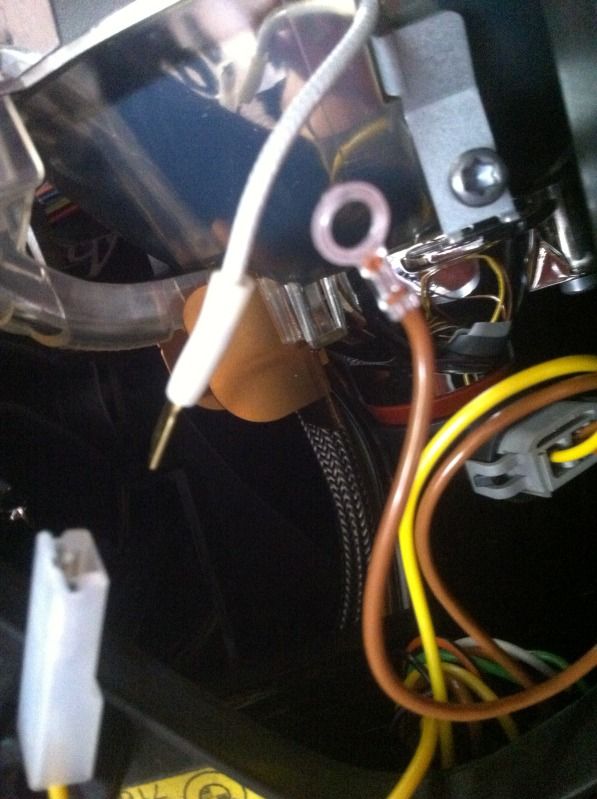 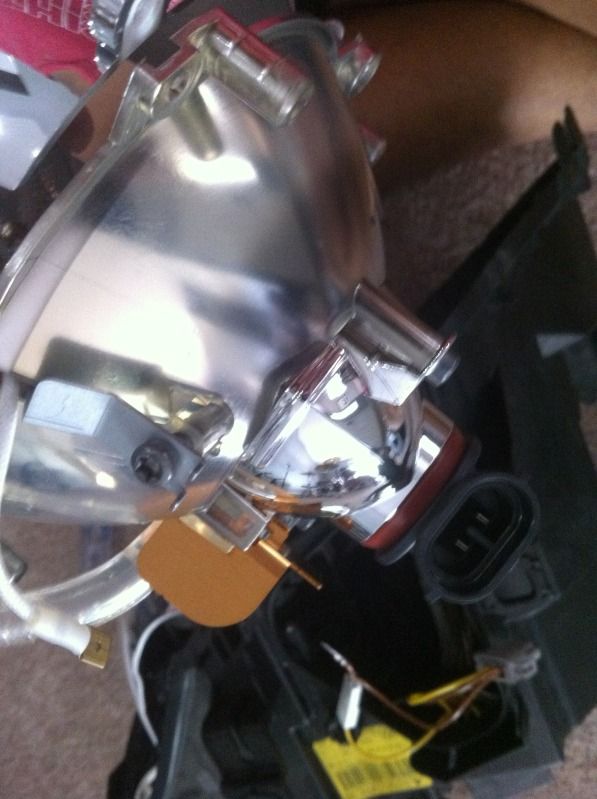 7. Dremel down the Umnitza outer angel eye to the point where the wires are just barely sticking out. 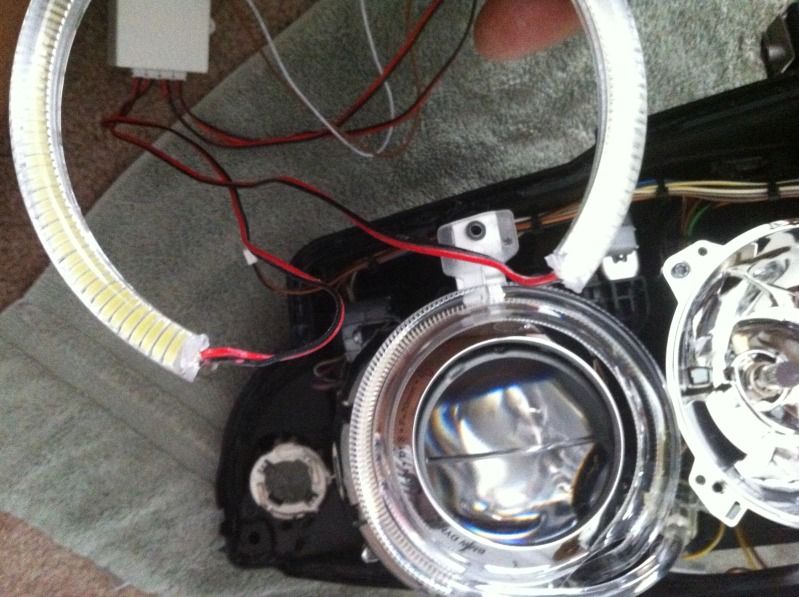 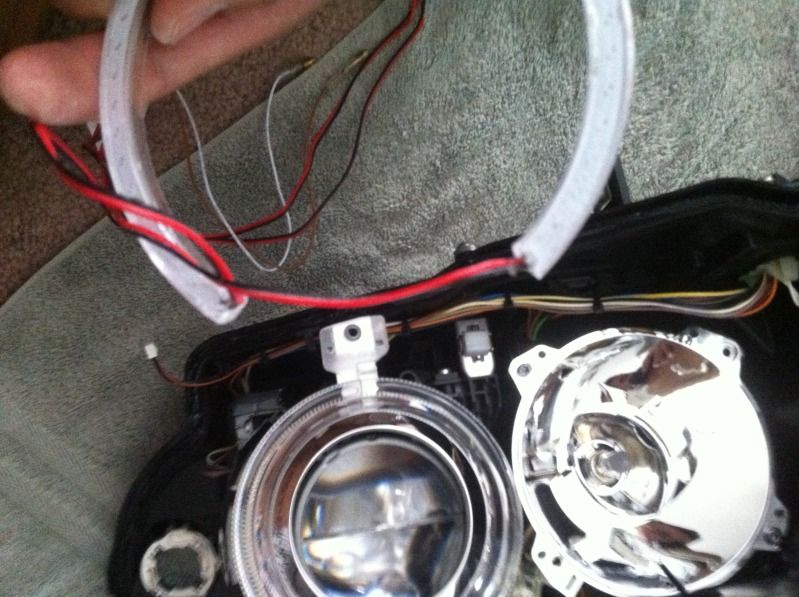 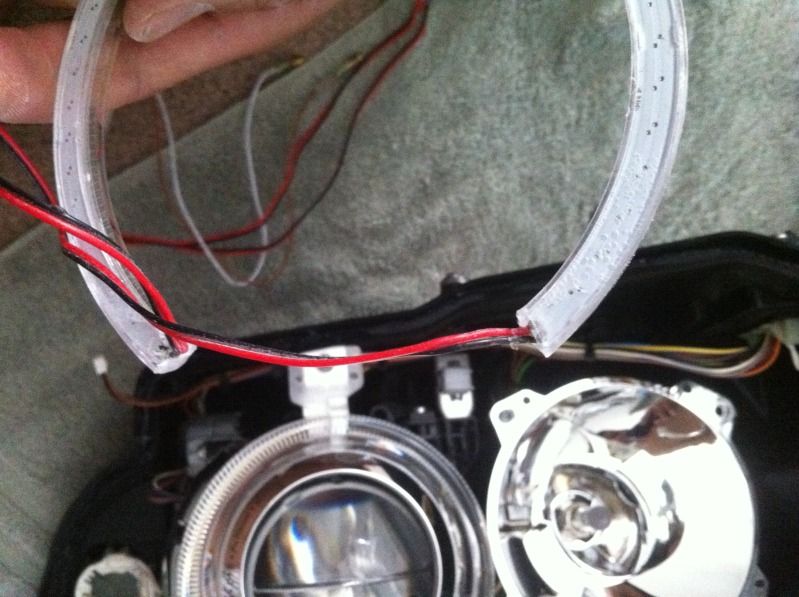 8. Now here's where it gets challenging: You have to cut out the stock outer angel eye to integrate it onto the Umnitza angel eye. Place the Umnitza angel eye over the stock angel eye and mark where the stock one needs to be cut. if it's too short, all you need to do is just use epoxy to fill the space in. Use tape to mock up if everything fits. 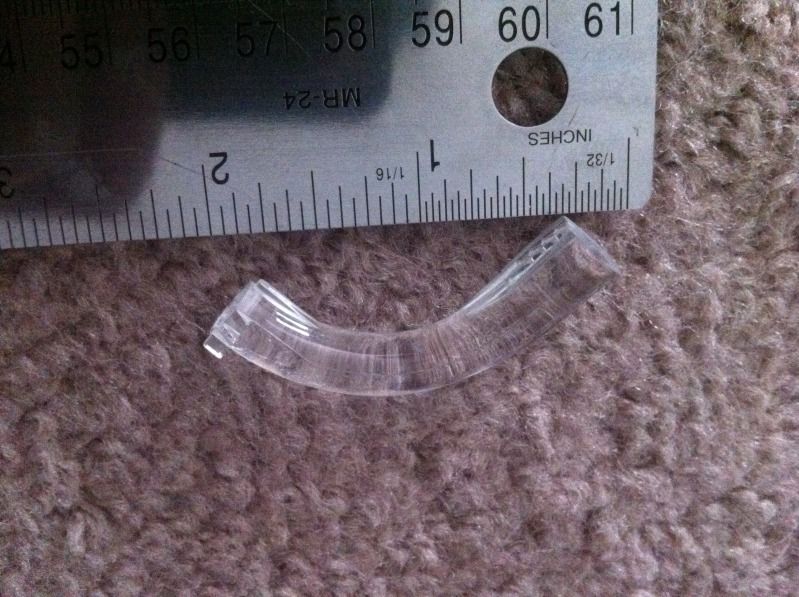 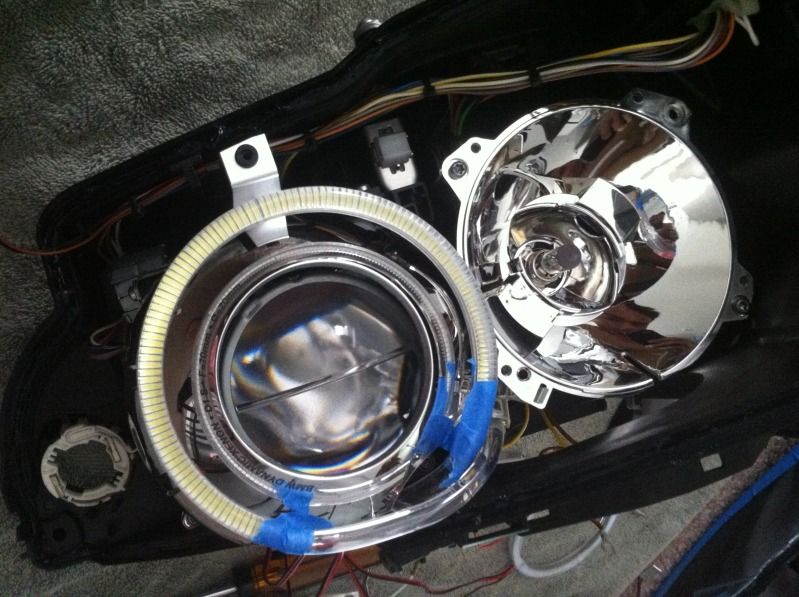 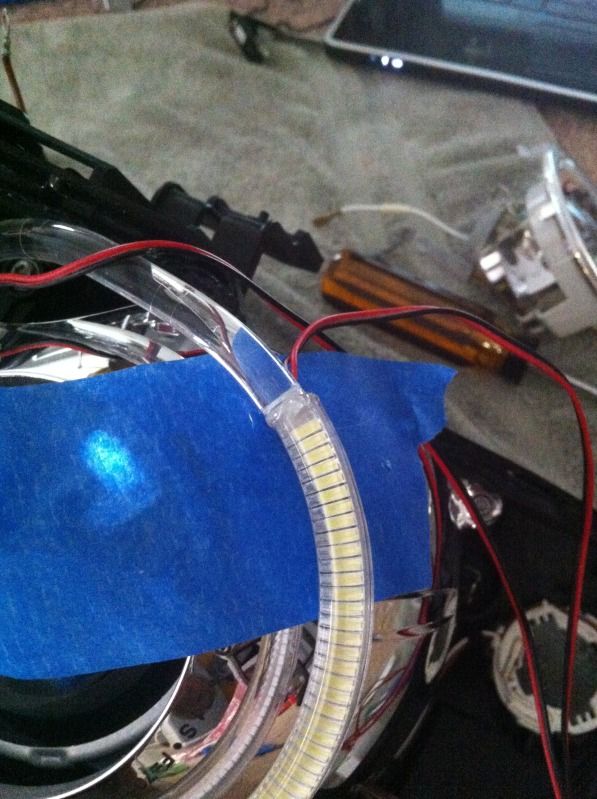 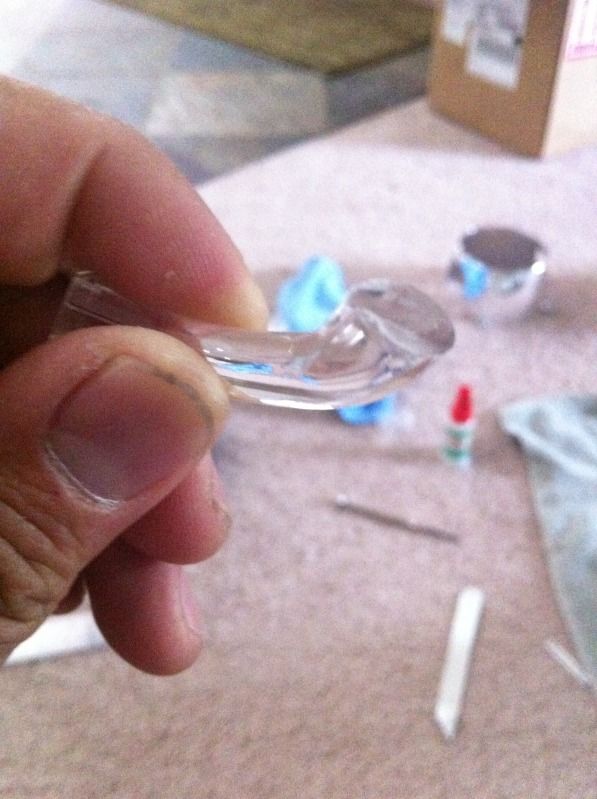 9. Once that's mocked up, you use the bottom tab off the stock angel eye and epoxy it on the Umnitza angel eye. You will end up dremeling a little bit off the the tab to get it to fit since the Umnitza angel eye is a little bigger than stock 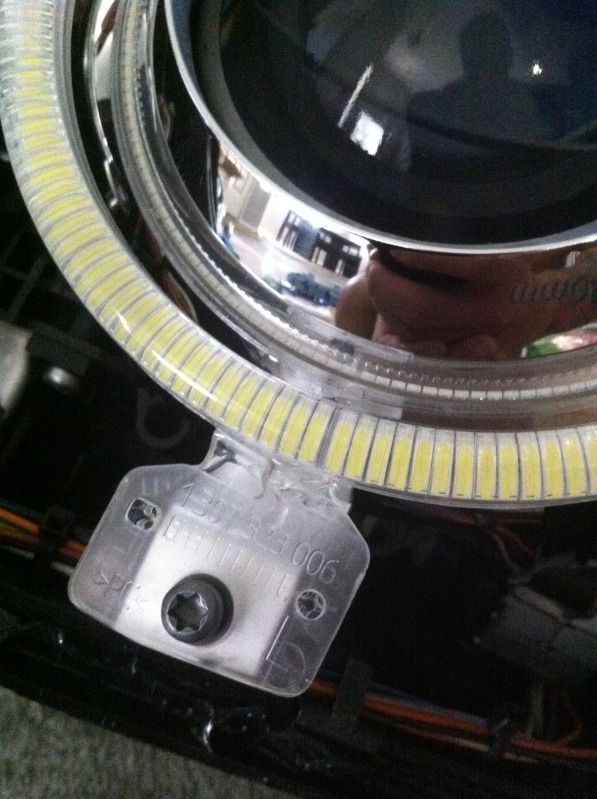 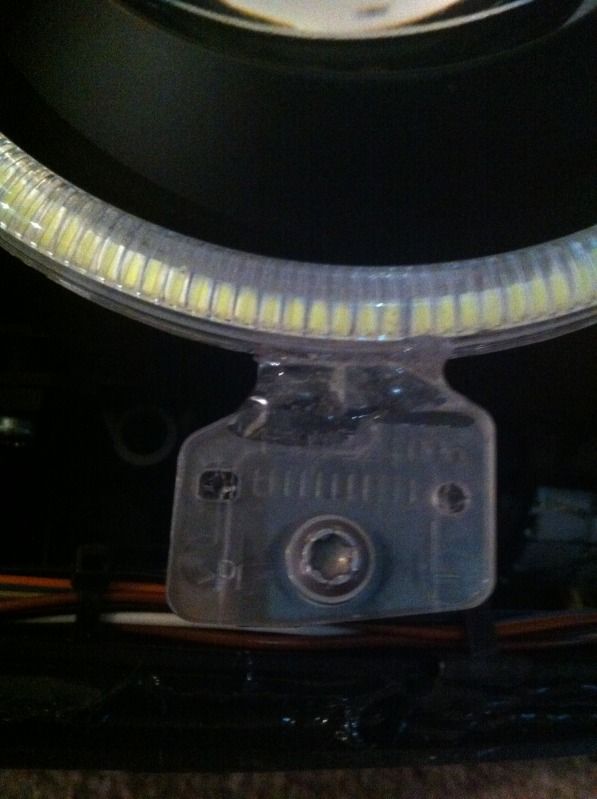 10. Place cardboard between the angel eye so you don't get anything on the chrome housing. If you get tape on the housing, it will peel the chrome off so be careful. This is why I ended up going full blackout  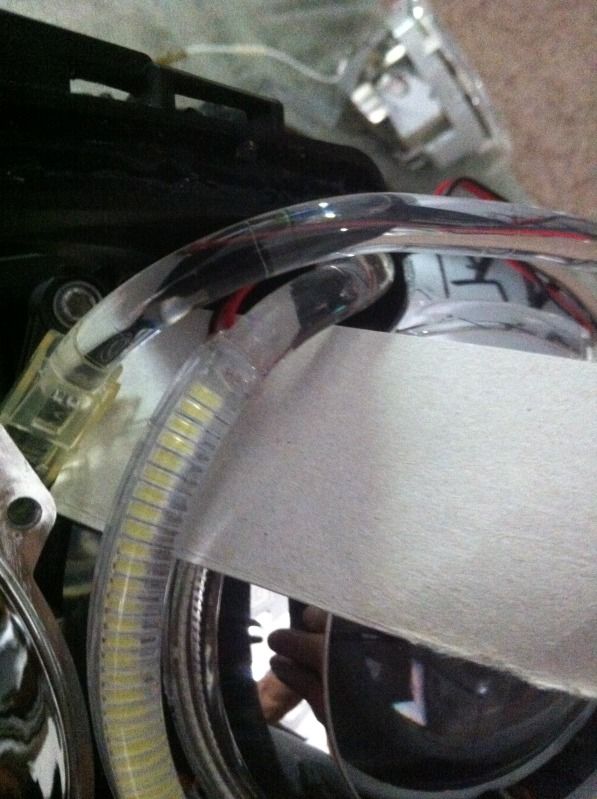 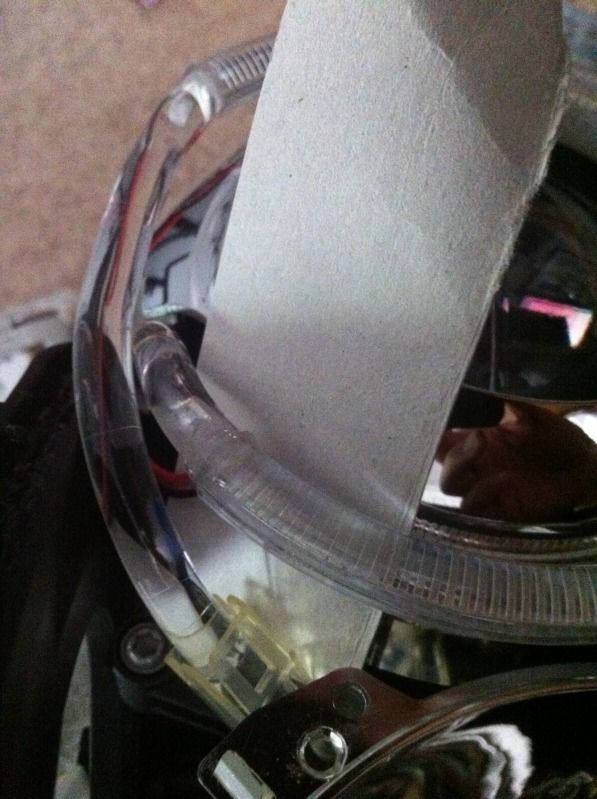 Great Success! Now everything should be epoxied! Remove everything to inspect and epoxy the back side and fill in any areas that you missed. 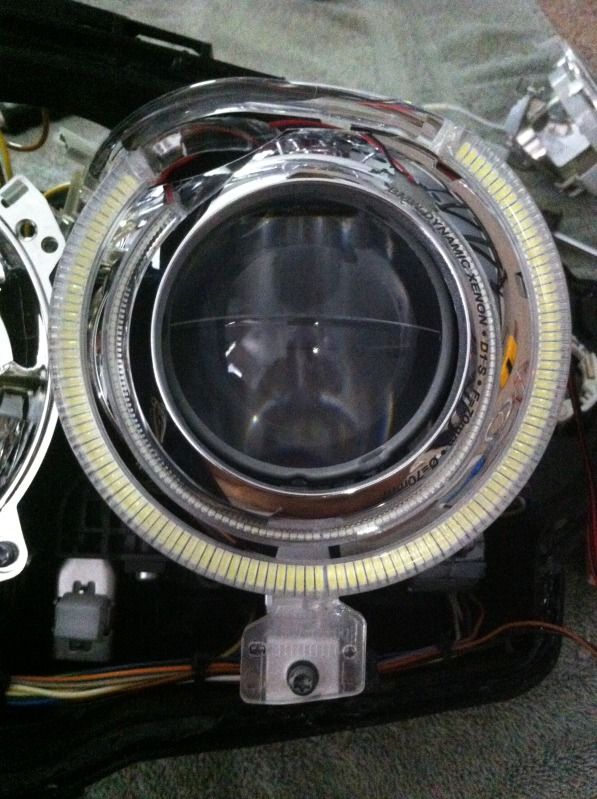 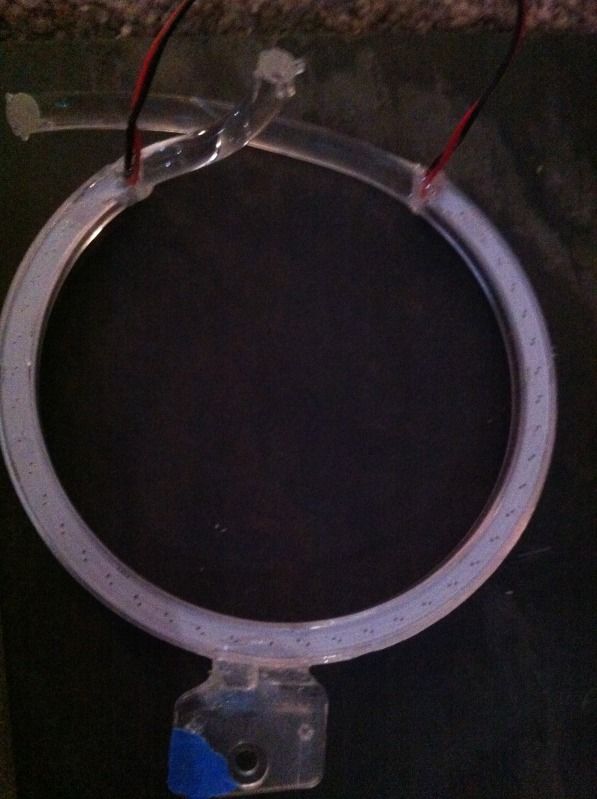 Paint everything you want painted. Be sure to sand and primer or it will flake off. 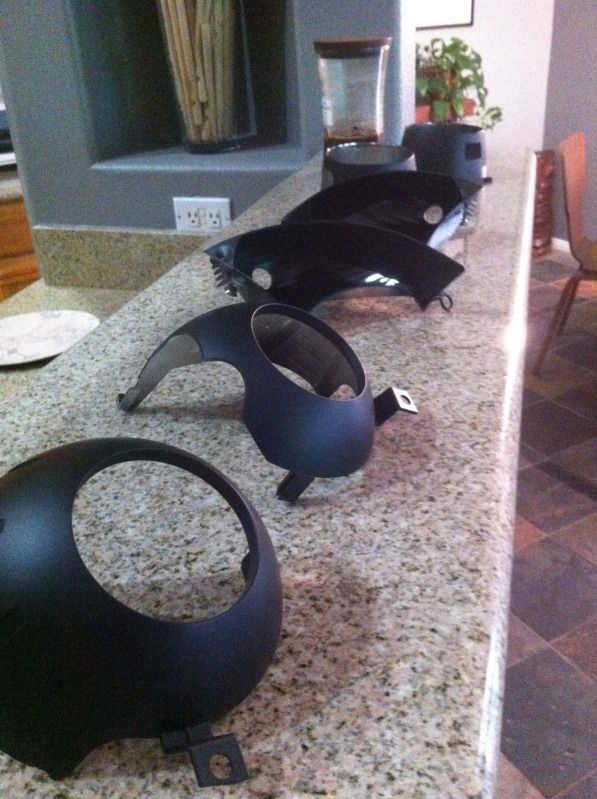 11. Easy part. Epoxy the Umnitza inner angel eye right over the old one. I did this because I needed the inner angel eye to mount the cornering light. If you look at the OSS thread, this looks like the way Luis does it also. 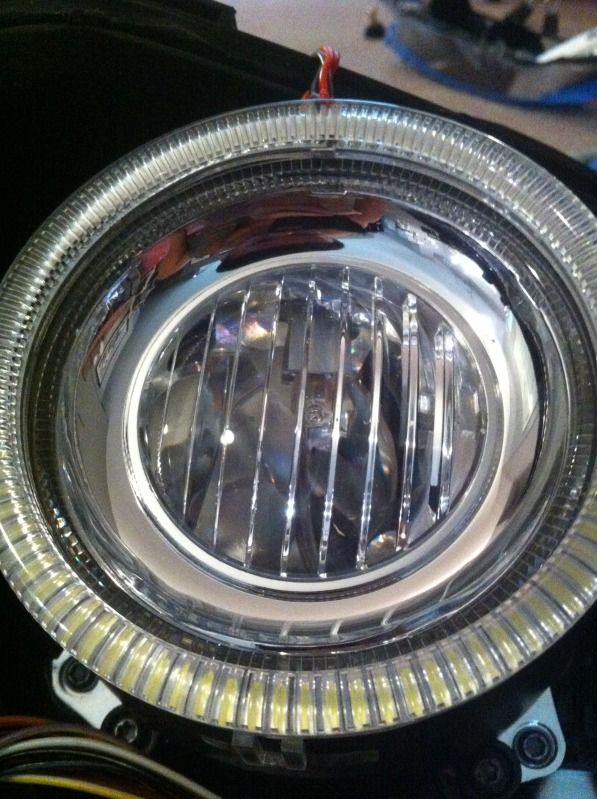 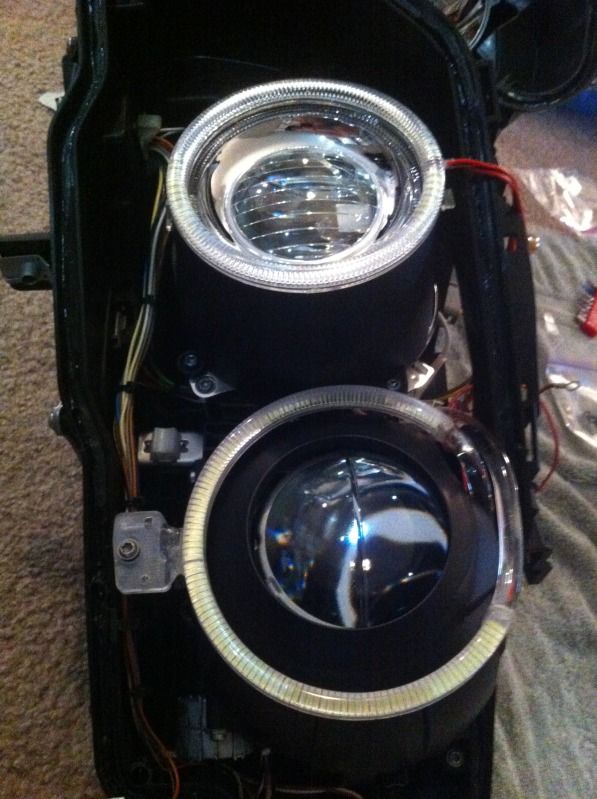 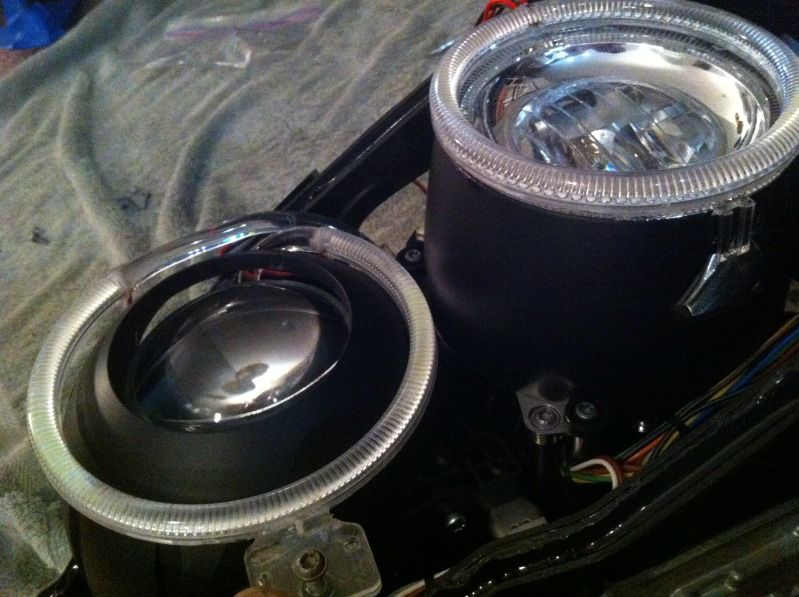 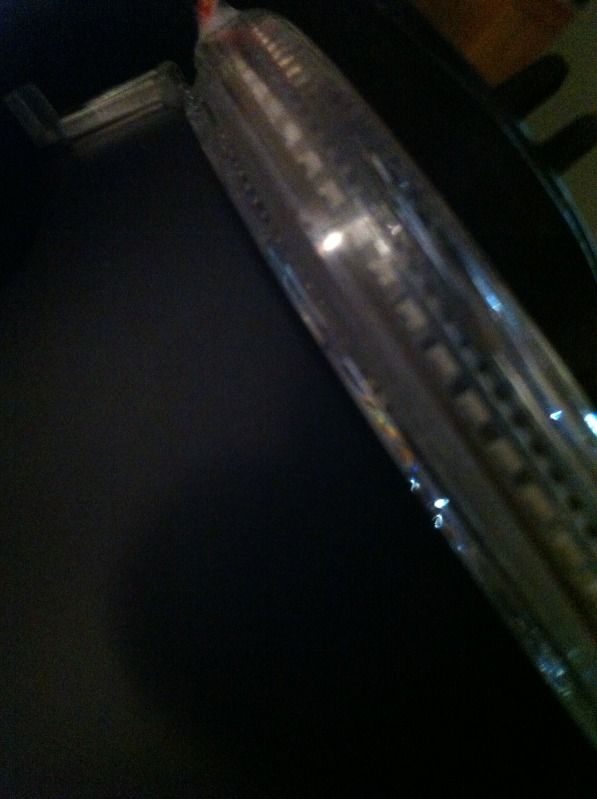 12. Okay so I dont have pictures for the wiring , but all you need to do is tap the brown wire and the red wire to the angel eye H8 bulb harness. The leftover white one hooks up to the low beam power on the Xenon ballast. Once wired, you should temporarily reinstall and power up the car to see if it works. 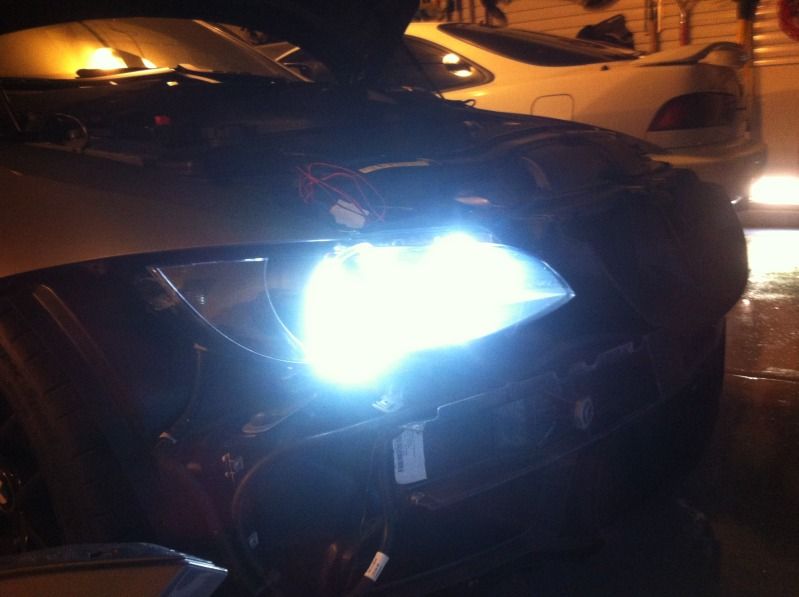 13. Place the headlight cover as much as you can on the housing and re-bake. 14. Firmly press the two halves together. Be sure that the tabs lock in place. Then screw in the corner housing screw. 15. Everything should be done now. All you need to do is re install the headlights back in! Be sure to realign the headlights at night. 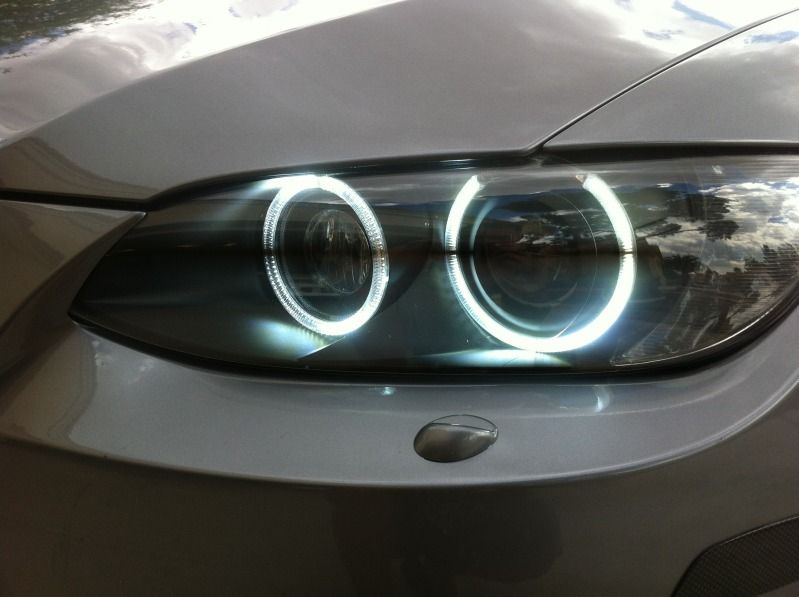 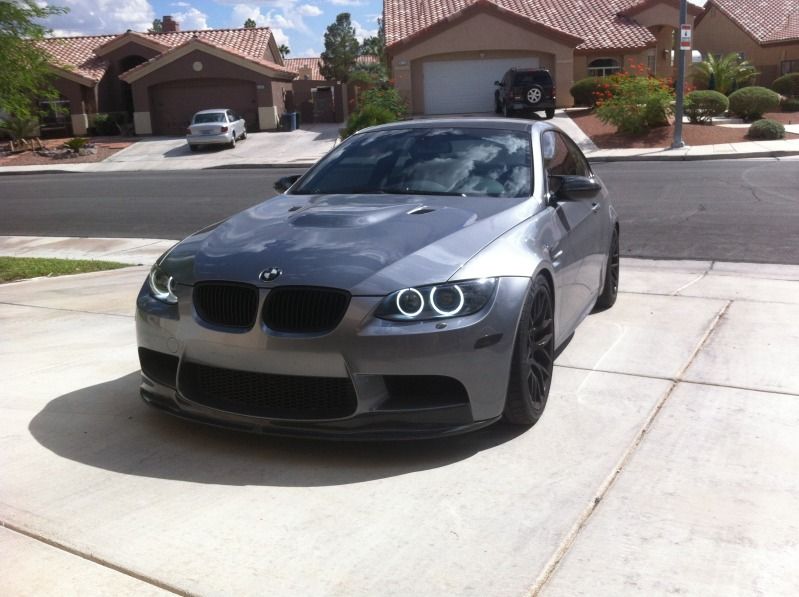 For any question or help, pm me! |
| 09-01-2012, 12:49 PM | #2 |
|
Banned
1770
Rep 6,696
Posts
Drives: F30 340i
Join Date: Jan 2009
Location: San Diego,CA
|
how long did this take you? do you think a well qualified shop would have any issues?
|
|
Appreciate
0
|
| 09-01-2012, 01:05 PM | #3 |
|
Private First Class
8
Rep 135
Posts |
took about 2 days, did some work here and there trying to figure stuff out. If i were to do it again, it would probably take me like 8 hours total. Ya a shop should be able to do this.
|
|
Appreciate
0
|
| 09-05-2012, 10:21 AM | #11 |
|
BimmerPost Supporting Vendor
307
Rep 13,093
Posts 
Drives: BPMsport 2012 E92 M3
Join Date: Jun 2011
Location: Kansas
iTrader: (45)
Garage List 2013 Nissan GTR [0.00]
2019 Sierra Denali ... [0.00] 1999 Nissan Silvia [0.00] 1999 Nissan Skyline ... [0.00] 1998 Toyota Supra [0.00] |
Nice thread.
|
|
Appreciate
0
|
| 09-05-2012, 02:40 PM | #12 |
|
Bored all the time
382
Rep 2,172
Posts |
Great Thread... I hope this thread doesn't get deleted though... A lot of people make money off of this.
I did something similar with a friend on his Acura TL and it was same process. He wanted to paint the inside housing... I'm just curious about wiring the angel eyes... Do you get any resistors with the rings? It would suck if you got the bulb out error once you put it all together.
__________________
Current: 2014 991 Turbo RS
Past: 15 GT3, 17 R8 SC, Two 16 M4 GTSs, Two 18 GT350R's, Two 13 RS5s, 13 M3, 10 R8, 15 M4, 09 M3, 04 M3, 09 S5, 02 M3... It all started with an RX-7 (FD). |
|
Appreciate
0
|
| 09-05-2012, 02:43 PM | #13 | |
|
BimmerPost Supporting Vendor
307
Rep 13,093
Posts
Drives: BPMsport 2012 E92 M3
Join Date: Jun 2011
Location: Kansas
iTrader: (45)
Garage List 2013 Nissan GTR [0.00]
2019 Sierra Denali ... [0.00] 1999 Nissan Silvia [0.00] 1999 Nissan Skyline ... [0.00] 1998 Toyota Supra [0.00] |
Quote:
The error can be coded out. |
|
|
Appreciate
0
|
| 09-05-2012, 03:00 PM | #14 |
|
Bored all the time
382
Rep 2,172
Posts |
I can disable the bulb check by coding... that's not the issue... but i would rather leave it be if it comes with resistors and such.
I doubt that just tapping into the stock wiring will do it... Aren't these Led rings drawing less current?
__________________
Current: 2014 991 Turbo RS
Past: 15 GT3, 17 R8 SC, Two 16 M4 GTSs, Two 18 GT350R's, Two 13 RS5s, 13 M3, 10 R8, 15 M4, 09 M3, 04 M3, 09 S5, 02 M3... It all started with an RX-7 (FD). |
|
Appreciate
0
|
| 09-05-2012, 03:47 PM | #15 | |
|
Private First Class
8
Rep 135
Posts |
Quote:
I talked to Umnitza about the wiring. Im throwin a daytime running lamp error (both headlamps) and they don't understand why, and i showed them how i wired it and they can't figure it out. They did tell me that I could just code it out, which I'll do when i get coded sometime in the future. |
|
|
Appreciate
0
|
| 09-05-2012, 04:27 PM | #16 | |
|
Bored all the time
382
Rep 2,172
Posts |
Quote:
Thanks
__________________
Current: 2014 991 Turbo RS
Past: 15 GT3, 17 R8 SC, Two 16 M4 GTSs, Two 18 GT350R's, Two 13 RS5s, 13 M3, 10 R8, 15 M4, 09 M3, 04 M3, 09 S5, 02 M3... It all started with an RX-7 (FD). |
|
|
Appreciate
0
|
| 09-06-2012, 02:17 PM | #17 |
|
Second Lieutenant

36
Rep 240
Posts |
Amazing write up! So glad that I found it :-)
My V4's are shipping out today, hopefully I can start next week. What type of Epoxy did you use? I have never really used any before, so any info on that would be helpful! Also, did you clean off the sealant at all and apply more, or did you leave it on and that is why you re-baked the headlights? I can't wait to try this!
__________________
Last edited by crazyfoo; 09-06-2012 at 02:17 PM.. Reason: typo! |
|
Appreciate
0
|
| 09-06-2012, 05:29 PM | #19 |
|
Colonel
 83
Rep 2,792
Posts |
Great job on this! I have been contemplating doing this for quite a while now. The only thing that I am concerned about is how the cut off part of the outer ring looks. Could you please post an up close pic of what it looks like once everything is installed? Thanks!
__________________
2008 IB E92 M3| BBS | KW | Arkym | Platte Forme A.G. | Active Autowerke | K&N | Fabspeed | Dinan | Evolve-R |
|
Appreciate
0
|
| 09-06-2012, 06:48 PM | #20 |
|
Private First Class
8
Rep 135
Posts |
Looking back at it, i could have cleaned up the epoxy and painted the wires black or silver to better hide it. If you look closely at the OSS thread, it looks like he colors the +/- wires silver to camouflage them. If you do this, lay the wire as parallel as you can to the angel eye (which i could have done a better job at)
     |
|
Appreciate
0
|
| 09-06-2012, 07:12 PM | #21 |
|
Private First Class
8
Rep 135
Posts |
|
|
Appreciate
0
|
| 09-11-2012, 12:18 AM | #22 | ||
|
M3 4 Antwone

4
Rep 47
Posts |
Quote:

__________________
Quote:
|
||
|
Appreciate
0
|
Post Reply |
| Bookmarks |
| Thread Tools | Search this Thread |
|
|


