

 |
|
 |

|
|
|
| 10-30-2012, 11:22 AM | #1 |
|
Colonel
 
348
Rep 2,937
Posts
Drives: 2013 Estoril 328i M Sport
Join Date: Oct 2007
Location: Beverly Hills, CA
|
eclipsisNA Detailed | Restoring Jerez Black - Part II
My favorite client to work with is someone that is genuinely excited about seeing their car after I've completed a paint correction. This client in particular had very high hopes for a car he recently purchased that was severely neglected by its previous owner. The entire car had intense swirling and holograms created by another detailer.
This detail let me try out a tool I hobbled together to help facilitate multiple fixed measurement points for my paint depth gauge. Prior to this, I had always measured paint by locations marked with a single laser point. The inherit problem in this practice is that I wouldn't know whether the amount of paint I was removing was uniform across the entire panel measured by the single point. The solution was to somehow split the laser's beam into multiple paths to create a grid. A grid would allow me track the amount of paint removed across an entire panel. The grid was created by gluing a piece of diffraction grating to a laser pointer with a toggle switch. This is after 56 hours of work spread out over 6 days. Camera: Canon 5D Mark III Lenses: Tamron 24-70 VC, Canon 70-200 f2.8L IS II Trigger system: Odin Phottix Dull, faded paint at delivery  Thick brake dust on wheel's barrel 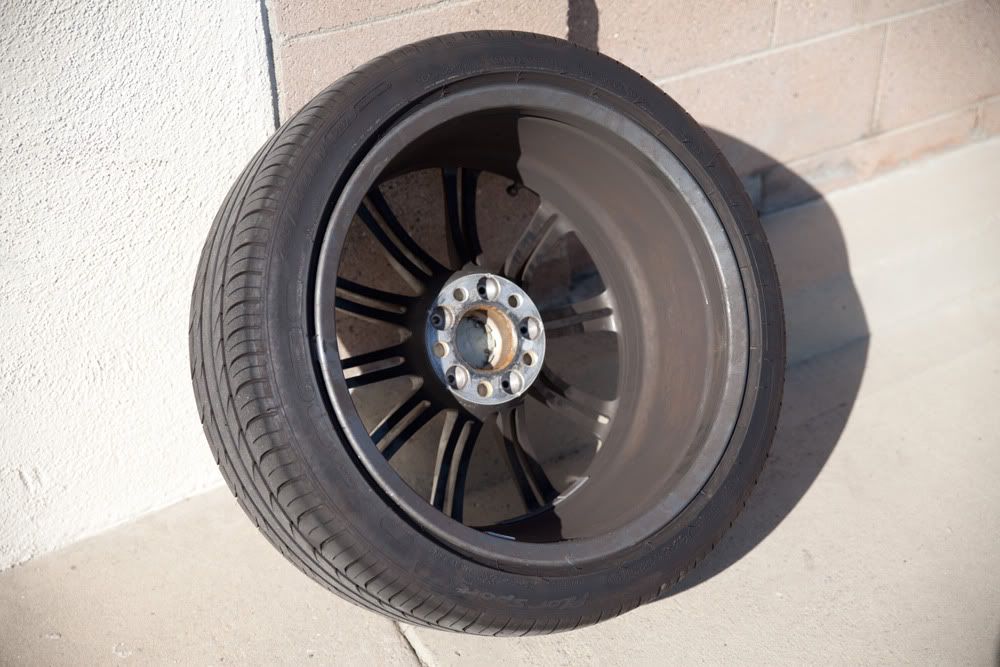 Clay bar after wheel was decontaminated 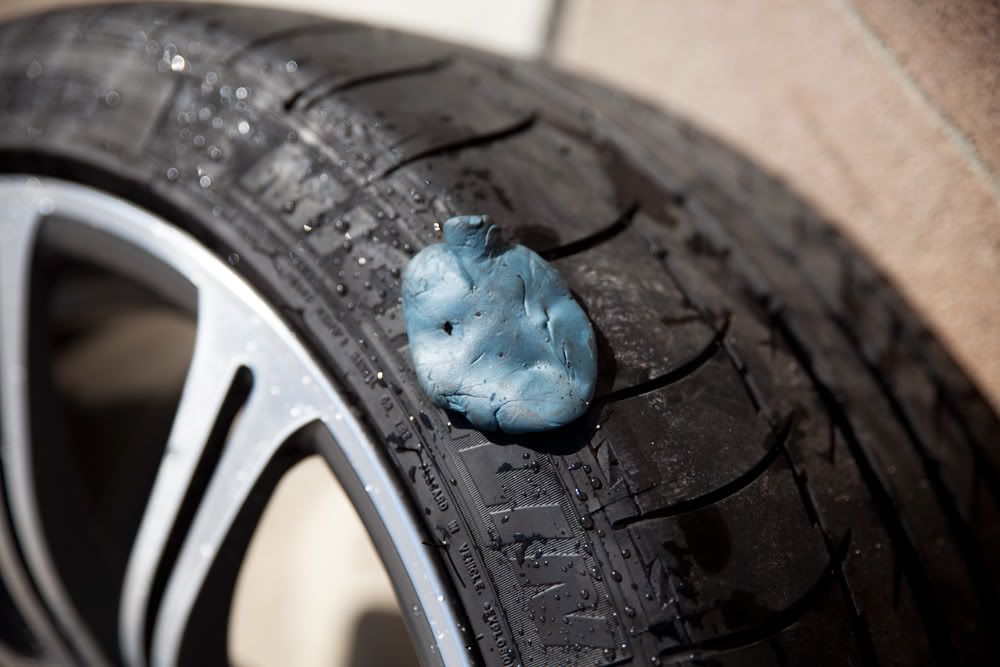 After decontamination  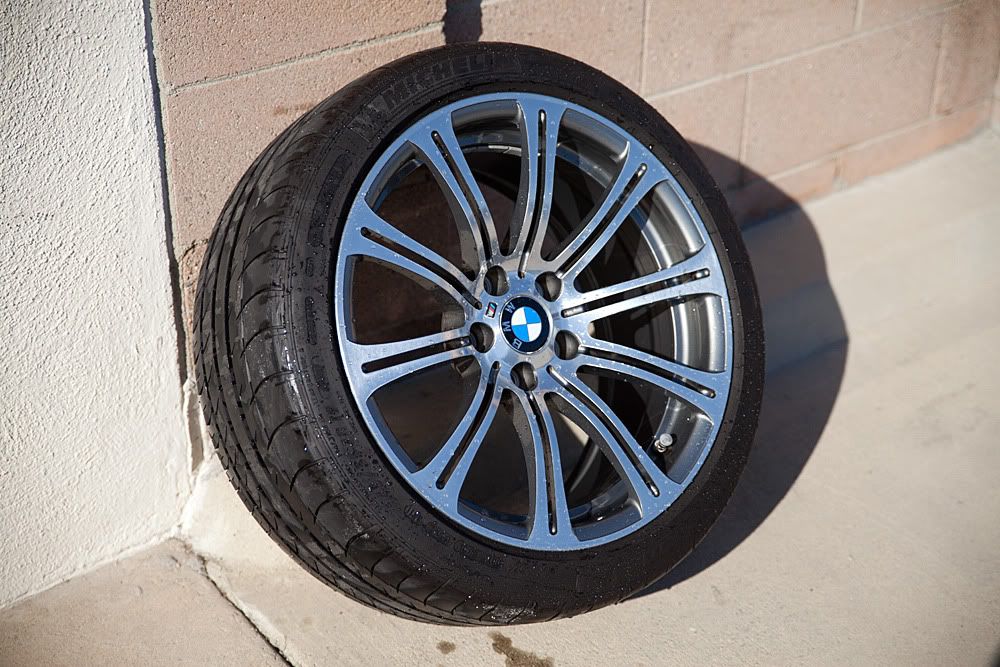 Heavy swirling on reverse light  Reverse light after polishing 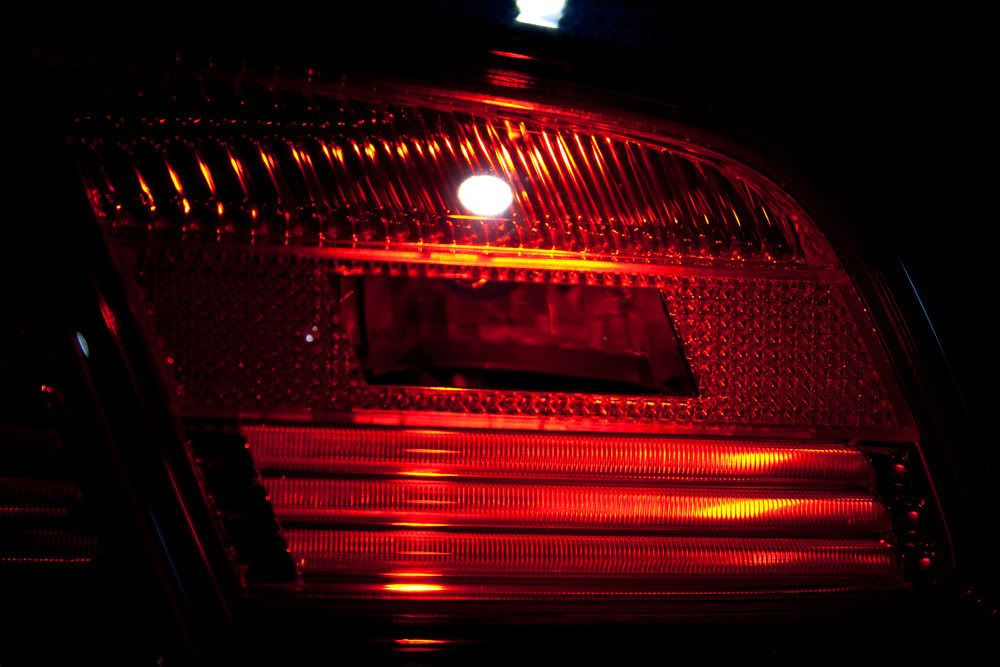 Side vent removed for polishing 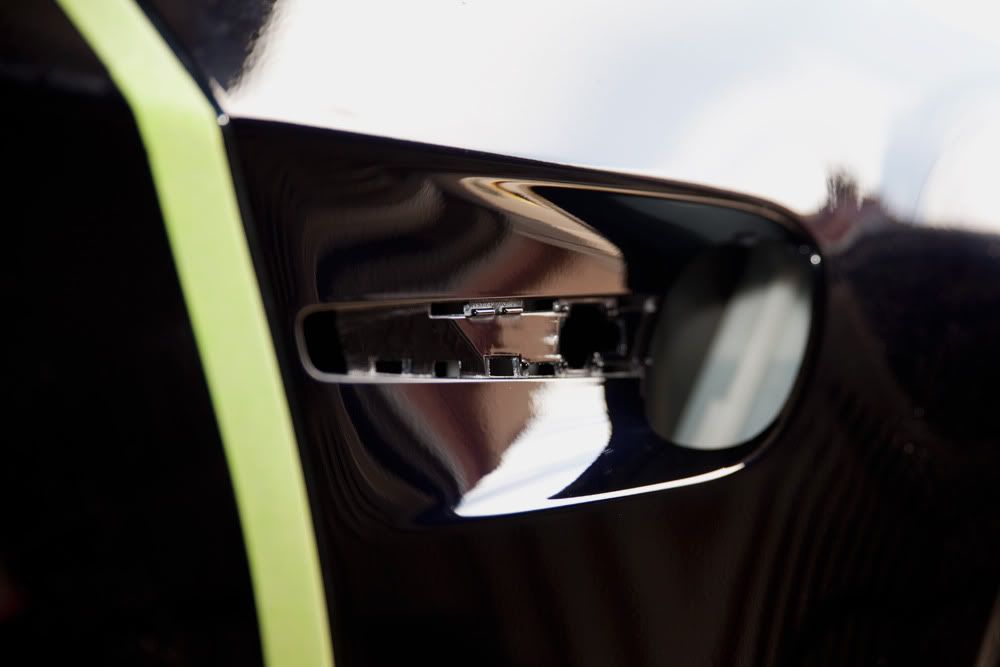 Side vent after polishing 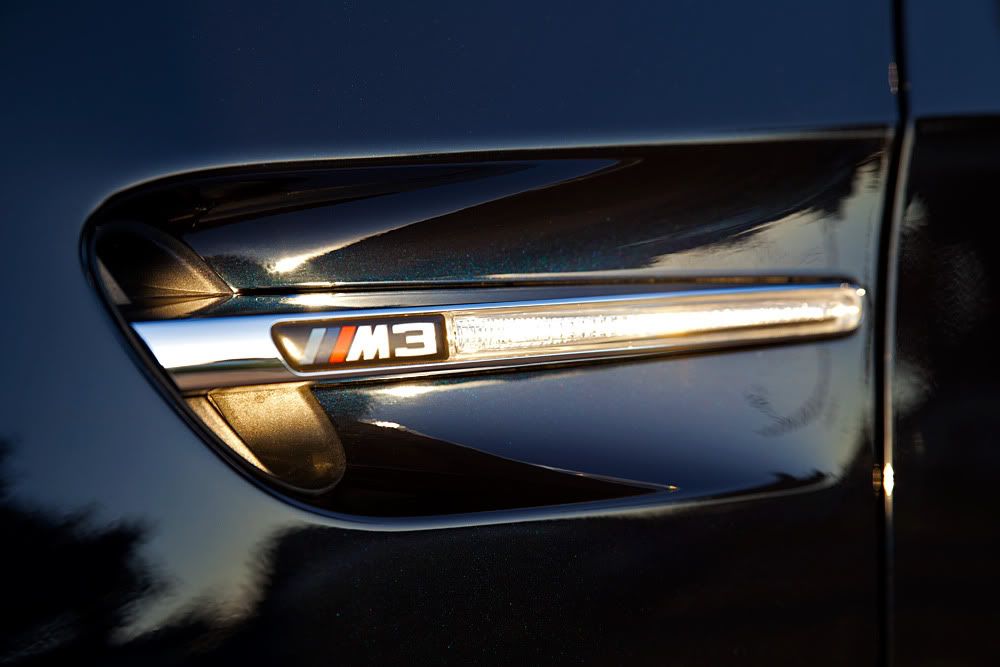 Passenger side pillar before polishing  Passenger side pillar after polishing 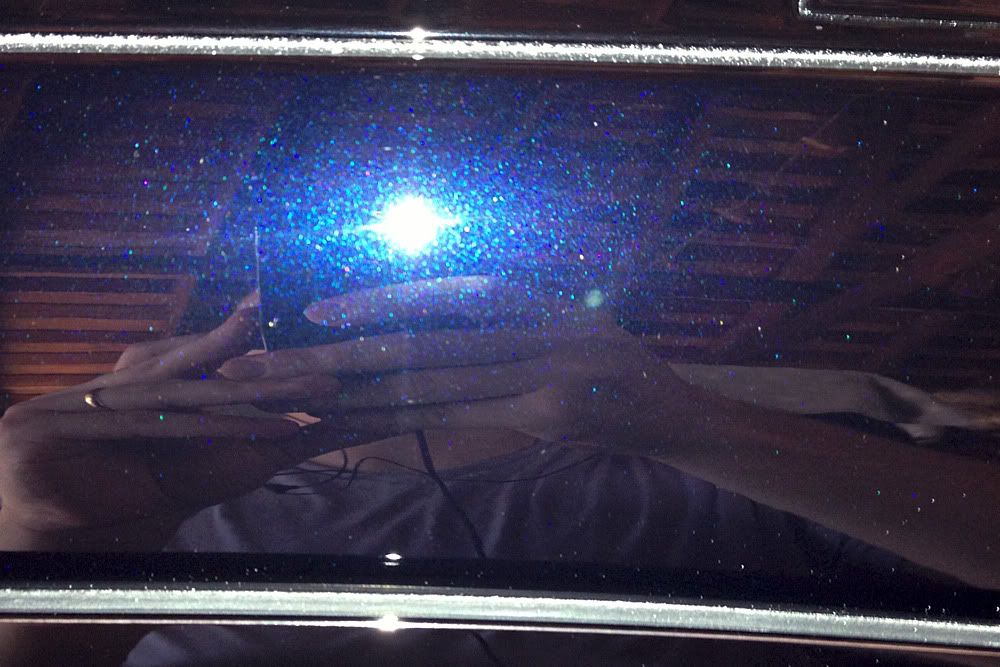 Available in 720p & 1080p Holograms and swirls on hood 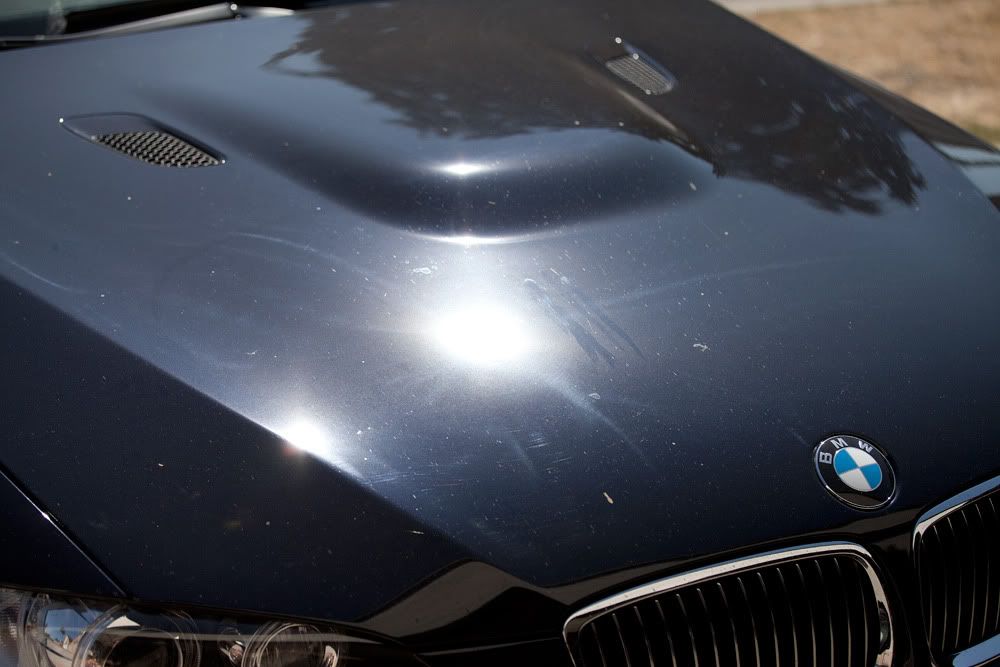 Hood after polishing 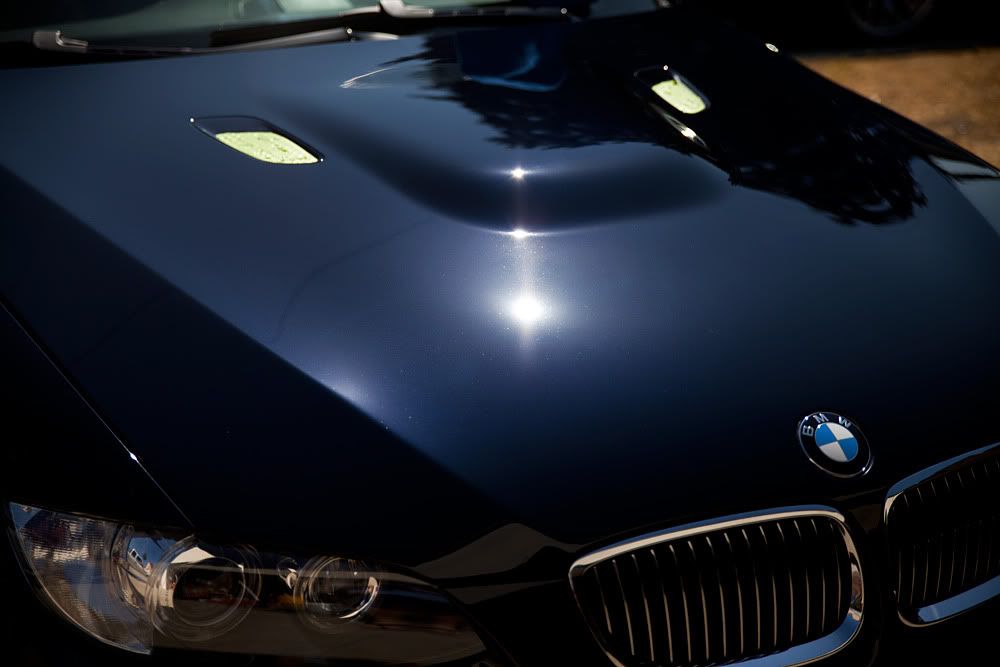 Swirled and faded front-end  Front-end after paint correction and application of Chemical Guys J97 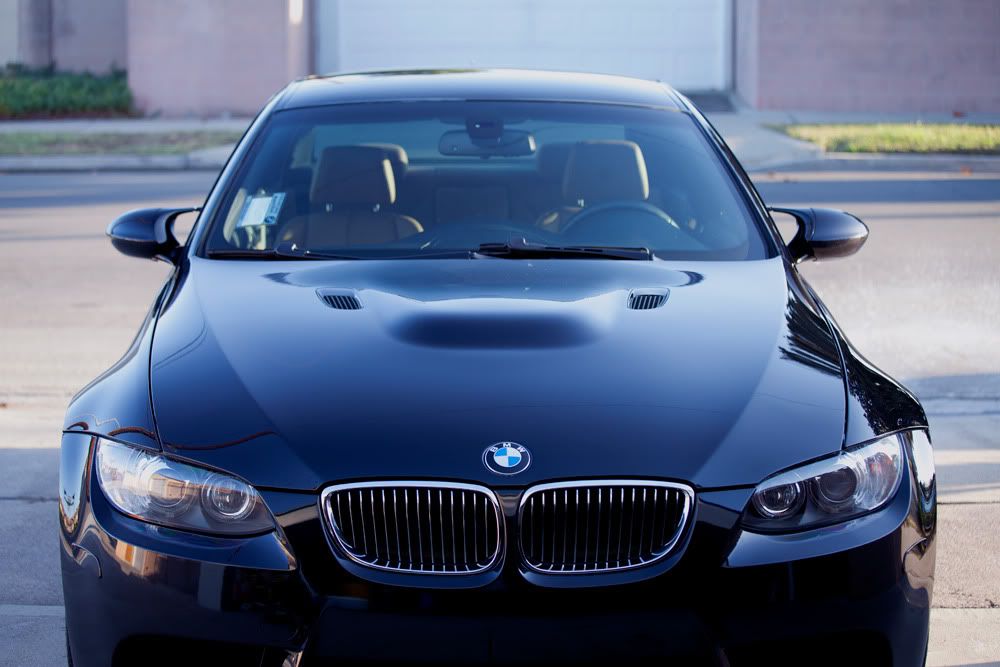 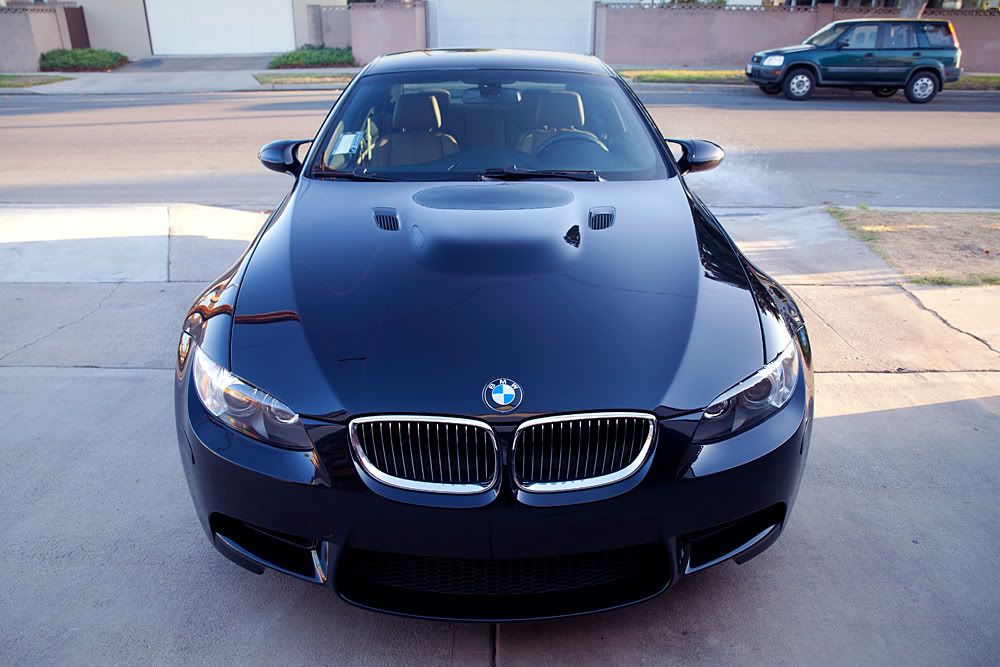 Tripod-mounted diffraction laser  Multiple measuring points are created on driver side door by diffraction grating 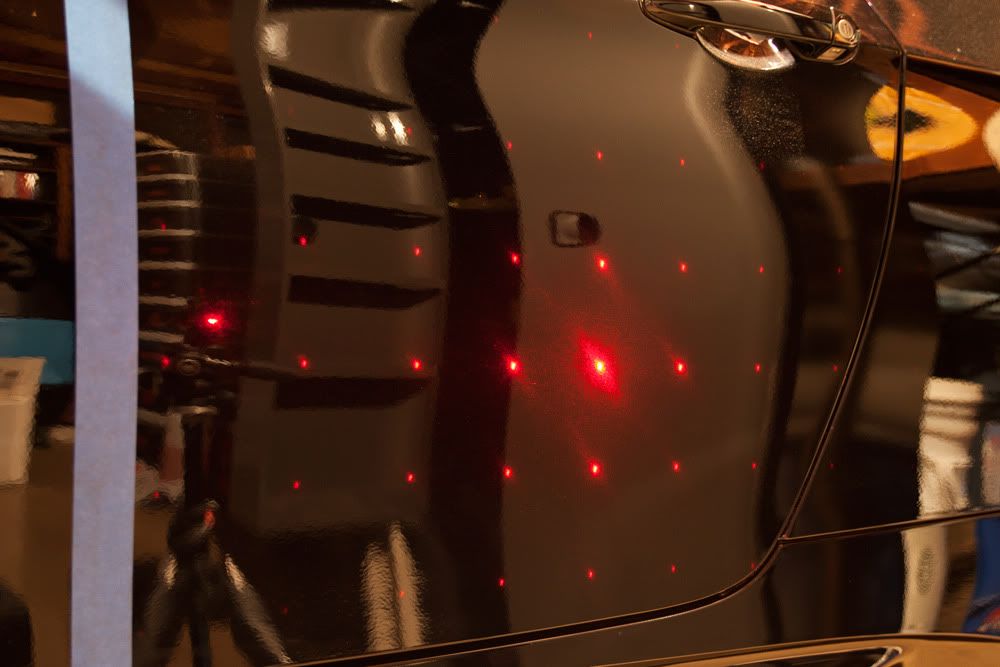 Measuring grid points w/ paint depth gauge (available in 720p & 1080p) Buffer trails and swirls on driver side door 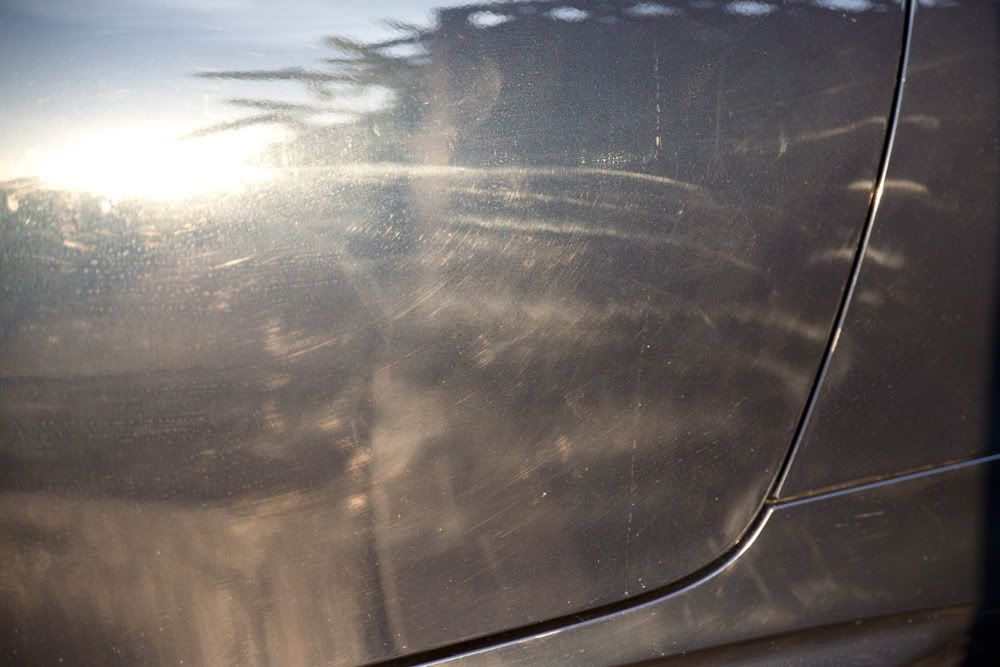 Driver side door after polishing   Left side of driver side door before polishing, right side after polishing 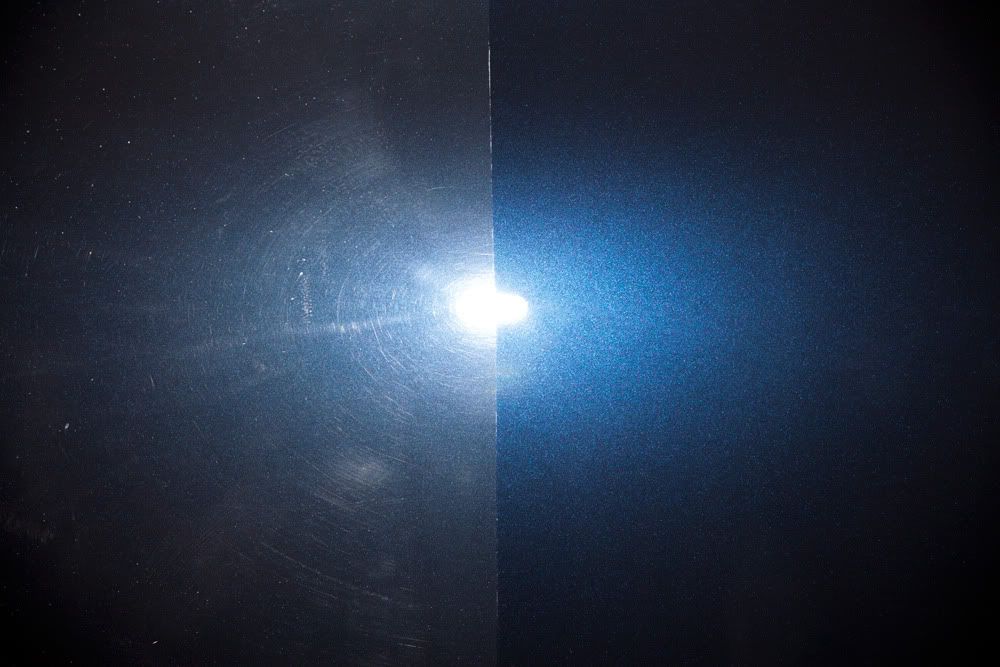  |
| 10-30-2012, 10:28 PM | #4 |
|
10770
Rep 27,582
Posts |
Nice Eric!! once again you killed it

__________________
 BEFORE YOU BUY YOUR NEXT BMW, EMAIL OUR GUY KOTE FIRST! Kote M Sales:Kotem@bmwofcamarillo.com Cell:805-368-9101 vipfinance@bmwofcamarillo.com for warranties! |
|
Appreciate
0
|
| 10-31-2012, 04:05 PM | #6 |
|
Second Lieutenant

16
Rep 281
Posts
Drives: like grandma
Join Date: Jul 2010
Location: New England
|
Nice work! Jerez Black is a pain in the ass, but you did a really great job with it. My car is Jerez and it came with the usual dealer installed swirls on the hood and holograms on the trunk lid (even though I bought it new). Removing the defects from the hood and trunk lid was a huge chore when I got a paint correction at ~1,000 miles.
__________________
 |
|
Appreciate
0
|
| 11-27-2012, 10:58 AM | #8 | ||||
|
Colonel
348
Rep 2,937
Posts
Drives: 2013 Estoril 328i M Sport
Join Date: Oct 2007
Location: Beverly Hills, CA
|
Quote:
Quote:
Quote:
 Quote:
|
||||
|
Appreciate
0
|
| 12-08-2012, 02:01 AM | #11 |
|
Major
 28
Rep 1,073
Posts |
A job well done. It really show how much time you put into detailing it.
  |
|
Appreciate
0
|
Post Reply |
| Bookmarks |
| Thread Tools | Search this Thread |
|
|


 props good sir


