|
|
 |

|
|
|
| 01-17-2016, 08:19 PM | #1 |
|
Major
 1243
Rep 1,287
Posts |
Diary of an E90 M3 Engine Swap
Back in October I ended up ended up needing a new motor. I didn't want to pay a shop a few thousand dollars to swap my motor and honestly, I have trust issues. At least if a tie rod goes loose and something happens, I have only myself to blame.
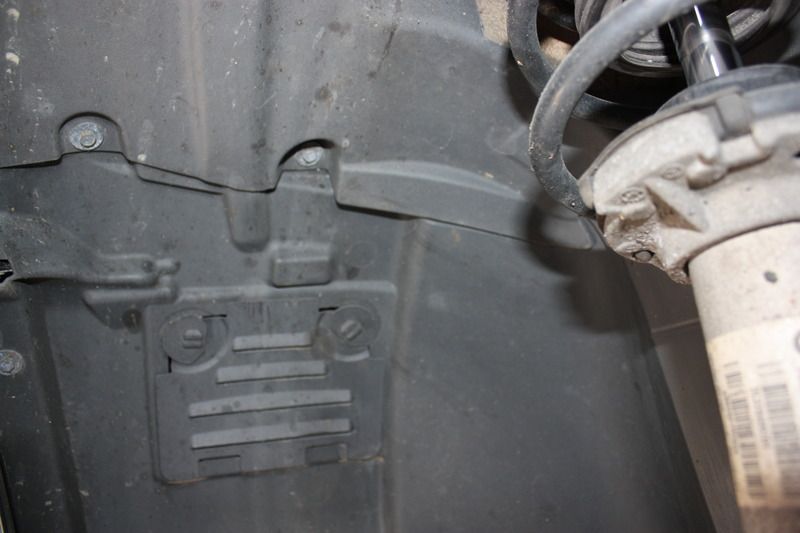
I bought a copy of the BMW TIS, but I didn't use it at all to pull the motor nor to put it in. I did however reference it for torque specs. I simply looked at the car and just started taking things off until I had the motor and trans out. First and most obvious, pull off the wheels and put the car up on jackstands. Remove the fenderliners on both sides. Really simple stuff. A bunch of 8mm bolts all over. Passenger Side 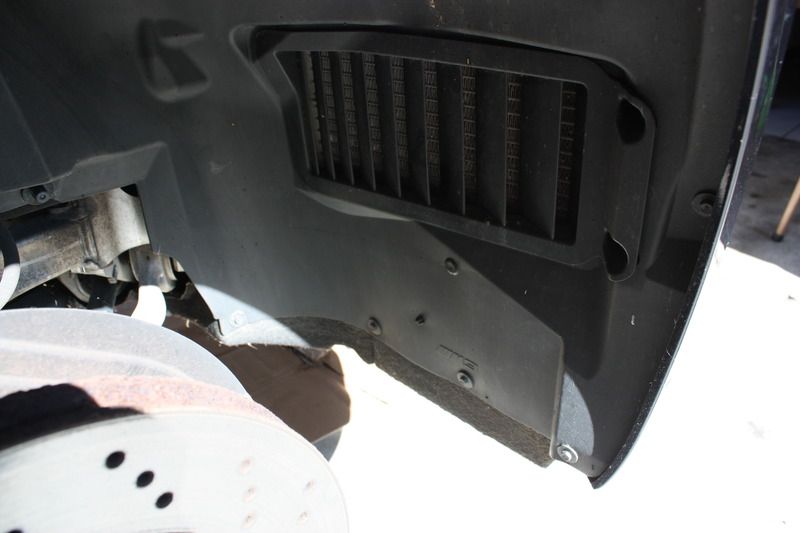 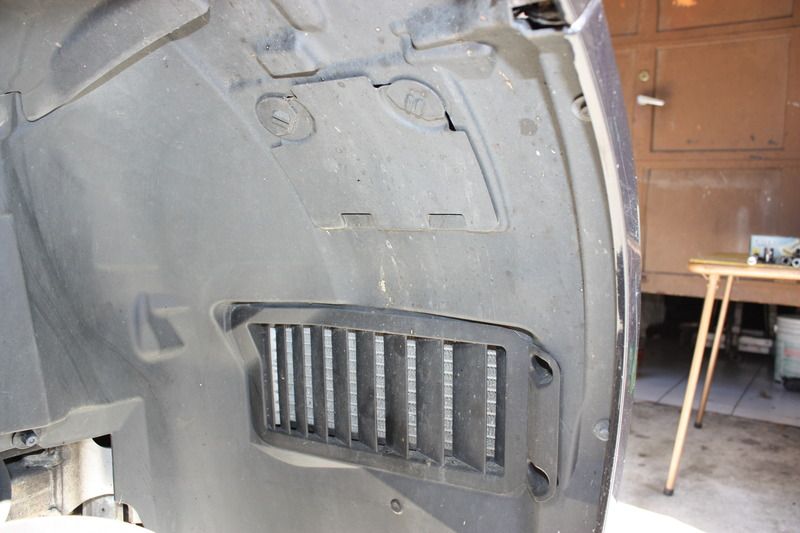 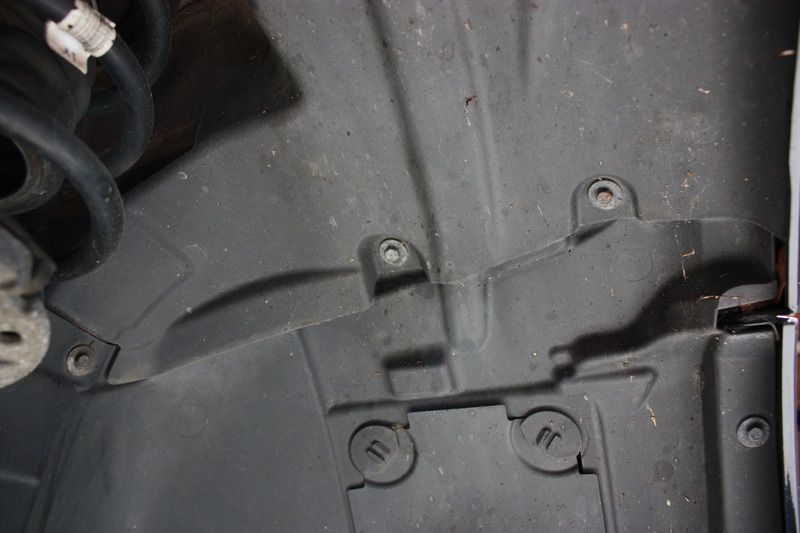 Driver Side 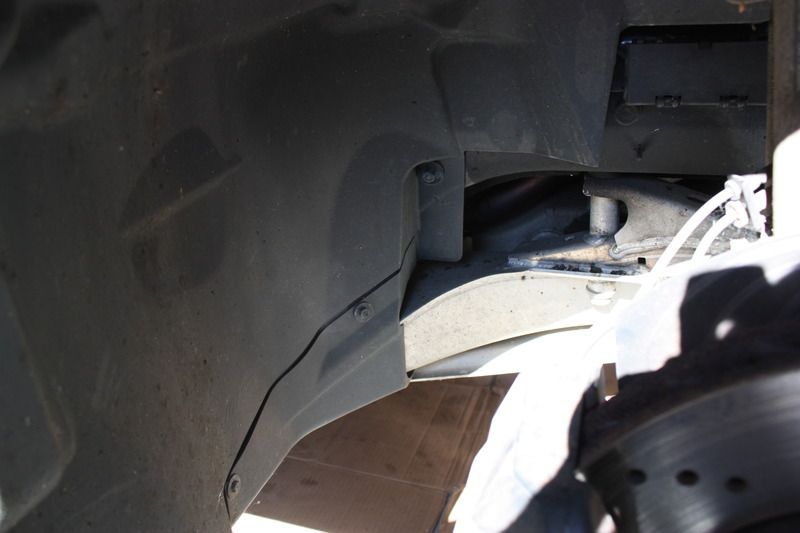 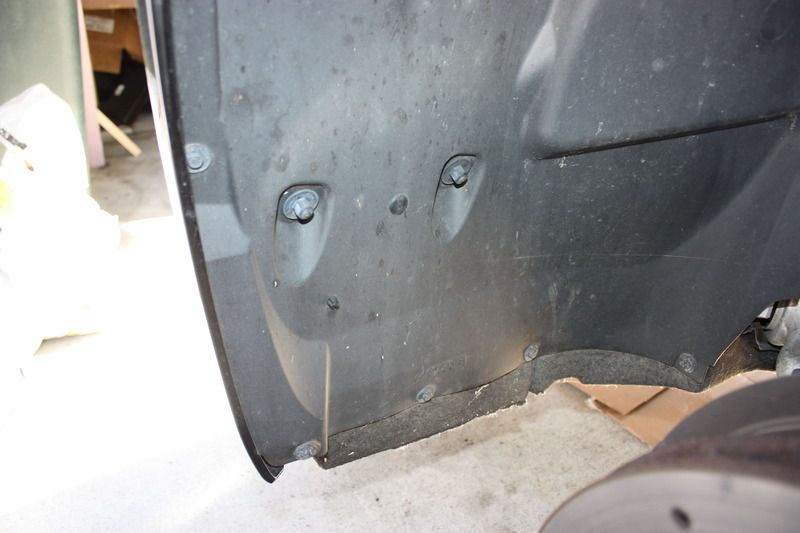 Last edited by rcracin; 01-17-2016 at 08:26 PM.. |
| 01-17-2016, 08:20 PM | #2 |
|
Major
1243
Rep 1,287
Posts |
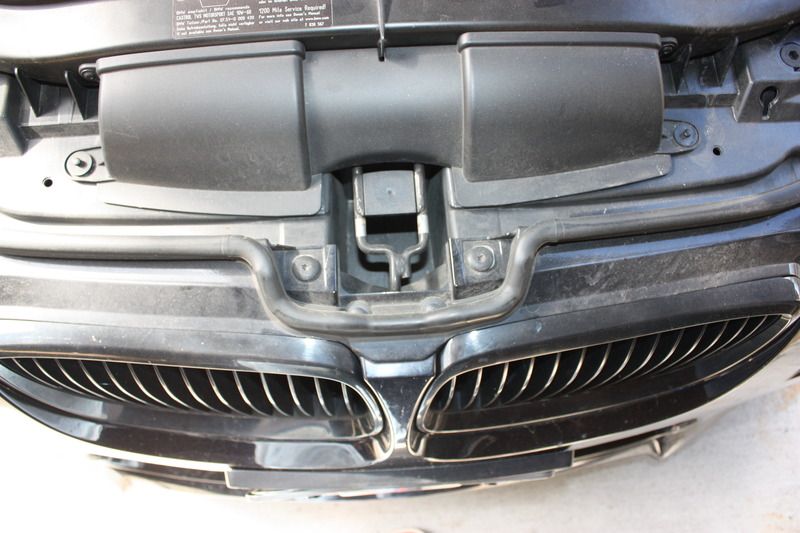
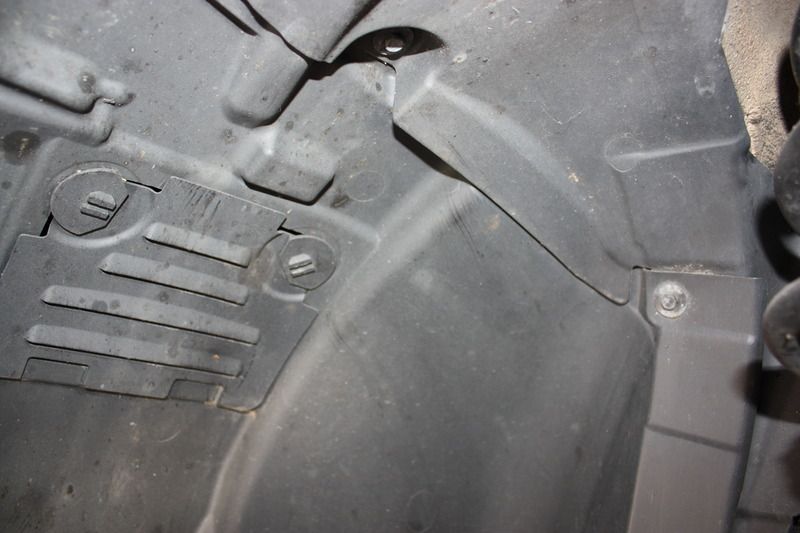  Next up is the felt under tray which is notorious for getting damaged. You can leave it attached to the bumper. Just remove it from undercarriage aluminum tray and the two stainless cables that you'll see once the fender liners are off. I don't have a pic of those cables but it's straight forward. Remove these three 10mm bolts: 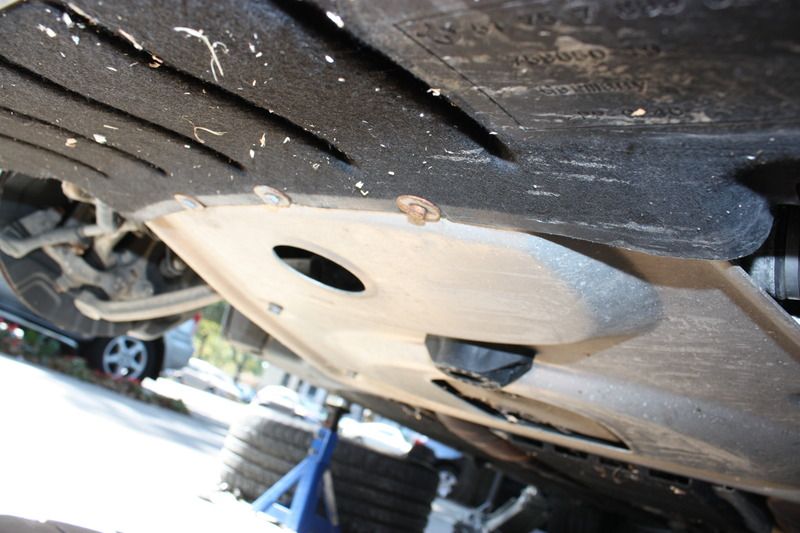 Next up is bumper bolts on each side. Only one side is shown but there are two 8mm bolts on each side. They are silver: 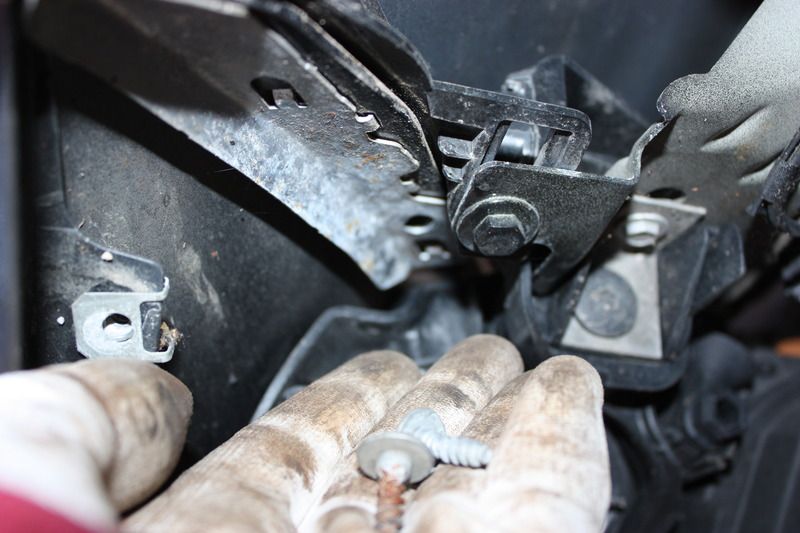 There are 4 t30 torx bolts up top that need to come off: 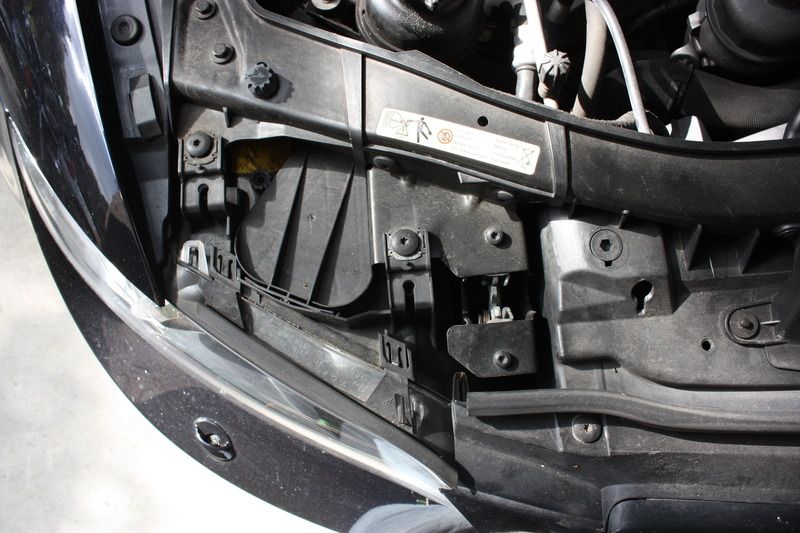 Last edited by rcracin; 01-17-2016 at 08:40 PM.. |
|
Appreciate
4
Theodore668.50 |
| 01-17-2016, 08:22 PM | #3 |
|
Major
1243
Rep 1,287
Posts |
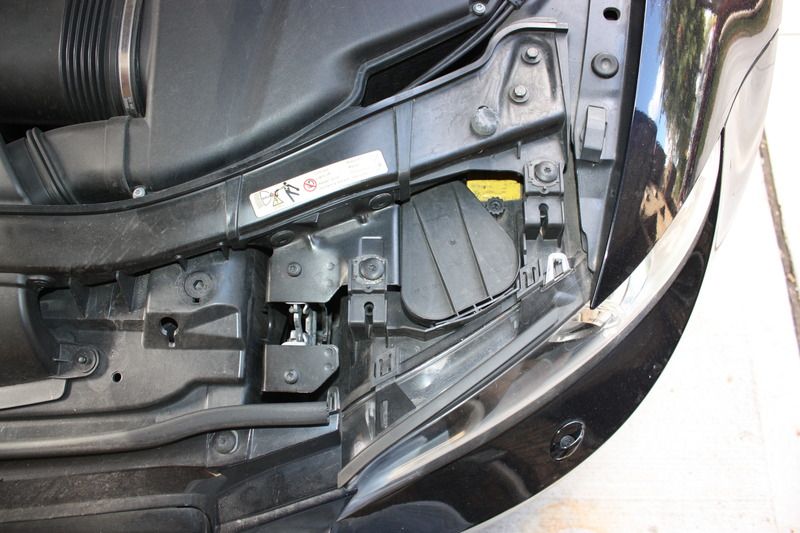  You'll also see the t30 torx bolts in those photos that need to be removed for the headlights. Once you get the bumper off, it's time to take off the headlights. Unplug them, pull off the windshield fluid hoses off the brackets and nozzles, and then start removing the bolts from underneath. I didn't specifically highlight the bolts in the pics but you can see them: 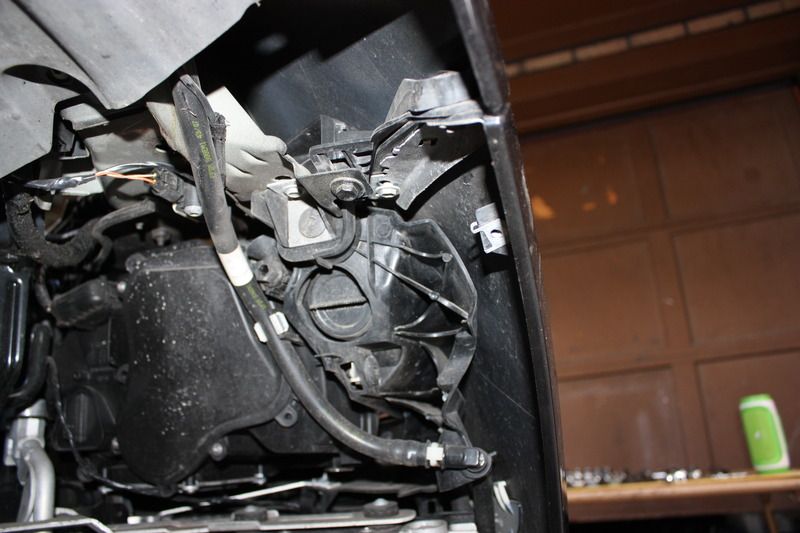   Last edited by rcracin; 01-17-2016 at 08:48 PM.. |
|
Appreciate
4
Theodore668.50 |
| 01-17-2016, 08:23 PM | #4 |
|
Major
1243
Rep 1,287
Posts |
Once the headlights are off, start disconnecting anything you see such as the wiring for the horns, the hood latch cable and the air intake box. There are three torx bolts to disconnect the oil cooler. Once you remove those, you can leave the oil cooler hanging on the lines.
In order to remove the front radiator support there are 4 13mm nuts on each side. Now you can choose to remove the radiator before or after you remove the front end. I realized this upon reassembly. I think it is way easier to remove/install the radiator without the front end on. Only the top two studs on each side are shown for the 13mm nuts that need to come off. The bottom two are just underneath the crash bar. 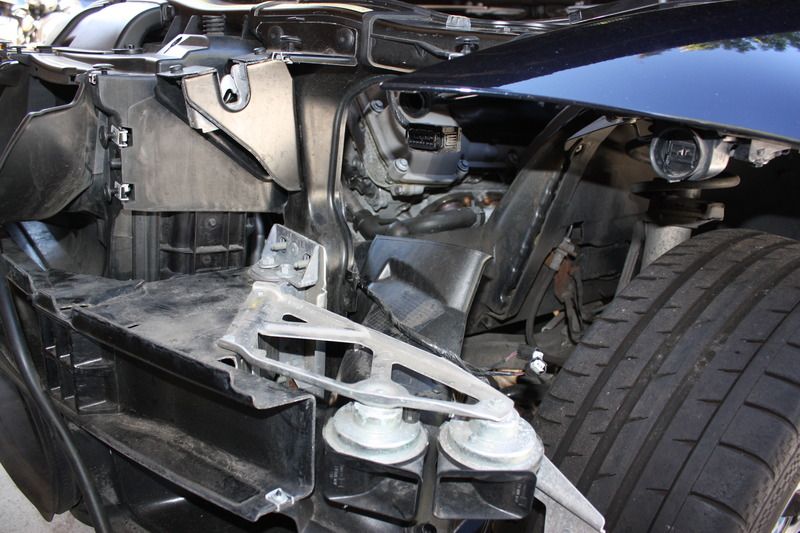  I don't have any pics of removing the radiator but its just a matter of disconnecting the two hoses and the two power steering lines on the driver's side. Just be ready for fluid to spill. after i drained as much as I could off the lines, I tied them up. At this point, you're going to be looking at this and wondering wtf you got yourself into. No turning back now. 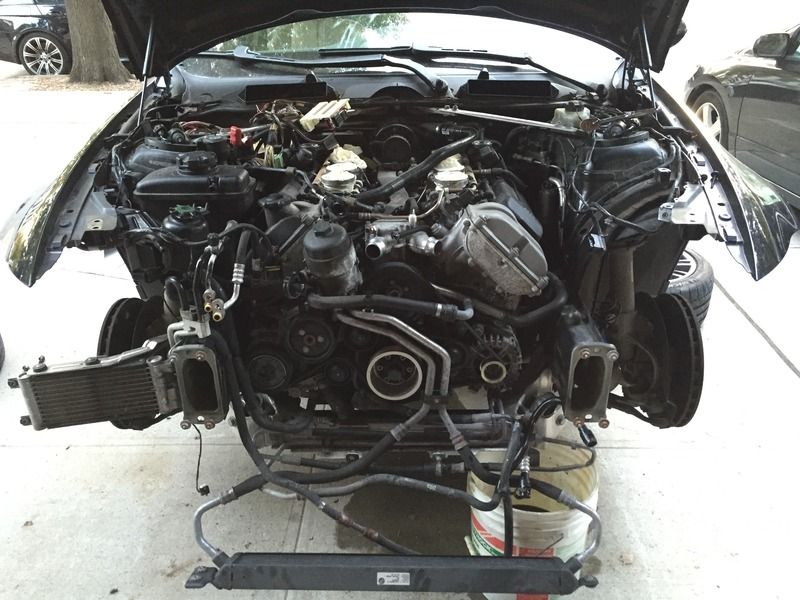 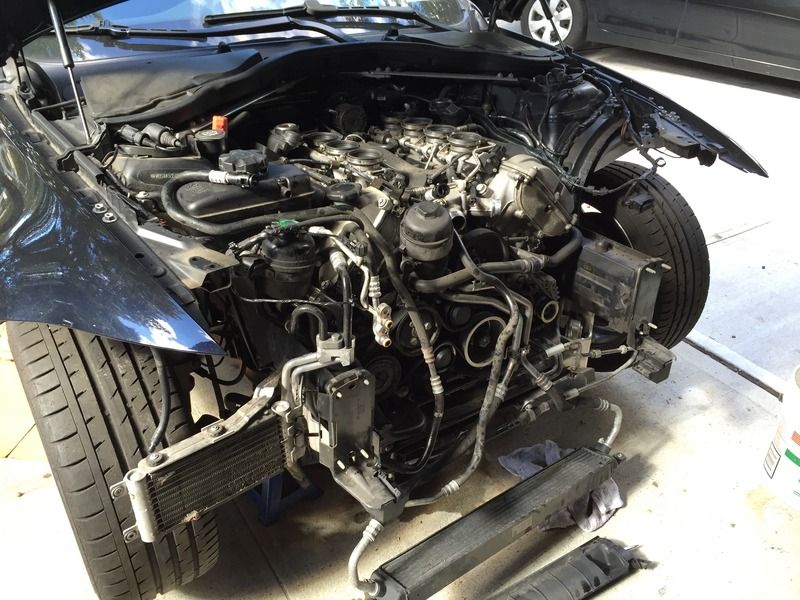 Last edited by rcracin; 01-17-2016 at 09:01 PM.. |
| 01-17-2016, 08:24 PM | #5 |
|
Major
1243
Rep 1,287
Posts |
A few basic things that need to come off to free the motor from the chassis are the vacuum & fuel lines and wiring.
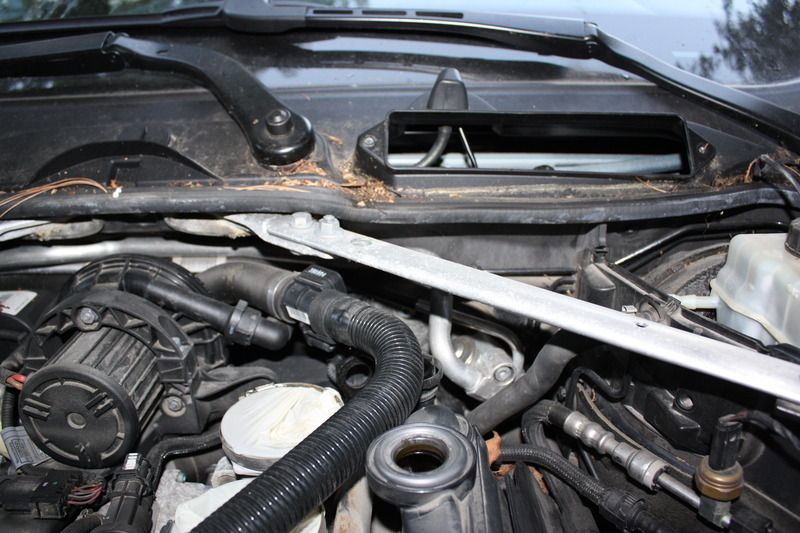  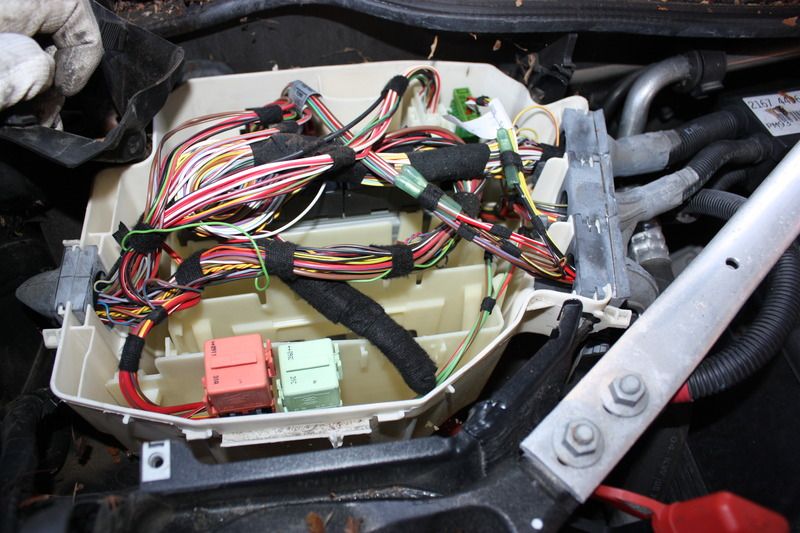 Just unplug it all. Easy enough. 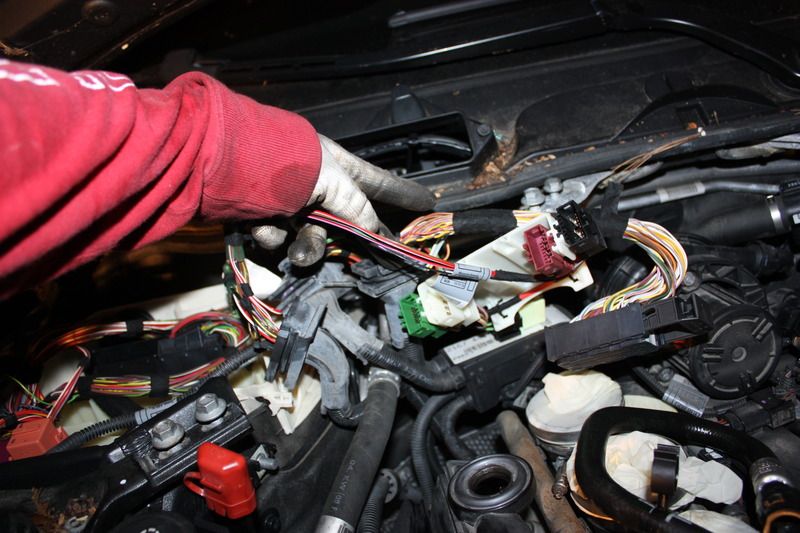 Last edited by rcracin; 01-17-2016 at 09:08 PM.. |
| 01-17-2016, 08:35 PM | #6 |
|
Major
1243
Rep 1,287
Posts |
Once everything is disconnected from the top end, you can move onto the bottom of the car. For removing the under panels, disconnecting the driveshaft, and removing the clutch slave cylinder, you can reference this Clutch DIY here:
http://www.m3post.com/forums/showthr...ght=clutch+diy I used my floor jack or motorcycle jack to hold up up the transmission until I had the engine hoist on the motor to pull the swap out. I did not remove the transmission from the motor. I pulled them out together. I thought that was much easier than trying to disconnect the trans and then later trying to lined up the output shaft into the motor. I've experienced that before and it royally sucked. I've gotten into the habit of pulling motors/swaps out just to do a clutch job. Next up I hooked up my hoist to the motor so that I can unbolt the subframe. I did not remove the subframe. Just unbolted it from the frame and removed the engine mounts, but left the suspension arms connected. As a result I had to remove the steering rack. In retrospect, I'm not sure if that was the easiest thing to do but whatever. I don't have any pics of removing the steering rack or subframe, but there are a bunch of 18mm bolts and two 16mm bolts holding it up. Again, easy enough to spot and remove. A quick video of actually getting the motor out. Last edited by rcracin; 01-17-2016 at 09:29 PM.. |
| 01-17-2016, 08:39 PM | #7 |
|
Major
1243
Rep 1,287
Posts |
I'm sure I left out stuff like disconnecting the exhaust from the headers and the ac lines from the compressor and condensor. Feel free to PM me if anyone needs any assistance or guidance.
Some after shots: 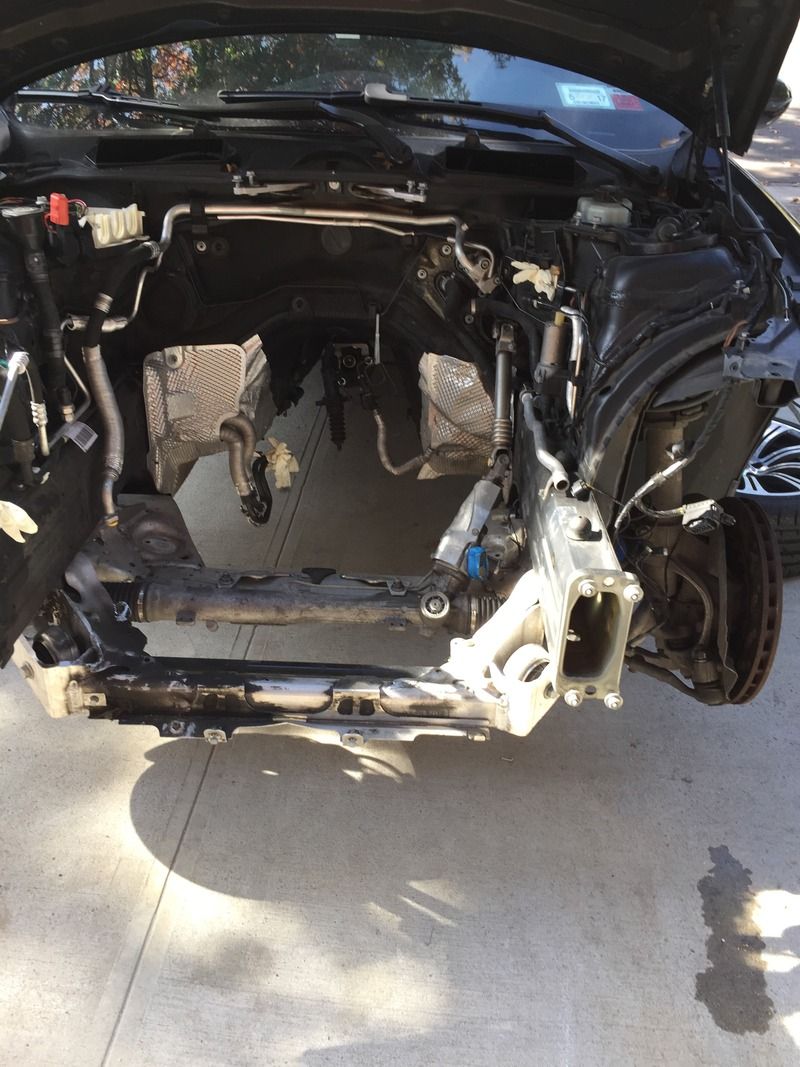 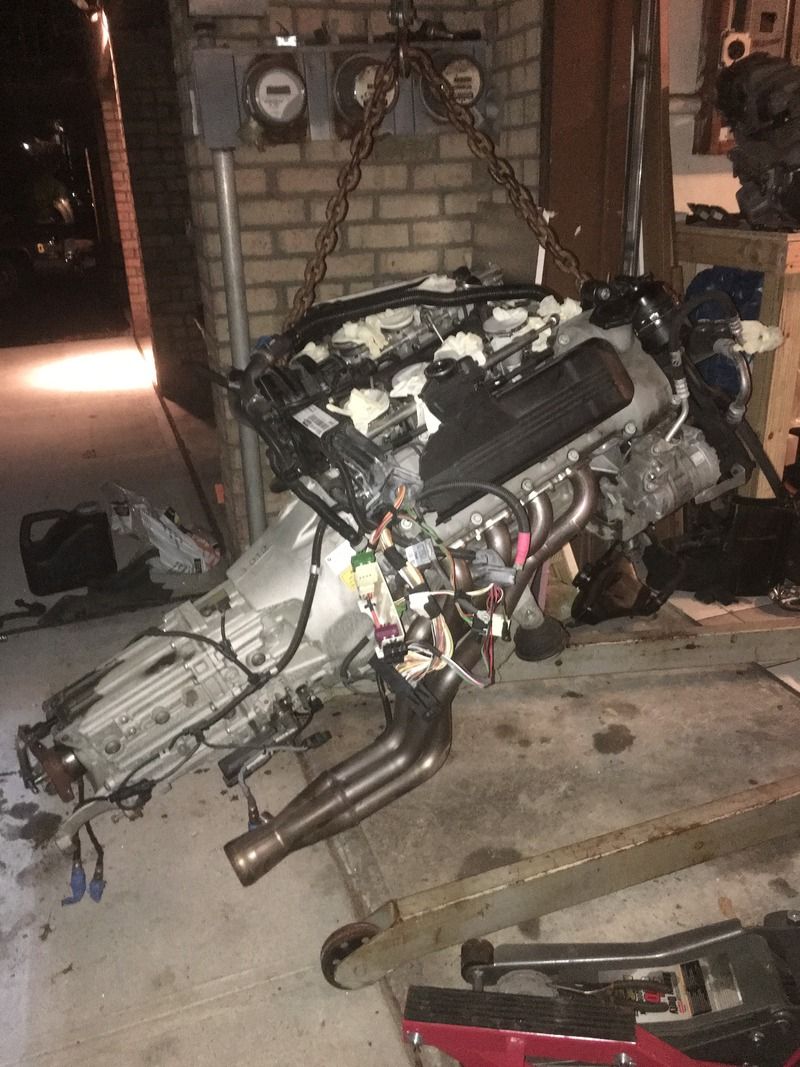 Last edited by rcracin; 01-17-2016 at 09:40 PM.. |
|
Appreciate
7
Theodore668.50 CamasM3e933147.50 |
| 01-17-2016, 08:40 PM | #8 |
|
Major
1243
Rep 1,287
Posts |
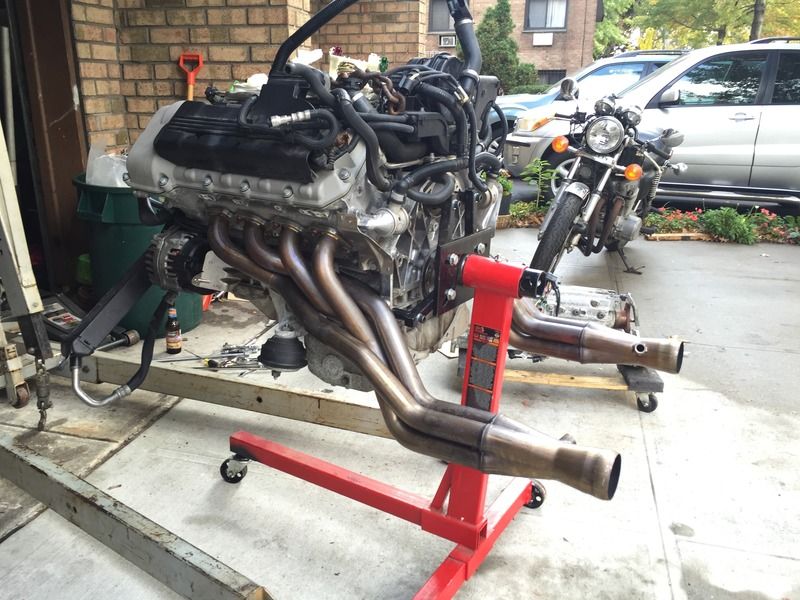
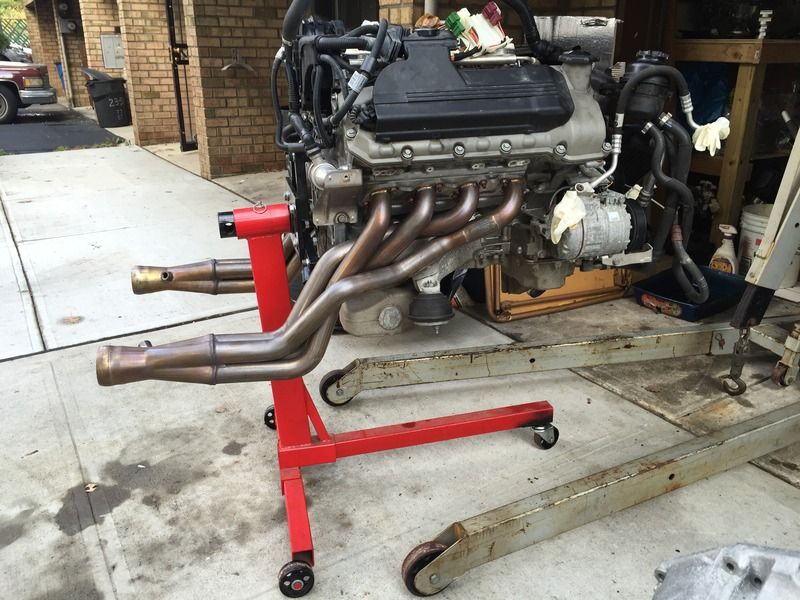
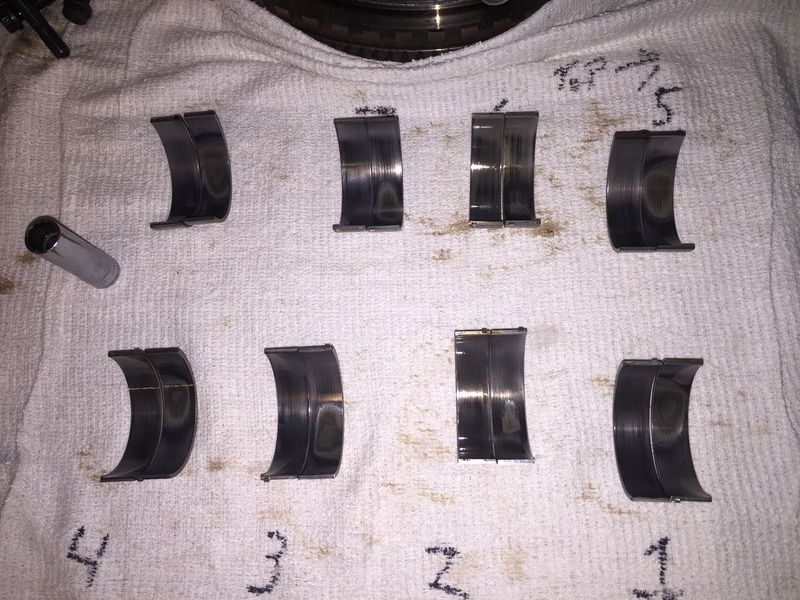
My new motor had 40k miles on it and was in excellent condition. However, I decided to change the rod bearings. I was extremely happy that I did. These were the bearings that came out.
 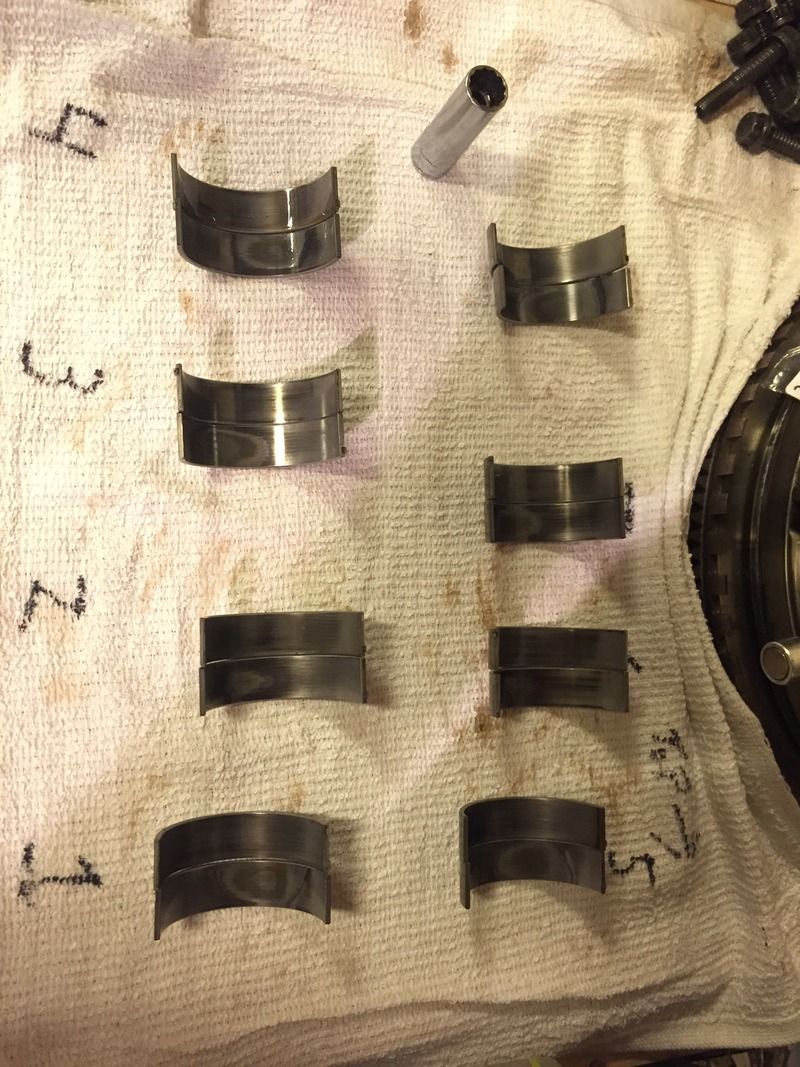 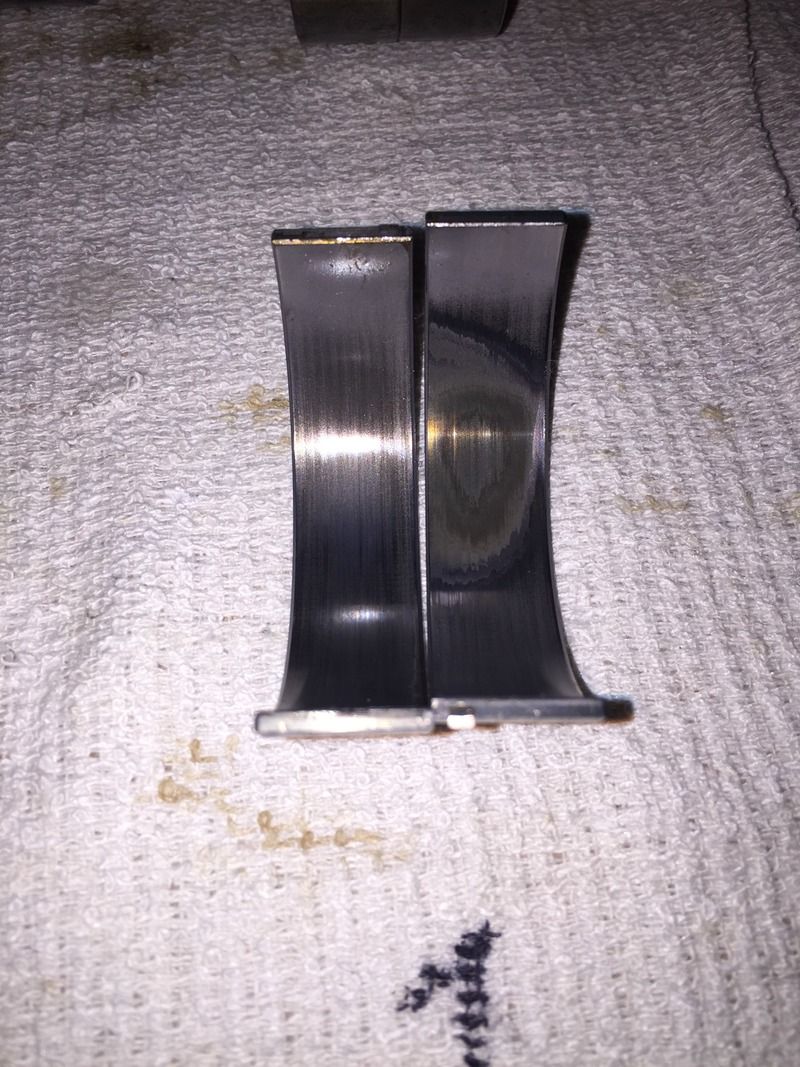 Last edited by rcracin; 01-17-2016 at 09:47 PM.. |
| 01-17-2016, 08:59 PM | #10 |
|
Major
1243
Rep 1,287
Posts |
I would like to thank my friends who were there to help me although I did most of the work myself. It's always nice to have company working on a car.
Also Regular Guy and IMG were a great source of information for random things along the way. Regular Guy spoke to me at length which allowed me to learn more about the s65. I'm fortunate enough to have IMG live about an hour drive away from me. I visited him a few times and both he and his friend Corry were very welcoming and patient in answering my questions. This was very fun and I'm going to be doing it again in a few months when the weather warms up. Currently rebuilding an s65 motor to go into another m3  Last edited by rcracin; 01-17-2016 at 10:00 PM.. |
|
Appreciate
3
DrFerry6728.50 |
| 01-17-2016, 10:50 PM | #11 |
|
Major

1123
Rep 1,083
Posts |
Great documentation of the heart surgery!
So the replacement engine is already back in your car right? Everything is a-okay?
__________________
|
|
Appreciate
0
|
| 01-17-2016, 11:09 PM | #13 | |
|
Major
1243
Rep 1,287
Posts |
Quote:
|
|
|
Appreciate
1
|
| 01-18-2016, 12:49 AM | #15 |
|
Lieutenant Colonel
 

602
Rep 1,611
Posts |
Respect and thank you for sharing!
Thats what I highly appreciate, people like you that show the world ( other enthusiasts ) whats all involved when an engine failure happens. It really looks like, that you have to have darn good mechanical skills to get this kind of job done. Hell, not in a billion cold winters I would be able to put this thing back together lol |
|
Appreciate
0
|
| 01-18-2016, 09:19 AM | #17 | |
|
Major
1243
Rep 1,287
Posts |
Quote:
The proper tools are what's important. Not that I couldnt get it done with a bullshit $50 tool set, but I've slowly bought good used tools over the years. |
|
|
Appreciate
0
|
| 01-18-2016, 09:38 AM | #18 |
|
Mr. Nice Says Hello
636
Rep 16,662
Posts
Drives: BMW M3 | X5 xdrive 35i MSport
Join Date: Dec 2008
Location: USA
|
very cool. I needed a guideline on how to remove the bumper and headlights! Keep us updated.
|
|
Appreciate
0
|
| 01-18-2016, 10:08 AM | #19 | |
|
Captain
 
206
Rep 650
Posts |
Quote:
__________________
Today's gains far outweigh tomorrow's losses.
|
|
|
Appreciate
0
|
| 01-18-2016, 10:20 AM | #21 |
|
Major
1243
Rep 1,287
Posts |
There you have it then. I explained how to get the bumper off above. It's fender liners, four torx at the top, two 8mm each side to the fender, then the felt undercarriage tray.
|
|
Appreciate
0
|
Post Reply |
| Bookmarks |
|
|