

 |
|
 |

|
|
|
| 07-19-2011, 09:32 PM | #1 |
|
Major General
 
415
Rep 5,767
Posts |
Swissvax'ed: ADV.1's White Lamborghini Gallardo
This car had never gotten any sort of "Detailing" other than just normal washes once a week by some car wash guy. The car was full of swirl marks and had some severe oxidation and exhaust residue in some parts.
We decided to tackle this job with Swissvax Cleaner Fluid Professional polish to remove the swirls and oxidation and bring the paint back to life! We then topped the paint off with Swissvax Glacier wax for White paint. Here's the products we used: Products: -P21s TAW -1Z Blitz -1Z W99 -1Z Windscreen -Sonax Full Effect -#0000 Steel Wool Swissvax: -Car Bath -Protecton -Seal Feed -Paint Rubber (Yellow) -Quick Finish -Cleaner Fluid Professional via FESTOOL with a white Swissvax FINE pad -Glacier wax for white paint -Nano Express -Cleaner Fluid Regular -Autobahn PTFE Wax (Wheels) -Pneu Glossy -Waschpudel -Black Puck Applicator -Black wax applicator -Micro-Absorb (Red) -Micro-Polish (Blue) -Micro-Fluffy -Pneu Brush -Detail Brush -Wheel Brush -Metal Polish Here's how she looked when we got there... sad and dirty... 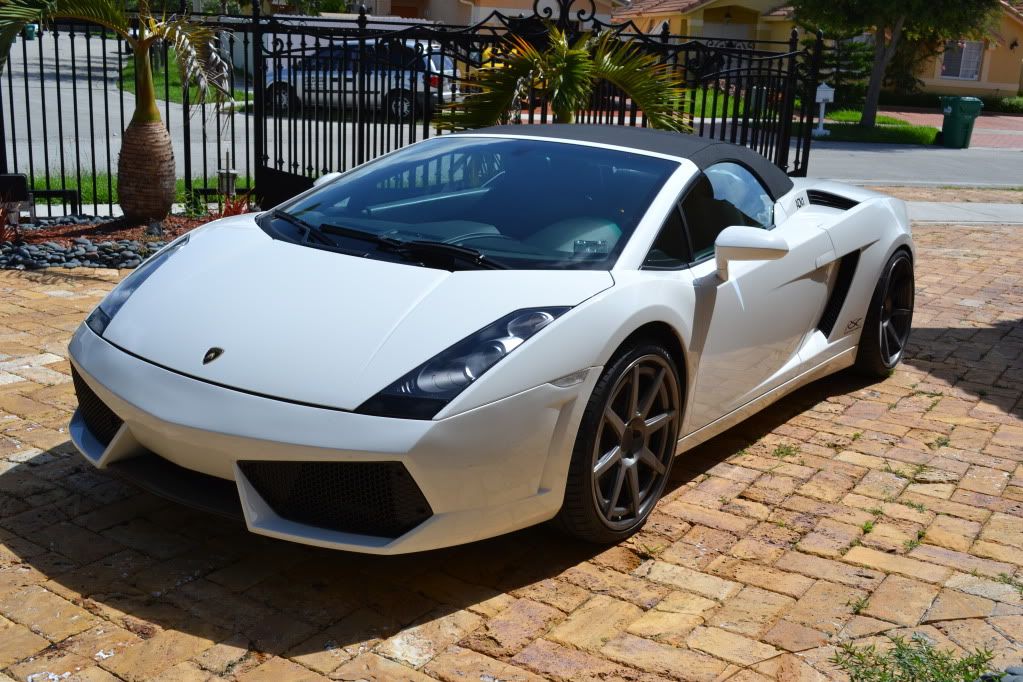 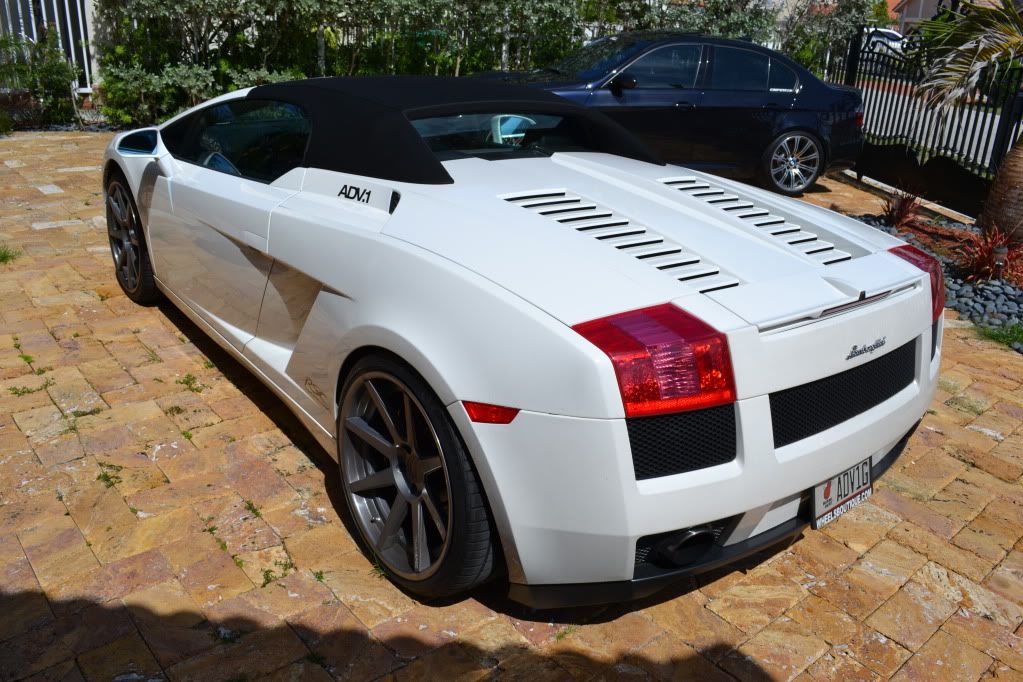 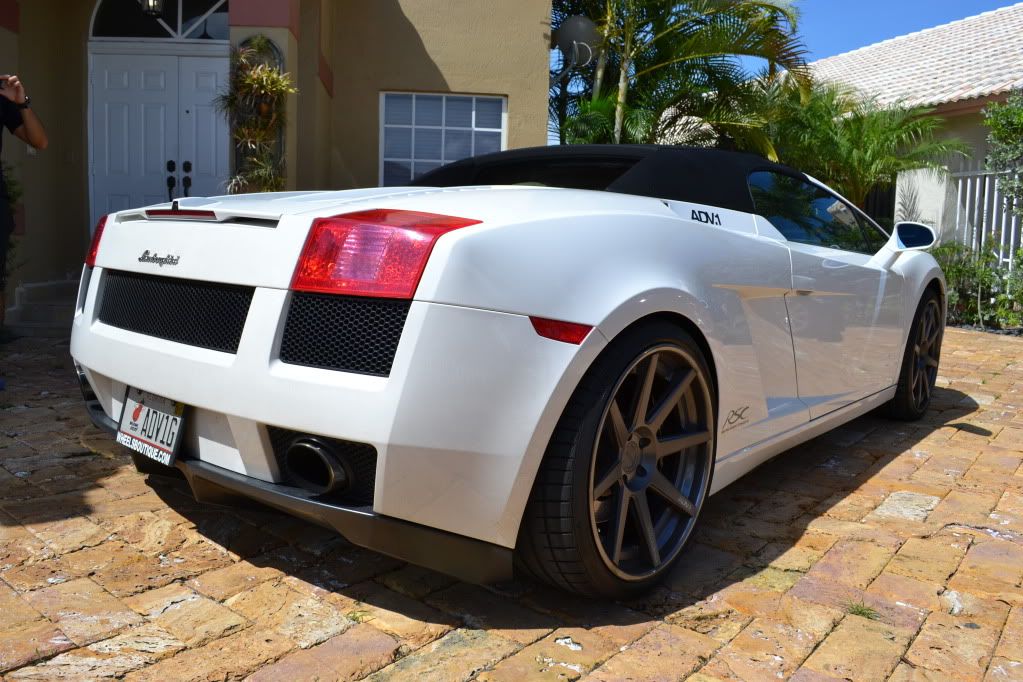 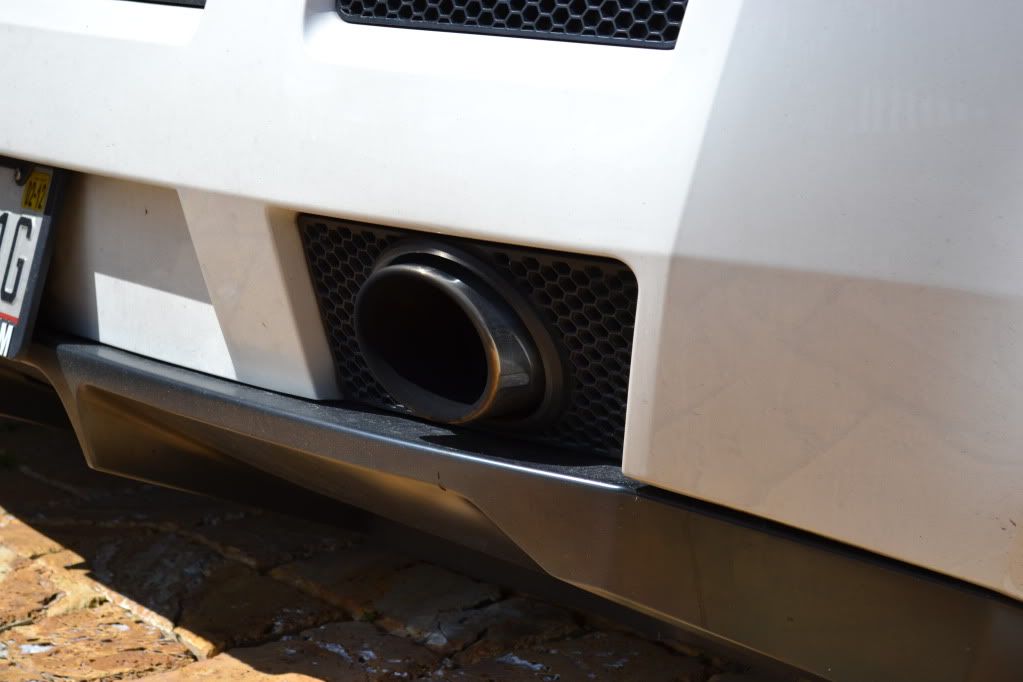 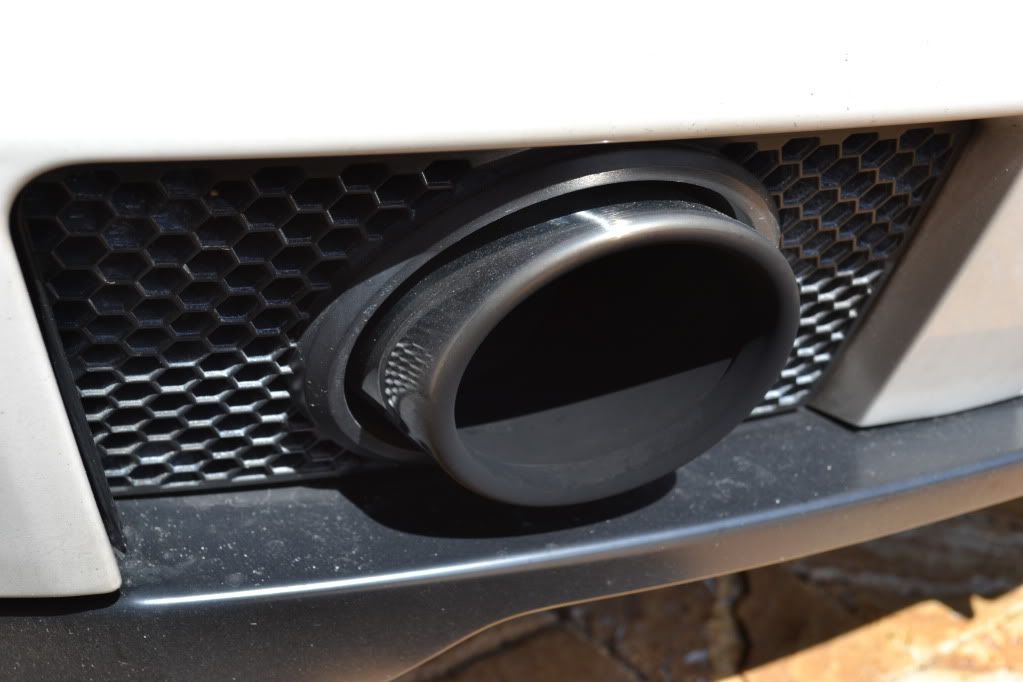 Looks like a Matt finish! 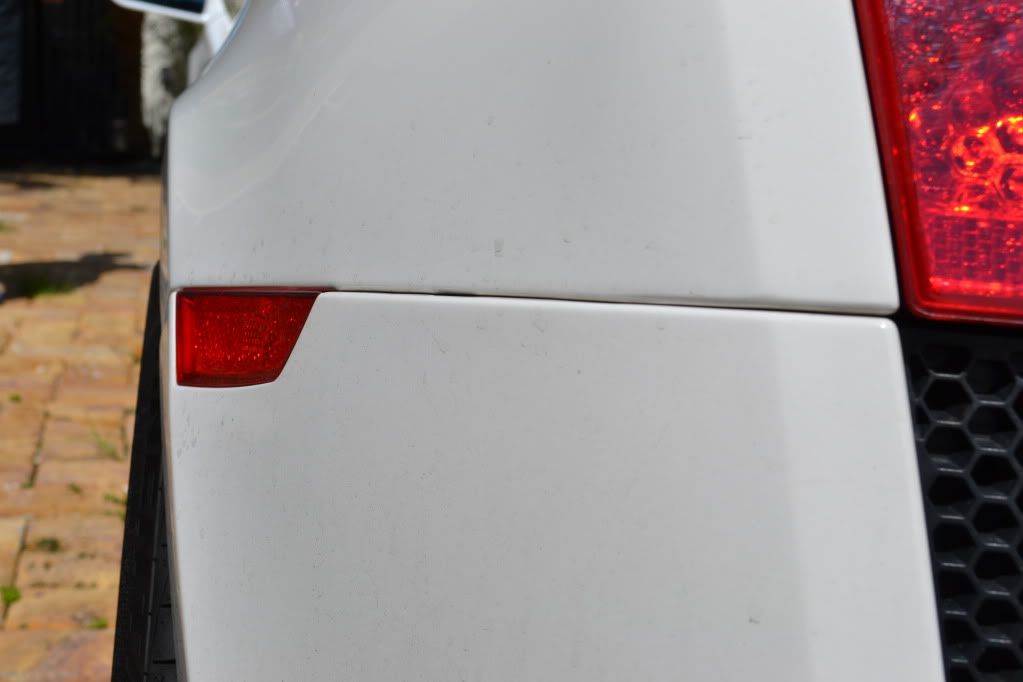  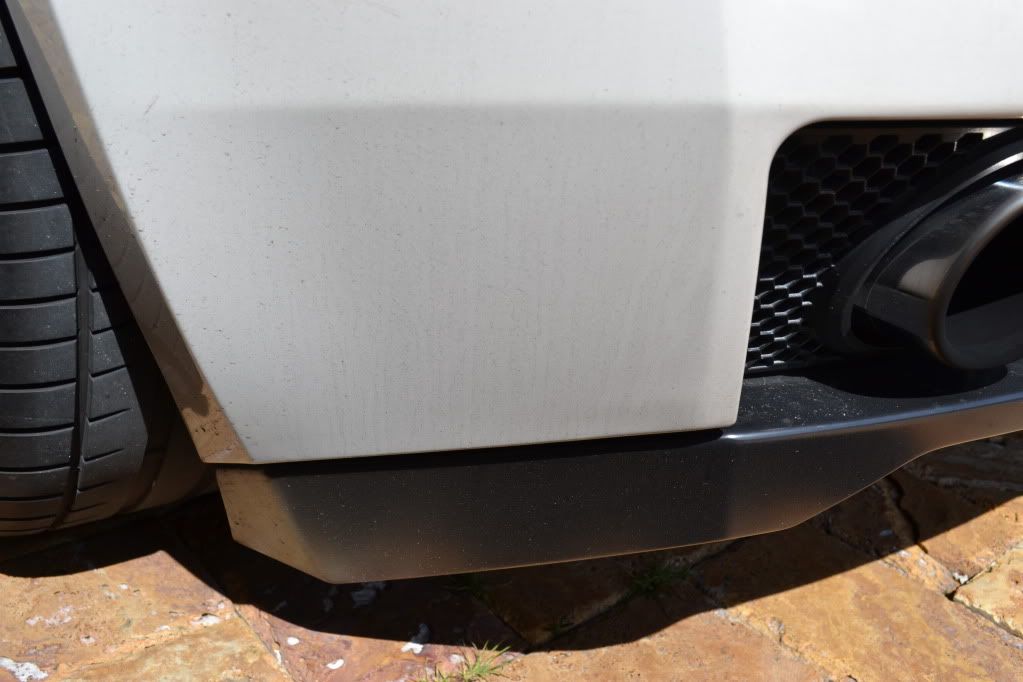 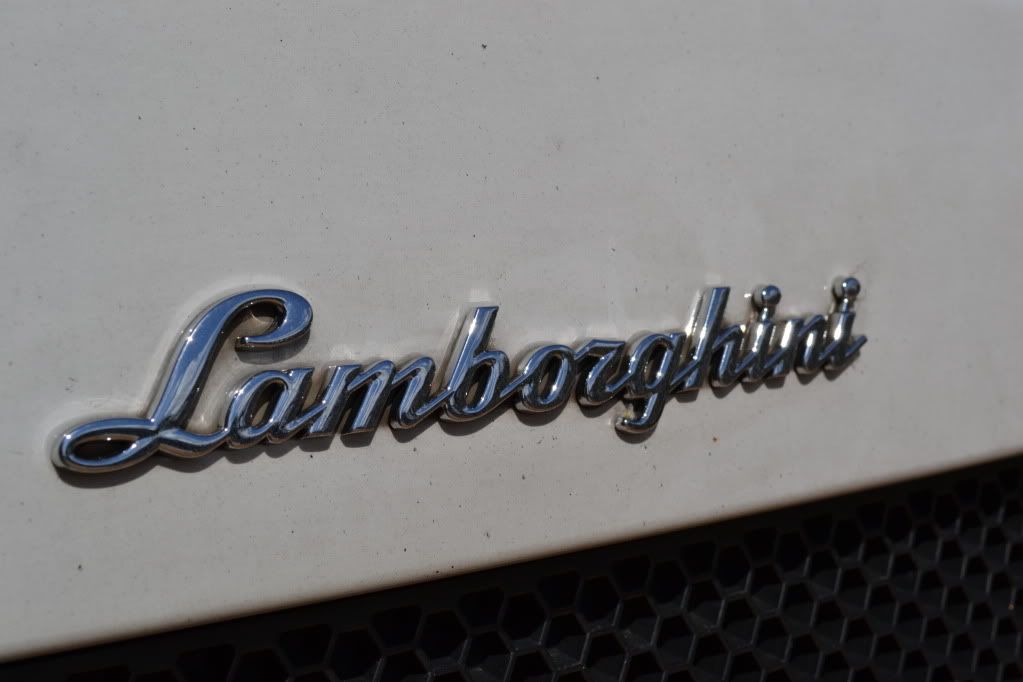 Check out the grime buildup in-between the rear emblem  Car had been keyed :/ 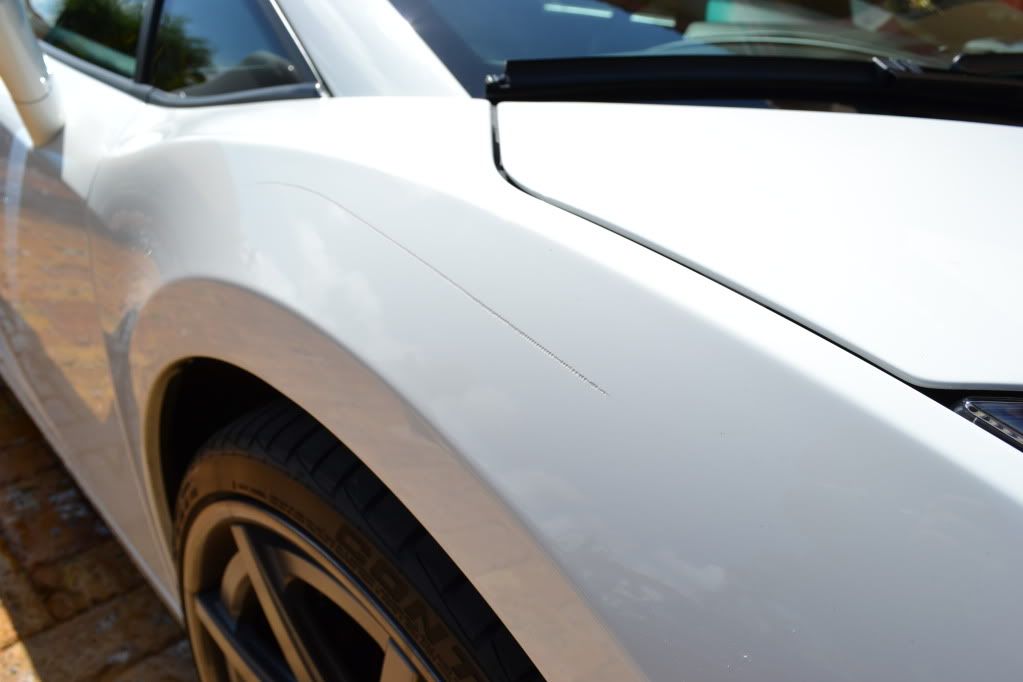 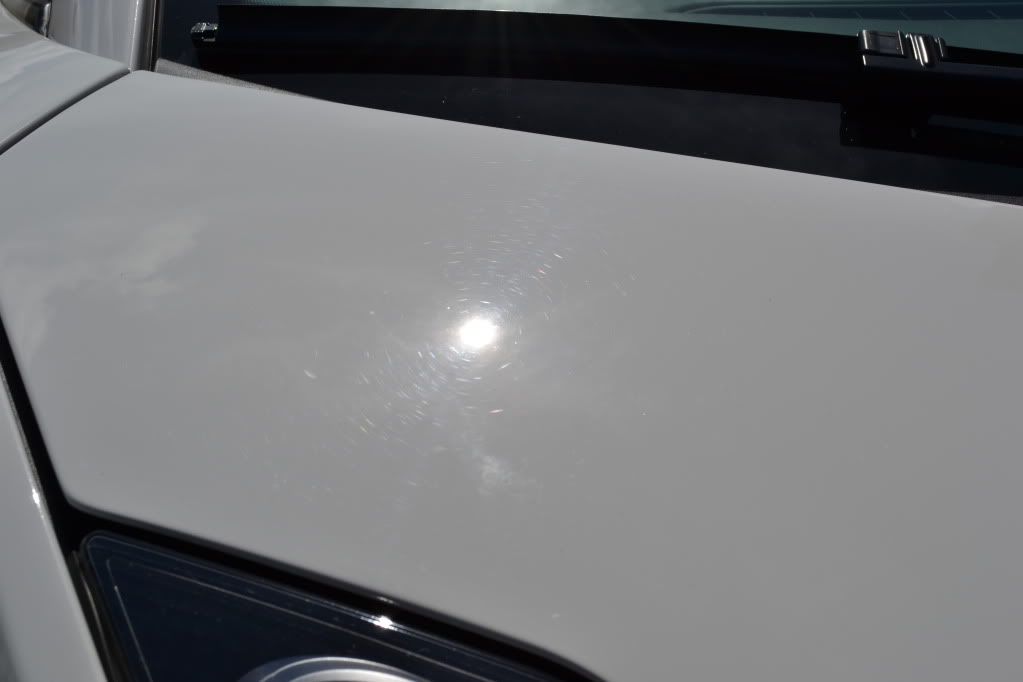 Faded plastic piece 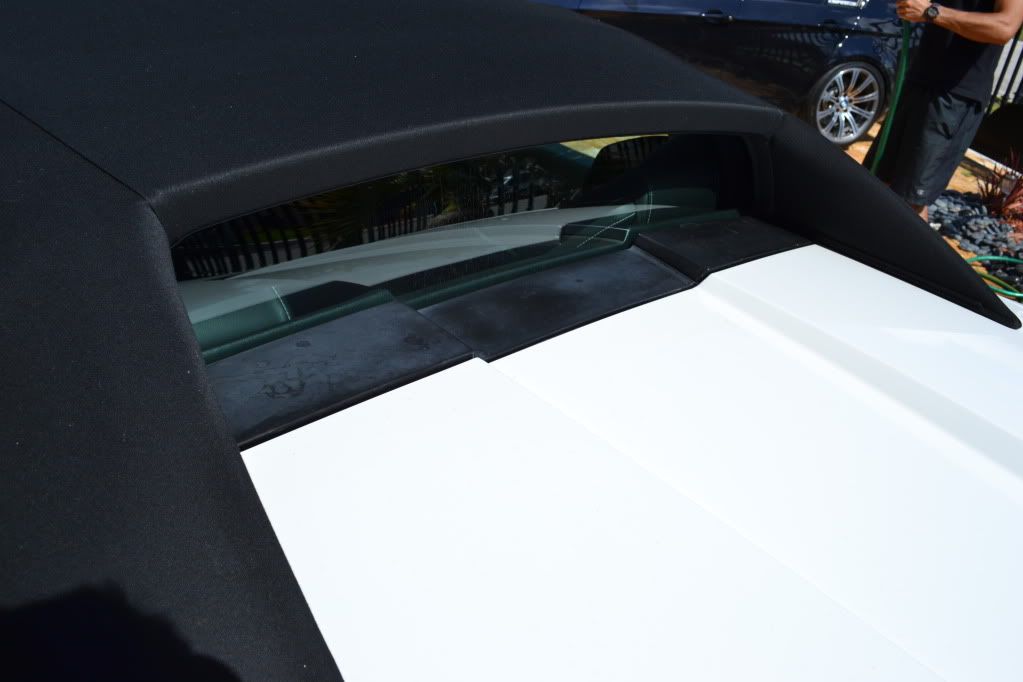 To begin the cleansing process, i start by cleaning all the plastic mesh pieces and the body creases with P21s TAW and a Swissvax Detail Brush 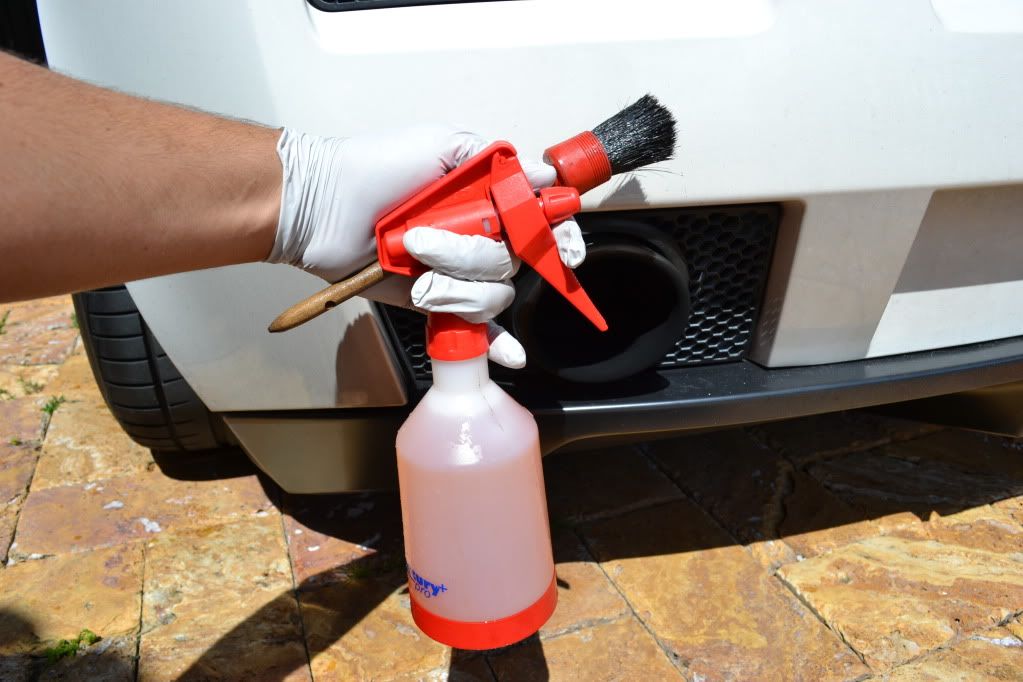 Here's how it looked after agitating P21s TAW 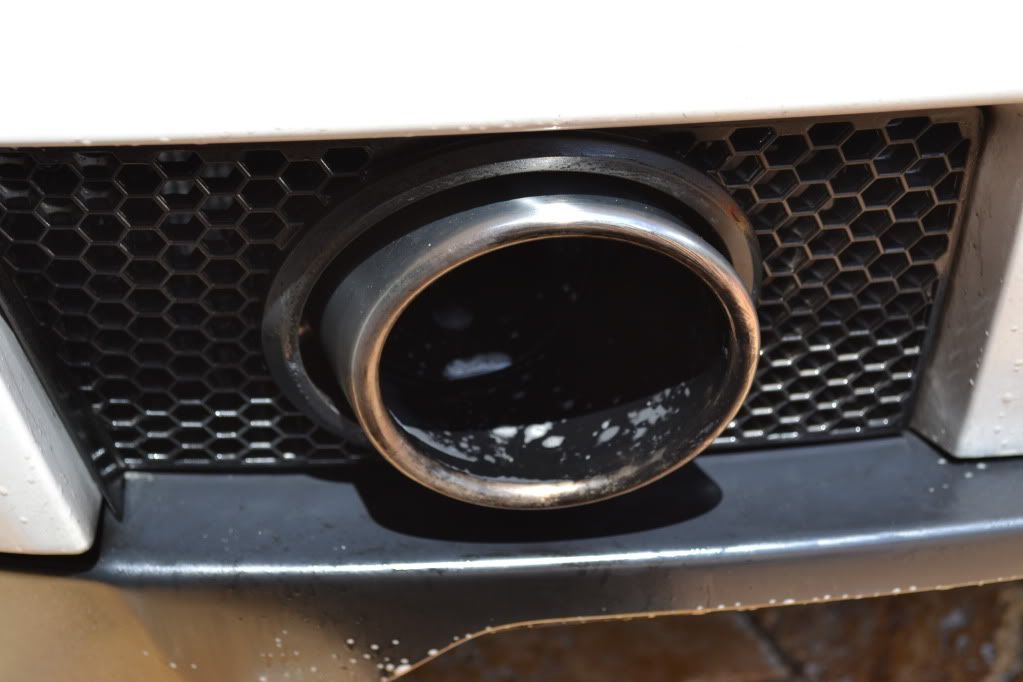 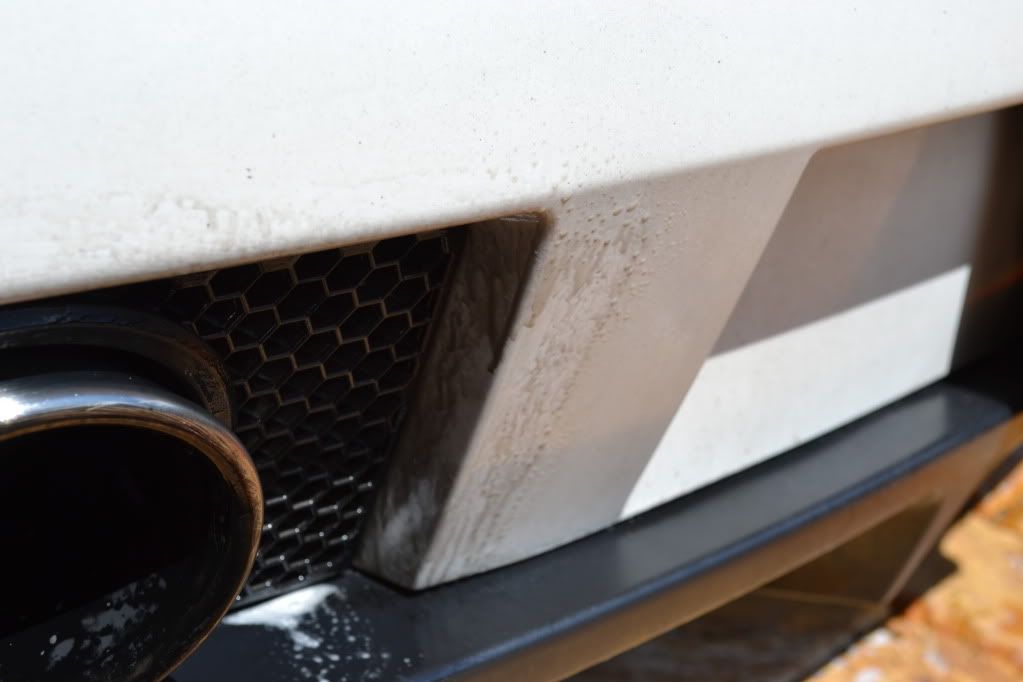 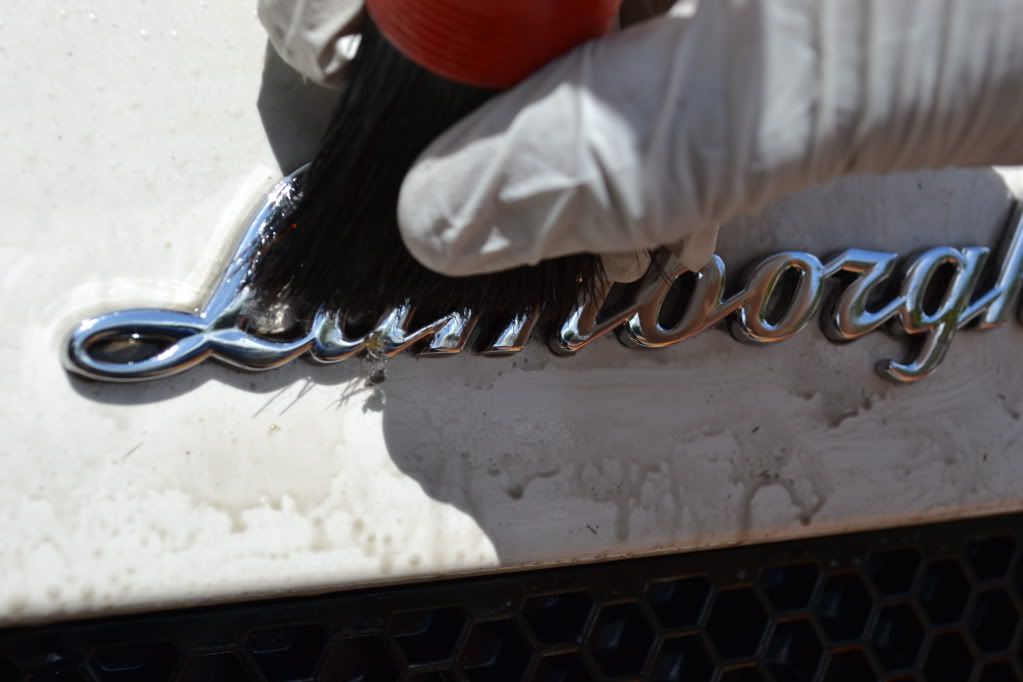 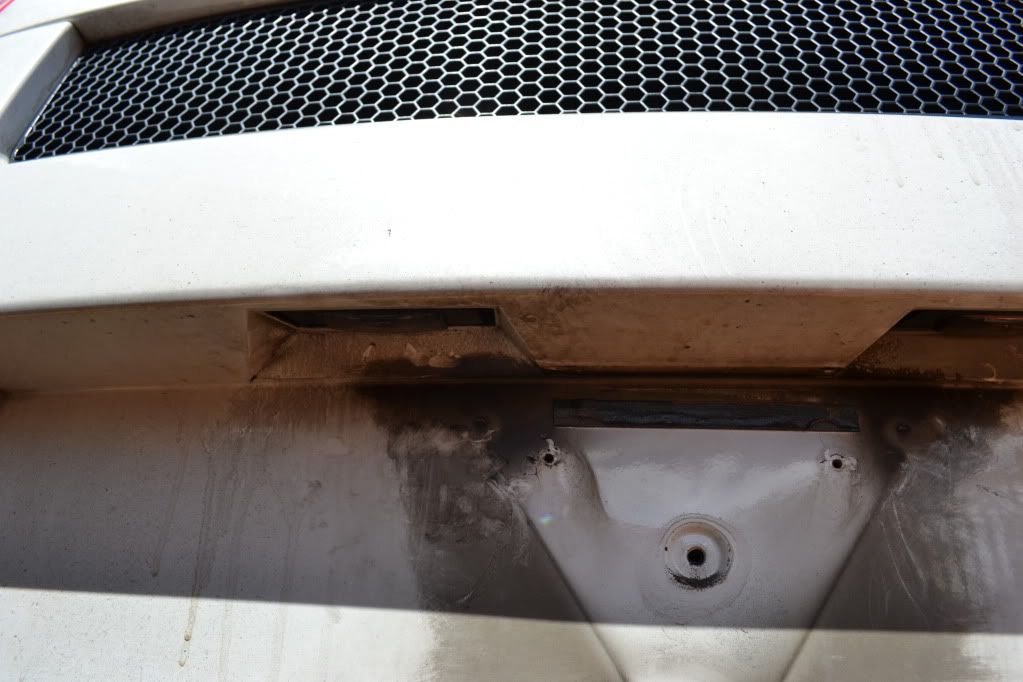 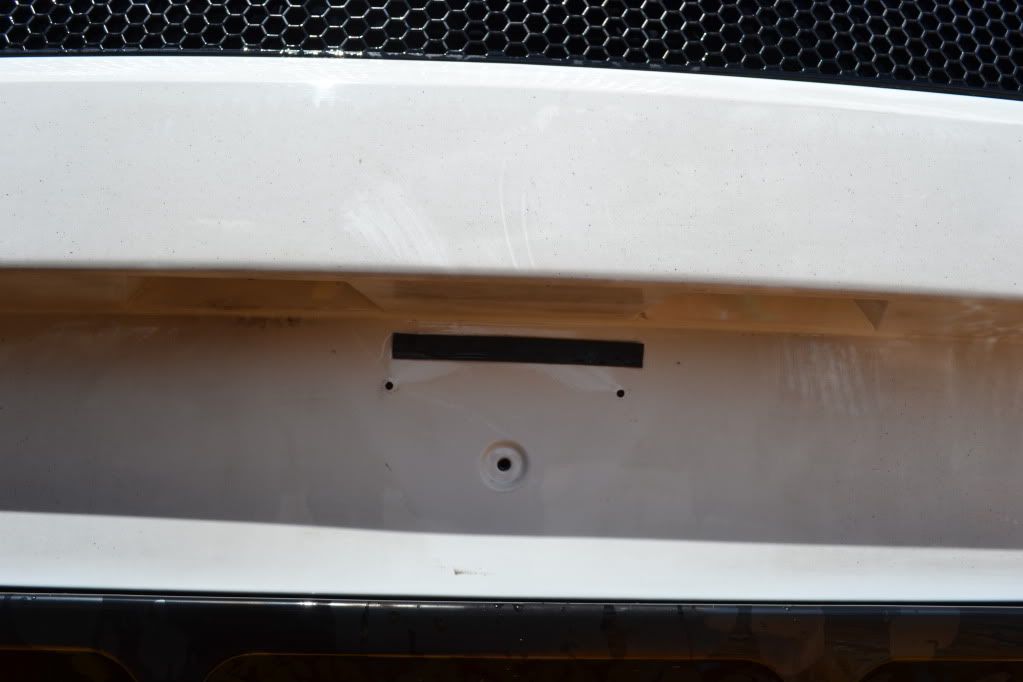 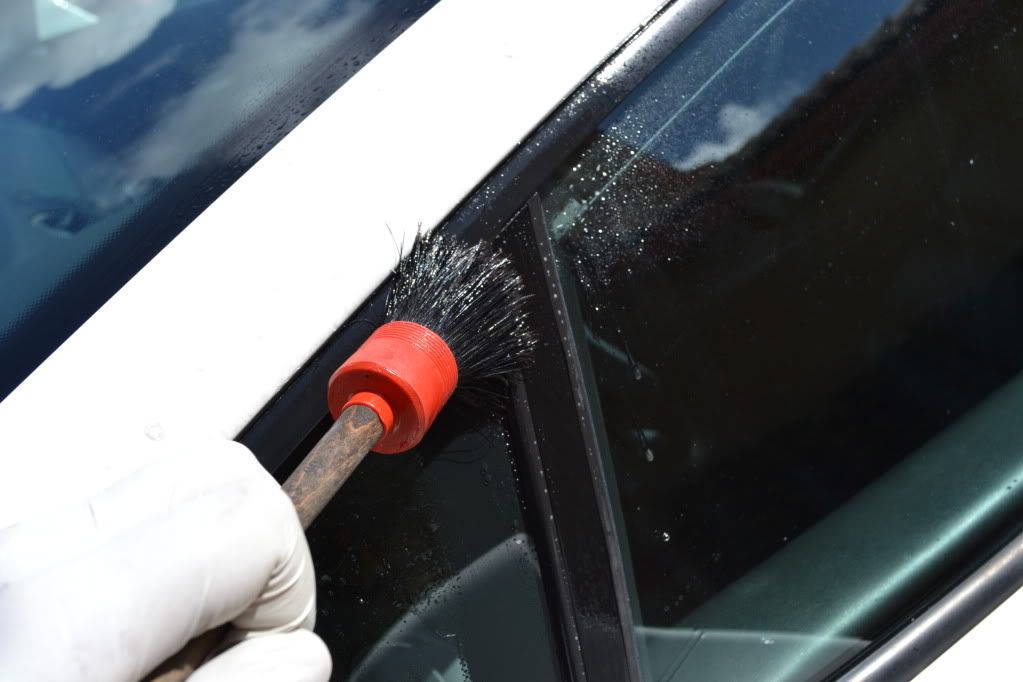 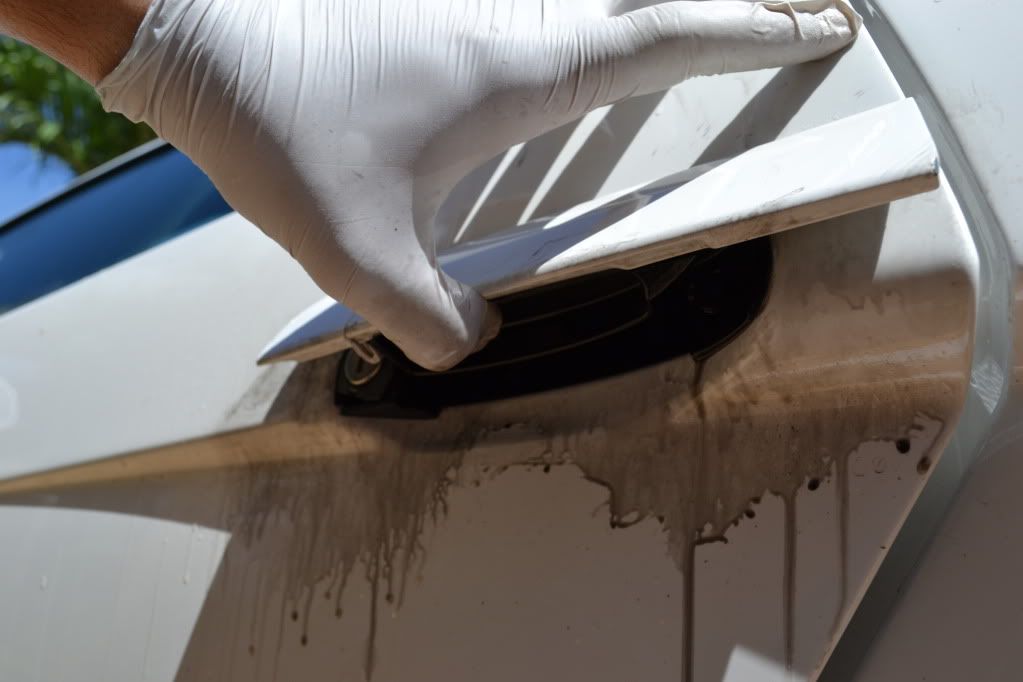 While i cleaned the engine bay, Beni worked on the wheels 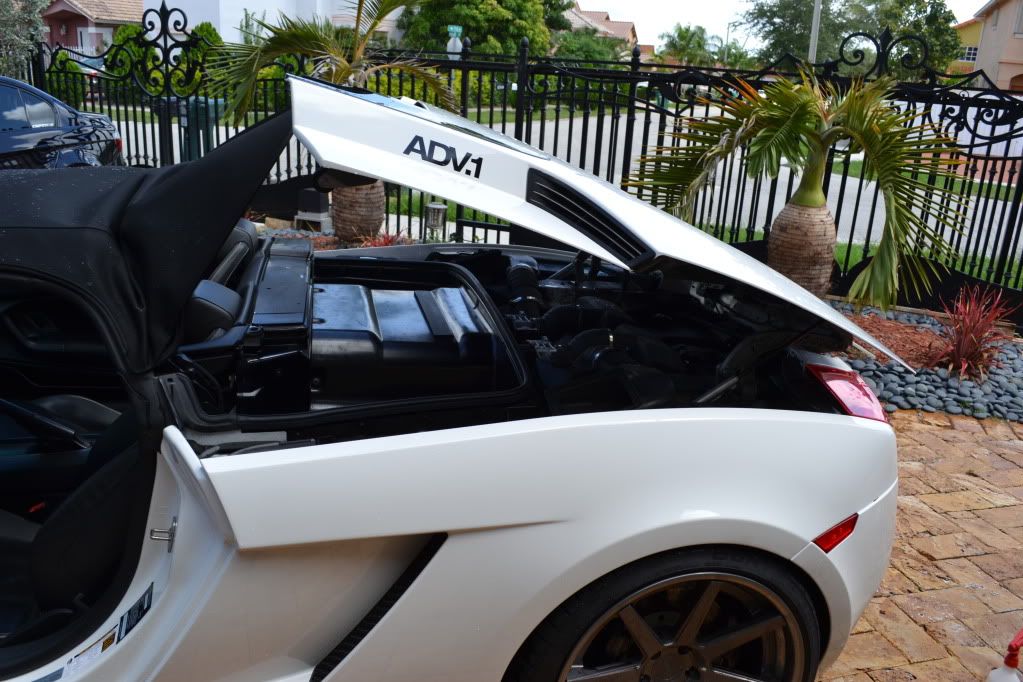 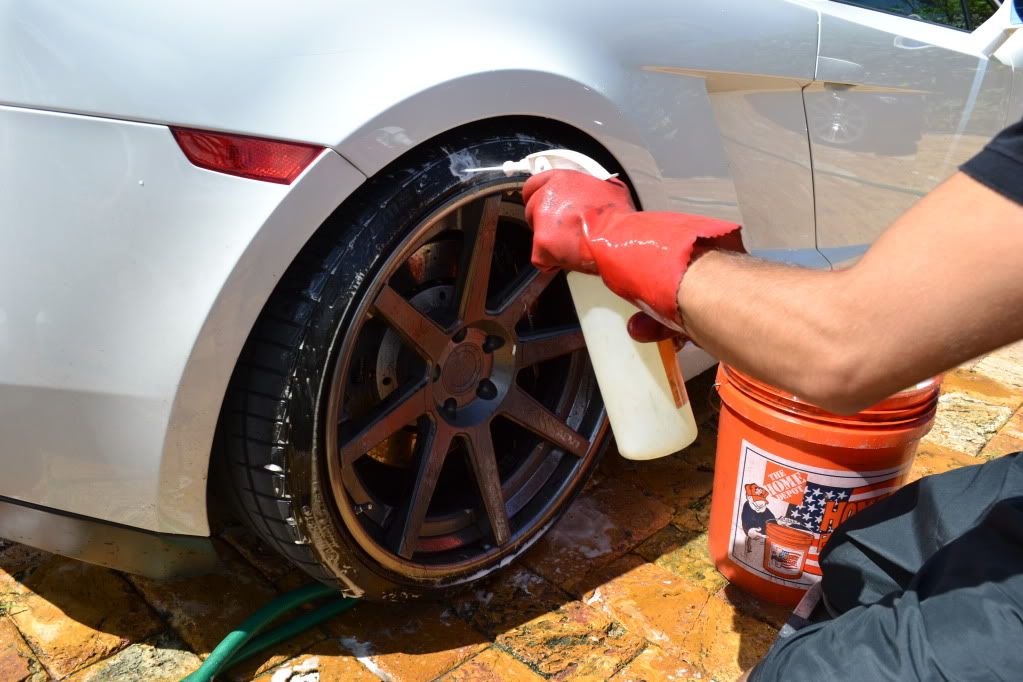 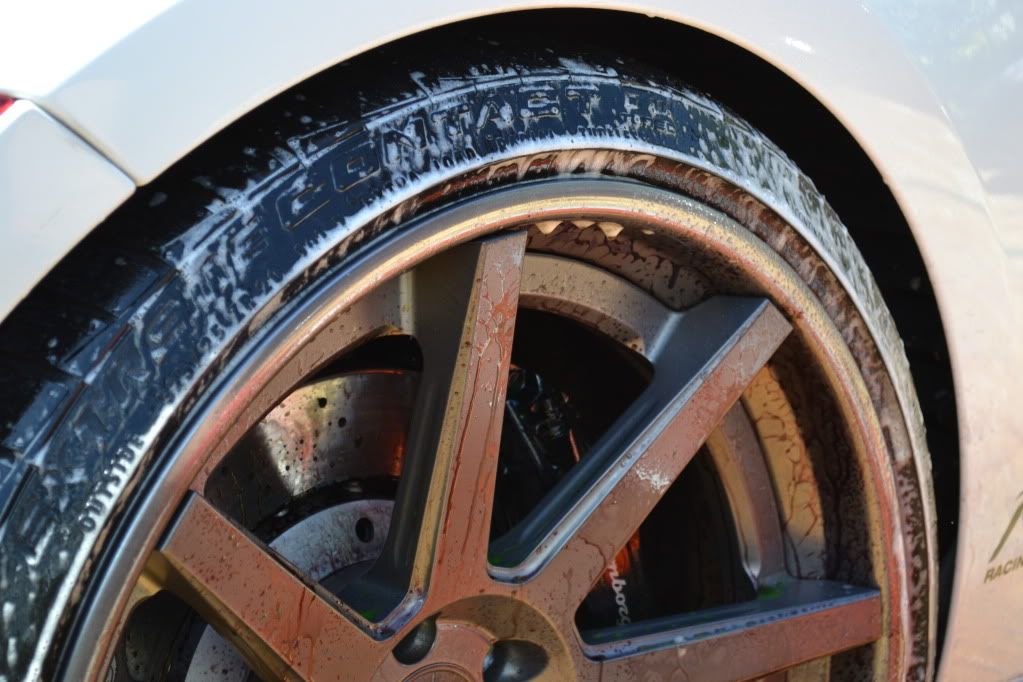 Onto claying the exterior surfaces 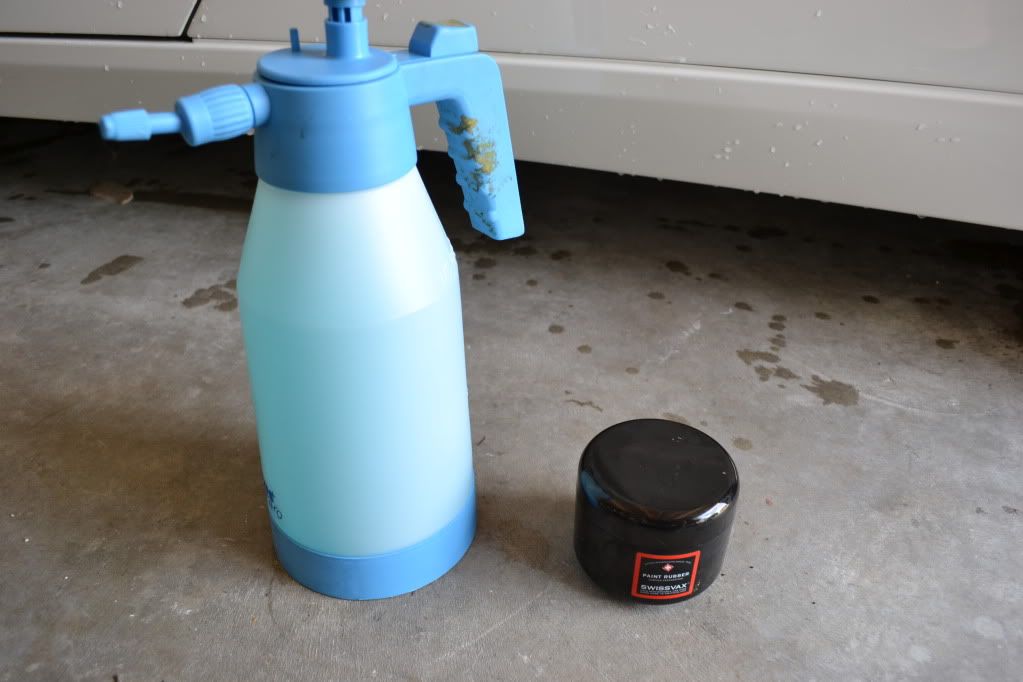 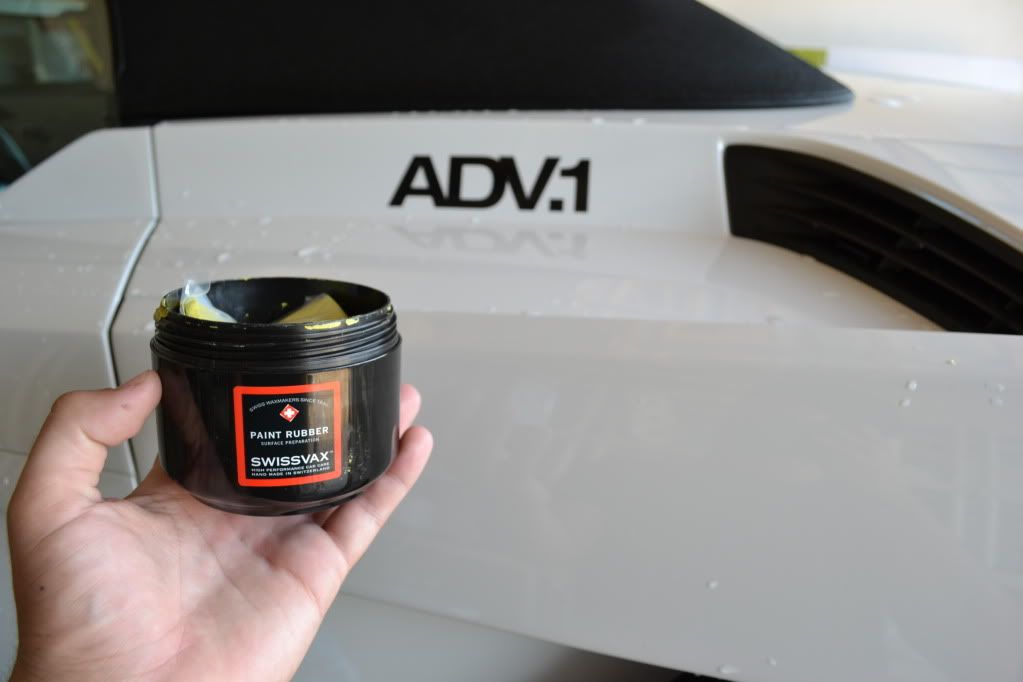 Beni working on the interior 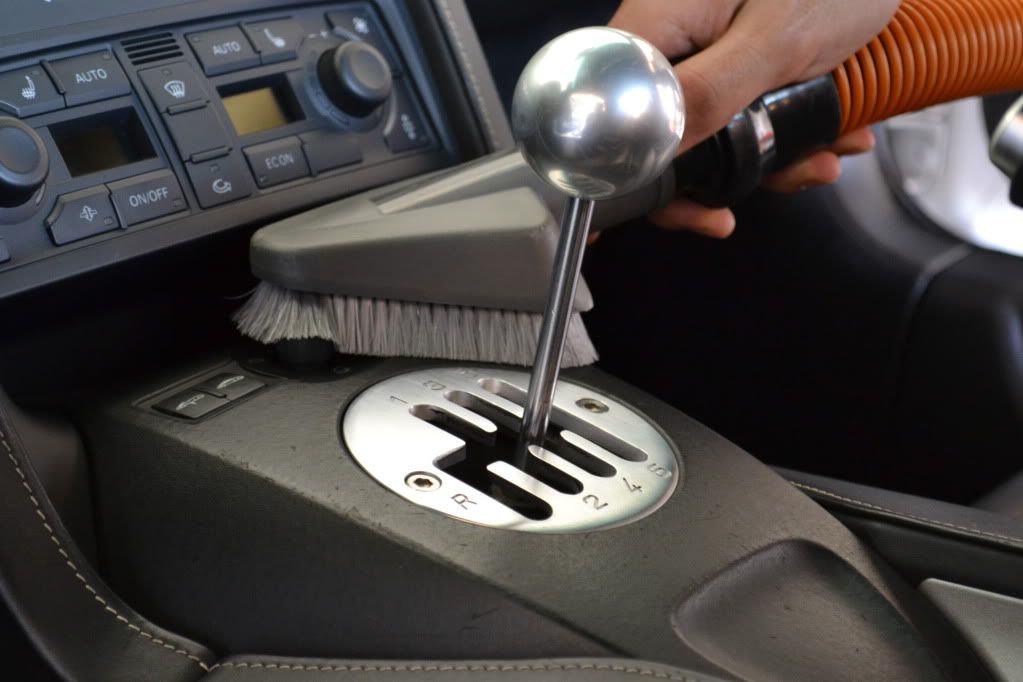 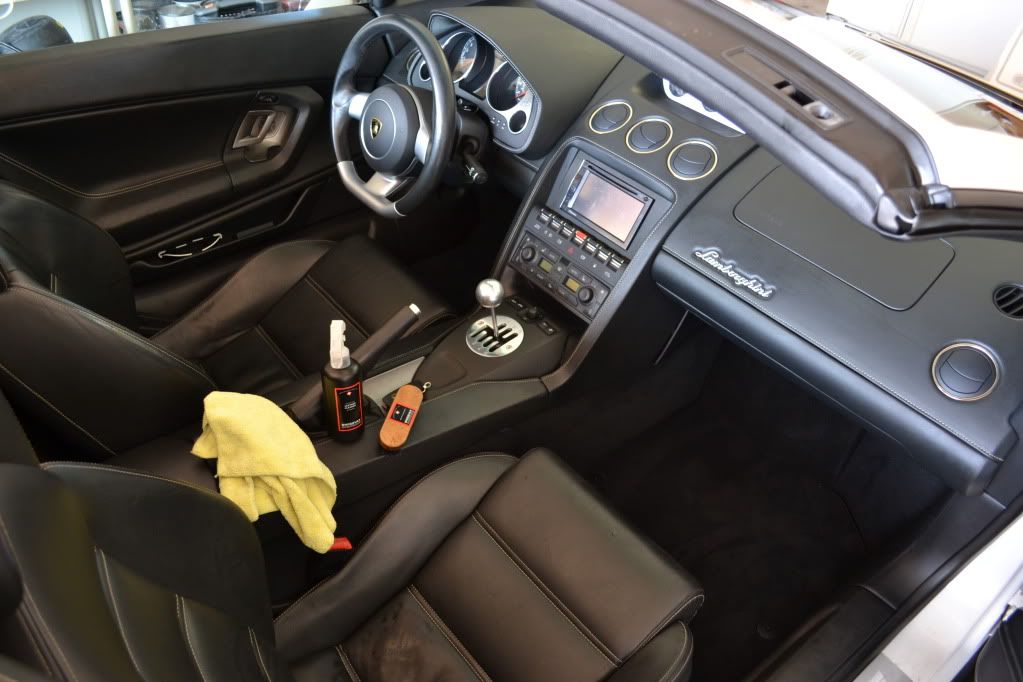 After a single wipe of leather cleaner on the center console 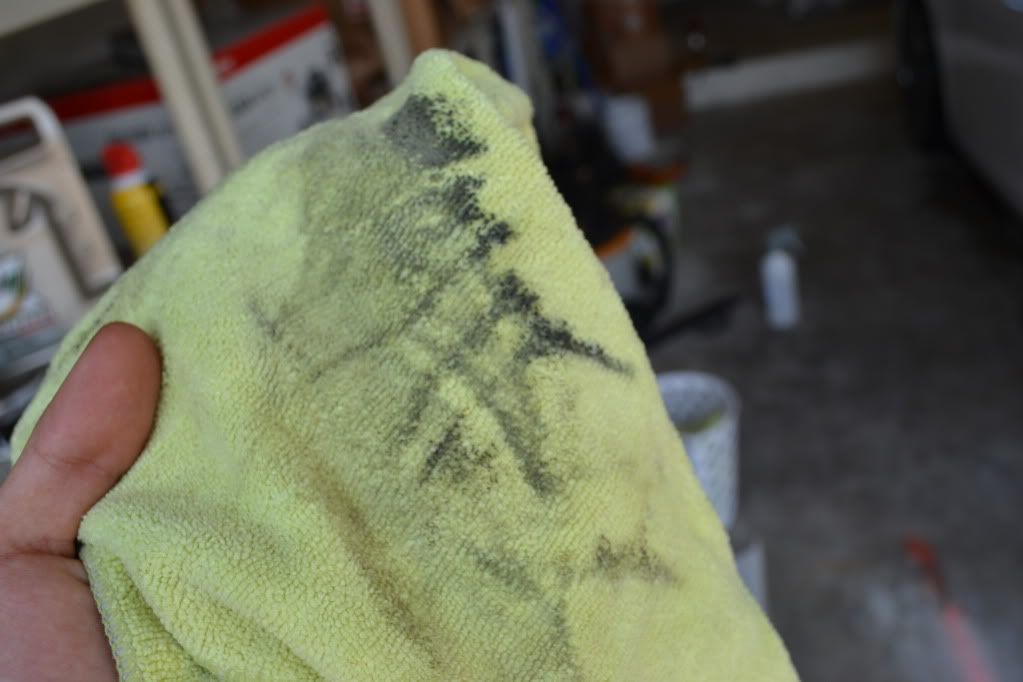 Second wipe 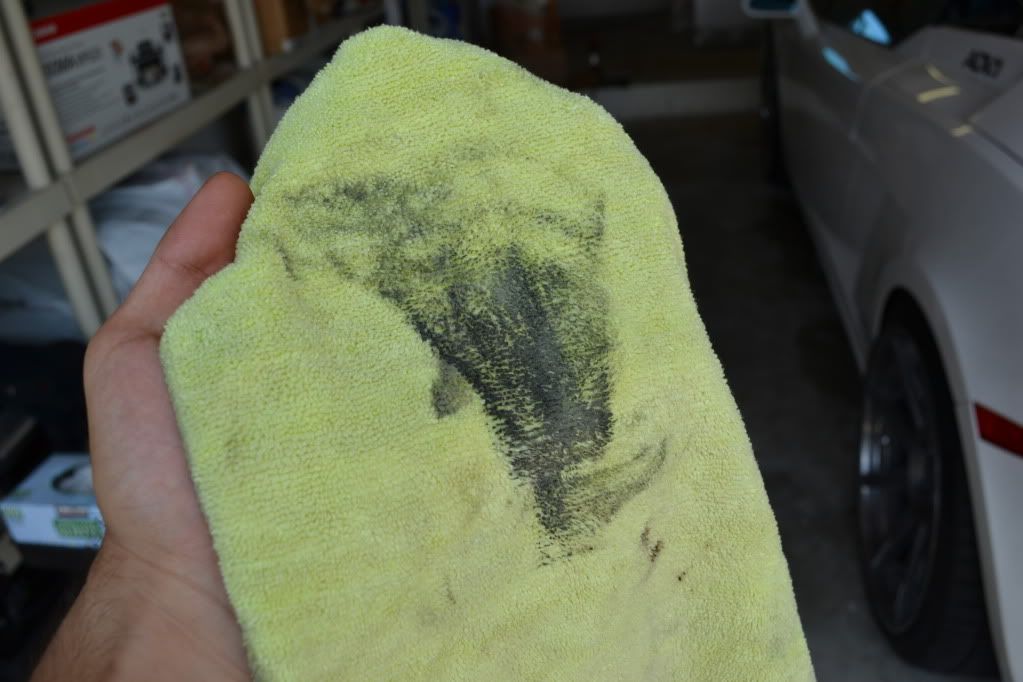 A 50/50 after applying Swissvax Protecton  Here's a 50/50 of the center console. The bottom (Passenger) side had been cleaned... after 4 cleanings... and the upper (Driver) side had not yet been touched. 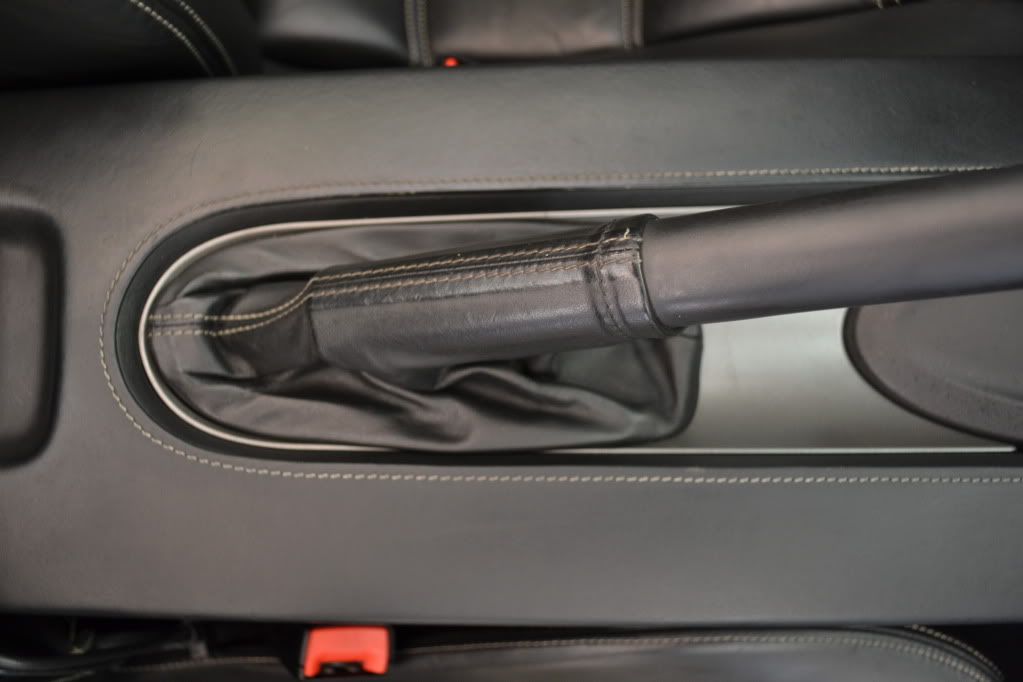 Polishing  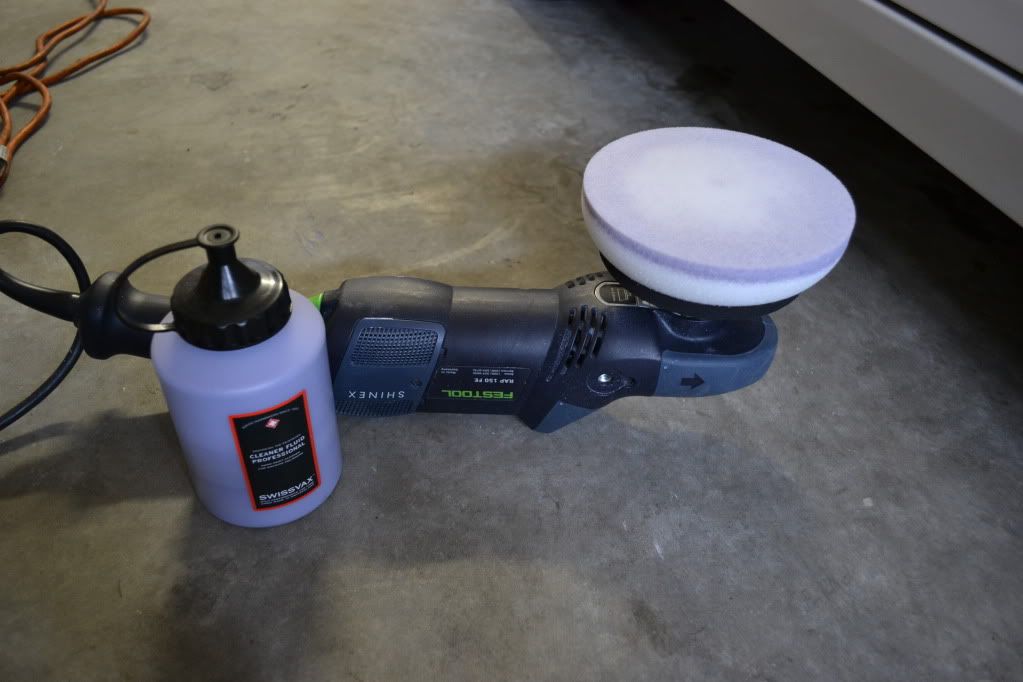 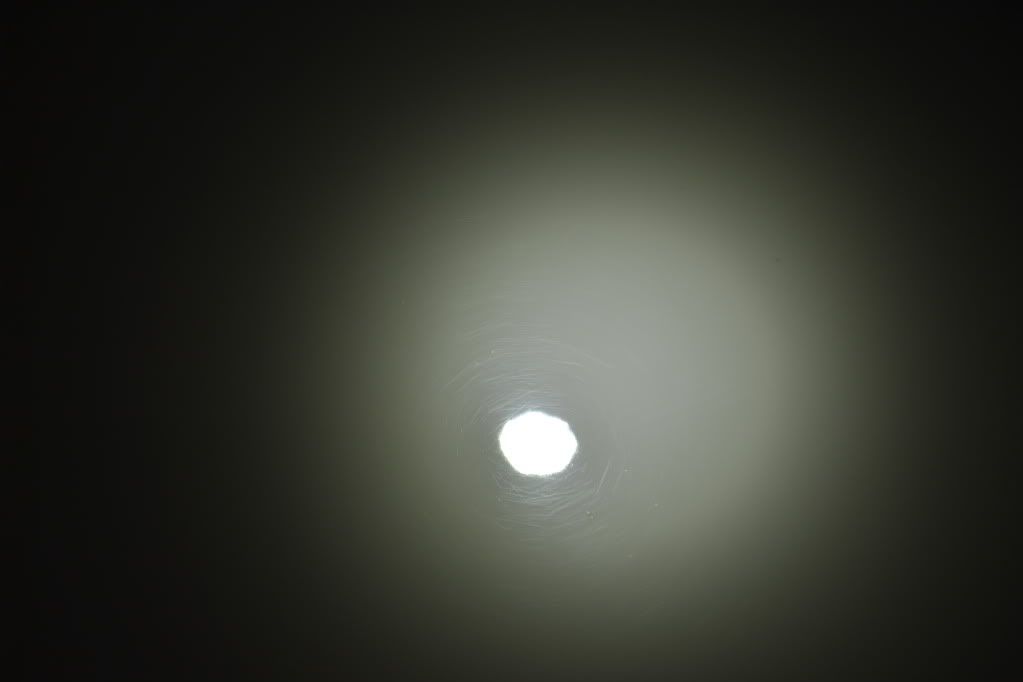 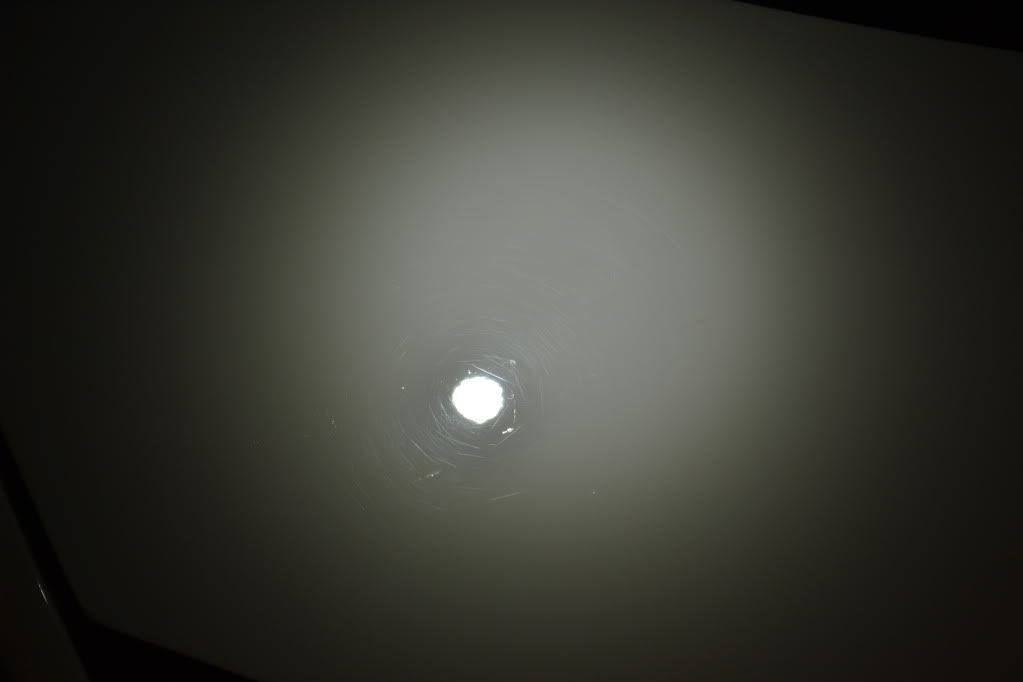 In this picture the fender on the left side had been polished and the driver door to the right had not yet been touched. Check out the difference in gloss and color! 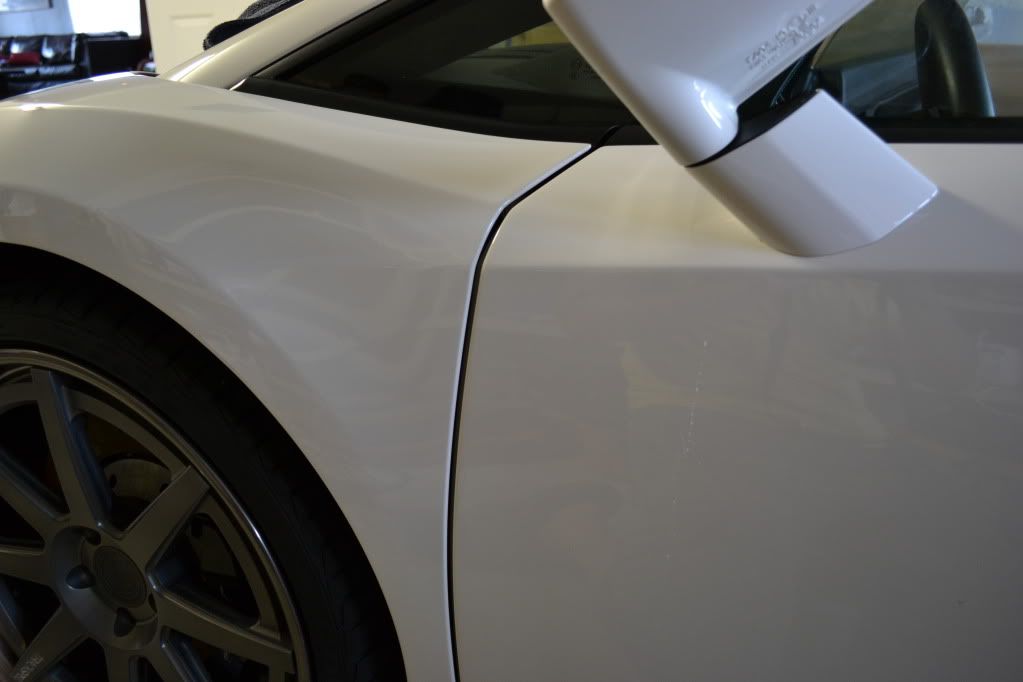 Polishing the hard-to-reach areas 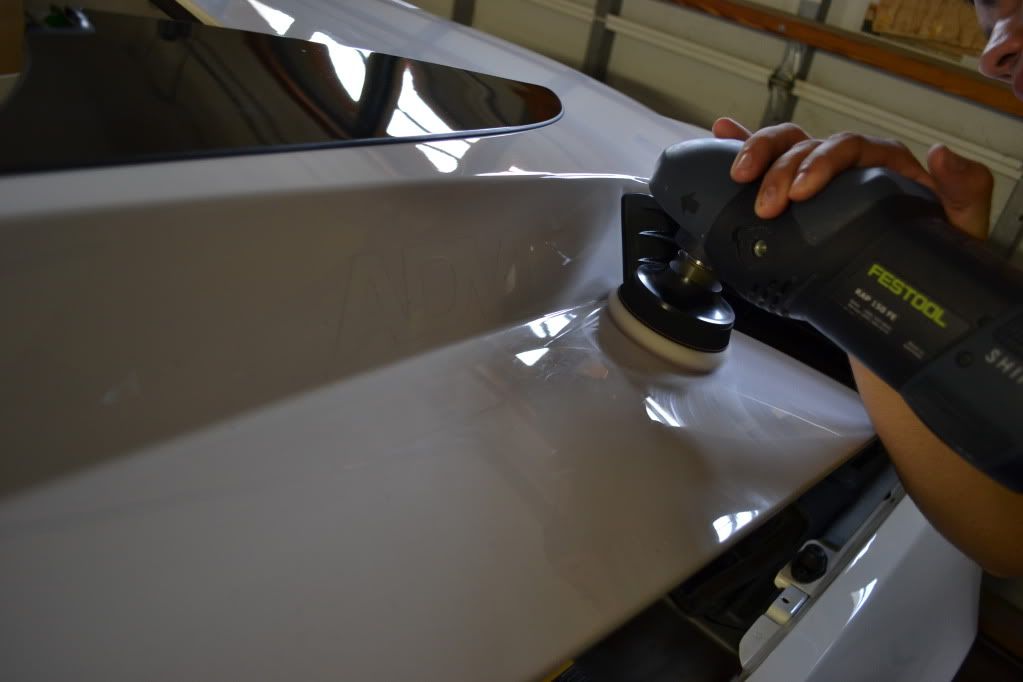 Beni working on the wheels 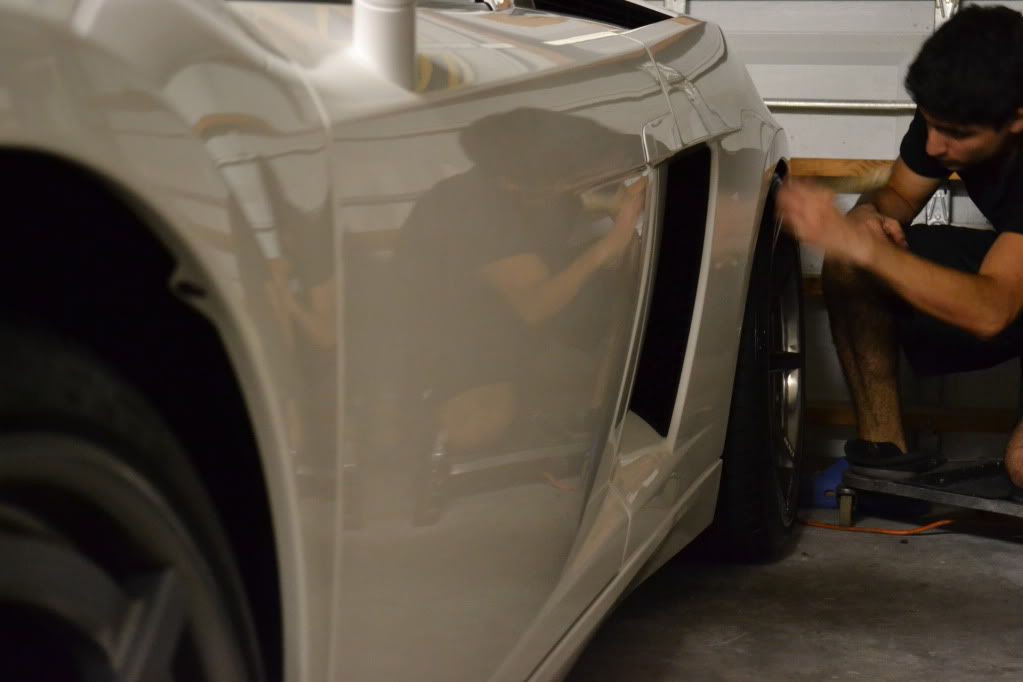  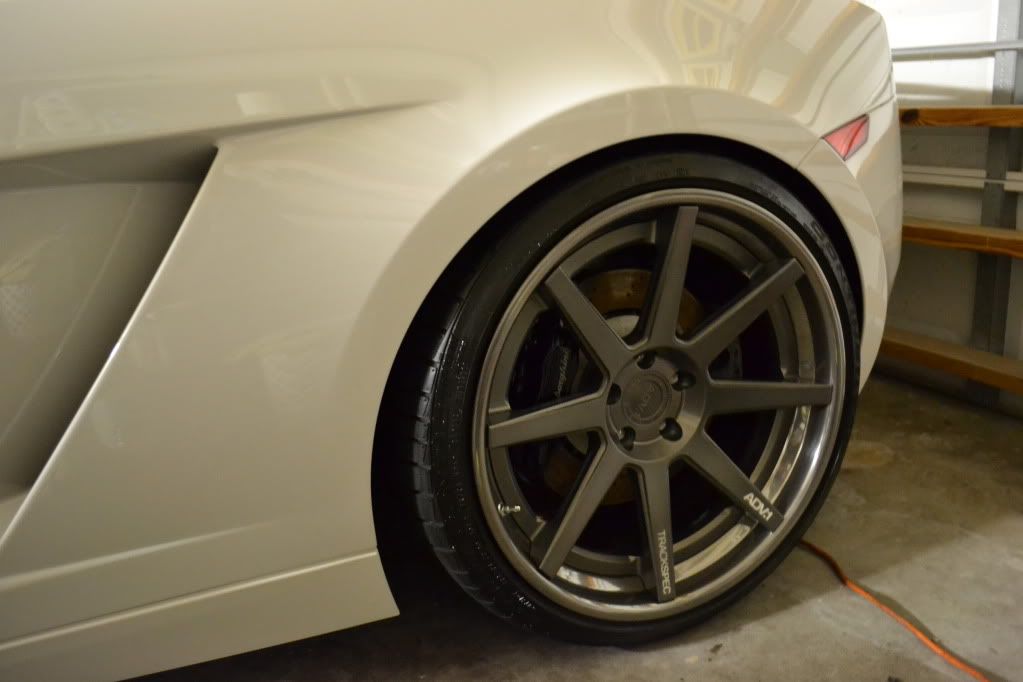 Removing Swissvax Glacier 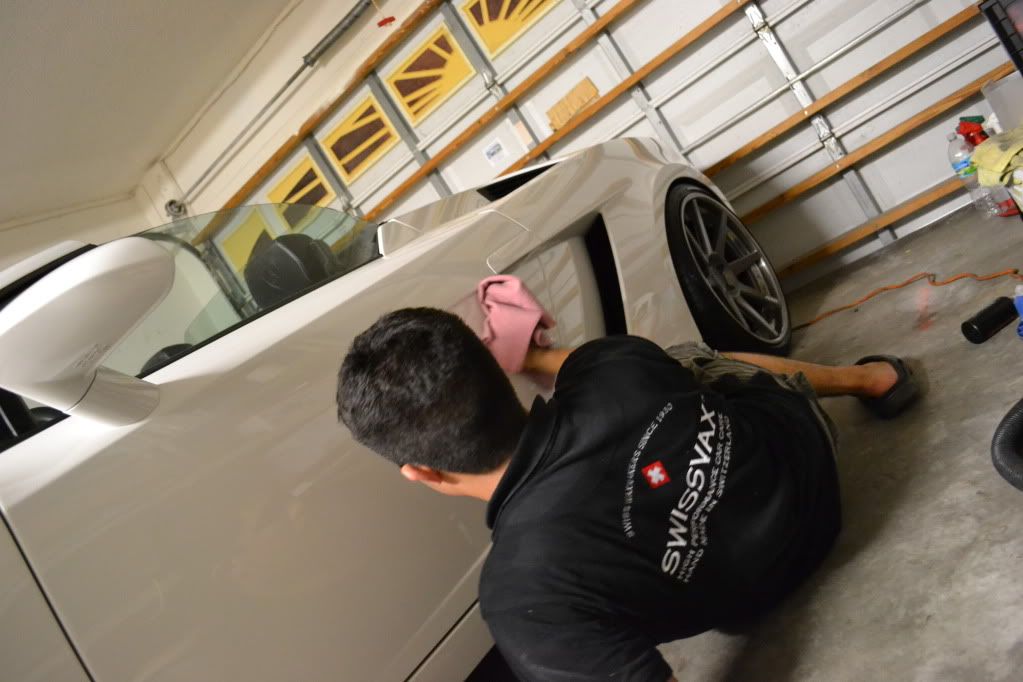 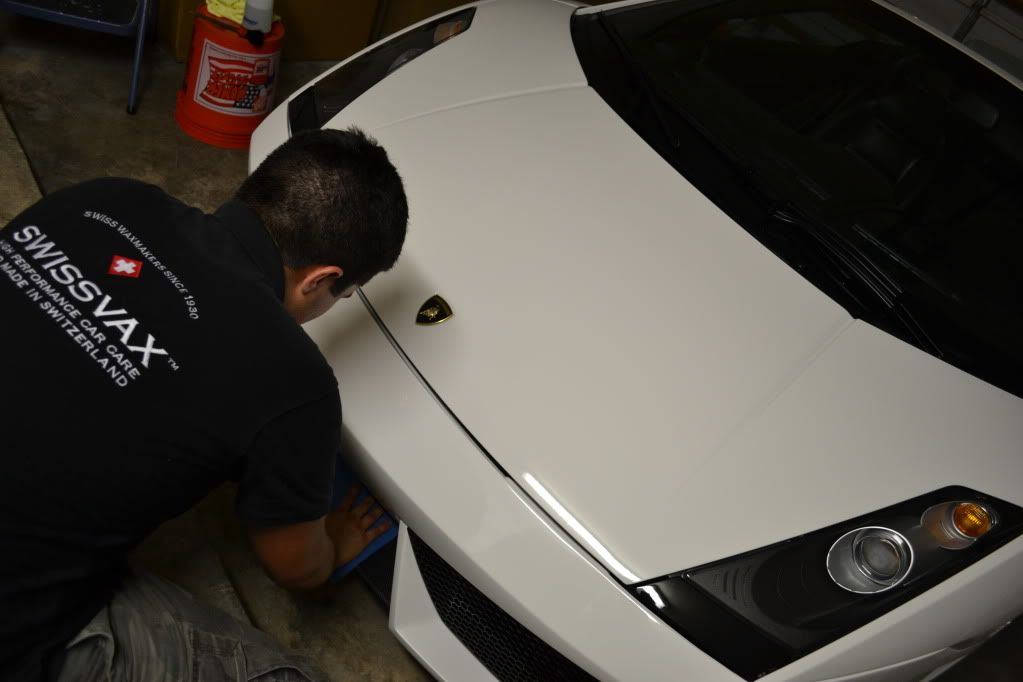 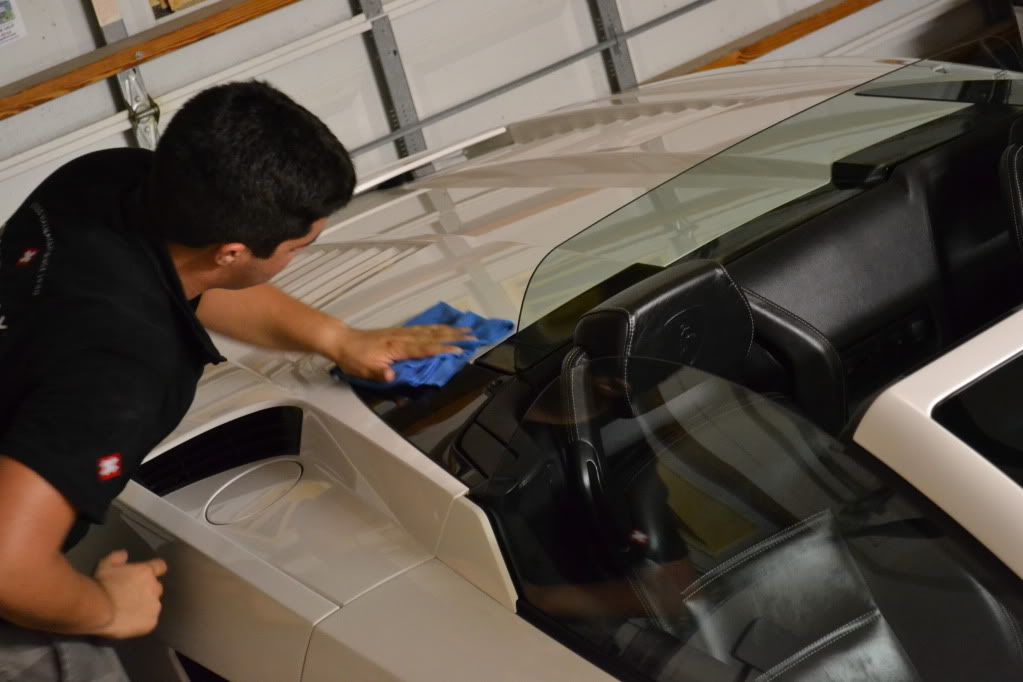 And the result... sorry for the not-so-great pics... it was about 2am... 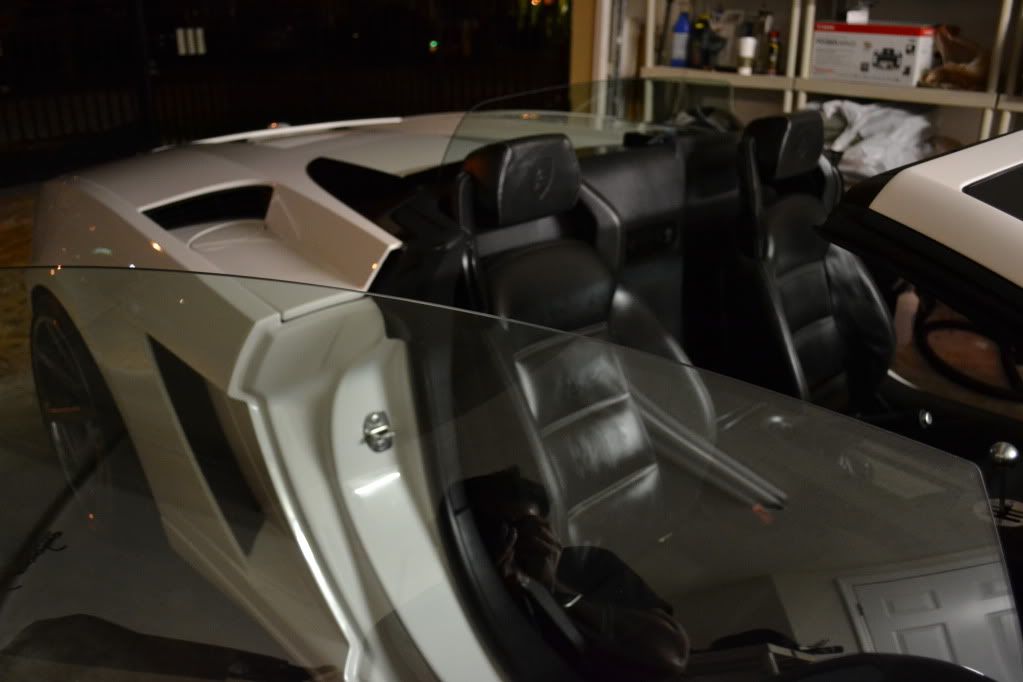 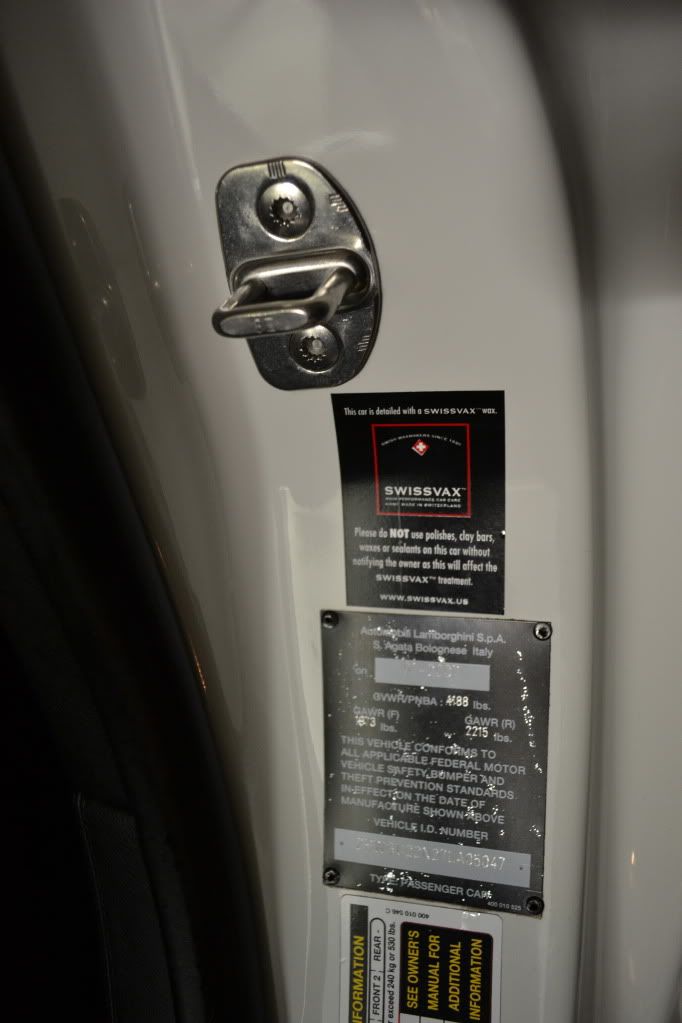 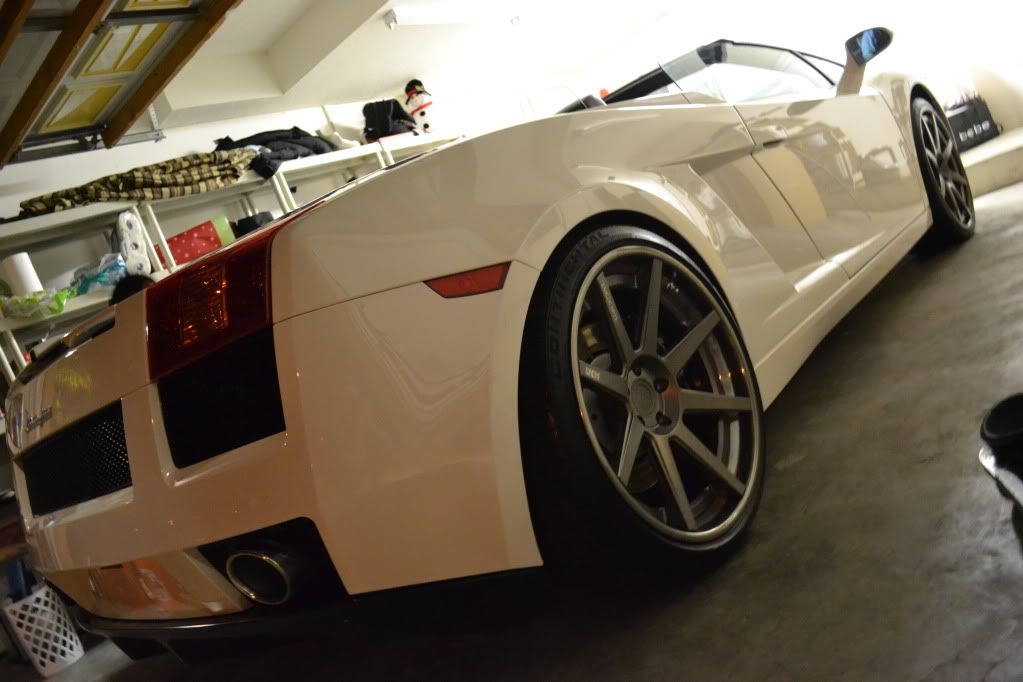 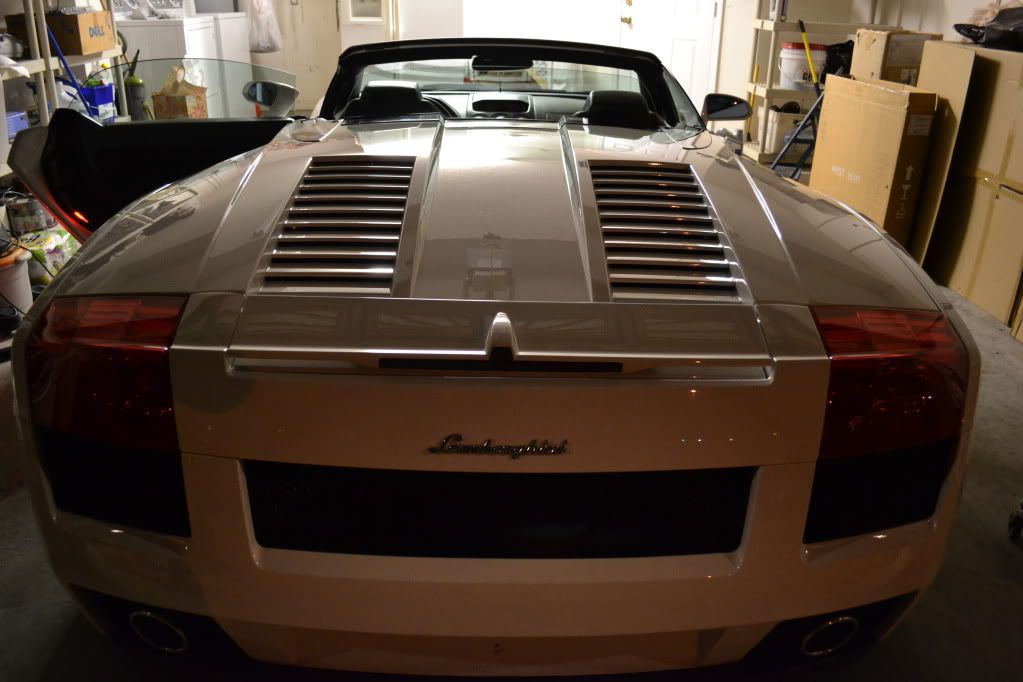 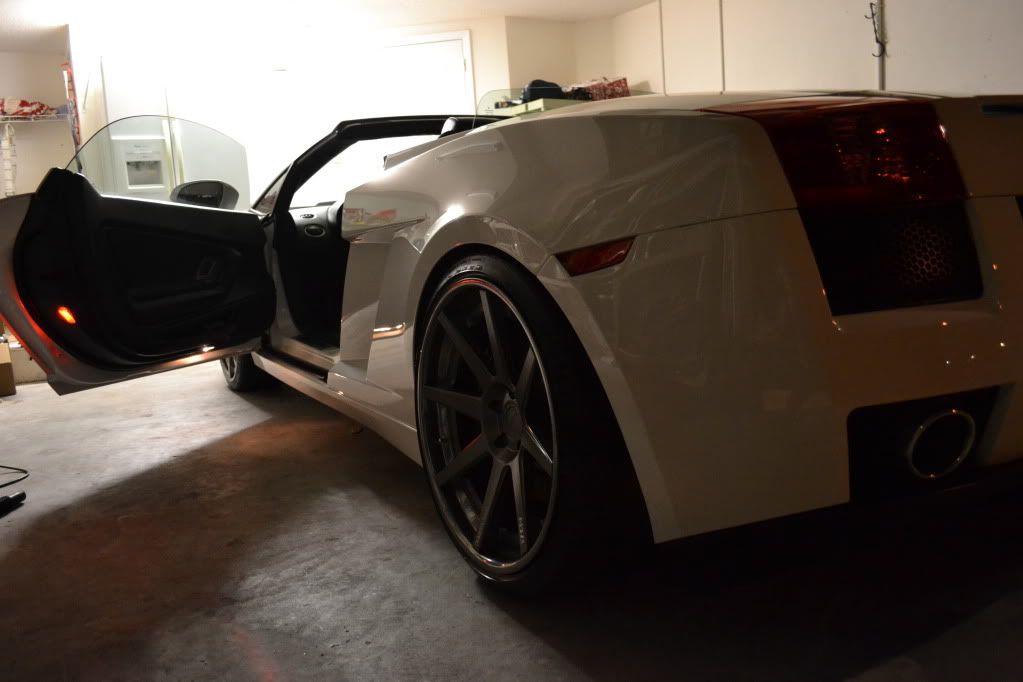 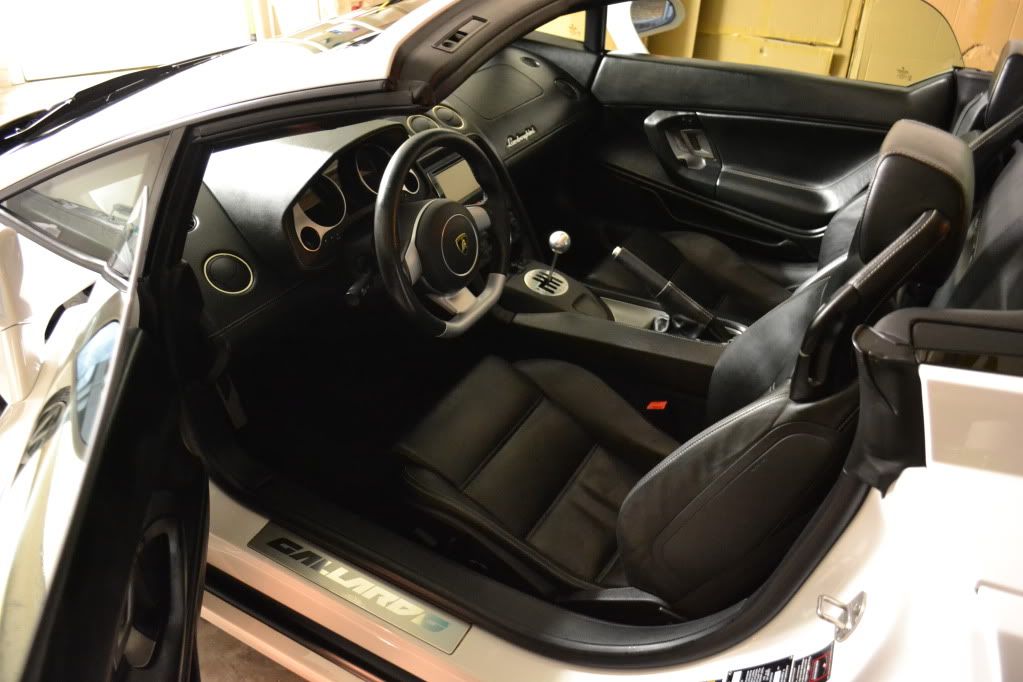 And the professional photoshoot following the detail job http://www.luxury4play.com/lamborghi...do-wheels.html That's all for that one! Thanks for looking! Dom |
| 07-20-2011, 01:17 PM | #5 |
|
Colonel
 93
Rep 2,528
Posts |
I guess it's pretty safe to say that there's a little profit margin worked into the price of the wheels
 Great job on the car. Please post the torture video when you find out who did the keying.
__________________
"But resist we much; we must; and we will much; about that be committed." ~Rev. Al Sharpton  2010 E92 M3|Silverstone II|M-DCT|NCSW|2MT|ZCW|ZPP|ZTP|302|507|Gas Guzzler Tax |
|
Appreciate
0
|
| 07-20-2011, 01:57 PM | #6 | |
|
Banned
49
Rep 1,922
Posts |
Quote:
|
|
|
Appreciate
0
|
| 07-21-2011, 11:40 AM | #8 |
|
Major General
415
Rep 5,767
Posts |
Thanks guys!
I filled in the scratch with some custom mixed touch up paint a few days after i did the detail job. I first cleaned the area with 3M adhesive remover to remove the Swissvax, then applied the paint over the course of a few hours allowing some time for each layer to dry, using a small art paint brush. A few day later i went back and sanded the area using the PC and 3M sanding discs, and then properly polished out the area. Sorry but i didn't take pics  |
|
Appreciate
0
|
| 07-24-2011, 09:53 AM | #12 | |
|
Private First Class
 5
Rep 105
Posts |
Quote:
|
|
|
Appreciate
0
|
| 07-24-2011, 01:21 PM | #13 |
|
4th down; 4th quarter? Renegade.
87
Rep 3,850
Posts |
Amazing work.
Was the steel wool for the exhaust tips? Have an Acura RDX with heavily corroded tips I need to attack and simple metal polish is not doing the trick. TIA! |
|
Appreciate
0
|
Post Reply |
| Bookmarks |
|
|


