

 |
|
 |

|
|
|
| 07-20-2009, 09:42 PM | #1 |
|
Major General
 
1995
Rep 6,916
Posts |
Detailer's Domain: 2008 STI Mega Write Up!
Here is the long awaited DD Subie Write up.
Where should I start, the mods I guess. Here is what I did before the complete detail was done. I researched and found all the parts I wanted to make this car look and handle a bit better. Take a look at the work done, I did just about all the install work myself less the AV system and a few bushings (needed a press to get some of the stock ones out) This car was a treat I never really did any of the wrenching myself so this was a great learning experience. One big lesson, the right tools and a lift are a HUGE Plus Take a look: Tuning mods: Harman DP (removed when the car was traded in) not installed yet -installed and loving it 3/17/09 Harman Motive CAI Magnaflow CBE --> removed Invida Q300 CBE installed 3/2009 Access Port (stg 2) Group N Engine Mount- installed 4/21/09 STI Heat Sheid Exterior/interior: Rally Armour Mud Flaps.-->deleted Rear Bumper cargo strip (incoming) - Arm rest extension (incoming) -installed 3/17/09 Rear Cargo Tray (incoming) - installed 3/17/09 Piaa Xtreme White Plus High Beams (9005)- installed 3/09 Piaa Plasma Ion Yellow Fogs -installed 3/28/09 Perrin Super Shorty Antenna - installed 3/28/09 Harman Motive Rear Overlay - installed 4/27/09 Valentine One - hardwired 4/27/09 Suspension: BC BR CO's installed 3/2009 Whiteline Front Sways (22 mm) - installed 3/29/2009 Whiteline Rear Sways (20 mm) - installed 3/29/2009 Whiteline Sway Bar Support Brace - installed 3/29/09 Whiteline Anti-Lift Kit - installed 3/29/2009 Perrin Front End Links - installed 4/21/09 Perrin Rear End Links - installed 4/21/09 SPT STI Front Strut Bar - installed 4/27/09 SPT Lower H Chasis Brace - - installed 5/1/09 Whiteline 08+STi Positive Traction Kit- KDT902 - installed 5/1/09 Whiteline 08+ WRX Rear Differential Mount Inserts - KDT903 - installed 5/1/09 Whiteline rear camber adjusting kit 08+ wrx/sti hatchback subaru-kca326-- installed 5/1/09 Whiteline Steering Rack Bushing kit 08+ - ksr207 -- installed 5/1/09 Whiteline Rear Trailing Arm Bushing * W0568 -- installed 5/1/09 Whiteline Front Control Arm Bushings - W0507 -on the way Stereo upgrades: Kenwood DNX 7140 installed by Mobilewerks 4/7/09 JDM AV Panel installed 4/17/09 The car in stock form At the dealer before delivery: 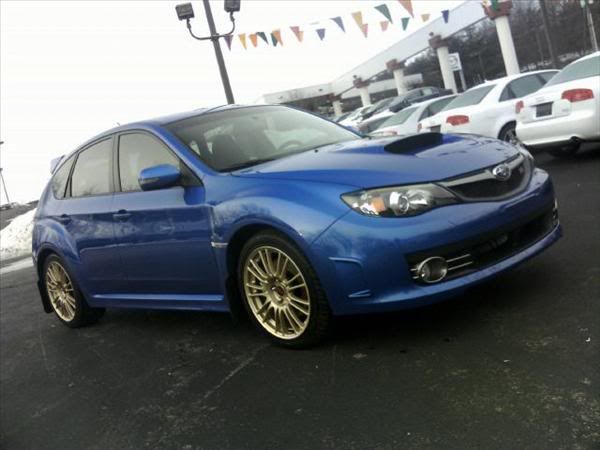  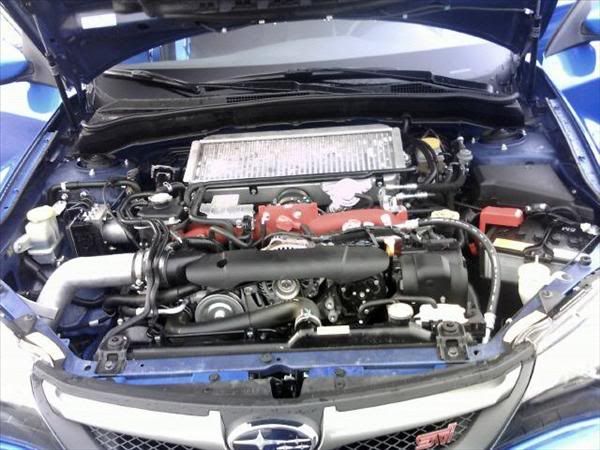   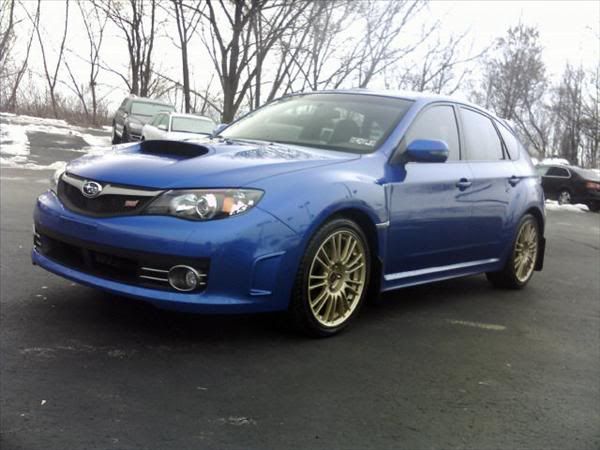  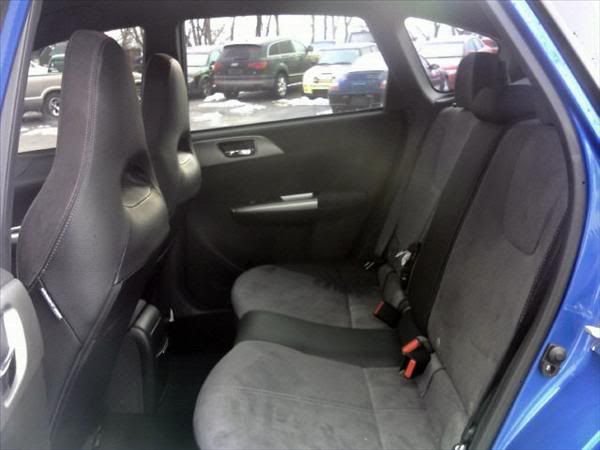 The STI at its first mobile detail job nice and dirty after a couple snow storms 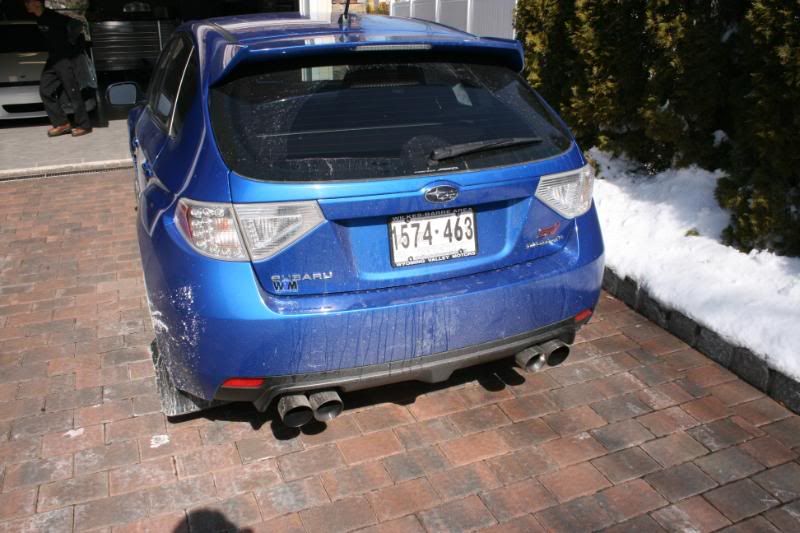 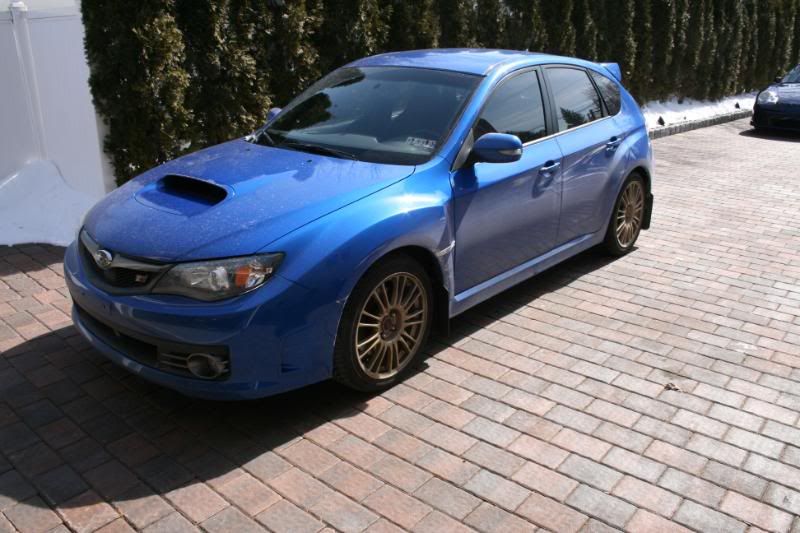 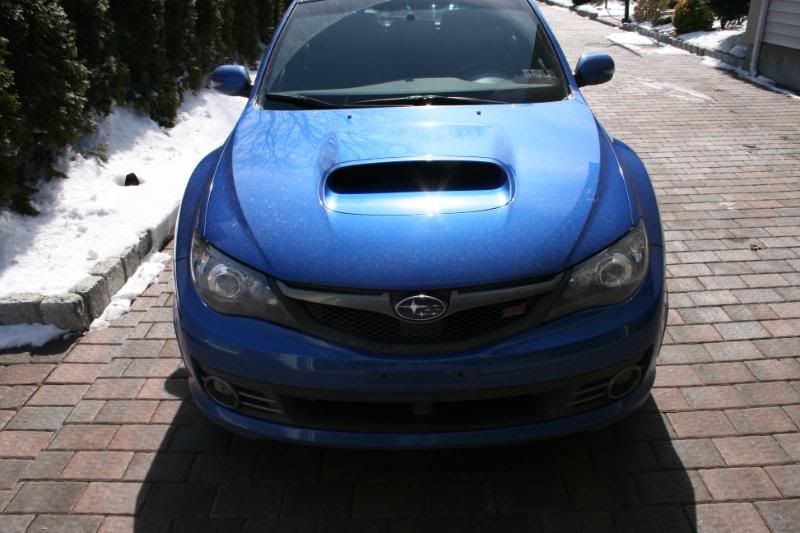 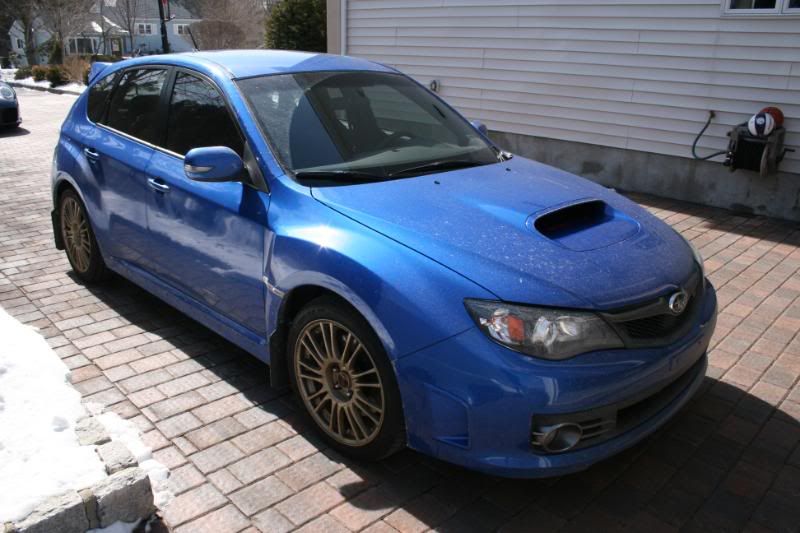 Let the mods begin... First up the CO's, Exhaust, and Removal of the Mud flaps The BC Coilovers: 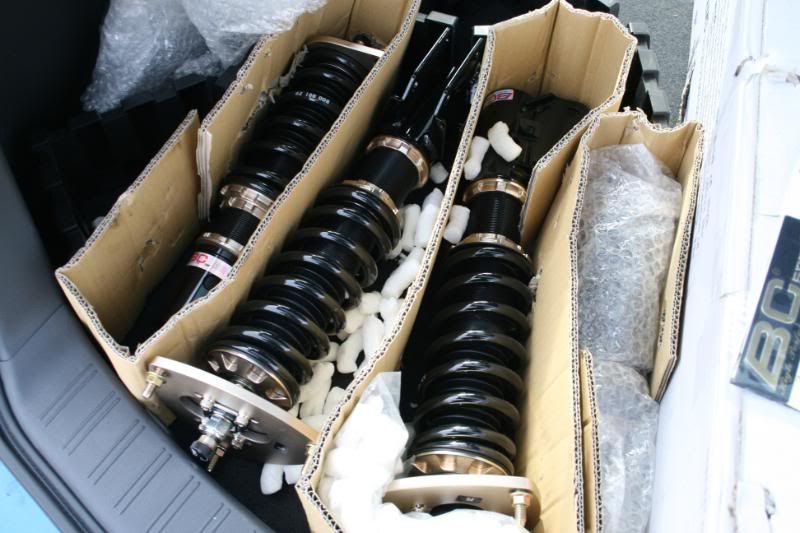 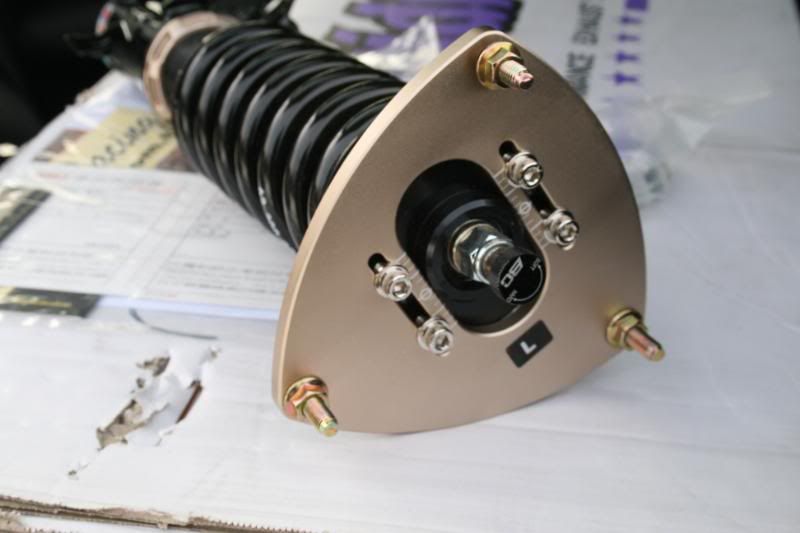 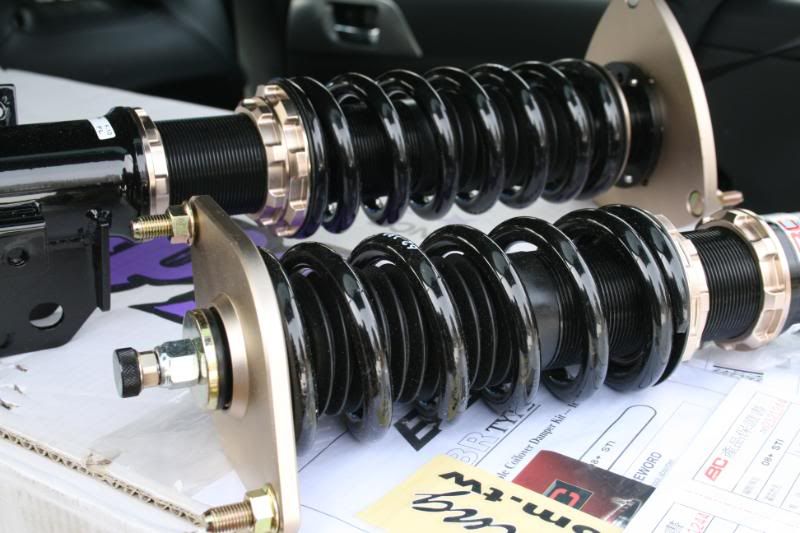 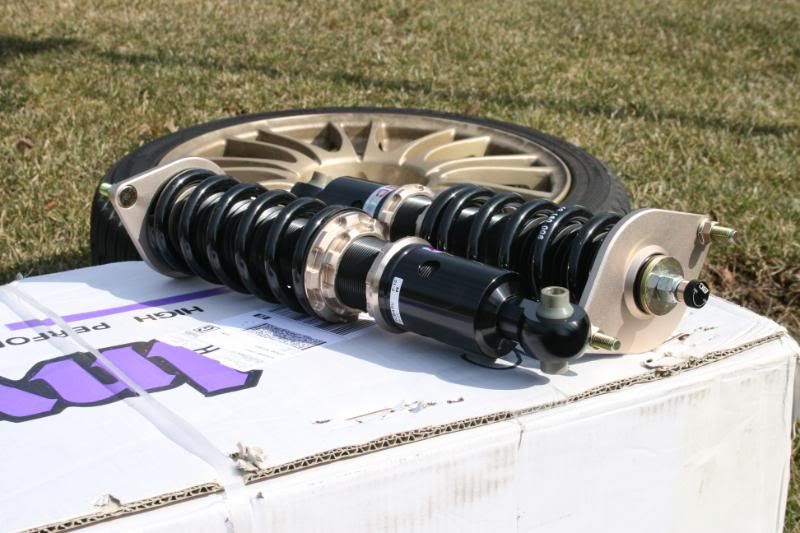 instructions and adjusters: 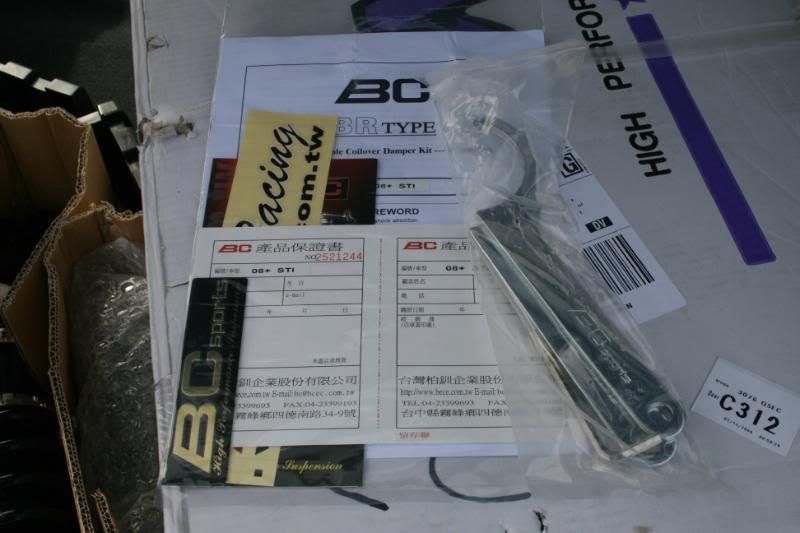 Install pictures: Frt stock:  Set up and install: 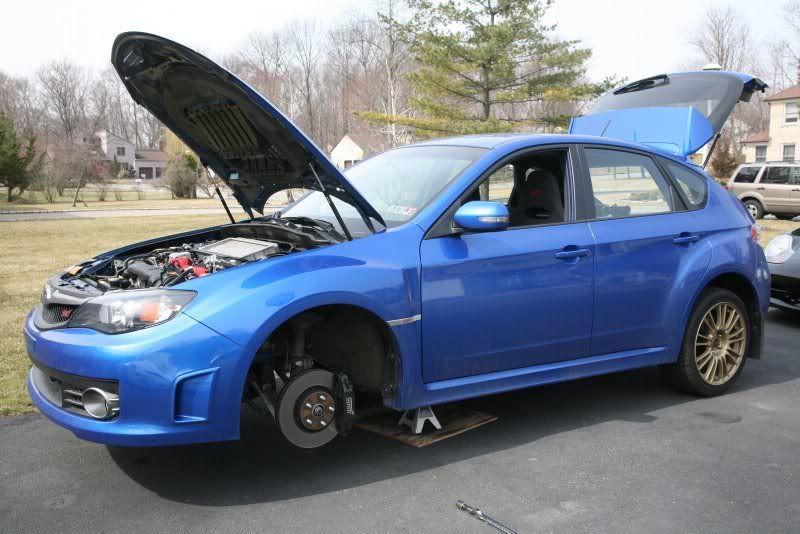 Loosening up and removing 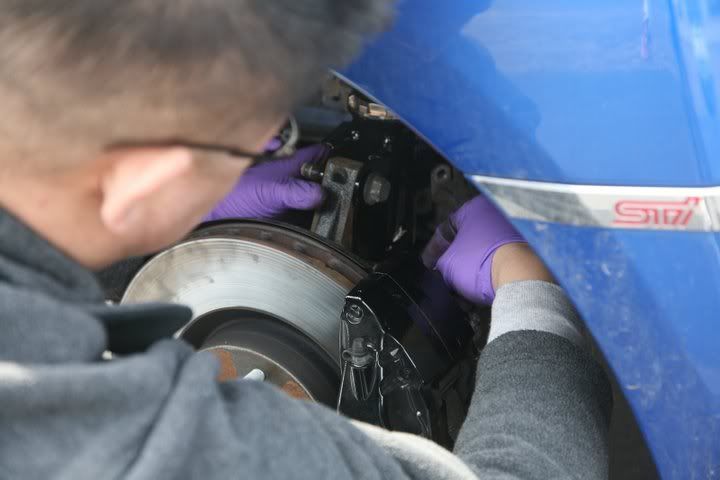 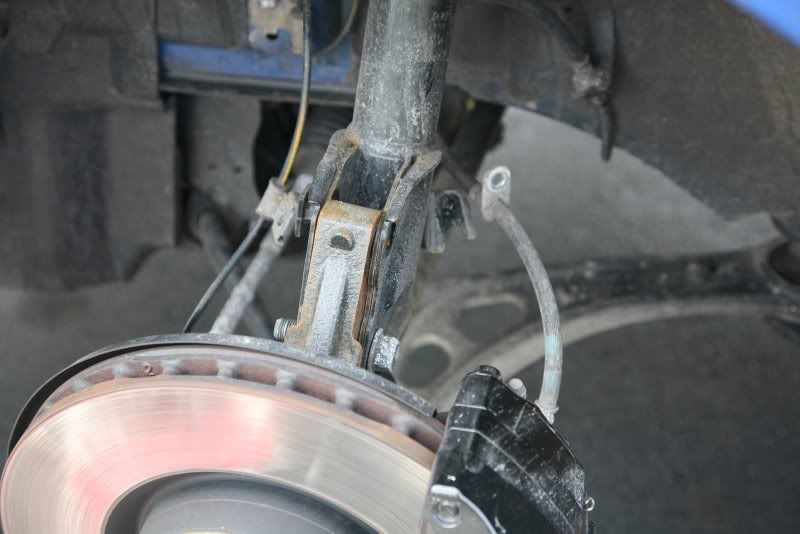 After shot: 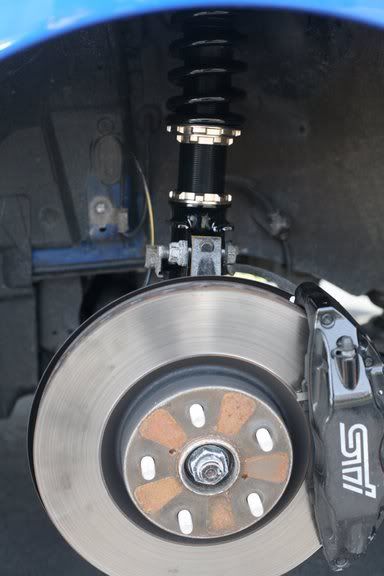 Adjusters on the front  Rear install: before: 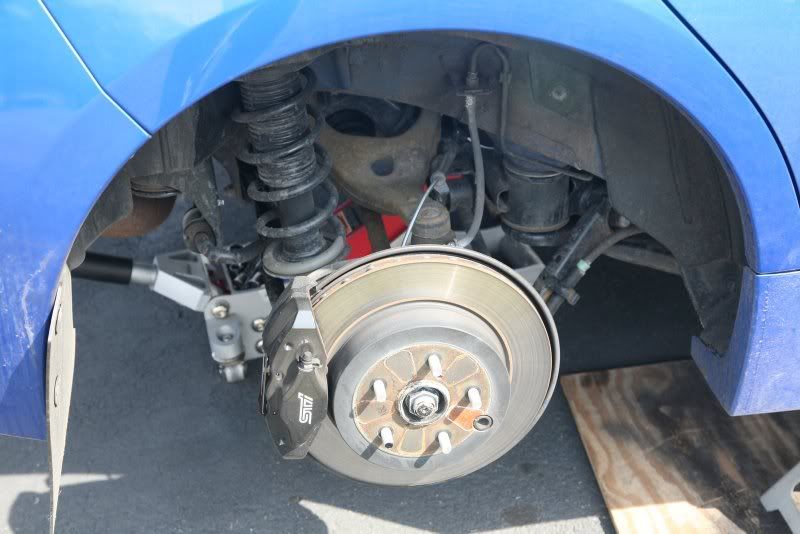 after:  Rear adjuster: 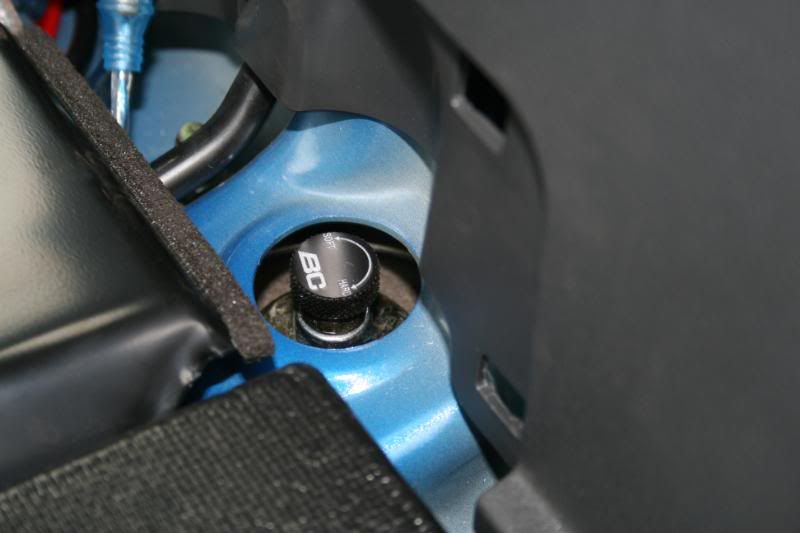 Invidia Q300 Install pictures: the exhaust in the box: 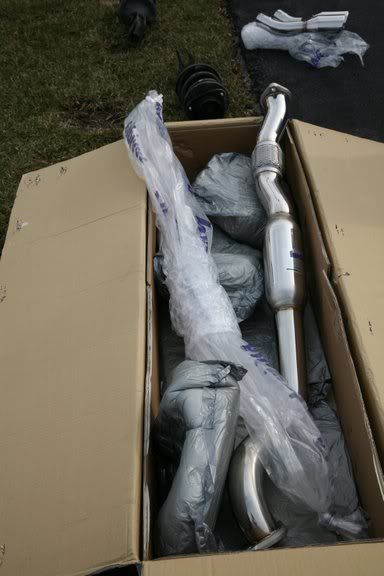 Getting ready to remove the Magnaflow exhaust 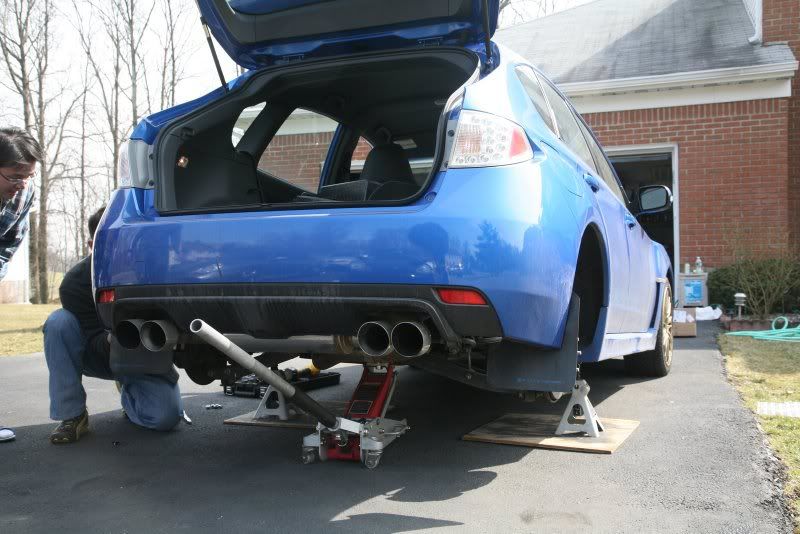  Old exhaust removed:  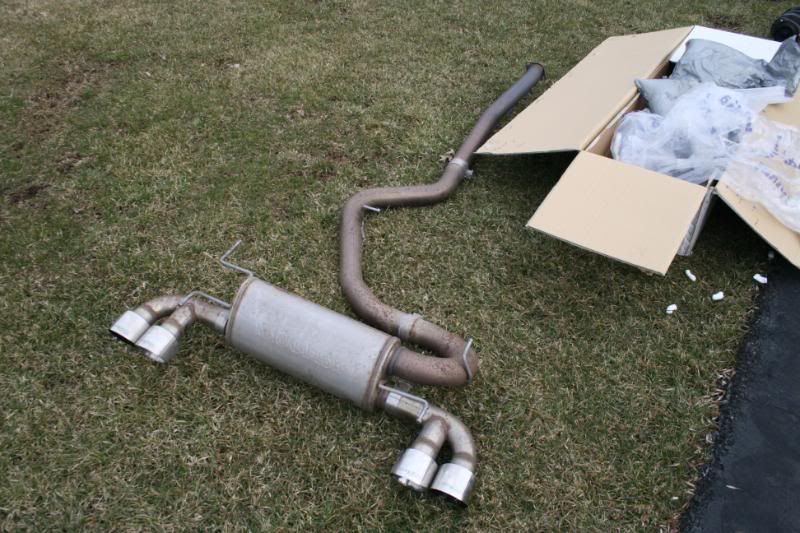 Joe doing the final install http://i46.photobucket.com/albums/f149/pyiu/08%20impreza%20sti/joeworkingontheexhaust.jpg[/IMG] Mud flaps on the car:  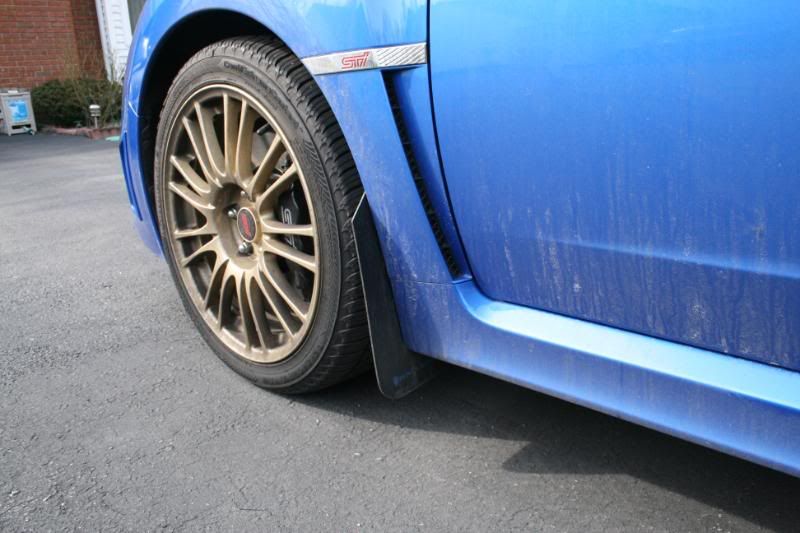 Mud flaps off the car: 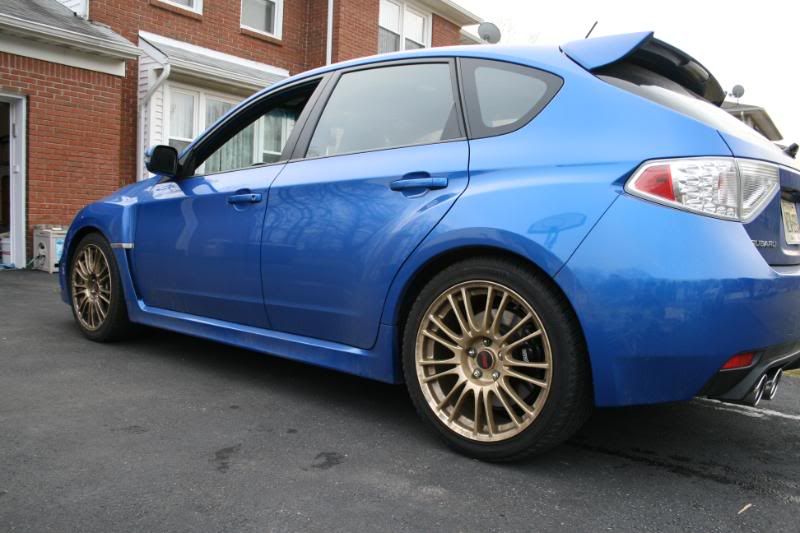 Final shots of the car:   my favorite shot: 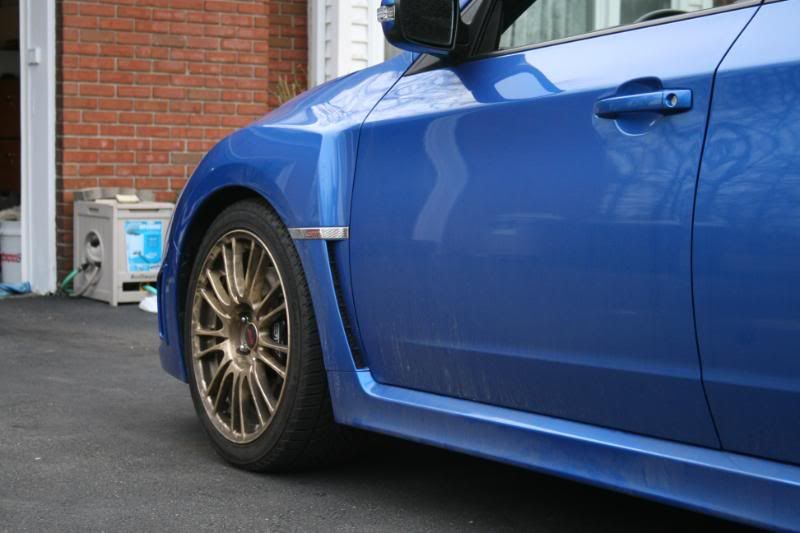 Next up the downpipes 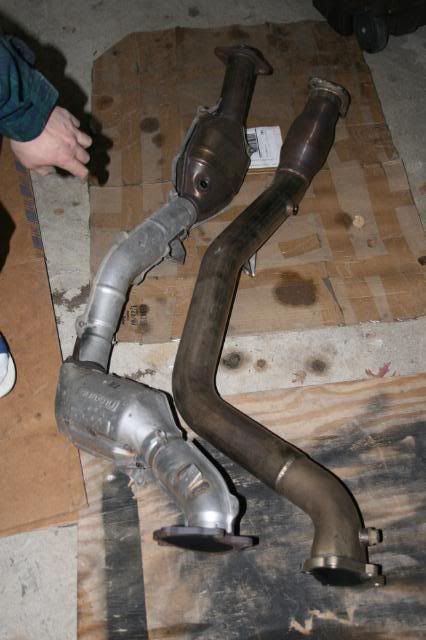  Extended arm rest install  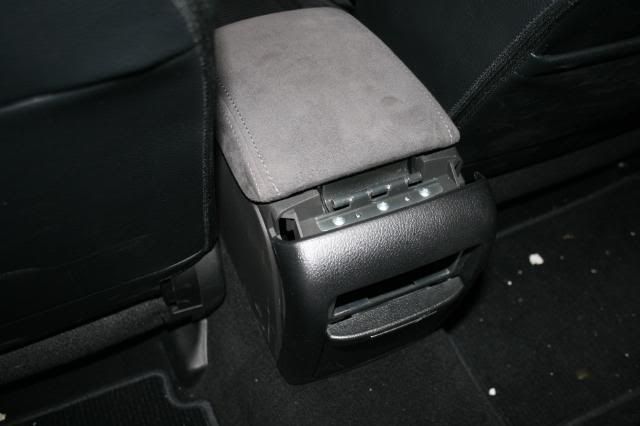  Extended  Cargo Tray 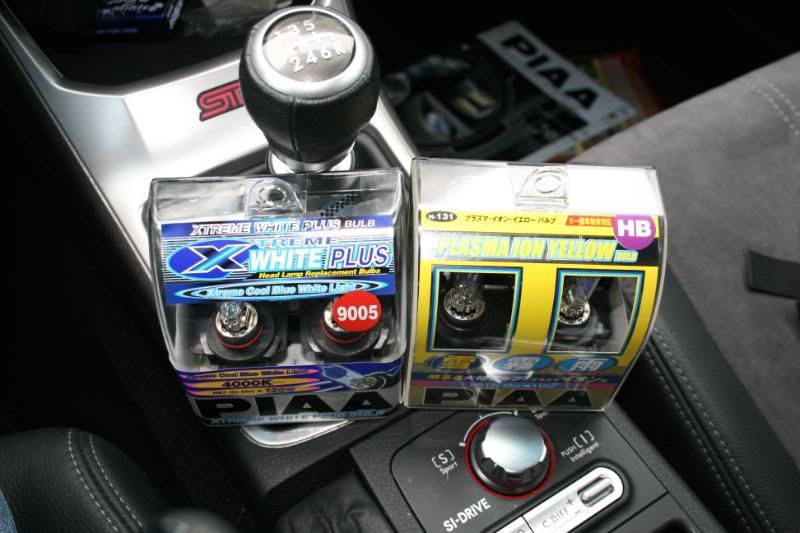 Rear bumper guard  Tranny mounts 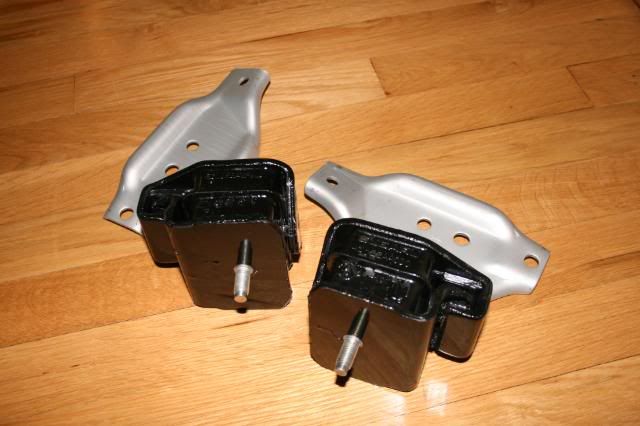 Sways, Tranny Mounts, Bushings all getting installed 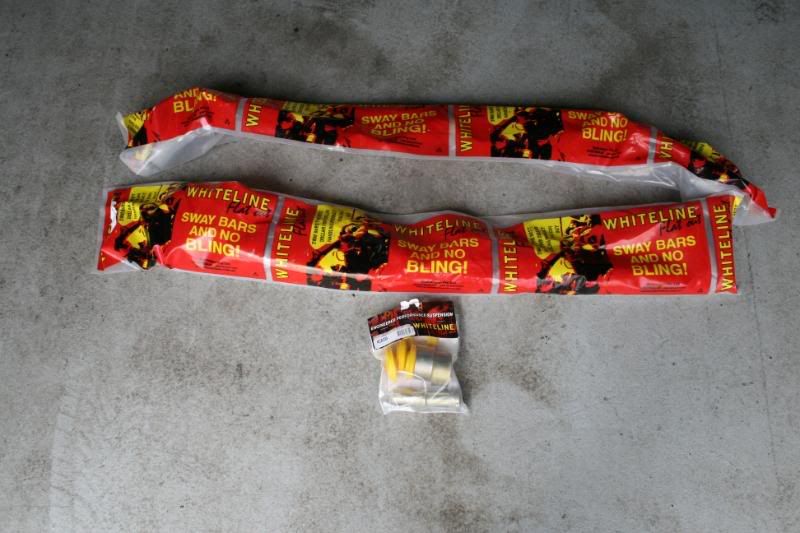 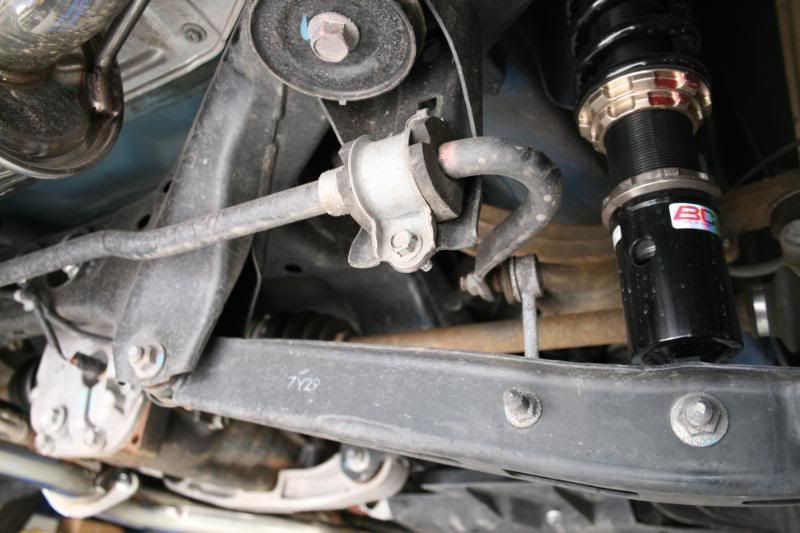 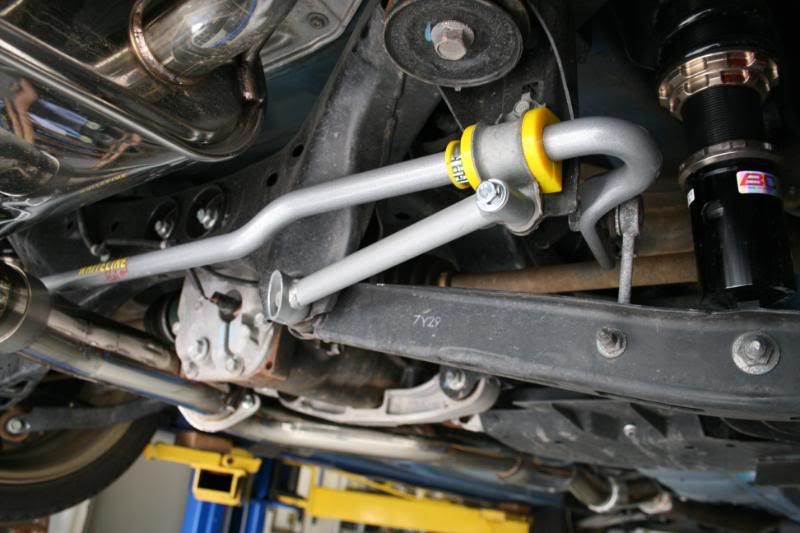 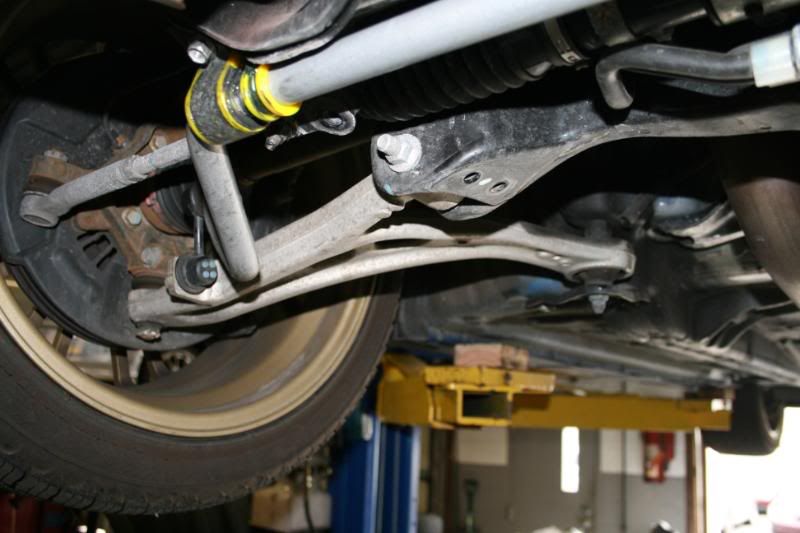   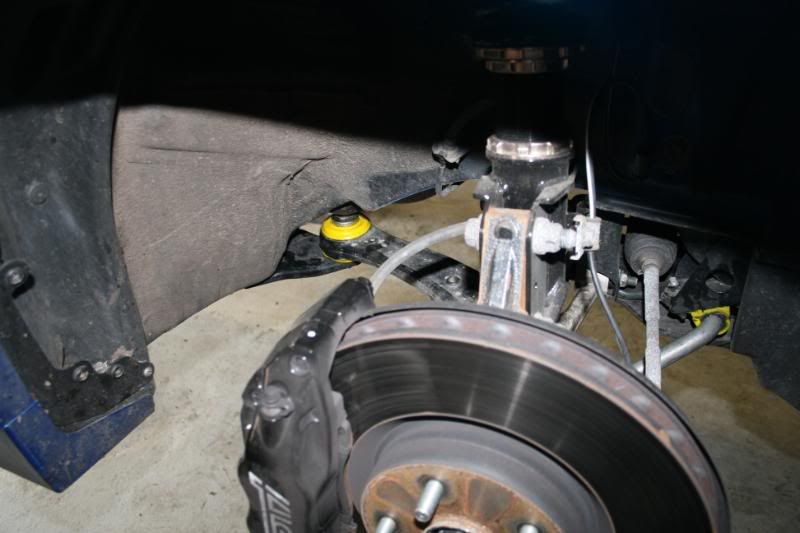 More bushings   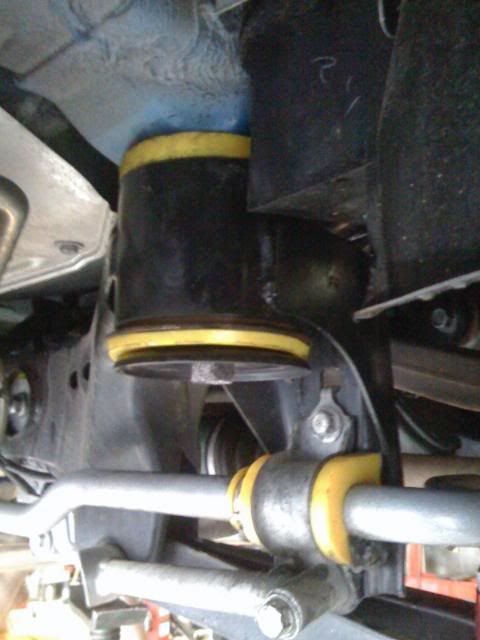  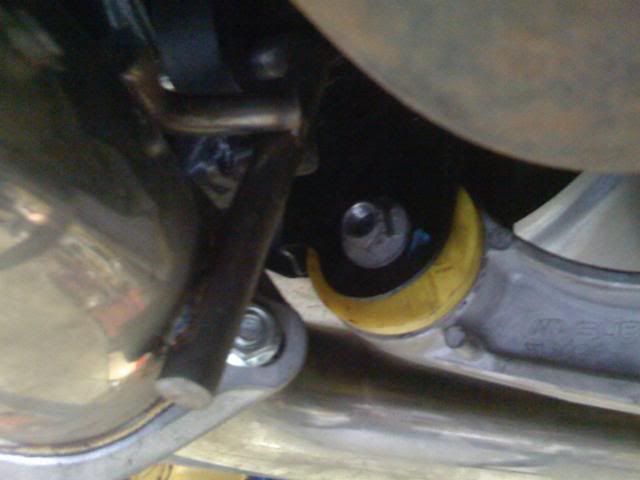 Support Brace 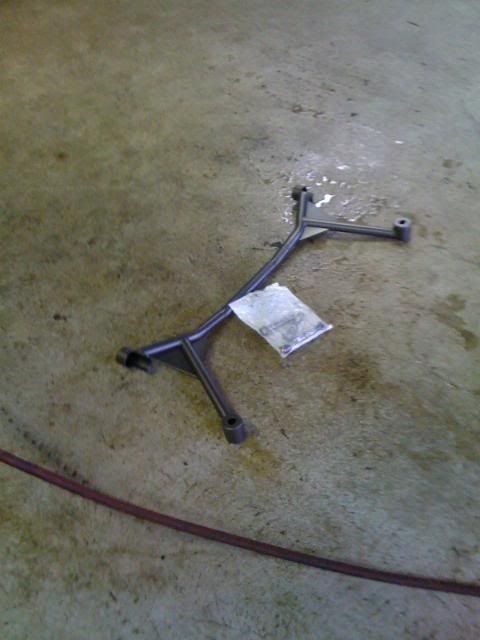 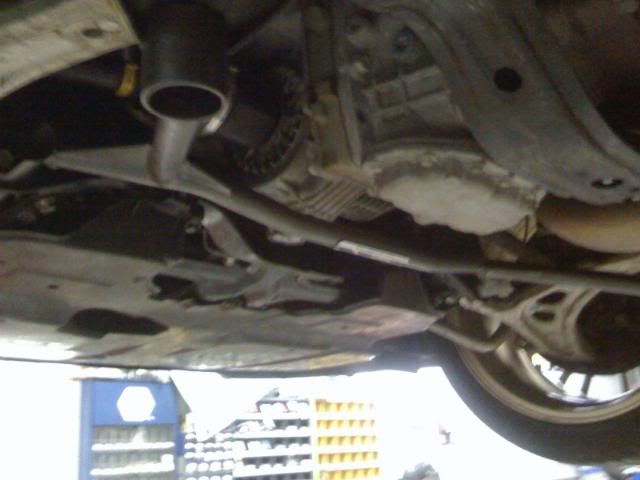 Strut Bar 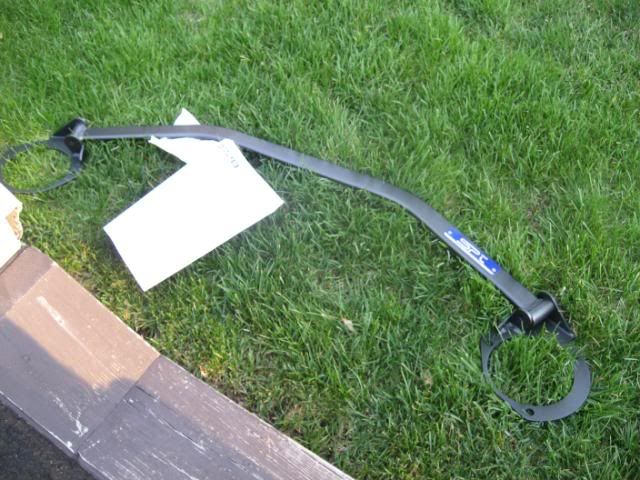   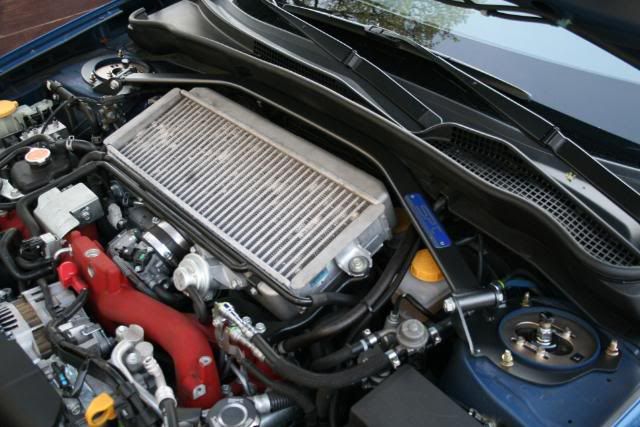 Endlinks 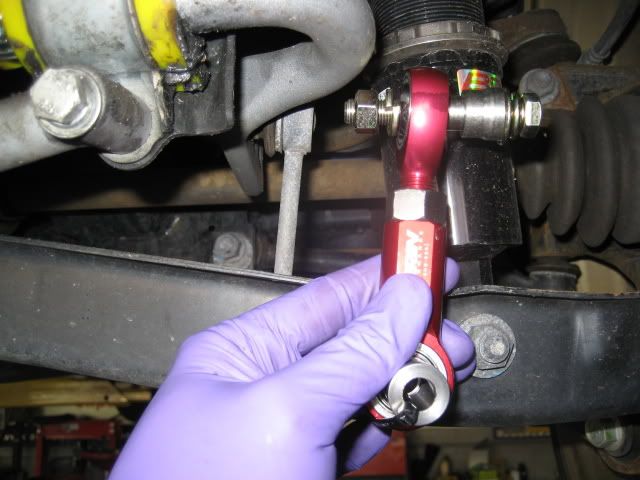 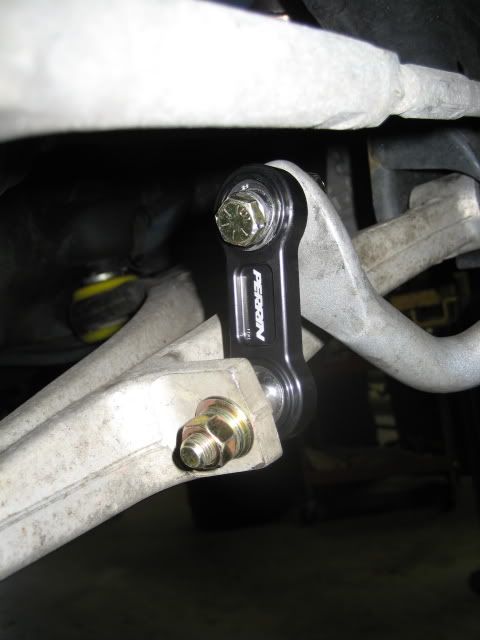 Shorty antenna install 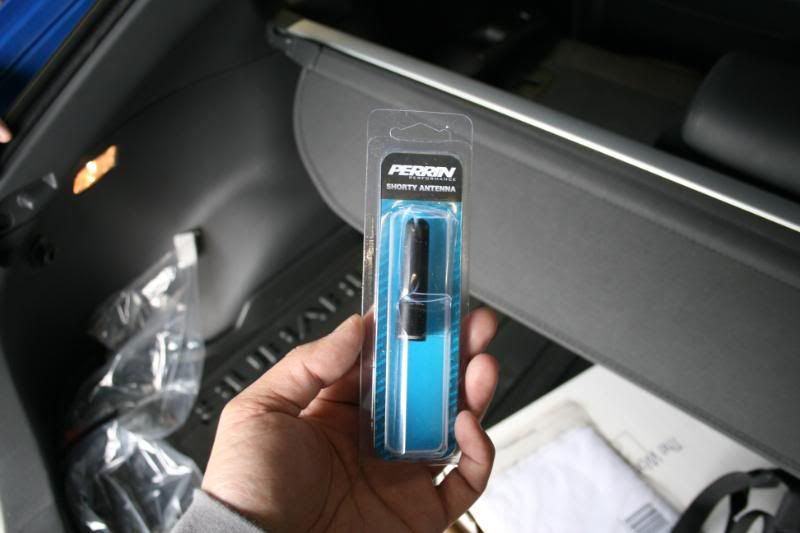 Stock 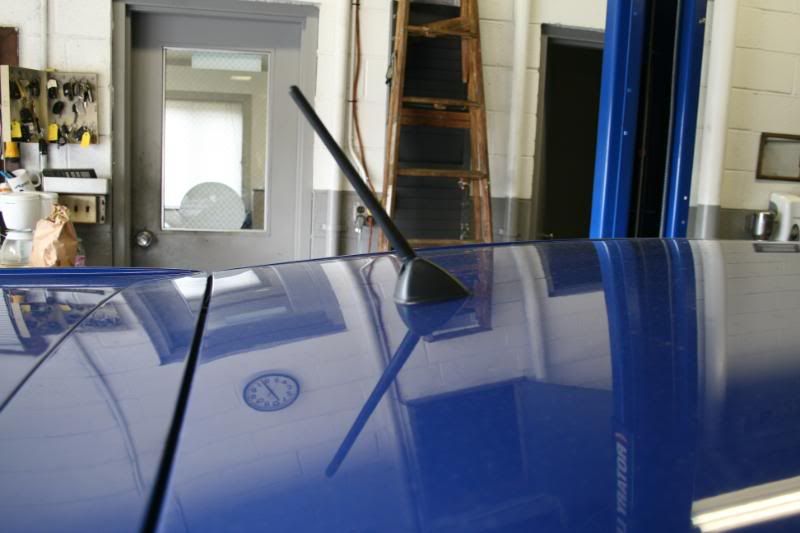 50/50 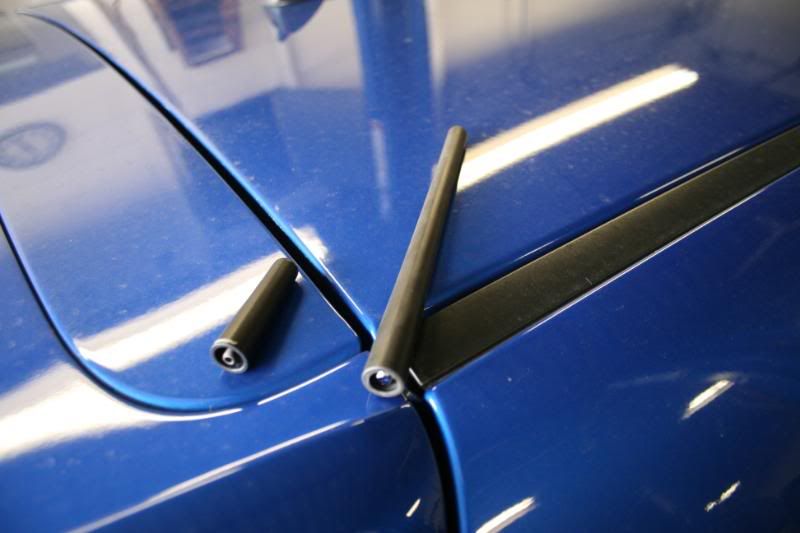 After 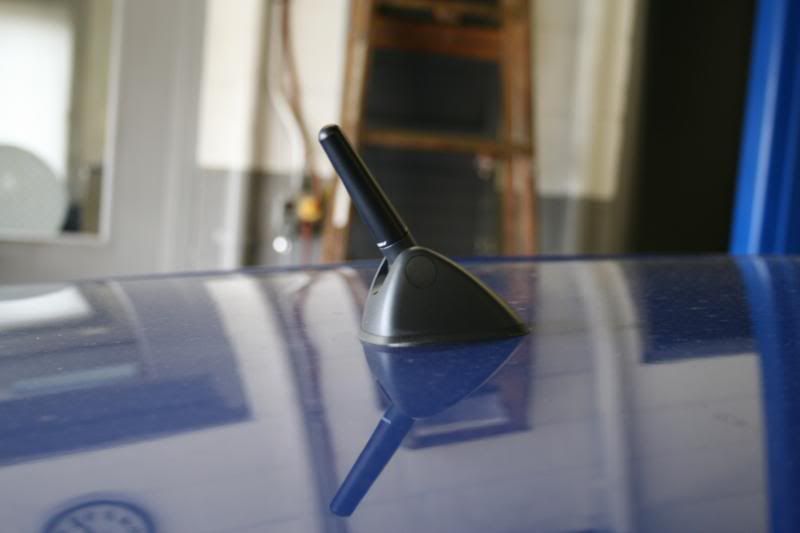 Kenwood DNX-7140 Install (installed by the pro) 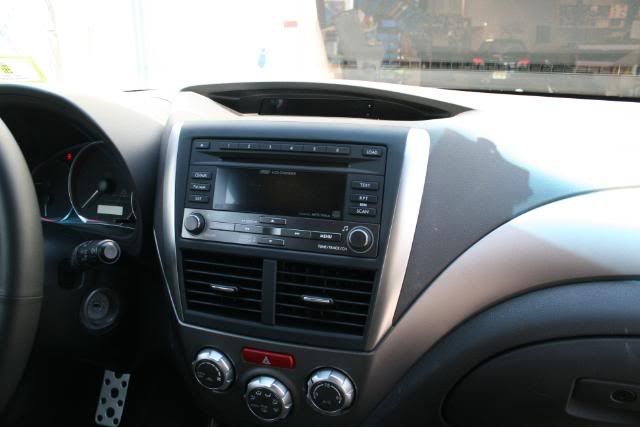 AV Panel from Japan 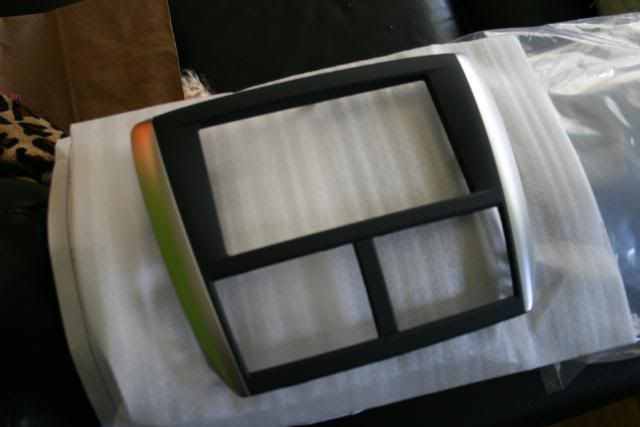 Stock panel with the new head unit 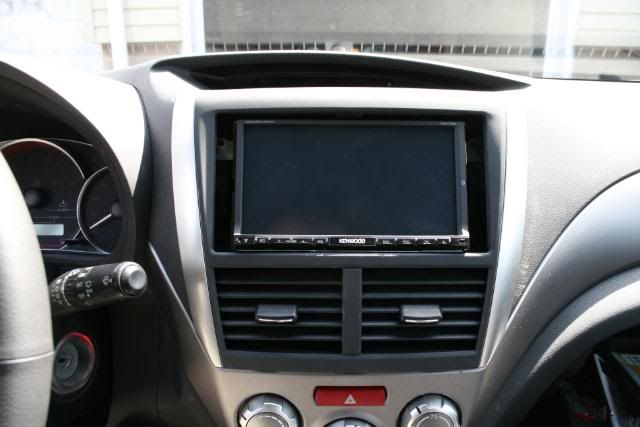 After with the new Japanese AV Panel 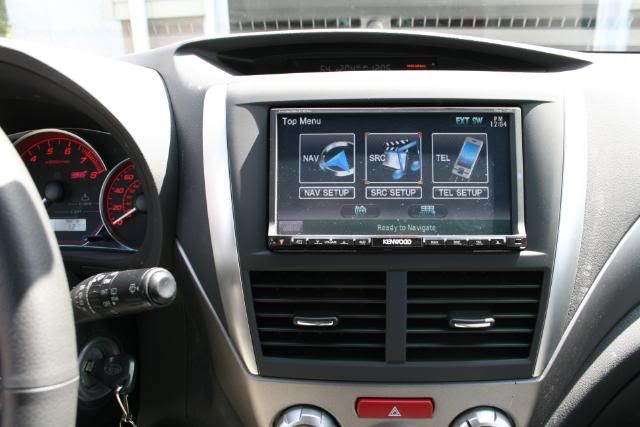 Random stuff 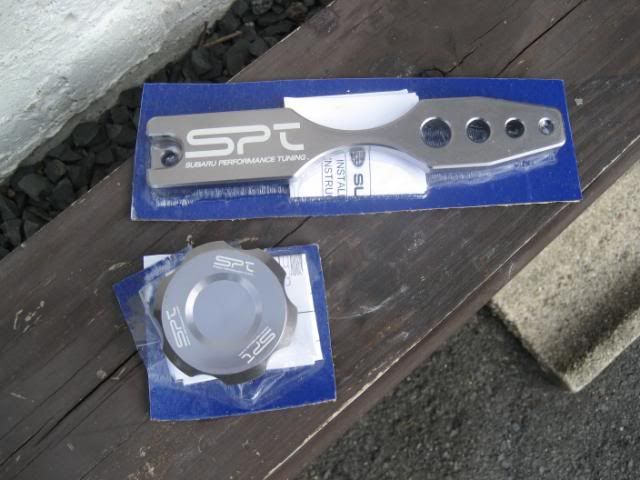 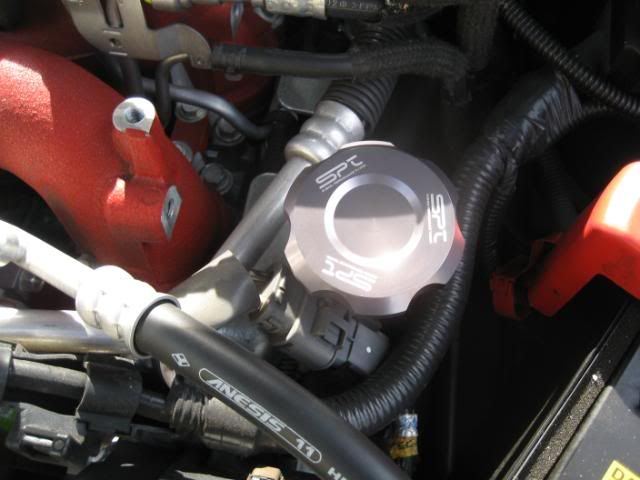 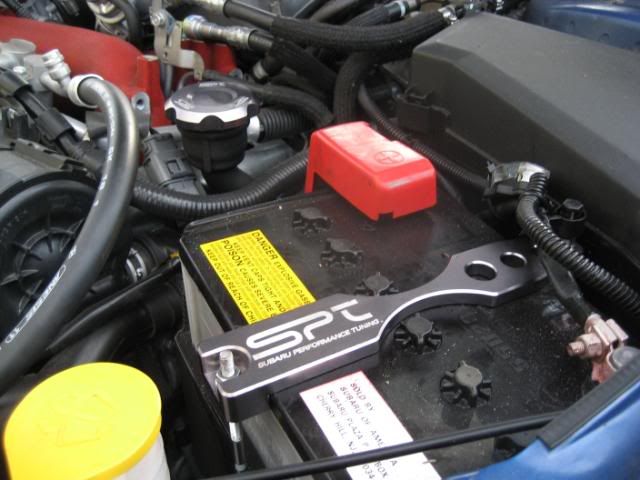 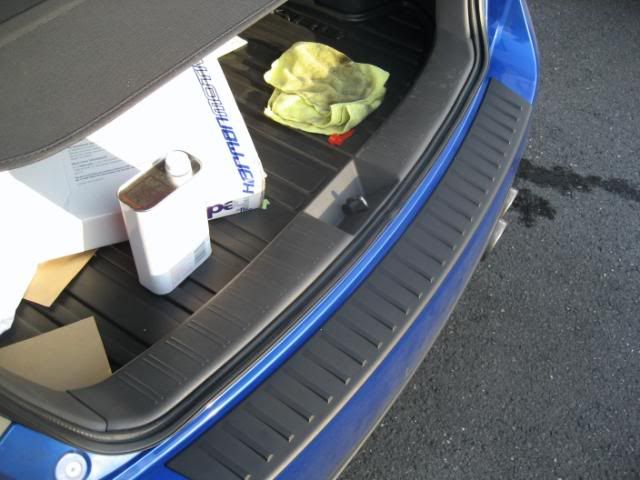 Debadging the car 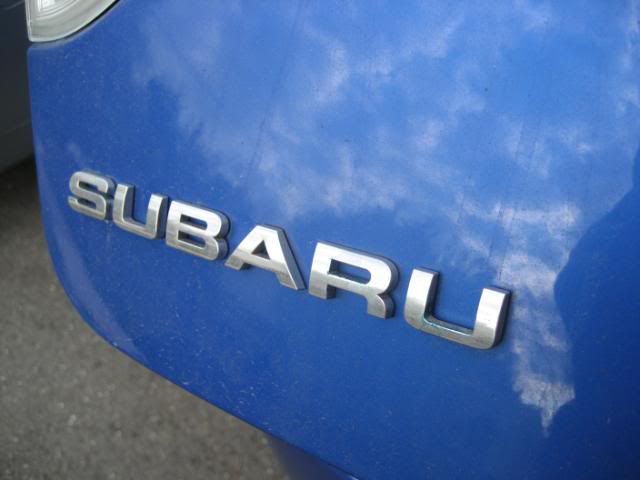  Dental Floss 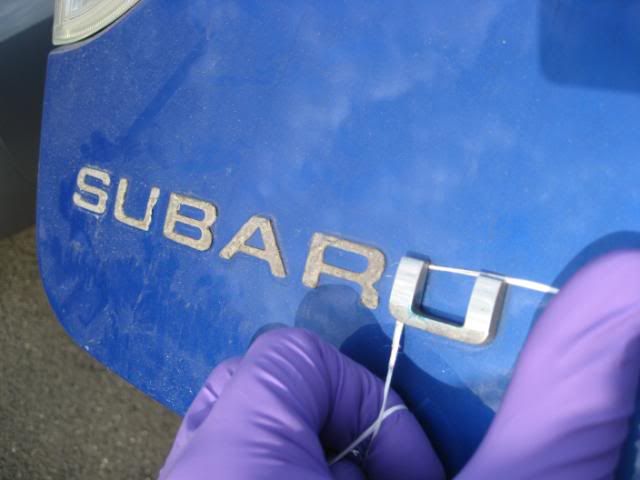 Leftover adhesive and ghosting 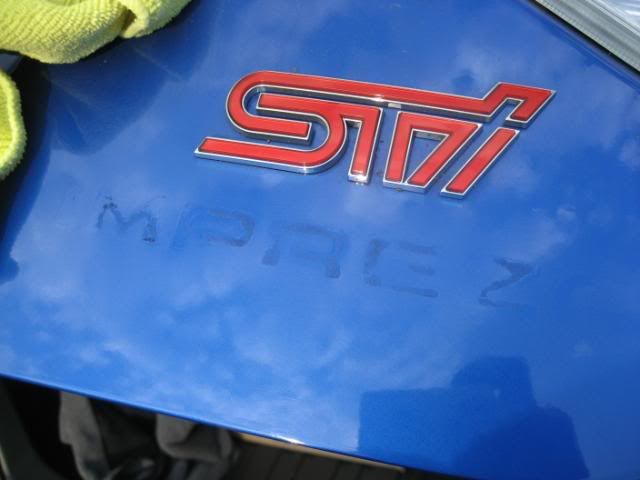 3M adhesive remover was used  Compounding and polishing 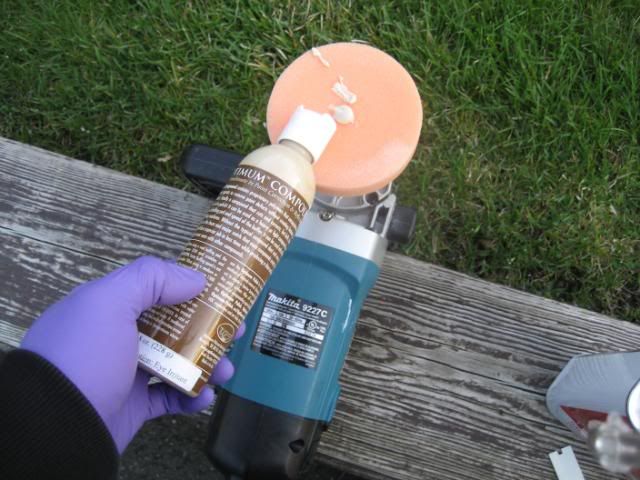 Final before and after 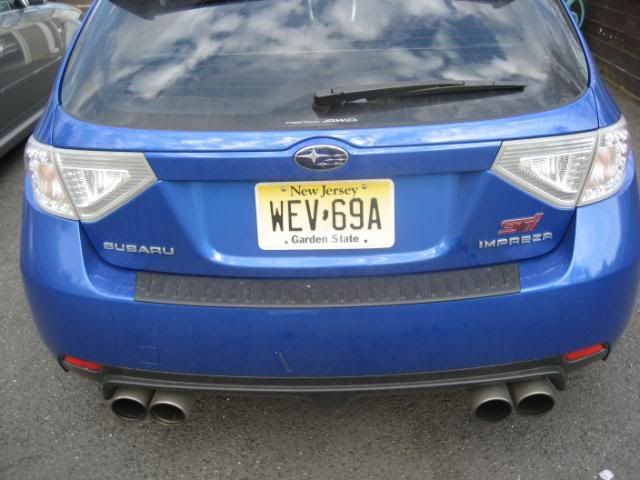  Now onto the detail...... Products Used: Exterior: Adam's All Purpose Cleaner in the Cam Spray Foam Canon Adam's Clay Bar and Optimum Instant Detail Spray and Gloss Enhancer for clay lube Menzerna Super Intensive with the Uber Orange Pad Menzerna PO85RD with the Uber Blue Pad Menzerna Top Inspection Lusso Prototype for Detailers Domain Einszett Spray Wax Wheels and Tires Uber Wheel/Tire/Wheel Well Kit see below for more of the wheel write up. Interior and Glass Adam's Glass Cleaner and Uber Glass MF Towels Leather Master Foam Cleaner (alcantara) Leather Master Nubuck Protection (alcantara) Leather Master Strong Cleaner (leather) Leather Master Vital (leather) Engine: P21S Total Autowash Adam's VRT Diluted with Water in a Spray bottle Trim: Black Wow Tools: Infratech 5300 Brinkmann MaxFire Metabo PE12-175 Makita 9227 Hi Speed Rotary The Uber Foam Pads (5.5inch) Tons of "Uber" Microfiber Towels Uber Drying Towels Cam Spray 1500A with Cam Spray Foam Gun Let's start with the wheels. Here is the set up, I have had the STI now for over 3000 miles and unfortunately I have had no time to give it even a proper wash, actually I haven't washed it yet. The day I figured I had some time it got just too hot to finish it. (98 degrees!) Anyway here is a teaser. I got started on the wheels and after 3000 miles of caked on brake dust I decided to go all out! By this I mean wheels were off the car, wheel wells were cleaned and dressed, brakes were polished and waxed. Products used: Uber Wheel Kit Menzerna PO85RD Sears Jack 19mm Socket Ratchet Torque Wrench Cam Spray Pressure Washer Now to the pictures: Before shots of the wheels.  Before Brakes and Wheel Wells. (reference left side, forgot to take all the complete shots, both sides were pretty dirty) 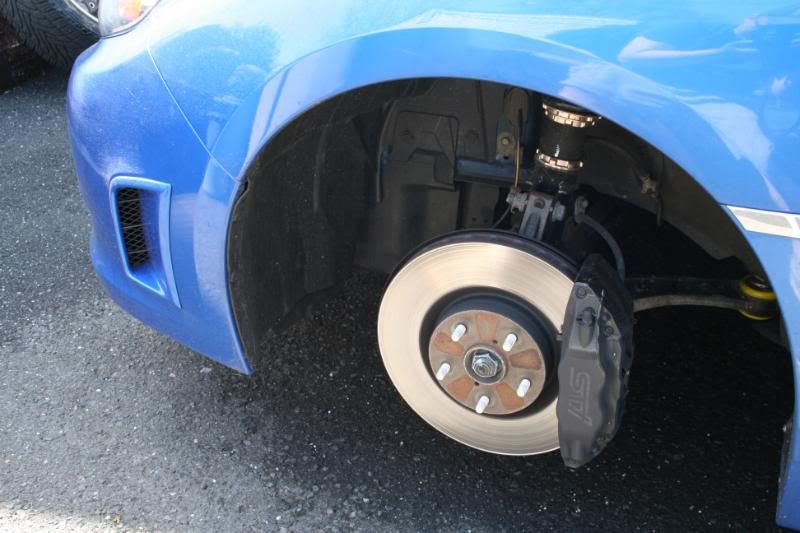 Wheel being pulled off using ratchet and jack. 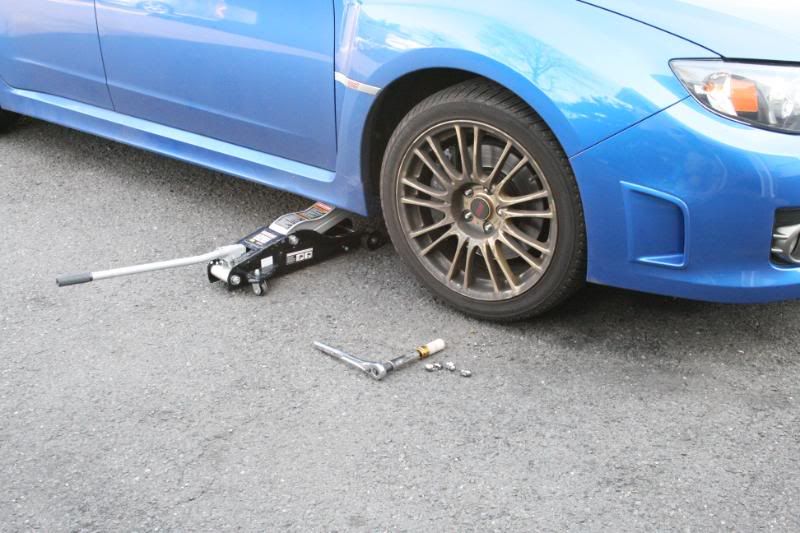 Wheel off the car. 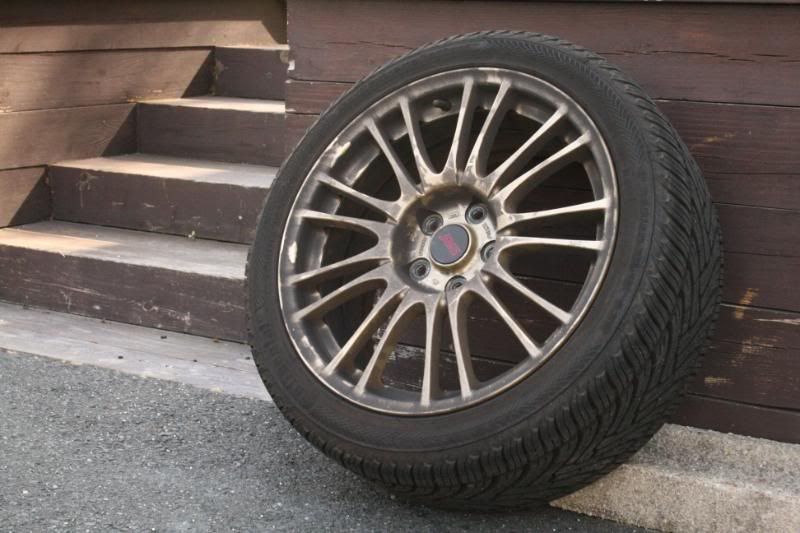 Back 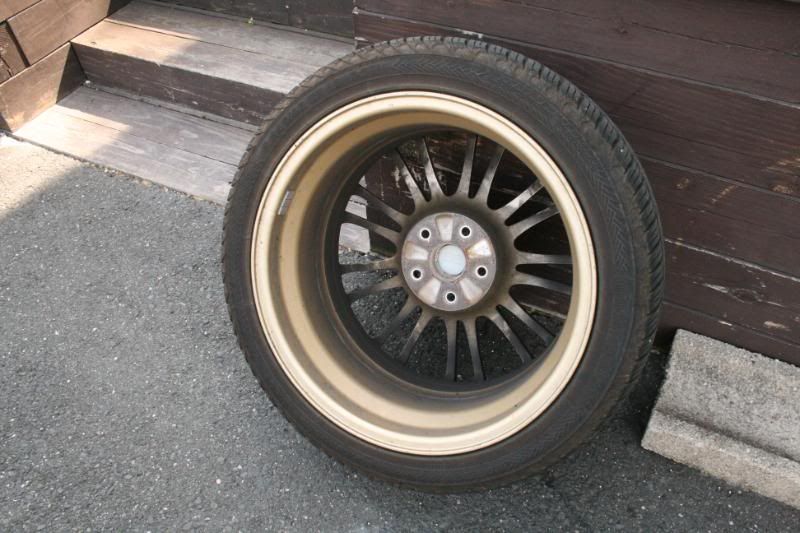 P21S Gel on the wheels, I let it dwell while I cleaned the wheel wells and brakes Back of the wheel 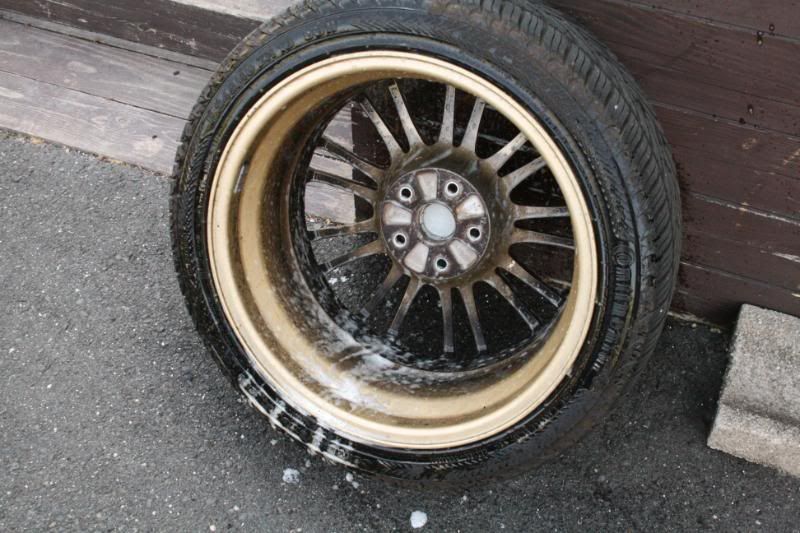 Front of the wheel 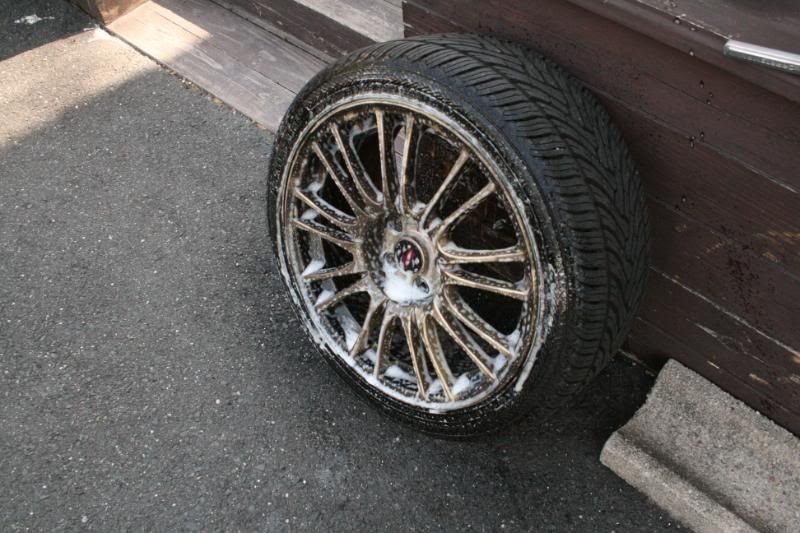 What it looks like after P21S sits for a while, the P21S Wheel Gelis pretty thick. 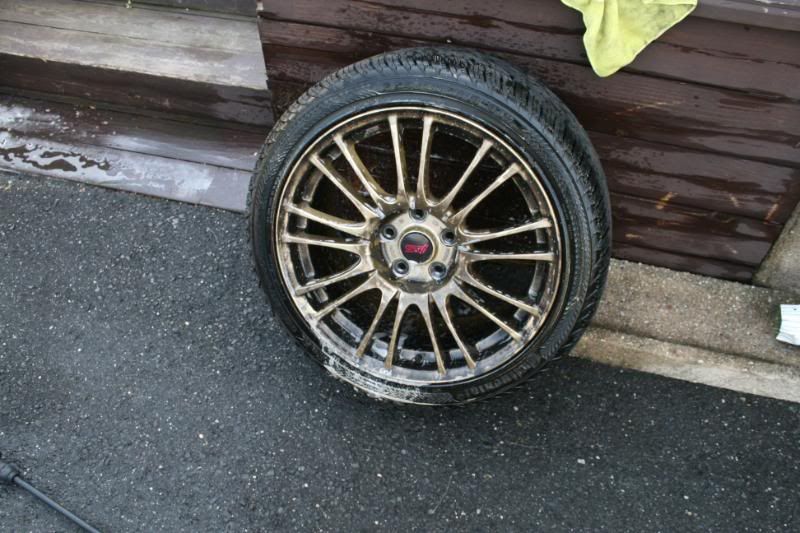 Cleaned both the front side and the back side with the Uber Boar's Hair Wheel Brush, The Uber Spoke Brush, and the Swissvax Wheel Brush, each one helped with the process of cleaning all that brake dust and dirt off the wheels. 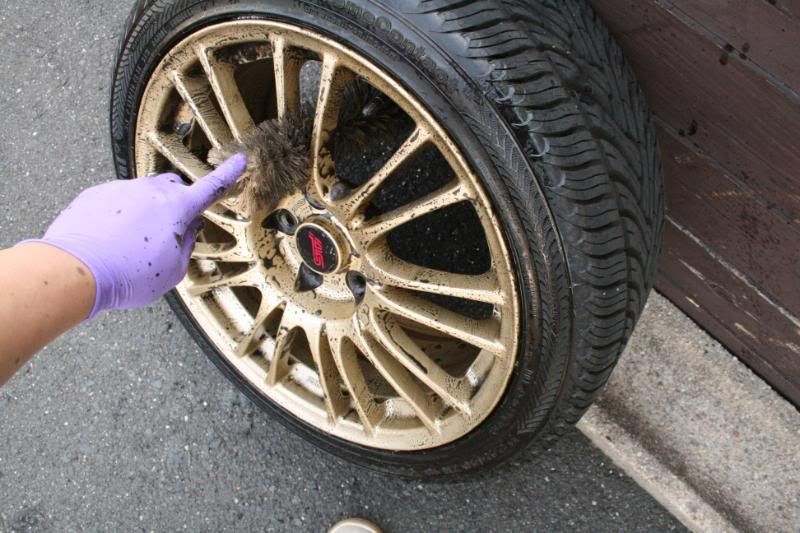  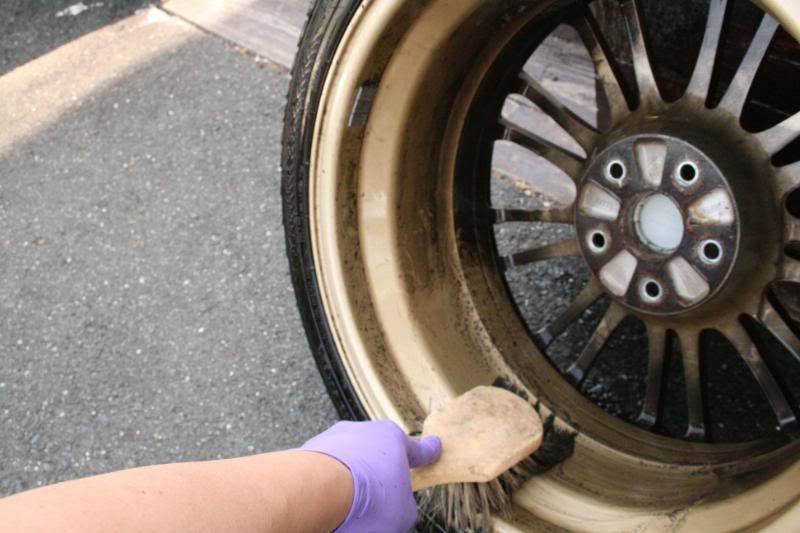  After I applied Swissvax Autobahn on them. 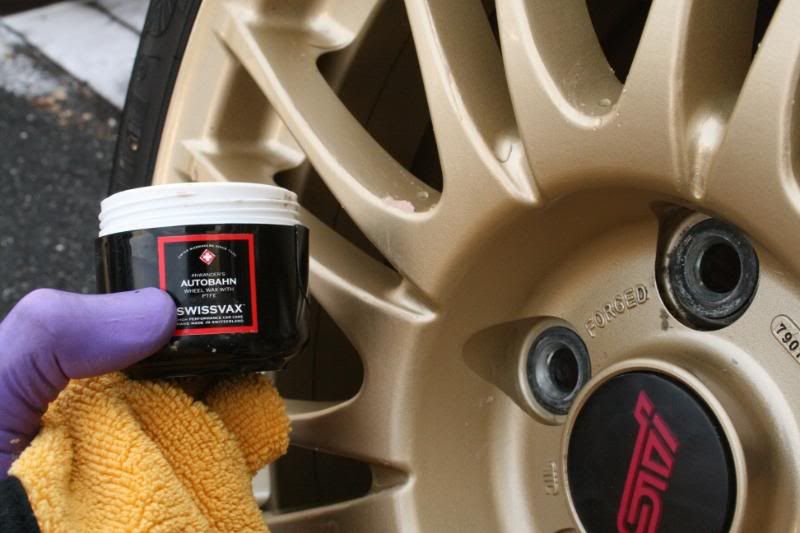 Results from all that hard work on the wheels.   Now that the wheels were done...on to the wheel wells. P21S Total Auto Wash was used to cut the dirt and grime off the wheel wells as well as the suspension bits, and brake calipers. 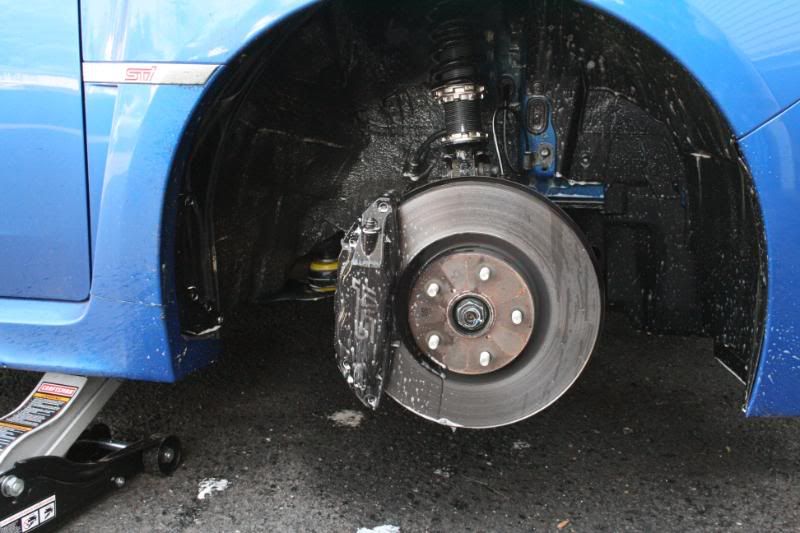 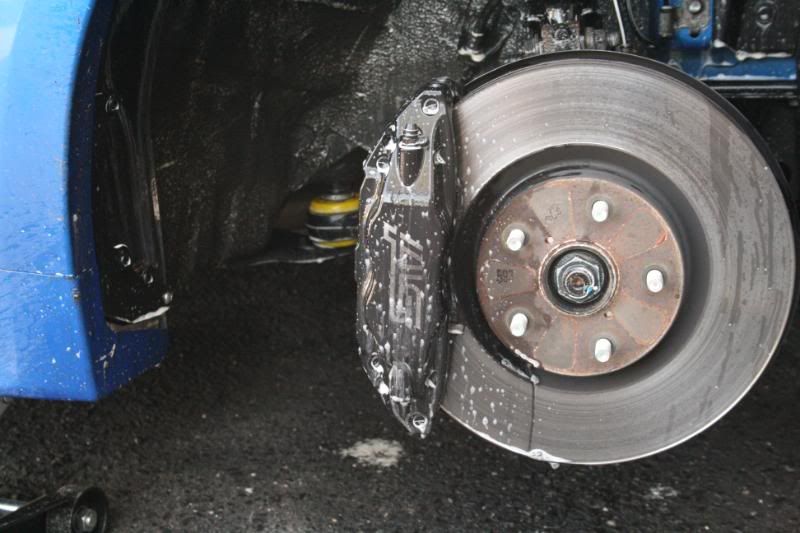 Brushes were used to help clean up the wheel wells etc  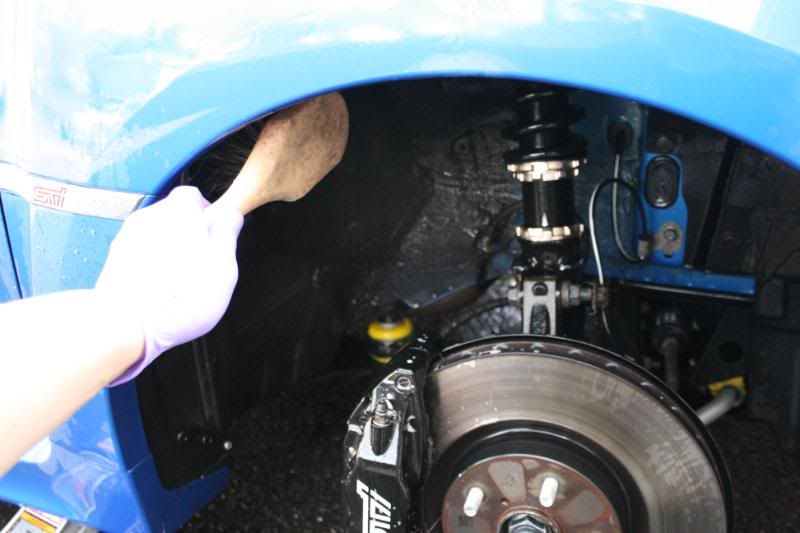 After everything was rinsed and cleaned up, I moved on to polishing the brake calipers with Menzerna PO85RD after I put a nice coat of Swissvax Autobahn on them to give them a nice shine and protection.  Caliper After Polish and before Autobahn  Applying the SV Autobahn 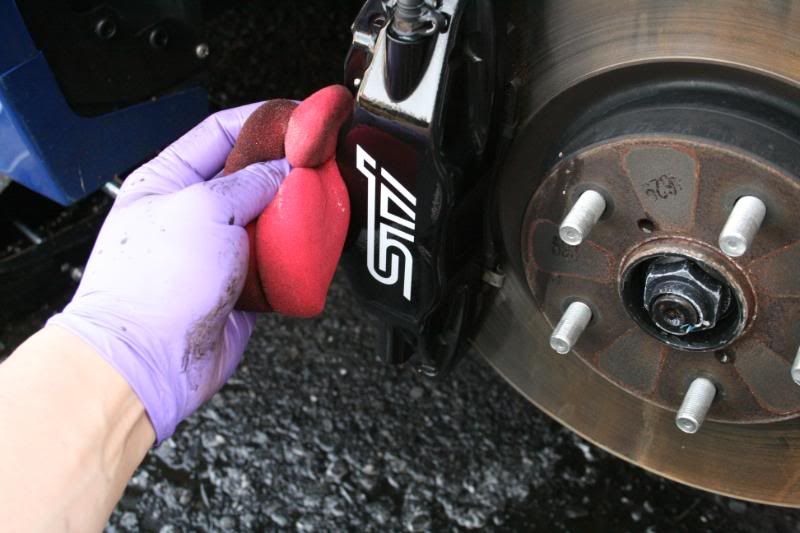 Removing the SV Autobahn 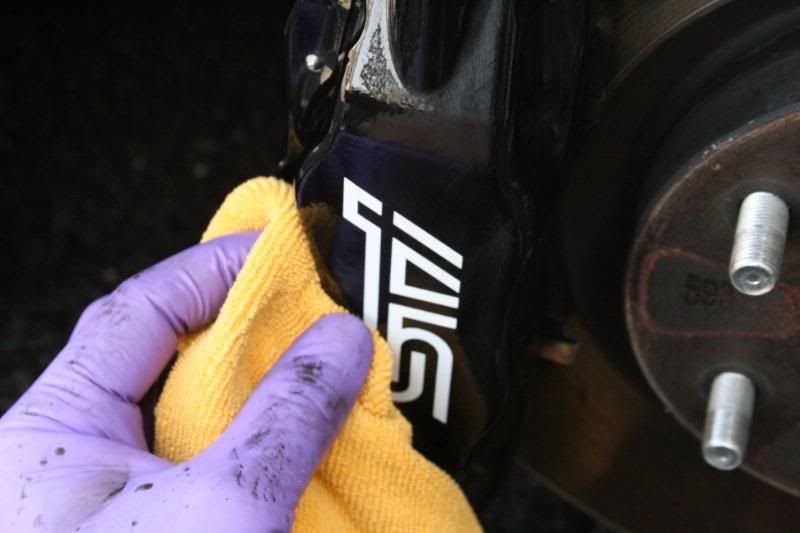 Adam's Undercarriage Spray was applied to bring back a nice new look to the wheel well covers (note I did wipe down any access to prevent a oily greasy look, I was going for a matte finish) 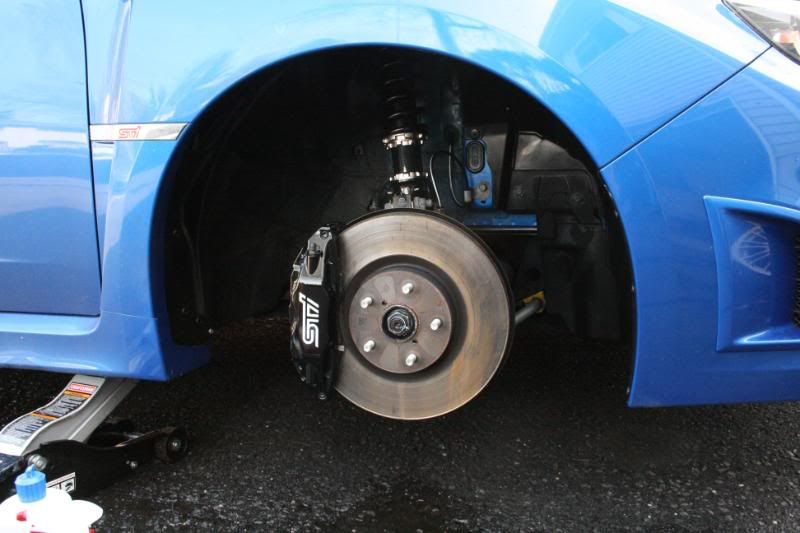 Rear Before 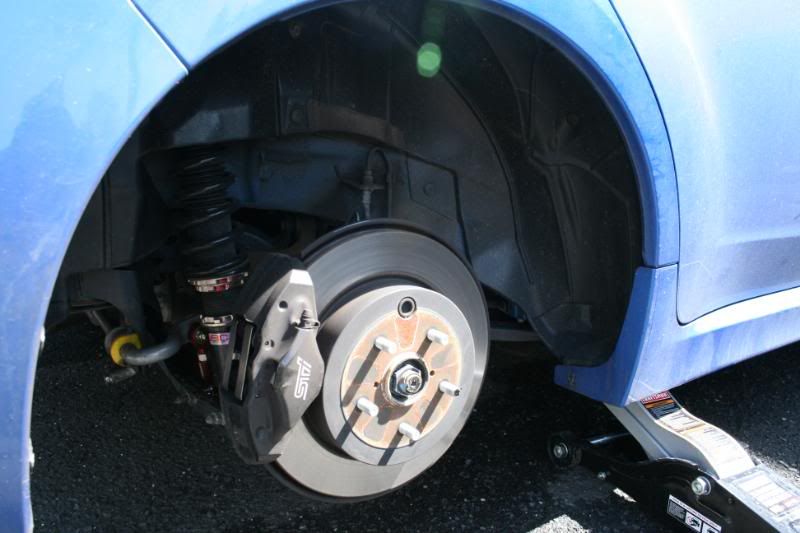 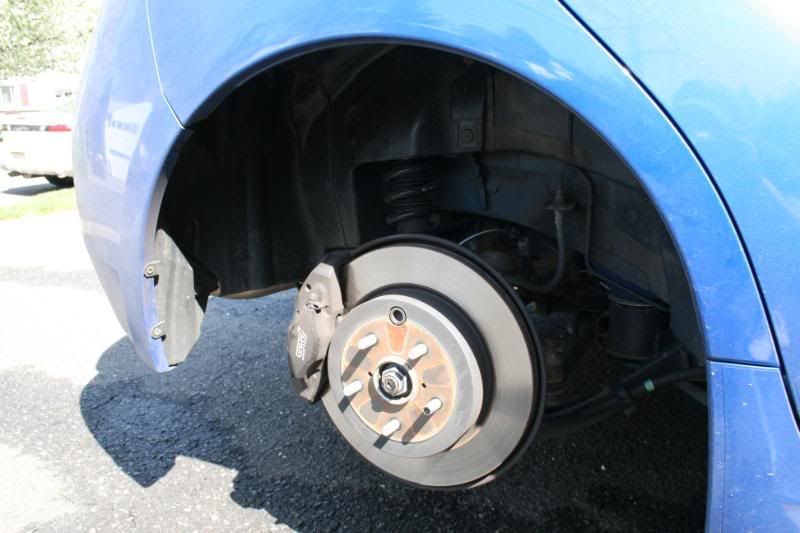 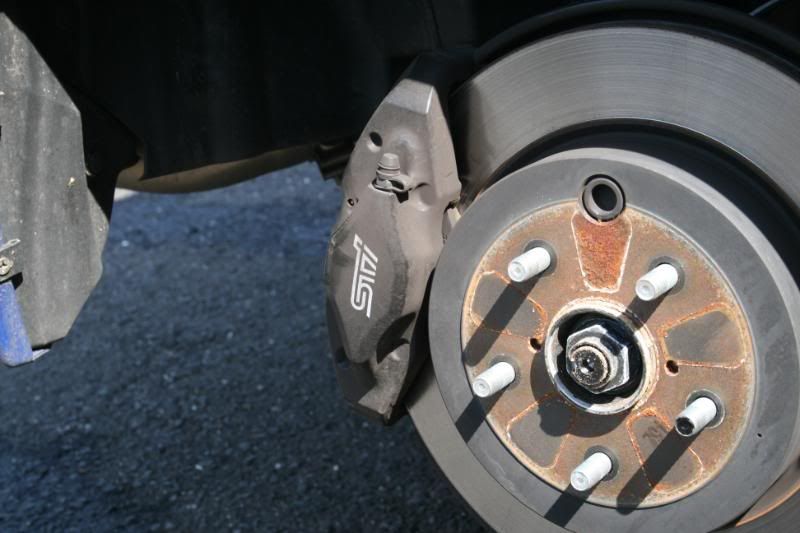 Rear After 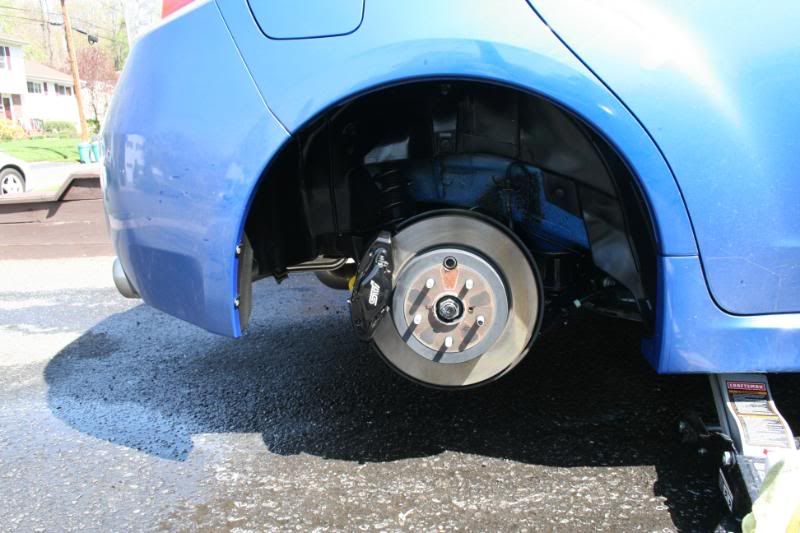 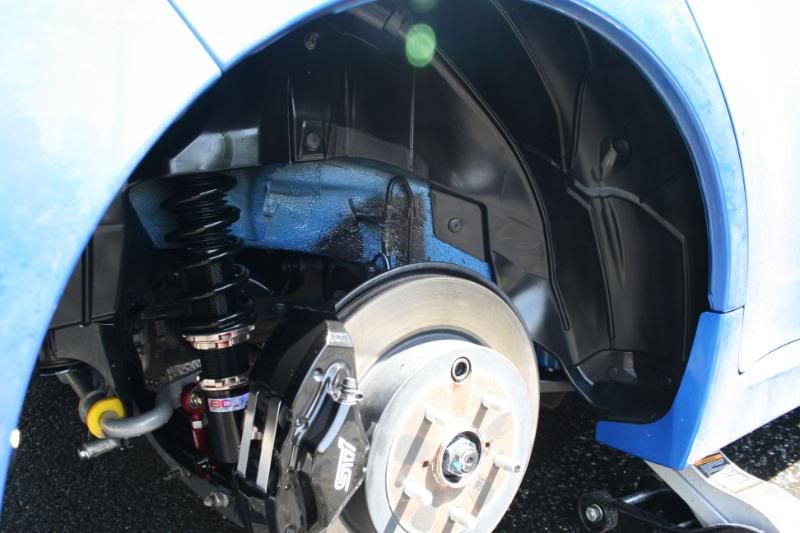 Front Before Front After 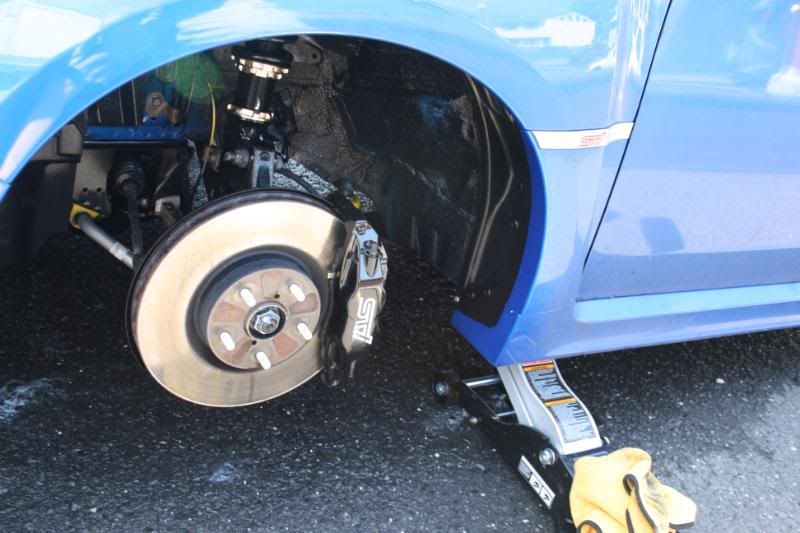 After of the wheel back on the car (less the tire dressing) 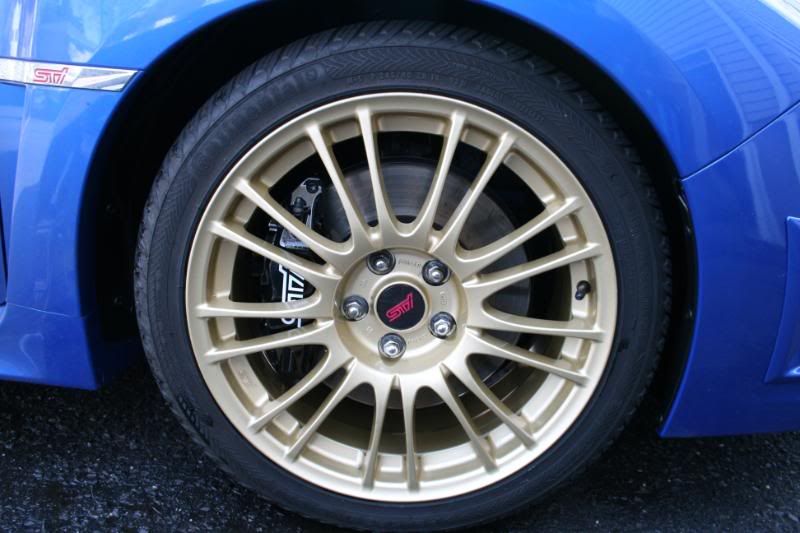 Of course the wheels were done again but much easier this time around. Take a look. Let's do the interior first Before 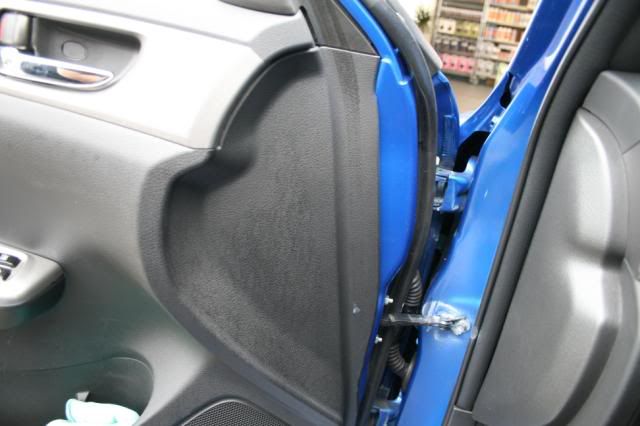 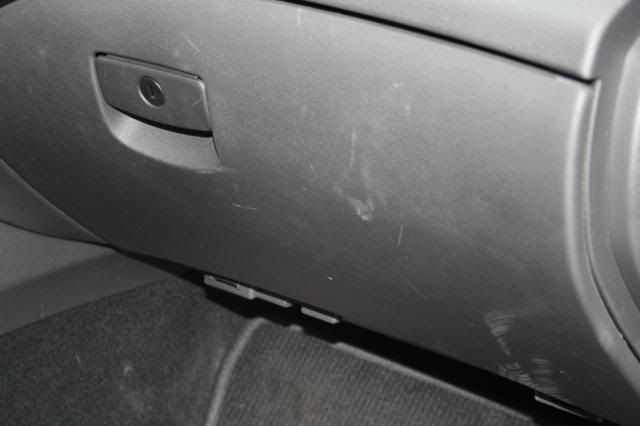  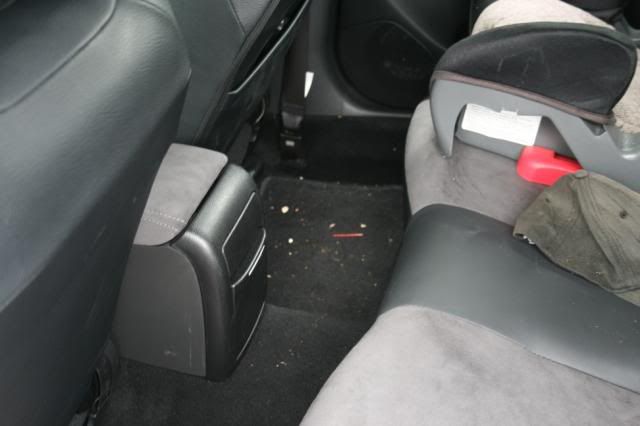    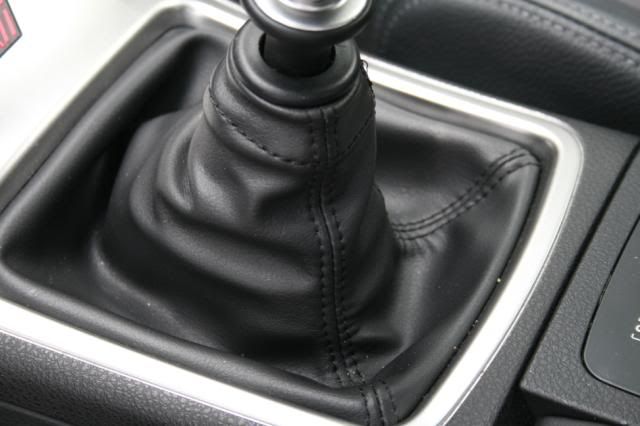 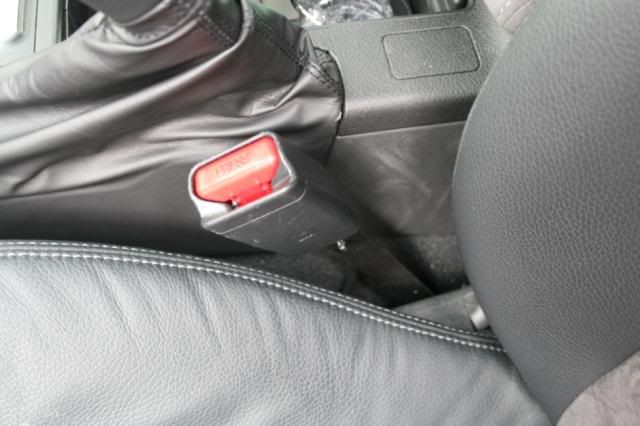 After 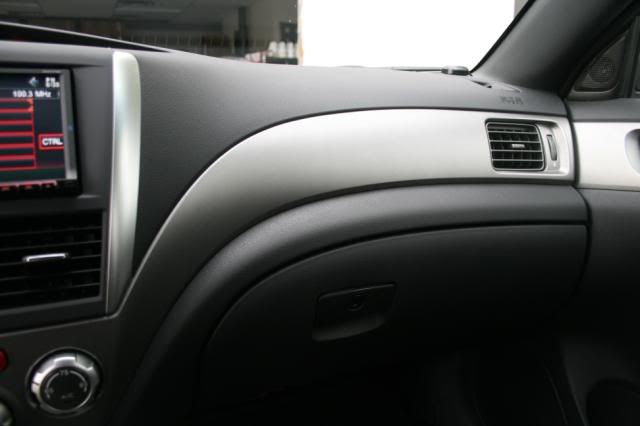 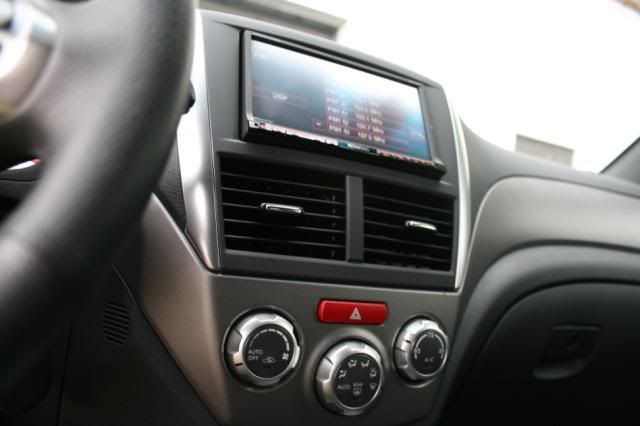 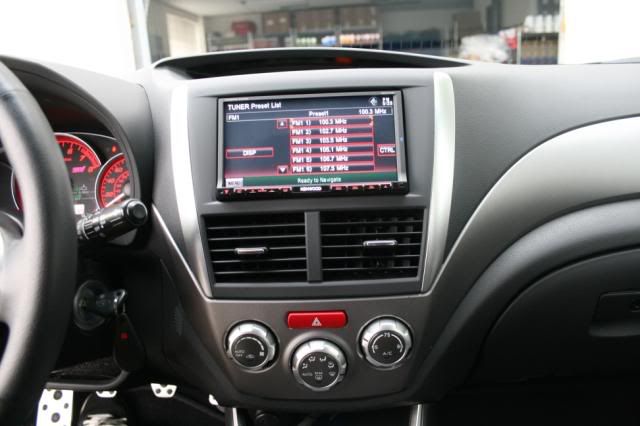  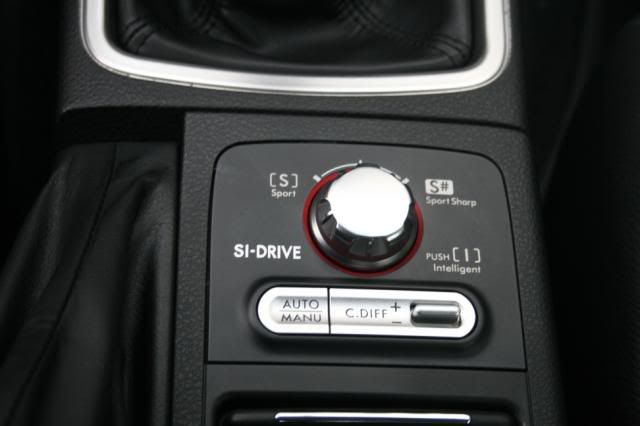  Prep Some before shots (this is how I got the car from the dealer)  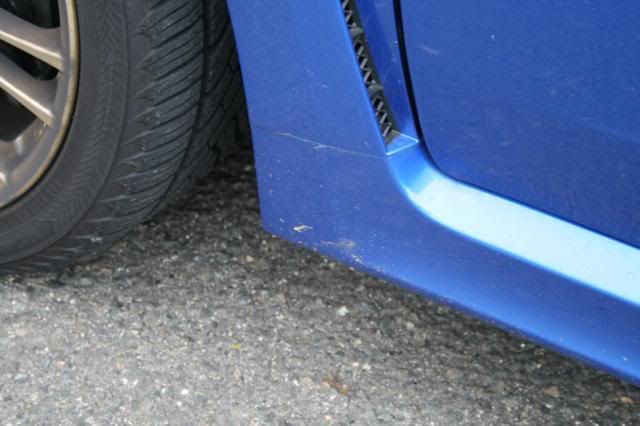 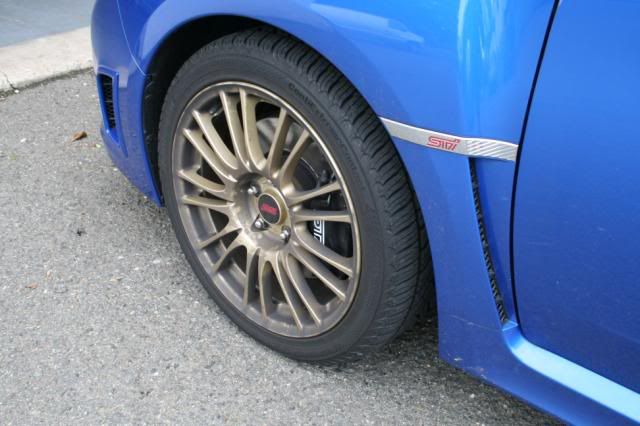 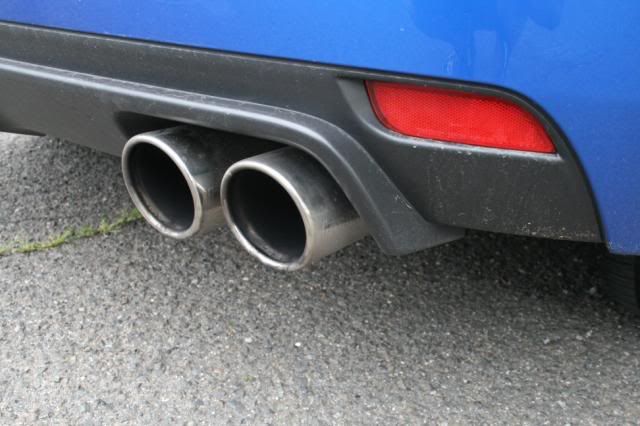  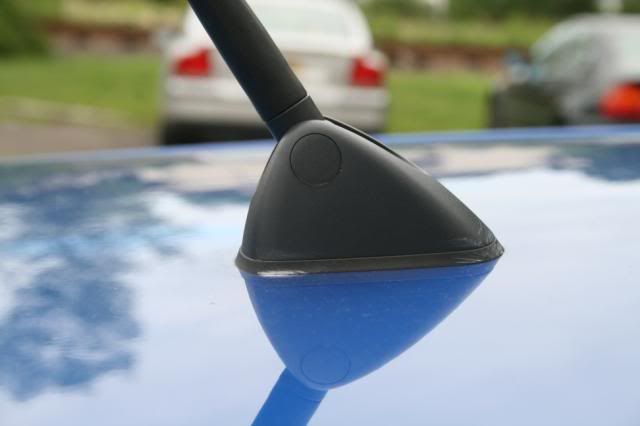 Before engine shots 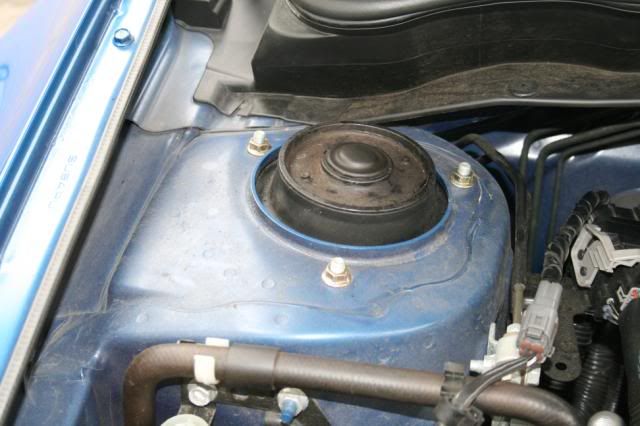 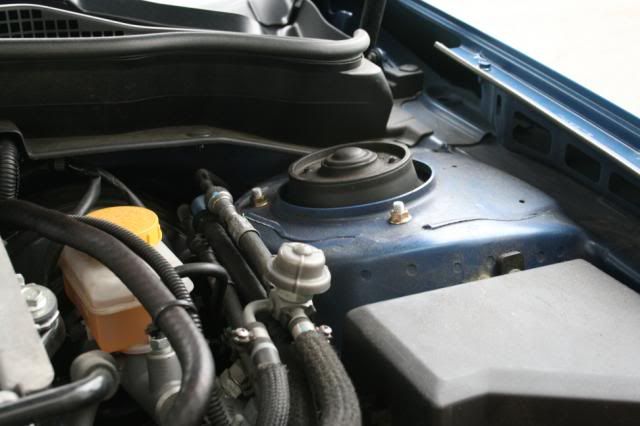 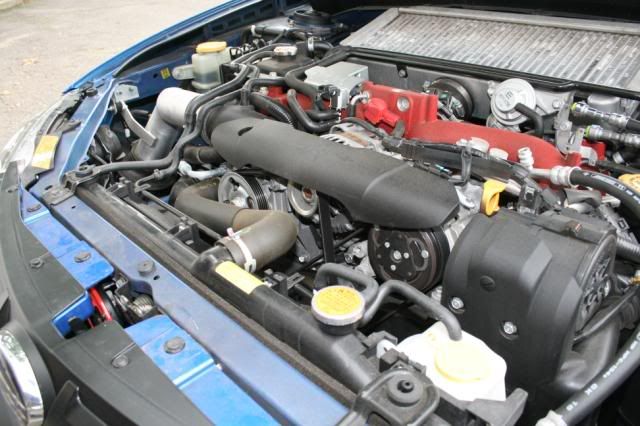 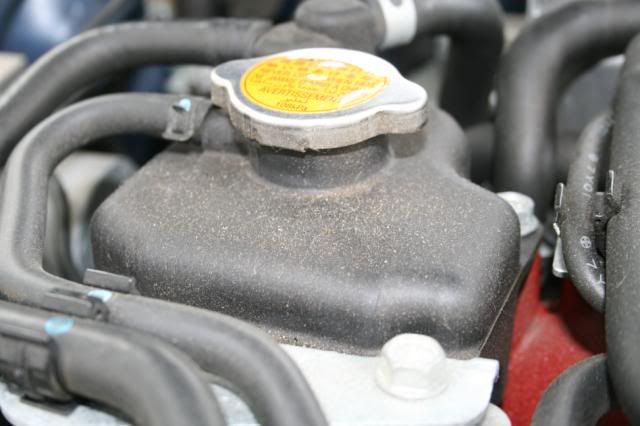 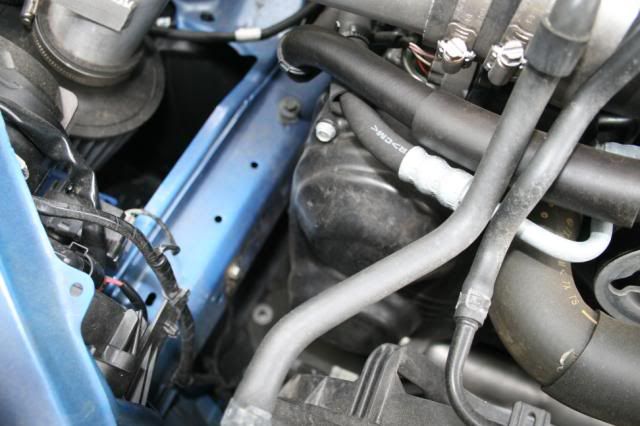 Cleaning up the engine 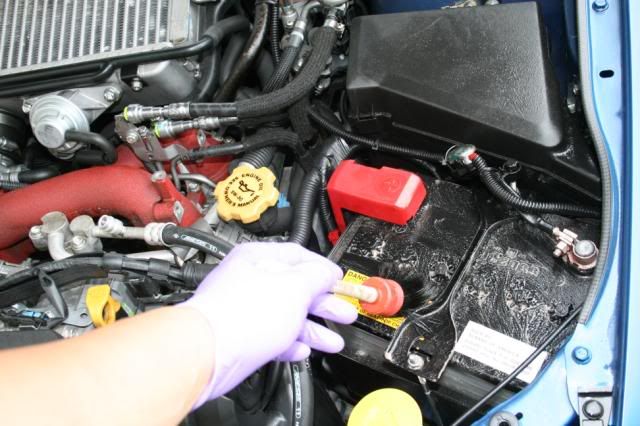  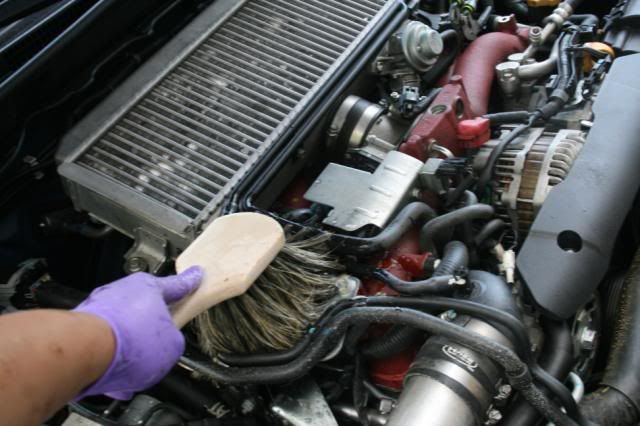 P21S Total Autowash on all the areas with wax build up around the rubber trim, bug and tar etc. 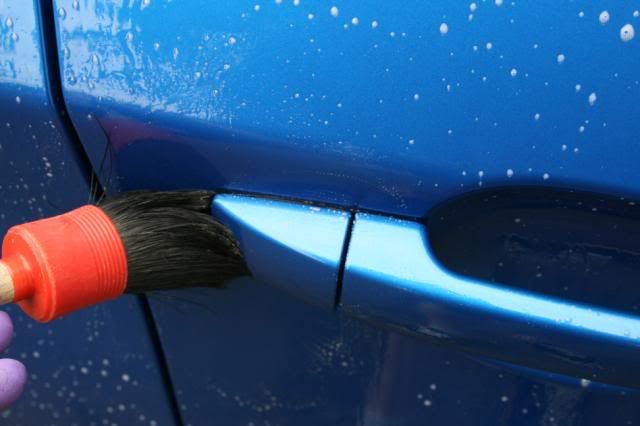 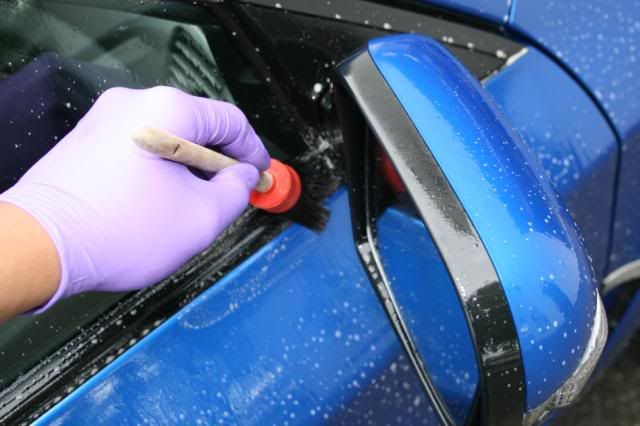 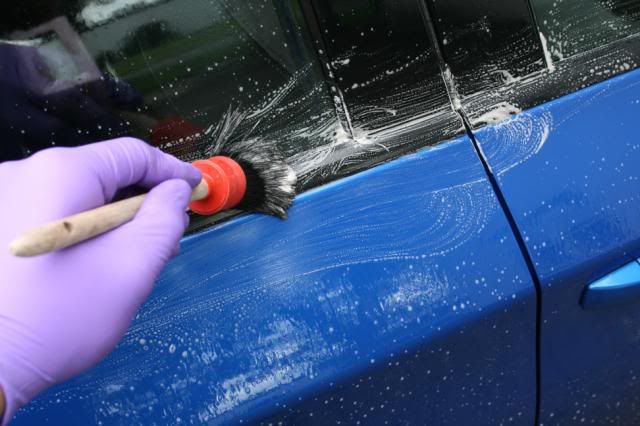 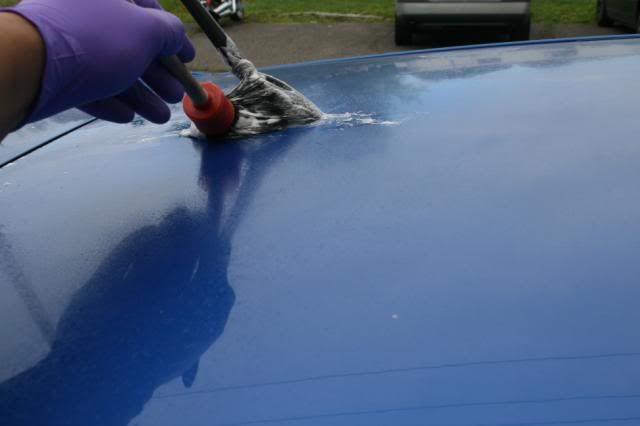 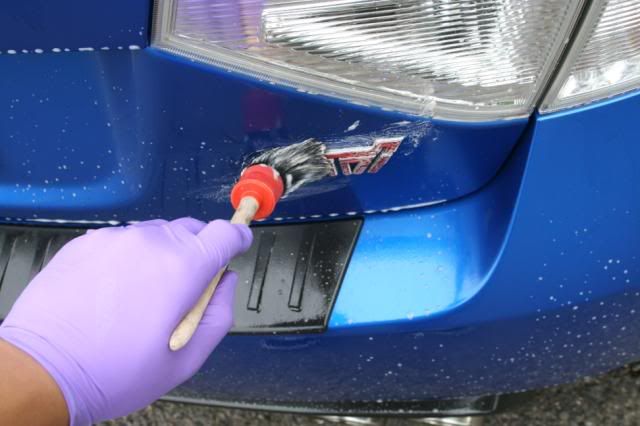 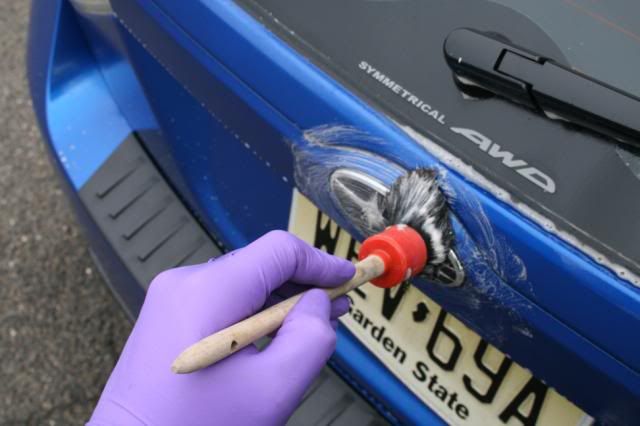  Now for the foam canon 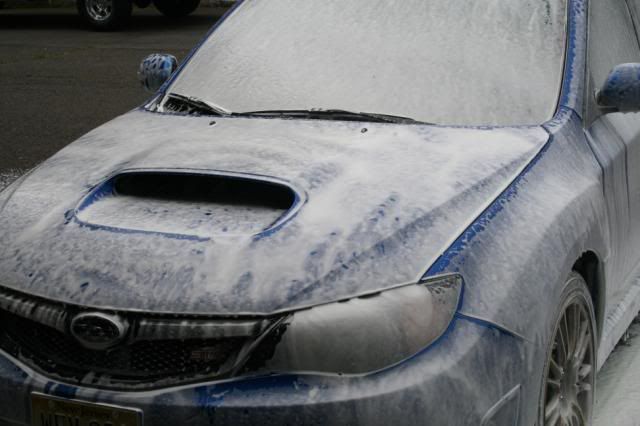 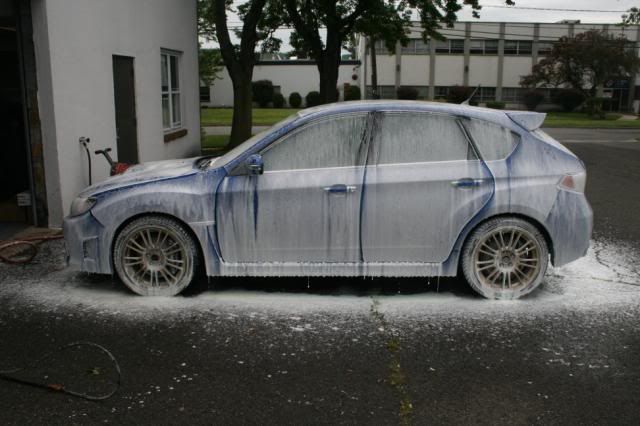 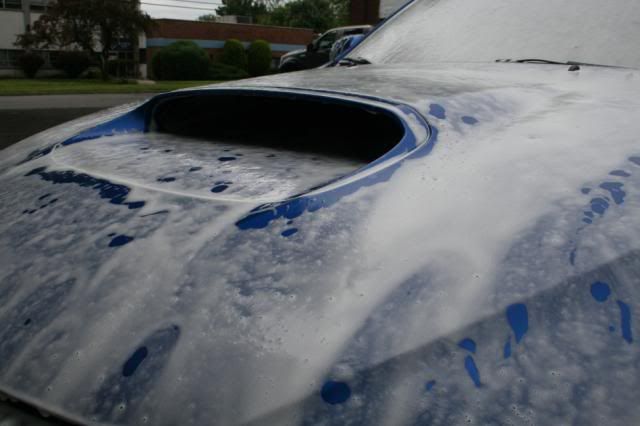 Claying the car 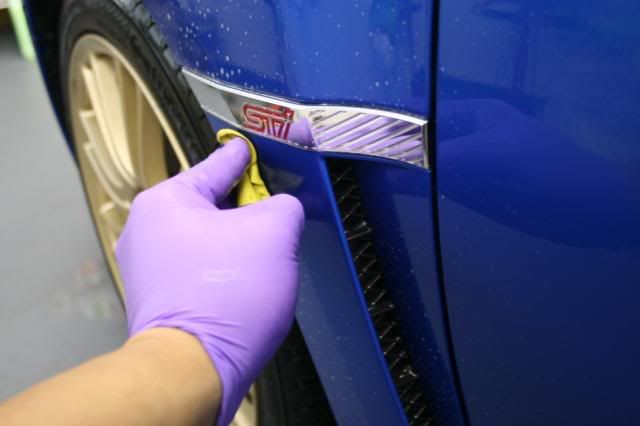 Swirls everywhere 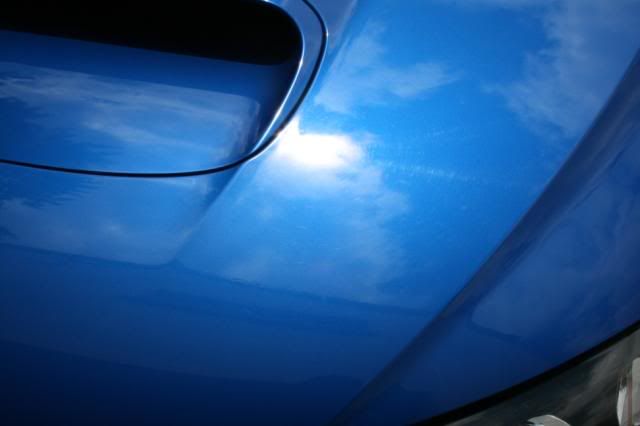 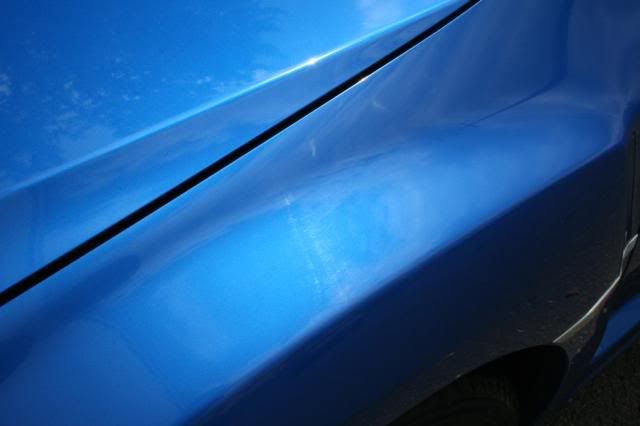 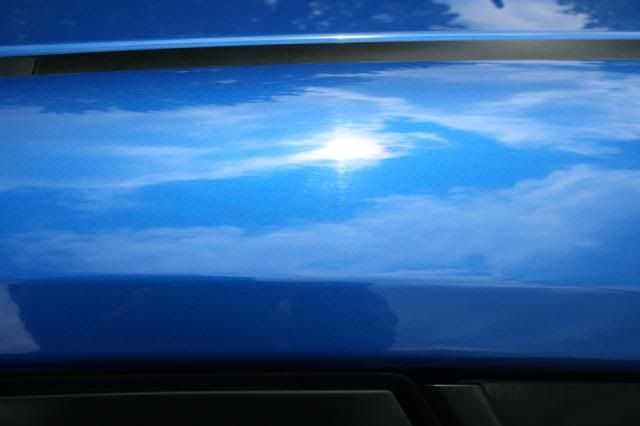 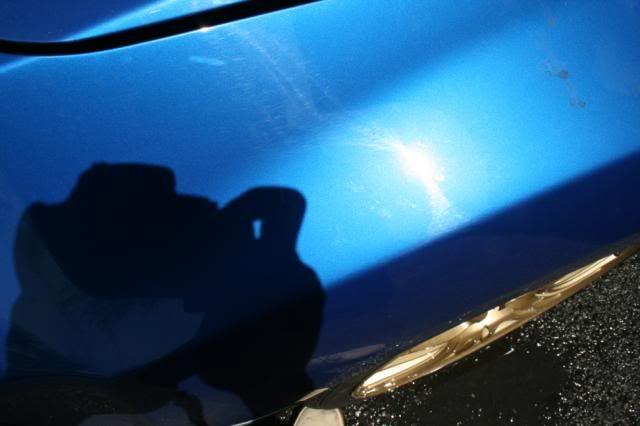 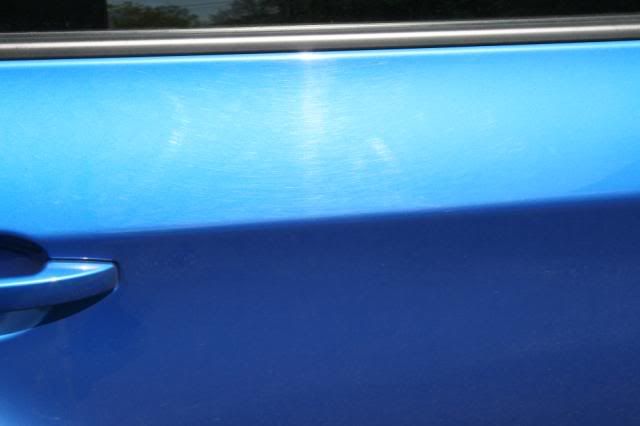 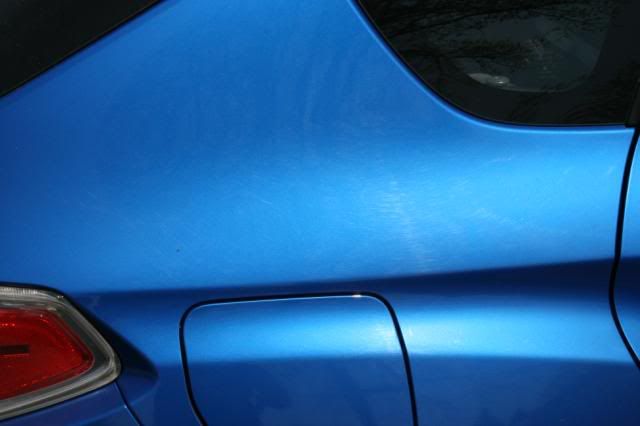 Measuring paint  After polishing under the Brinkmann 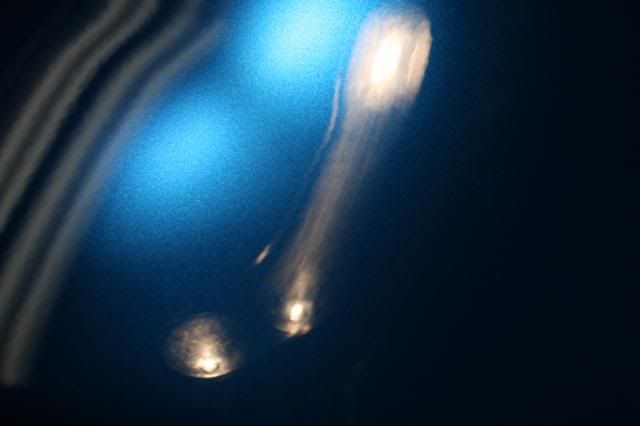 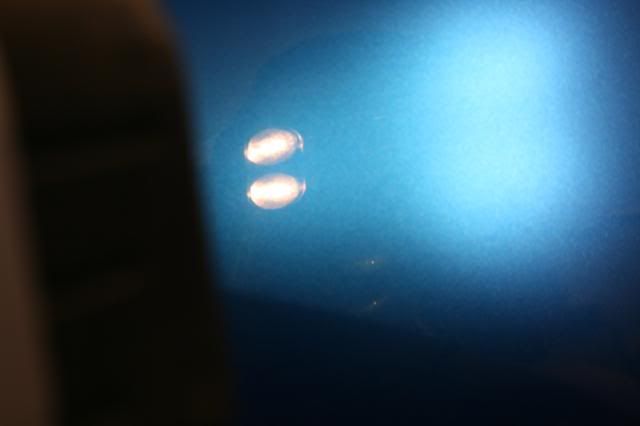 After shots of the engine 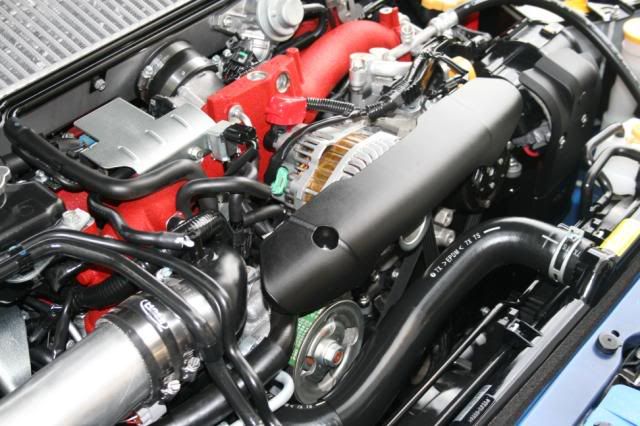  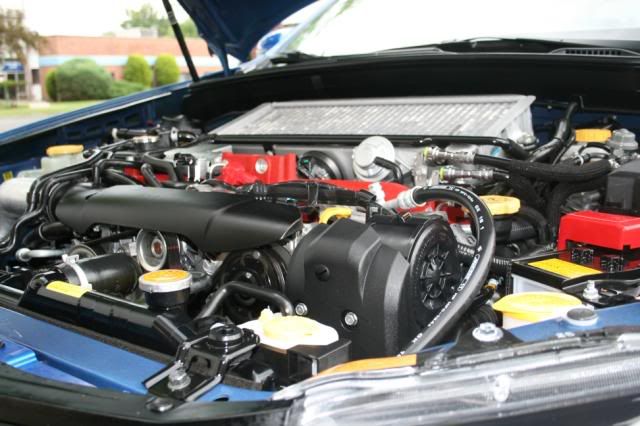 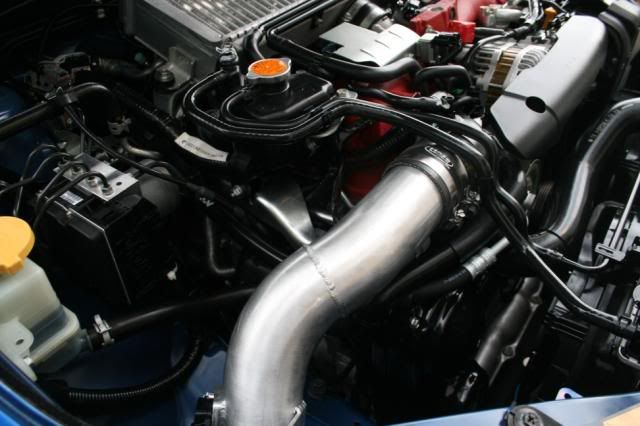 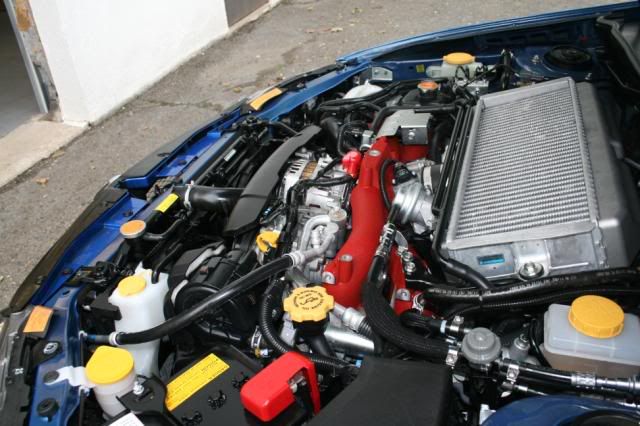 After shots of the car 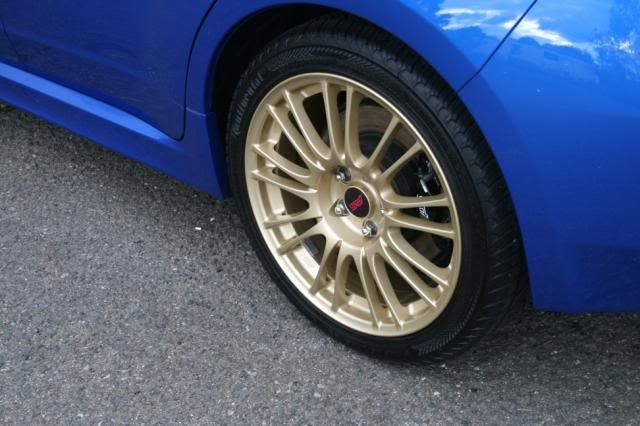 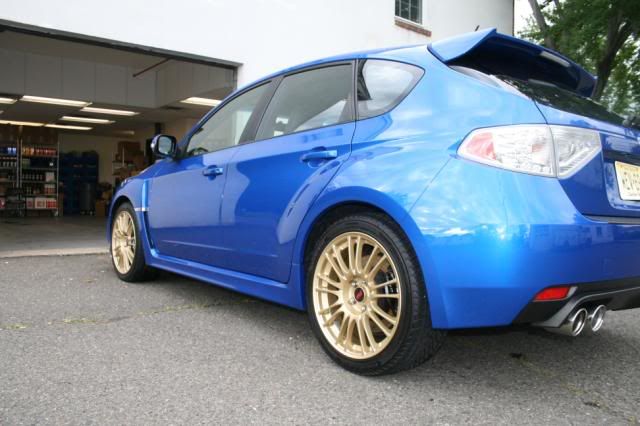 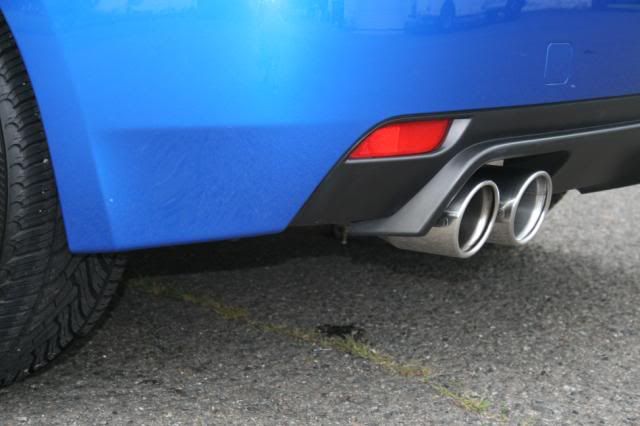  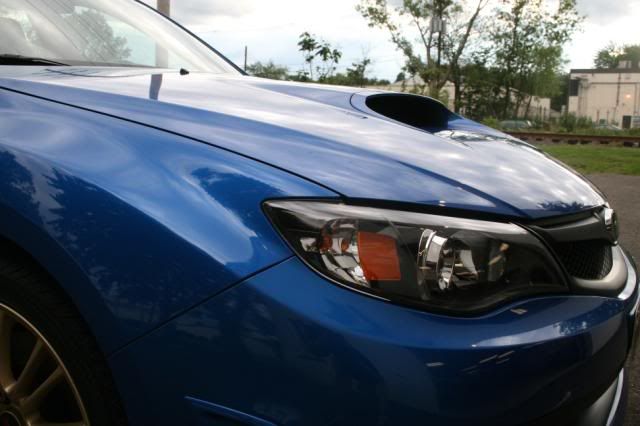 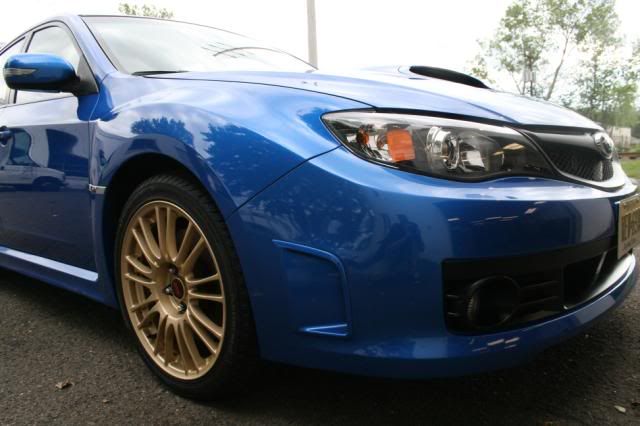 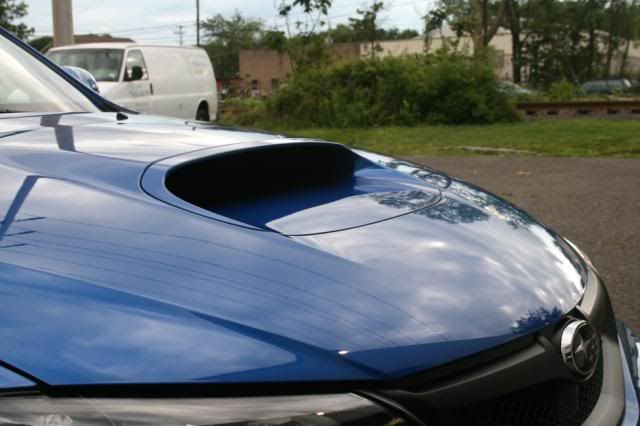  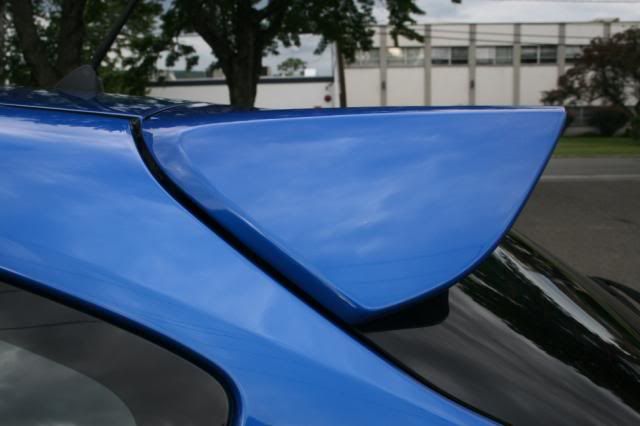 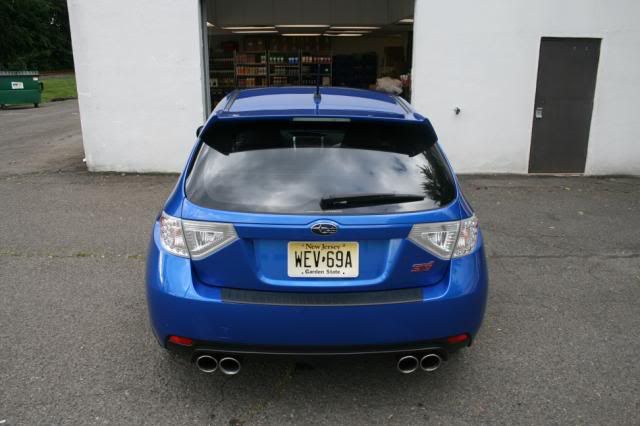 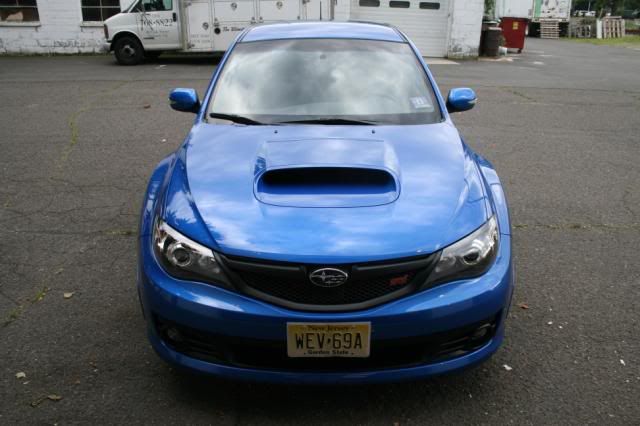 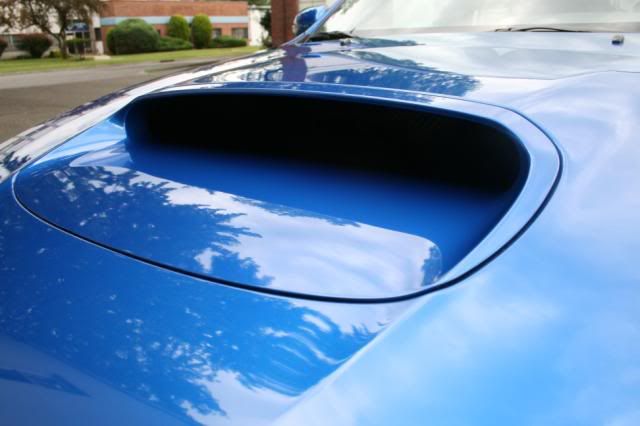 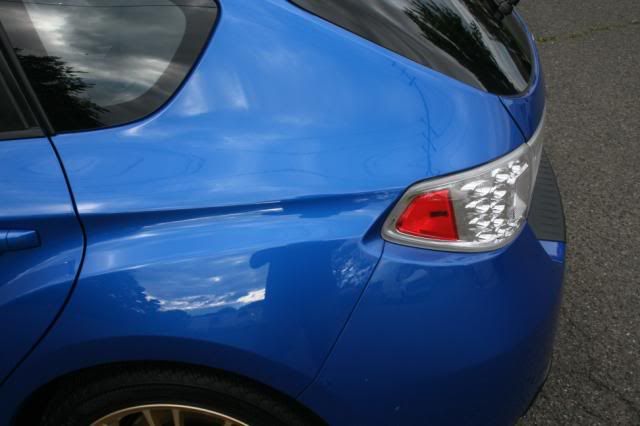  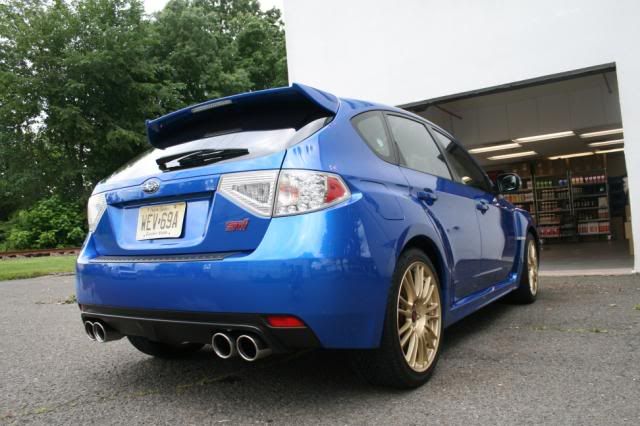 Last shot 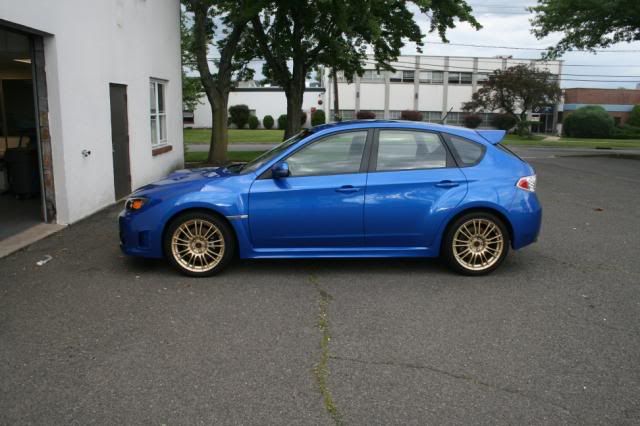 |
| 07-21-2009, 01:28 PM | #4 |
|
Bates '08 Interlagos Launch
126
Rep 1,230
Posts |
You can shine it up but all you're going to get a shiny turd. That car was the biggest POS I ever owned, with a company philosophy and backing to match it.
This was my car at 4000 miles:  #4 piston failure, warranty coverage denied. This is a common failure on the new STi. How you ask? They rebadge an engine from the 10yr(ish) old STi, lean it out to claim better fuel economy for '08, #4 piston runs hot if you drive it at any sort of speed (like the ads claim "Thou shalt seek redline"), and you blow the ringland. Subaru issued a GLOBAL stop sale to reprogram the ecu back to the richer (less MPG) map. By then the damage was done to my car. Subaru did not cover me. f'in bastards. PS -look how nicely the Capitaland subaru department took care of my car while they worked on it for over a month. I visited the dealer and saw this to my horror. On top of that, I lost $10K in value in that car after 10 months. I'll NEVER buy another Subaru.
__________________
Custom Exhaust Project: Bates Valvetronic exhaust: http://www.m3post.com/forums/showthread.php?t=253661 -- Exhaust Mod pics in here: http://www.flickr.com/photos/40236795@N03/
DON'T BUY Race Ready Performance electronic cutout valves. Here's why: http://www.m3post.com/forums/showthr...40#post9589740 Last edited by Subw00er; 08-13-2009 at 10:12 AM.. |
|
Appreciate
0
|
| 08-08-2009, 08:30 AM | #6 |
|
Major General
1995
Rep 6,916
Posts |
thanks guys, I knew that the subies had a problem and I thought they would back it all up wow that sucks good think I dumped mine as well not for the problems but more so because I'm a german car guy...
|
|
Appreciate
0
|
Post Reply |
| Bookmarks |
|
|


