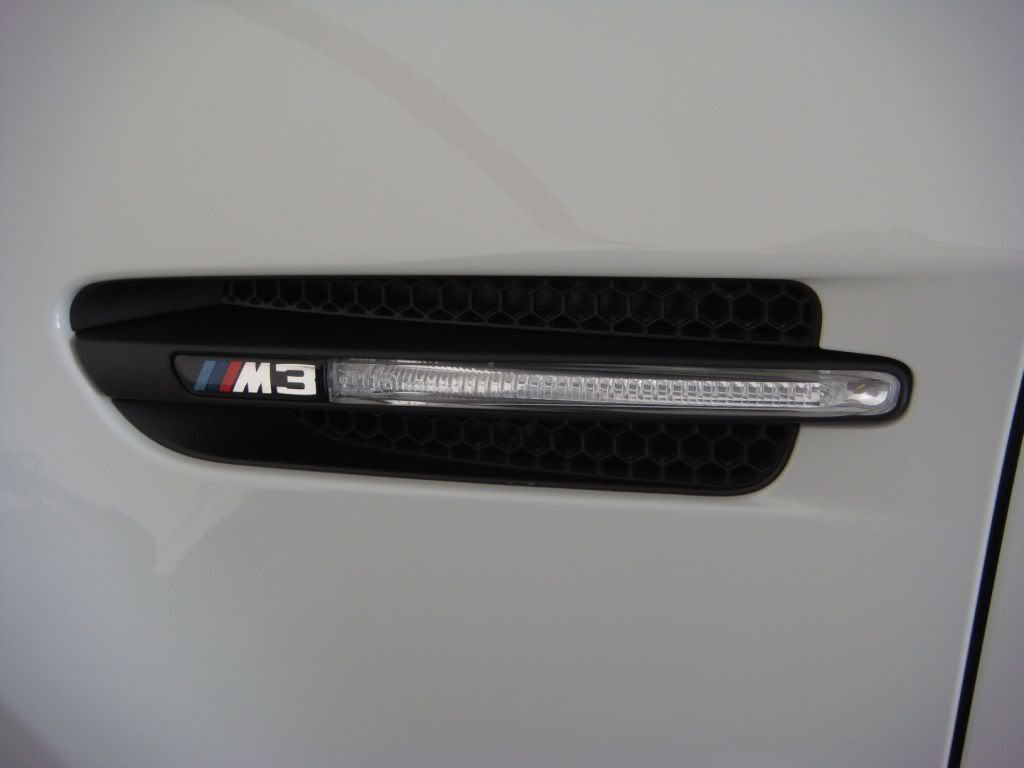
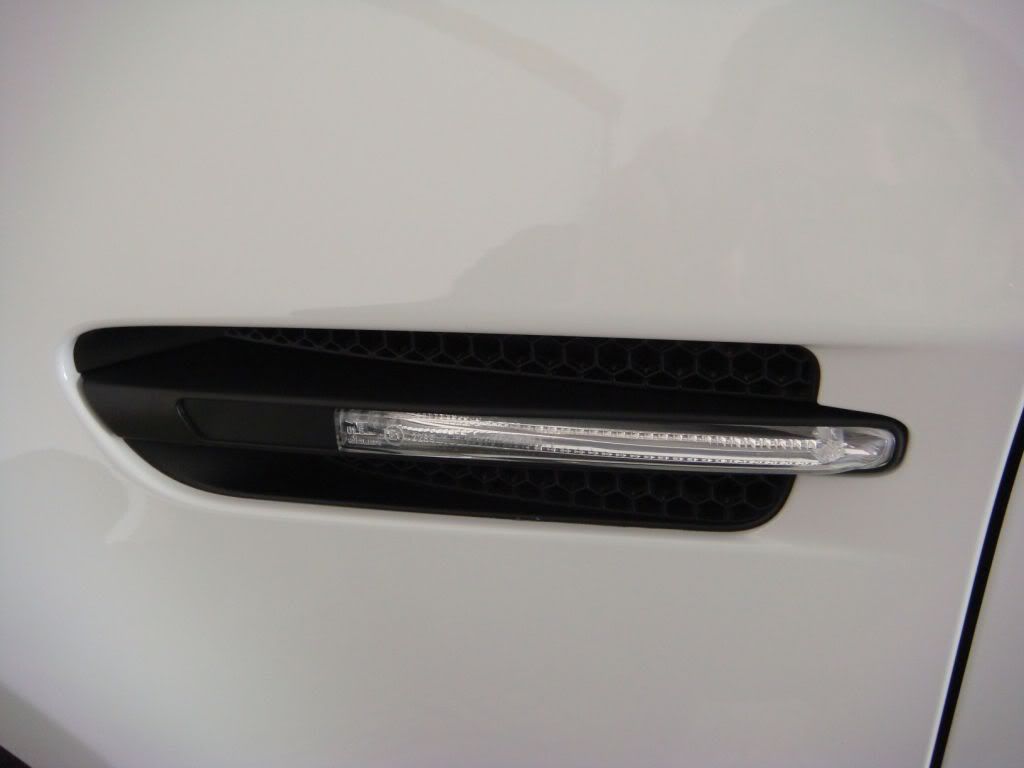
This is a step-by-step illustration of how I removed my side gills on my E90 M3.
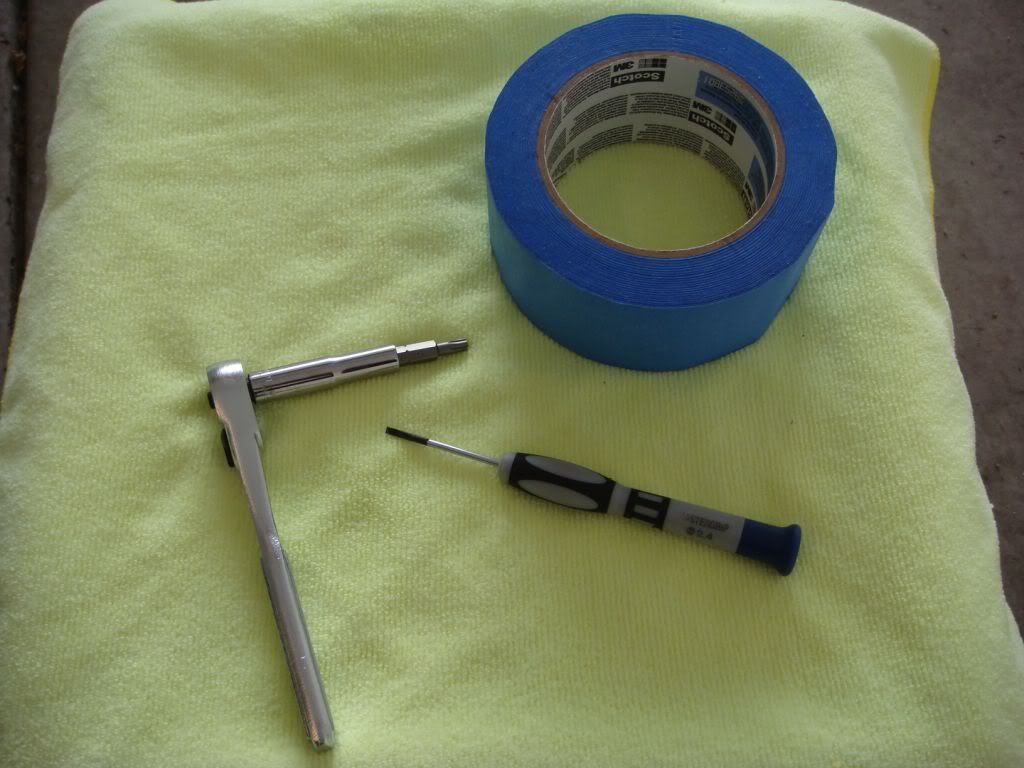
 Tools needed
: painters tape (or another thin/durable tape), small thin flat-head screwdriver, T-25 hex/star driver or screwdriver, soft clean microfiber cloth, and a milk crate or short stool to sit on.
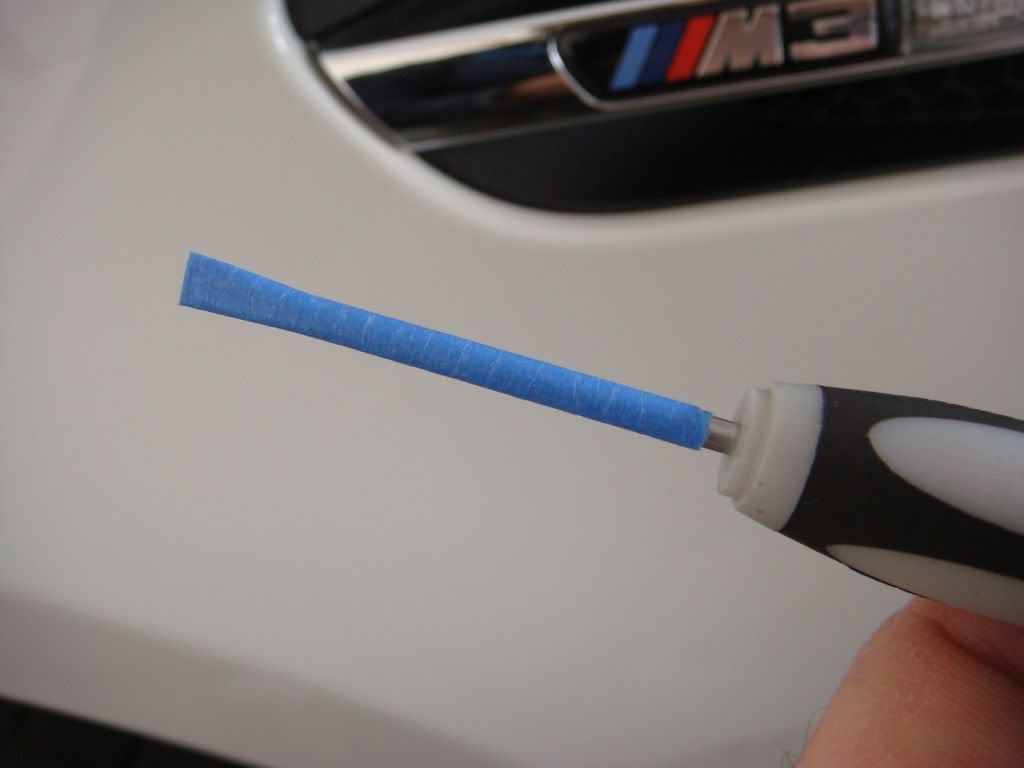
Use a small thin flat-head screwdriver.
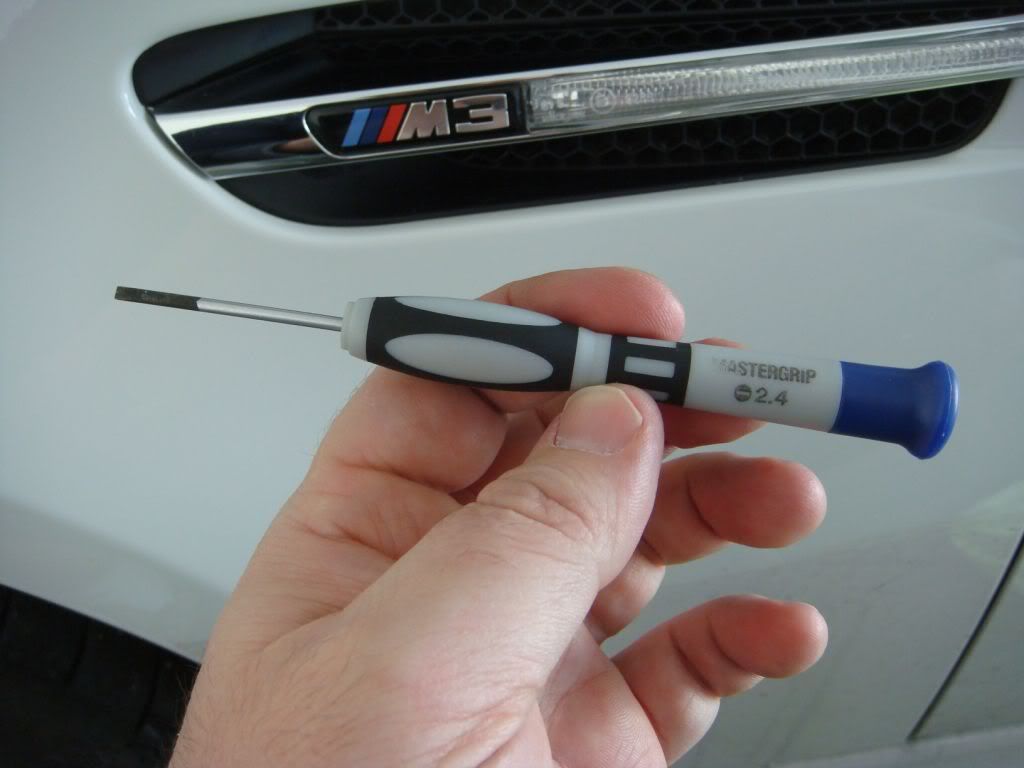
Wrap the screwdriver 3-4 times around with wide painters tape. Clip off the end of the tape close to the head of the screwdriver. This offers a nice thin point.
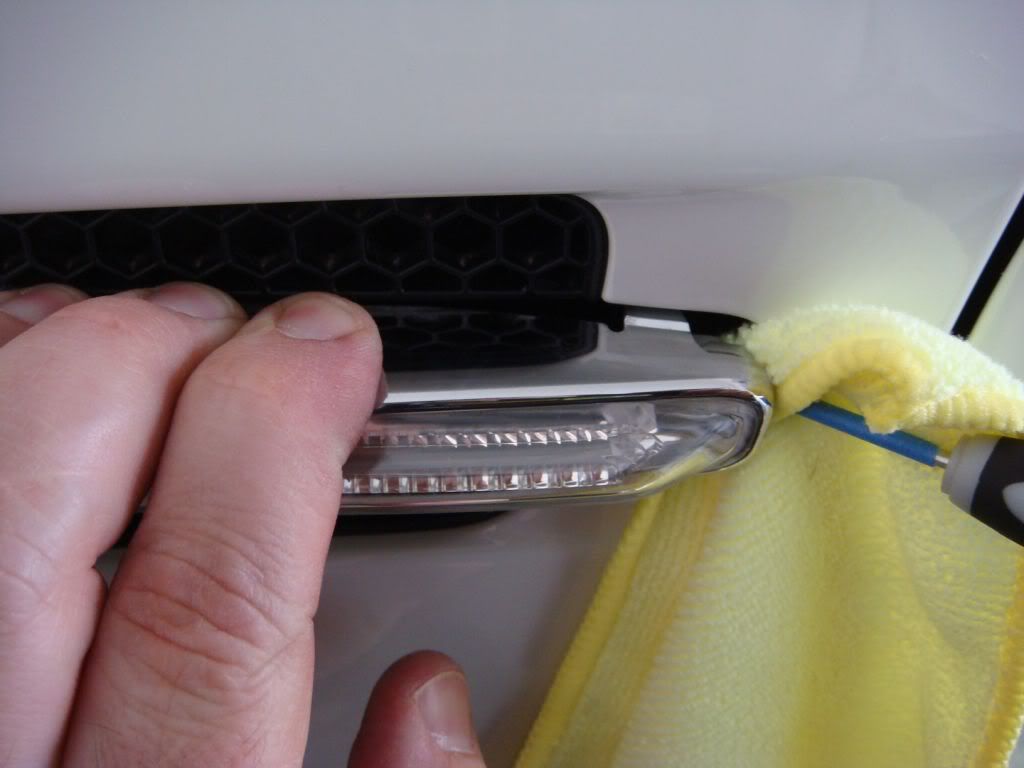
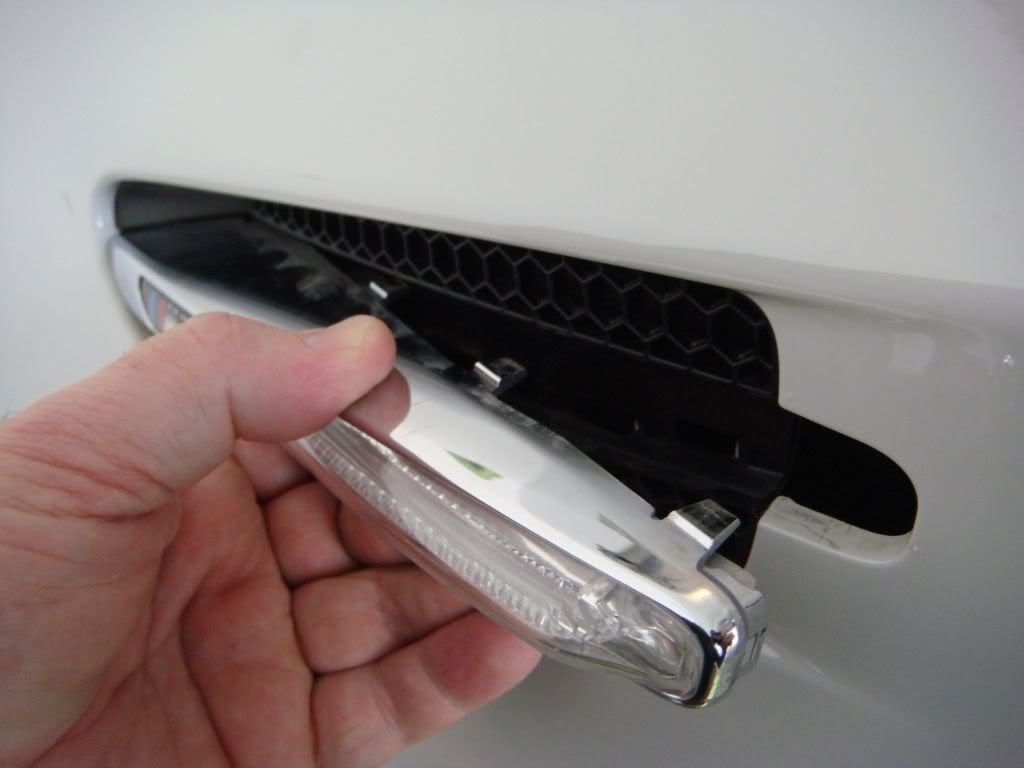
As you insert the tip of the screwdriver between the fender and the furthermost rear area of the side gill, the gill and light assembly will slide forward a bit offering you a bit more room to get under the plastic.
Use a soft microfiber cloth to protect the paint as you pry the gill out of the honeycomb. This requires a decent amount of pressure (reletively speaking, to something plastic) to disengage the plastic clips/tabs holding it to the honeycomb.

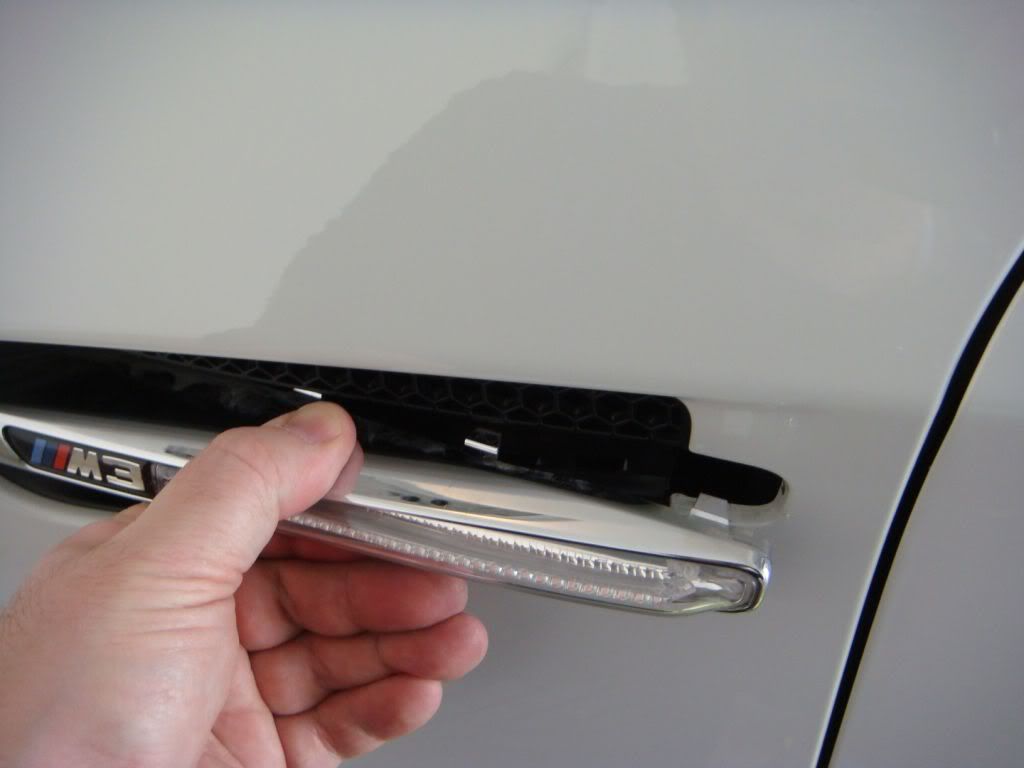
Once the chrome piece has been pulled out enough (maybe 1/4-3/8") grab a hold of the edge of the gill and begin to work it off the honeycomb.
Notice: the placement of the tabs by looking at your new gill. This allows you to apply the pressure in the proper place along the chrome to release the gill.
Work your way down the gill (toward the front of the car) applying pressure above & below (top & bottom of the gill) while pulling out (toward you).
 DO NOT PIVOT
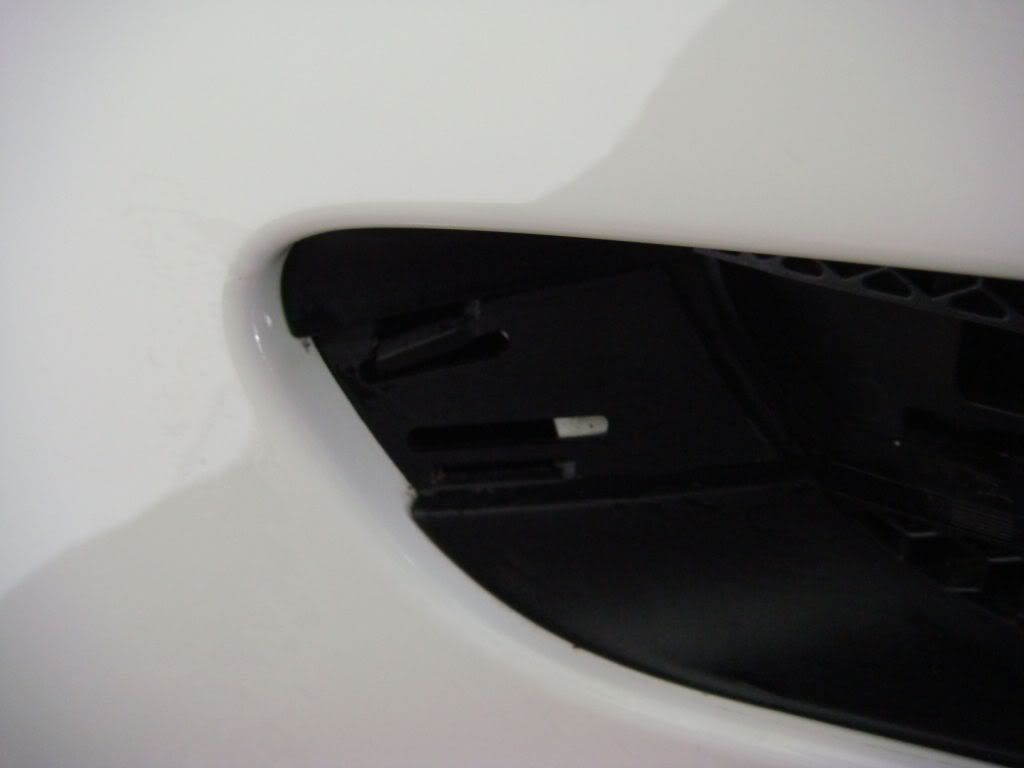
 the gill as you're removing/pulling. Work it out TOWARD you. DO NOT bend/pull/forse it out like this, or.....
...this happens. Casualty!

Not a big deal, because it's hidden, but still bothersome. The pressure of pulling the gill from the back (rear portion, where you started) puts too much pressure on the front tabs and the plastic of the honeycomb housing. Work it OUT, TOWARD you.
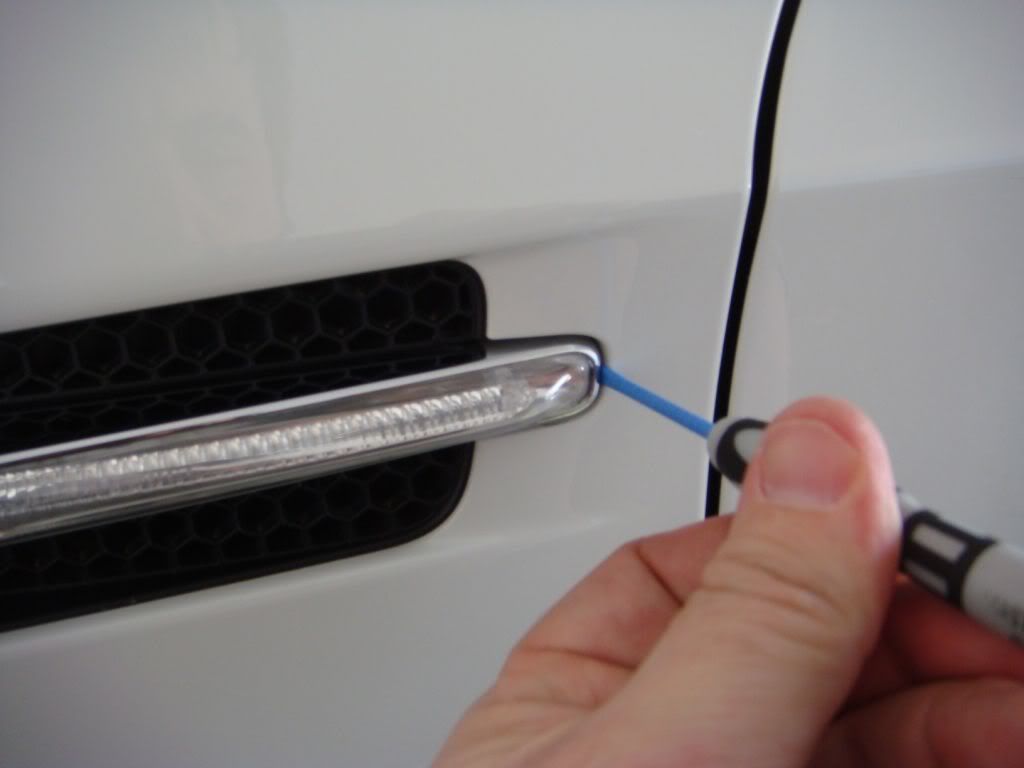
PLAY IT SAFE. Place a large piece of painters tape around the wire to prevent it from falling into the fender. Drivers side was shorter/tighter than the passanger side on my vehicle. I would have hated to lose the wire!
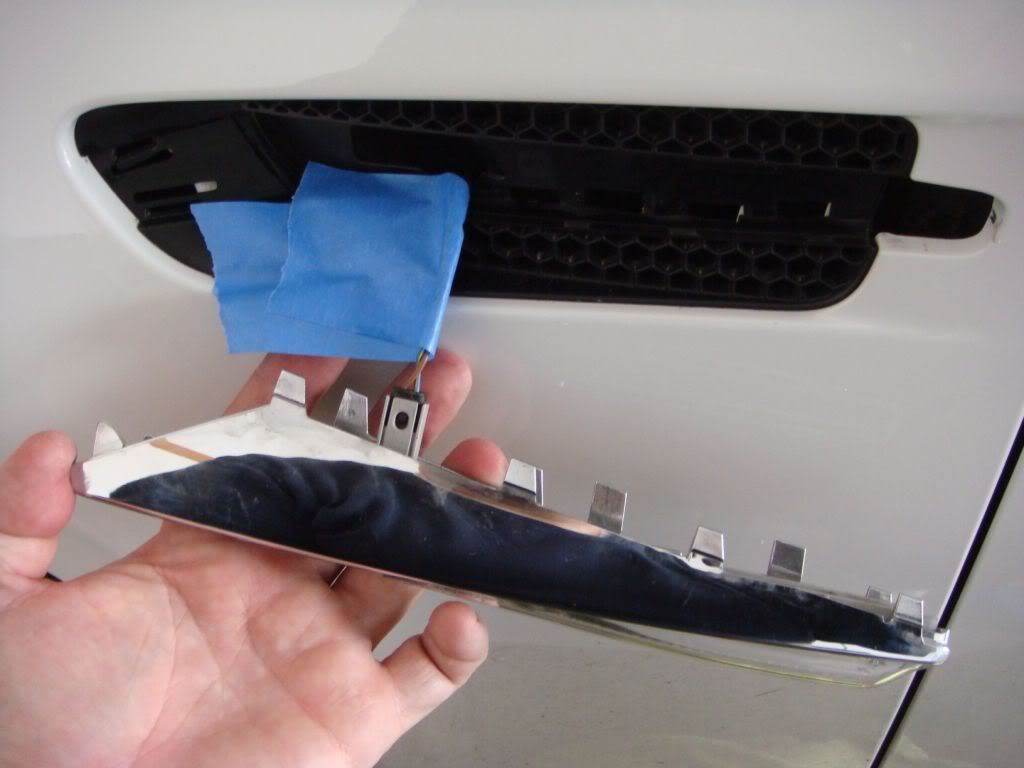
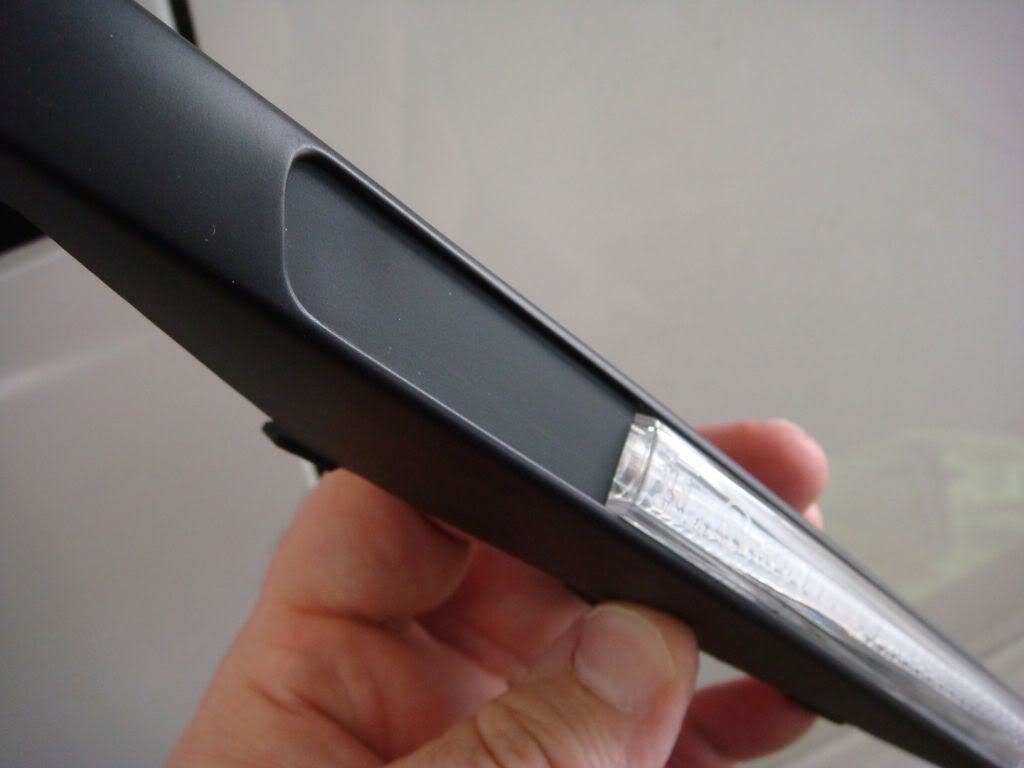
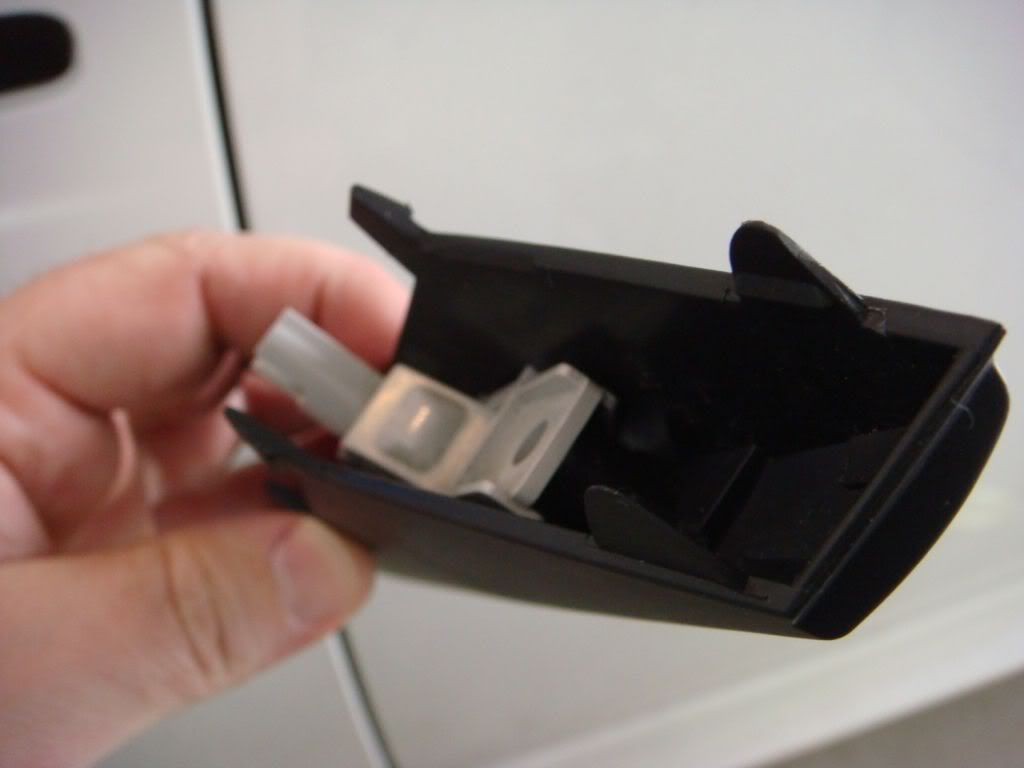
Remove the plug wire (pull up the clip on the plug slightly to release). Remove the screw and remove the light assembly from the chrome gill.
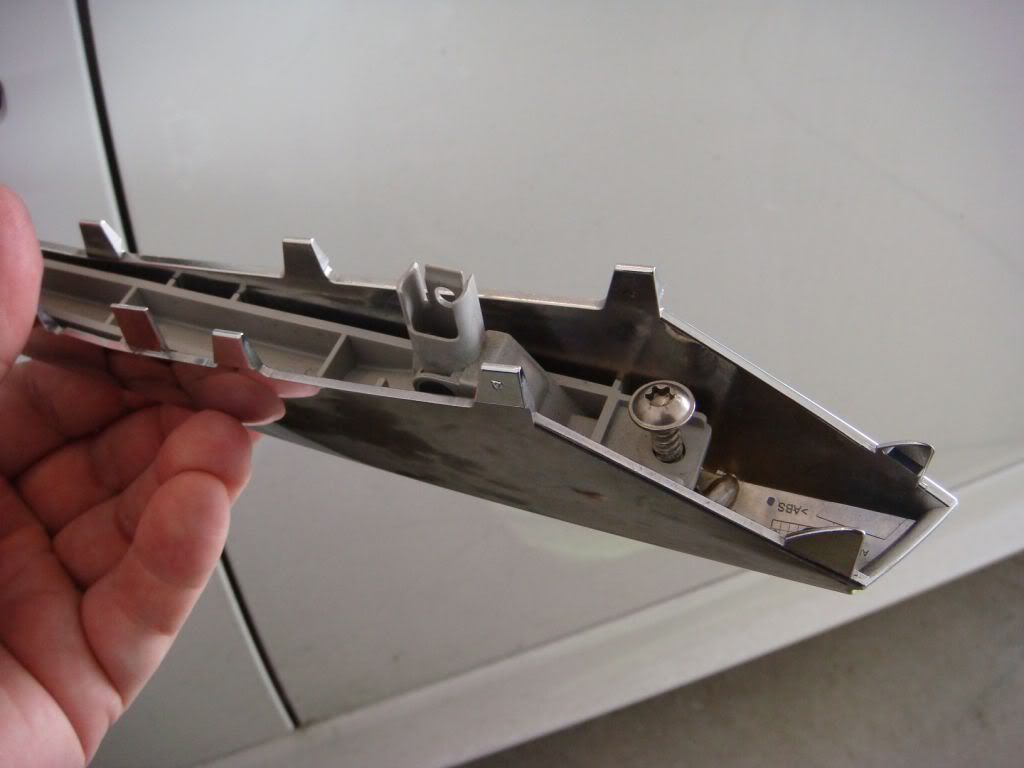
Ensure the light assembly inserts ALL THE WAY into the new gill. This took a bit of work on one of them. Ensure the light pops out the top of the new gill as shown below. Match the appearance against the other side of the car if necessary.
Replace the screw in the light assembly. Replace the plug wire. remove the tape.
Test the light is working BEFORE installing the gill.
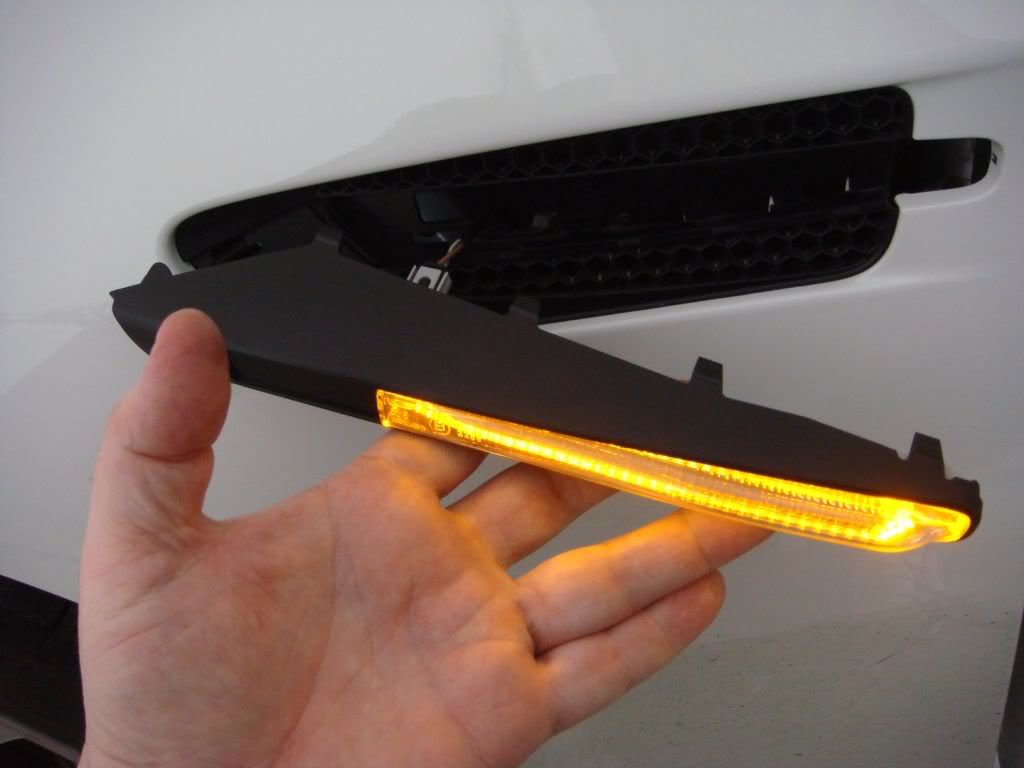
Carefully install the gill into the honeycomb. Make certain all tabs/clips are aligned properly in their slots in the honeycomb housing (top & bottom of gill). Ensure all tabs have "CLICKED" <listen> into place.
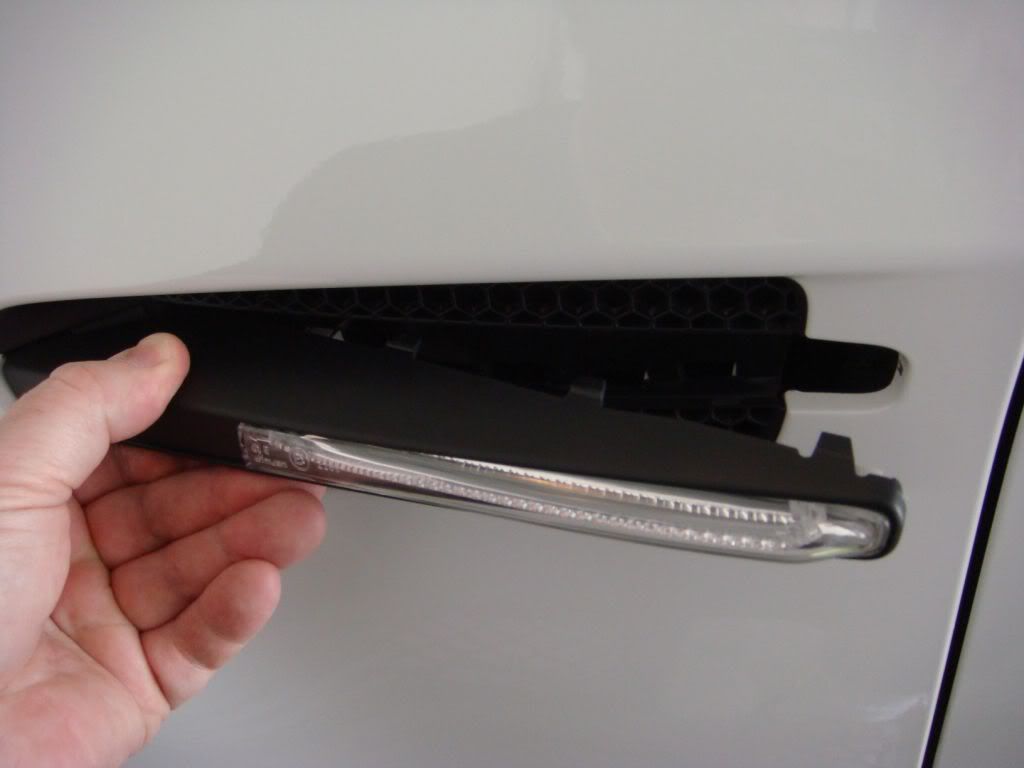
Nicely done!
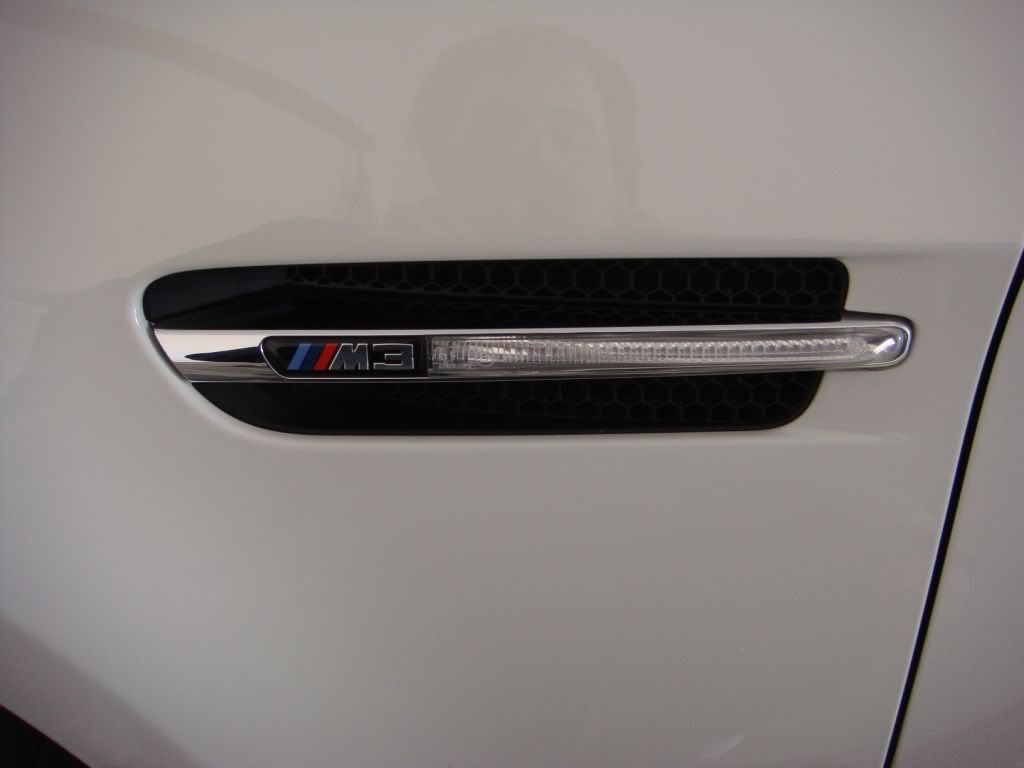
Choose your poison.
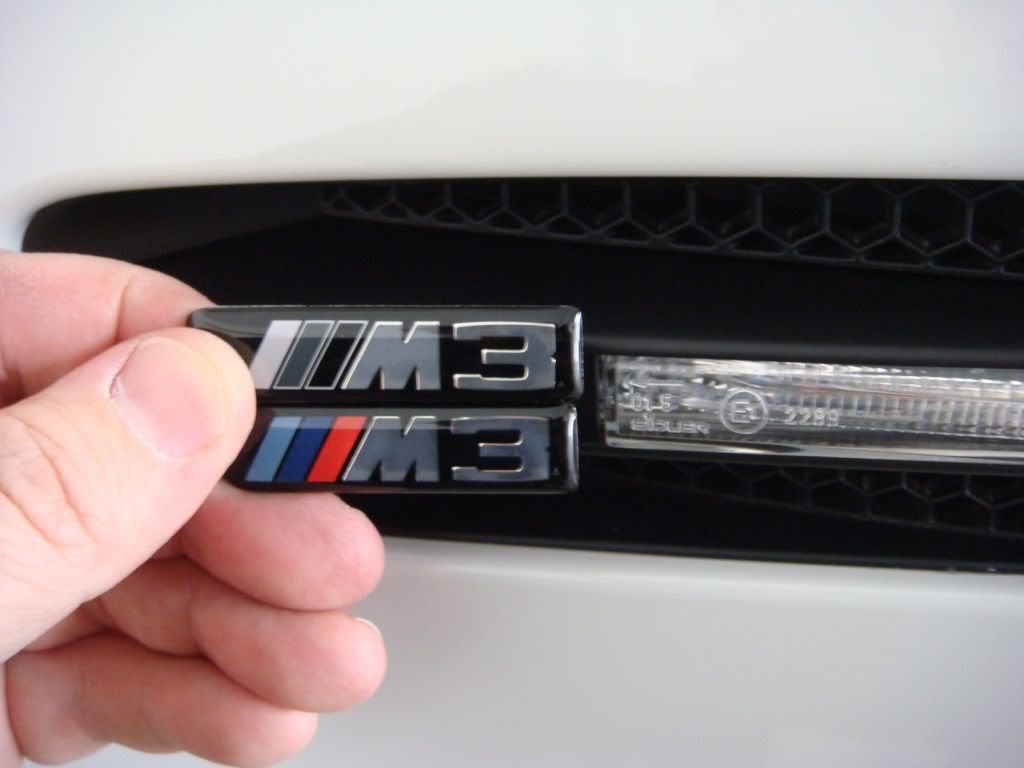
Decisions!
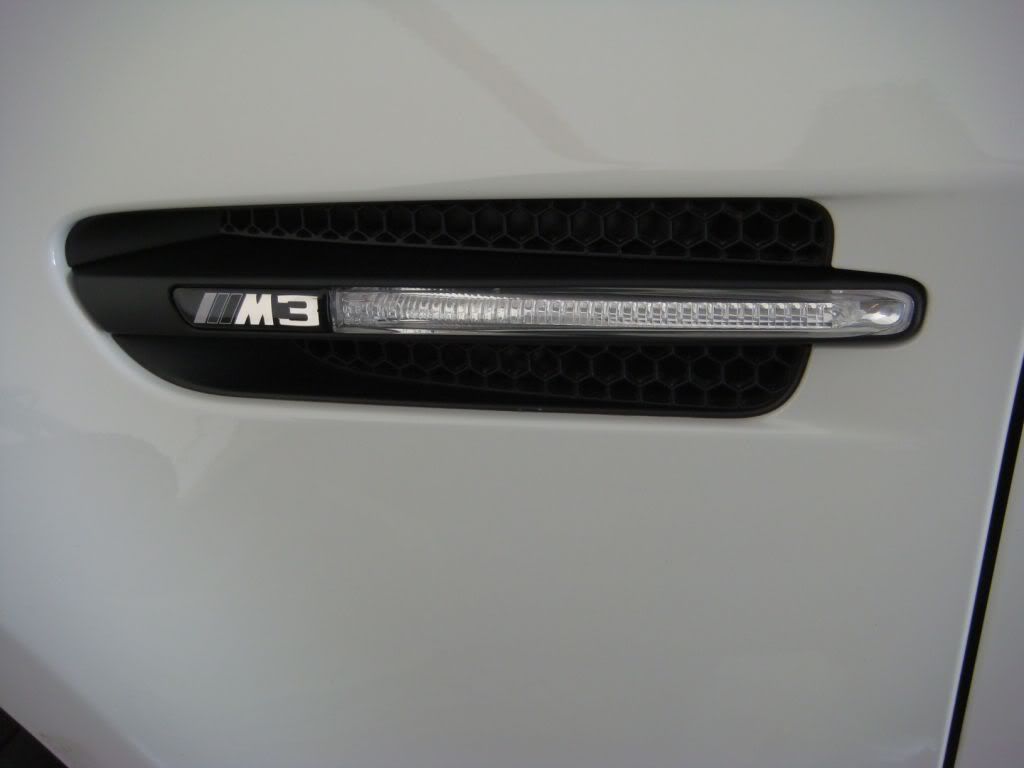
Done!