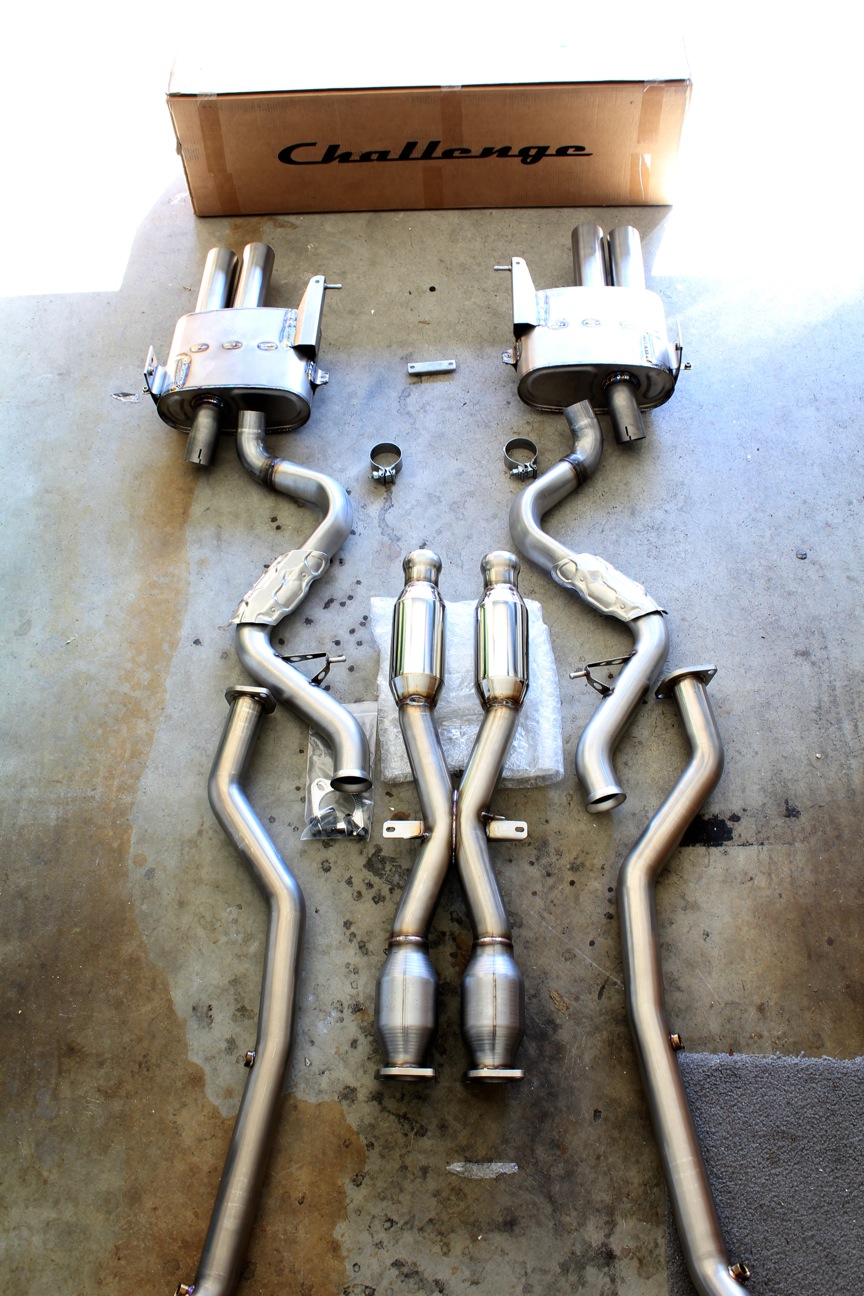
When IND offered me an OEM M3 GTS exhaust, I could not refuse. I combined the OE GTS rear section with a challenge sport center section which utilizes sport high flow cats.

A few notes, removing the stock exhaust is required for installation of the Rogue Engineering short shift kit. I combined the installation of the SSK and the exhaust system.
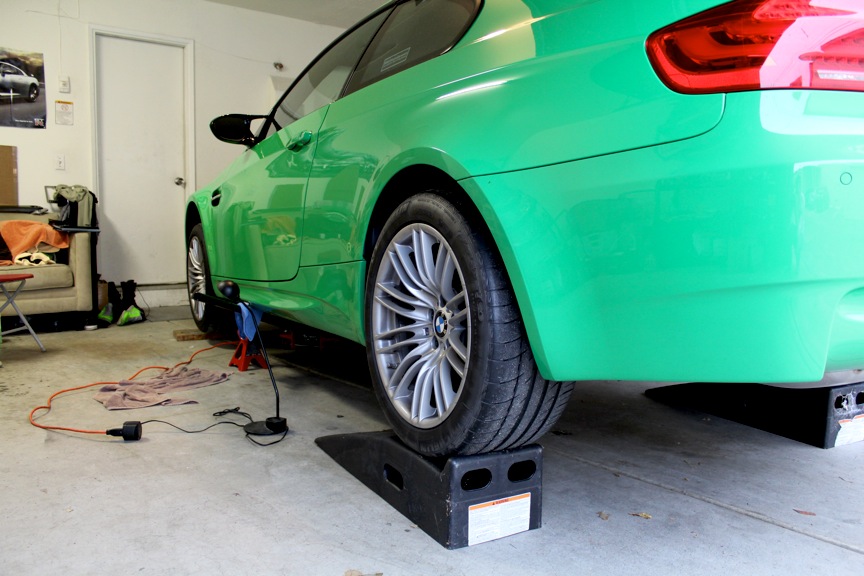
I backed up the car up on ramps and used jack stands for the front.
 IMG_0106
 by
JMEllis, on Flickr
The hockey puck trick is a great way to keep your OE jack points looking good.
 IMG_0108
 by
JMEllis, on Flickr
Here is the OE GTS exhaust and the Challenge center section ready for install. Note how the Challenge center section is perfectly suited to connect to the OE GTS rear exhaust section.
 IMG_0029
 by
JMEllis, on Flickr
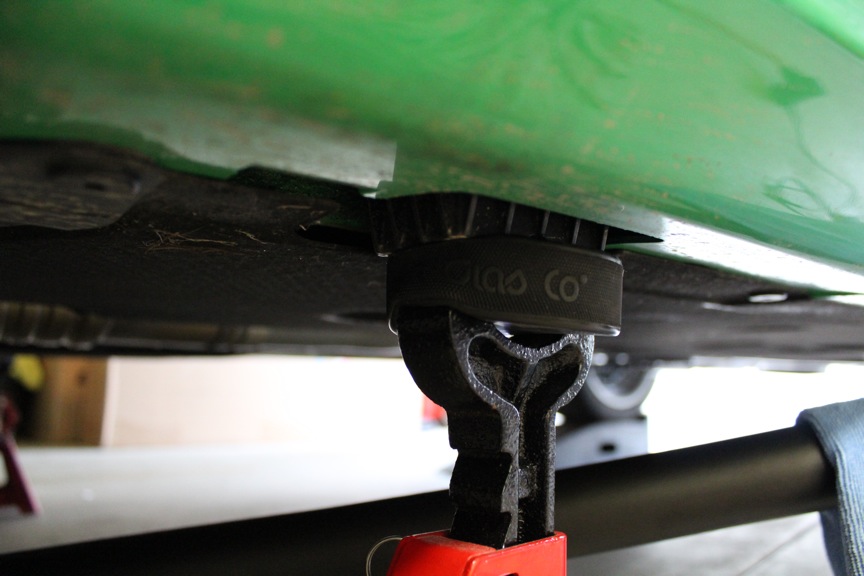
Silicon spray makes removal and the replacement of OE exhaust bushings much easier.
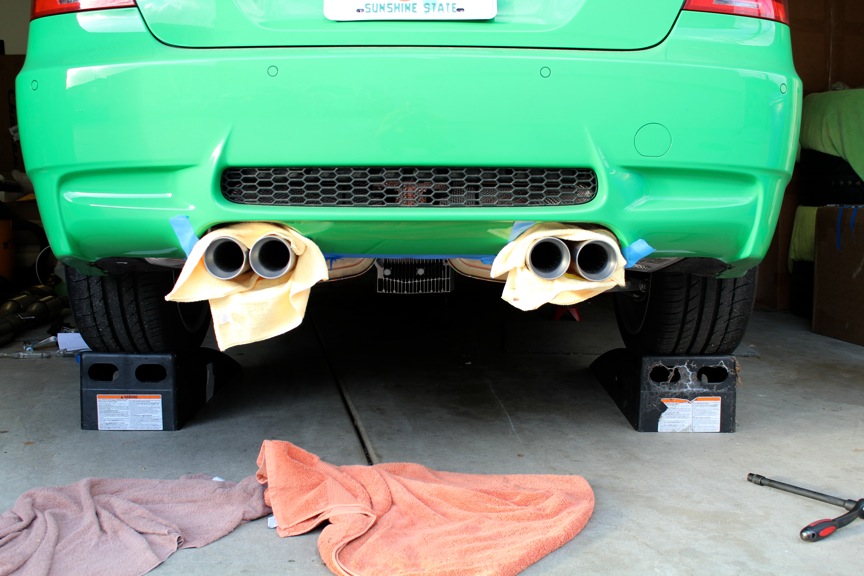
The rear valence prepped for install.
 IMG_0116
 by
JMEllis, on Flickr
The GTS rear section bolted right up with zero problems.
 IMG_0117
 by
JMEllis, on Flickr
At this point it was time to install the Rogue SSK. I have to say, installing the SSK was one of my least favorite parts of the build. Being under the car for extended periods of time was not fun.
I do not have any pics from under the car. There are quite a few DIYs for SSK installs. The trickiest part is removing the carrier bushing.
 IMG_0114
 by
JMEllis, on Flickr
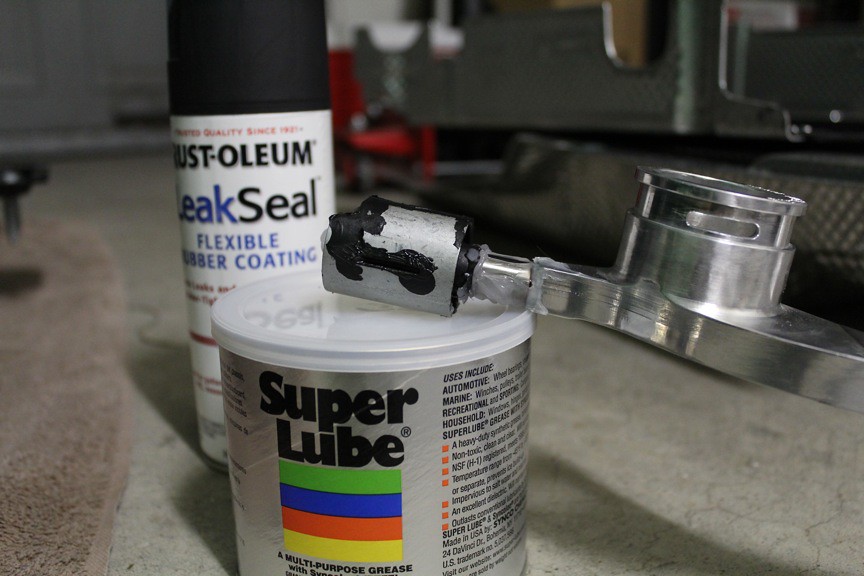
I used an allen wrench as a pry bar. I then used Rustoleum rubber spray paint to re-cover the connection points. The Rustoleum product was identical in feel and look to the rubber covering that was on the connection points from the factory. RE recommends a grease with teflon for the install. I found SuperLube which was recommended by the RE tech I spoke to.
 IMG_0120
 by
JMEllis, on Flickr
I re-installed the carrier bushing by placing a large wrench over the top of it and then pushing up with basically all my might until it snapped into place with a loud "flack".
Take care when you re-install the rubber boot around the shift lever. Its hard to get it lined up correctly.
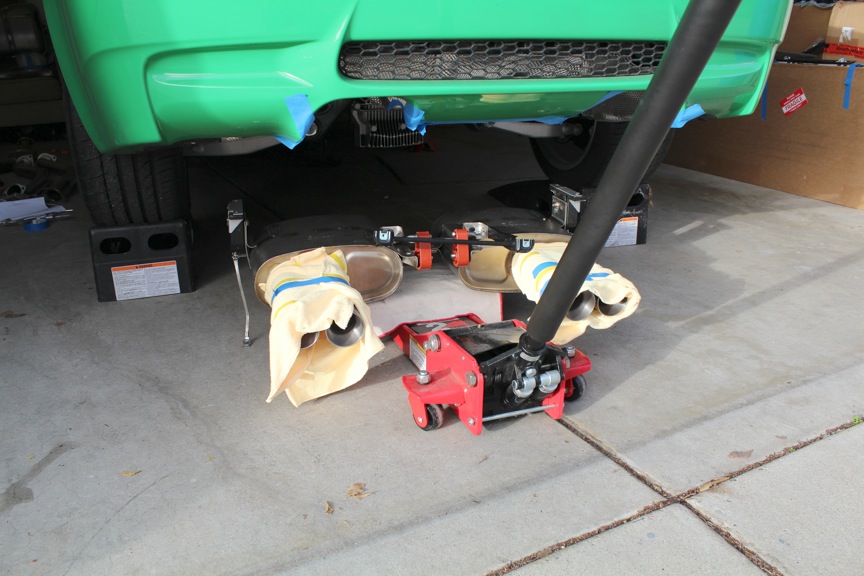
With the SSK installed I bolted up the Challenge center section. Its much easier to get to the header flangs with the skid plate removed. There are six bolts around the outside of the skid plate as well as one at the center of the front center jack point. I was able to get enough room by removing the four rear bolts and the center bolt. The skid plate moved enough to give me room around the header flangs.
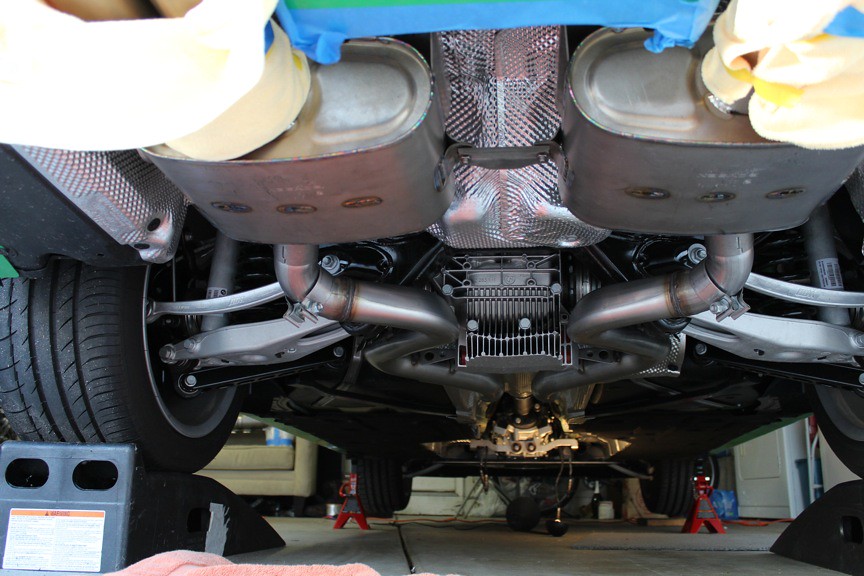
Here is the car with the center section and heat shields removed. The pic gives you and idea of how much wiggle room you are going to have.
 IMG_0118
 by
JMEllis, on Flickr
Jason