I initially detailed this car about a year ago after it had some extensive repair done due to an accident. When I initially detailed the car, the paint was an absolute mess, along with everything else on the car. Here's a link to the last writeup of this car.
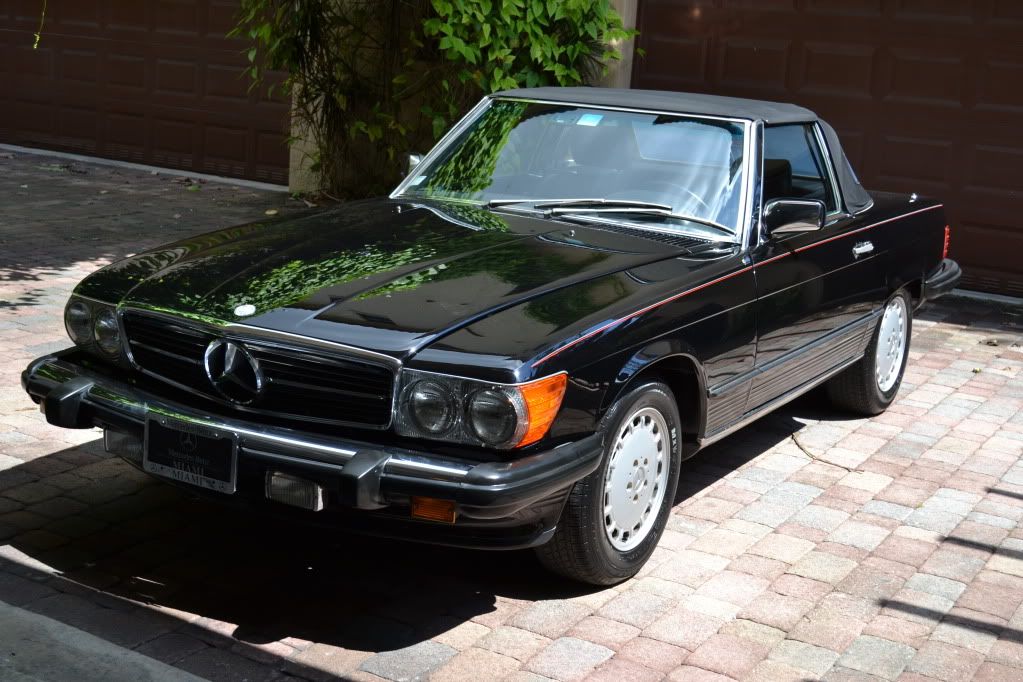
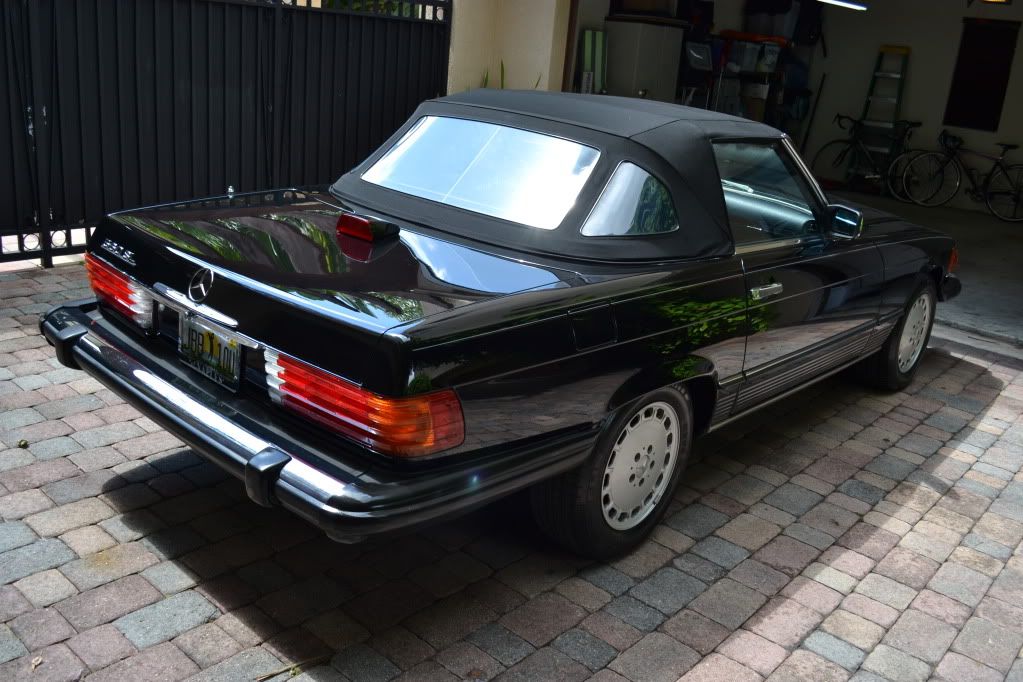
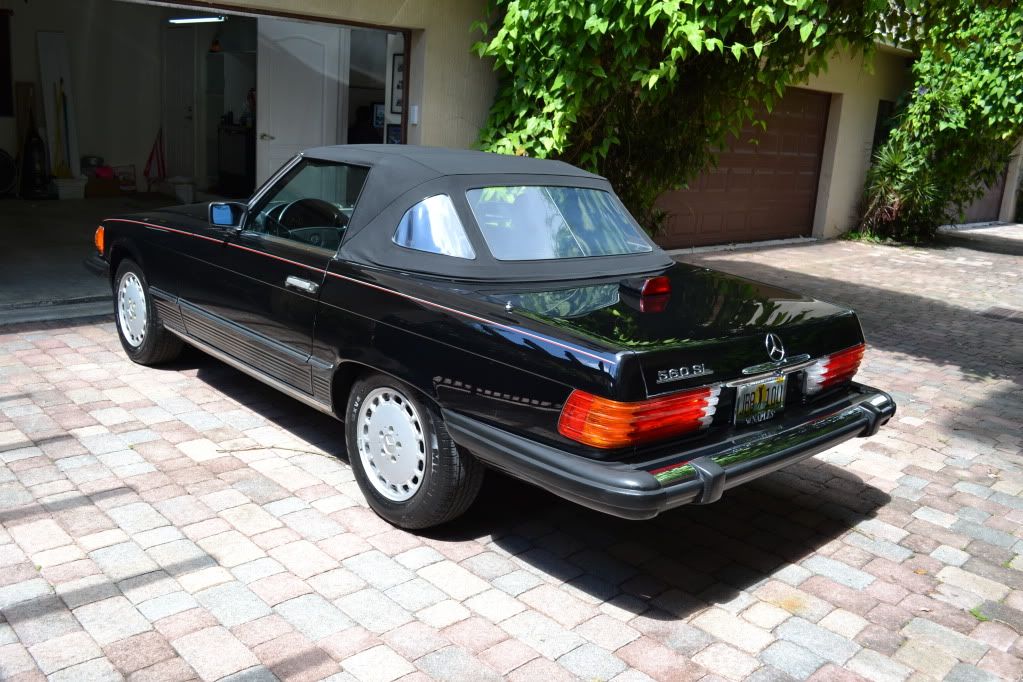
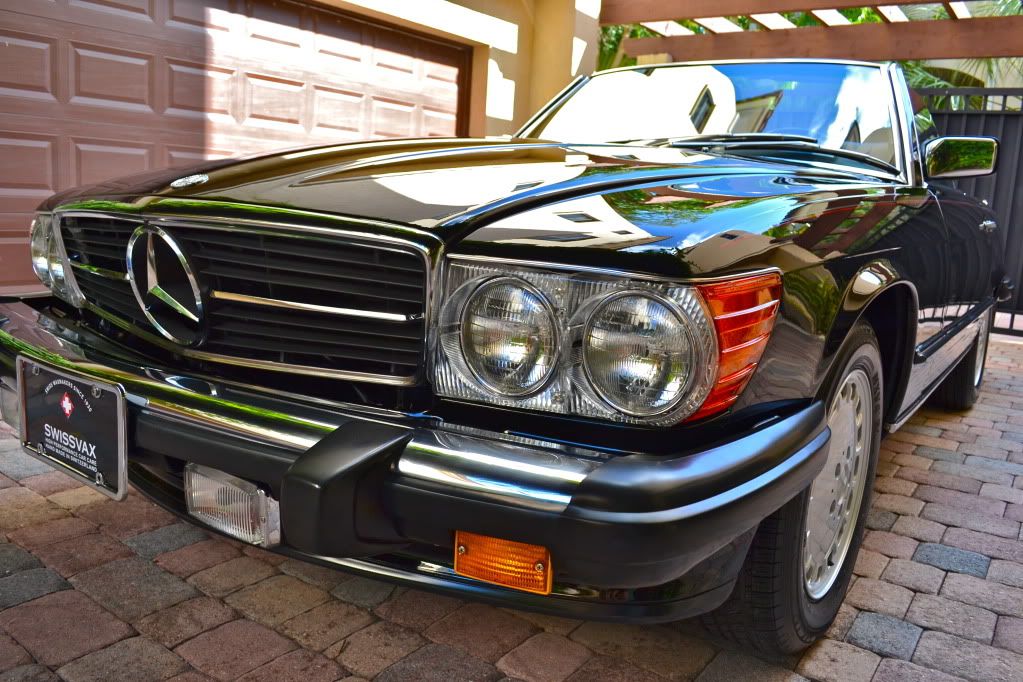
1987 Mercedez-Benz 560SL
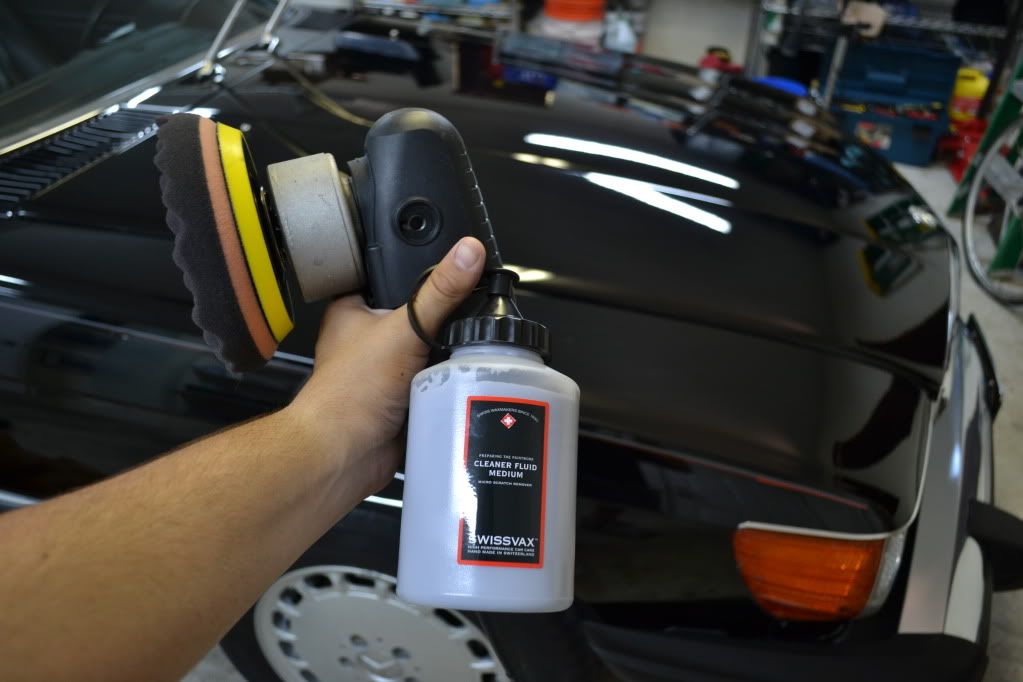
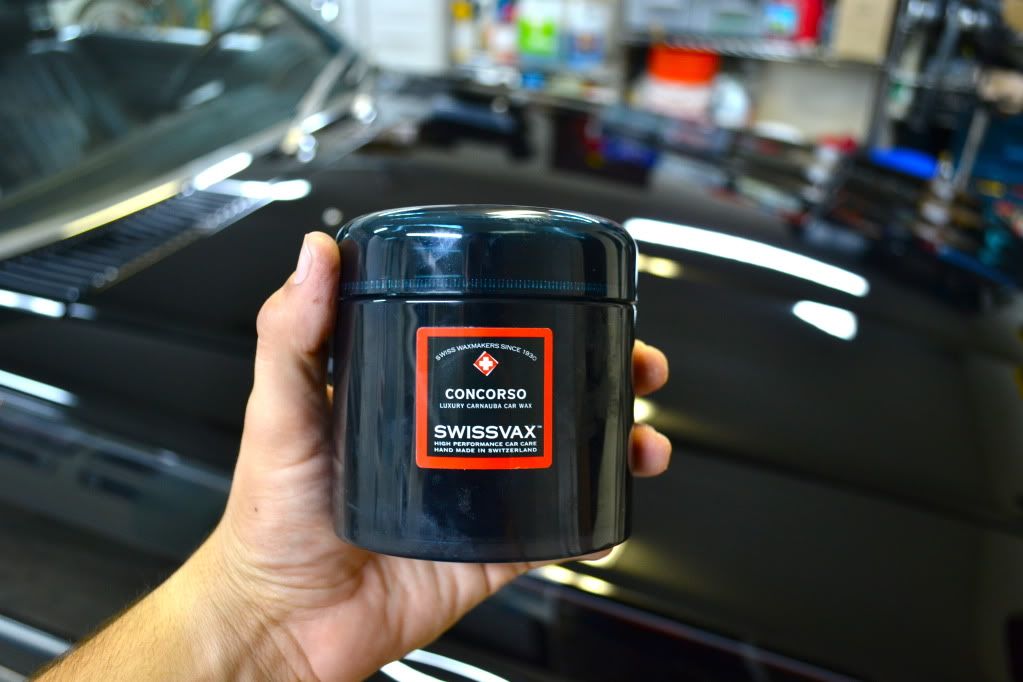
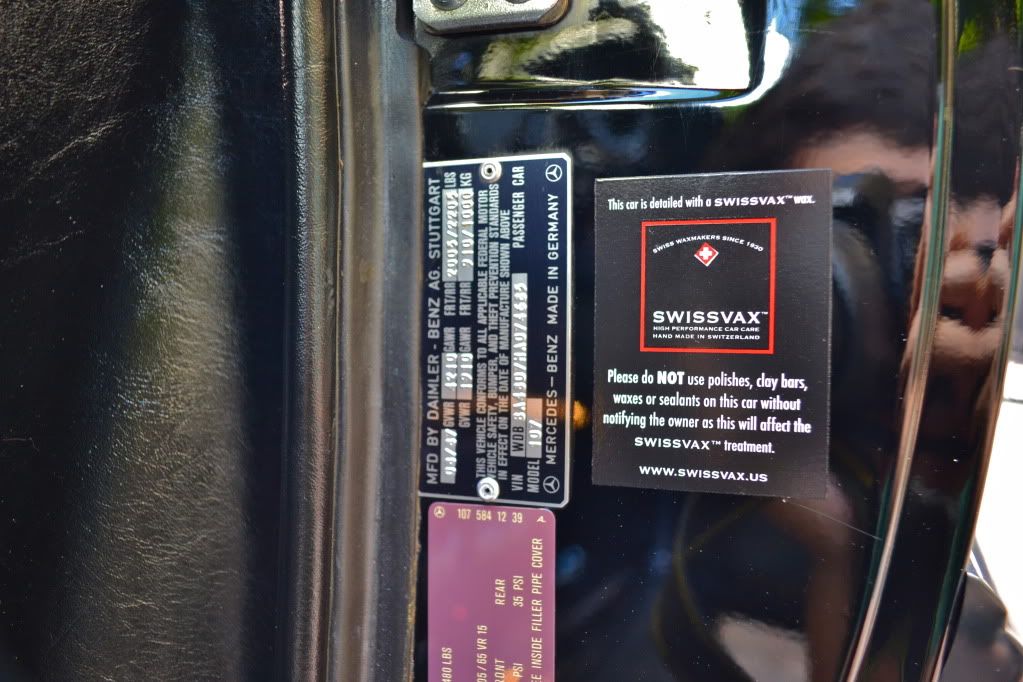
Nevertheless, once the car was perfect after I detailed it, Georg noticed many imperfections that were due to the bodyshop that did the repair work. Since the last time I detailed this car, It sat in the bodyshop for about 8 months... so you can just imagine how much of a mess it was in again. The car took me 3 days to complete. This car received an Initial Swissvax exterior Treatment, Stage 3 Polishing Package on this car using Swissvax Cleaner Fluid Strong, Professional, and Medium in that order with corresponding Swissvax Pads; as well as a full interior cleansing and protection as well as a Fine Wood Therapy Treatment The paintwork was thereafter finished off with a layer of Swissvax Concorso (At Georg's Request) by hand (Using my palms, not an applicator).
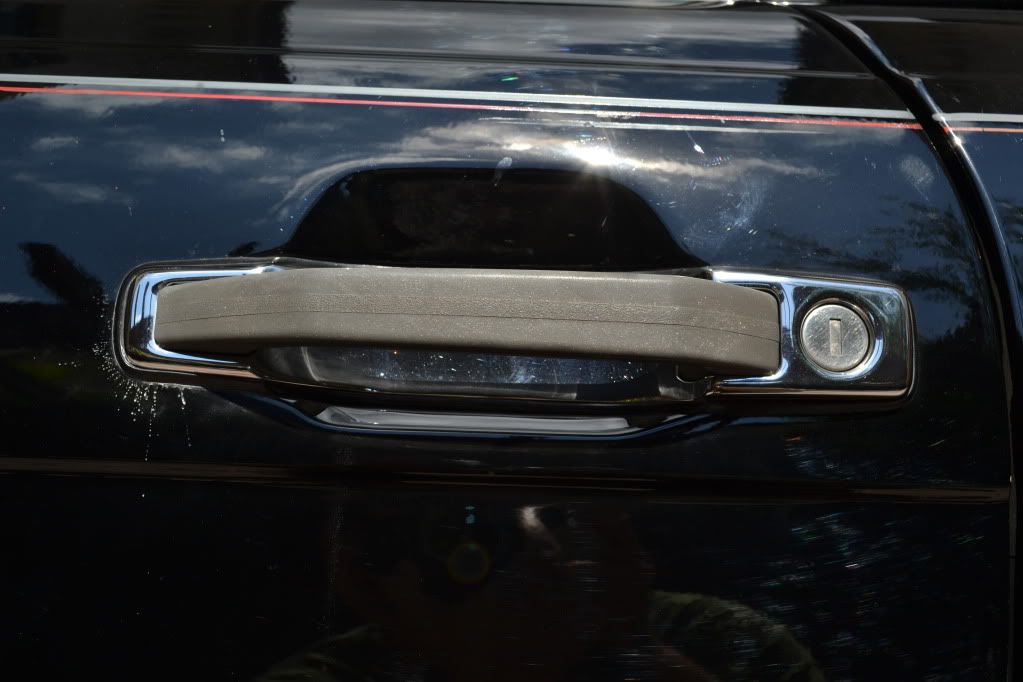
Here's how "Bobby" looked upon arrival


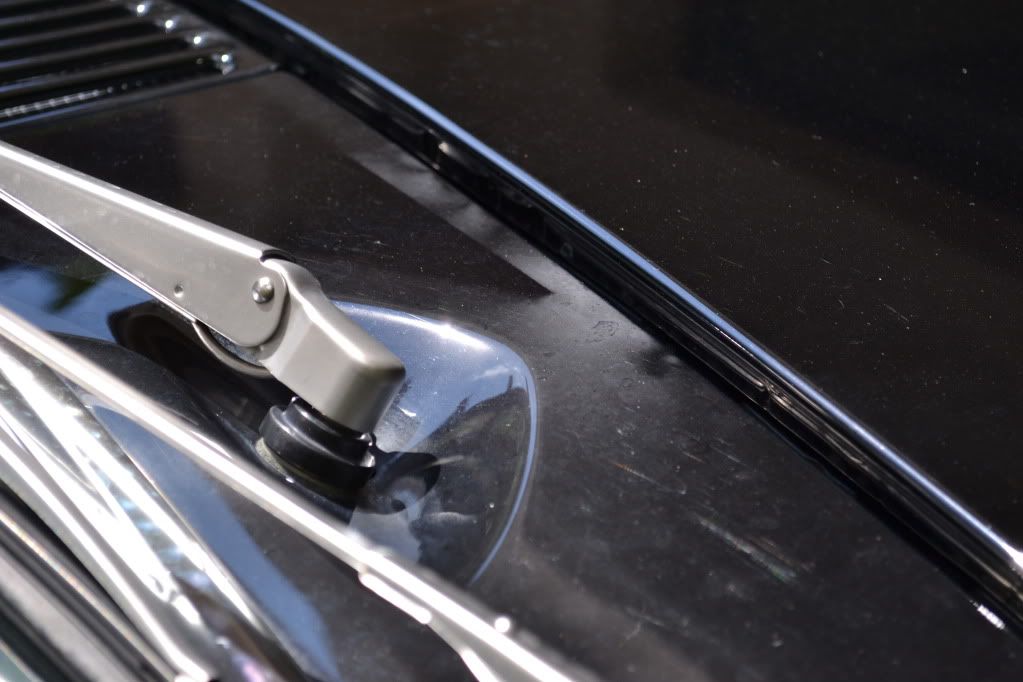
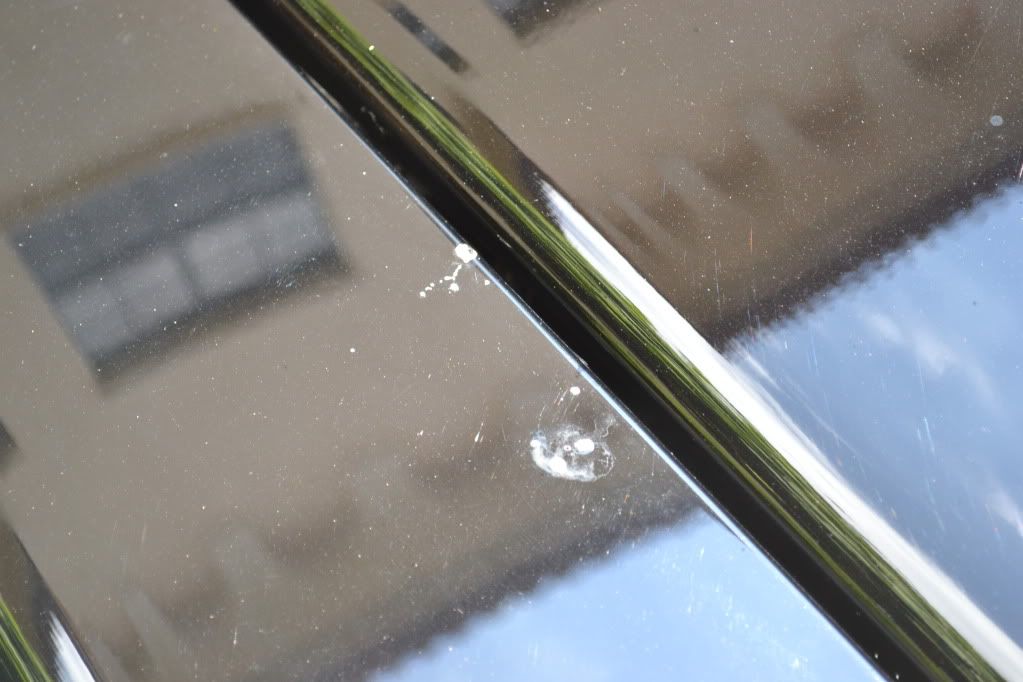
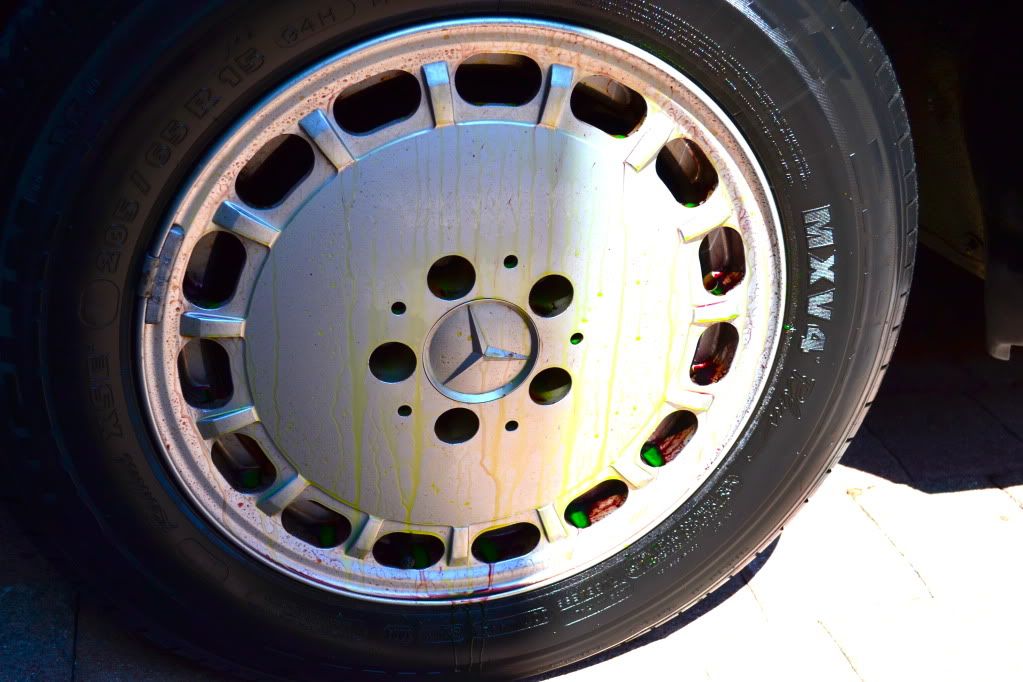
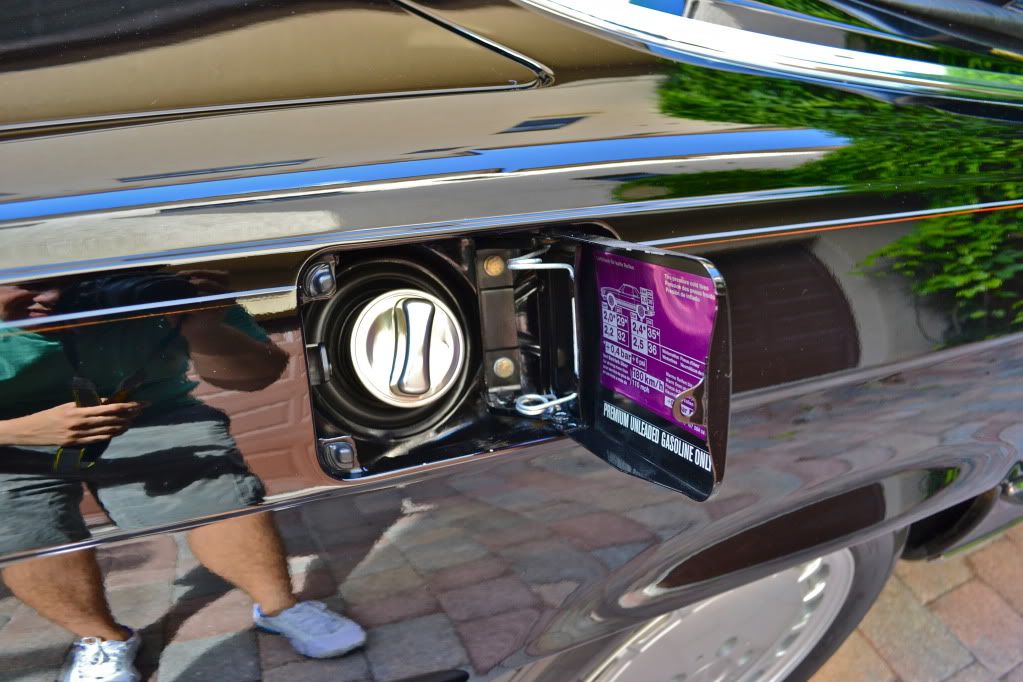
OVERSPRAY
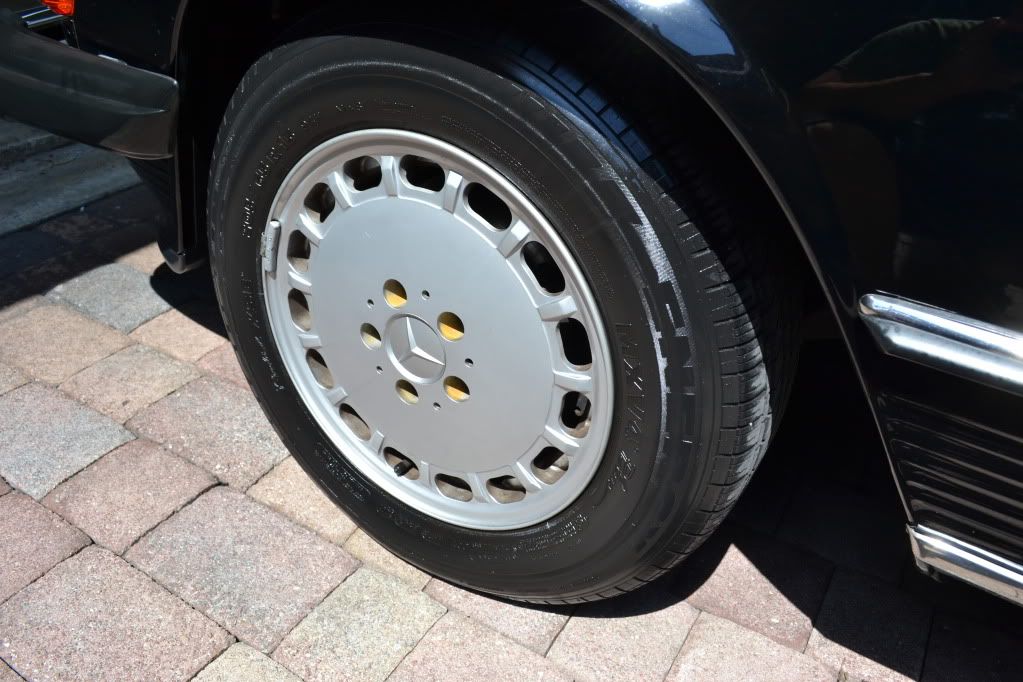
SONAX on the wheels
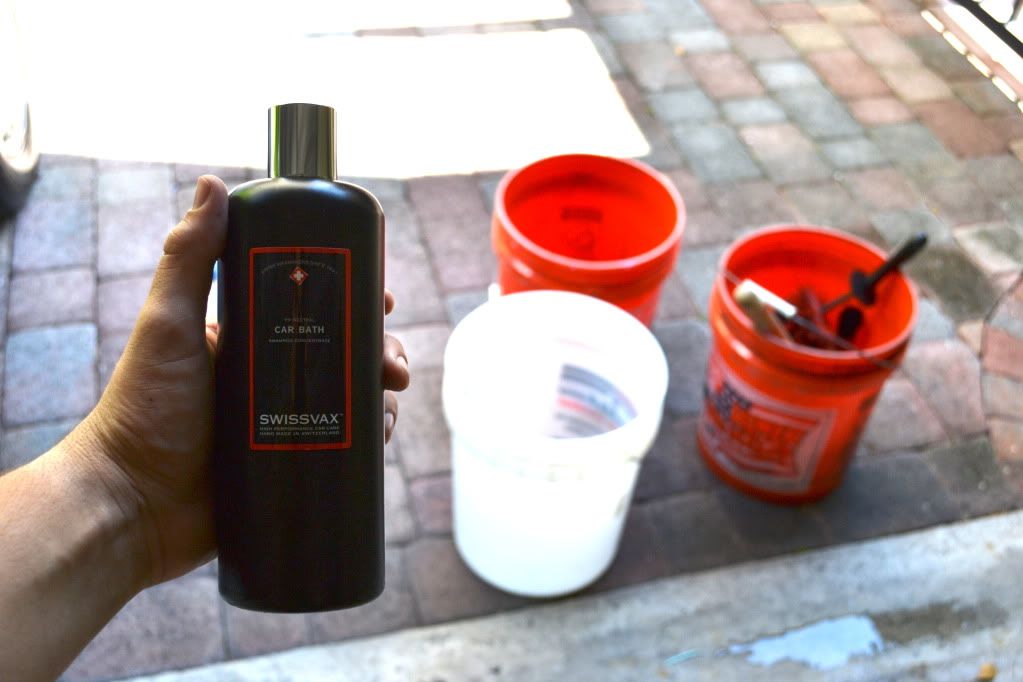
Proper 3-Bucket Wash using Swissvax Car Bath
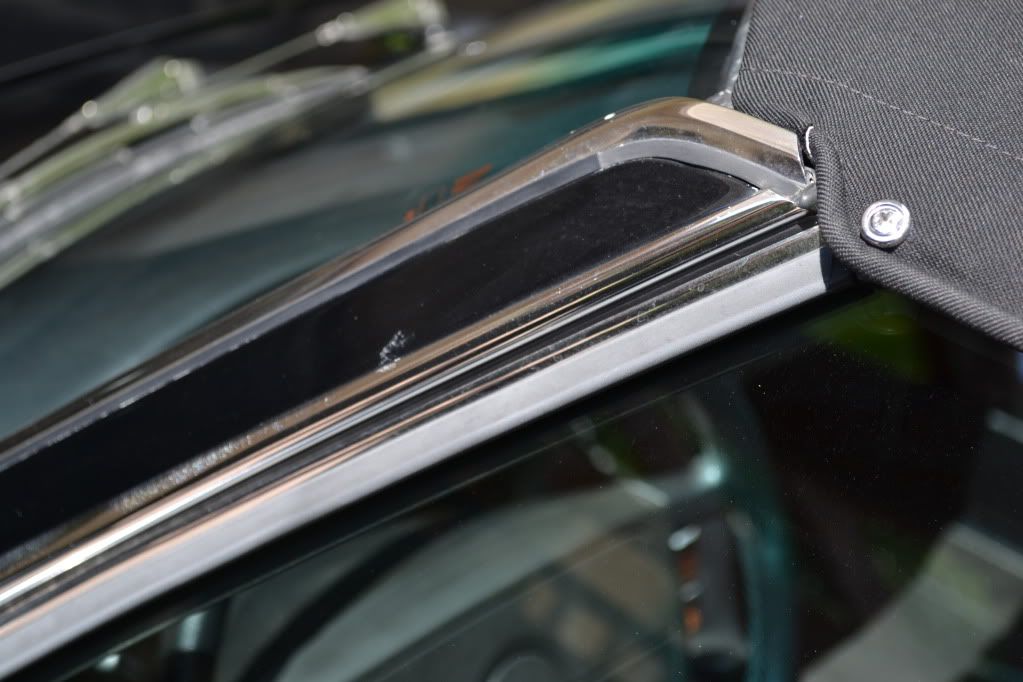
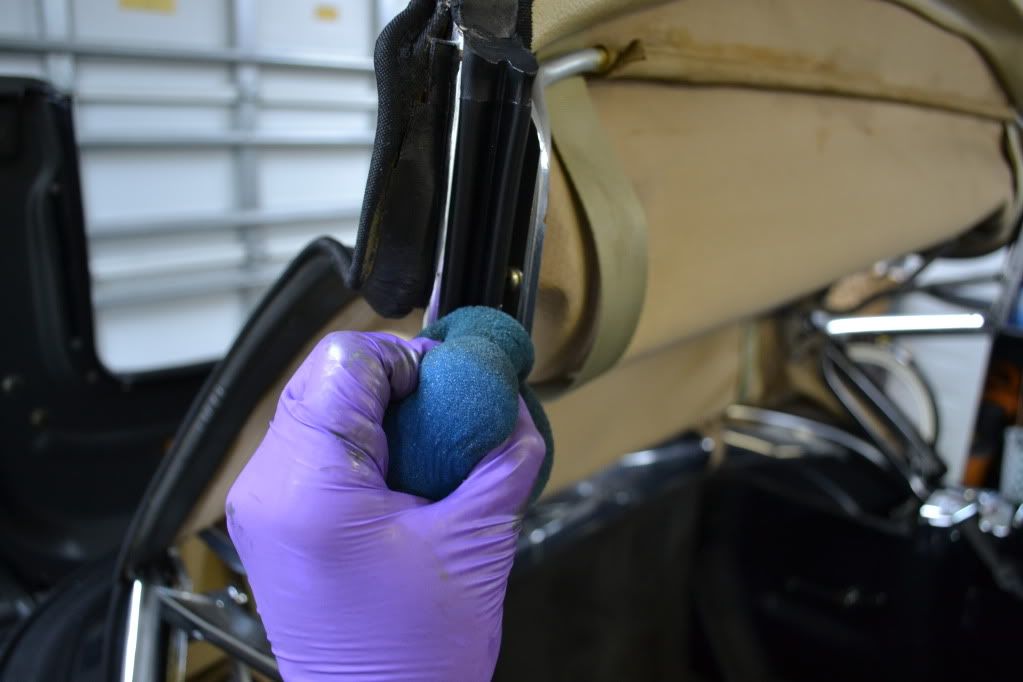
Treating every single rubber seal with Swissvax Seal Feed
Following the Wash, Rubber, and Plastic treatments, I proceeded to clay the entire exterior surface using Swissvax Paint Rubber (Yellow)
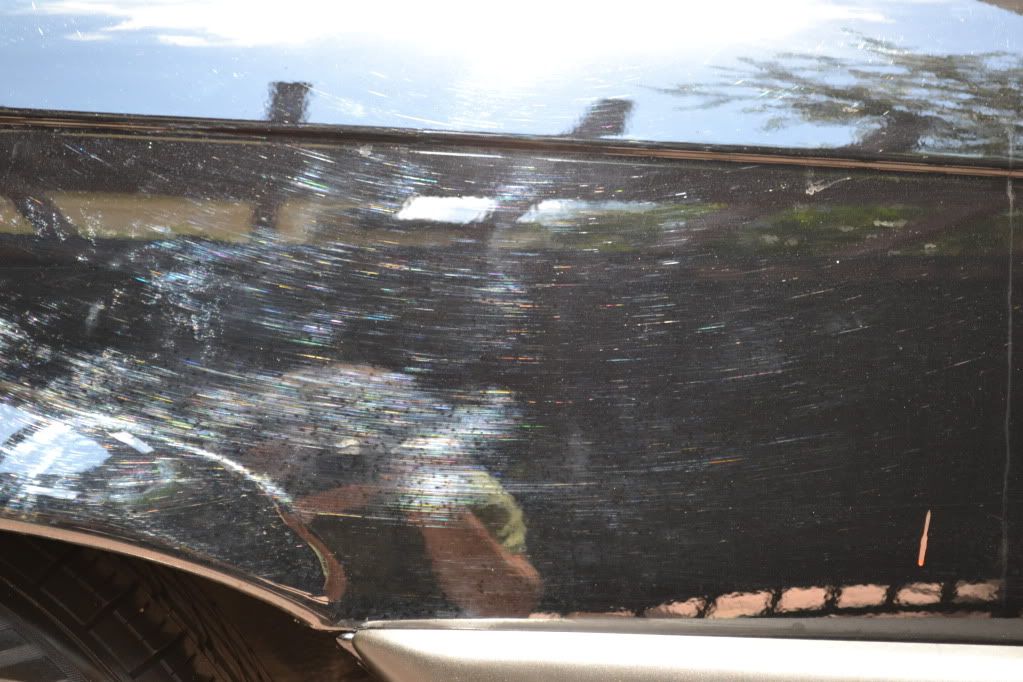
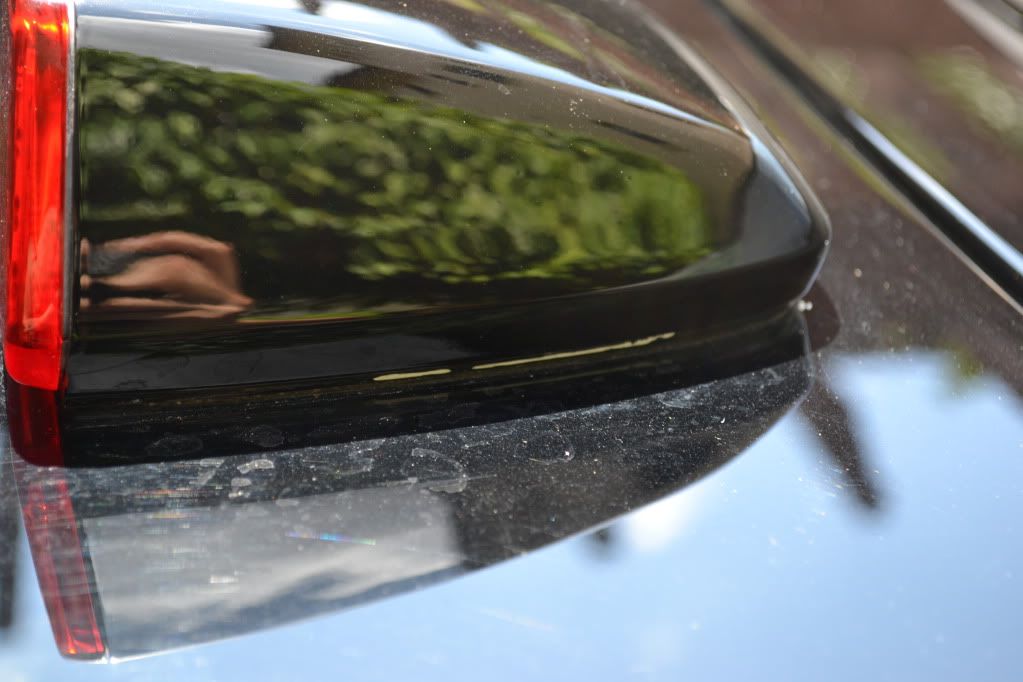
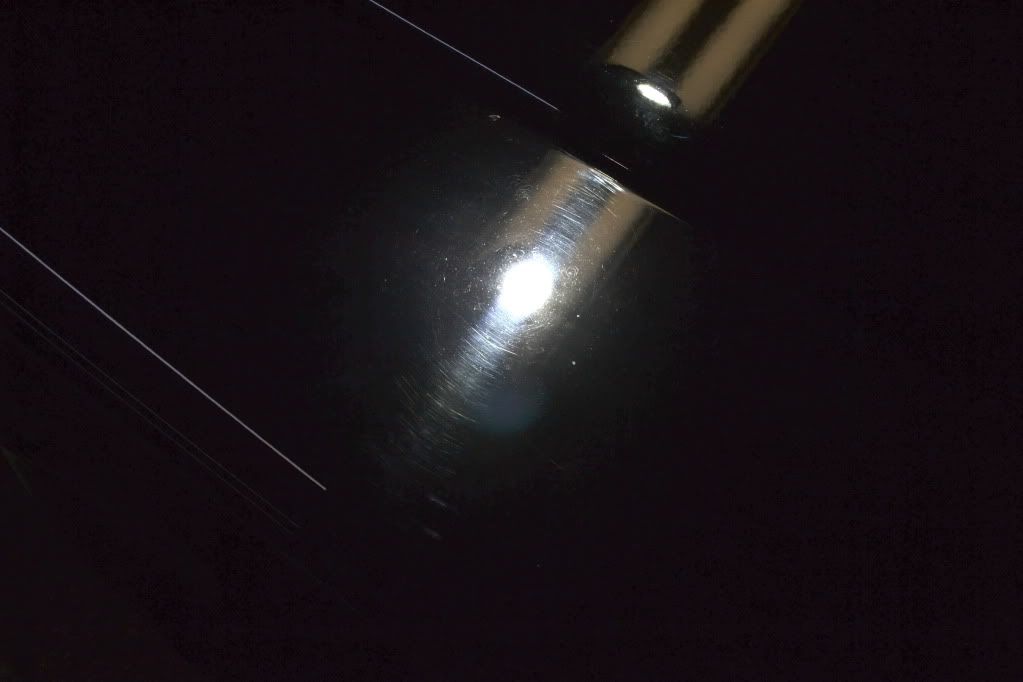
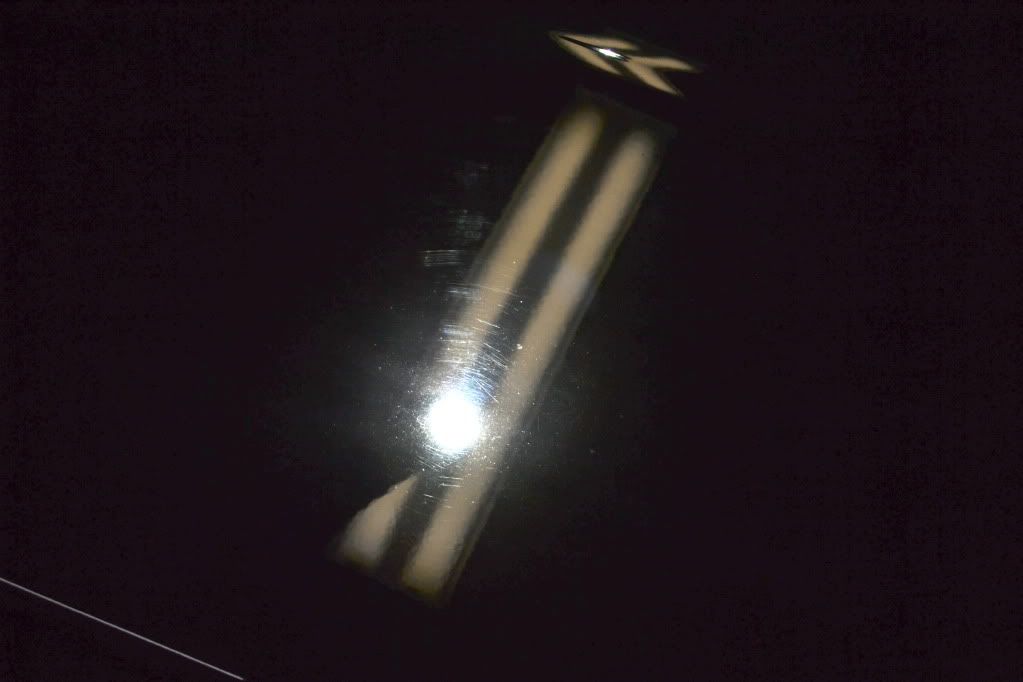
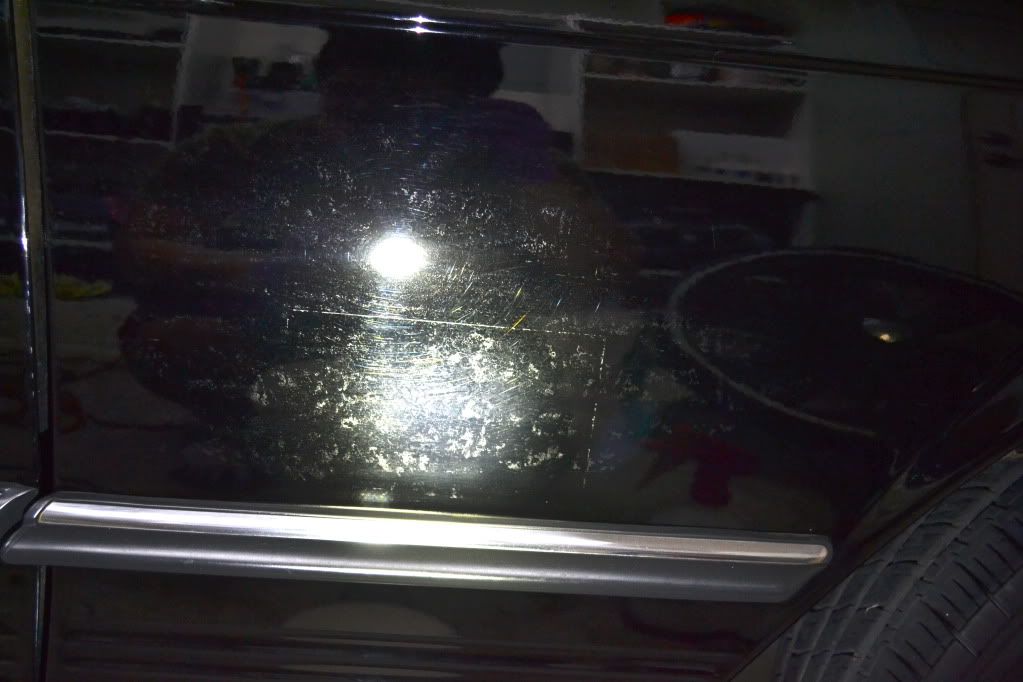
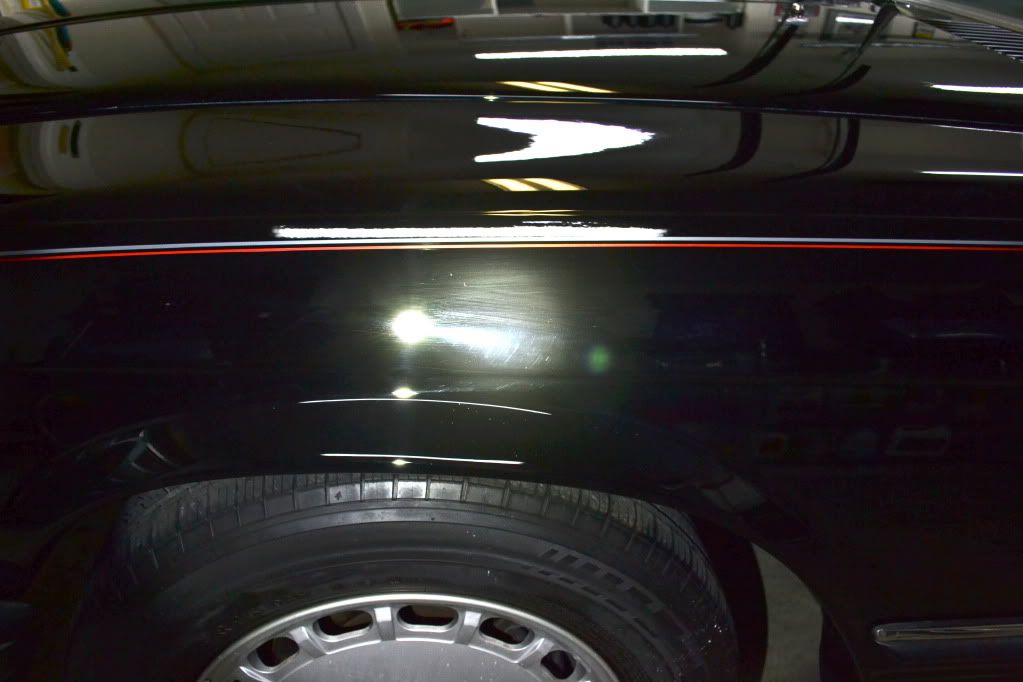
Here's how the paint looked prior to polishing

Polishing
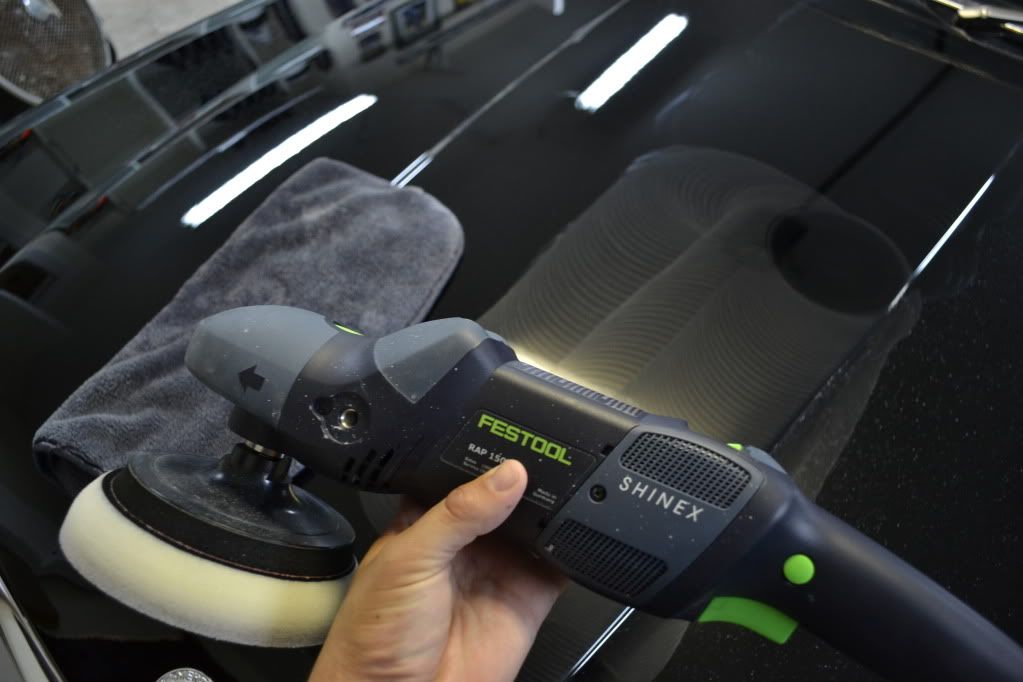
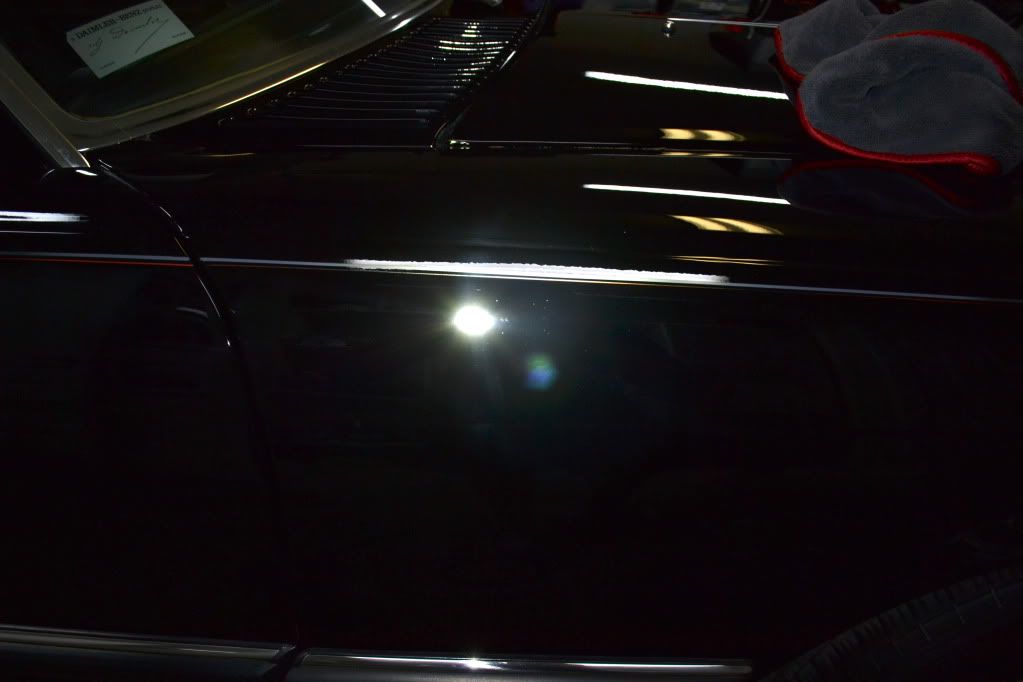
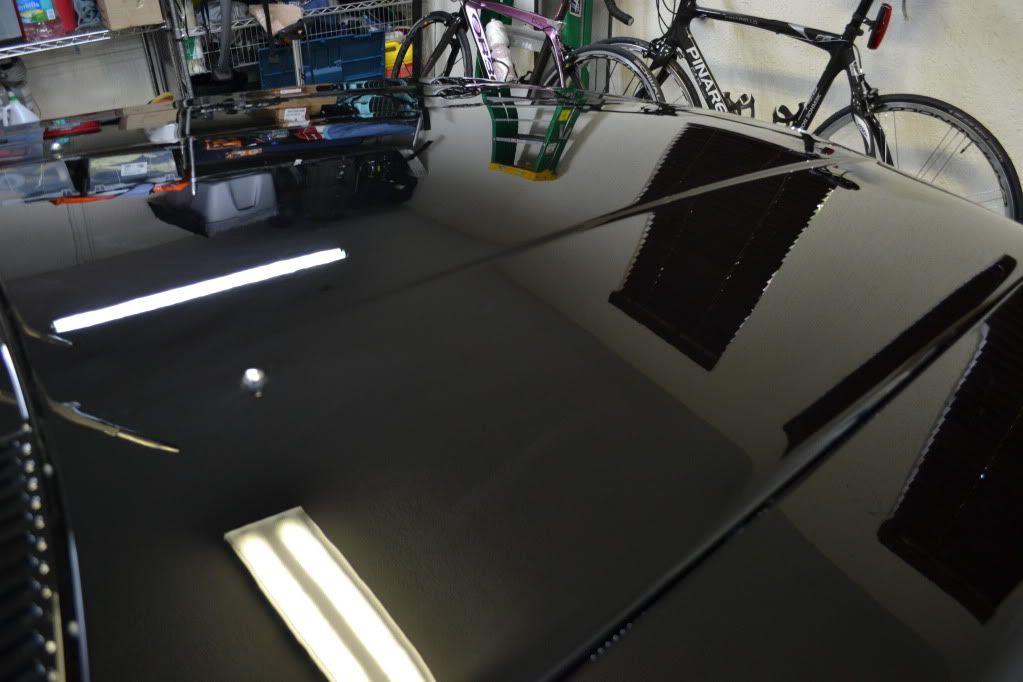
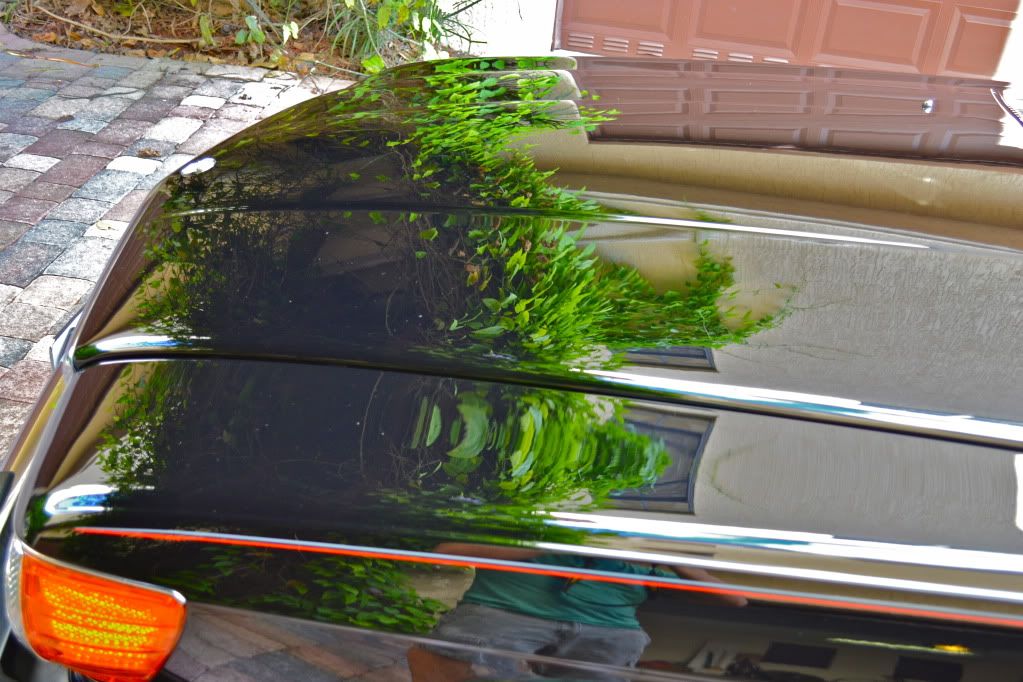
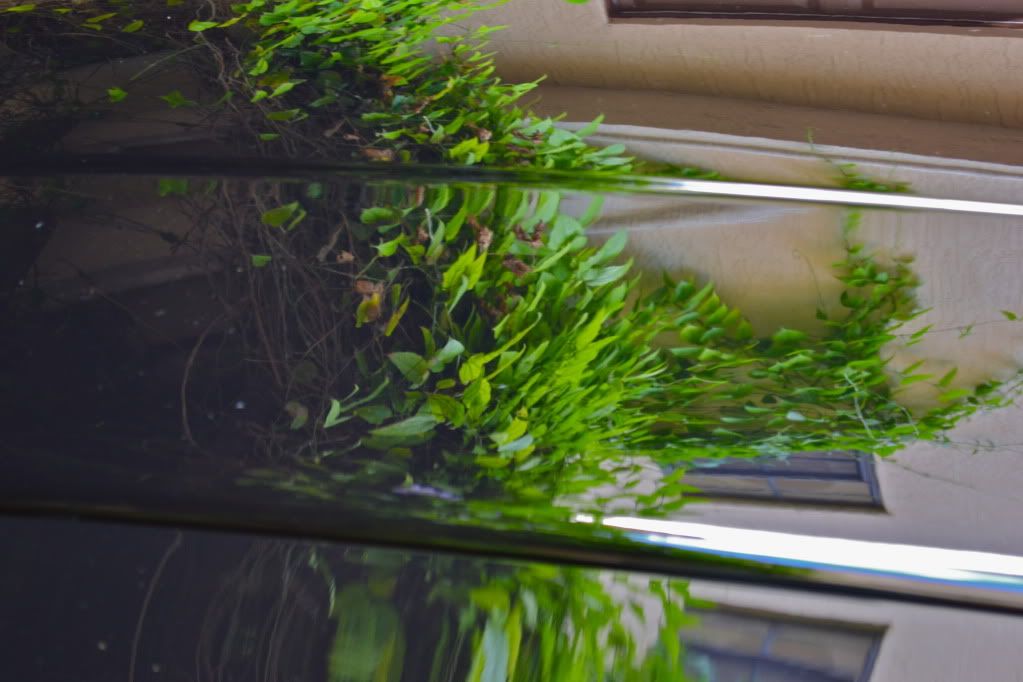
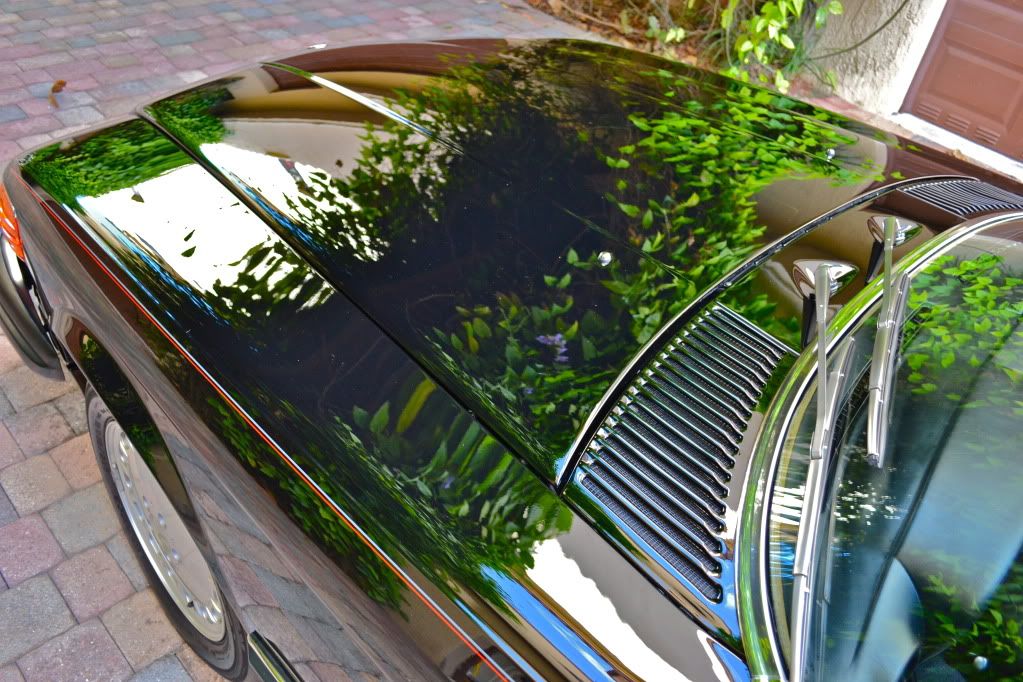
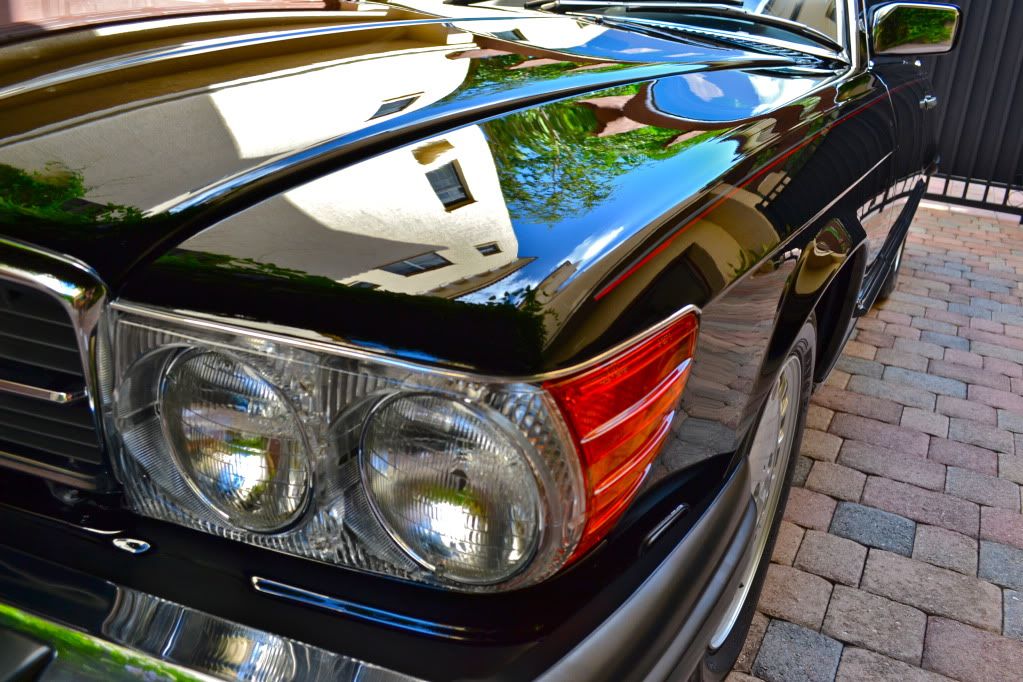
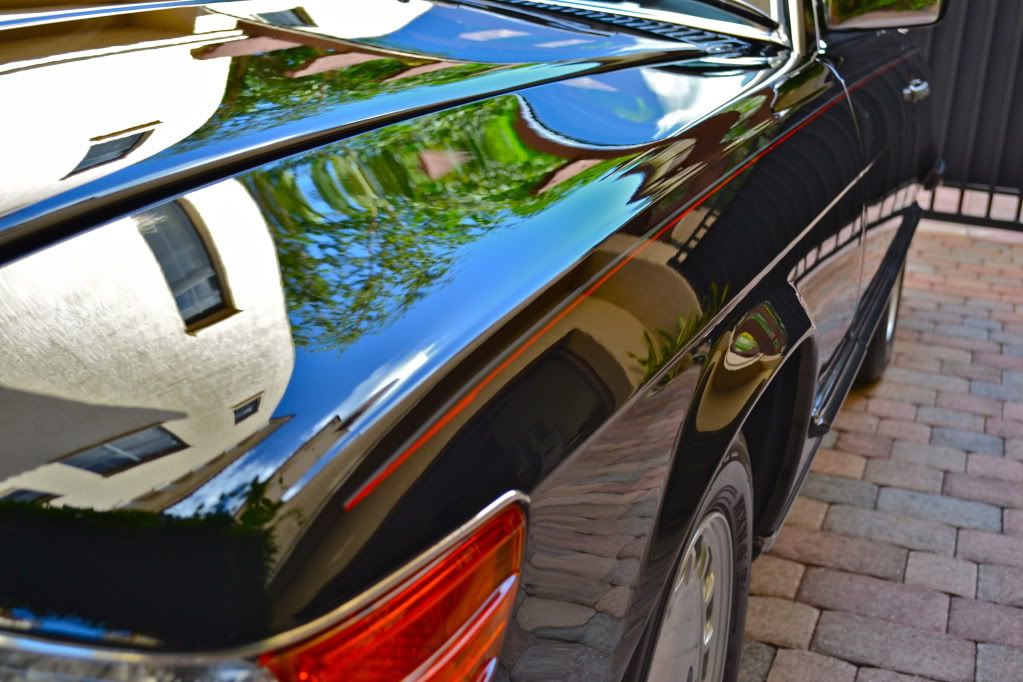
The Final Polishing Step. To ensure a hologram-free finish and an extreme gloss!
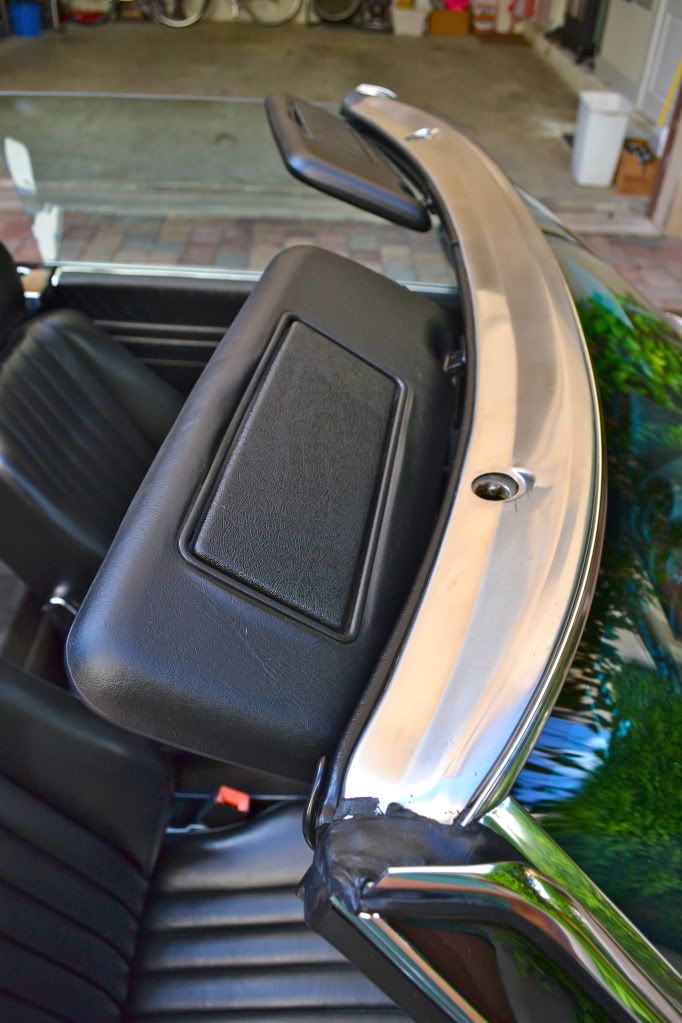
There was a door ding on the driver's door, so I had My colleague over at Sharp Dents, Inc. come and take care of it
The finishing Touch!
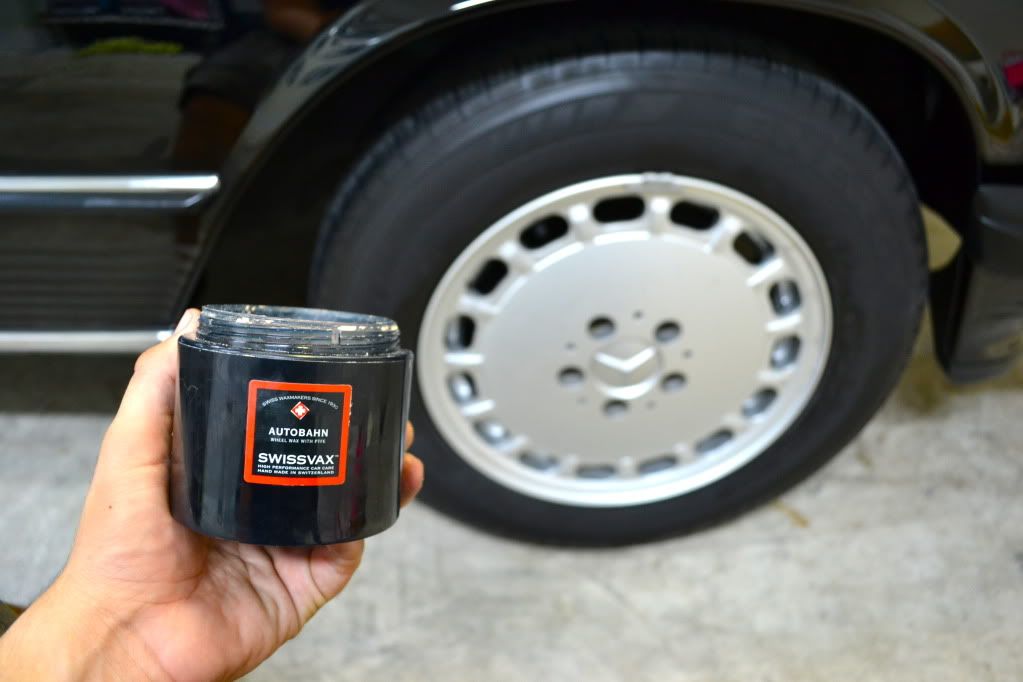
Applying Autobahn Wax to the Wheels
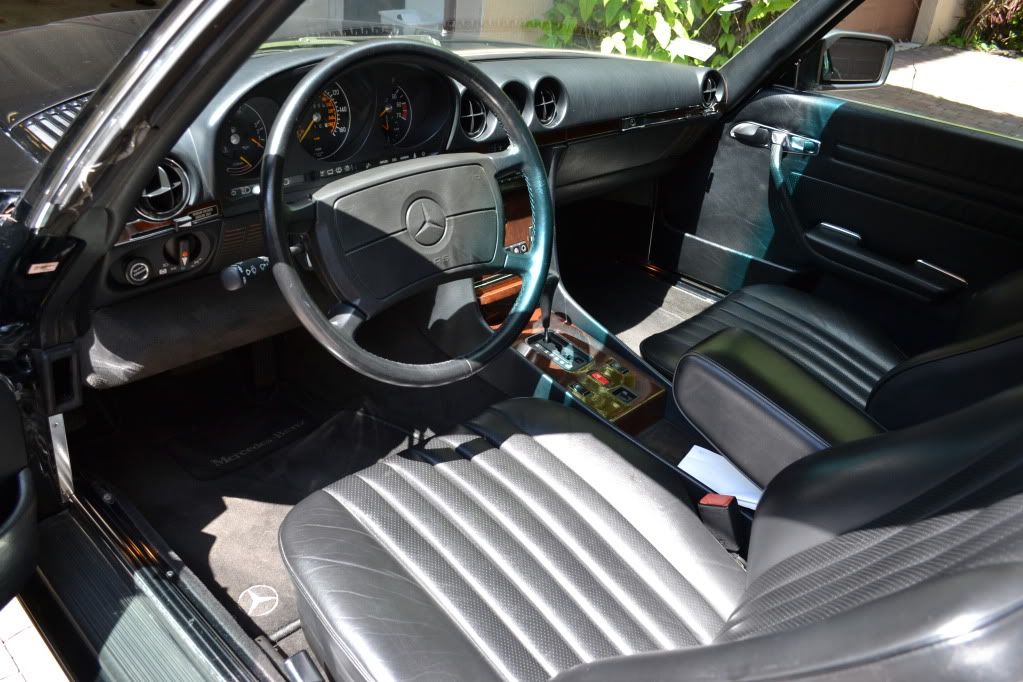
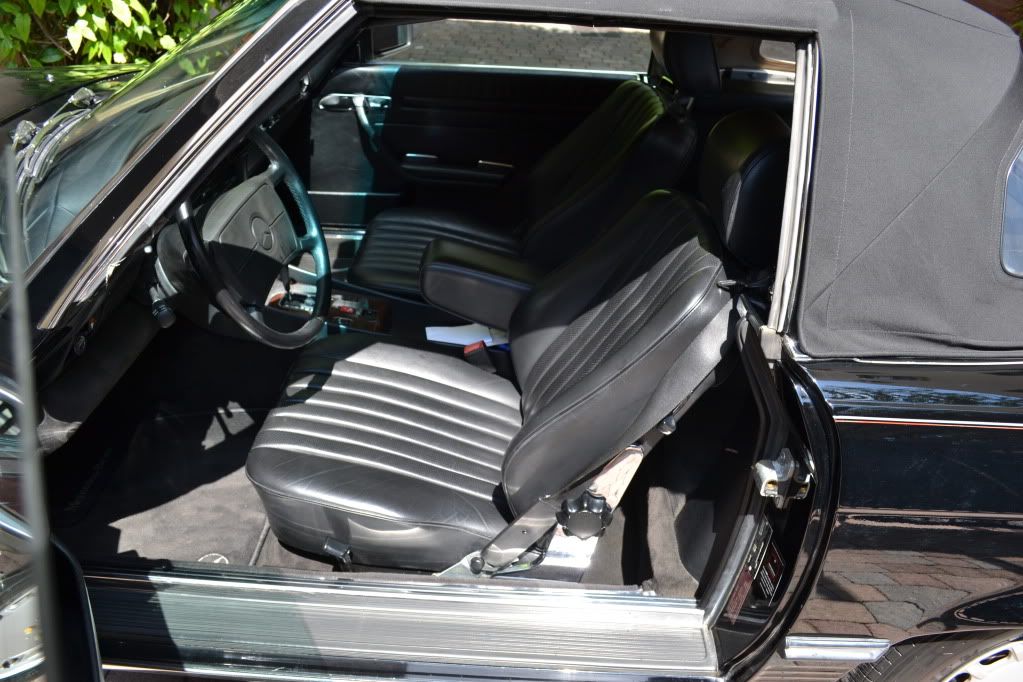
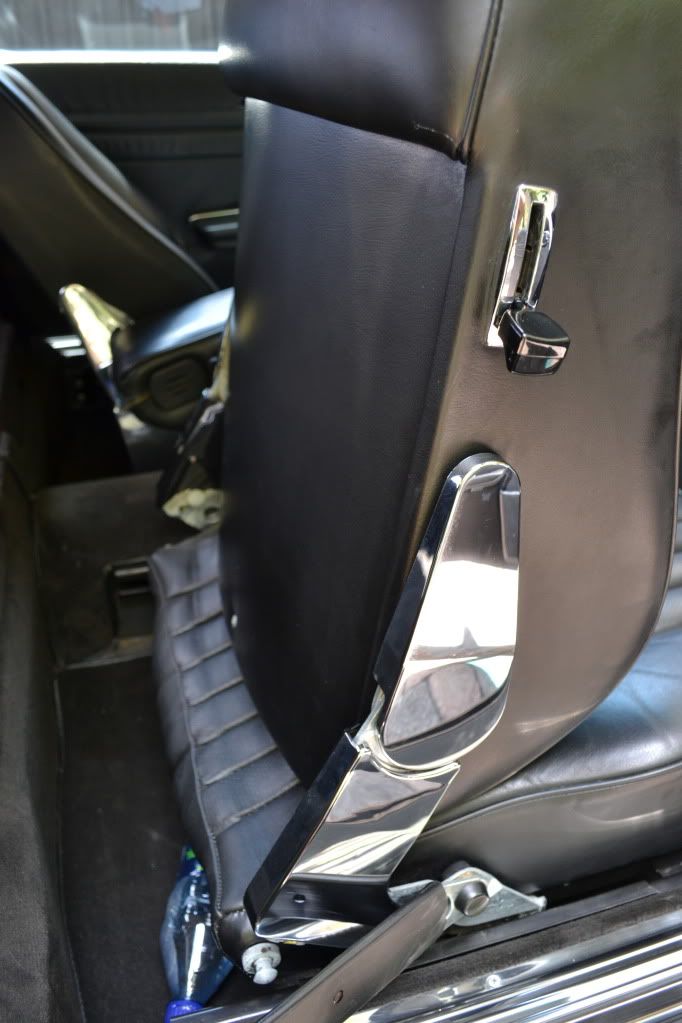
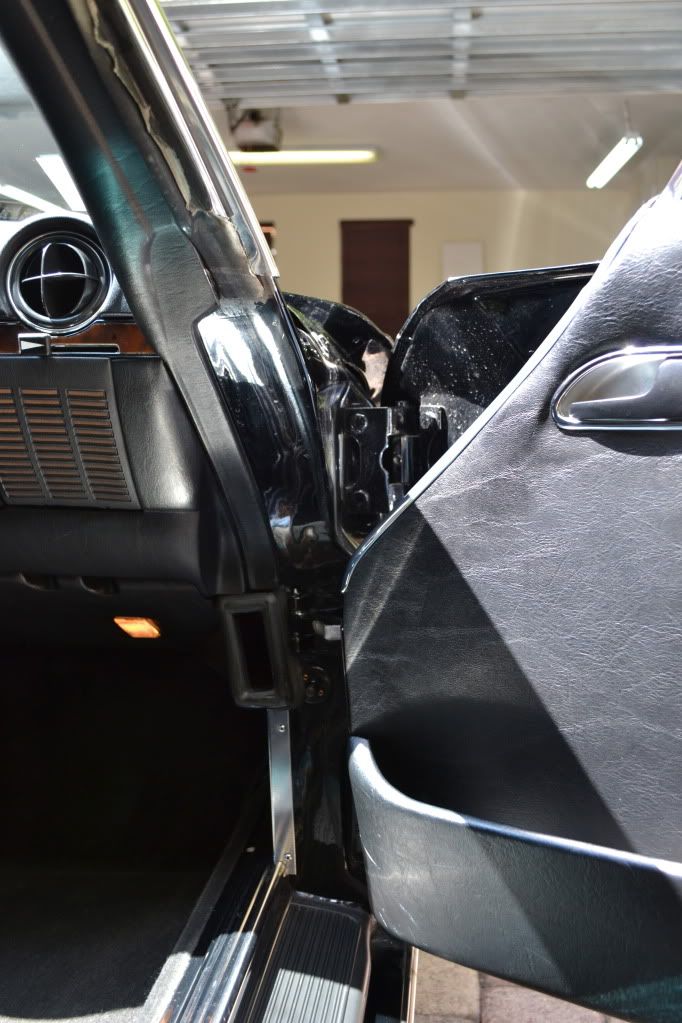
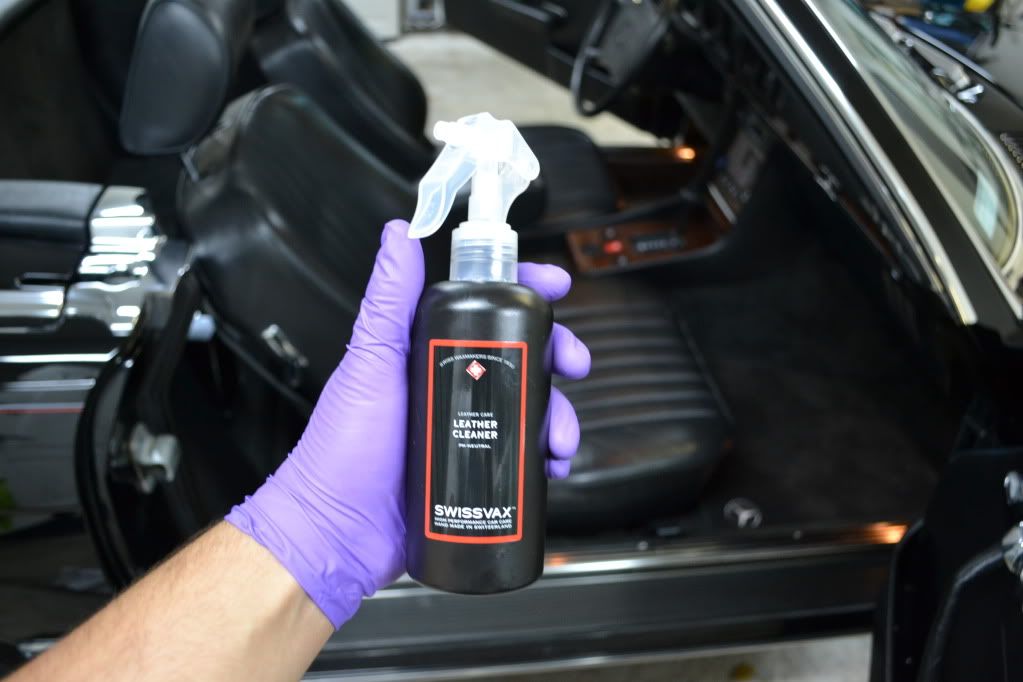
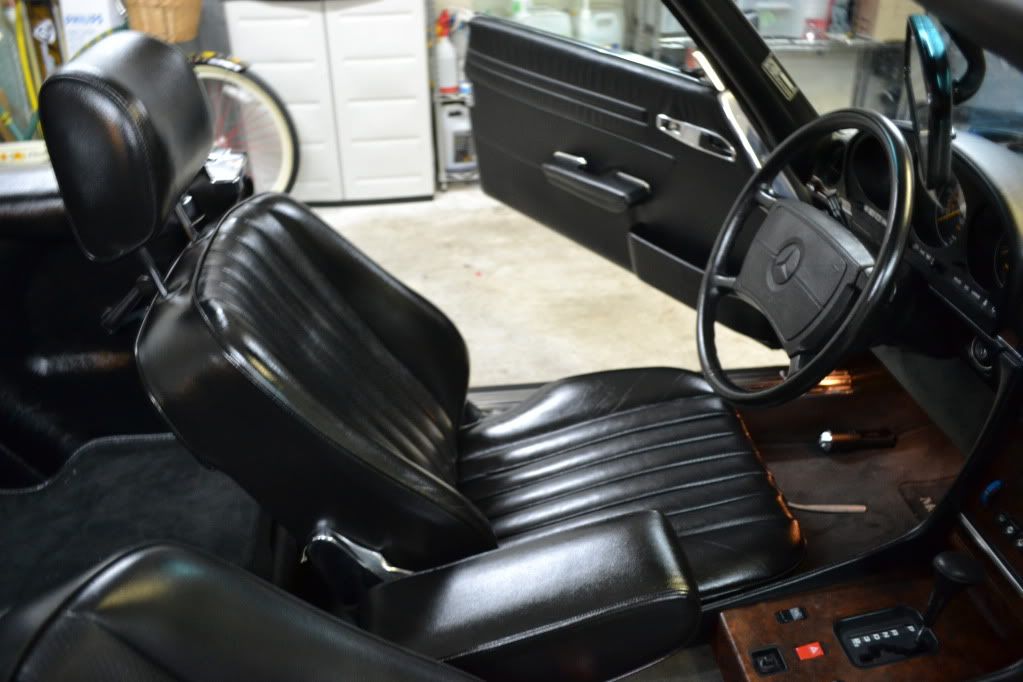
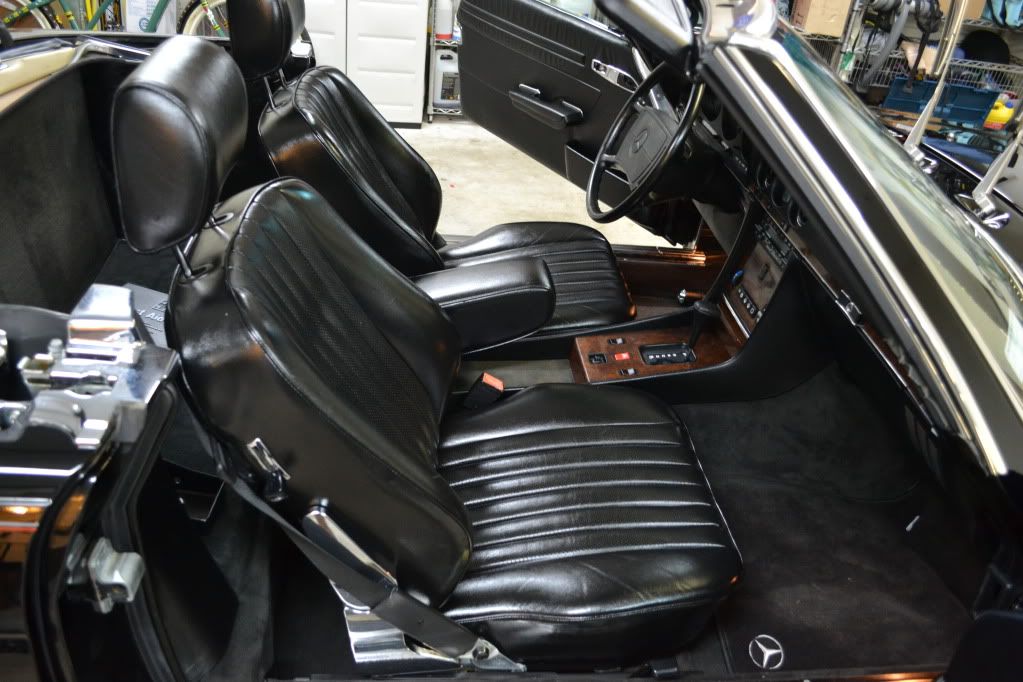
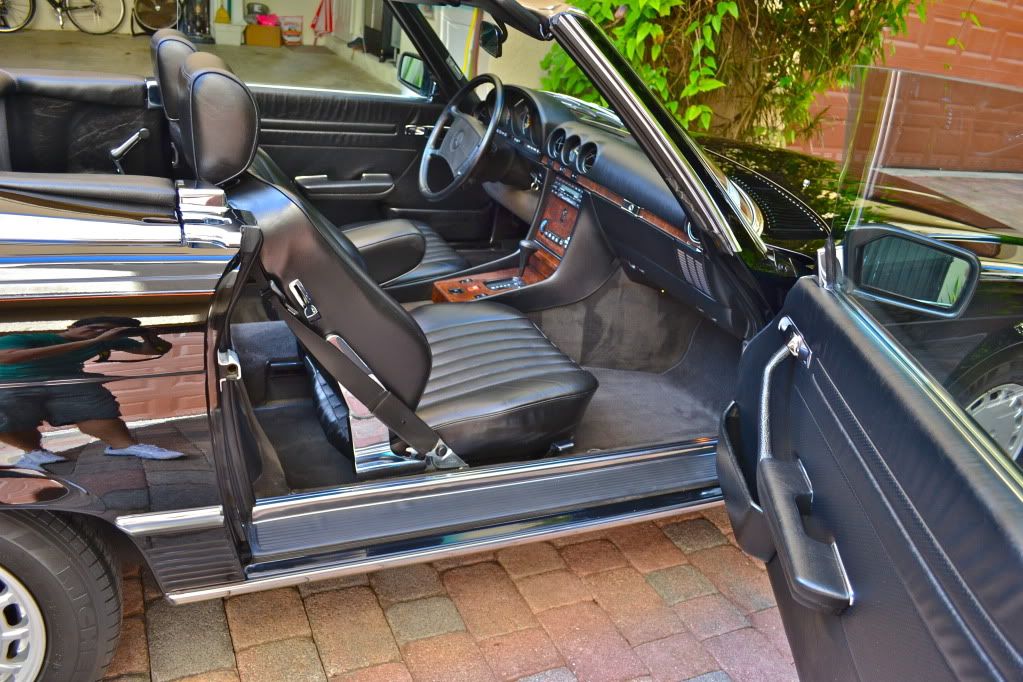
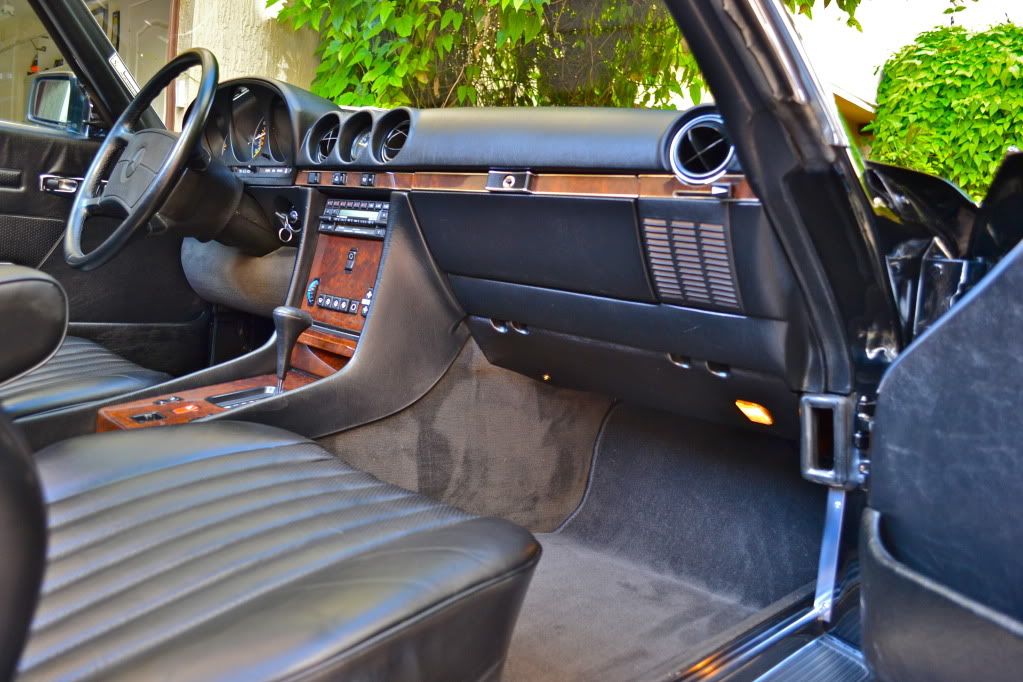
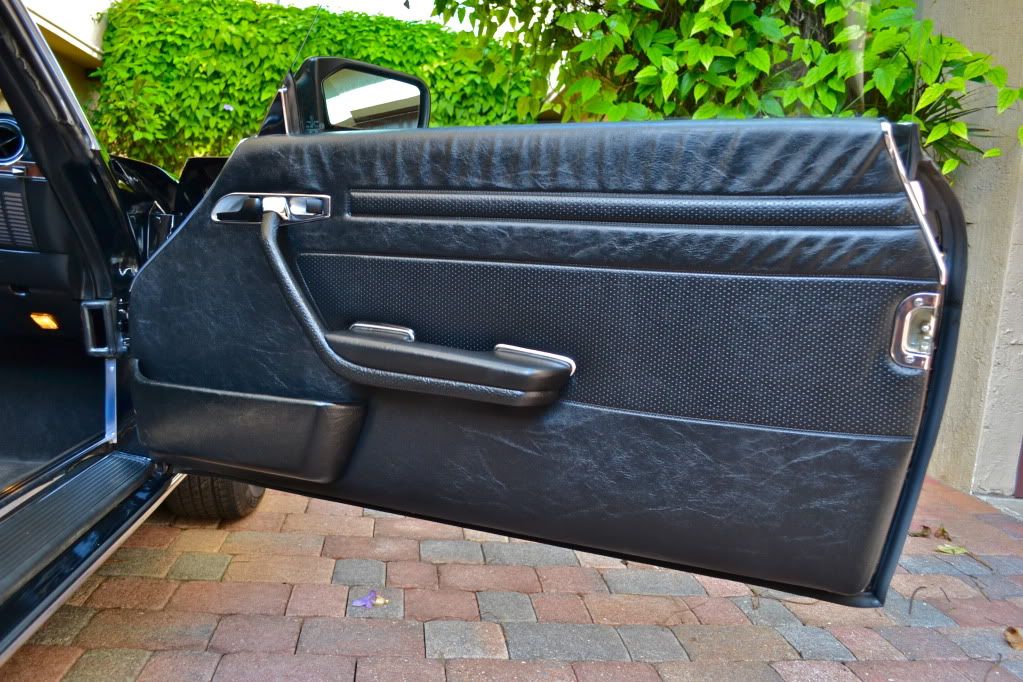
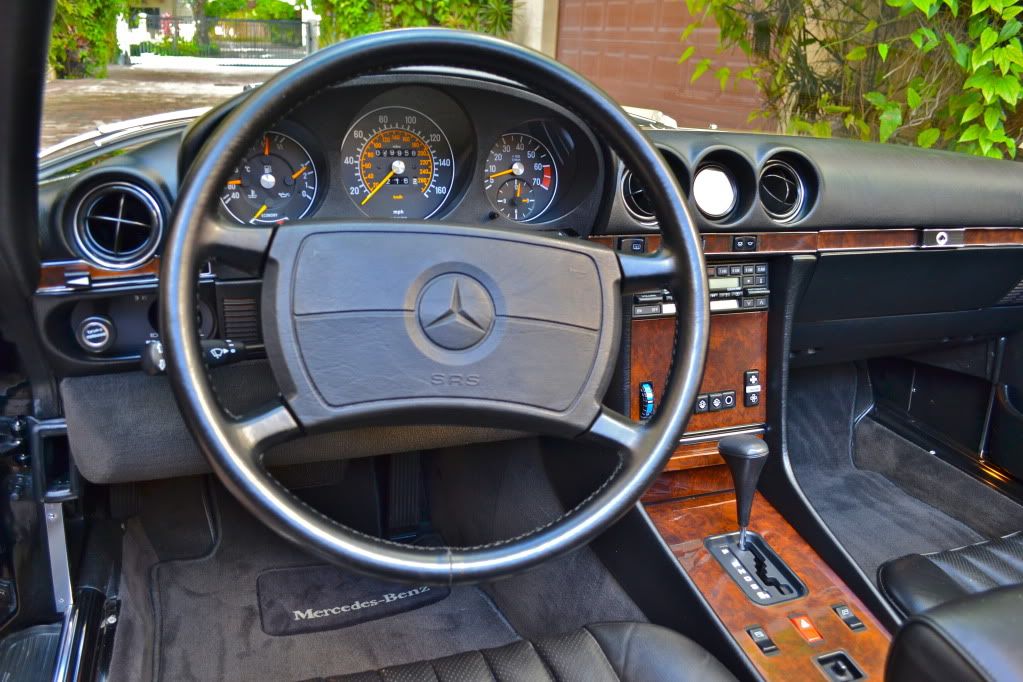
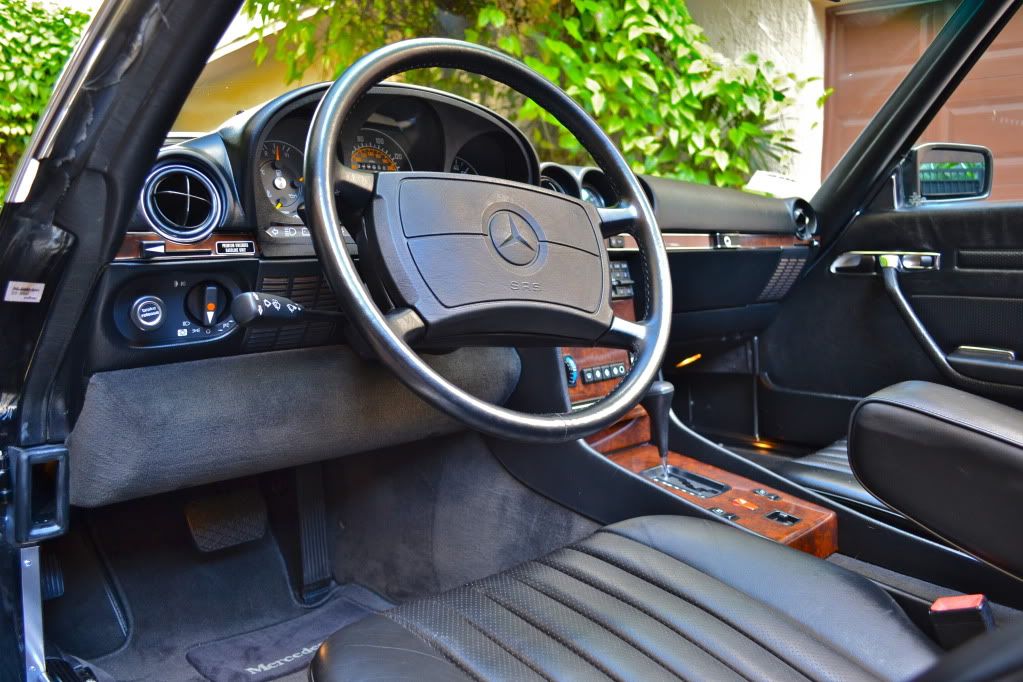
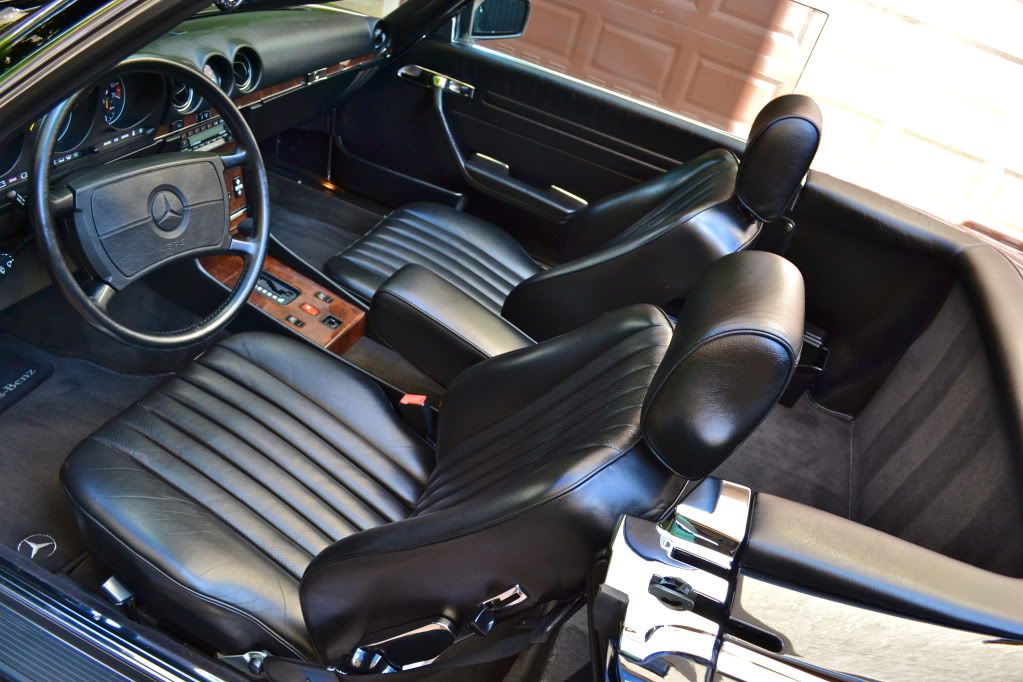
Onto the interior...
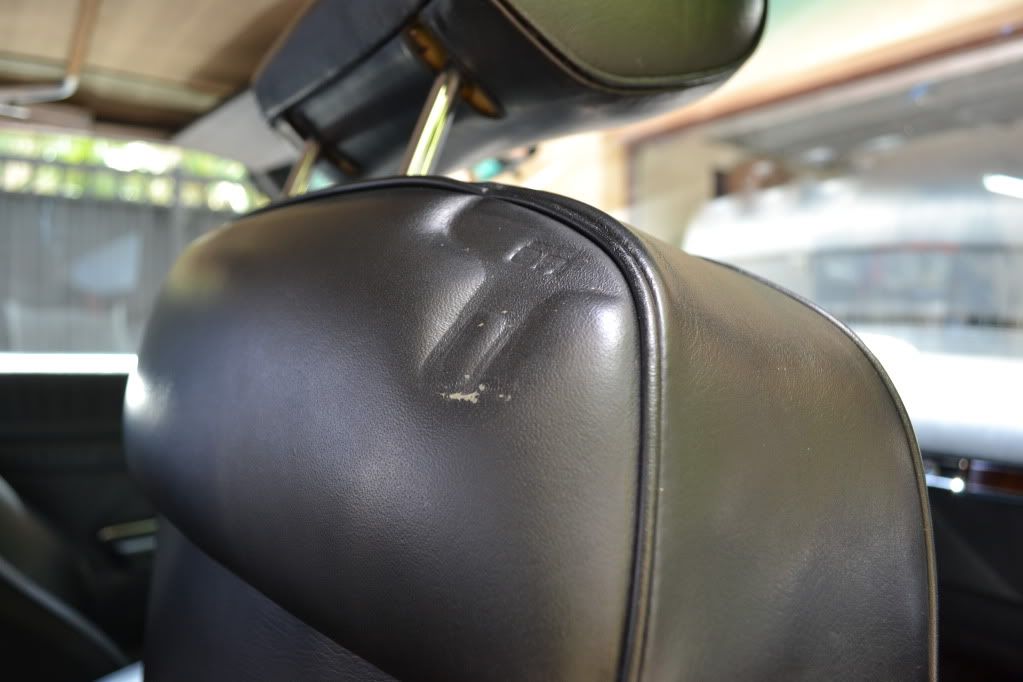
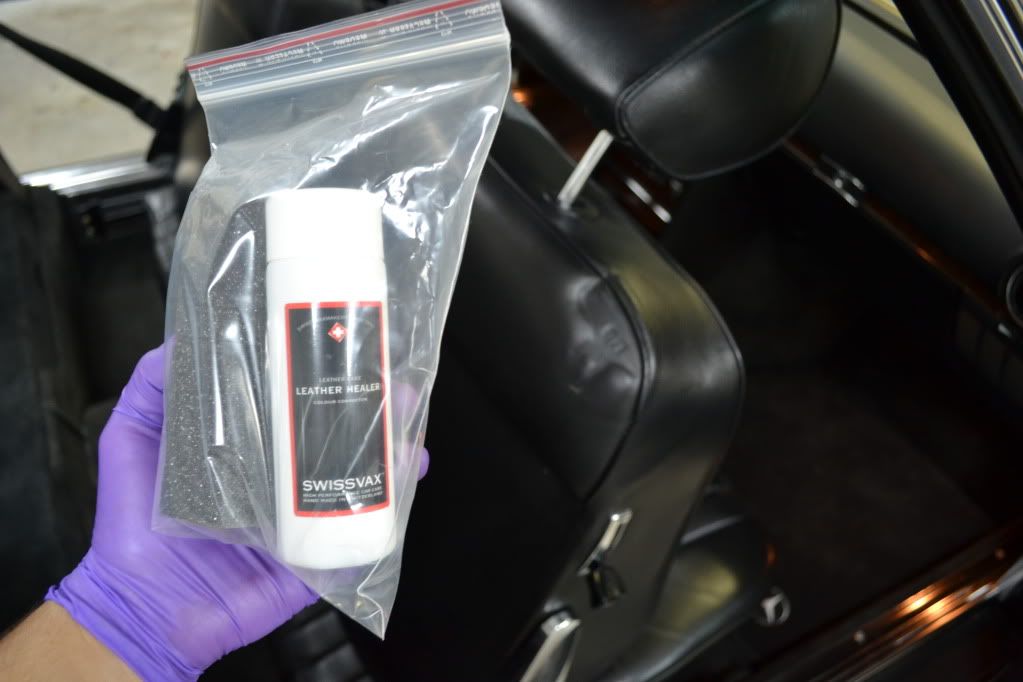
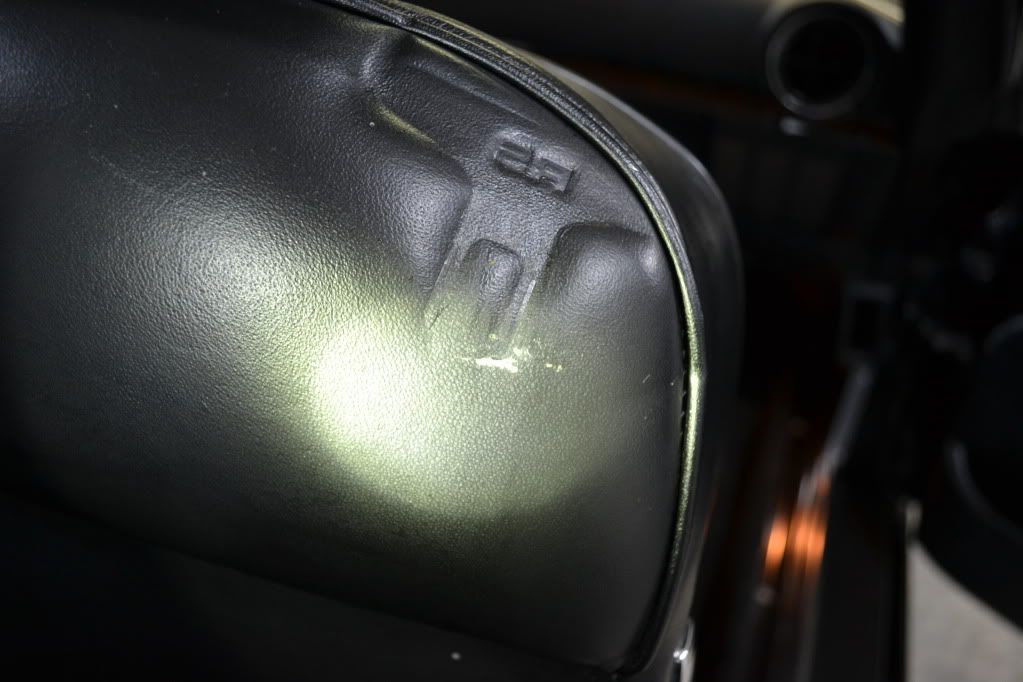
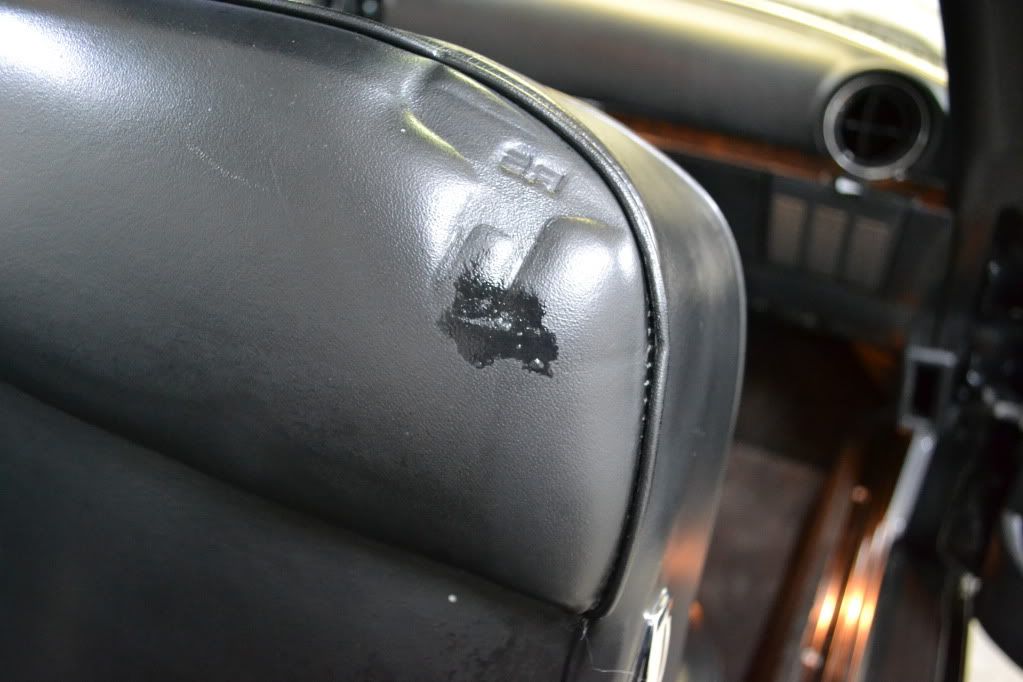
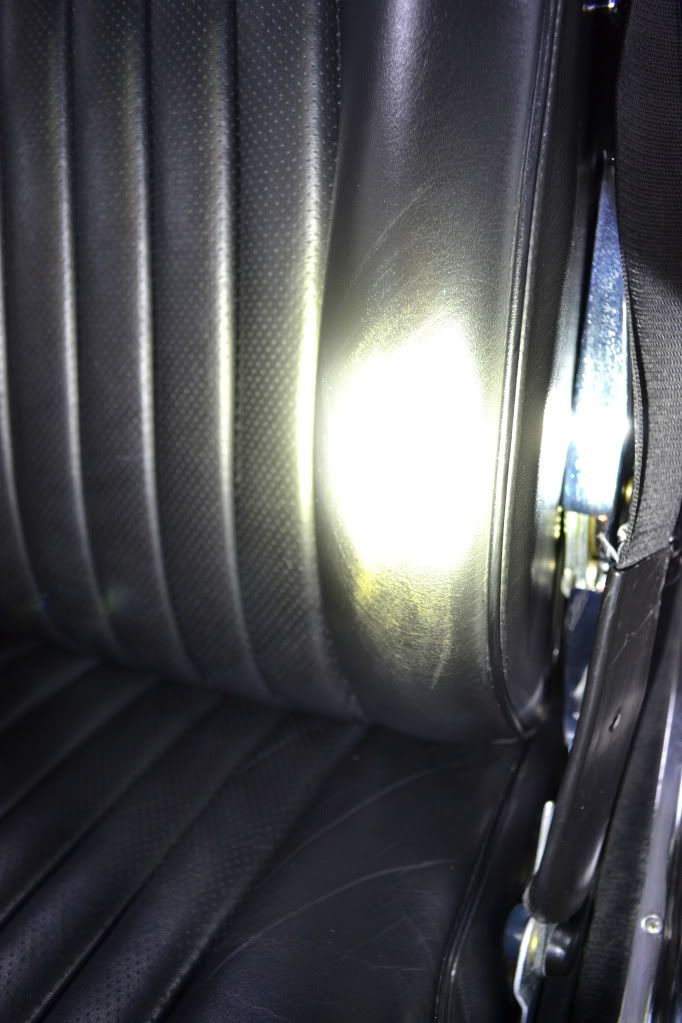
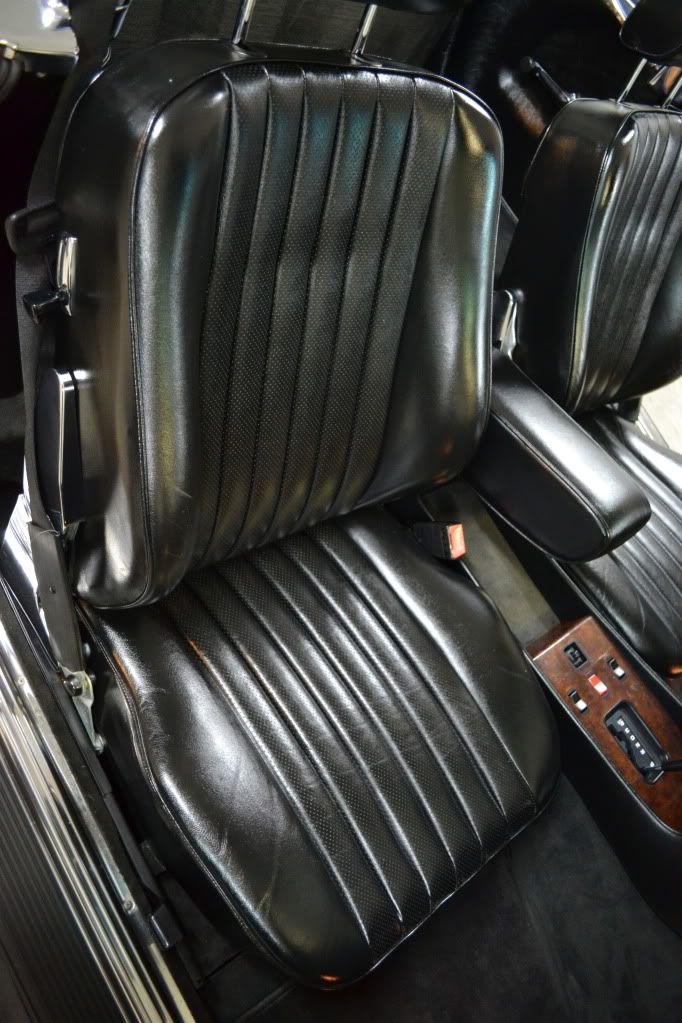
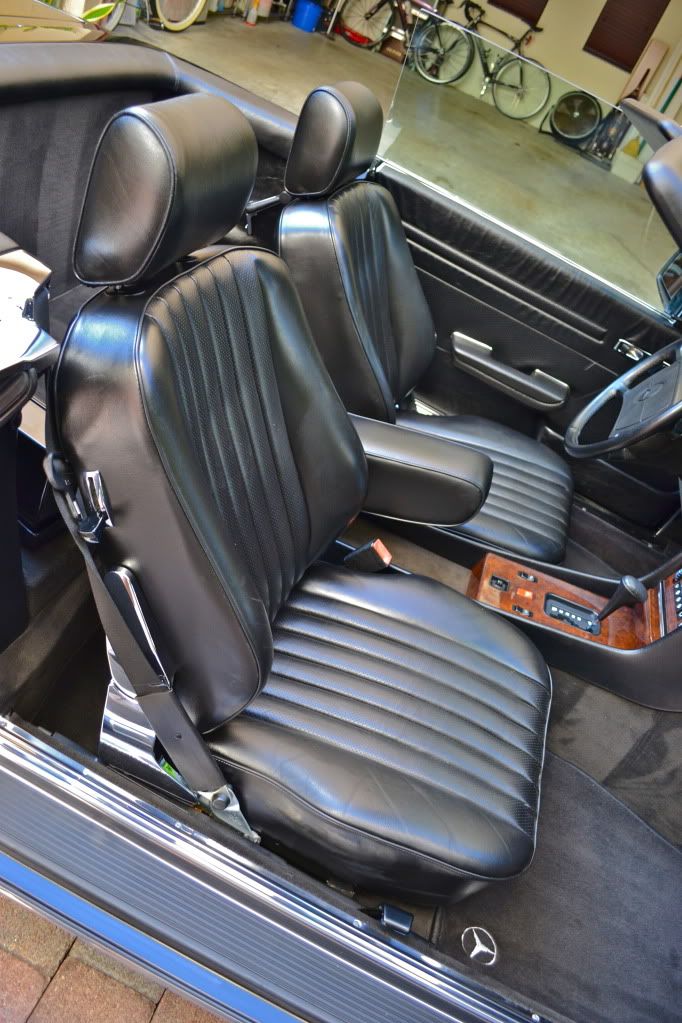
Swissvax Leather Healer was used to touch-up some areas of the leather upholstery
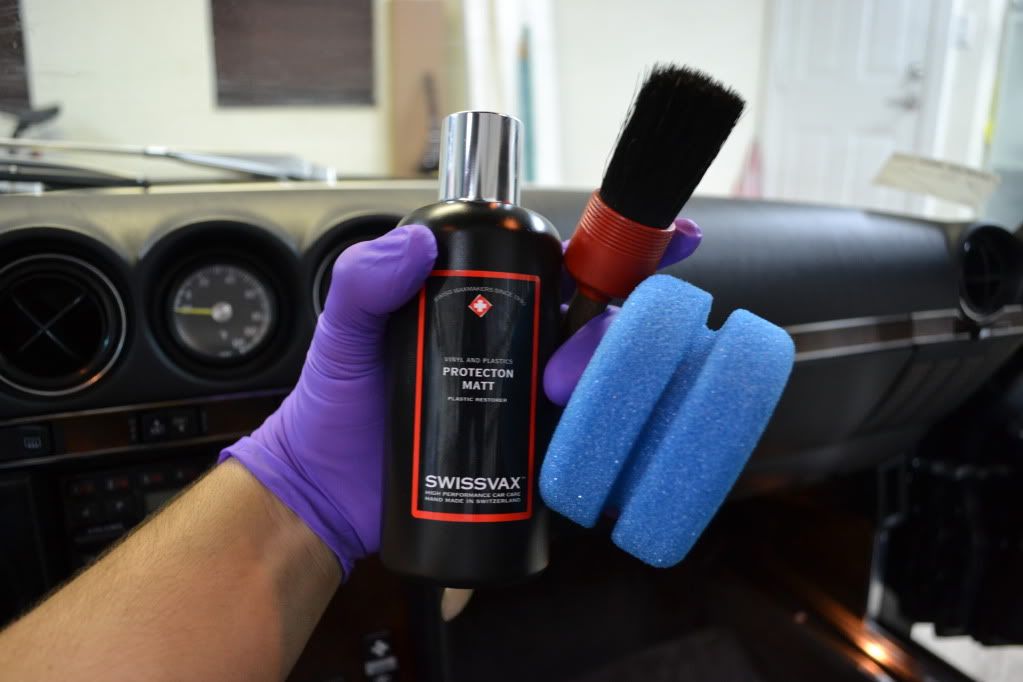
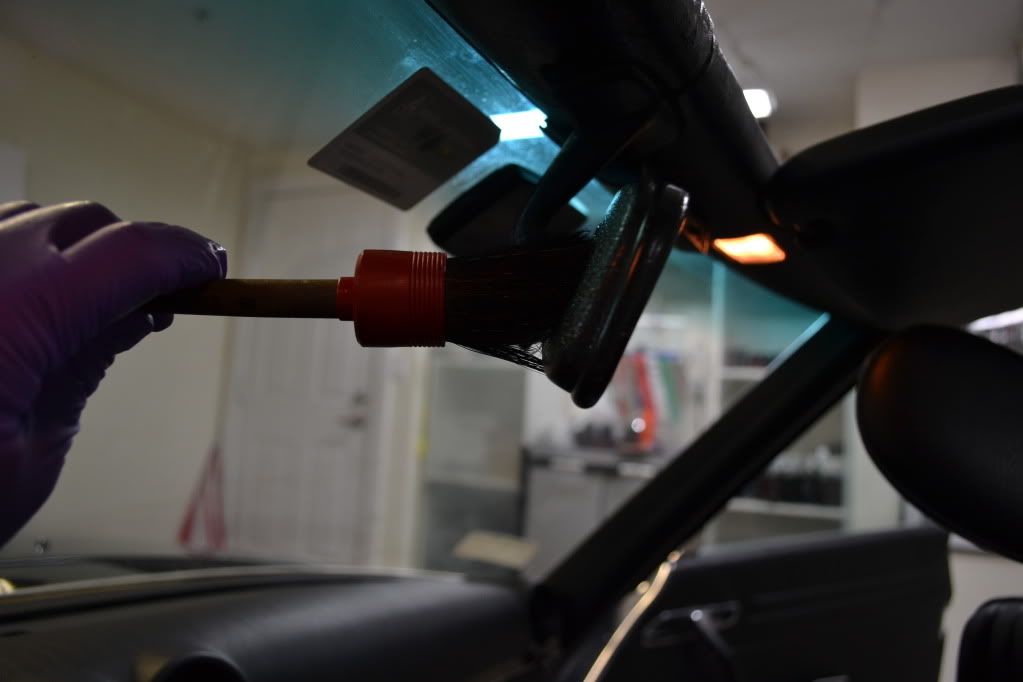
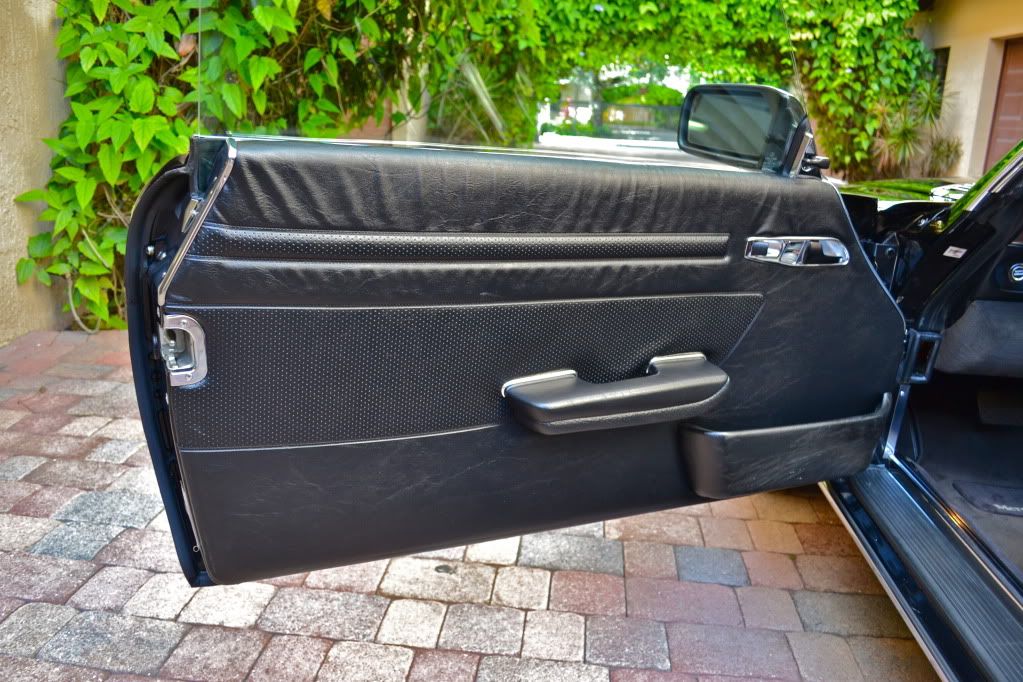
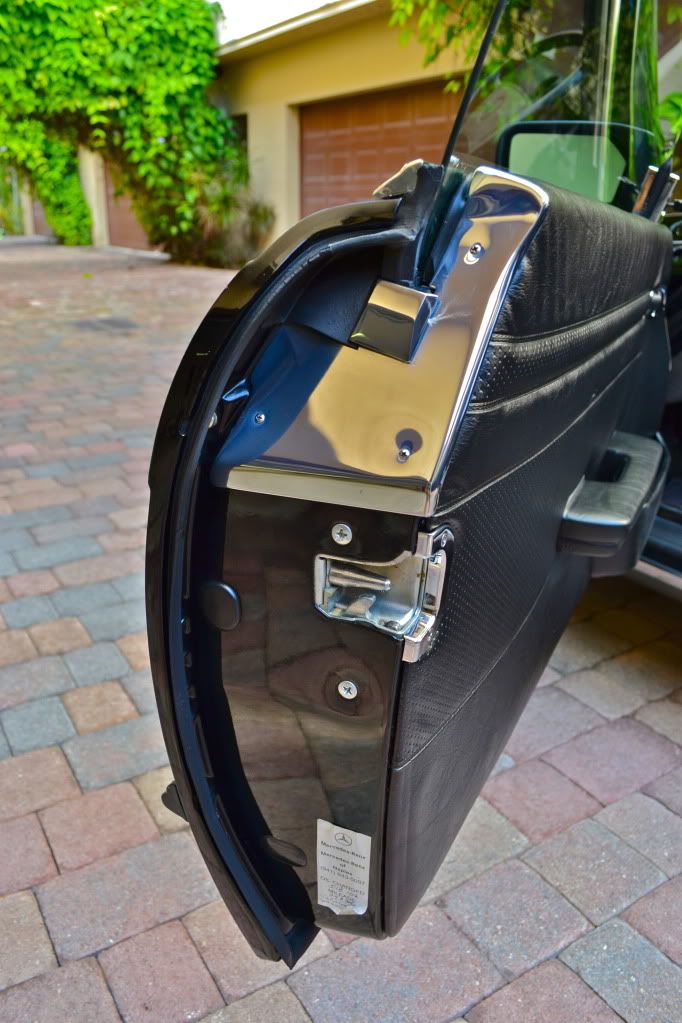
Applying Protecton Matt to all the interior plastic and vinyl surfaces
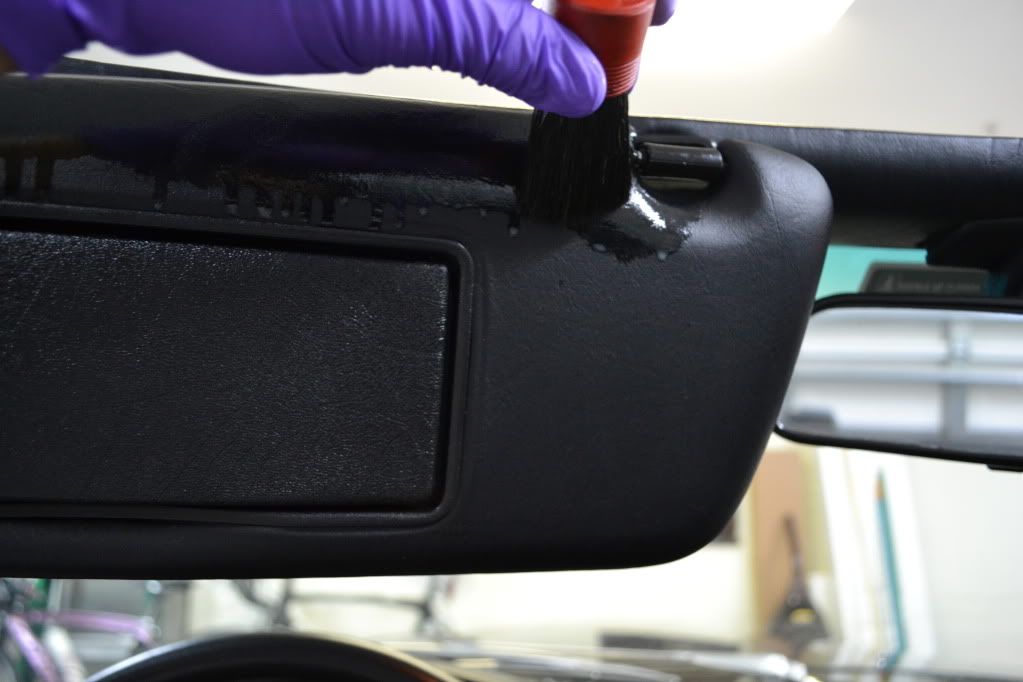
Just applied Protecton Matt. in about 2 hours time it will have a completely natural looking finish

Leather Milk had just been applied, hence the oily appearance. However, in a few hours it returned to a natural look once the Leather Milk fully absorbed into the hide.
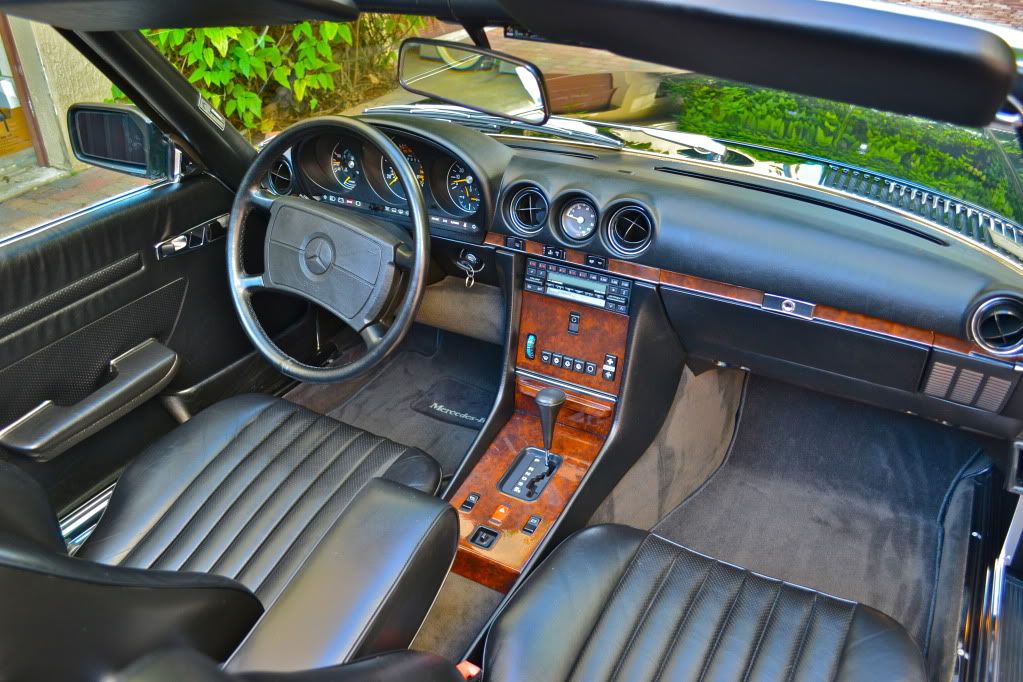
Fine Wood Therapy

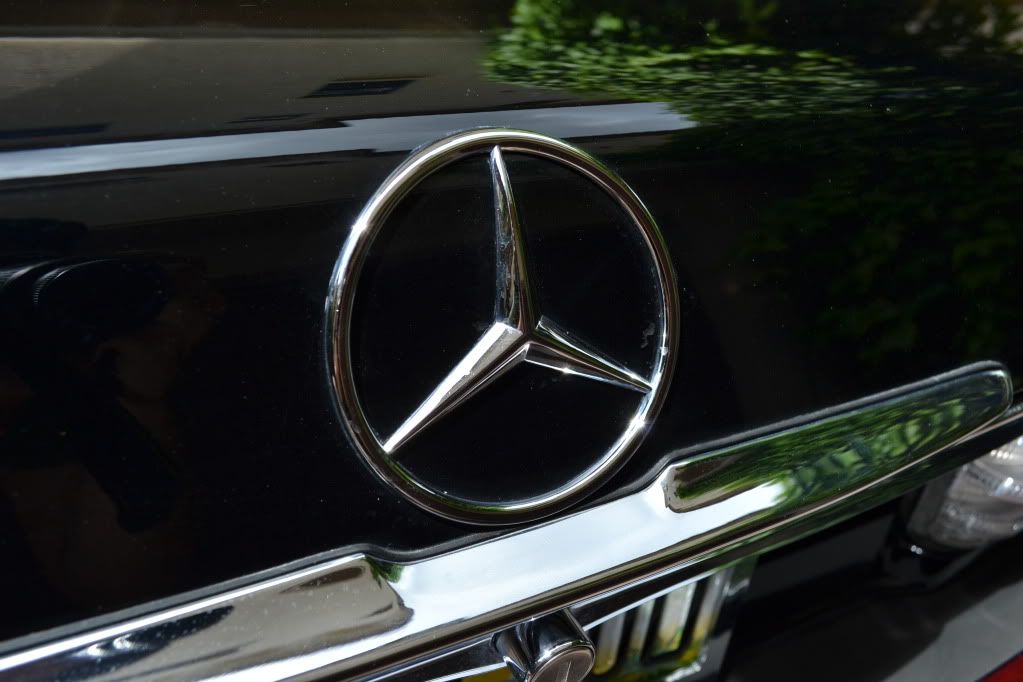
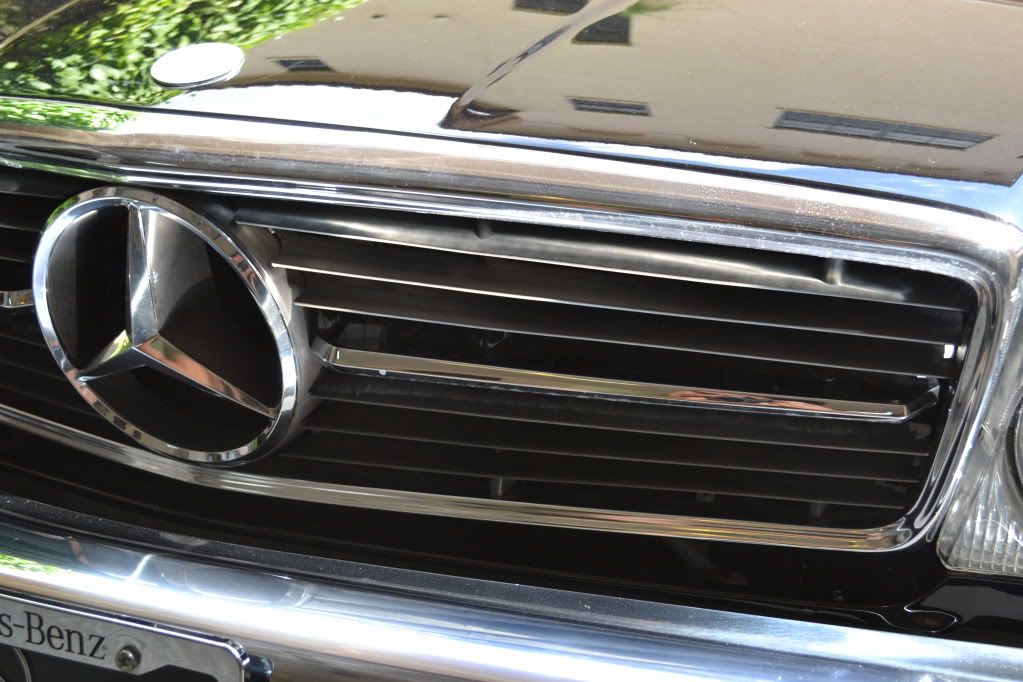
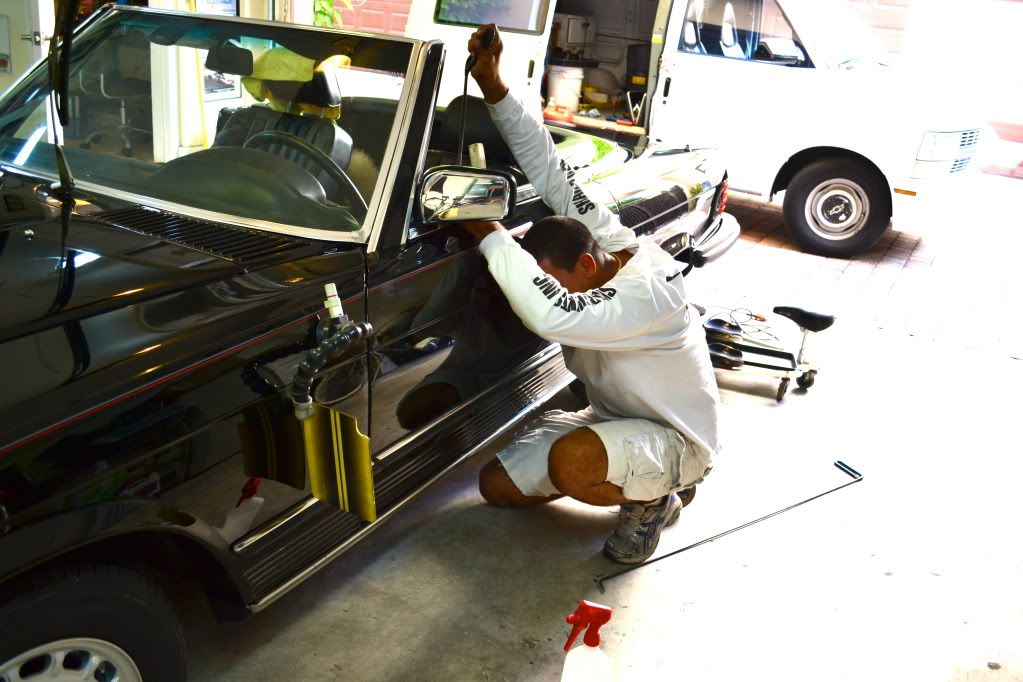
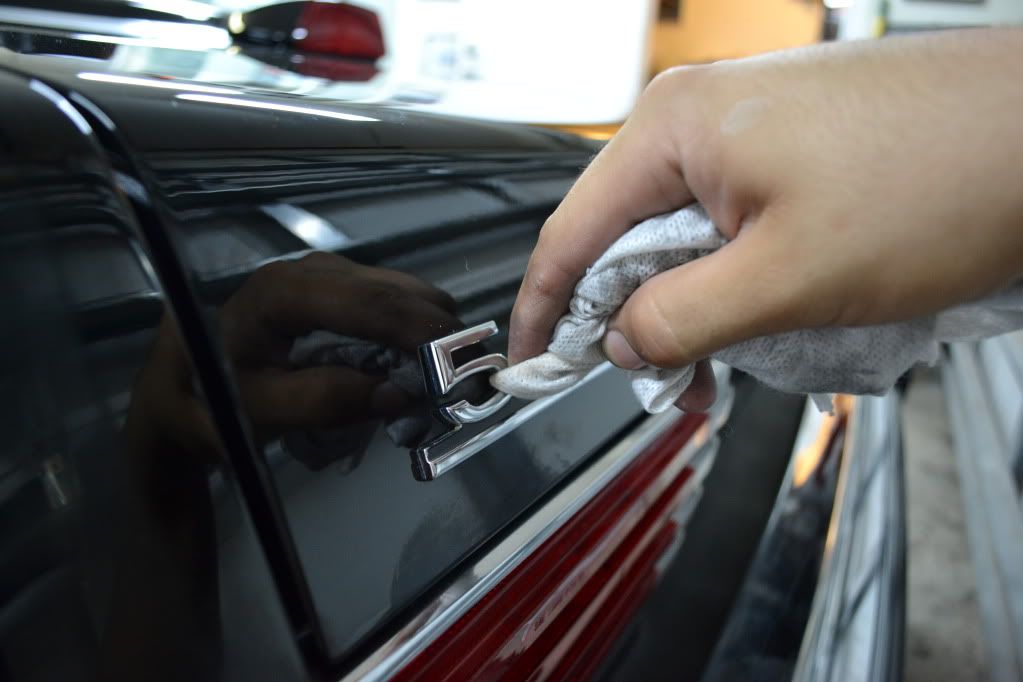
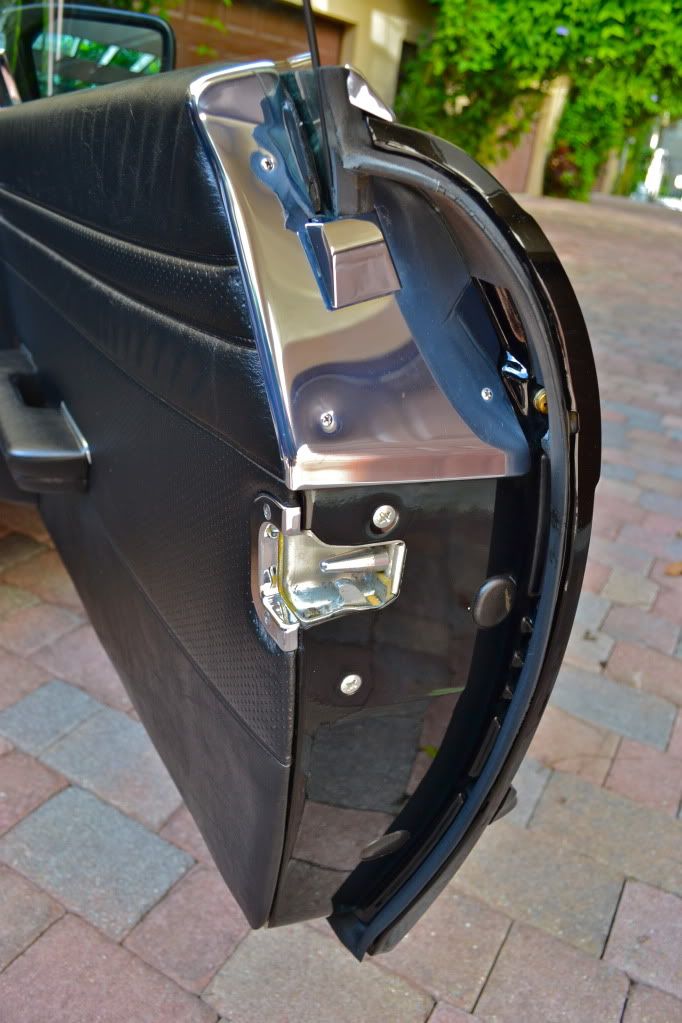
Chop-Stick method to get perfectly into the badges and emblems on the exterior

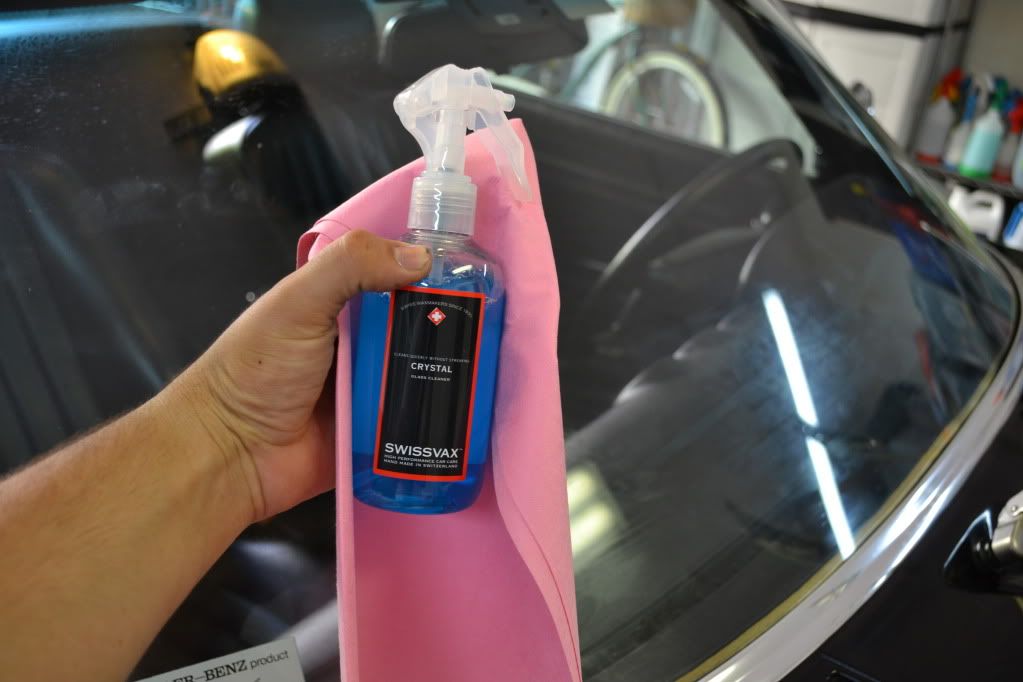
Swissvax Crystal on the Windows
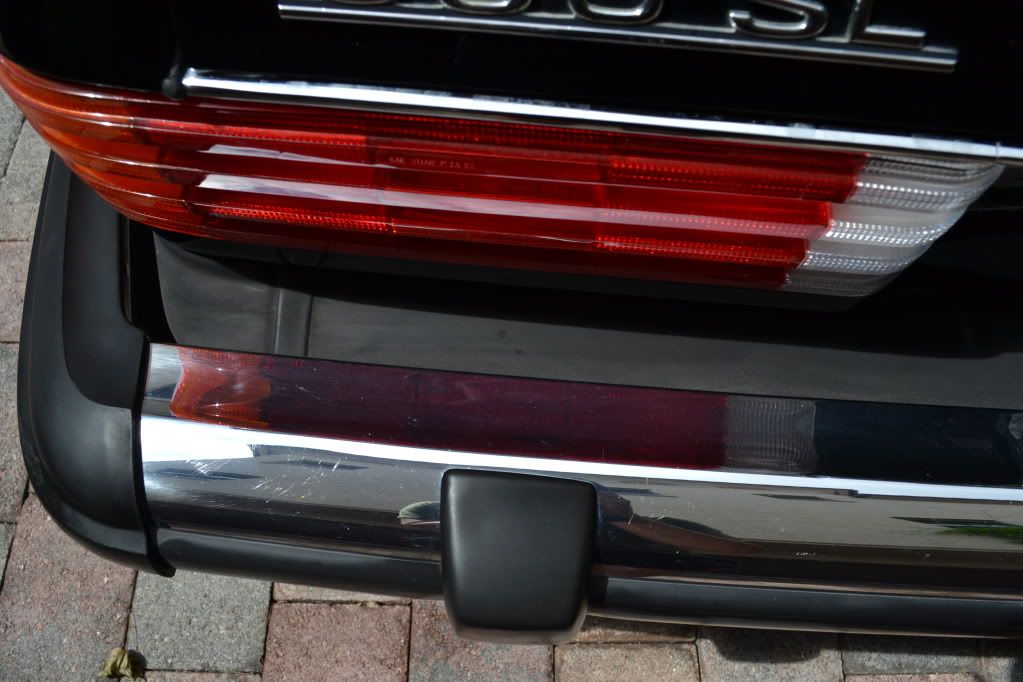
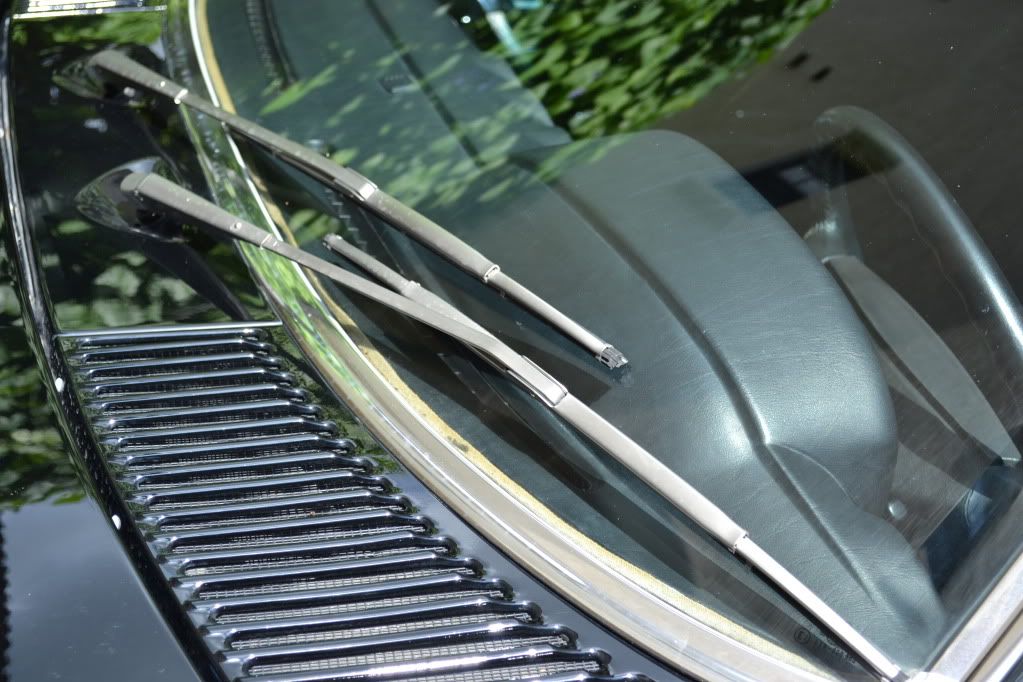
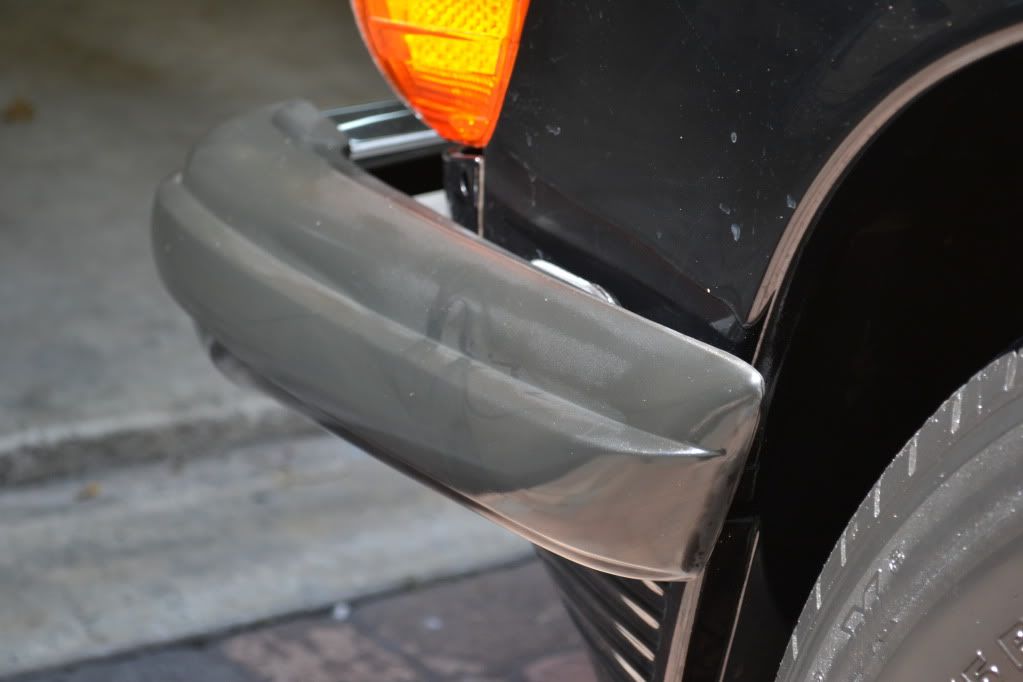
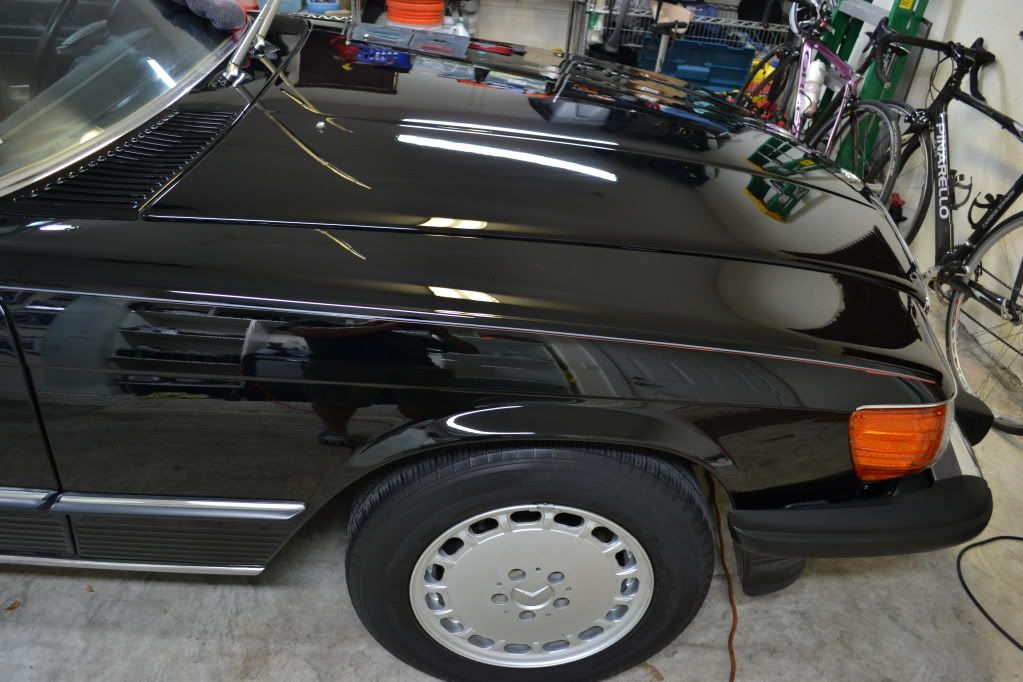
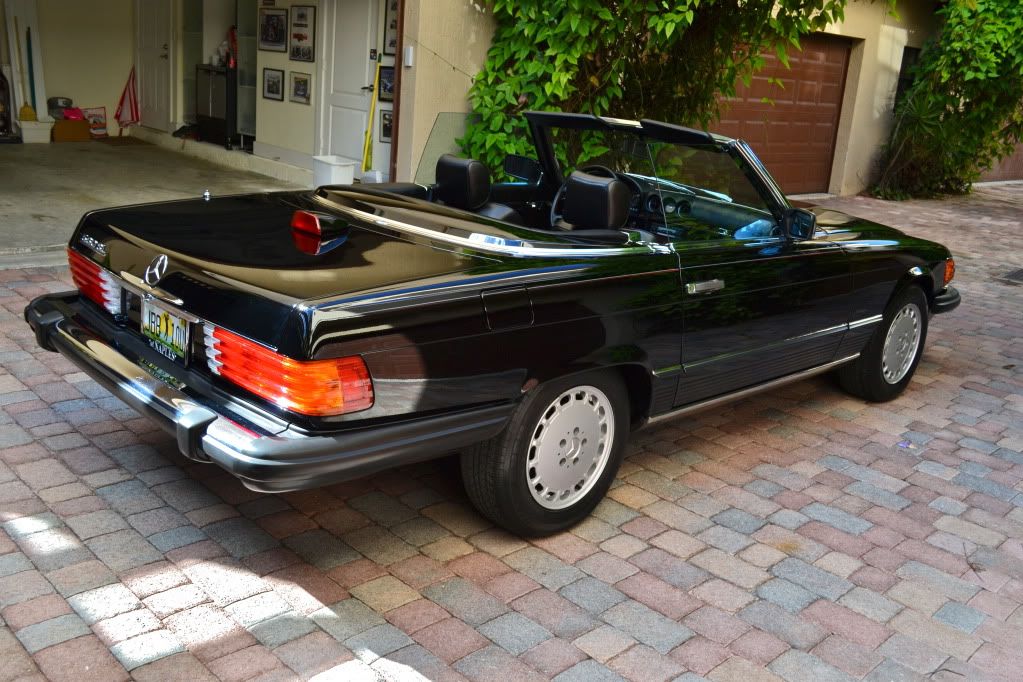
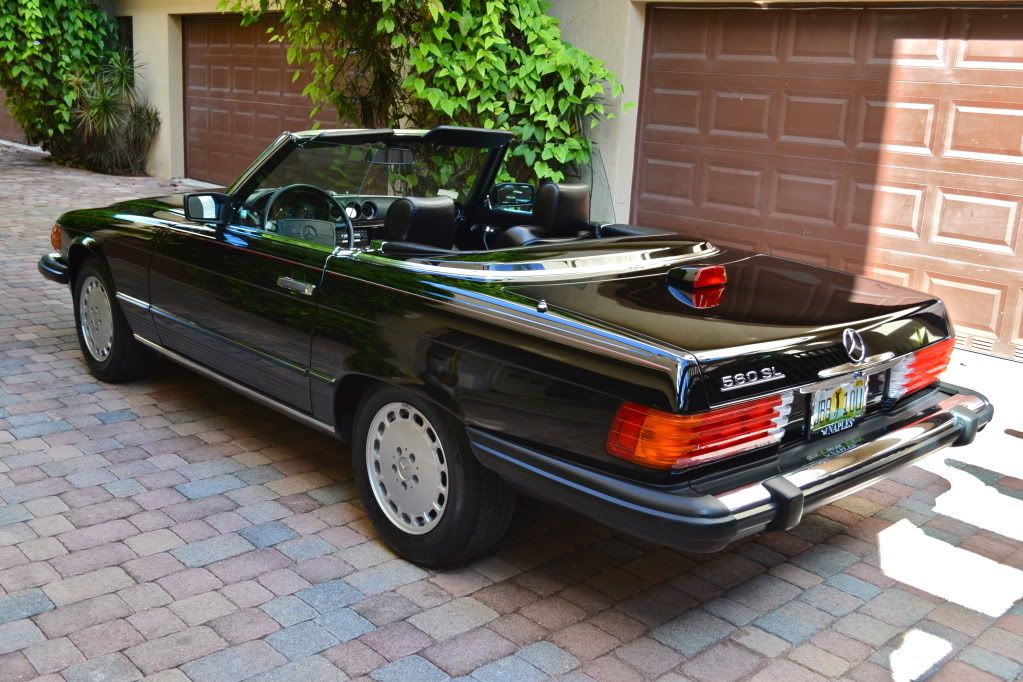
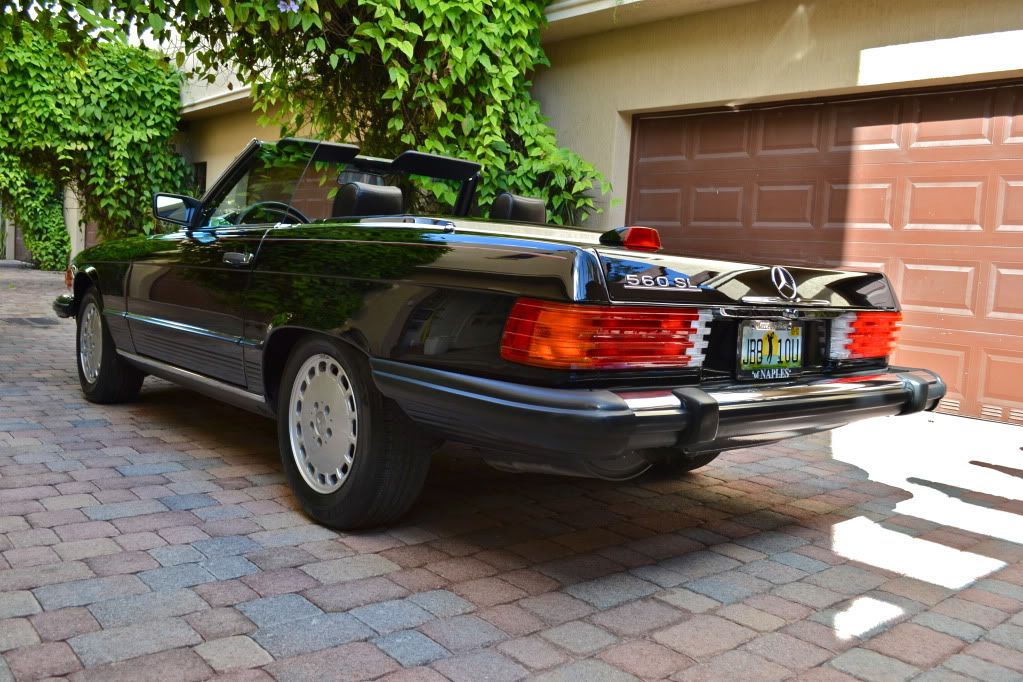
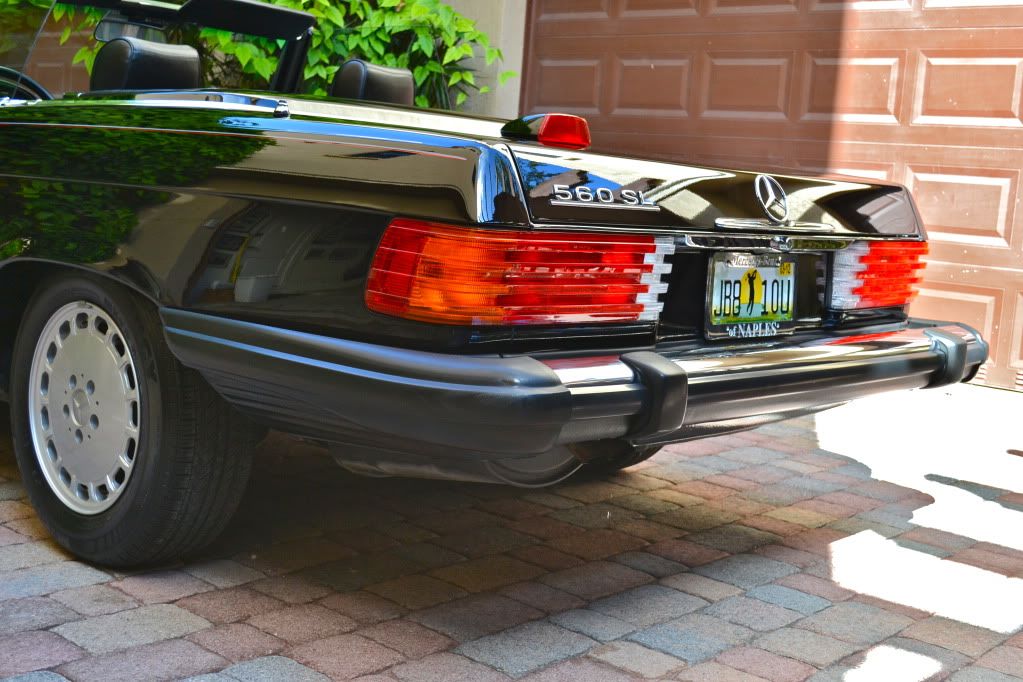
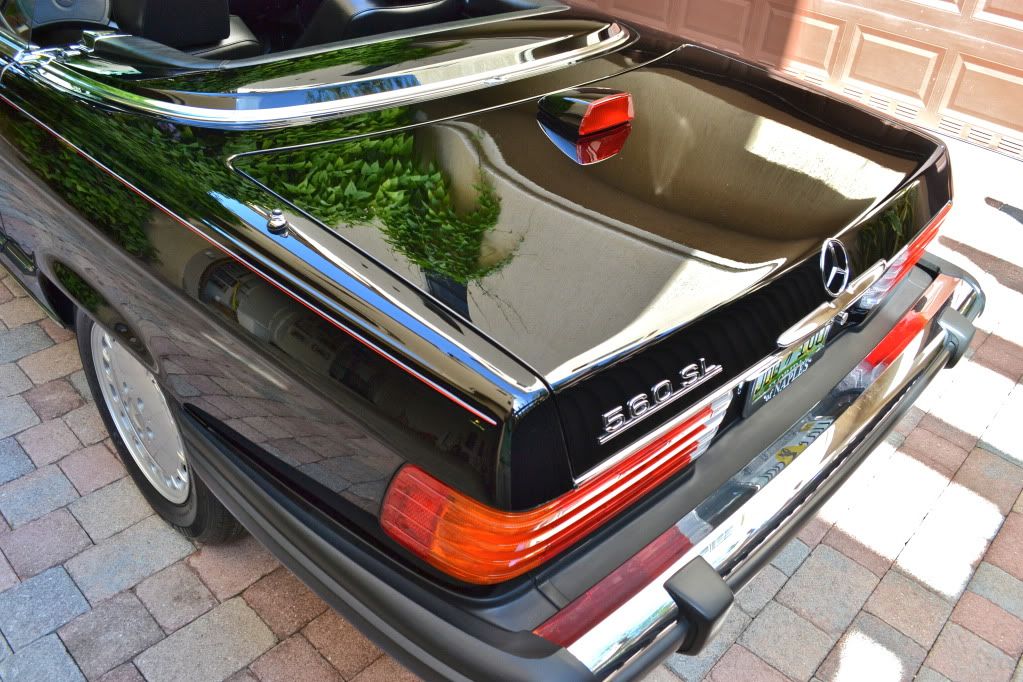
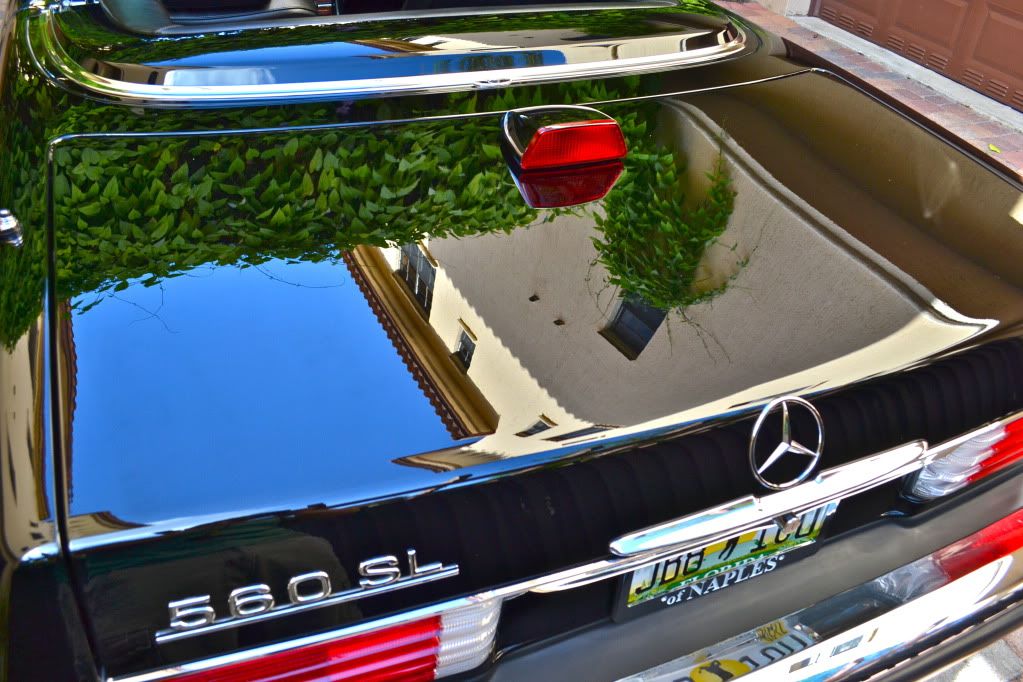
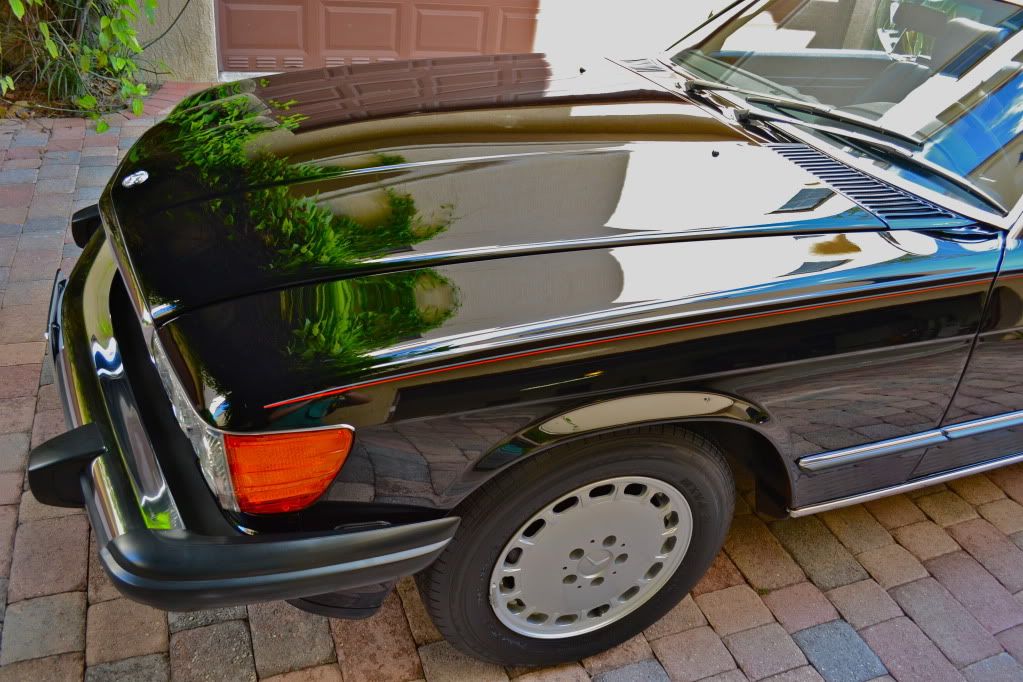
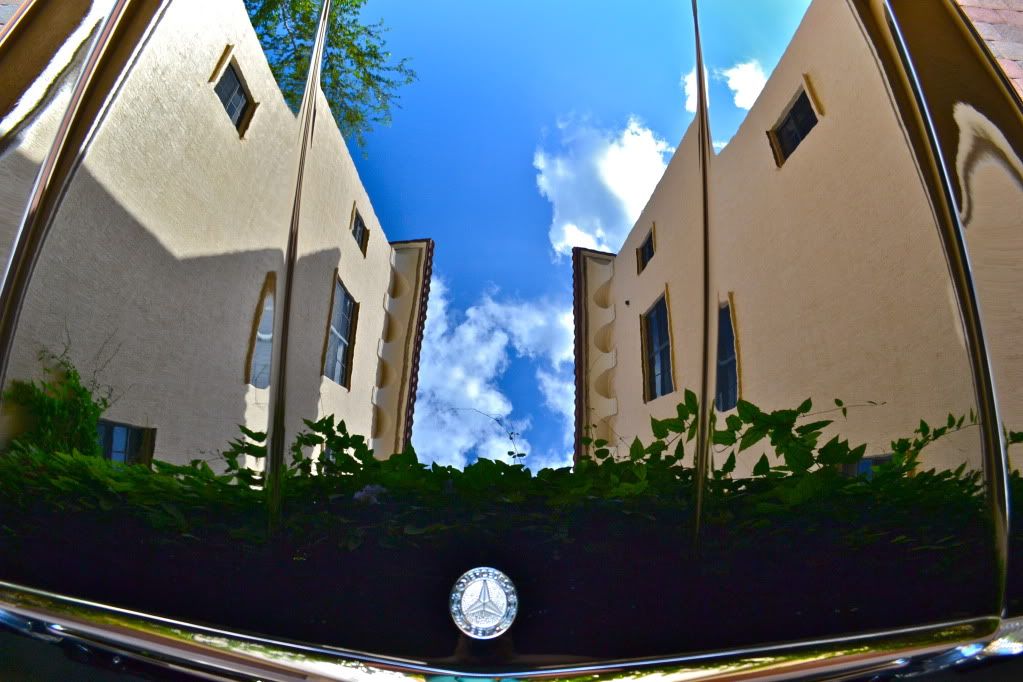
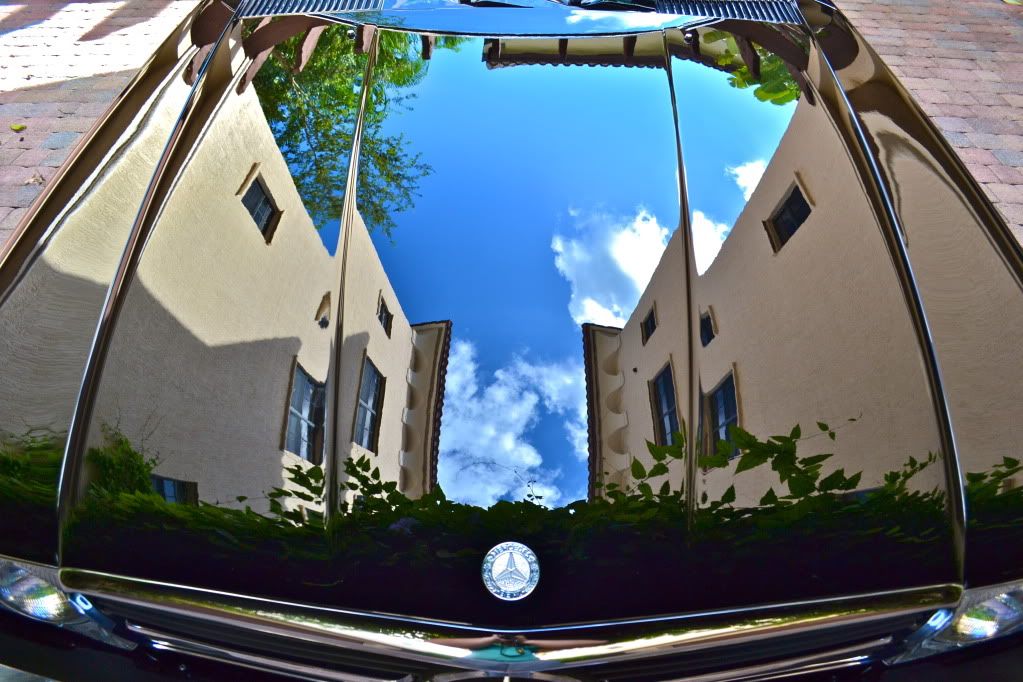
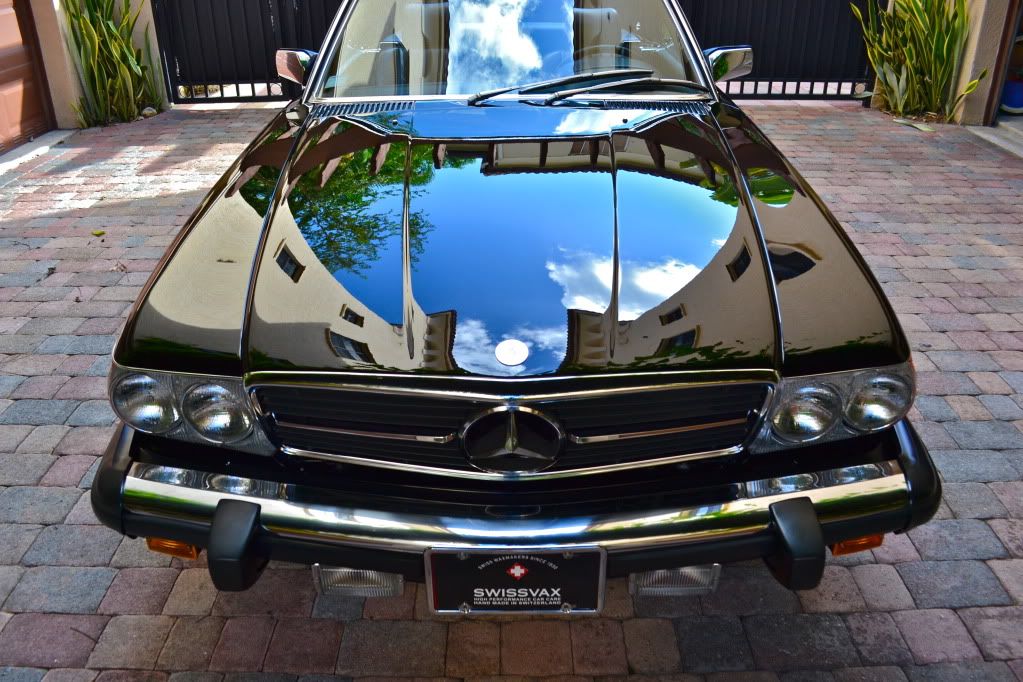
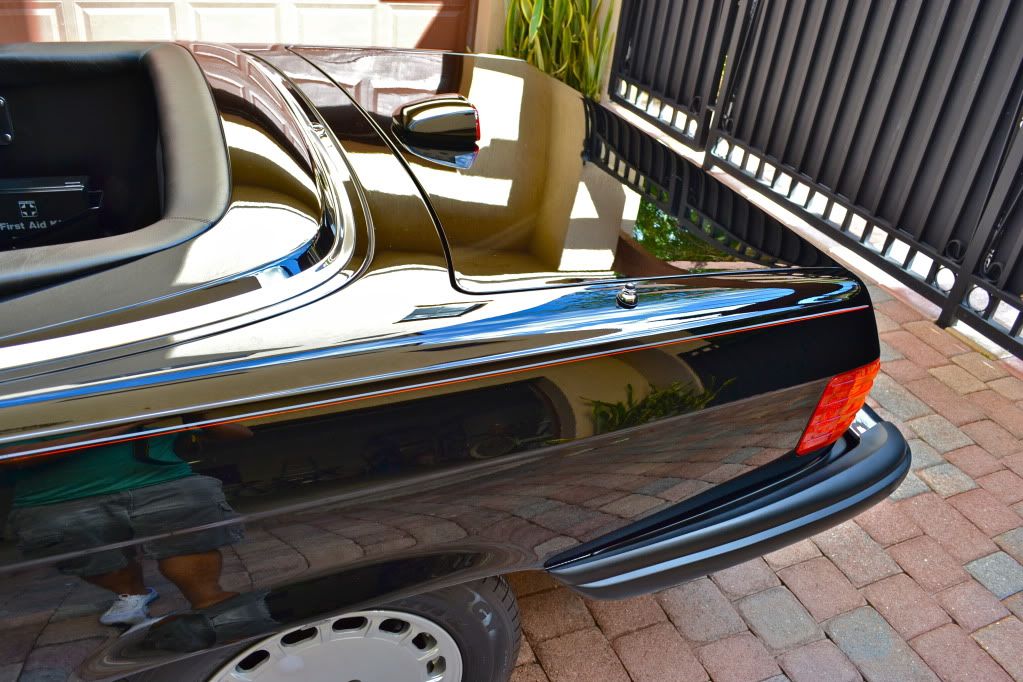
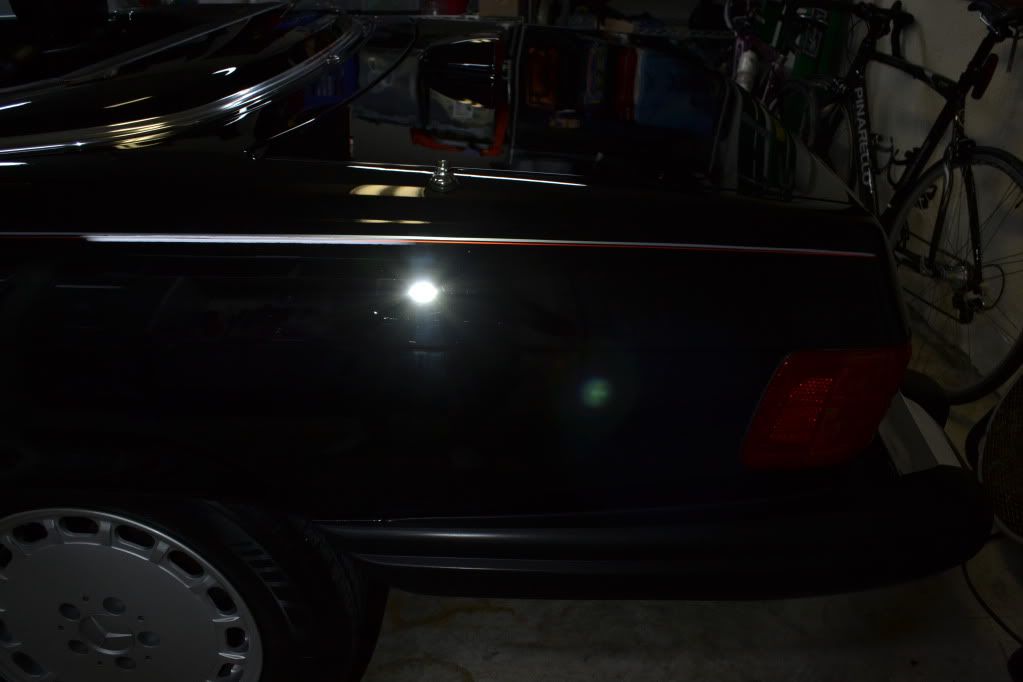
FINISHED!!
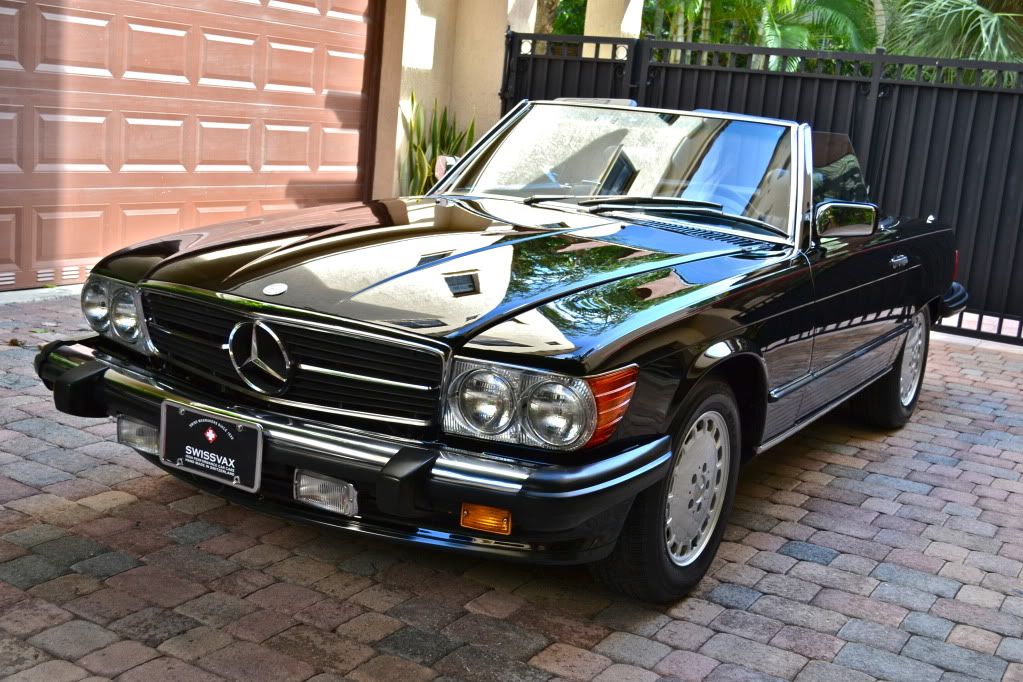
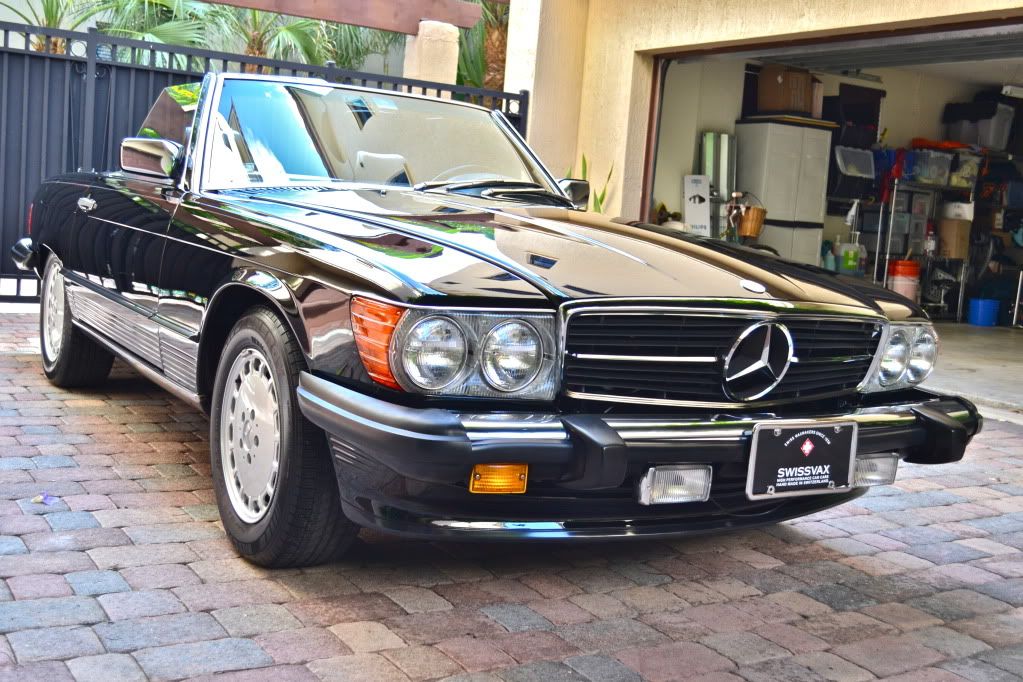


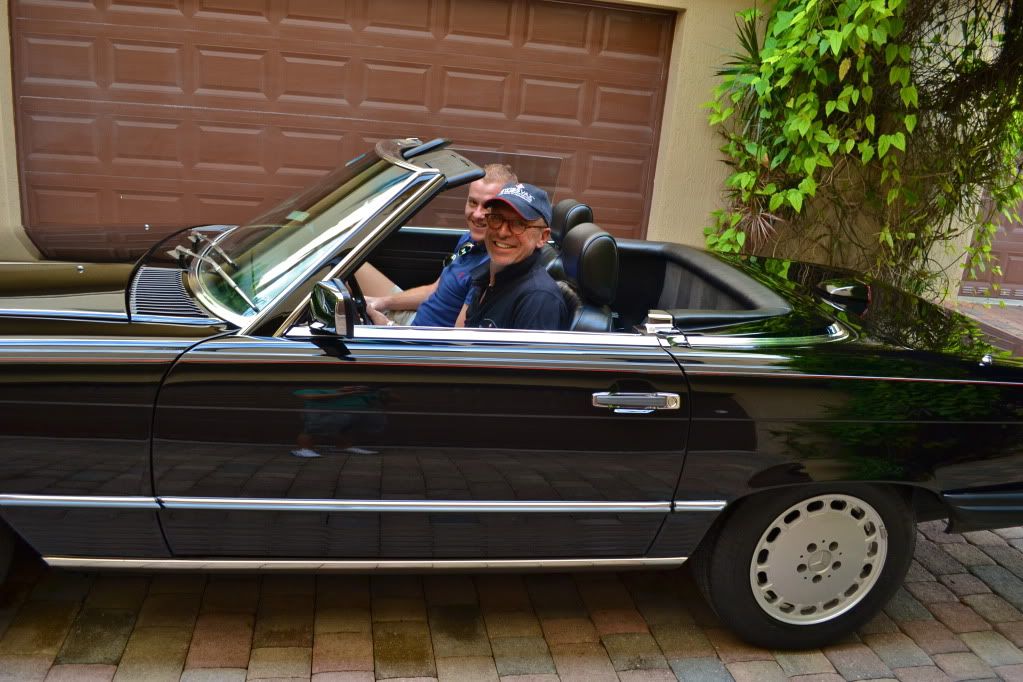
Happy Customers
J
Here's the list of products used in this detail
-P21s TAW
-1Z Blitz
-1Z W99
-1Z Windscreen
-Sonax Full Effect
-#0000 Steel Wool
Swissvax:
-Car Bath
-Engine
-Protecton
-Seal Feed
-Engine Shine
-Paint Rubber (Yellow)
-Quick Finish
-Cleaner Fluid Strong via Festool w/ Orange SV pad @1000
-Cleaner Fluid Professional via Festool w/ White SV pad @1500
-Cleaner Fluid Medium via PC w/SV Black Gloss pad @6
-Concorso wax
-Nano Express
-Cleaner Fluid Regular
-Autobahn PTFE Wax (Wheels)
-Pneu Glossy
-Waschpudel
-Black Puck Applicator
-Black wax applicator
-Micro-Absorb (Red)
-Micro-Polish (Blue)
-Micro-Fluffy
-Pneu Brush
-Detail Brush
-Wheel Brush
-Metal Polish
I appreciate you taking the time to look through my detailing work! If there is anything I could possibly help you with in regards to your car in the South Florida Area, Please do not hesitate to contact me!
Dom