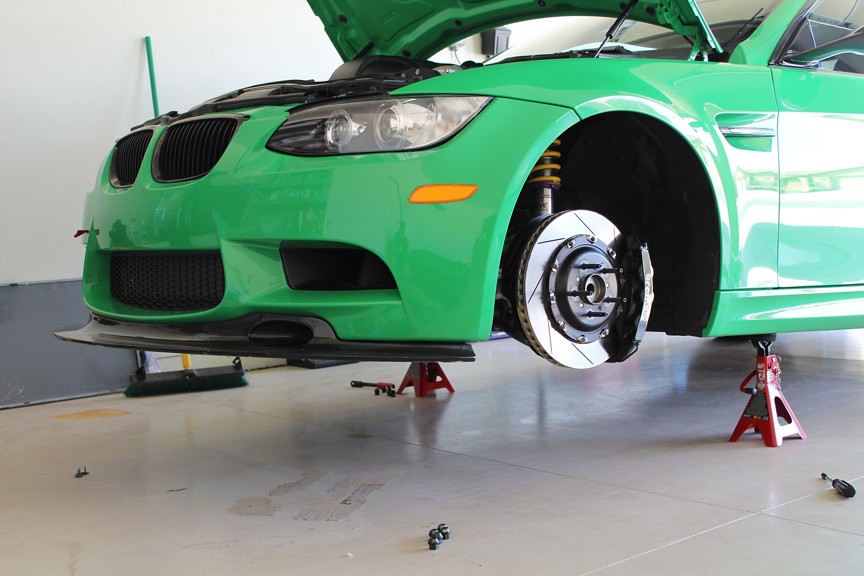
So I have the Monster back in the air to take care of what started out as a simple issue.
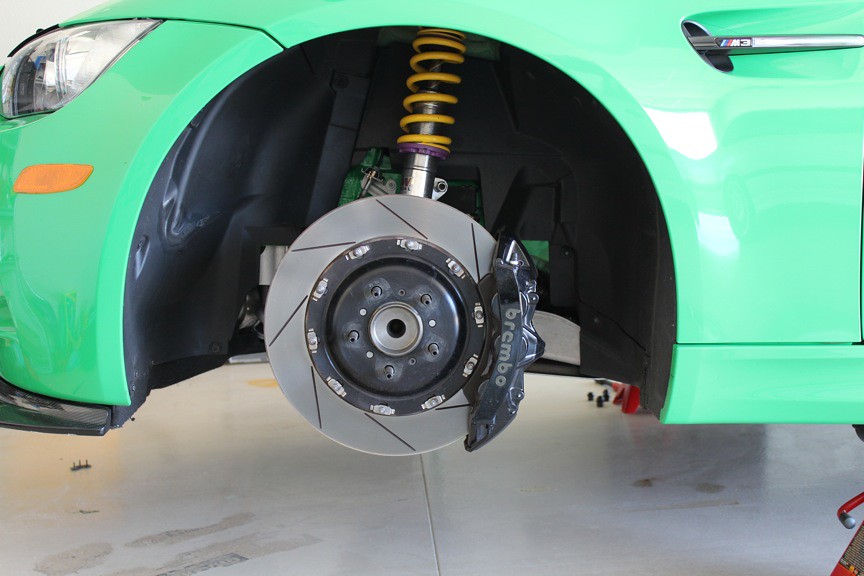
A nice shot of the KW suspension and 380mm Brembos. Notice I am still experiencing a tiny bit of rubbing on the front fender liner. The cause of this I will get into later but it should be a simple fix.
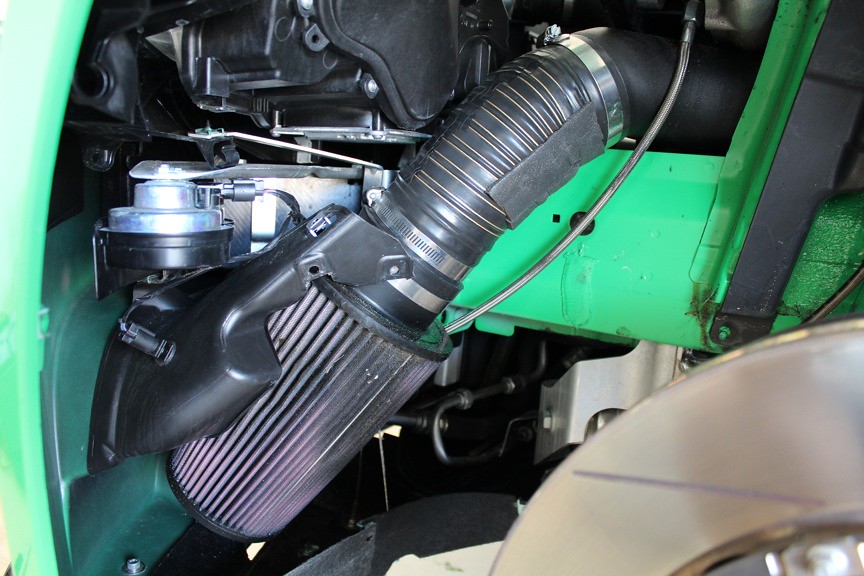
Here you can see the ESS cold air intake for my ESS SC setup. The kit uses a steel band reinforced flex hose that is extremely durable. But I am super anal and to avoid any excess rubbing, I put some electrical tape on the top of the tube as well as some rubbing strips at the bottom. Like I said, I am anal.
Another interesting thing you are seeing here is that the GT4 brake duct, which I have open to the under panel and thus the intake, is providing extra air to the filter as can be seen by the dirt residue seen in this pic.
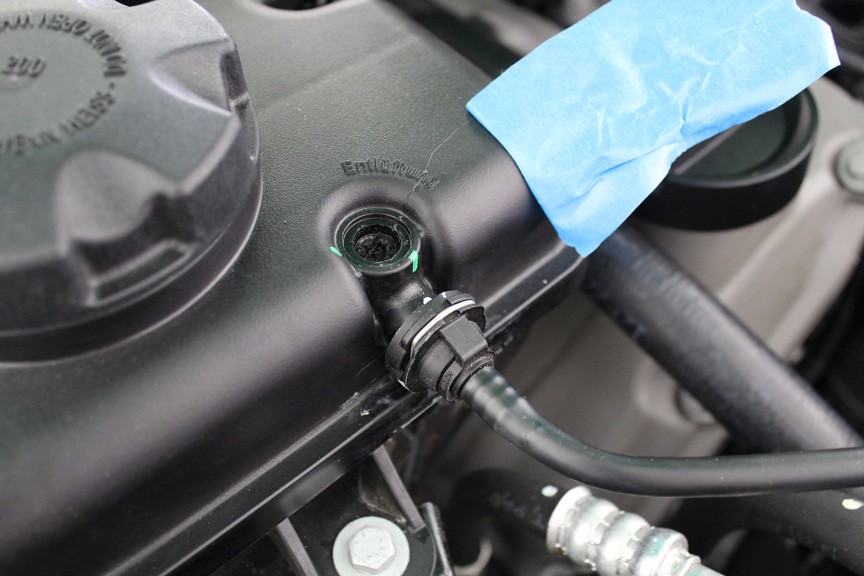
As mentioned in my previous posts, I have a larger capacity Motorsport 24 radiator. Its a great piece of kit but I had it in my head that I did not properly bleed the system when I installed it. So, I decided to bleed it again (my 3rd time..told you I am anal). Although I had two reference points for tightening, I managed to over torque the bleed screw and the head popped off. Now if I had done my due diligence and conducted a google search on bleeding BMW coolant systems, I would have learned that these bleeder screws are extremely prone to breaking and a lot of care needs to be taken when tightening.
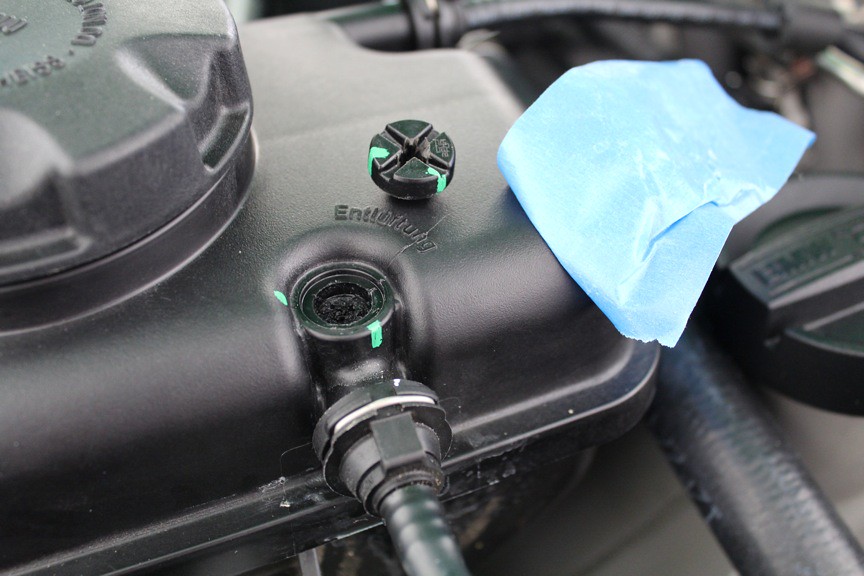
I did some research and tried a bunch of tricks to get the broken part of the bleeder screw out of the expansion tank but none of them worked. I either would have to take an extreme chance of busting the expansion tank or just start with a new one. Since they are not super expensive I decided on the latter.
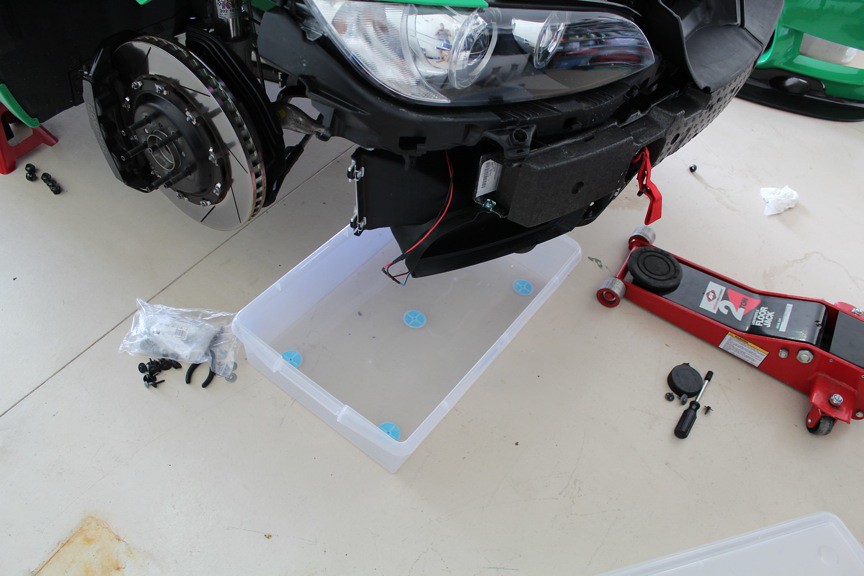
Time to get ready for a mess. I have done coolant work on my car a few times. Both on the engine coolant system and the SC heat exchanger system. It is always a messy job!
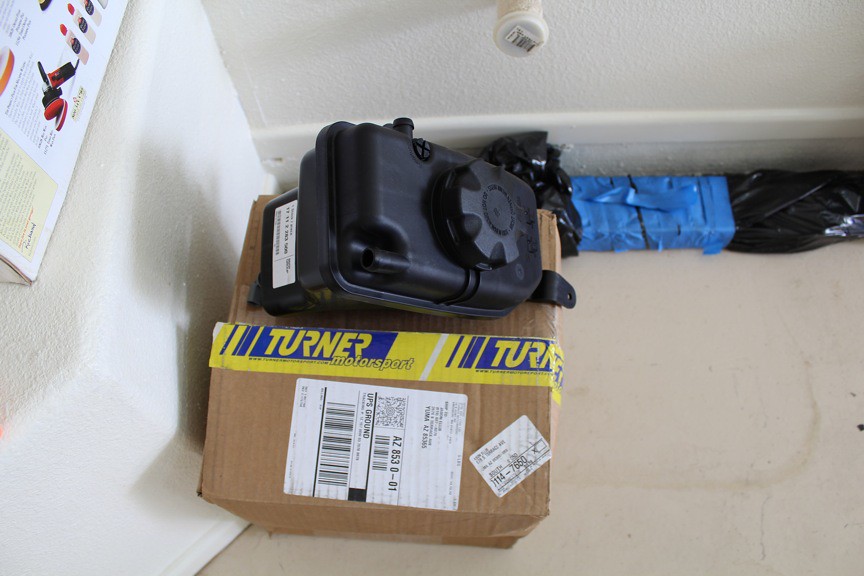
Here is the new tank ready to go. I bought it through Turner and the tank arrived ready for install.
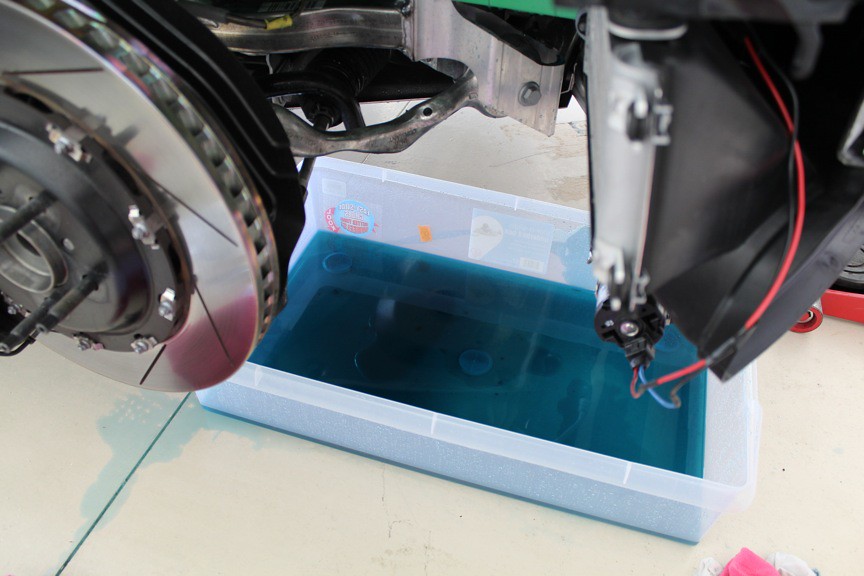
One of my less messy attempts!

The tank is attached via two bolts. Remove them, three coolant lines and the tank will pop out with little effort.
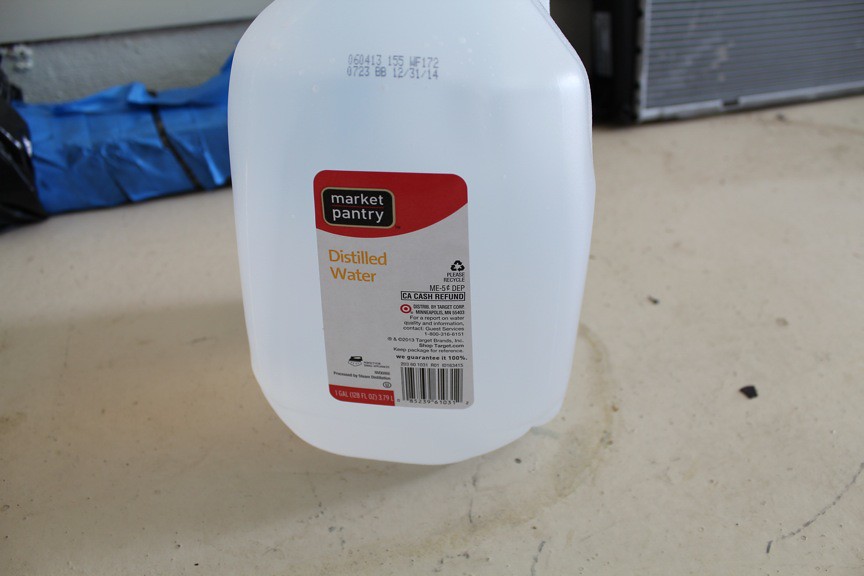
Always use distilled water in your coolant systems! The minerals and stuff in non-distilled water can cause problems for your coolant systems and metal surfaces.
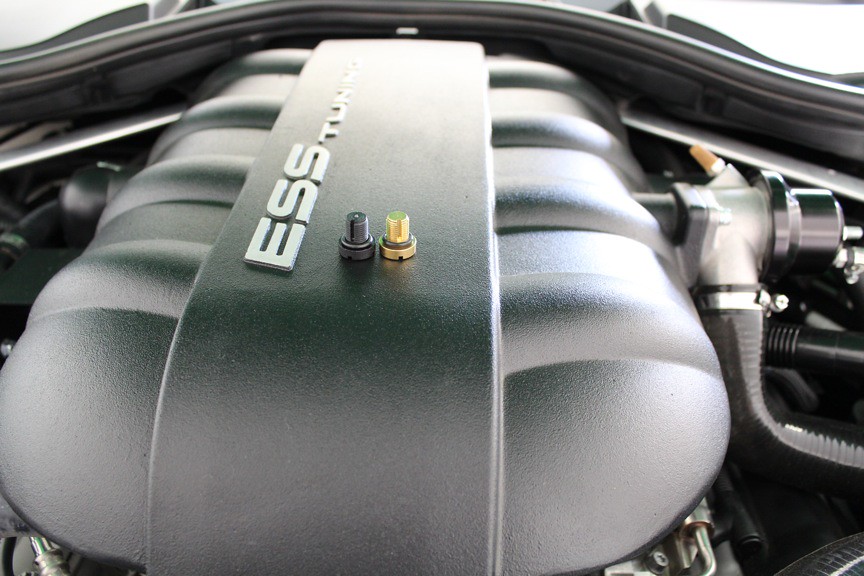
I cannot help improving things. When I was doing my BMW coolant system research I discovered that quite a few people switched to a brass fitting. No more heads popping off and it will last the life of the vehicle. I purchased the brass bleeder screw through Turner and it is identical to its plastic counterpart.

Everything re-installed and looking good.
Okay so this is where things get interesting. I have just about 4000 miles on my car and its been in its current modified state for about the last 3000 miles. So, I now I have an idea of what things are working well, need tweaking or are a little beyond my needs.
First up is the Motorsport 24 oil cooler. This is a fantastic product and is super easy to install. Literally 3 bolts to remove the cooler and a bolt on each side to attach the lines. However, it belongs on a car that sees far more track time than mine does. The larger cooler is also a tight fit, which bothers me but wont bother someone that is more worried about lap times. If your interested in a M24 oil cooler, let me know.
Next, I have said for a long time that the ESS VT1-550 kit is probably the best kit offered by ESS. I personally think it offers the perfect boost in power. The VT1 kits are also completely non invasive which I will get into later. As some of you know, I have a VT2-535. At some point I realized the intercooling I added to the VT1 kit is not necessary on a car that mostly sees street time and these kits have been proven to be resistant to heat soak even on the track. So, that being said, the added complexity of the heat exchanger feels unnecessary.
But, I had obviously cut my front clip in order to install the heat exchanger. As I said before I am anal, so with the removal of the VT2 portions of my kit, I also decided to swap in a new front clip.
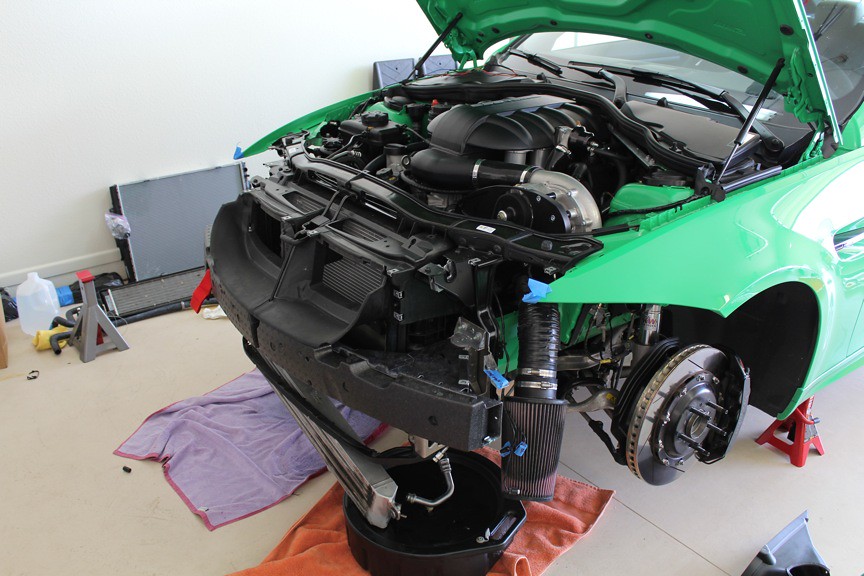
In the above pic you can see the headlights are removed in preparation.

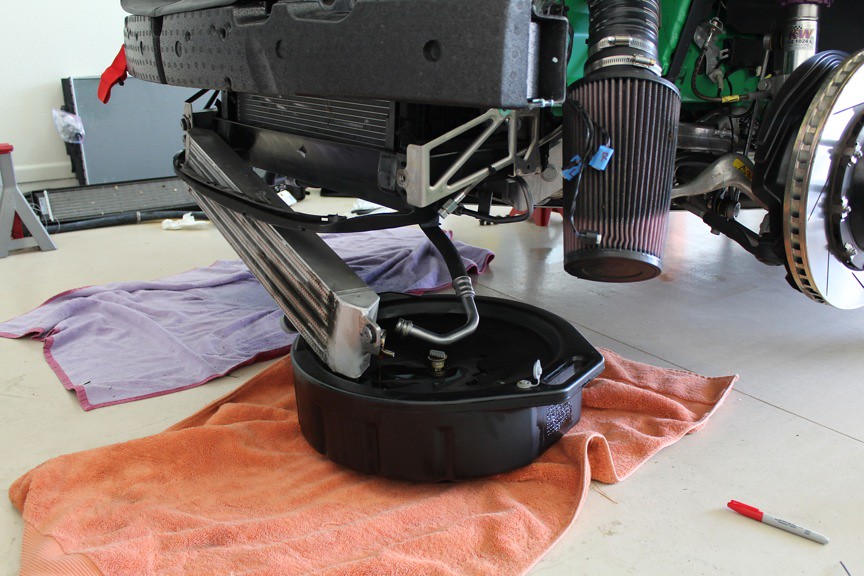
Here you can see the oil cooler and heat exchanger are removed. This is a good shot of the cutting required to fit the heat exchanger.

Fast forward and the front clip is removed. I wish I could say this is easy but it requires about two dozen bolts to be removed as well as four blind rivets. You also have to disconnect the hood latches which were a giant pain. I am not looking forward to the re-installation.

Here is my front clip next to a new OEM front clip.
Thats it for now.