I wanted to give a shout out bimmerpost user:
Jezzer who got me some custom ///M floor mats with orange stitch. He had been offering mats for the 1-series crowd for a while now and now he is finally able to make a LHD e92 mat..
http://www.1addicts.com/forums/showp...&postcount=257

It took a few weeks to get manufactured and delivered as he is in the UK and had to make a LHD e92 template first. I threw them in this weekend after a car wash:

Quality is about the same as OEM. Fit was spot-on. The ///M logo is a little bit bigger than the OEM ///M mats but I think the embroidery is done better. It costs about $60 more than OEM but I'm happy someone was able to get me the orange stitching and custom options I was looking for.

OEM on right... Anti-slip options not as good as OEM, that might be the only ding.. but it's a minor one and I think it'll hold fine:

Oh and as usual after waiting a LOOOOONG time for mods, they all arrive at once..

So after a
16+ week wait my Varis diffuser system finally arrives as well on the same day as the floor mats LOL..
My exhaust is the older Ericsson Amuse M480 and the diffuser system required some slight modification for it to fit over this exhaust. Overall, it took about 5 hours to hang this thing perfectly straight and in accordance with instructions (all in Japanese BTW

)
Car at my buddy's body shop.. he did the install... I provided comic relief

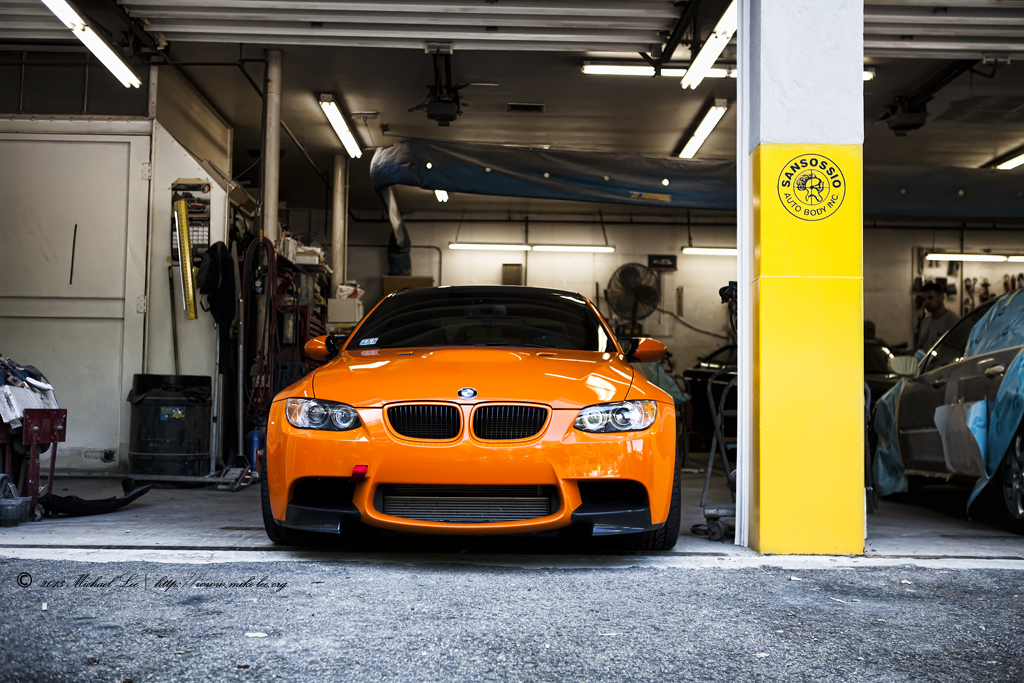 Hangin' Out At Phil's
 by
leemik, on Flickr
Authentic.. the only way to go!

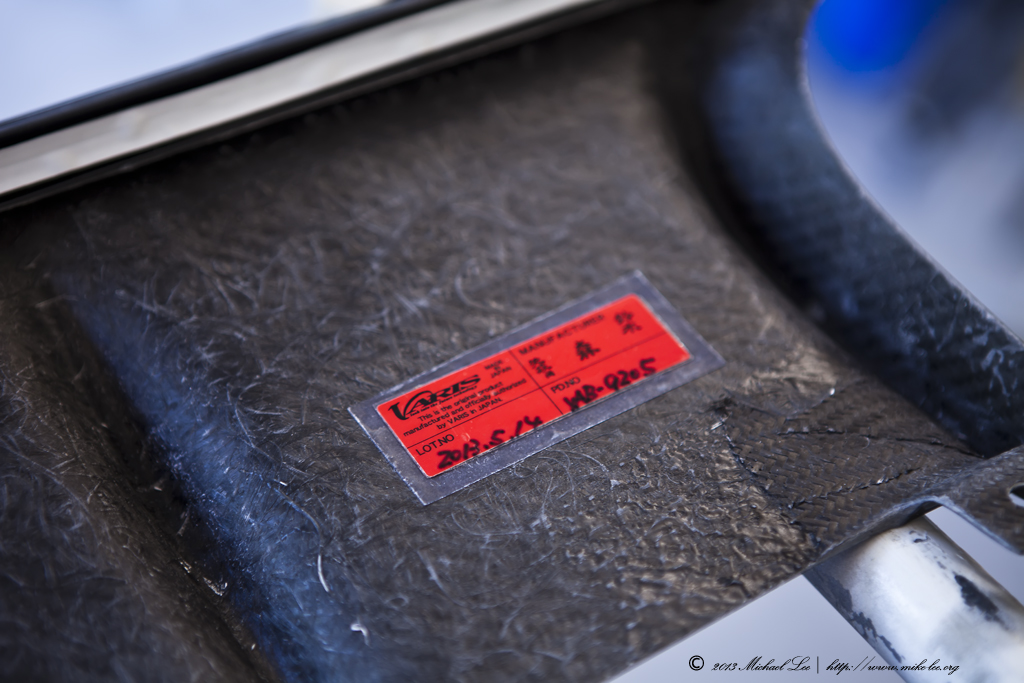 Authentic Varis Part
 by
leemik, on Flickr
First fitting of the top diffuser. It fit very well, except the middle portion had to be coaxed using 2 extra screws, heat and one of those sliding dent hammer things LOL
 Varis Diffuser in progress
 by
leemik, on Flickr
After that, fit was spot-on perfect..
 Varis Diffuser top portion
 by
leemik, on Flickr
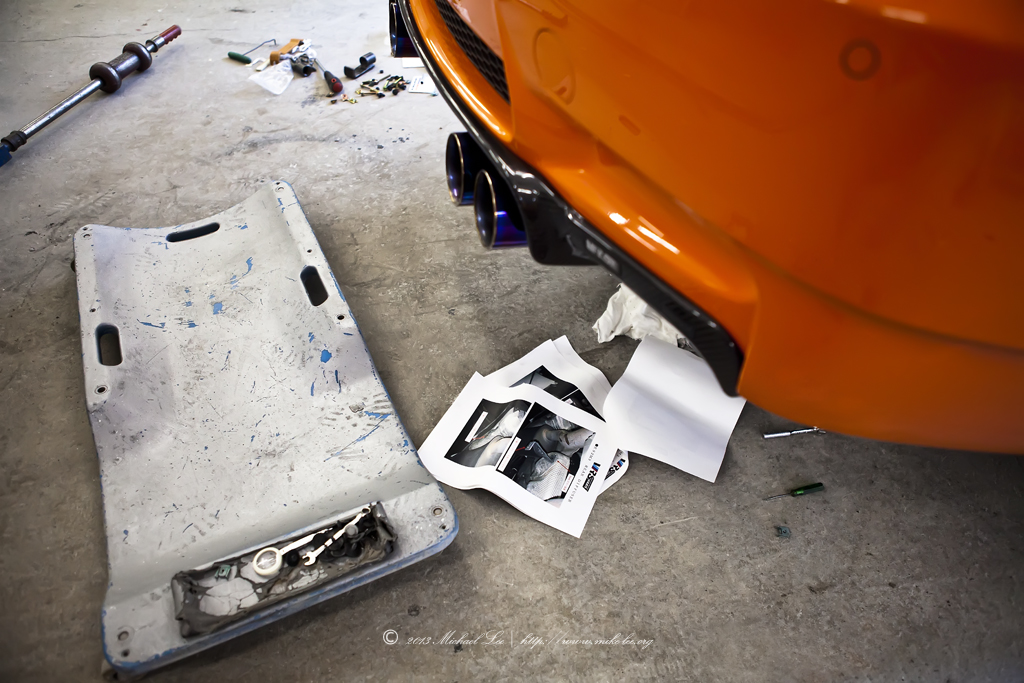
Then, after assembling all the little hangers and brackets.. and trying to decipher the Japanese, we were able to figure out where everything went and test fitted the lower diffuser..

As I mentioned before, It didn't exactly clear the Amuse exhaust. So we had to enlarge some holes.

...and back on again

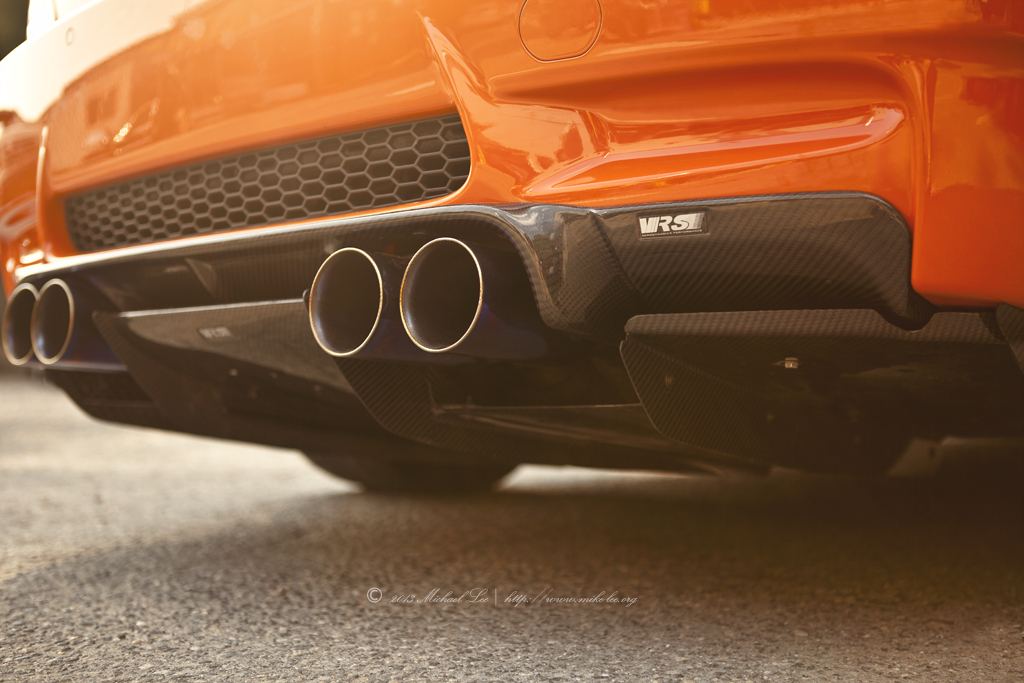
After 3 more hours of shifting, mounting and unmounting the diffuser we finally got everything centered and tightened down.. DONE! Our finger tips ached from all the bolts.. Top tip: When installing the two screws with the double spacers, peel back the heat wrap.. or find a larger screw.. you will thank us. Not sure if the instructions said that but if it did.. DOH!
 Varis Diffuser 2
 by
leemik, on Flickr
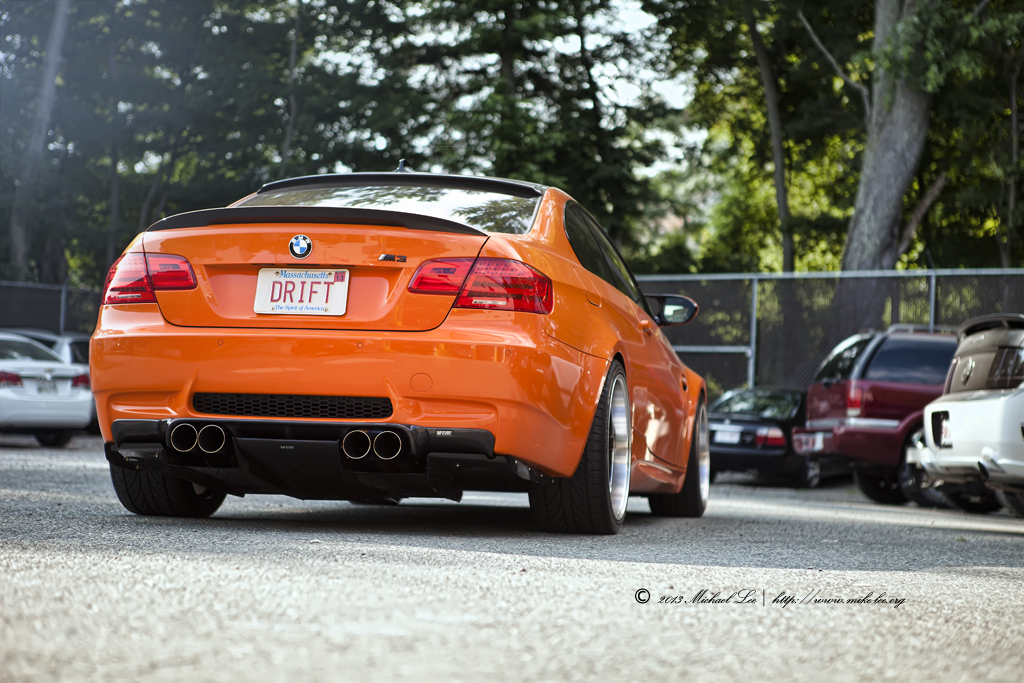
Side view.. it hangs about 3 inches lower than the rear diff.. a little bit scary but still higher than the front lip.. I have to watch my front AND back now when exiting ramps..

 Very JDM M3
 by
leemik, on Flickr
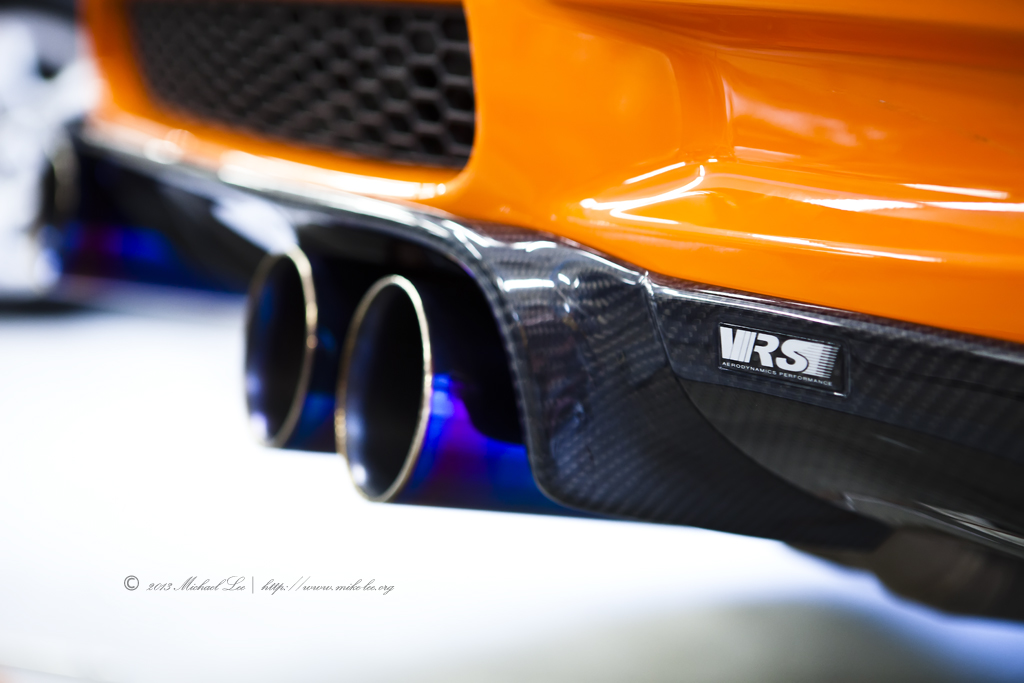
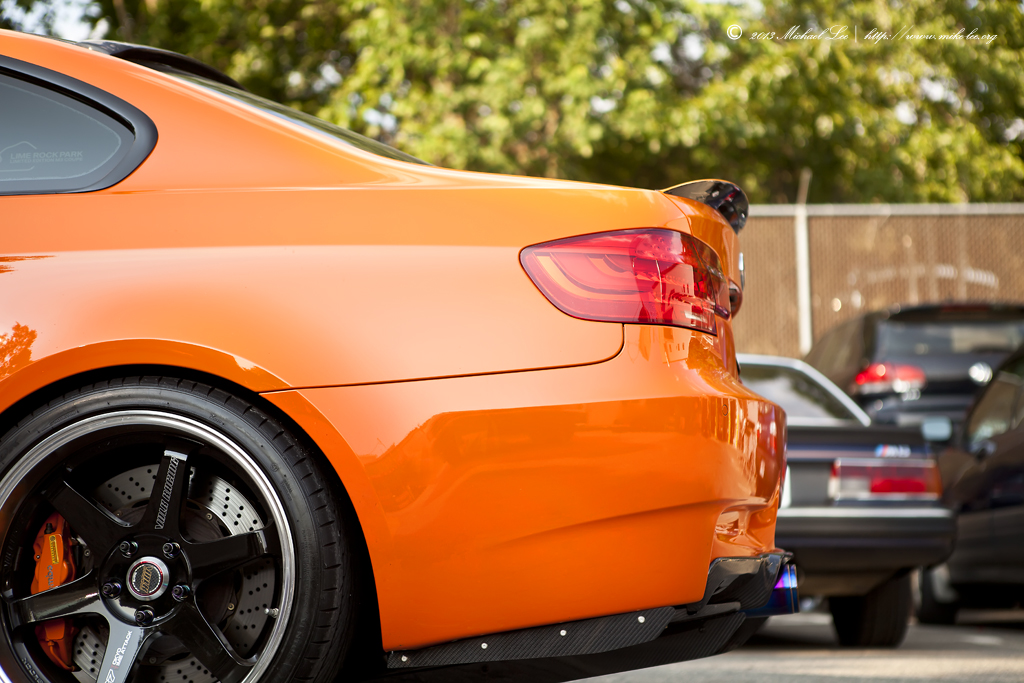
Final artsy fartsy view
 Varis Diffuser 1
 by
leemik, on Flickr
My last 3 cars..photoshop ass shot time!
