Race pads often don't come with the cut out for the brakepad Wear Indicator Sensor.
Racers that do some work on their own cars don't need the sensors anywaz...They suck, and the small metal spring that keeps it in to place gets lost or broken all the time! So let remove em'!
If you follow this DIY you WON'T get a warnin' on the dash that your brakes need service...ever again!
excuse my Iphone picas
It takes 10 to 15 min each corner.
Tools needed:
- Very small screwdriver
- Cutting Pliers
- Shrink sleeves or some electrical tape.
- Soldering unit (Not really needed)
Remove your Wheels to get access.
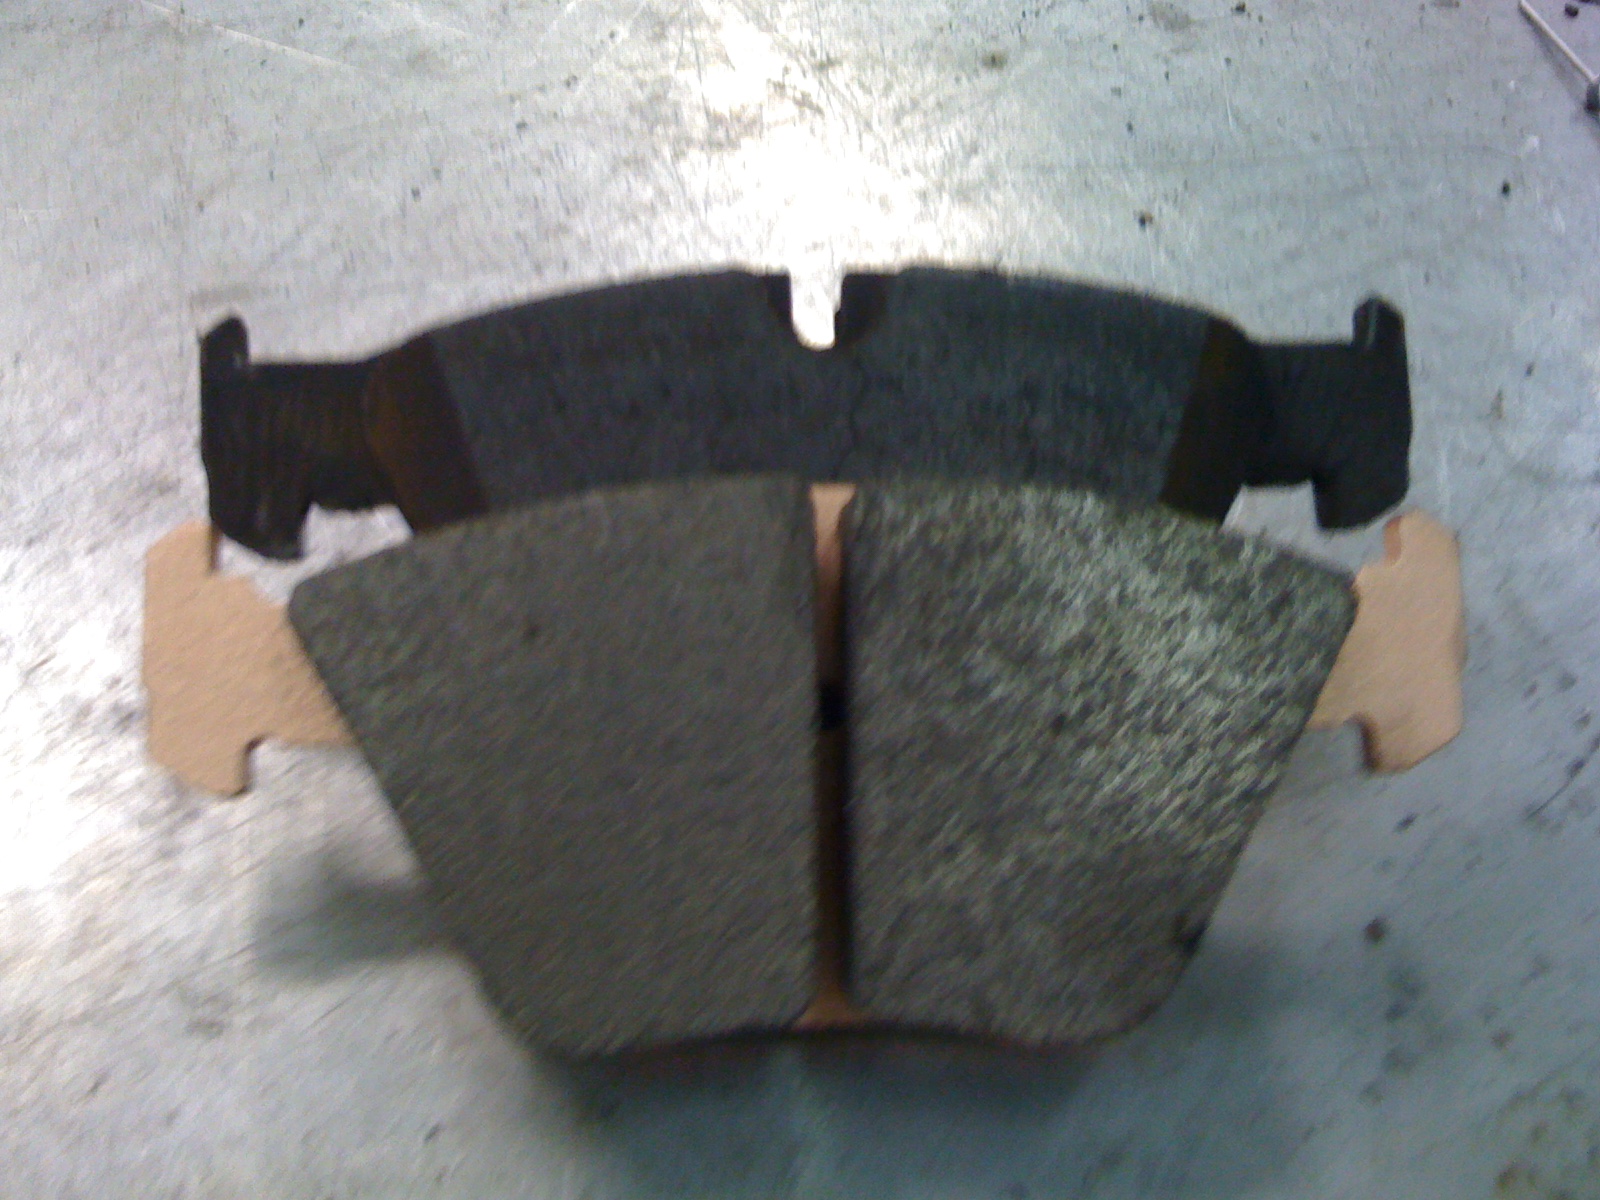
Front: New carbon composite brakepad without BWIS cutout (Yes, that's short for: Brake Wear Indicator Sensor
")
)
Background: stock pad.
BWIS's
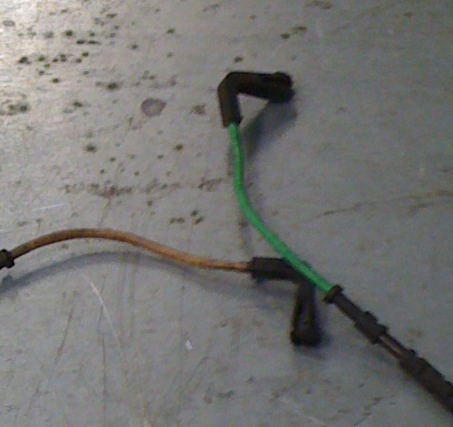
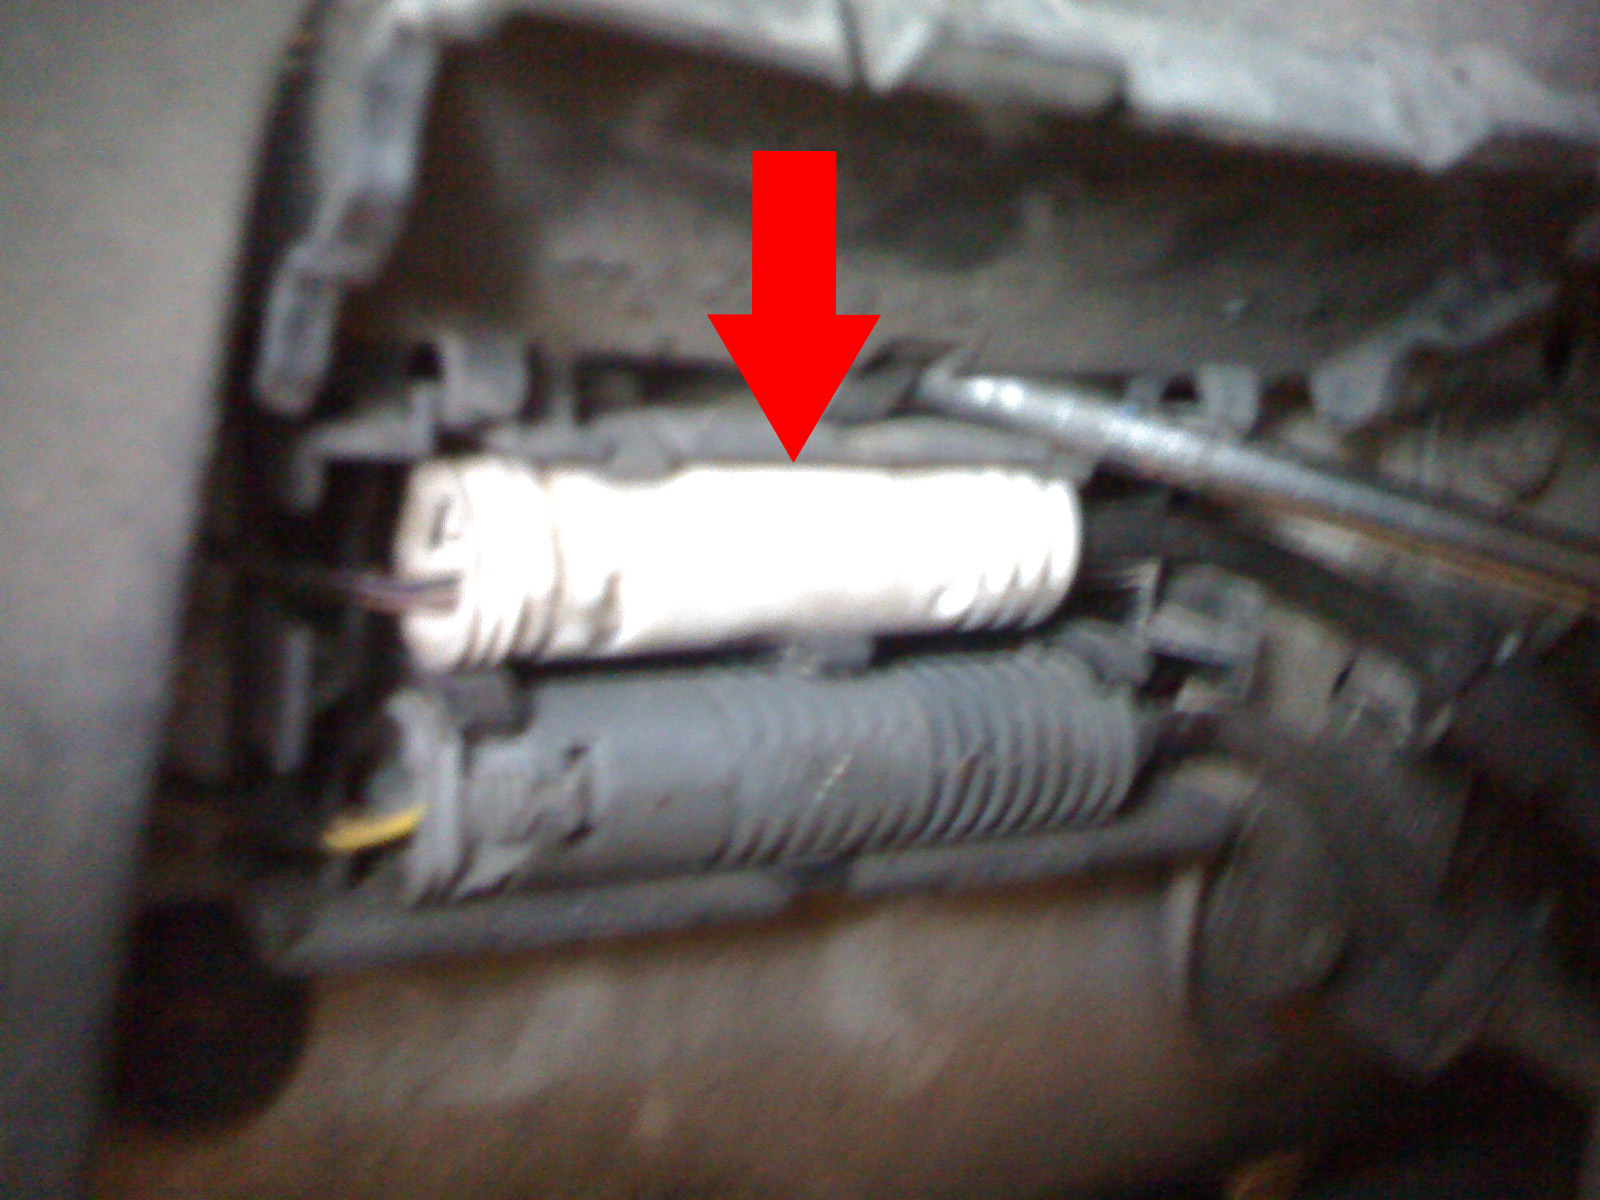
These are the sensor wires you'll be removing from your system.

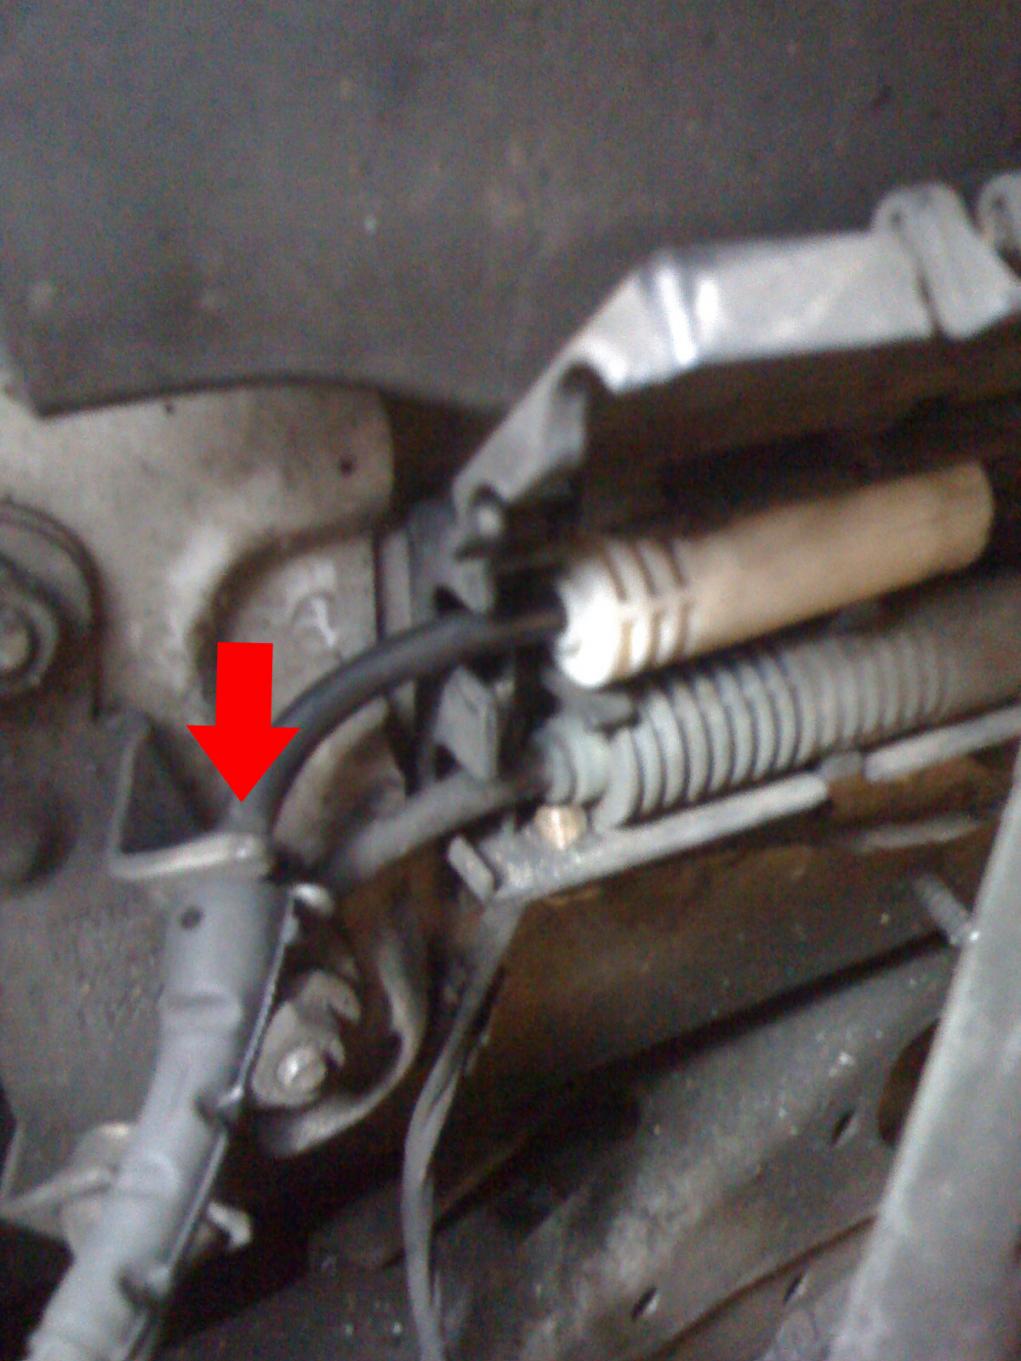
To get the cable out, Remove the BWIS from your pad by pulling on it. And follow the line to your Shock.


You can push the cable out of the 'clamp'.
Now find this box.
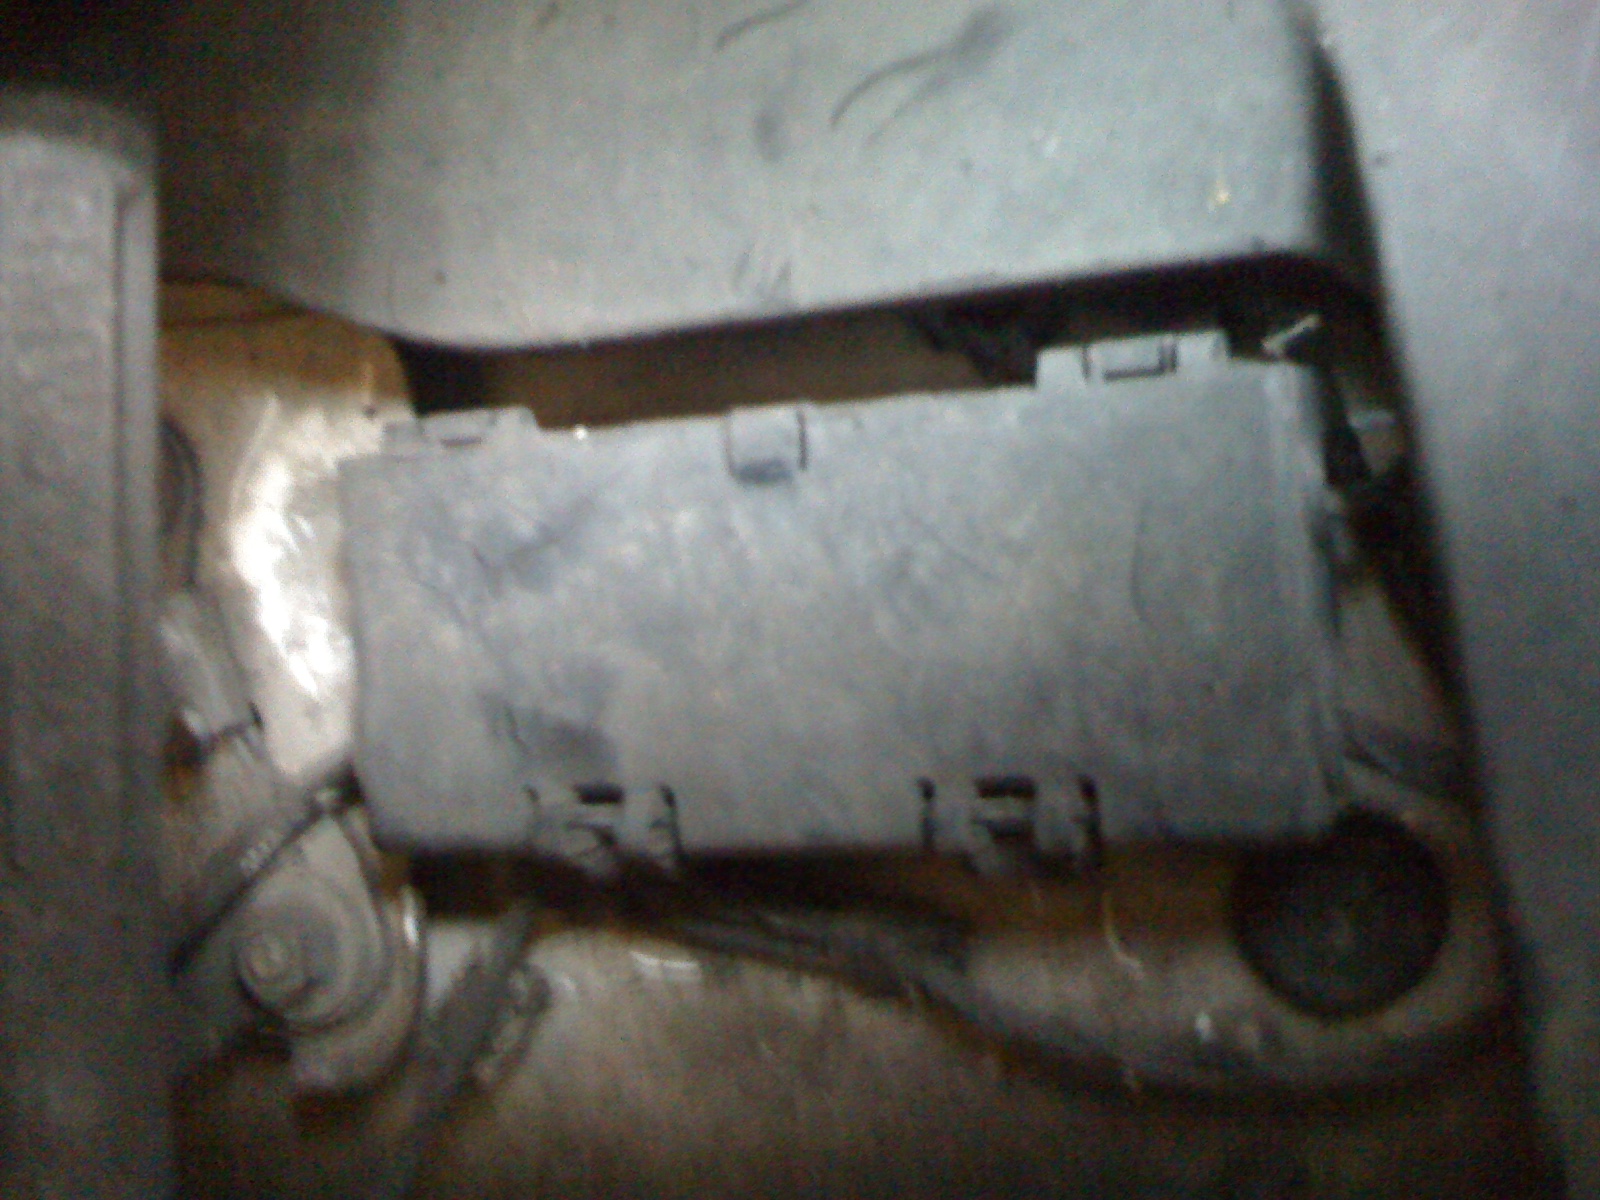
Open it.
Get the cable out of the second clamp.
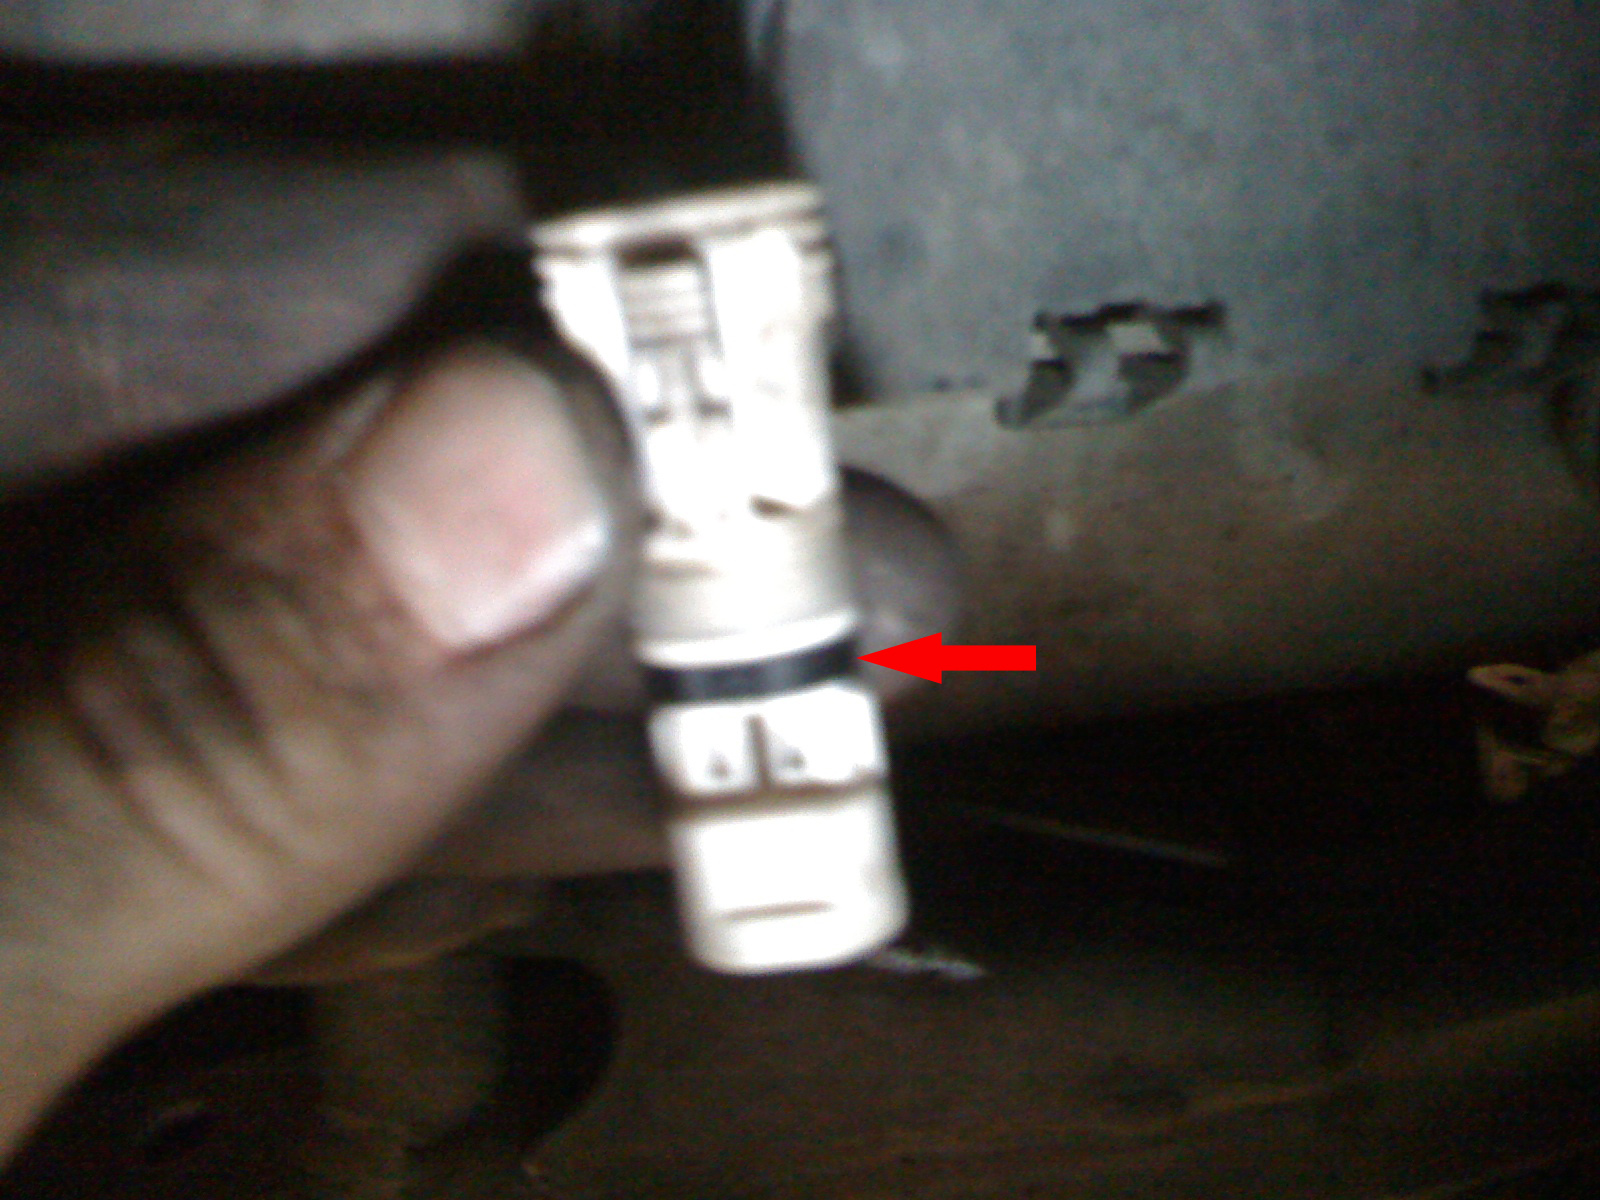
And pop the White (White on my Euro spec car, It's the top one) connector out of the box.
Pull the connector apart and open the connector (THAT IS STILL ATTACHED TO THE CAR!), and remove the black clip with a flat head screwdriver.
Almost looks like I'm black on the pica, your gonna get dirty with brake dust!
Apply quite some force on the two silver looking points with a really small screwdriver. After applying force the internal connectors are somewhat bent and this enables you to pull out the two wires for the top.
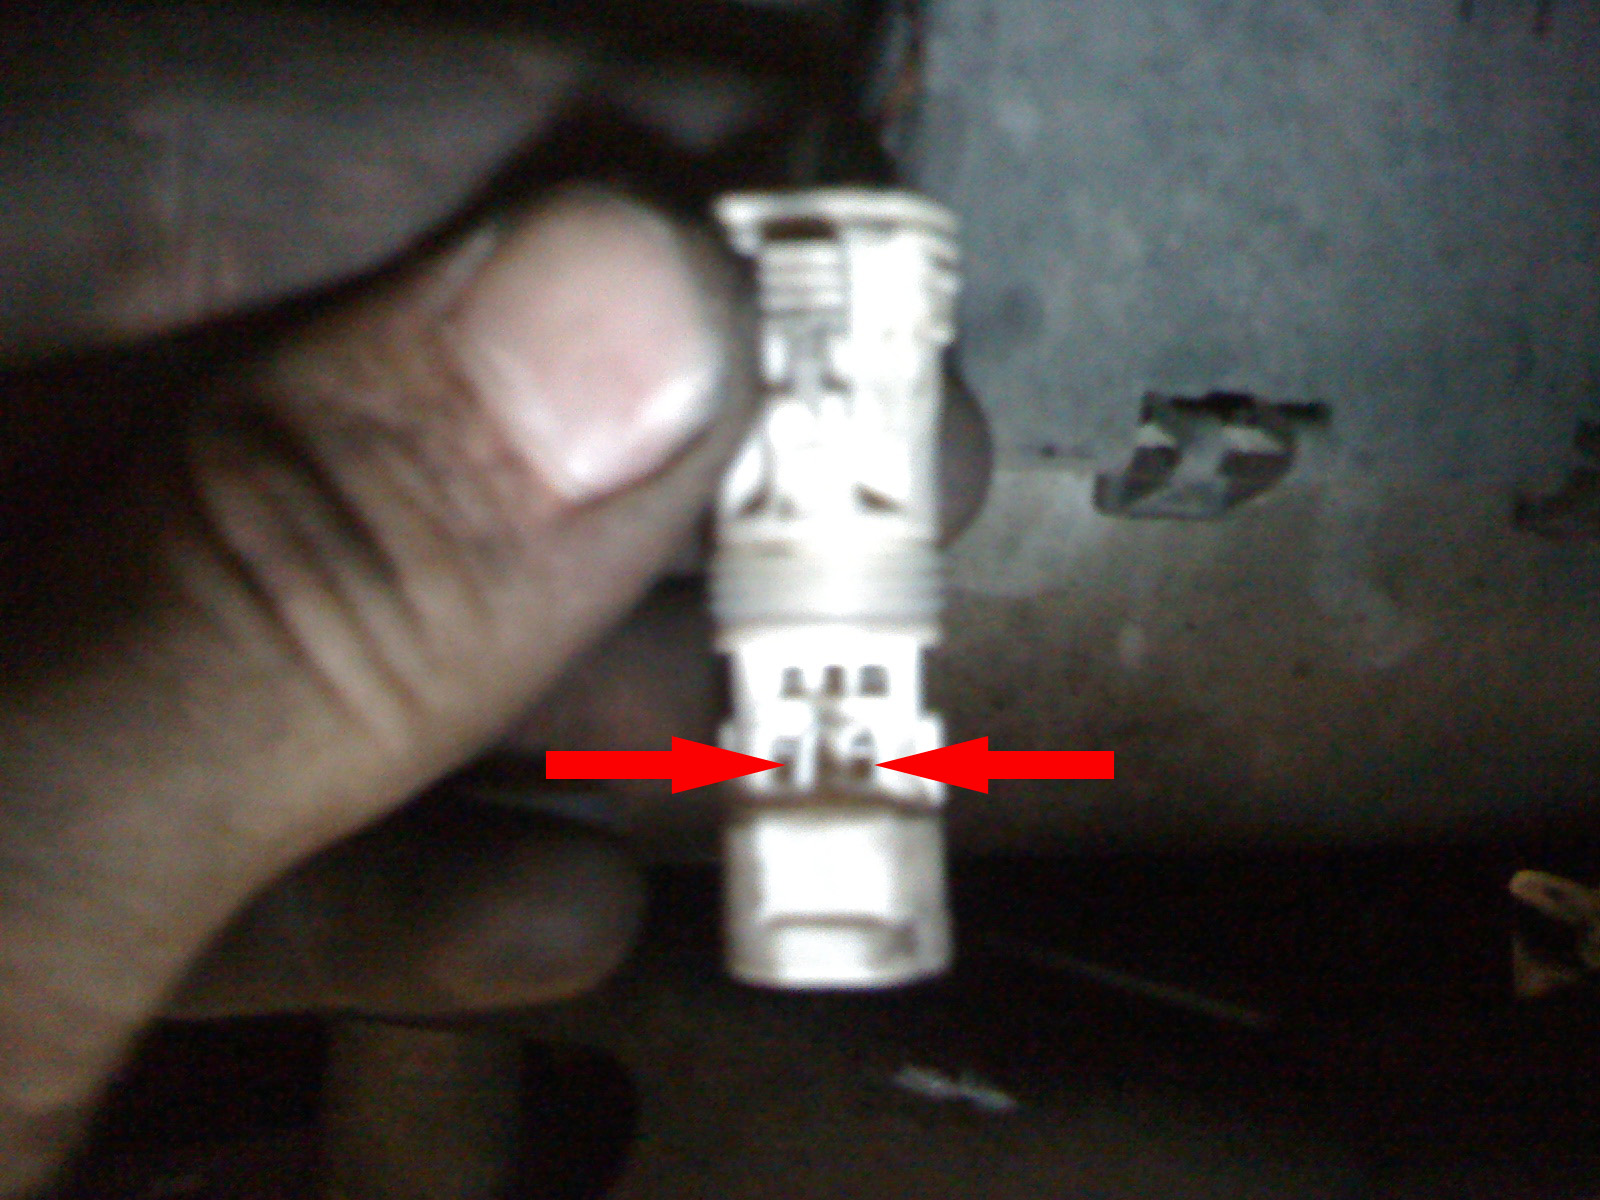
These wires come out.
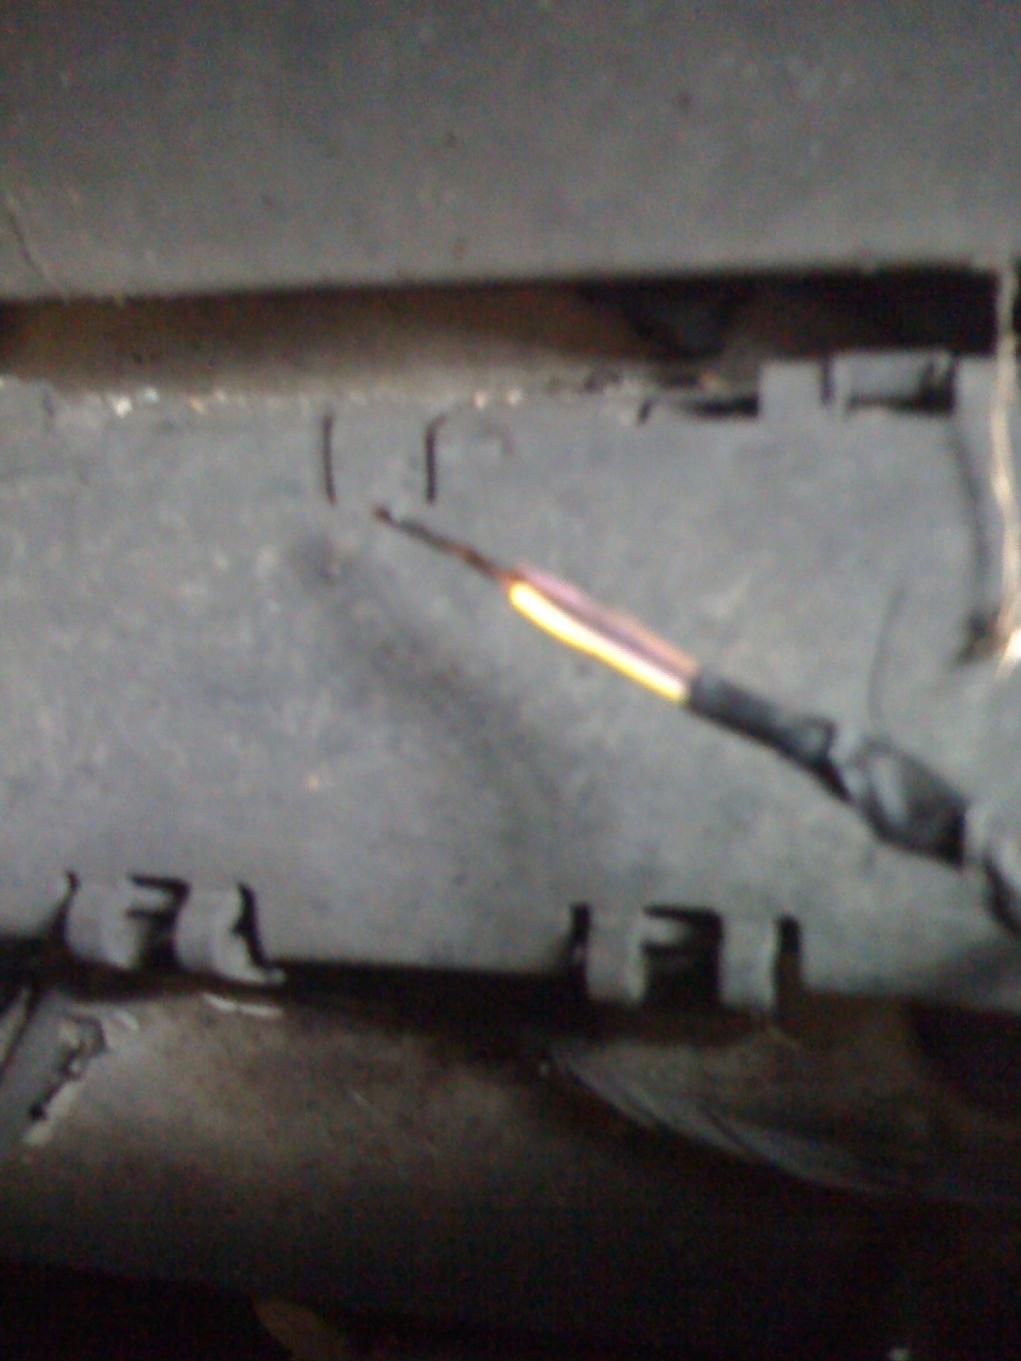
Out of focus and moved....I'm a natural! But this is how the wires look like.
Cut the connector ends and nice rubber thingies off, twist the two wires that you have now stripped, together and if you have some time solder 'em together.
Tape up the newly soldered wires or use some heat slink sleeves like i did.

Put your new creation back in the box, close it.
DONE!!
Yes you can do this the easy way, by putting a piece of wire in the connector. But this is nice and it can withstand track use, it's reliable.
Good Luck!