Hey all. Thanks for the wealth of information on M3Post. I have definitely learned a lot from digesting all of your posts. I am a relatively new member (previous sn: azurite90) but long time lurker. I first fell in love with the E30 M3 and was very close to getting the E46 M3. But the convertible itch swayed me to the 986S. Sold the 986S and the rest is history.
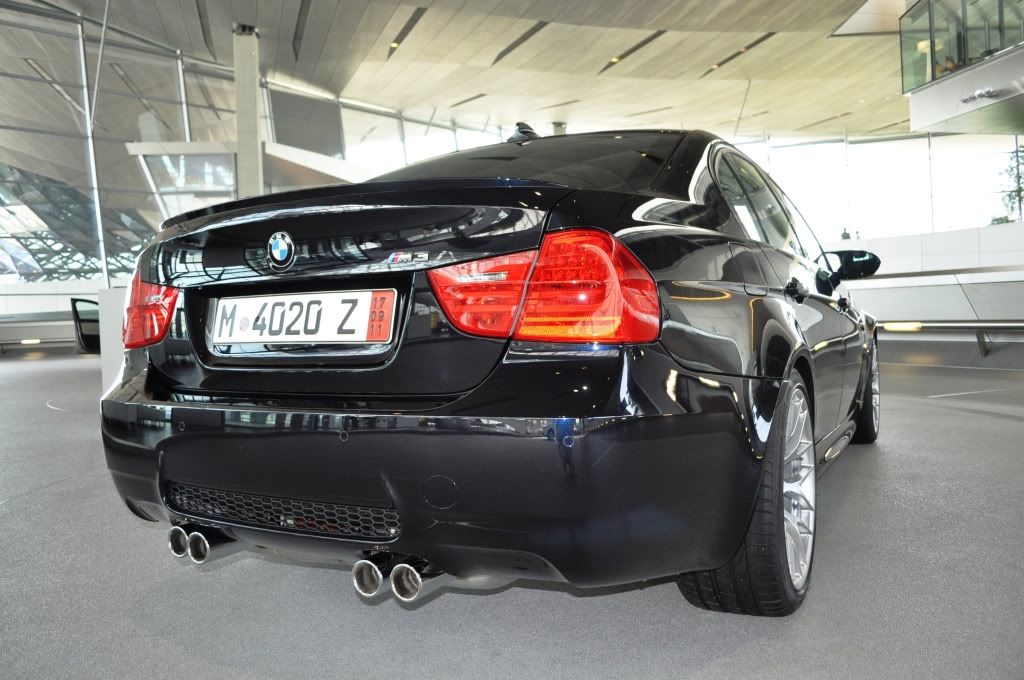
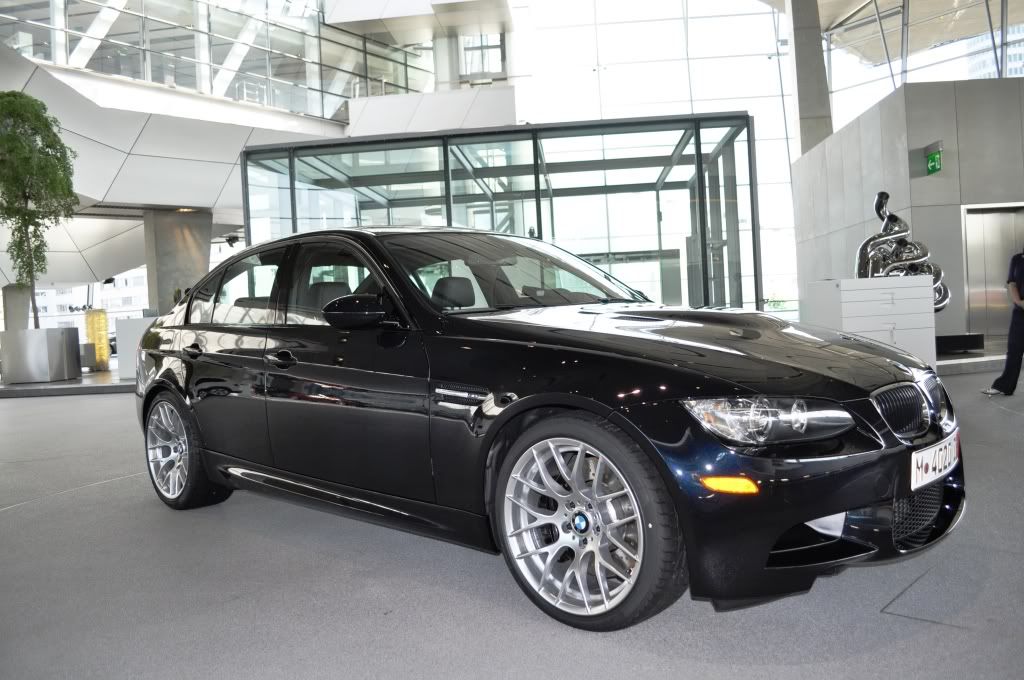
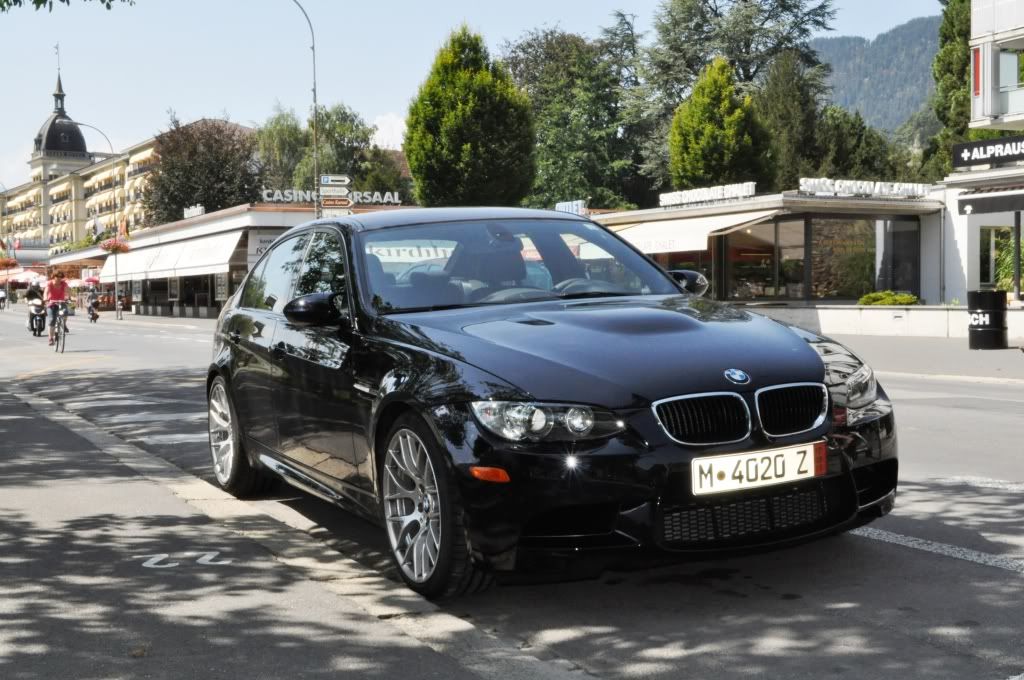
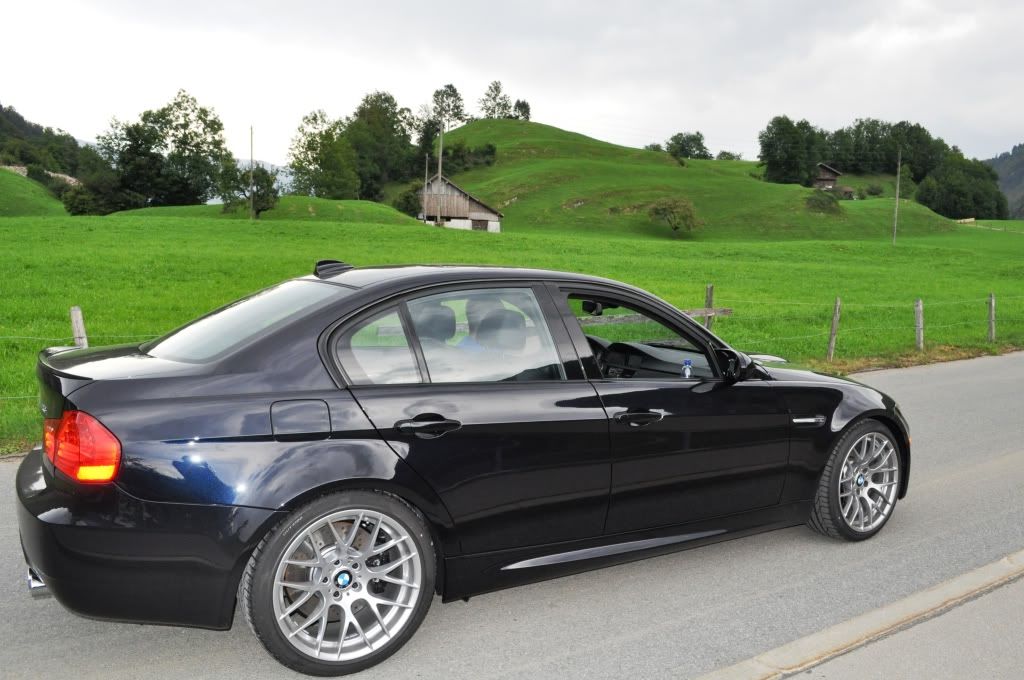
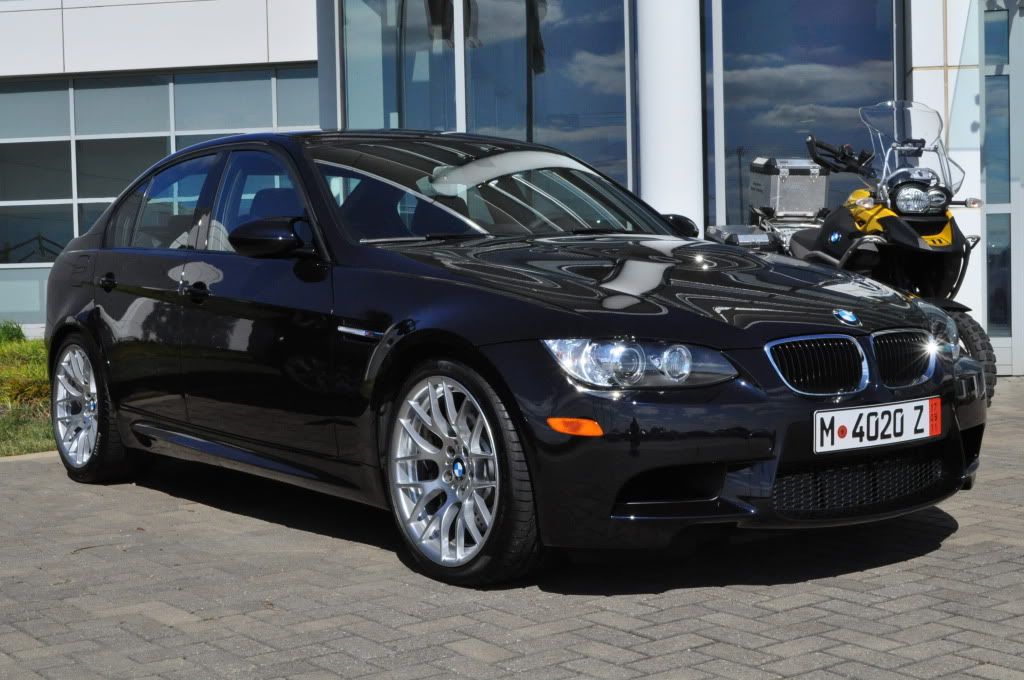
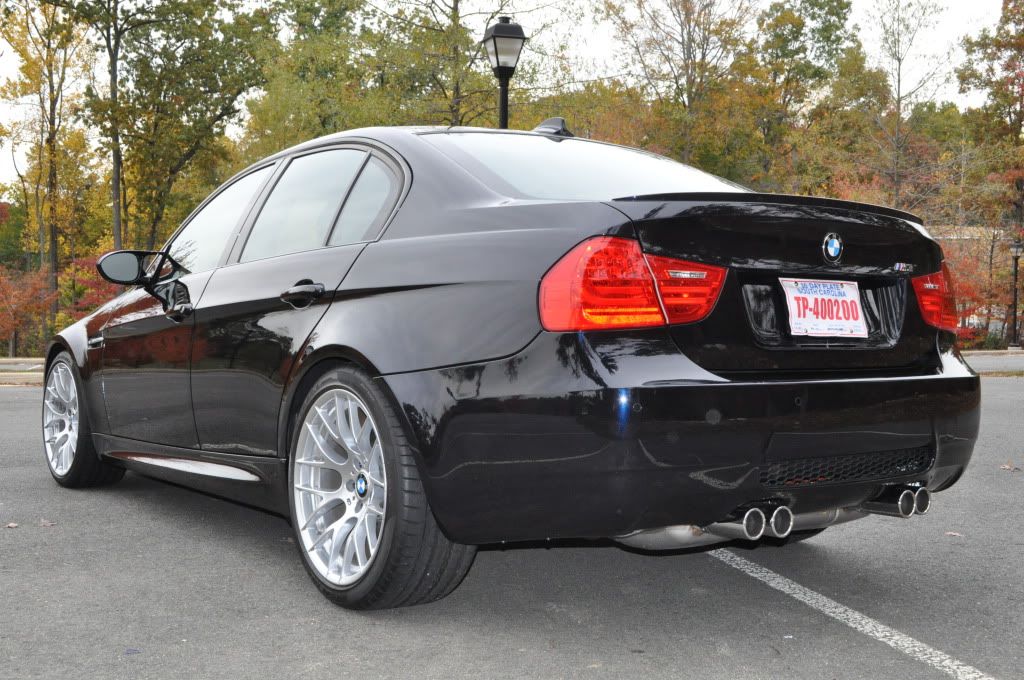
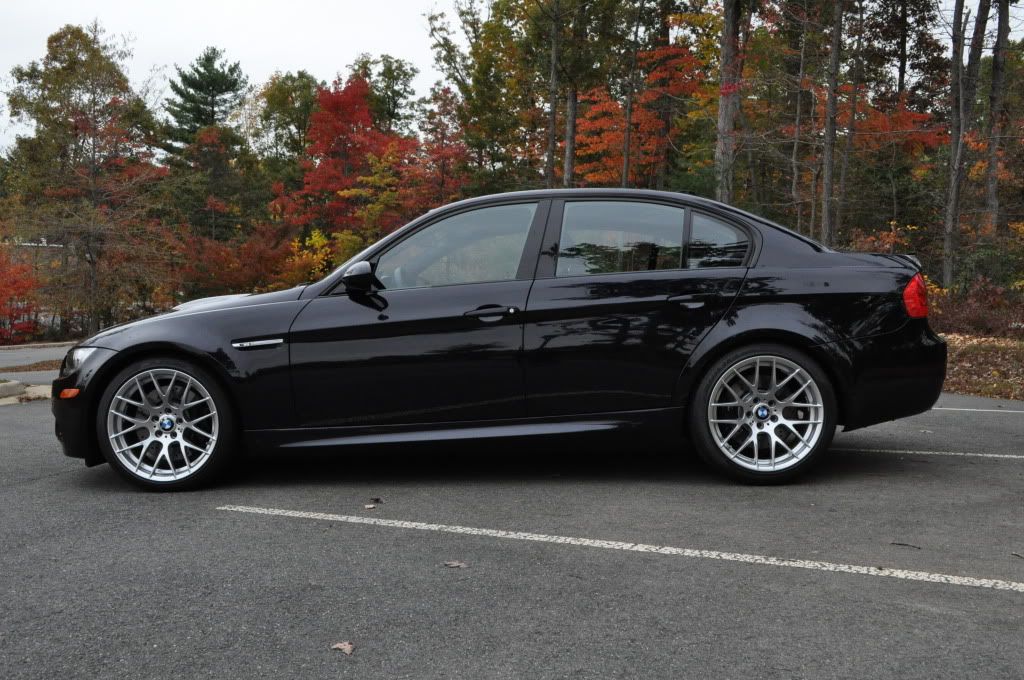
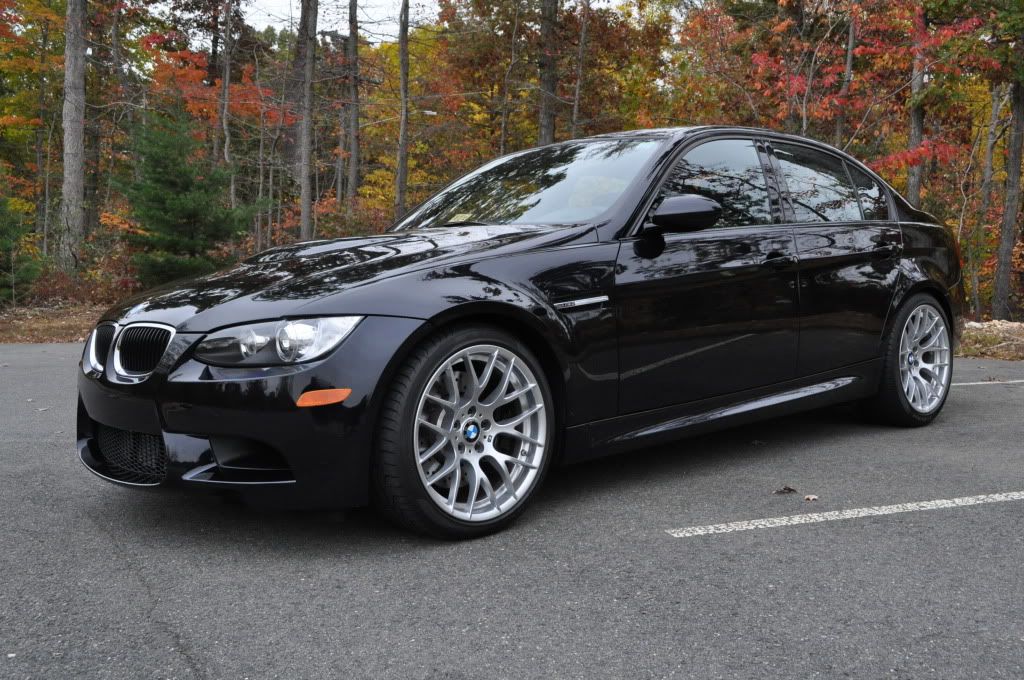
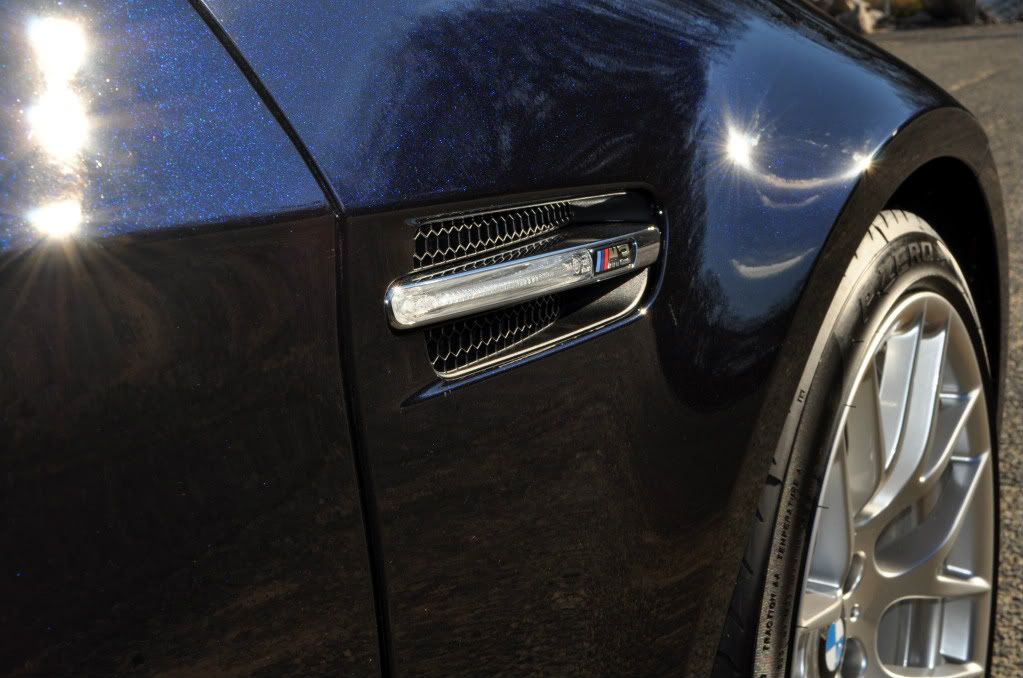
I ordered an E90M with Individual Azurite Black metallic paint, Black Novillo, Carbon Leather, ZCP, ZCV, ZP2, 2MK, 494, and 752. I chose not to order the moonroof and ZCW because I wanted a smooth and flush appearance. The AB metallic paint is gorgeous. Pictures do not do it justice. There are a lot more bluish metallic flakes creating a deep blue. From afar AB looks black but up close you can really see the blue hint. There is definitely “more blue” in AB than JB. To finish up the interior, I have replaced the CL with the Individual Piano Black trim.
Many thanks to David Aviles and Joy Chilcoat from Northwest BMW and Maria Martine of BMW NA. This was the easiest buying experience I have encountered. A couple of phone calls, some emails and a FEDEX package were it. David really knows his cars and enjoys what he does. He had a lot patience with my ever-changing configuration. At one point I wanted a manual with JB. You have to check out David's General Lee Flying Orange E90 M3.
Special thanks to the following:
• Cliff with Auto Armour in Columbia, MD 443-226-4303. Cliff installed the Piano Trim, LUX H8 V3s, and VentureShield clearbra.
• Mike Nylen at Morristown BMW for getting me the Individual Piano Black trim.
• Stefan Vrabel at BMW of Sterling – 1,200 mile service went very smoothly. I was impressed with the professionalism displayed at Sterling.
Our trip began at IAD and arrived in MUC in 9.5 hrs. With four quick days, we visited Neuschwanstein Castle, Zurich, Luzerne, Bern and Interlaken. We stayed at the Kempinski Hotel at the Munich airport and the Marriot in Zurich. Both had very nice accommodations. Here goes…
Arrival
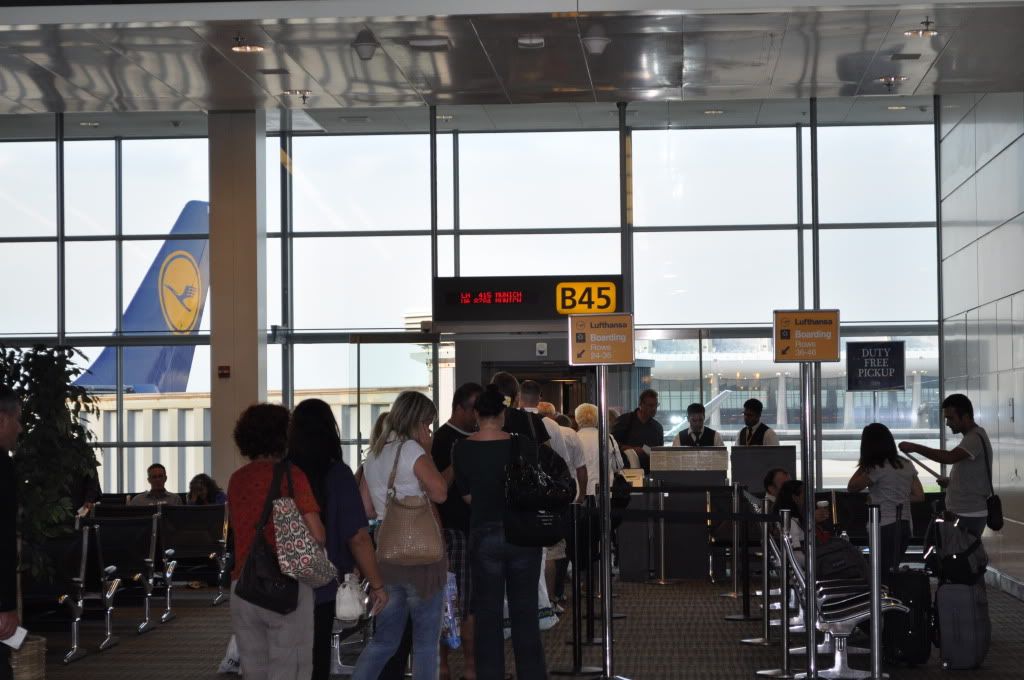
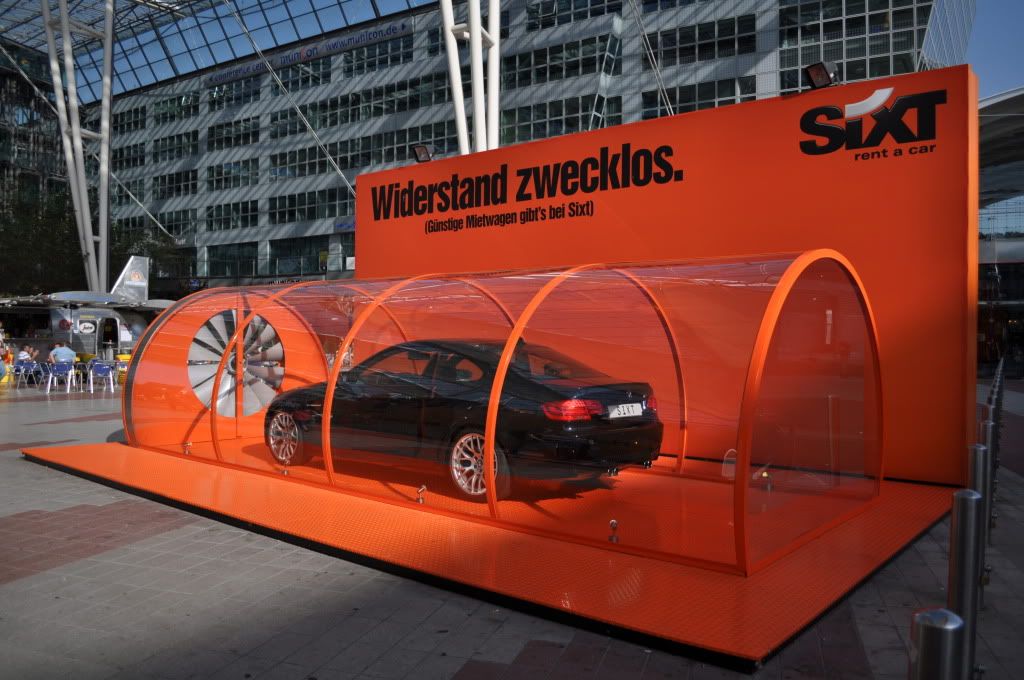
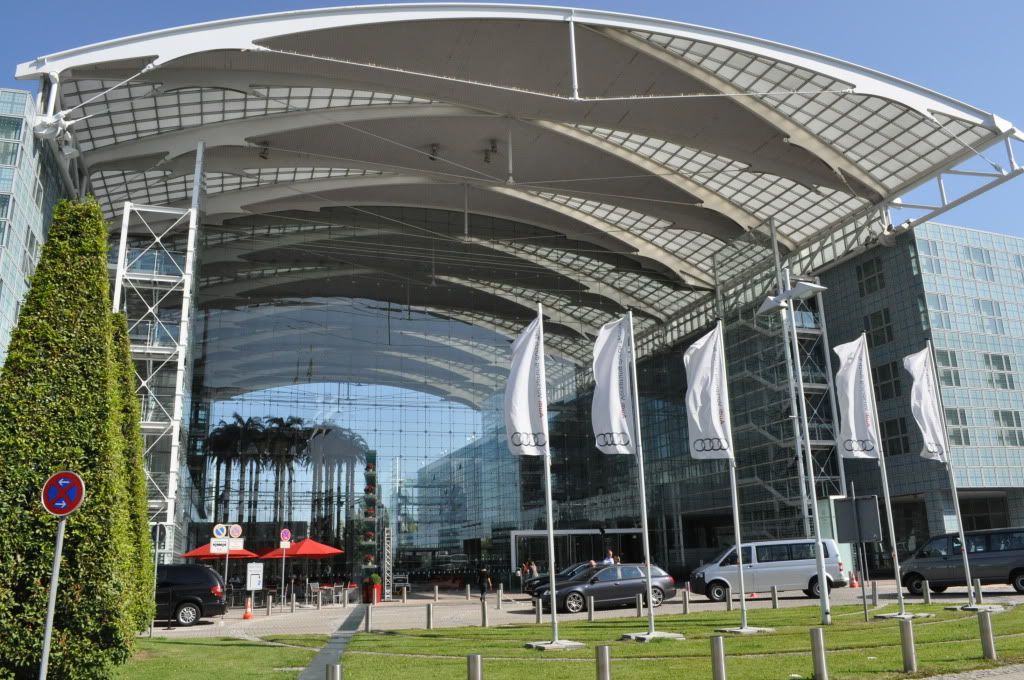
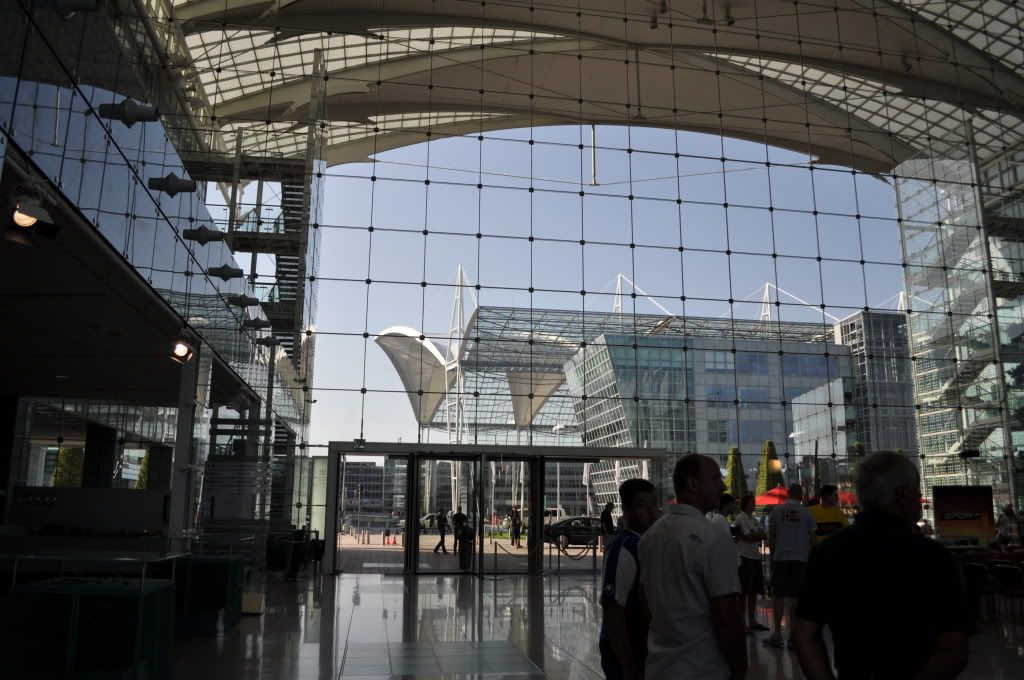
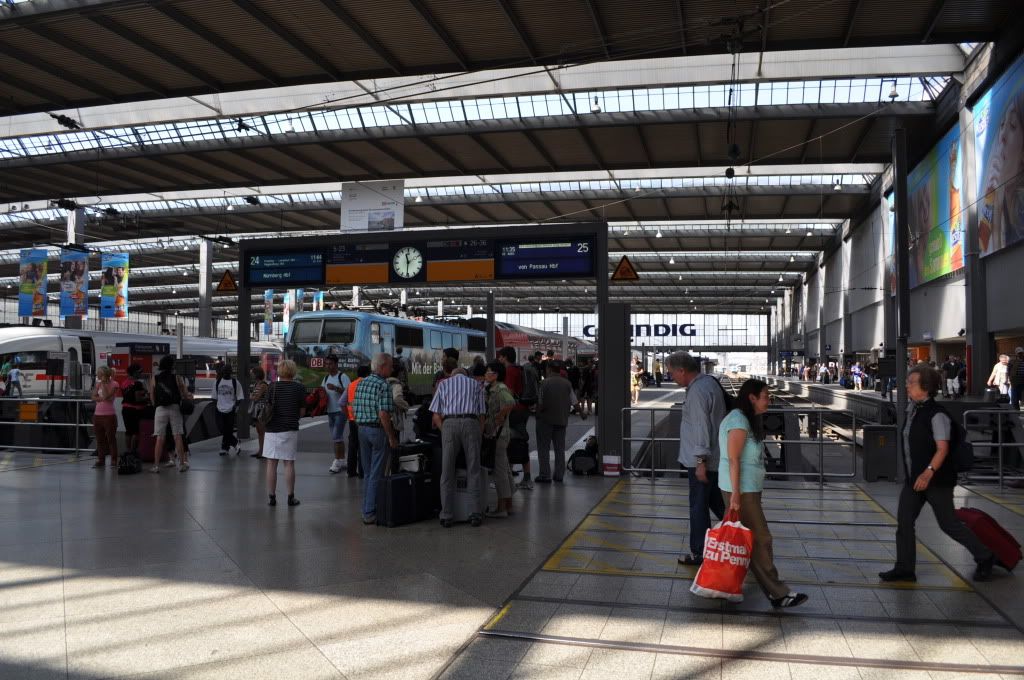
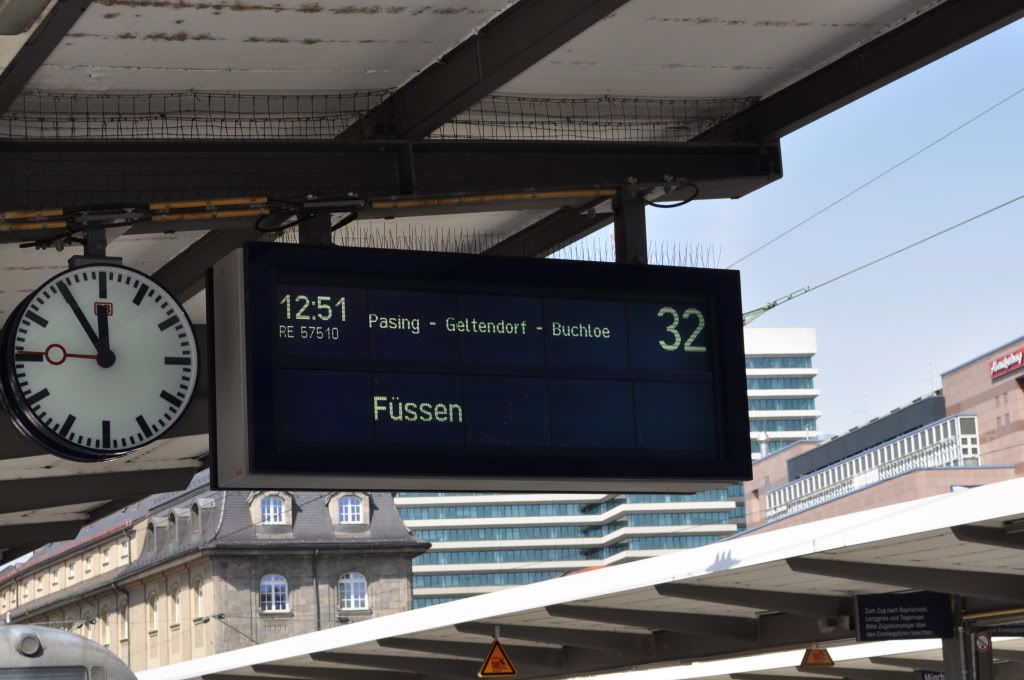
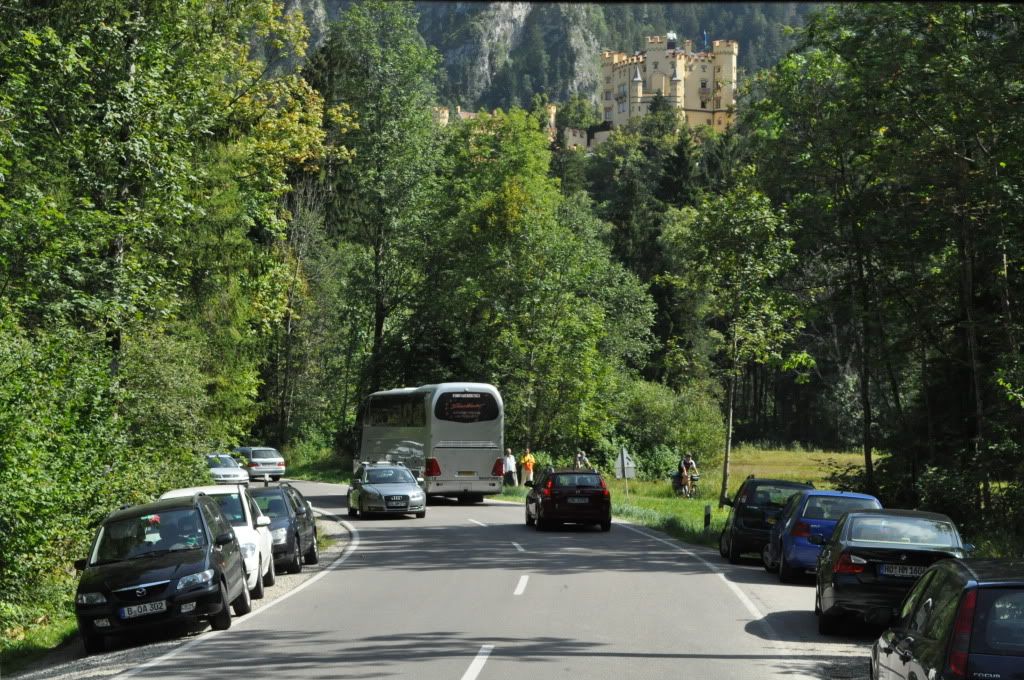
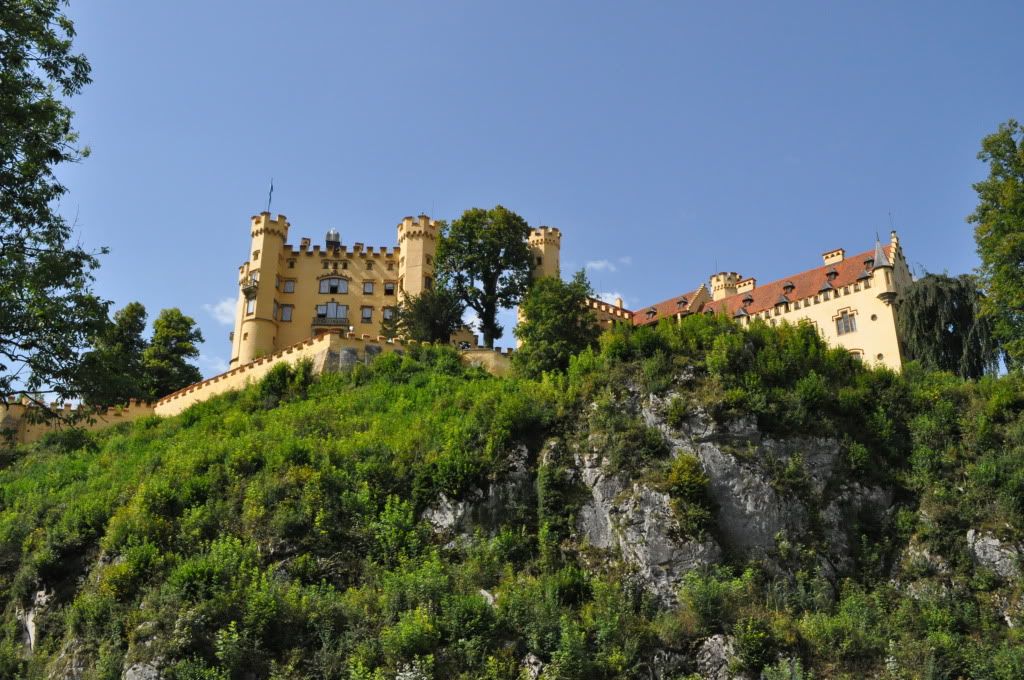
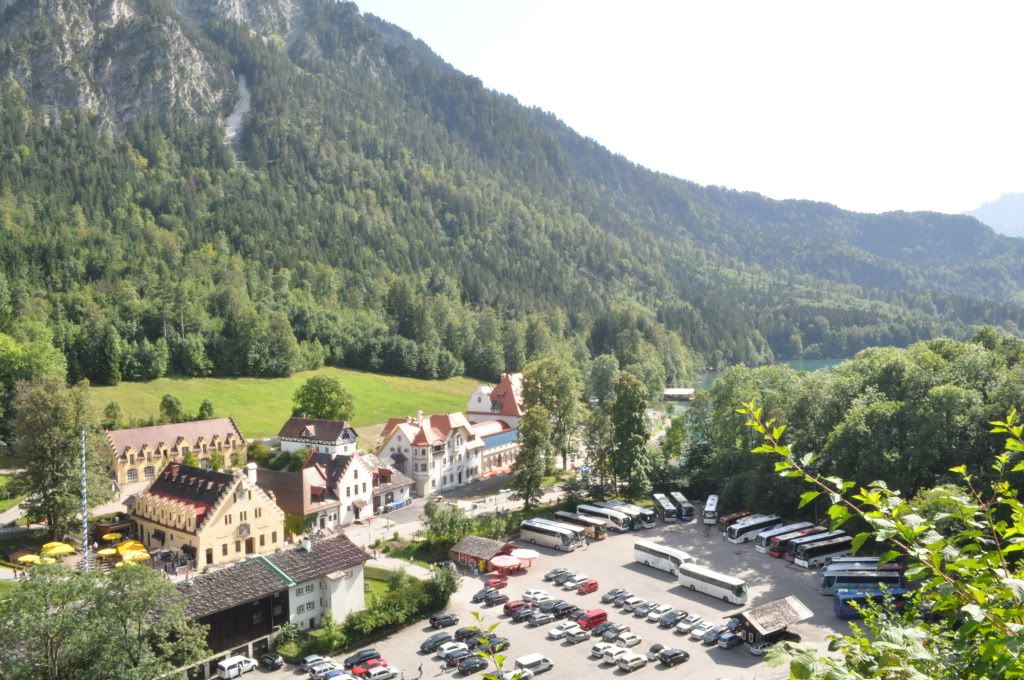
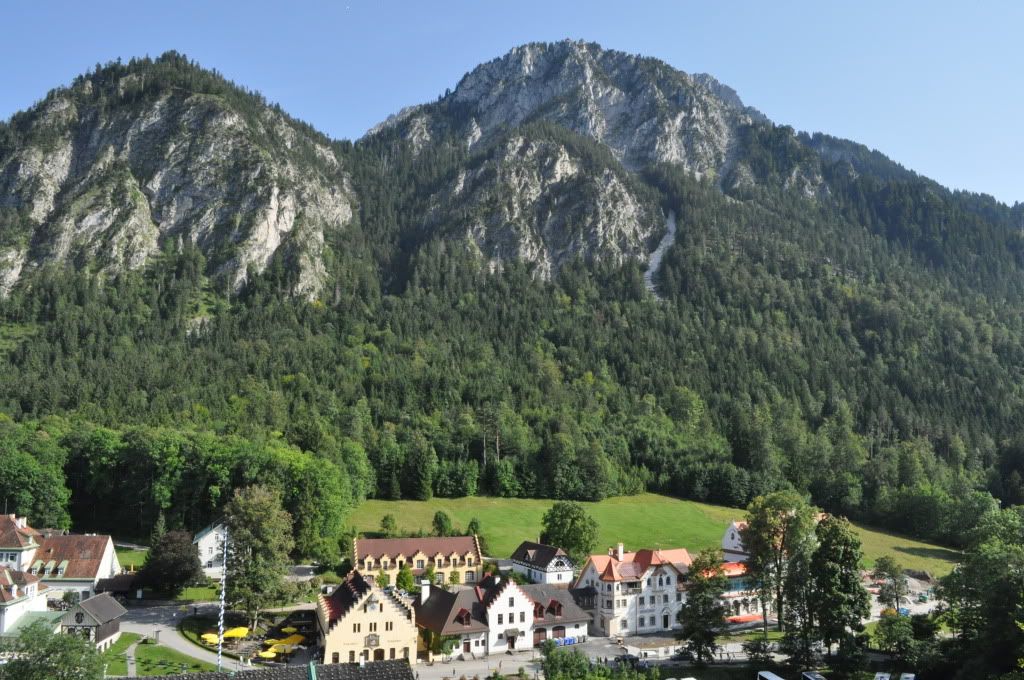
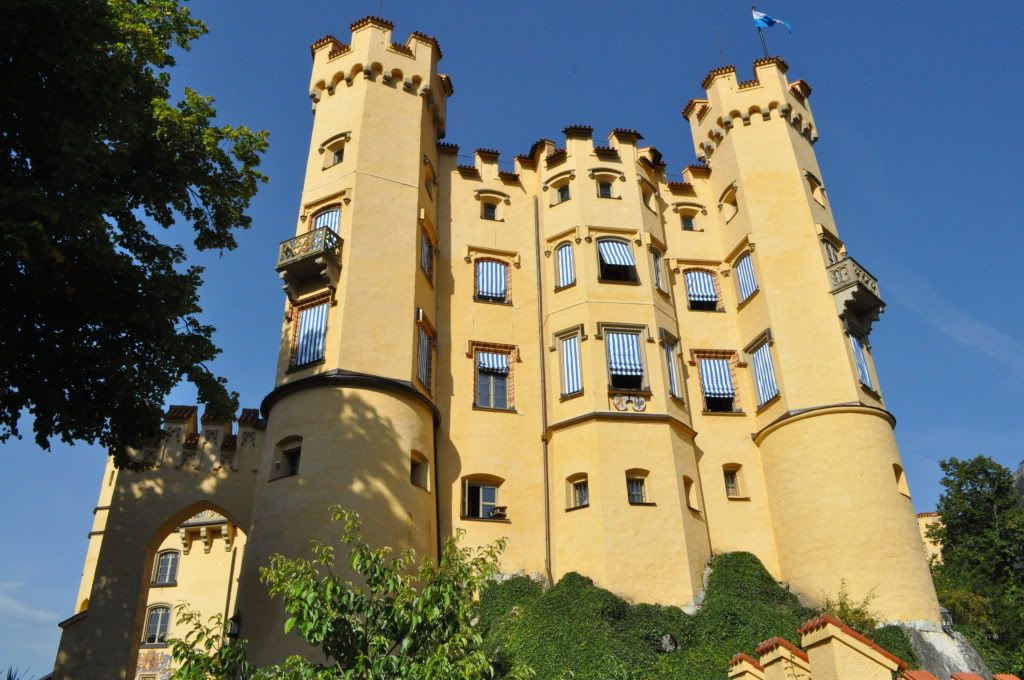
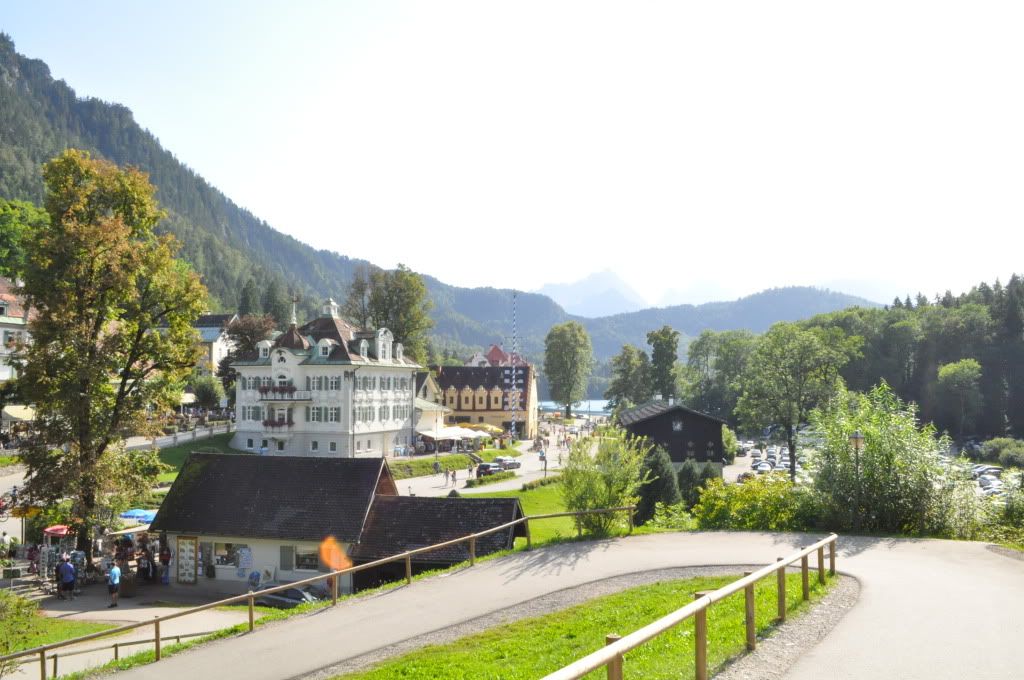
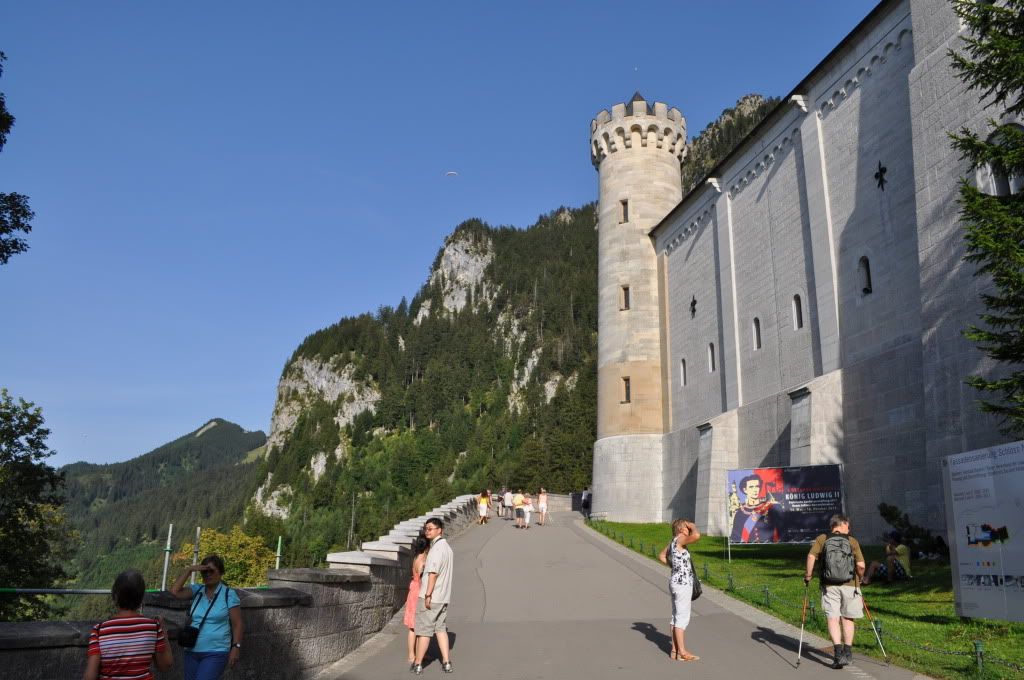
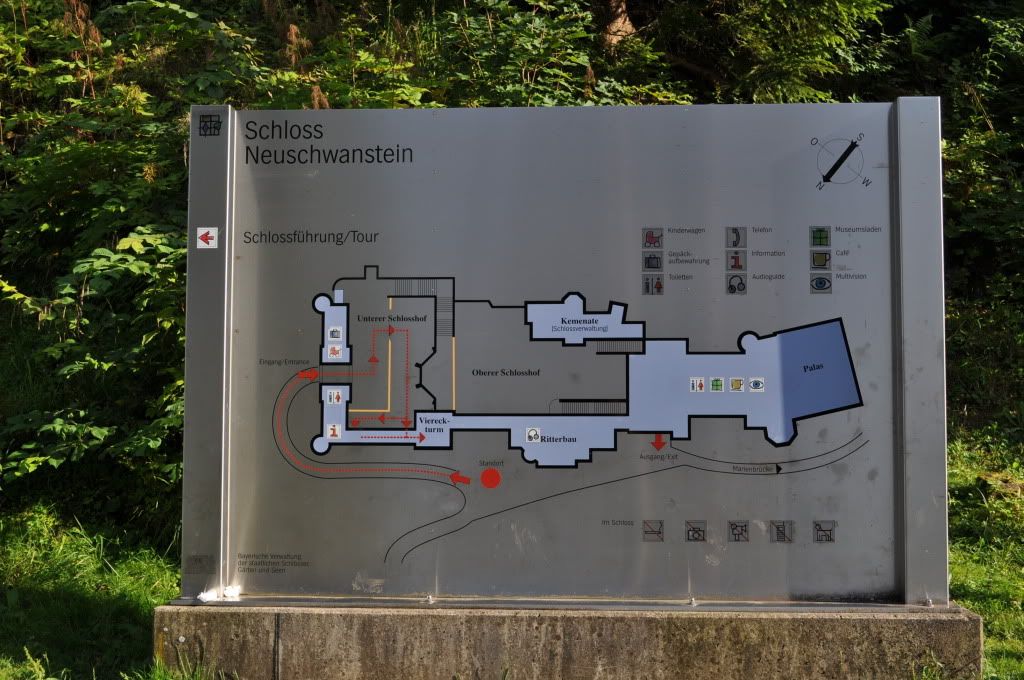
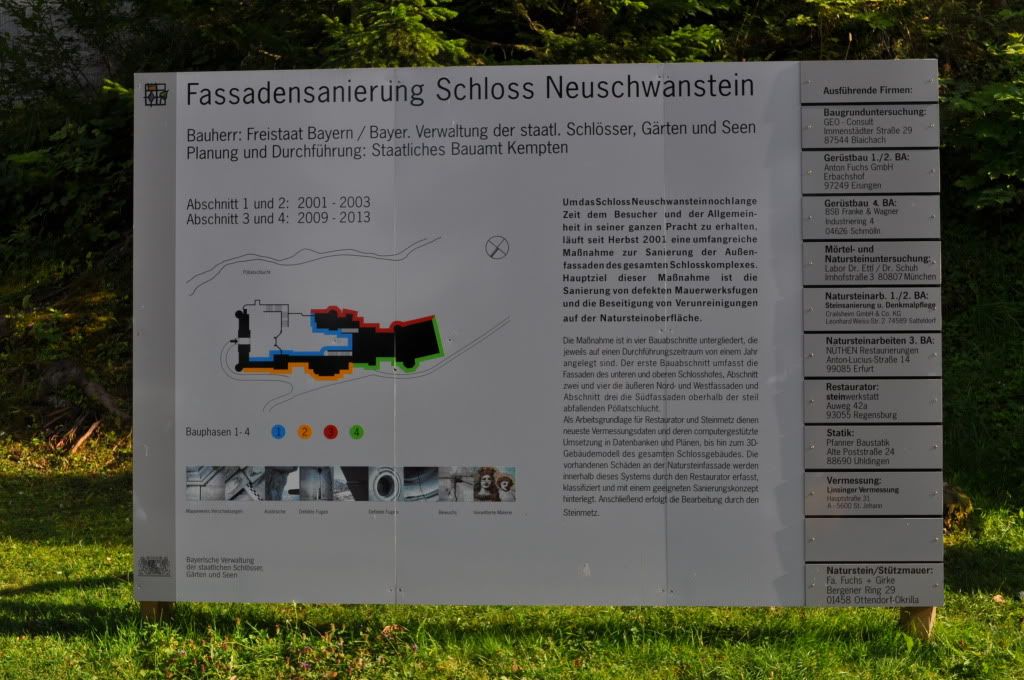
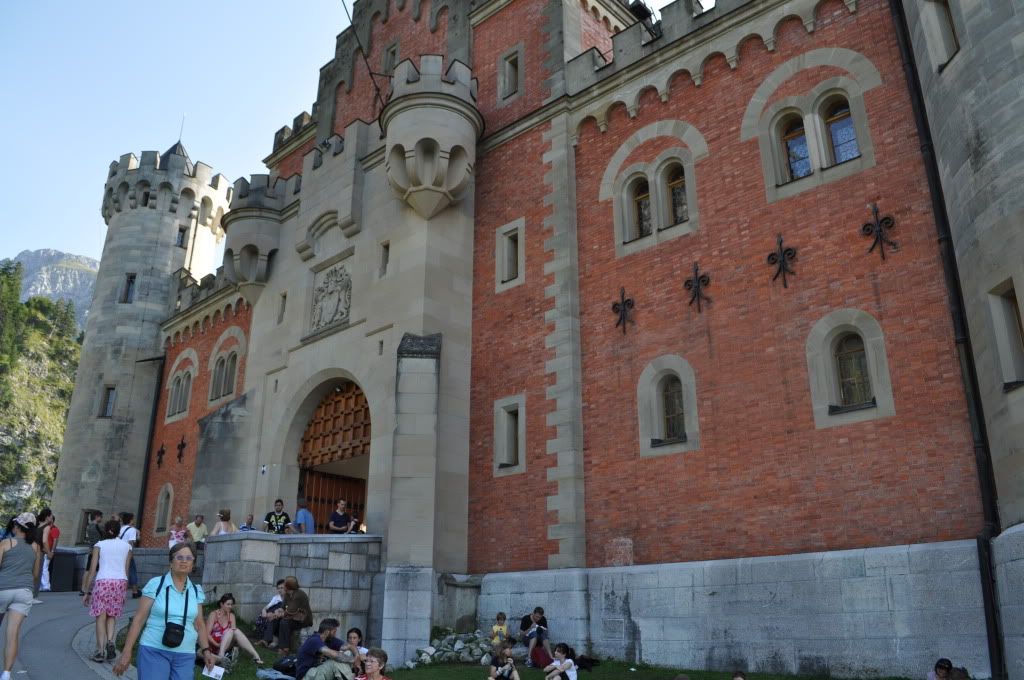
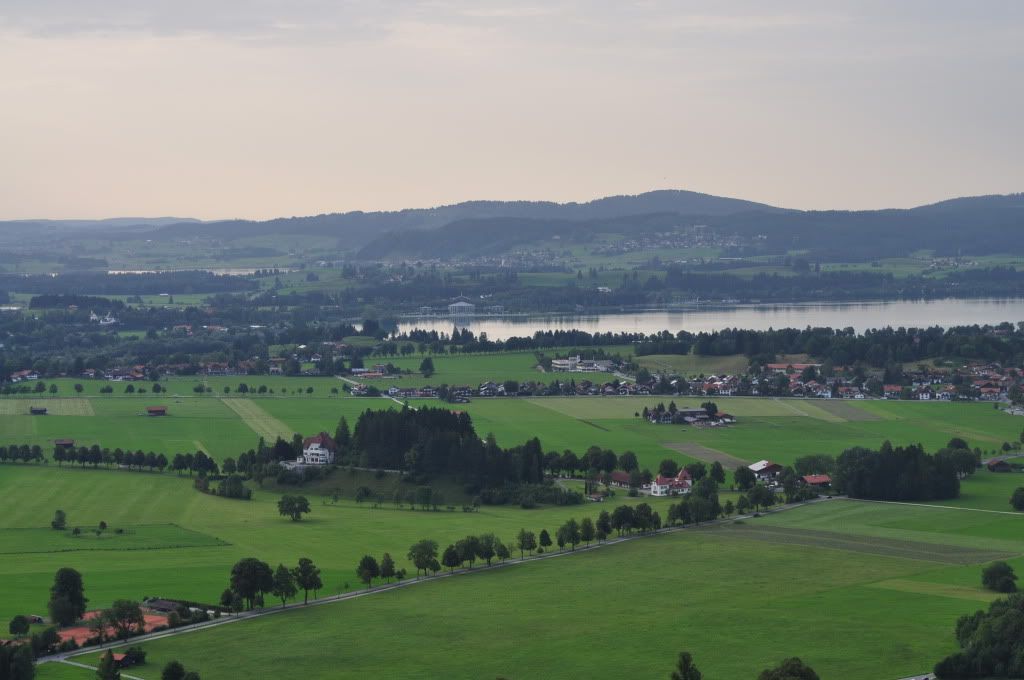
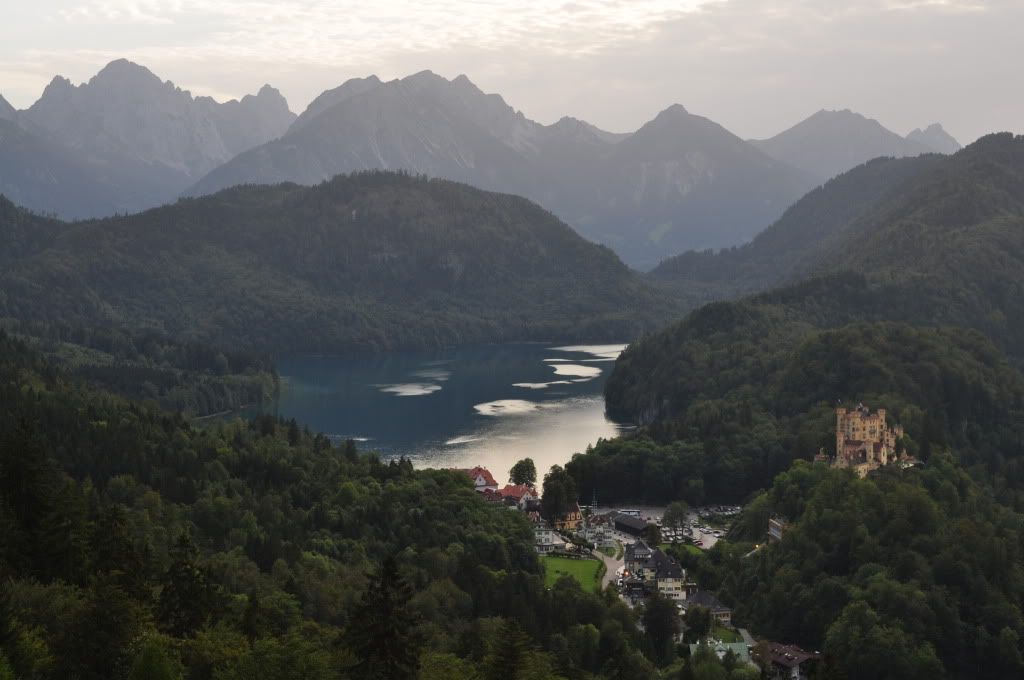
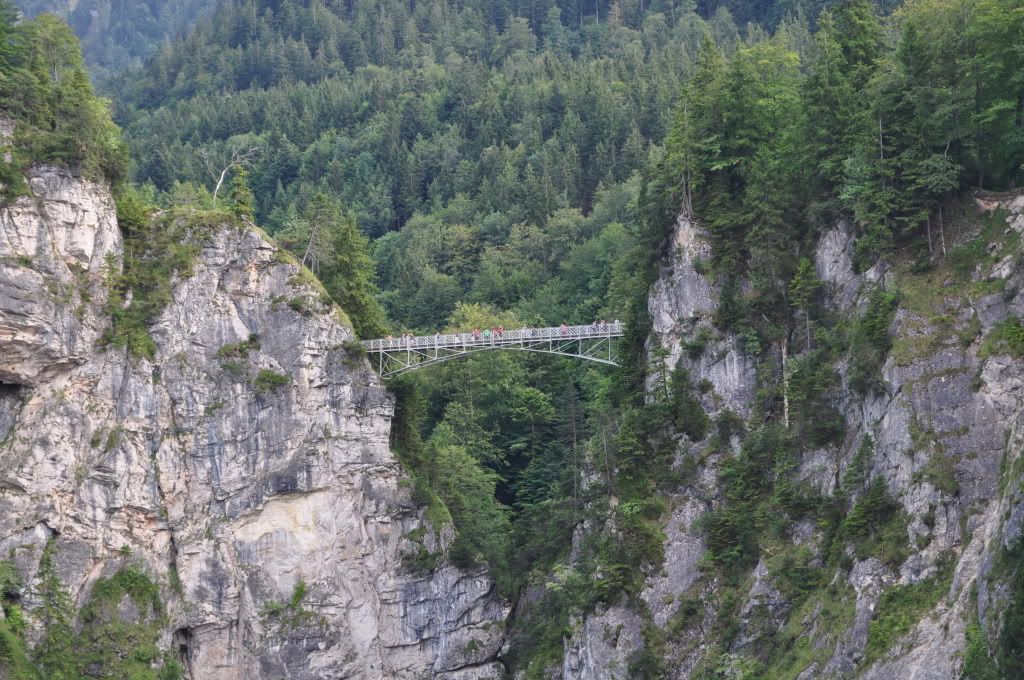
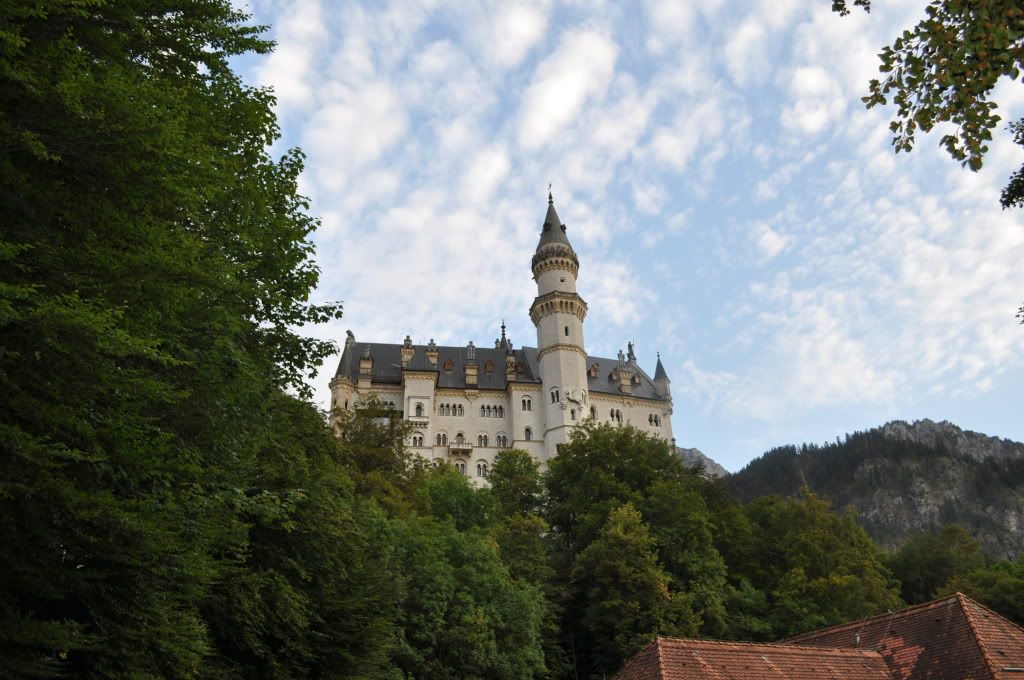
Neuschwanstein Castle – We arrived a day before the Welt delivery so took a long train ride to Fussen.
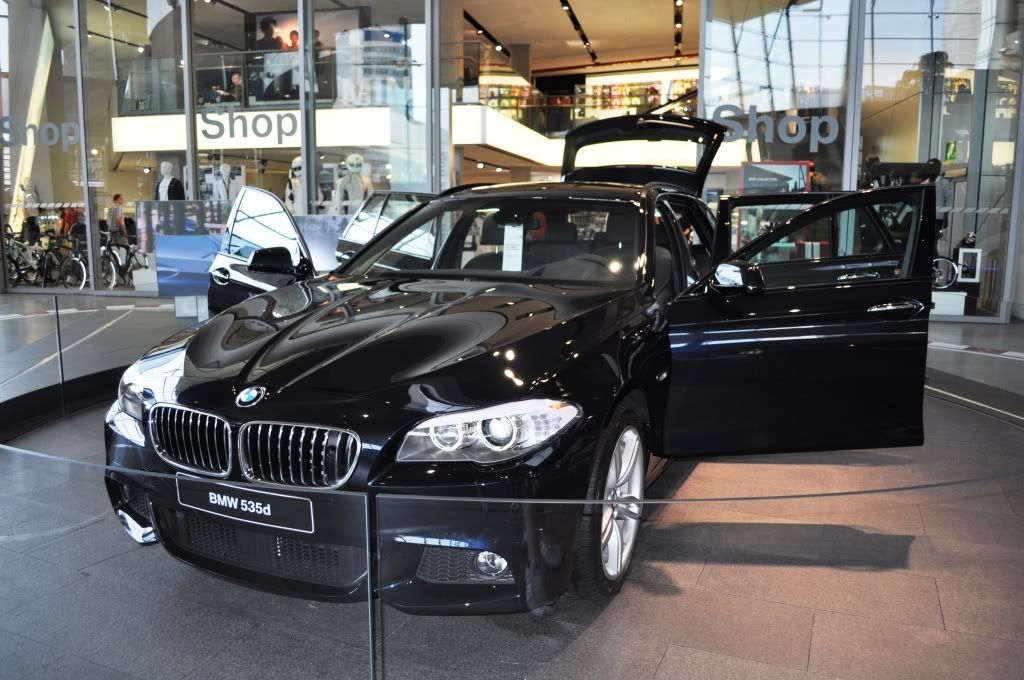
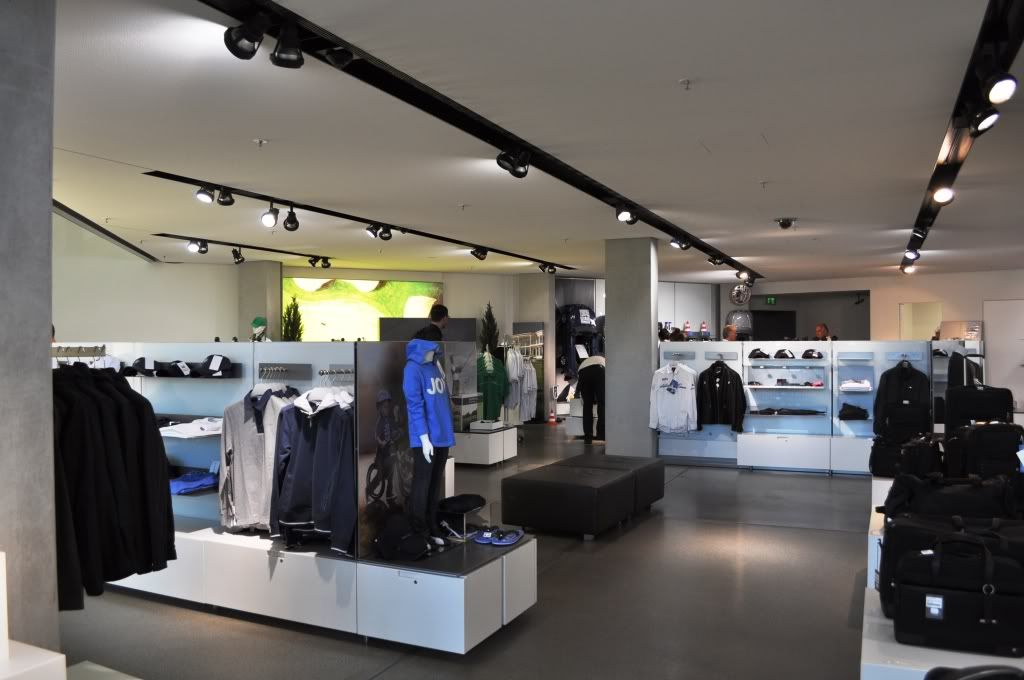
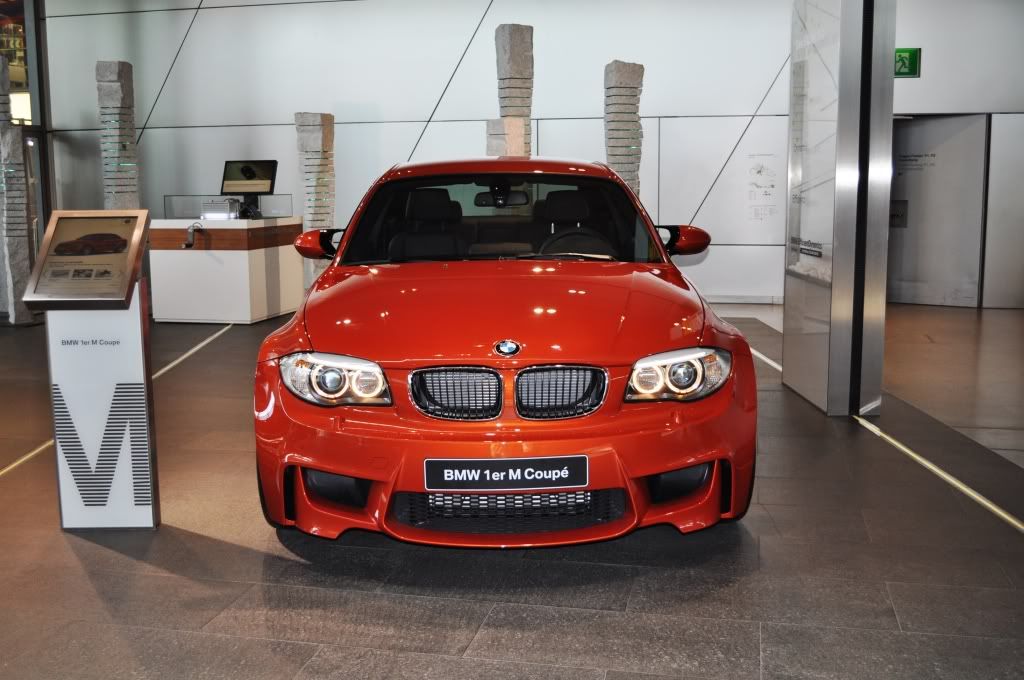
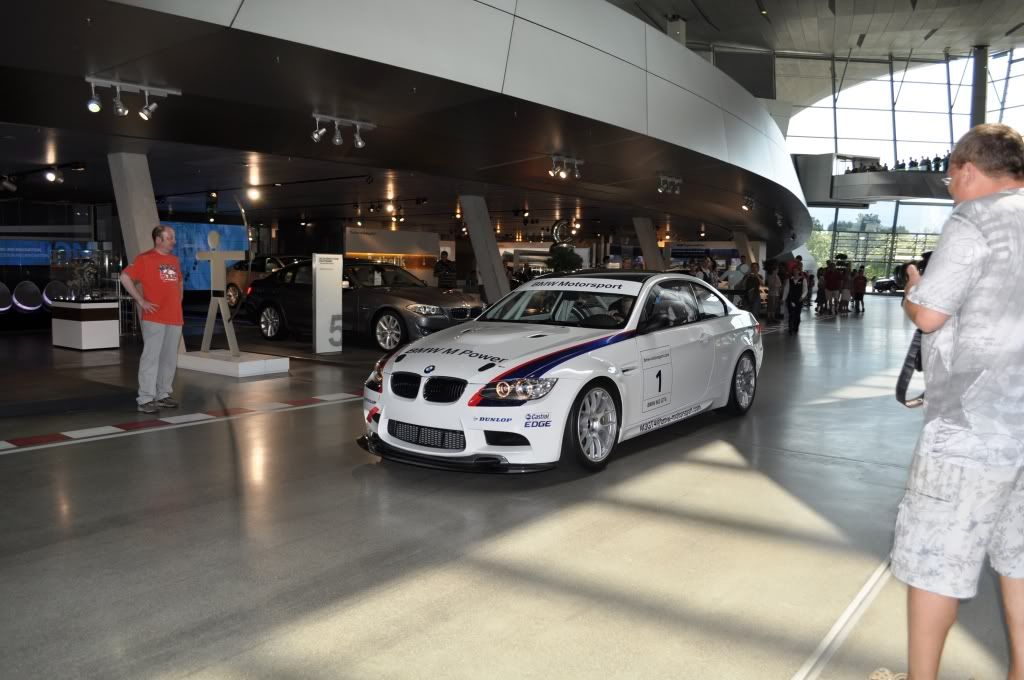
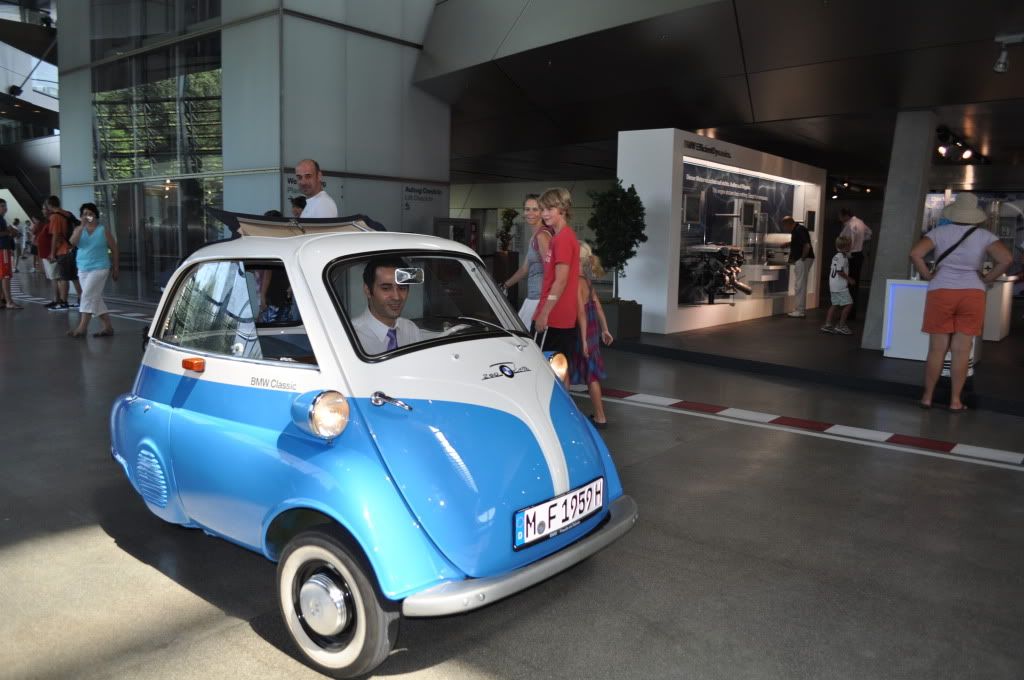
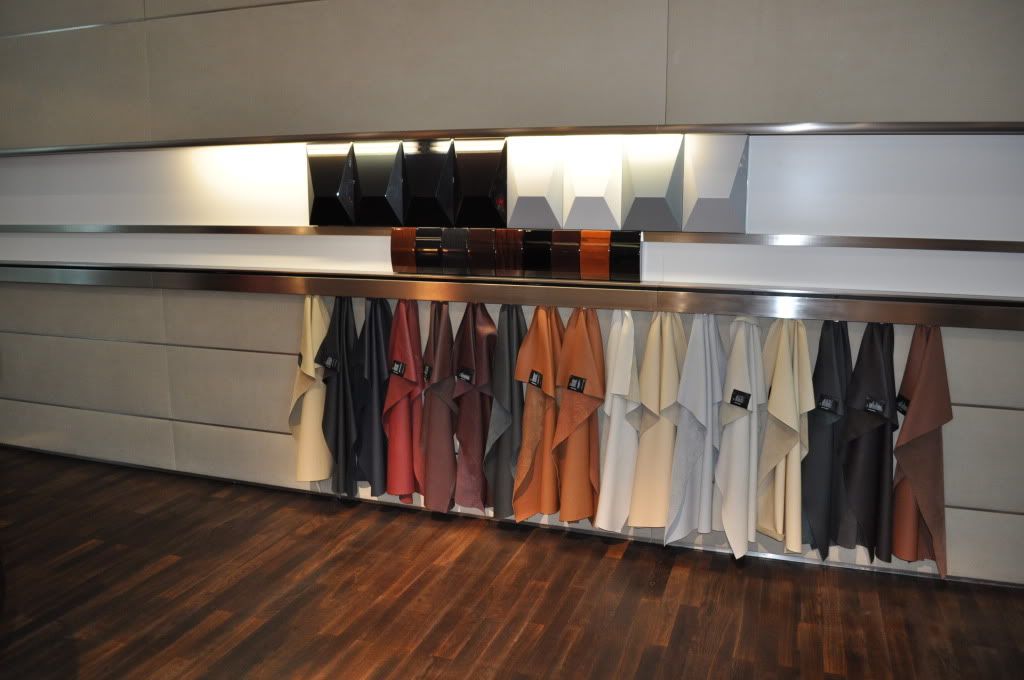
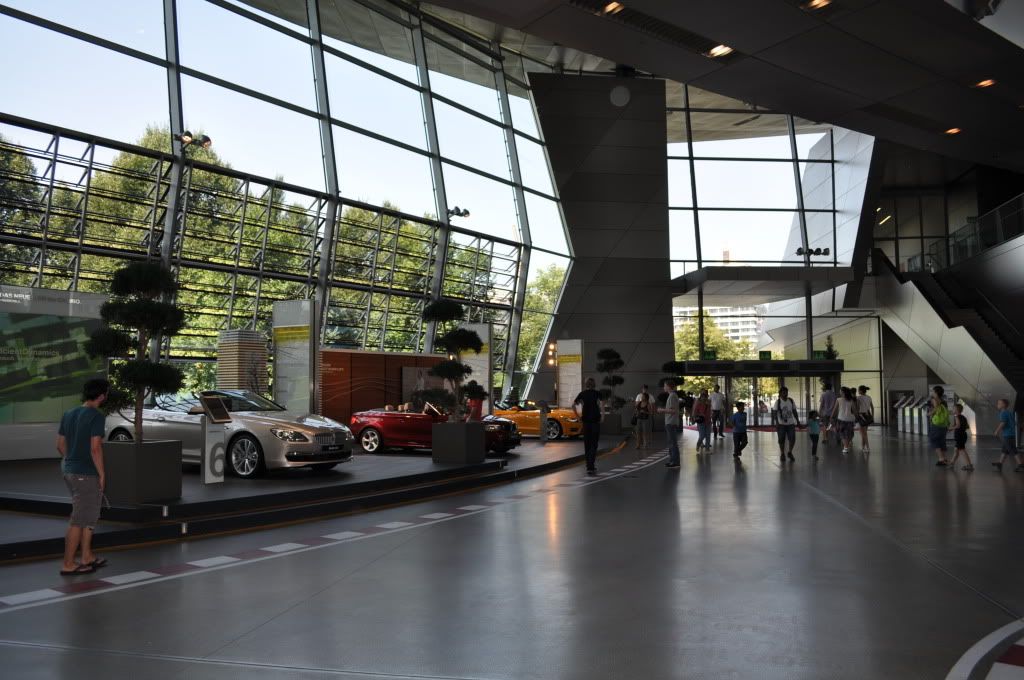
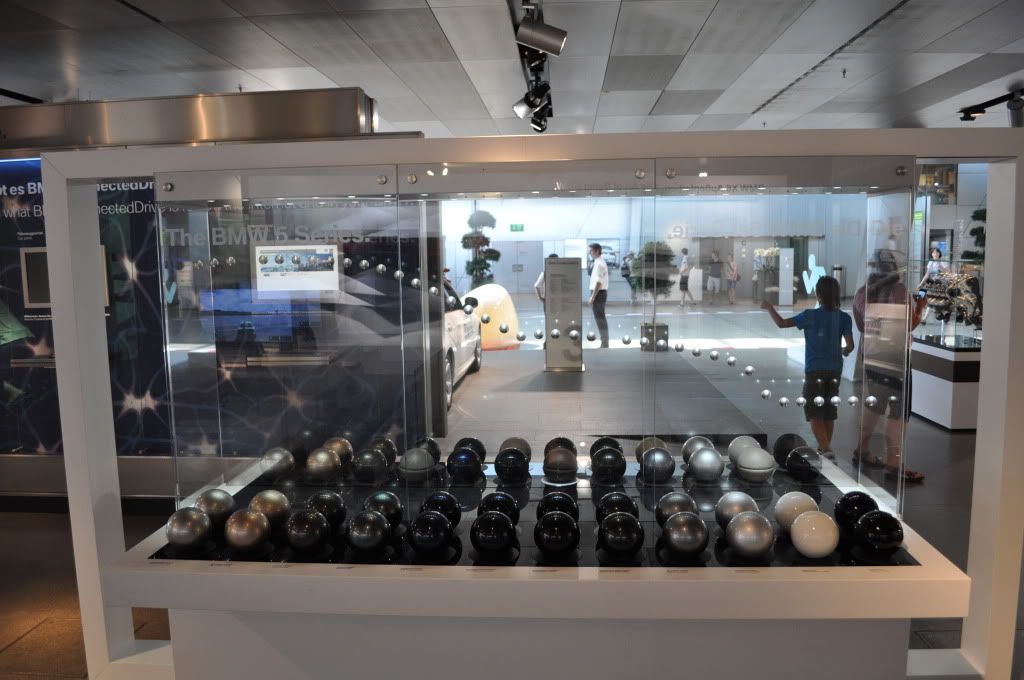
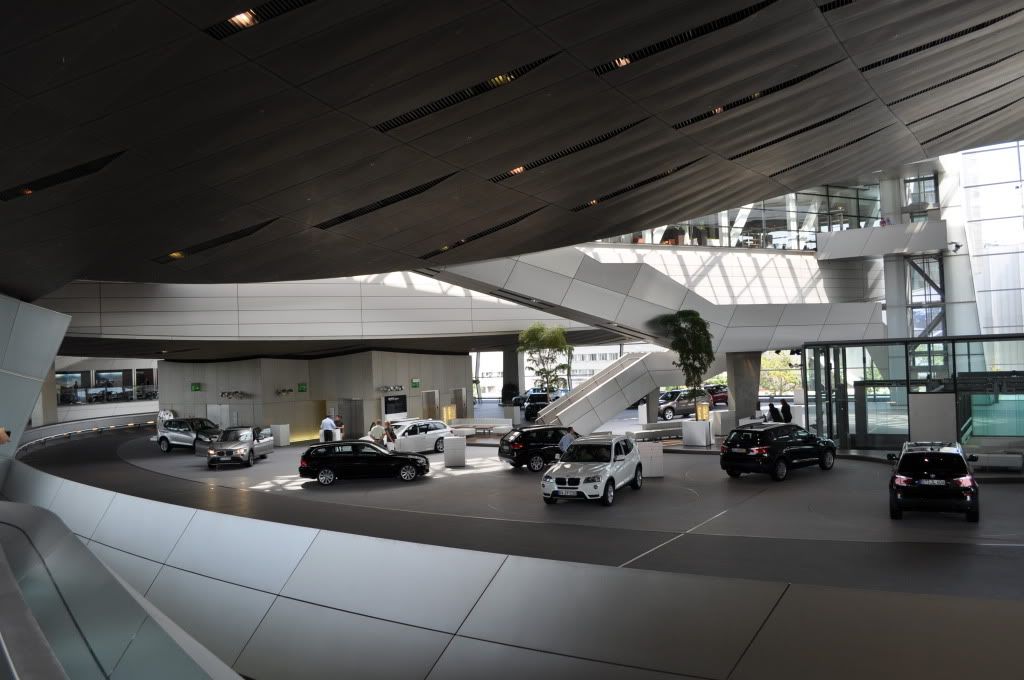
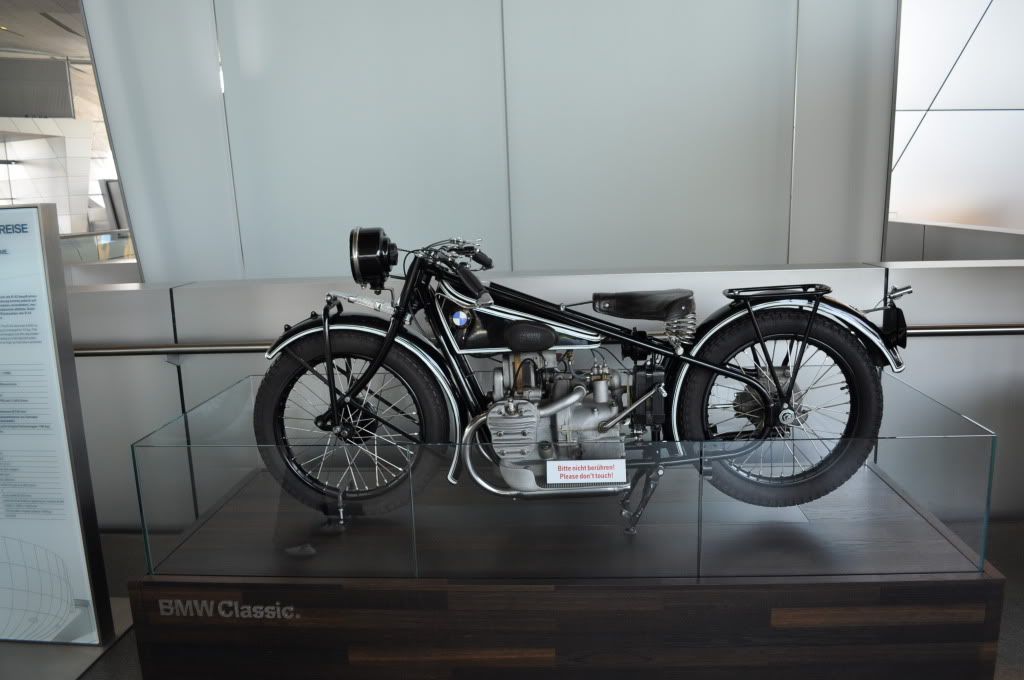
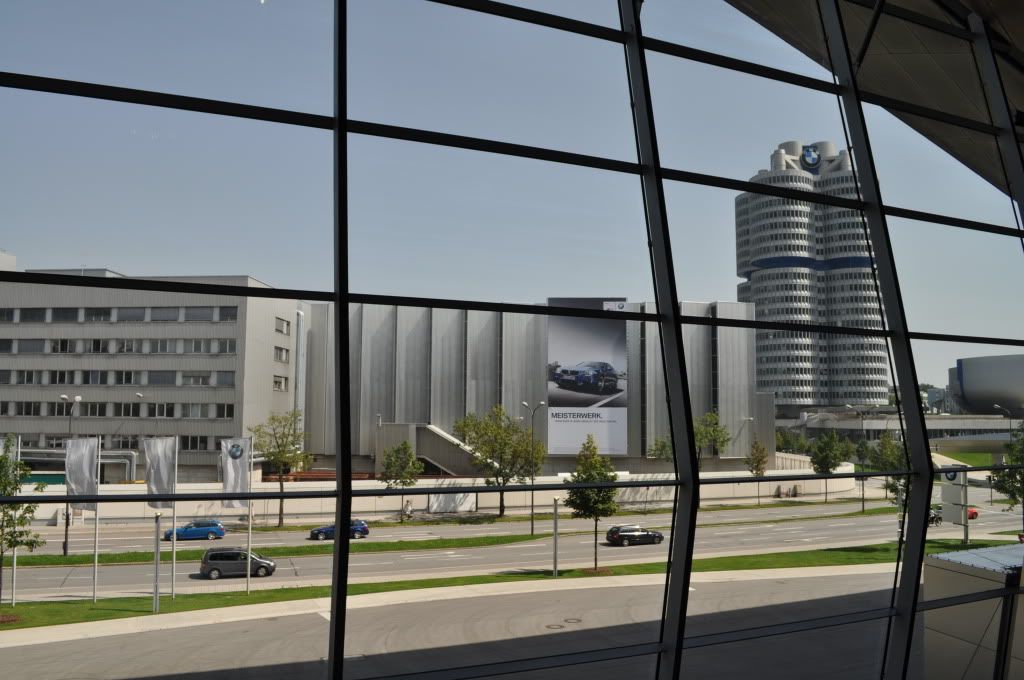
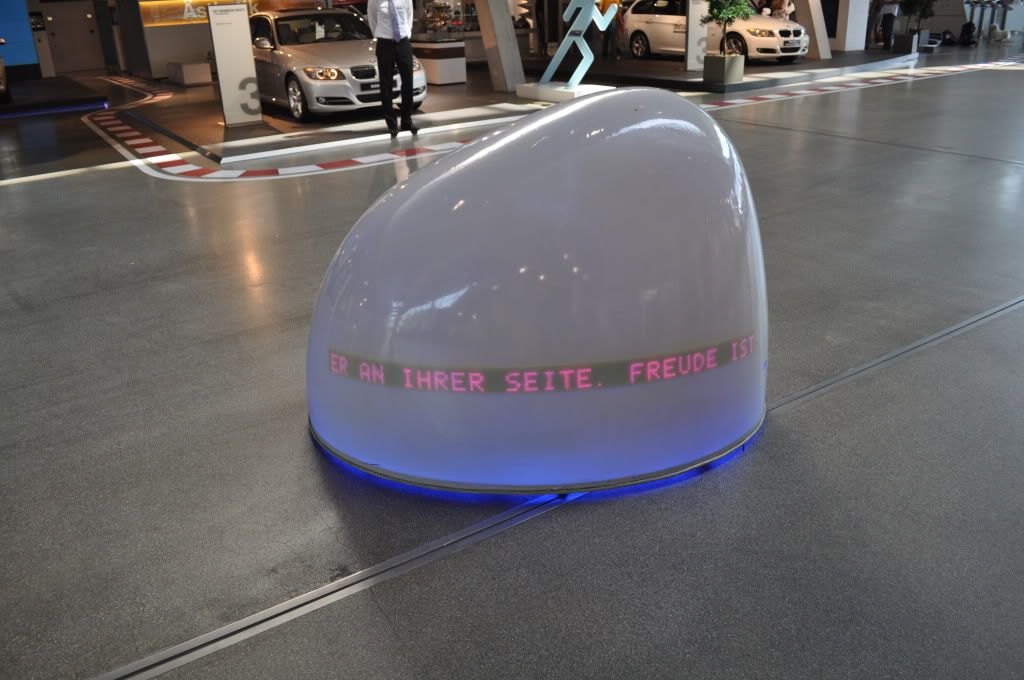
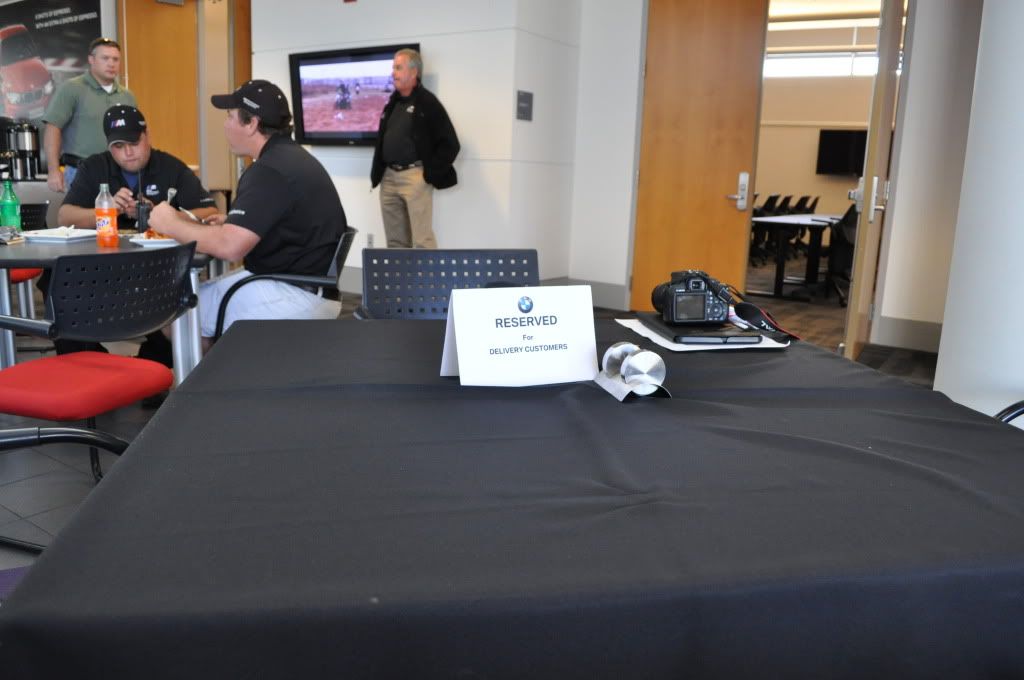
 BMW Welt European Delivery in Munich
 – This was an incredible experience. I highly suggest doing ED!


The first glimpse of my M3!



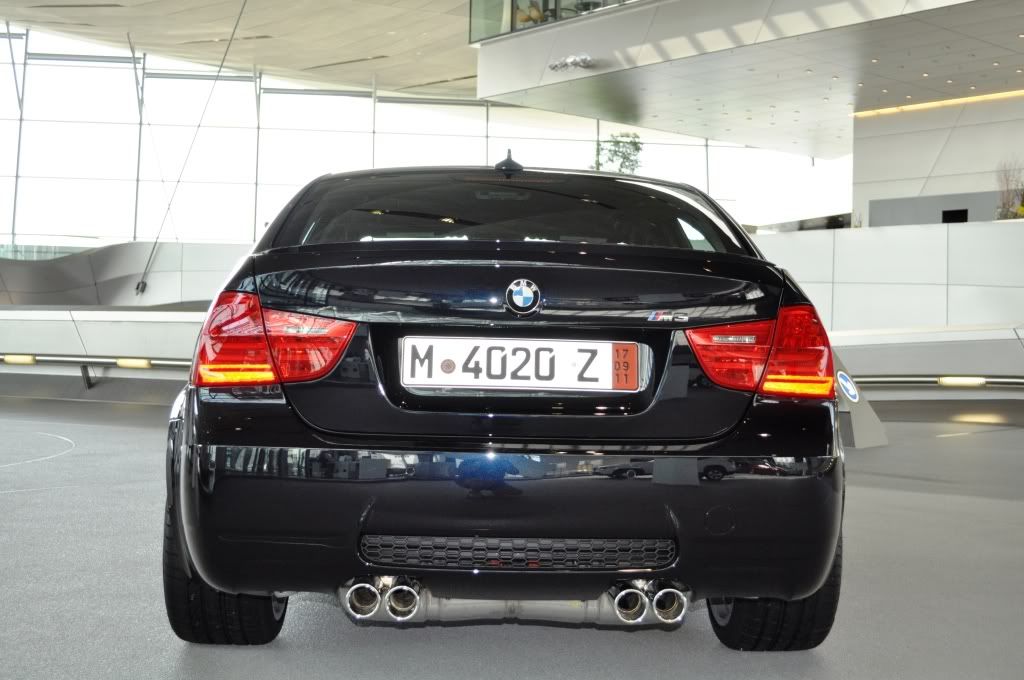
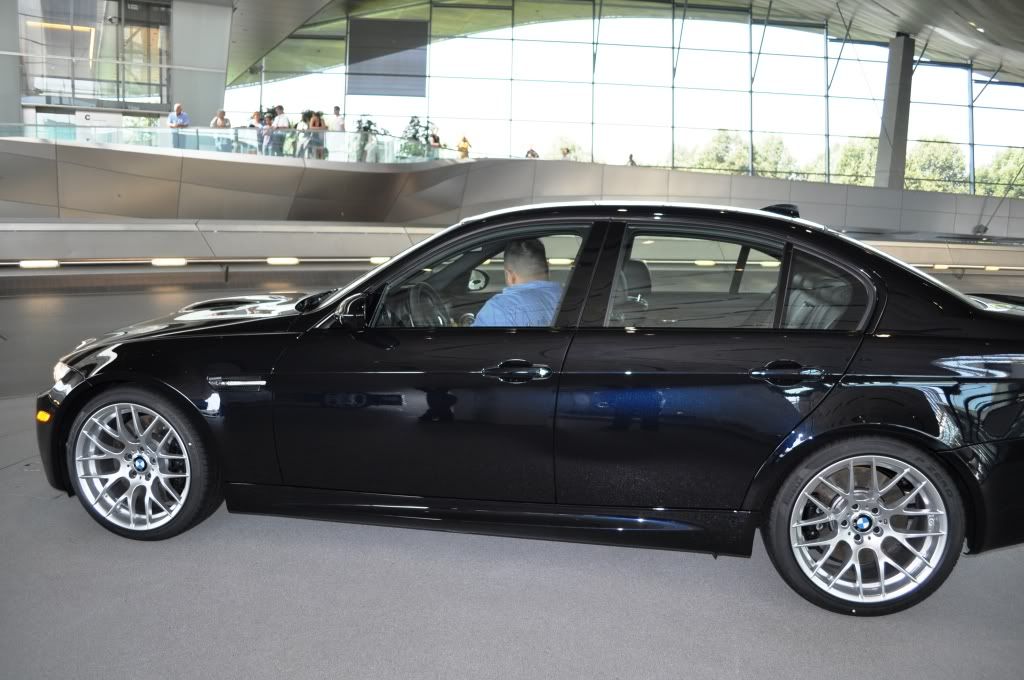
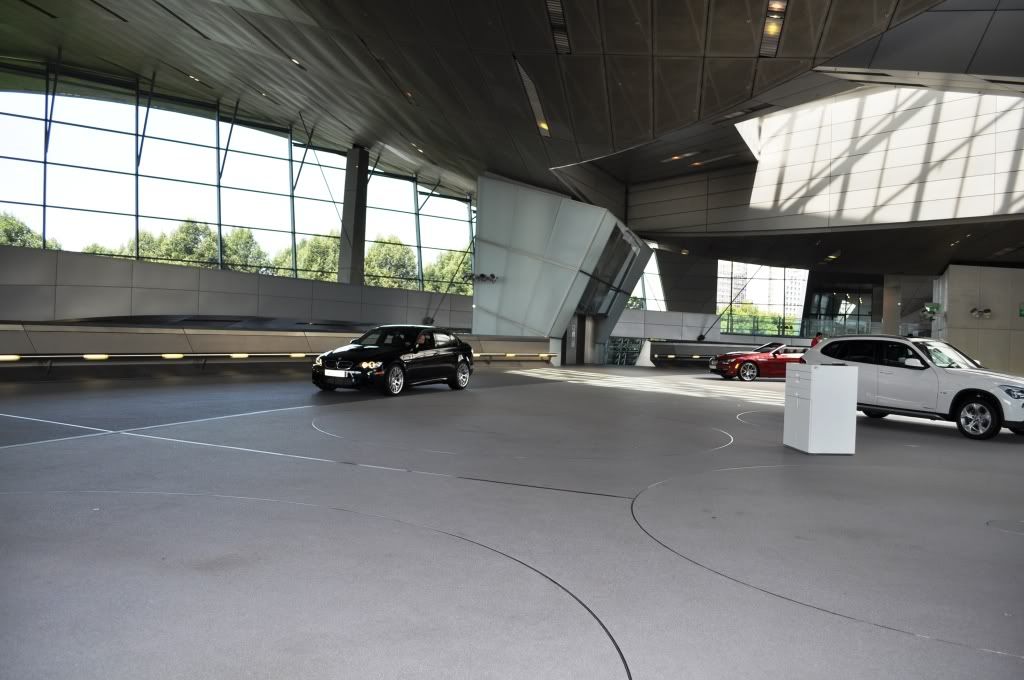




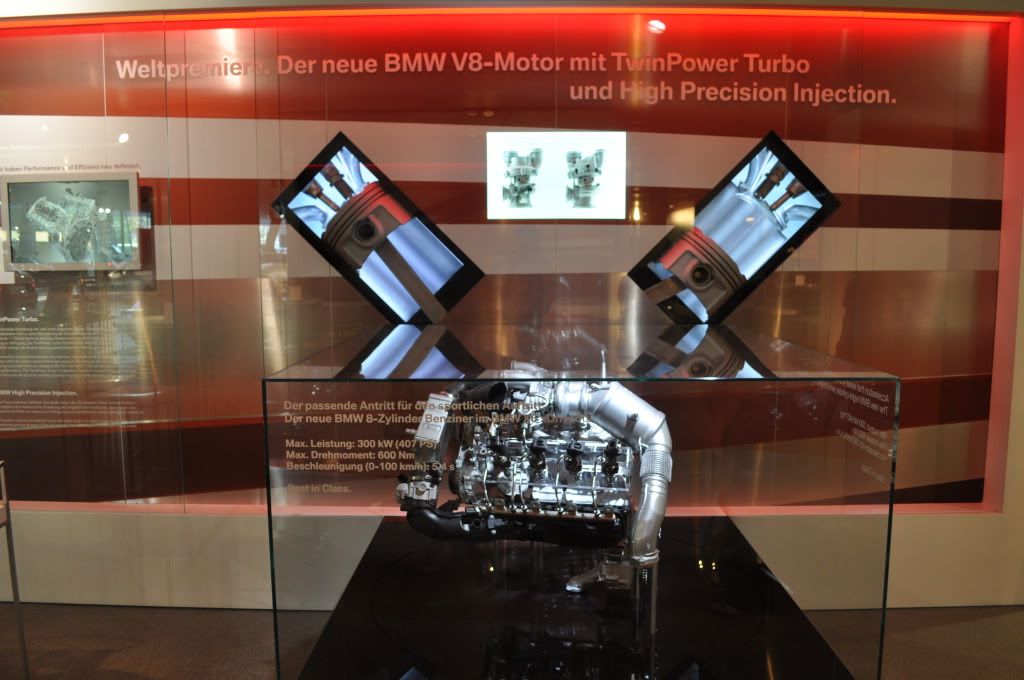
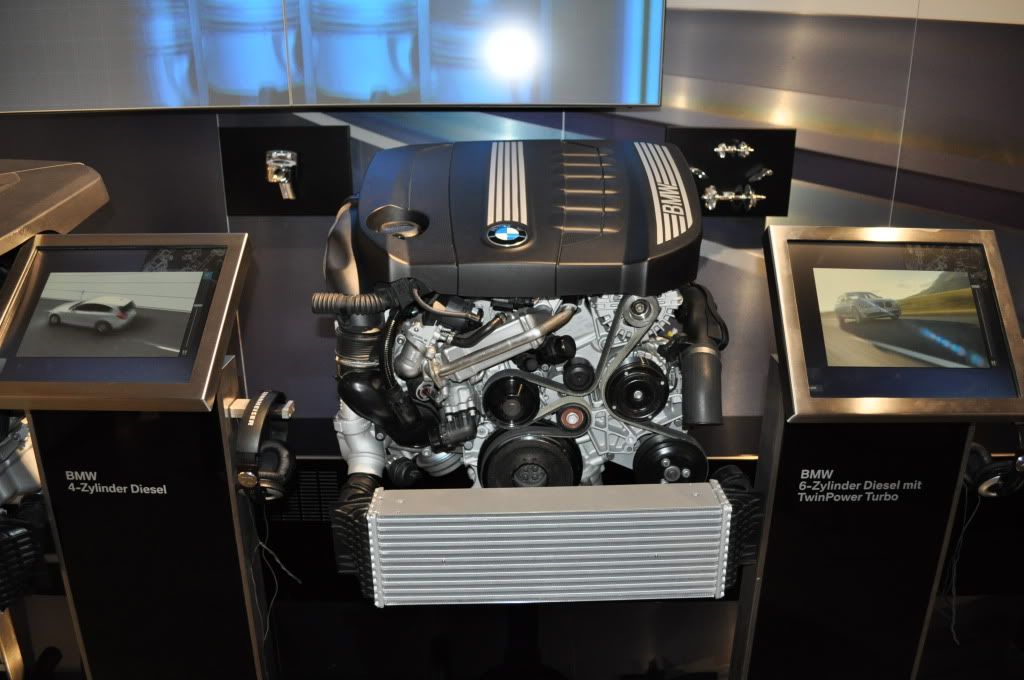
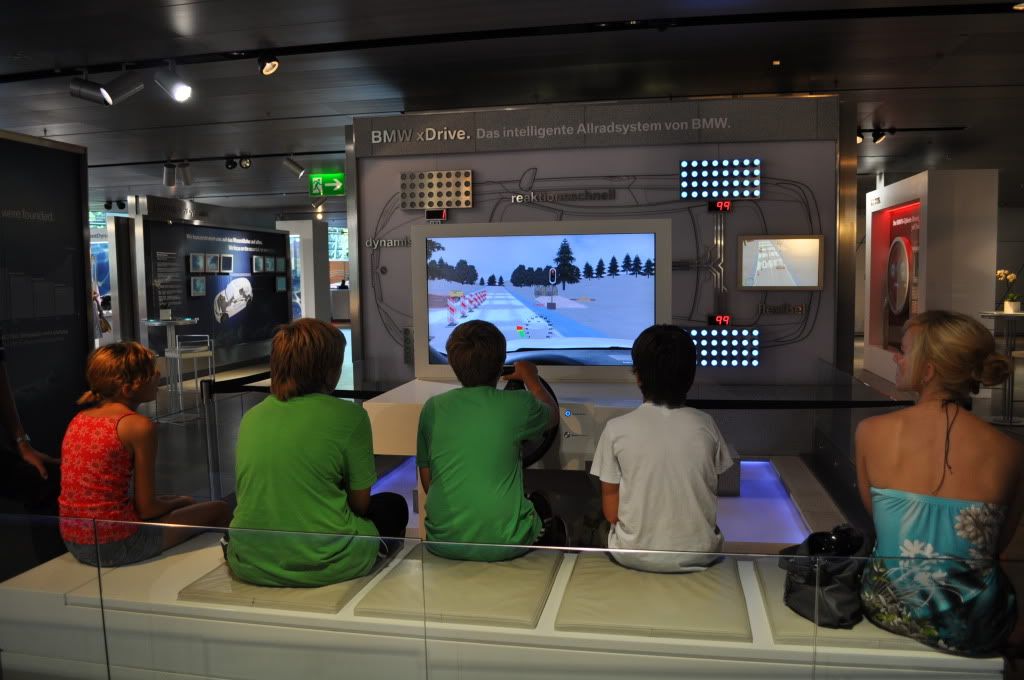
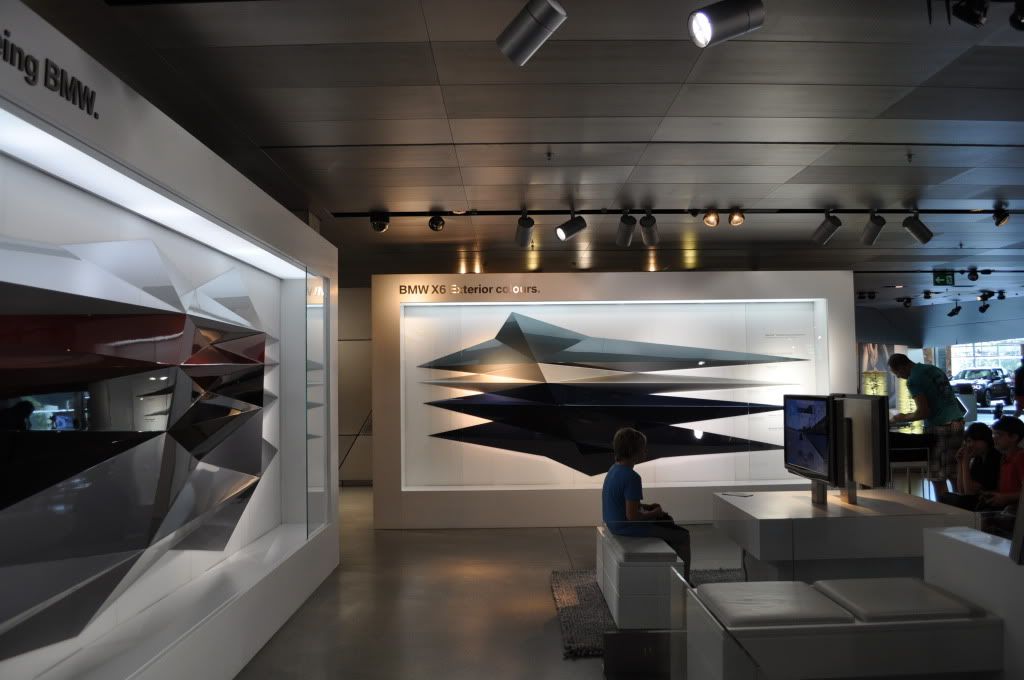
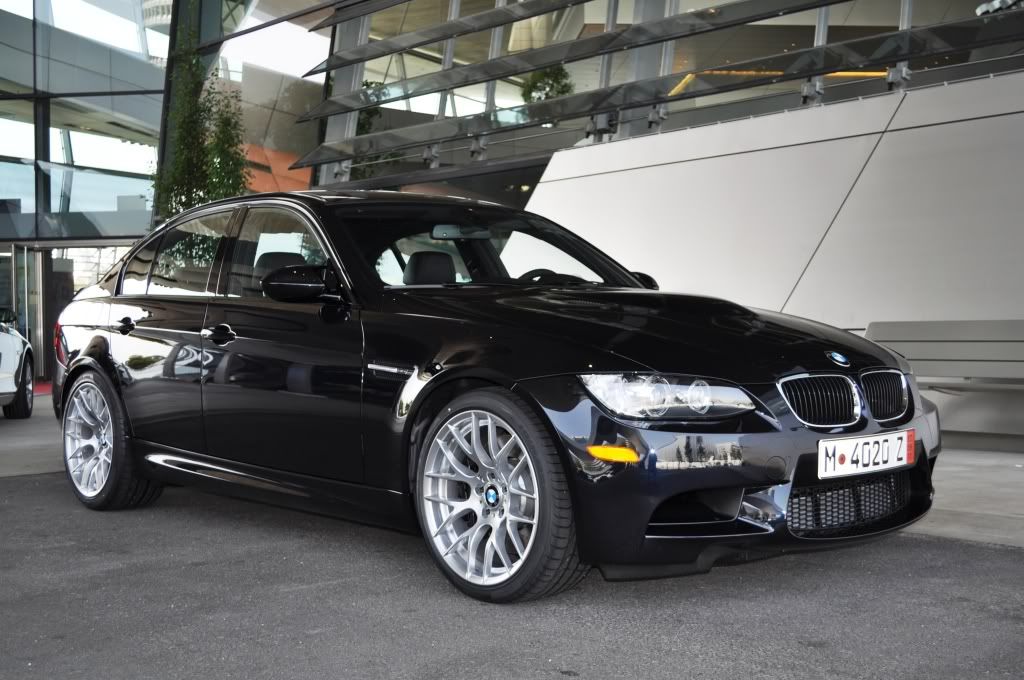
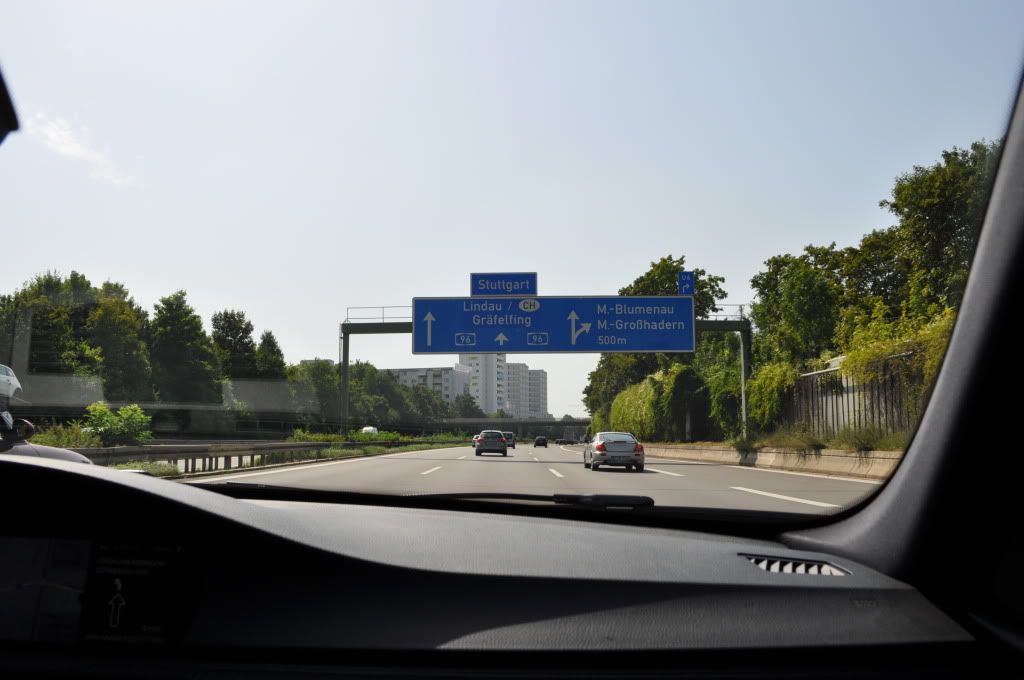
Heading to Zurich
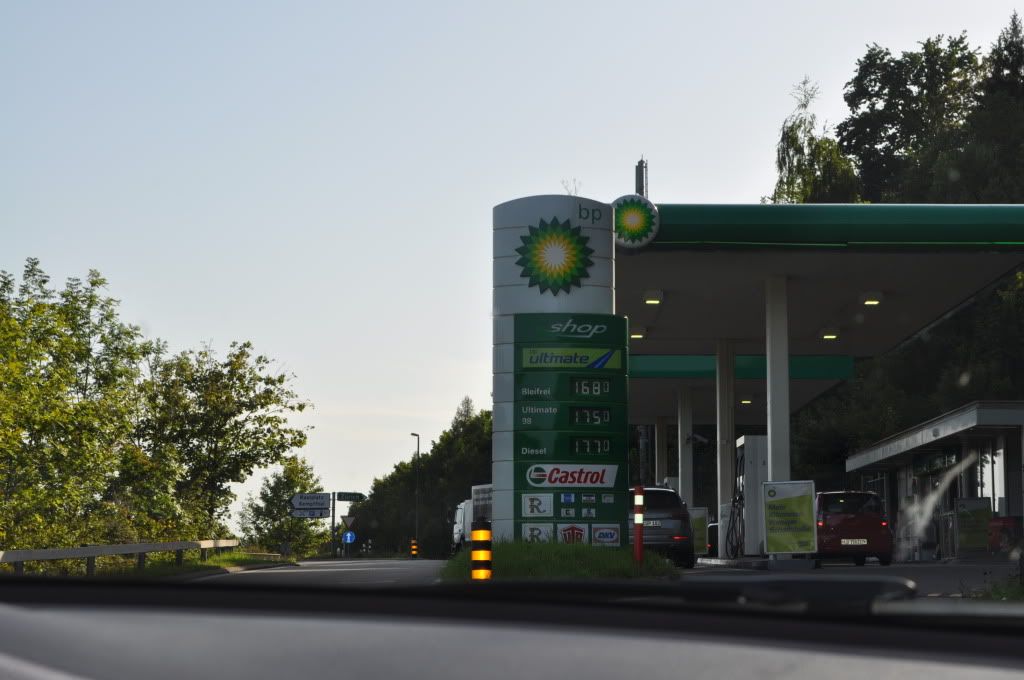
For a moment I thought the petro prices were in gallons...hehe, litres!!!
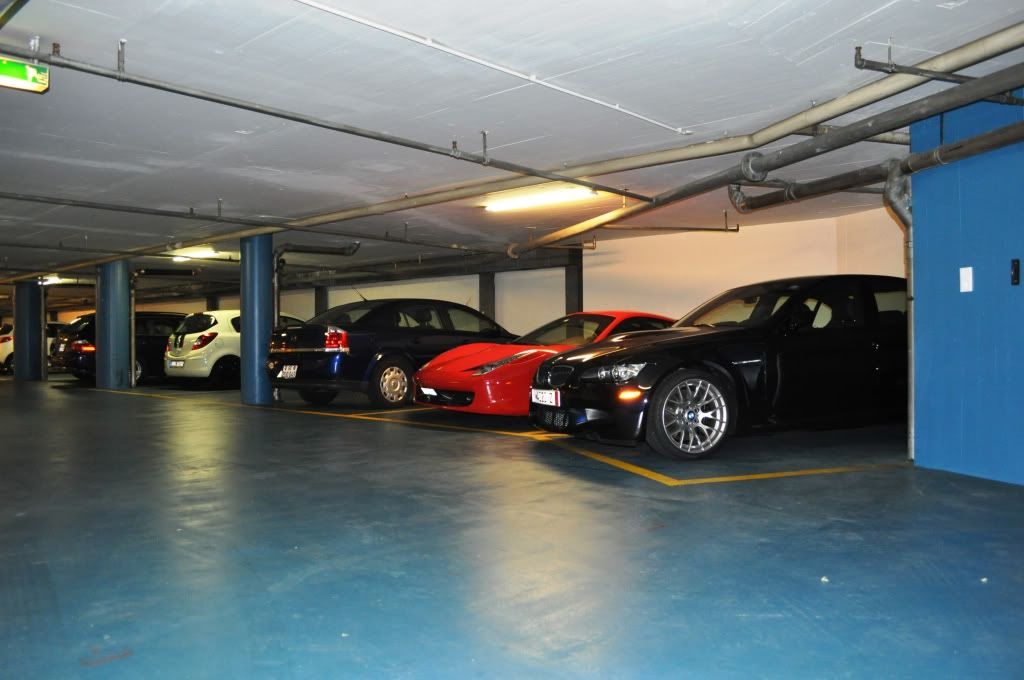
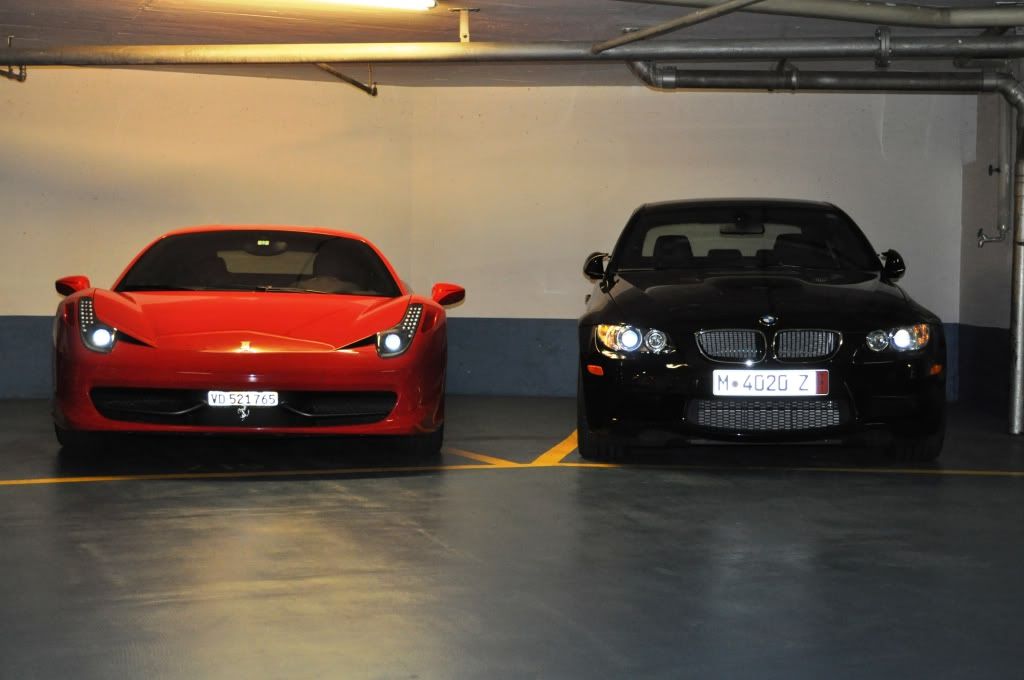
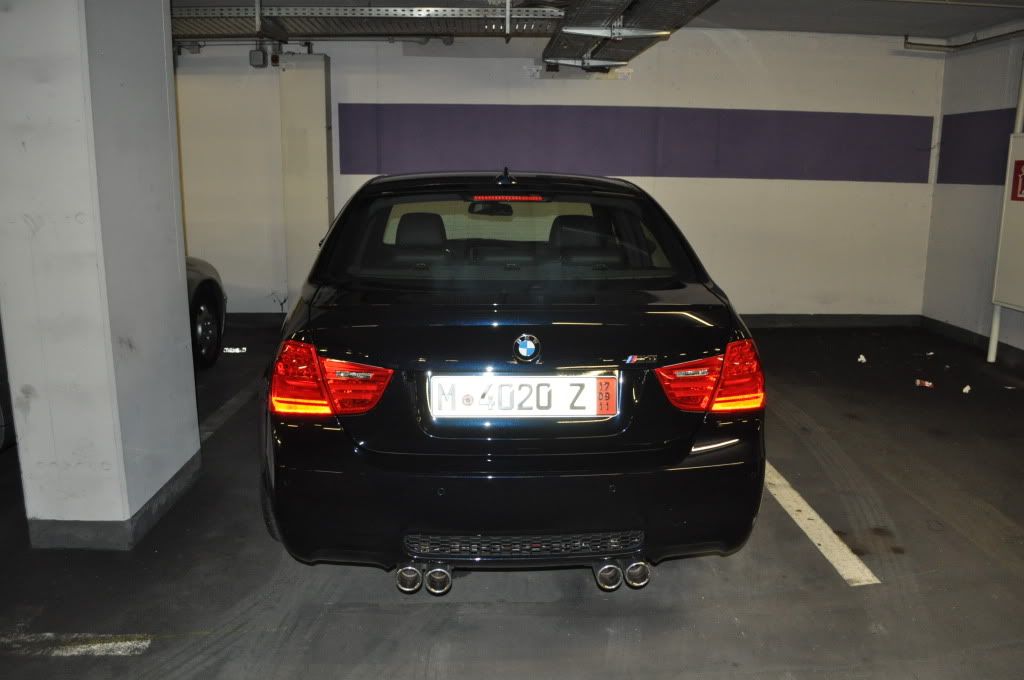
Arrived at the Zurich Marriott - Nice facility and convenient to Old Town and Central Station. I had to be careful driving down the hotel's underground parking to avoid curb rash. NARROW!
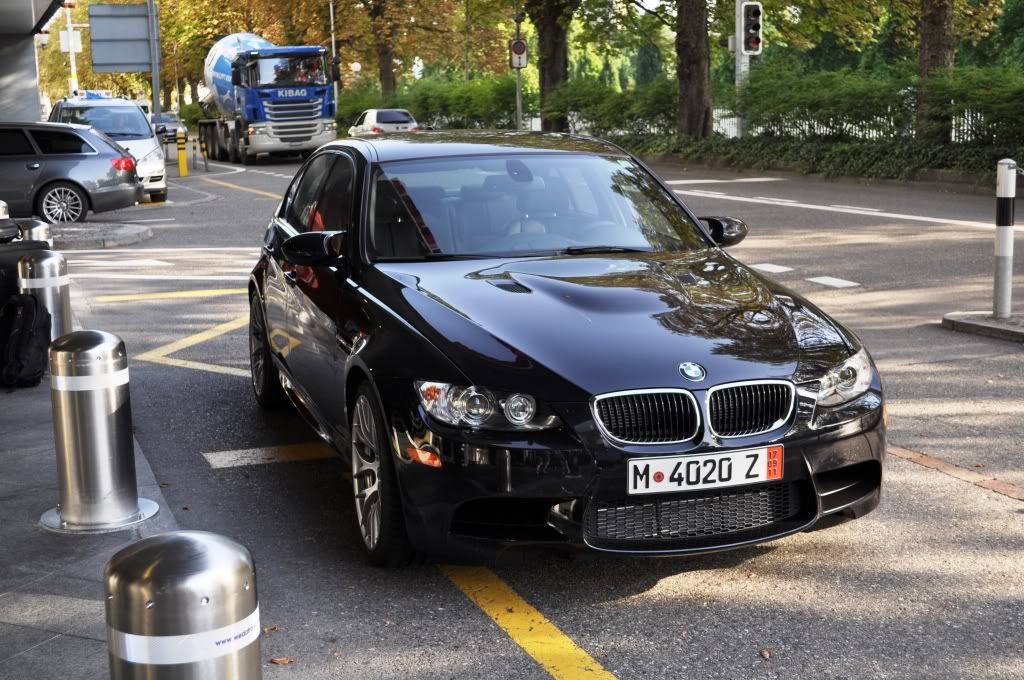
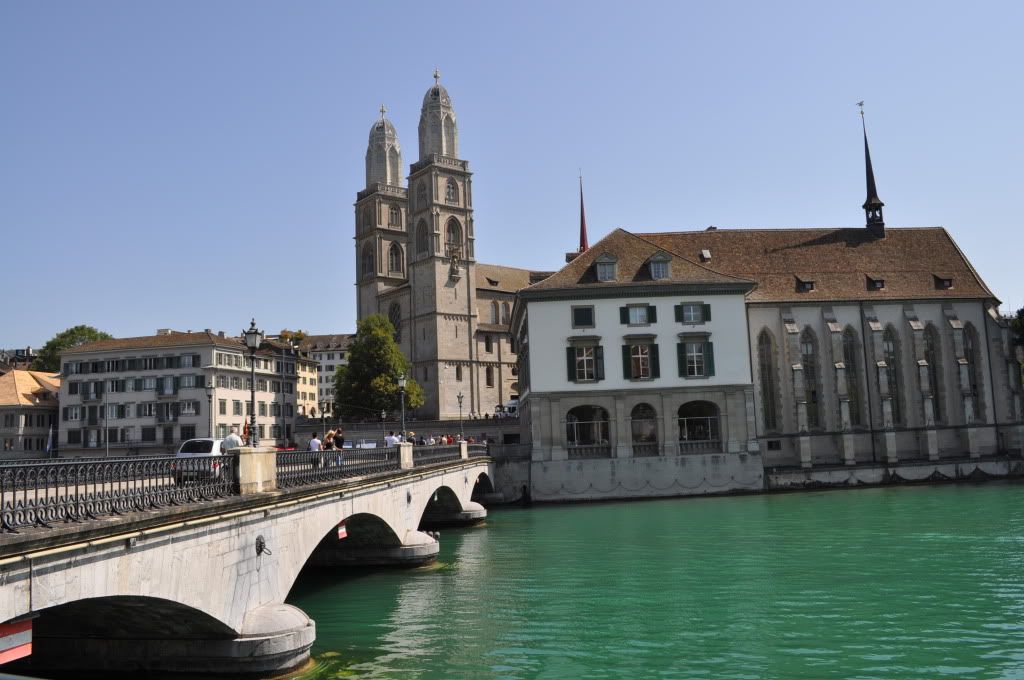
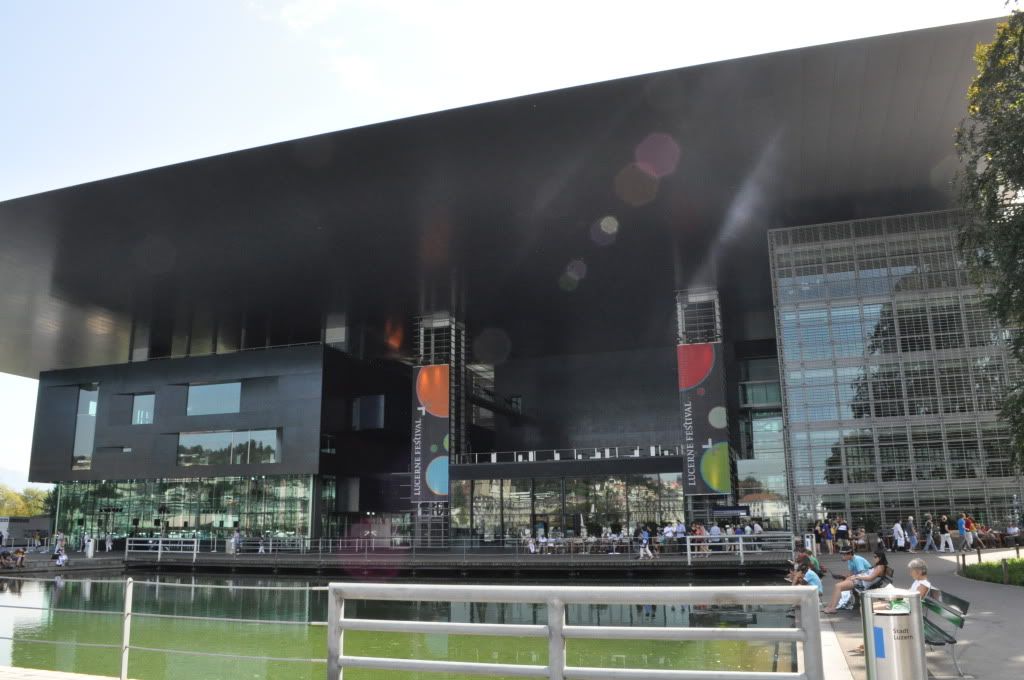
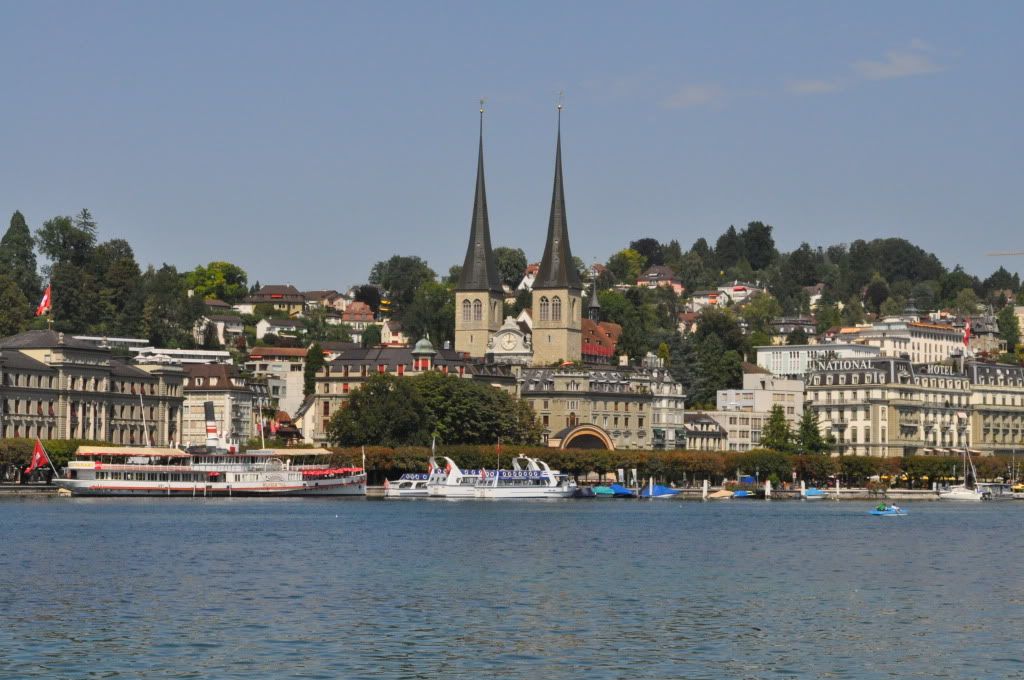
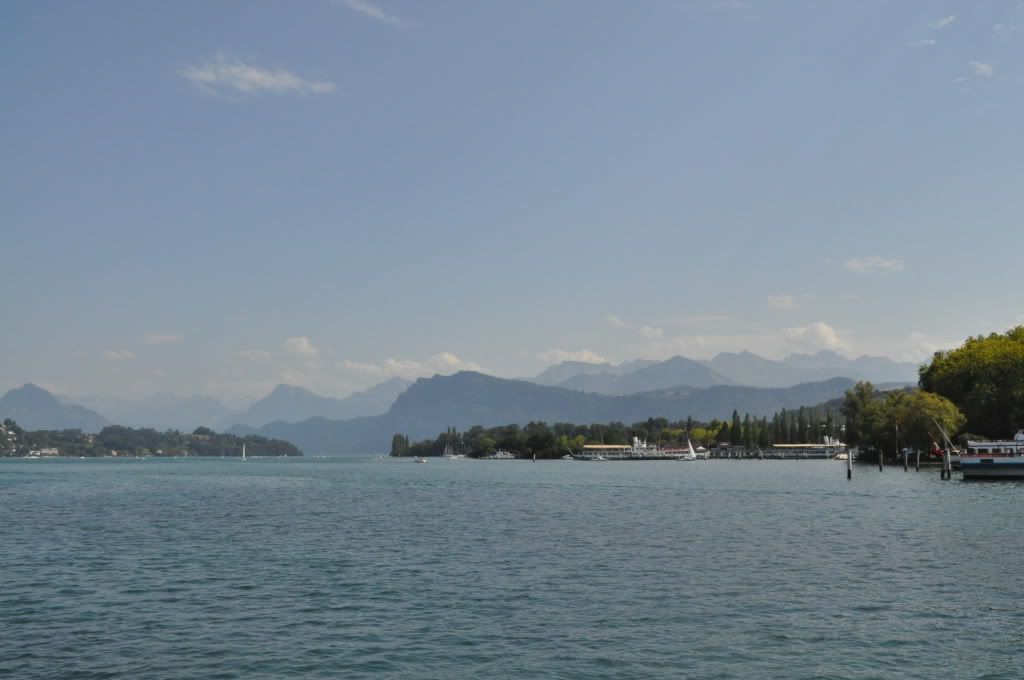
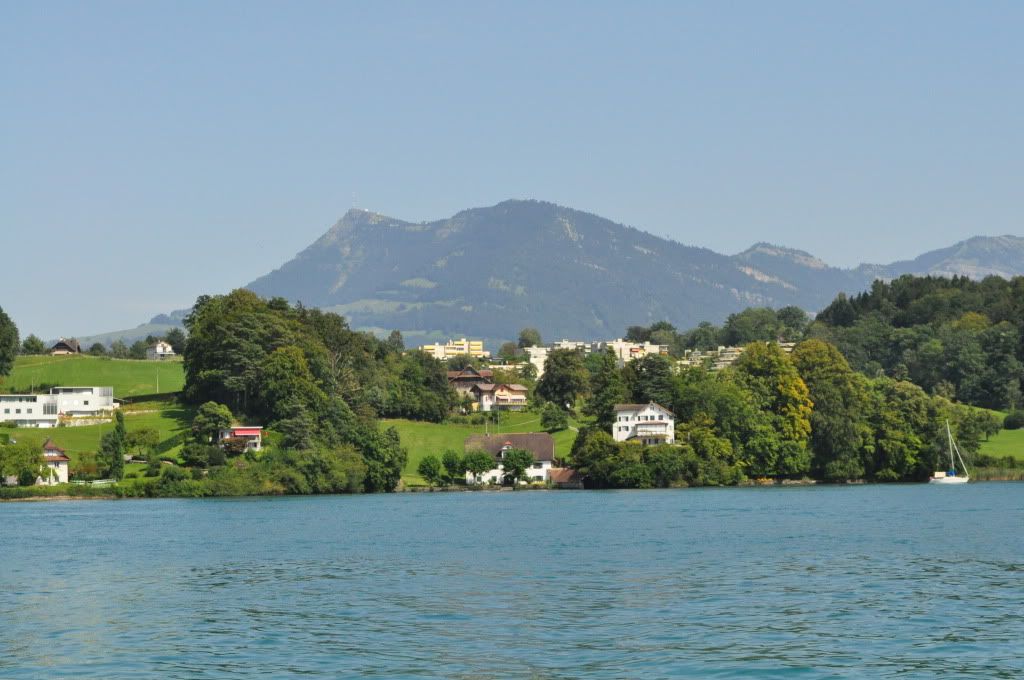
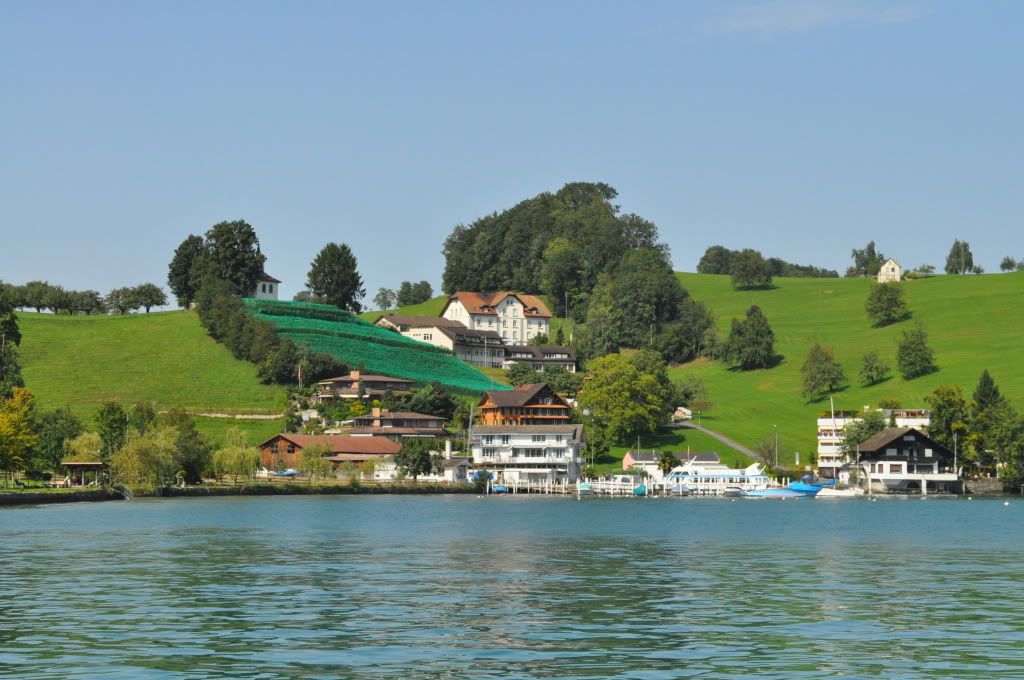
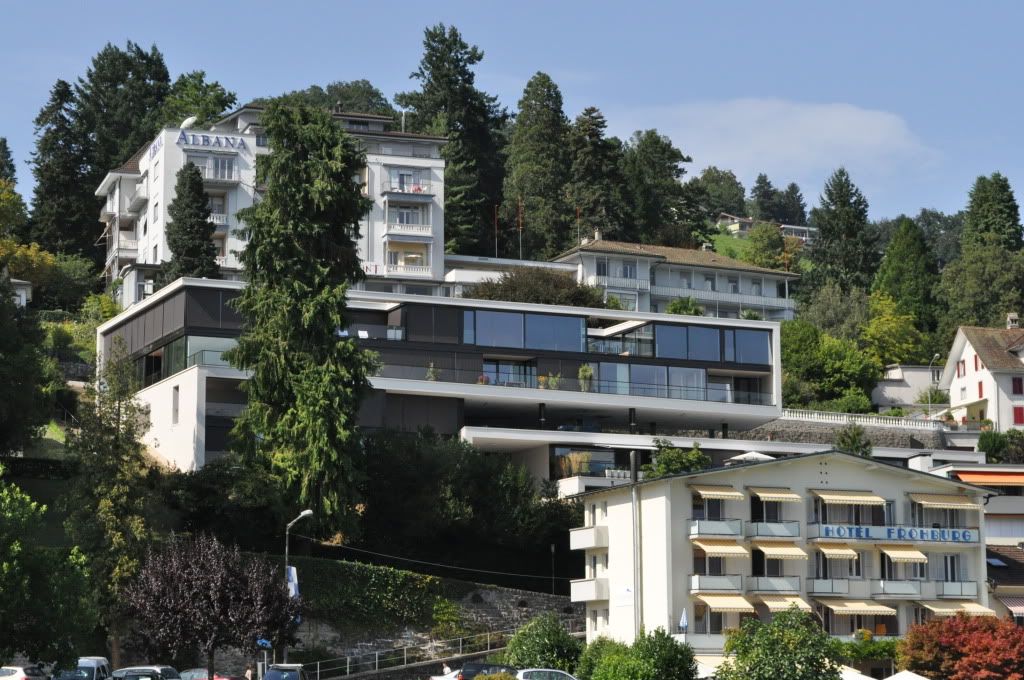
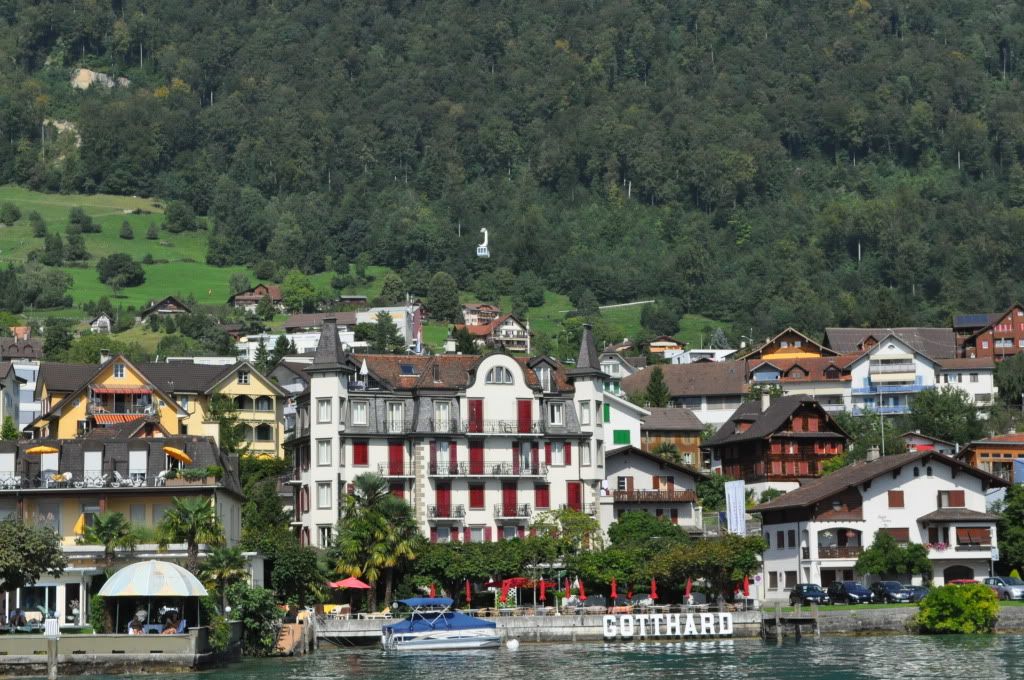
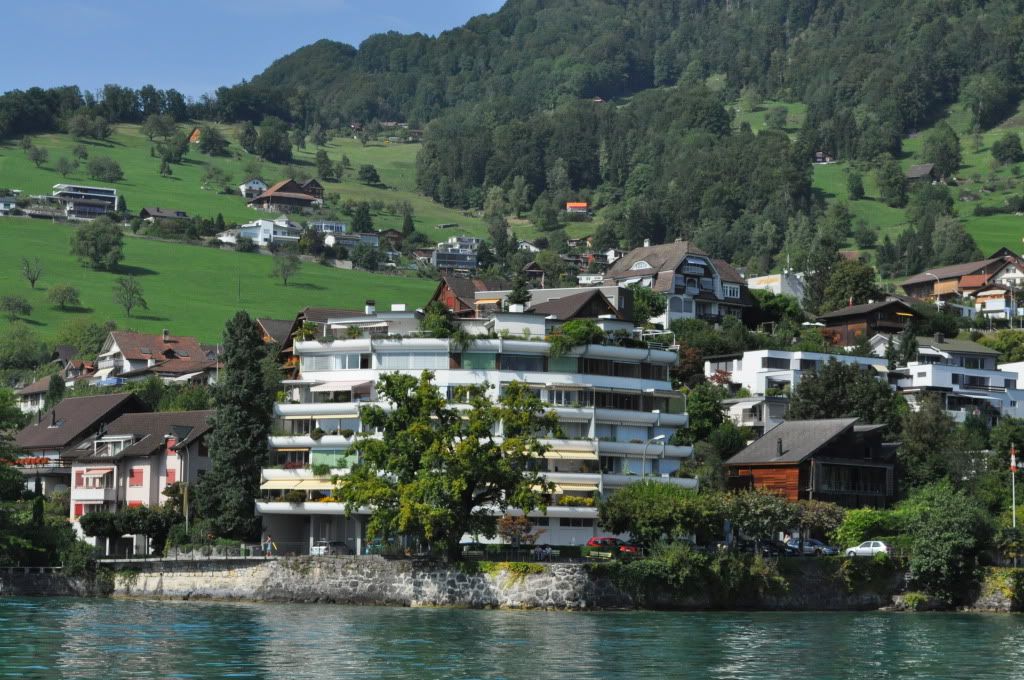
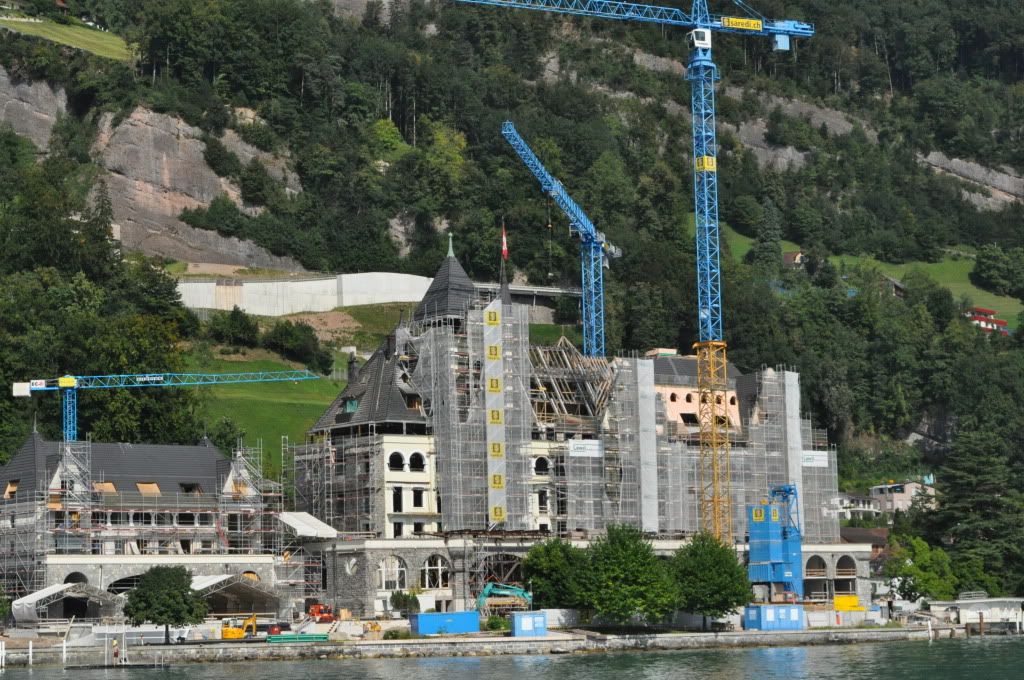
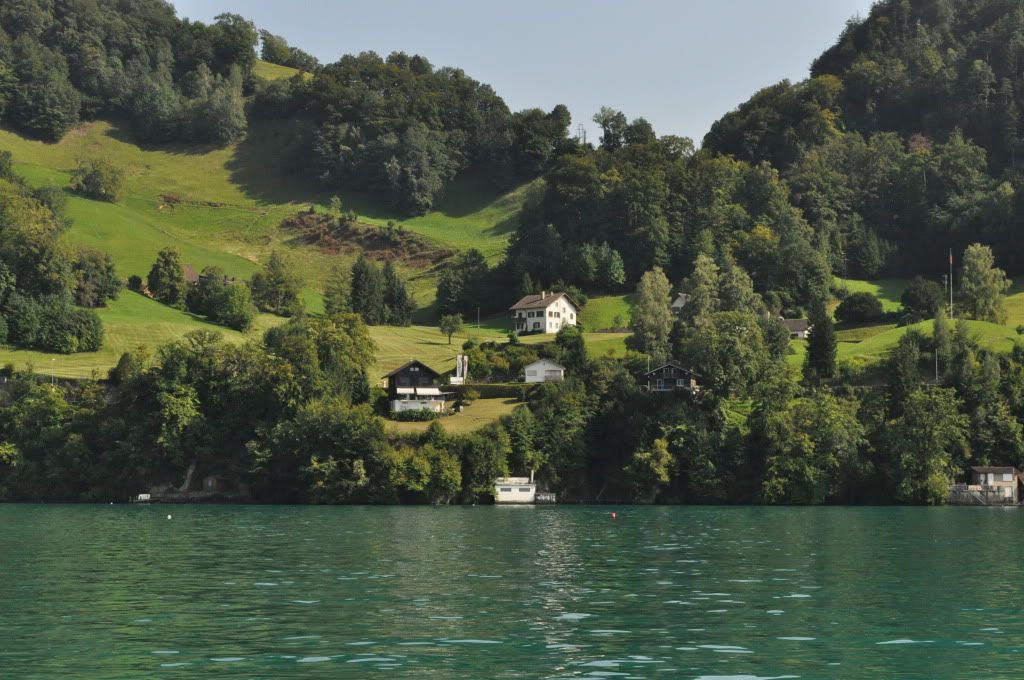
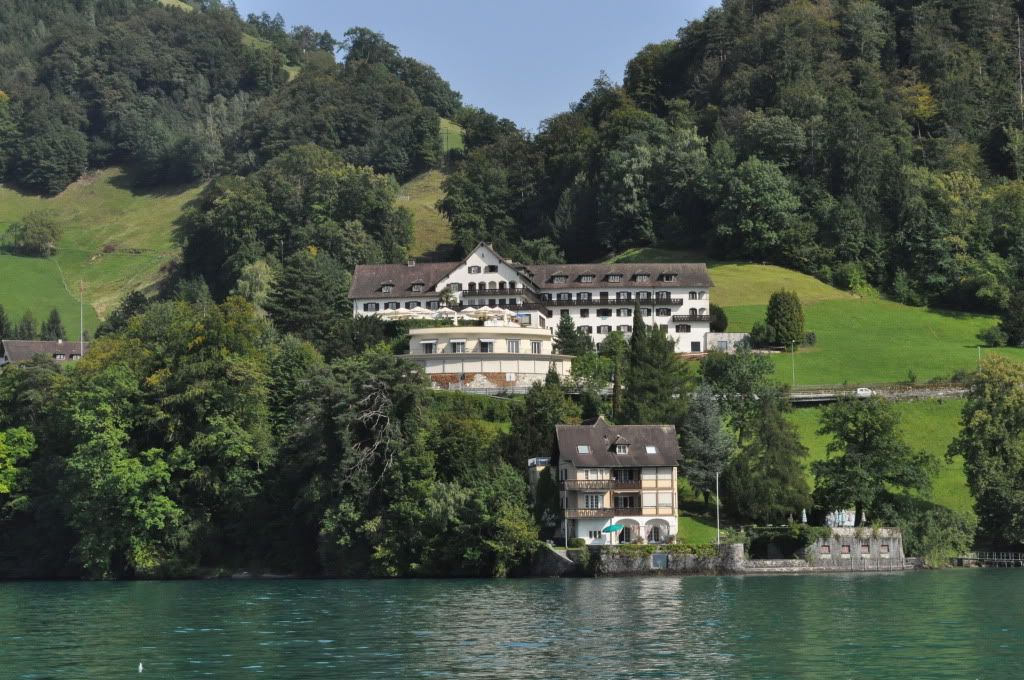
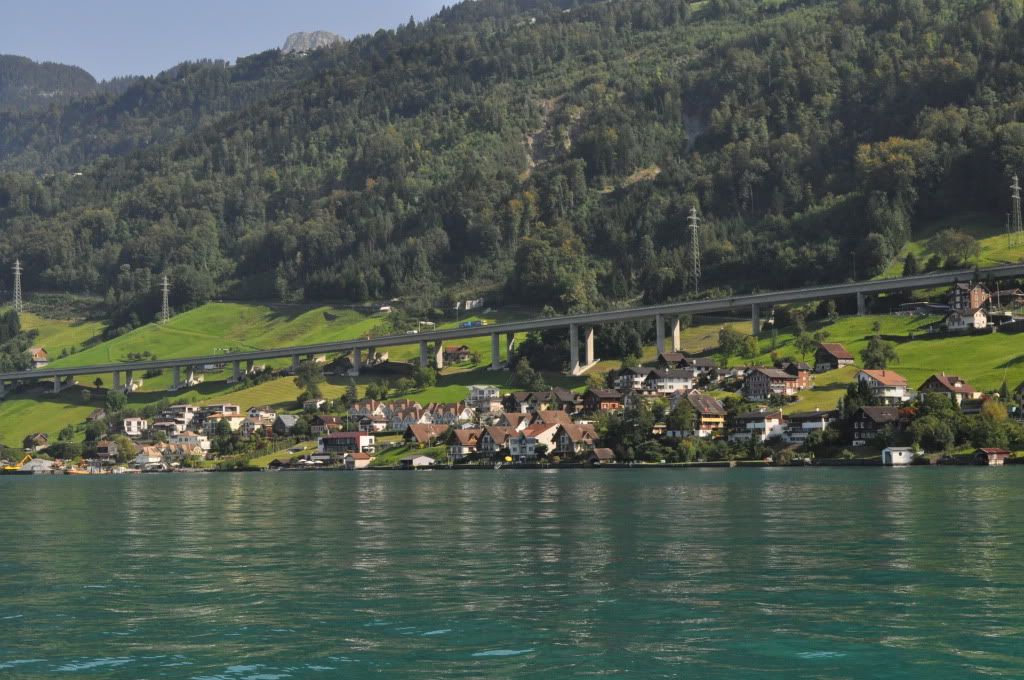
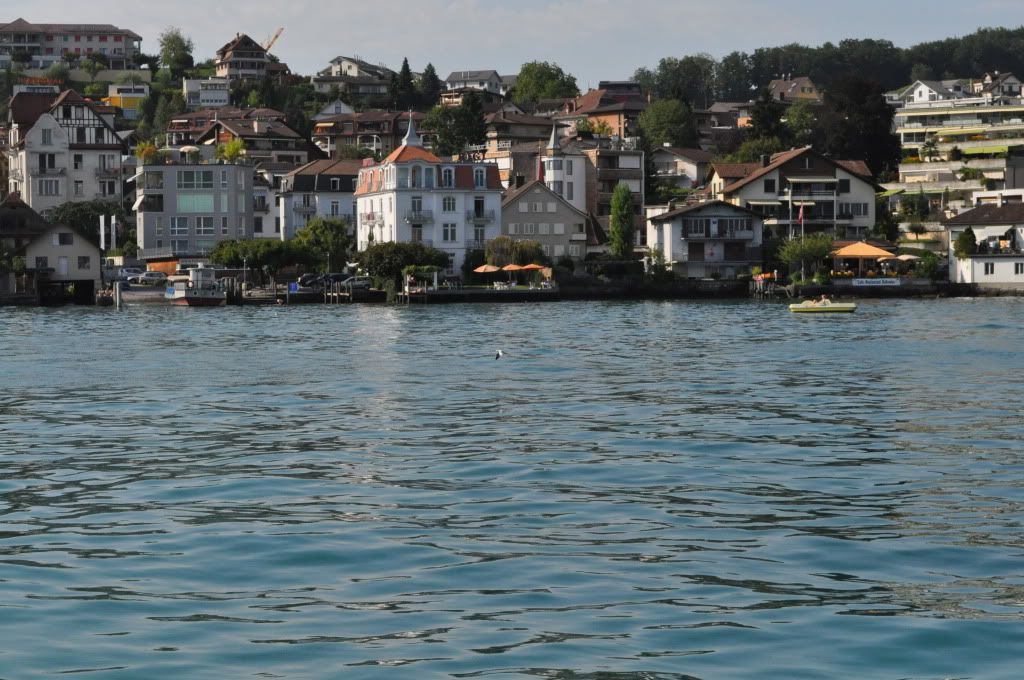
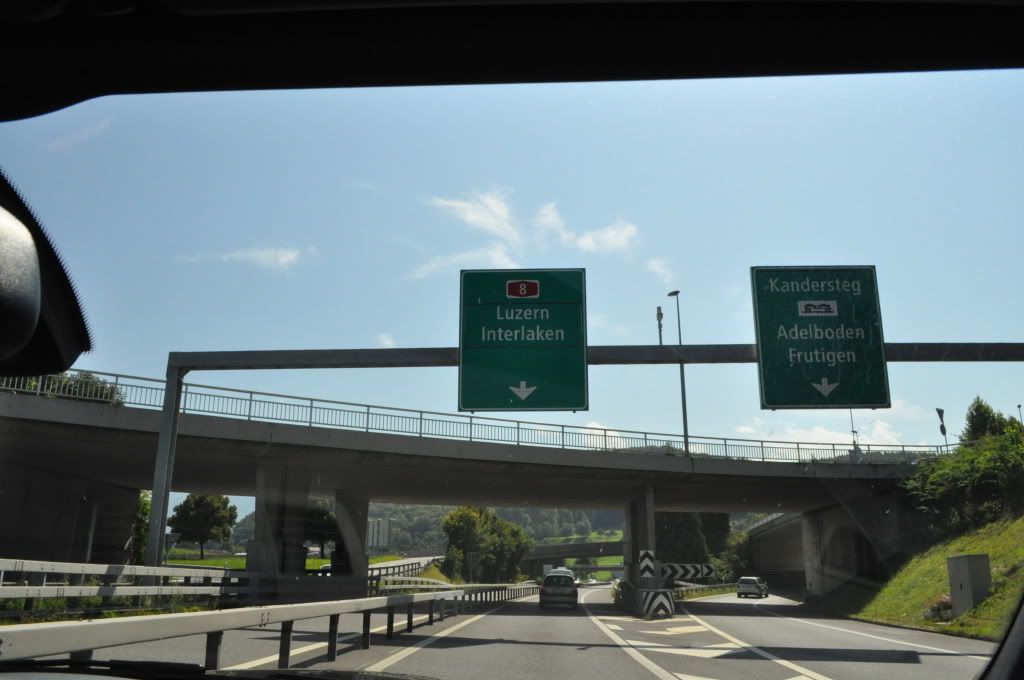
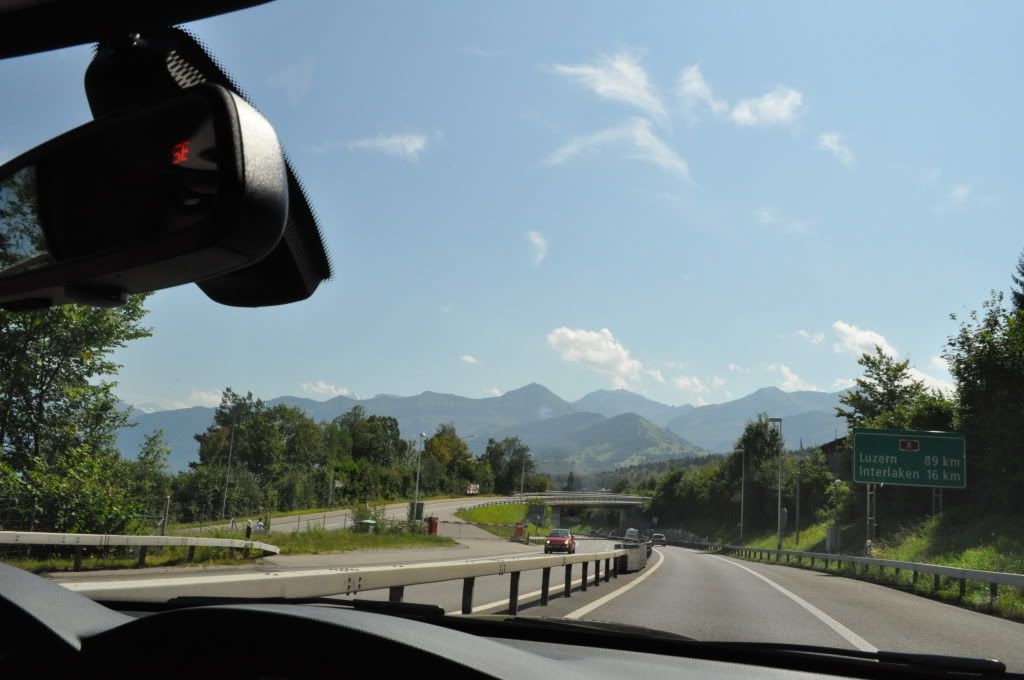
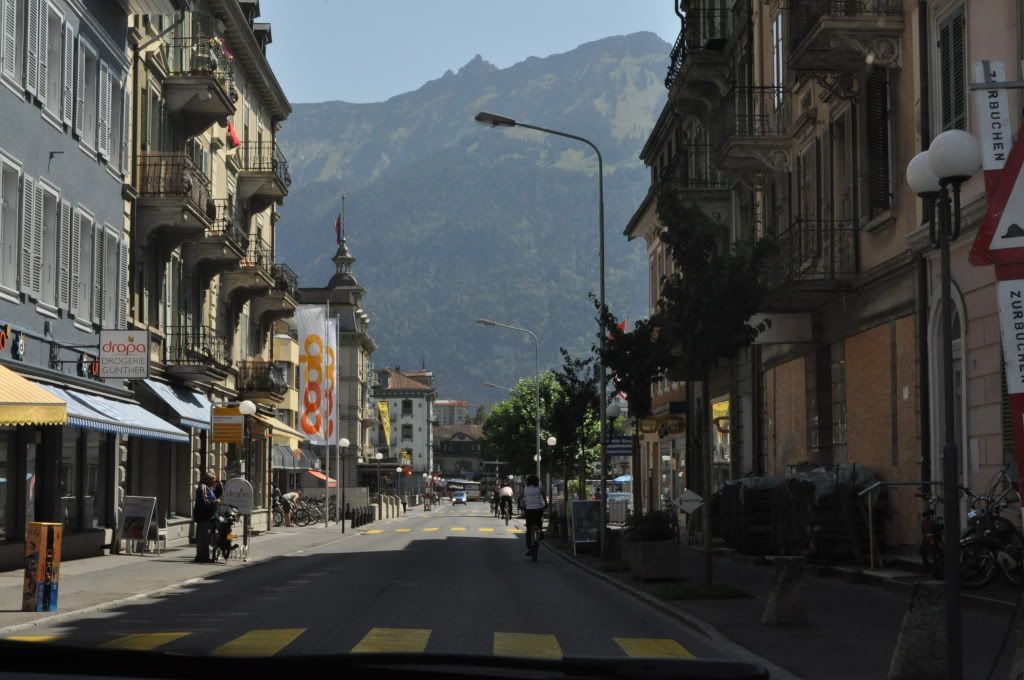
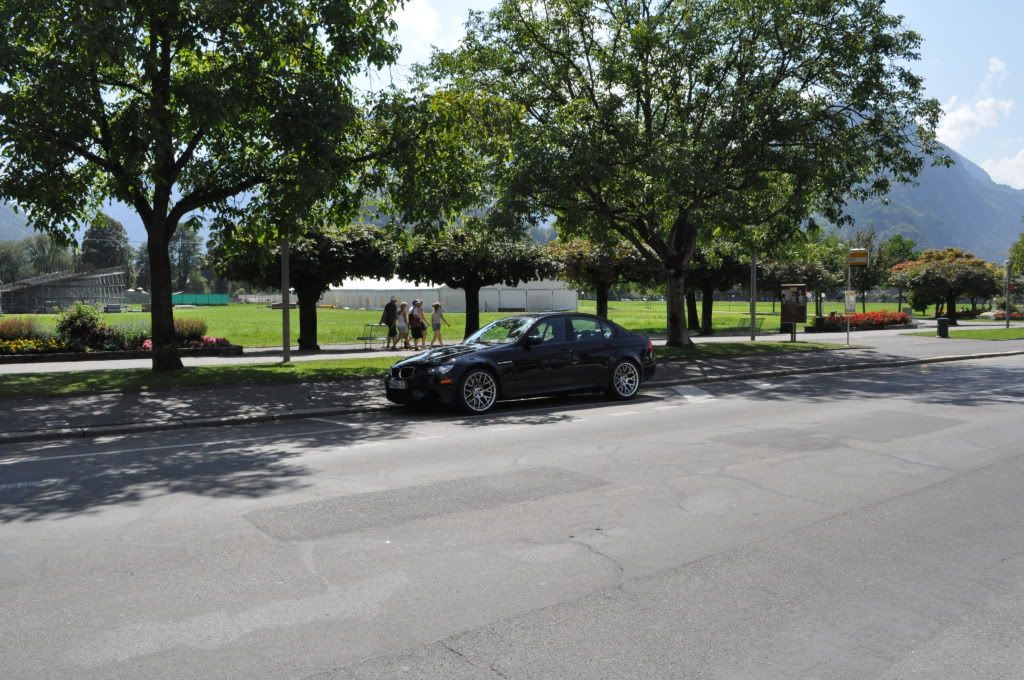
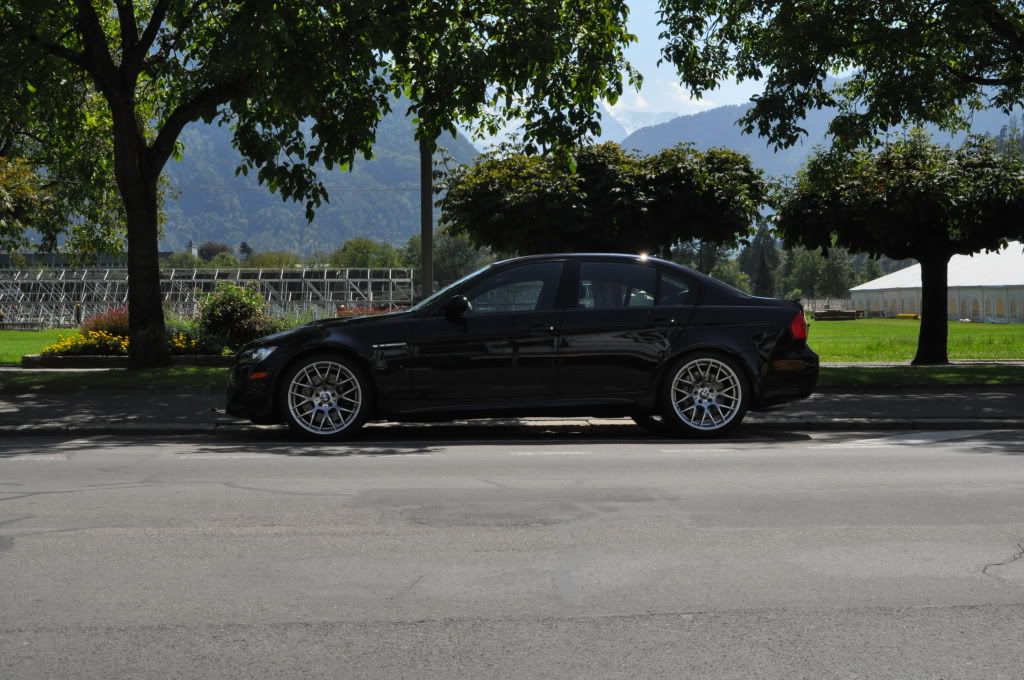
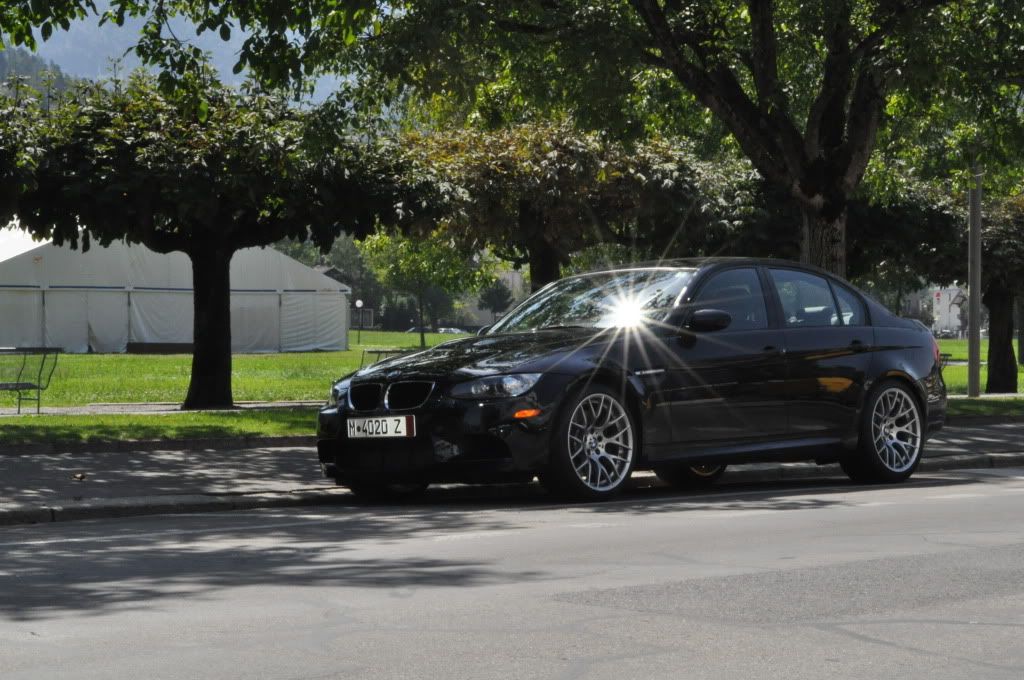
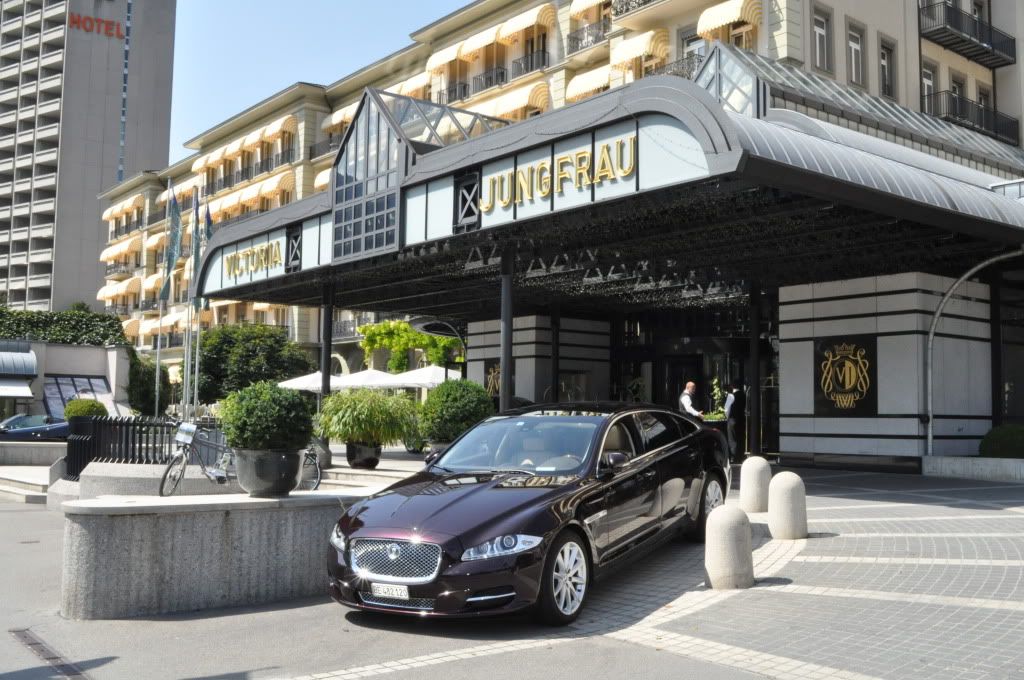
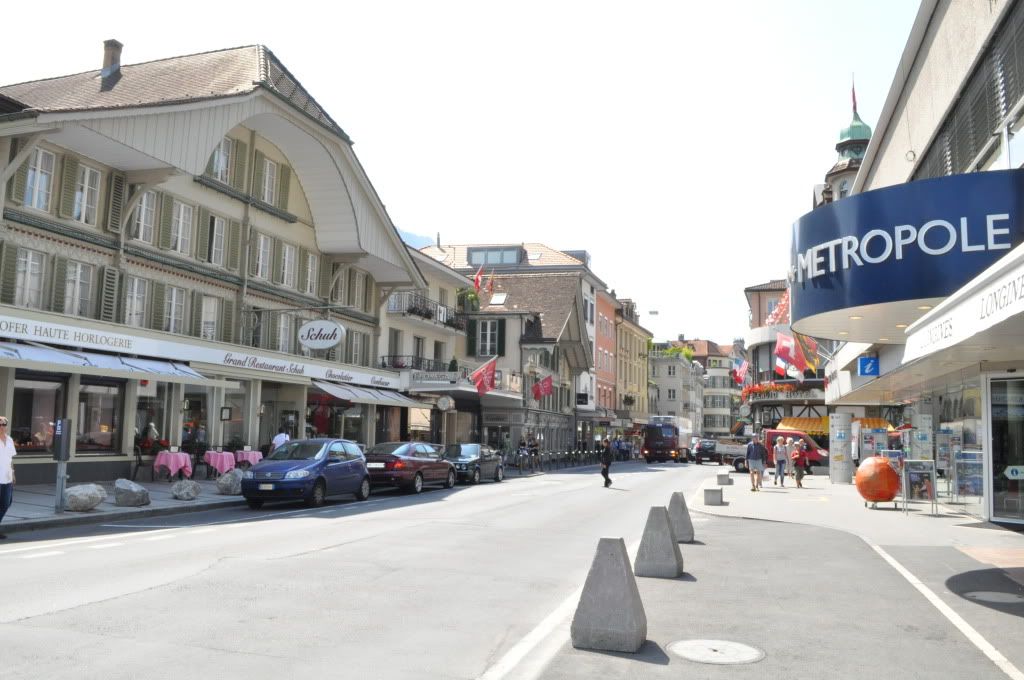
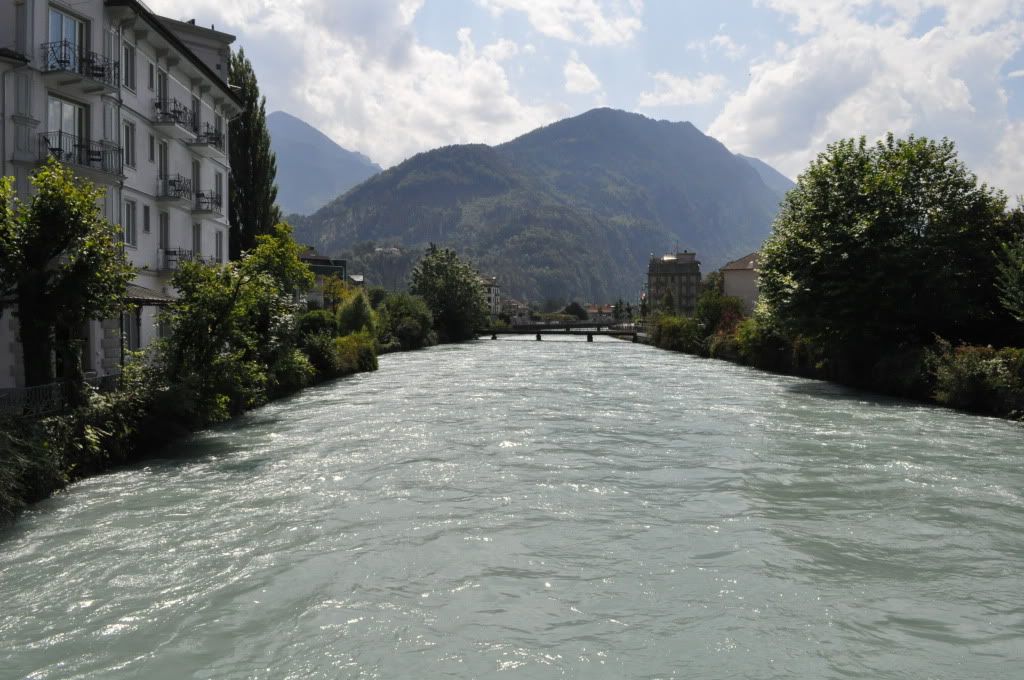
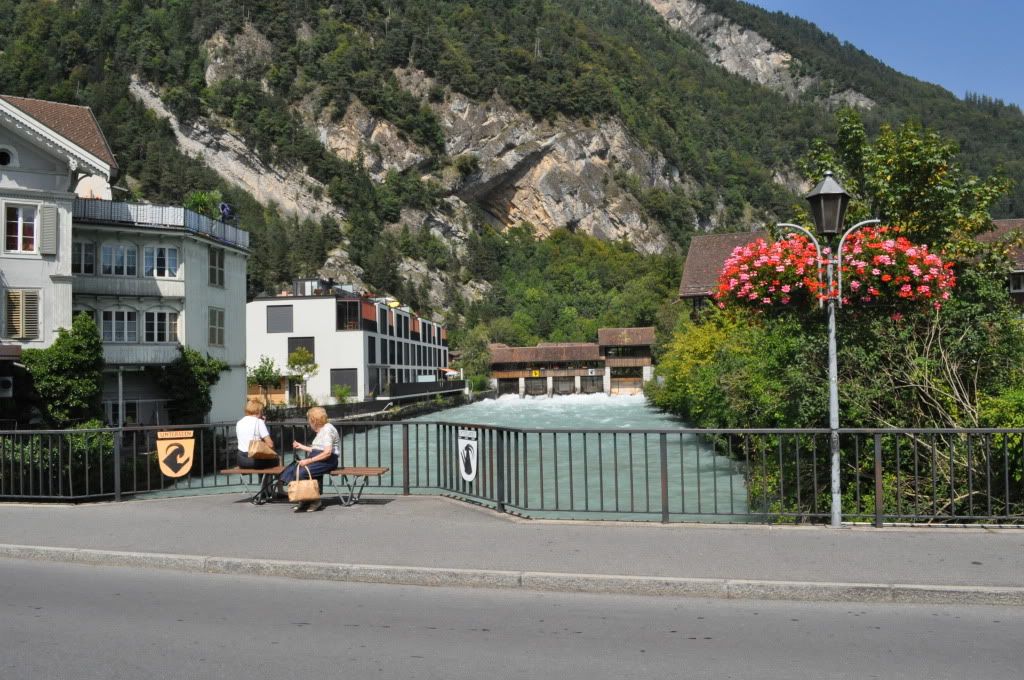
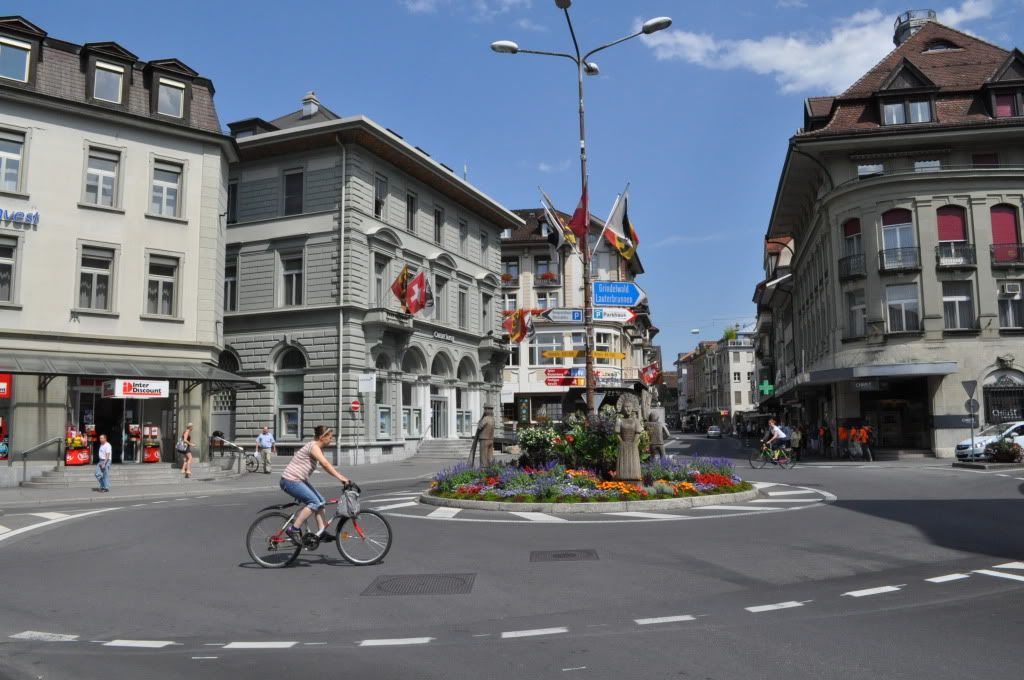
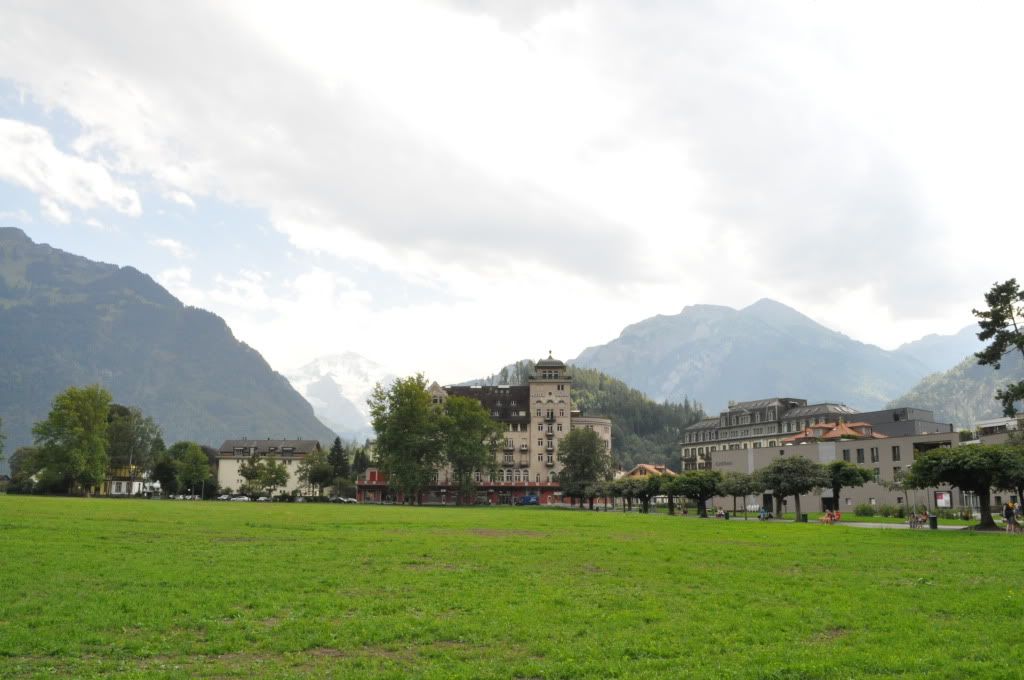
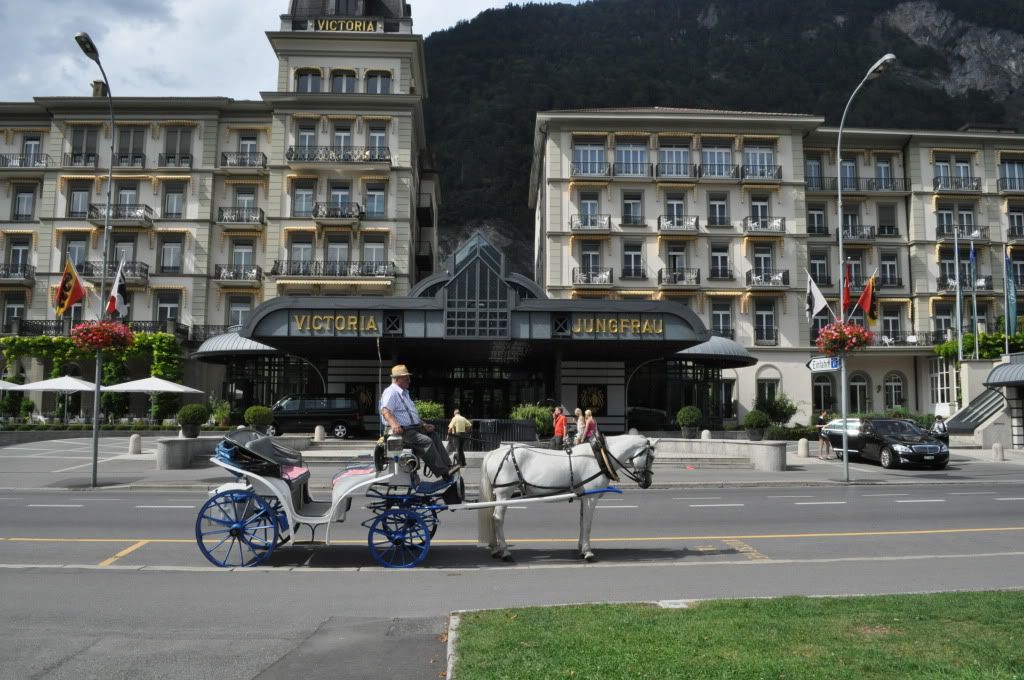
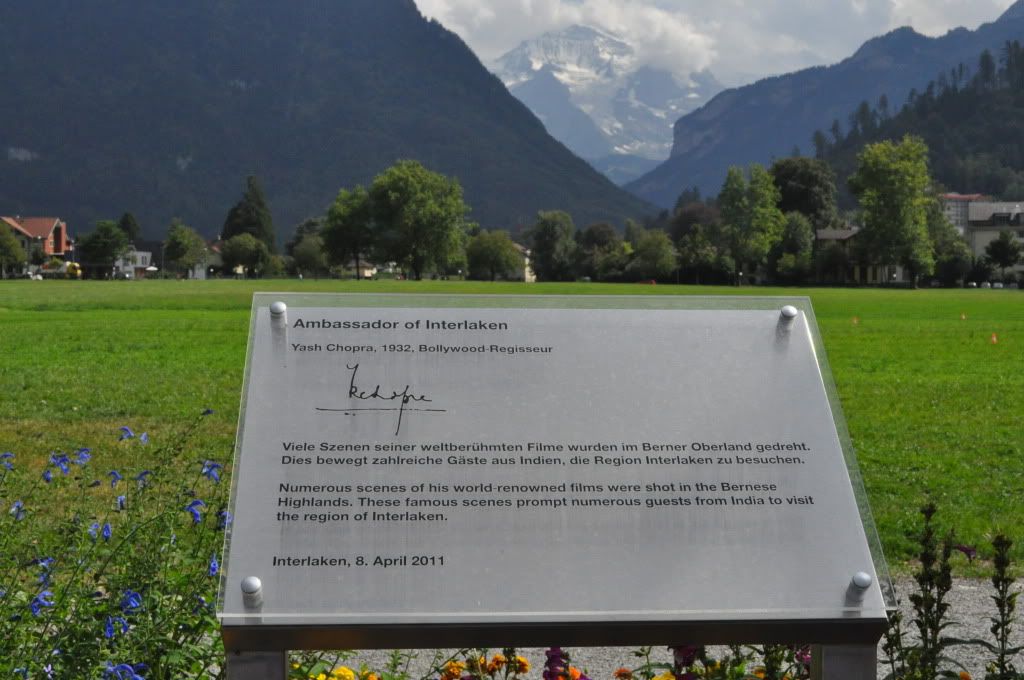
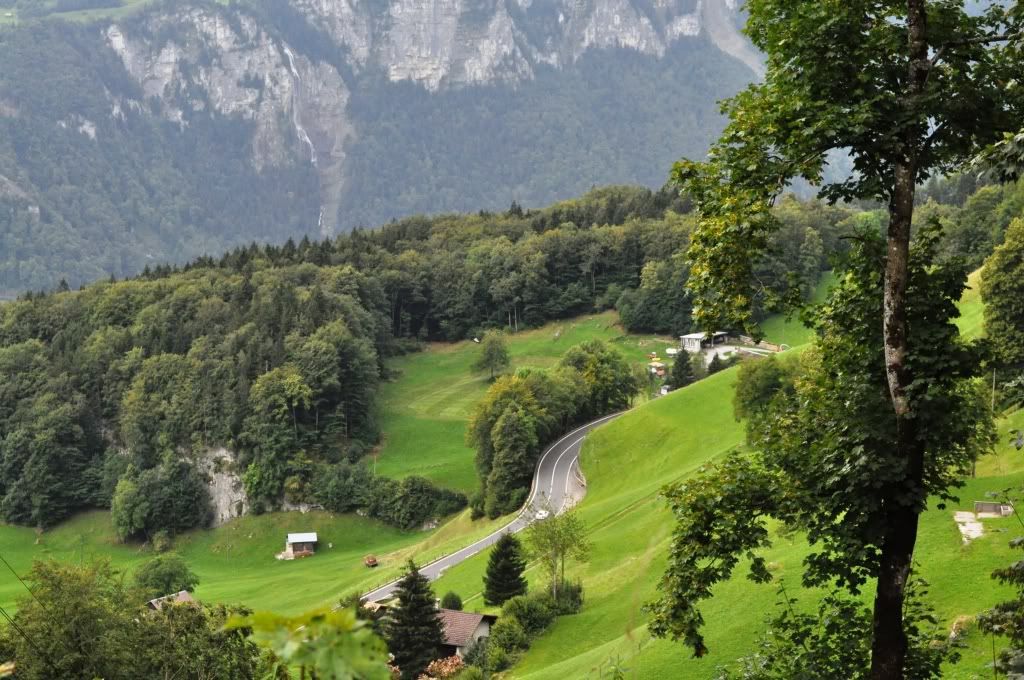
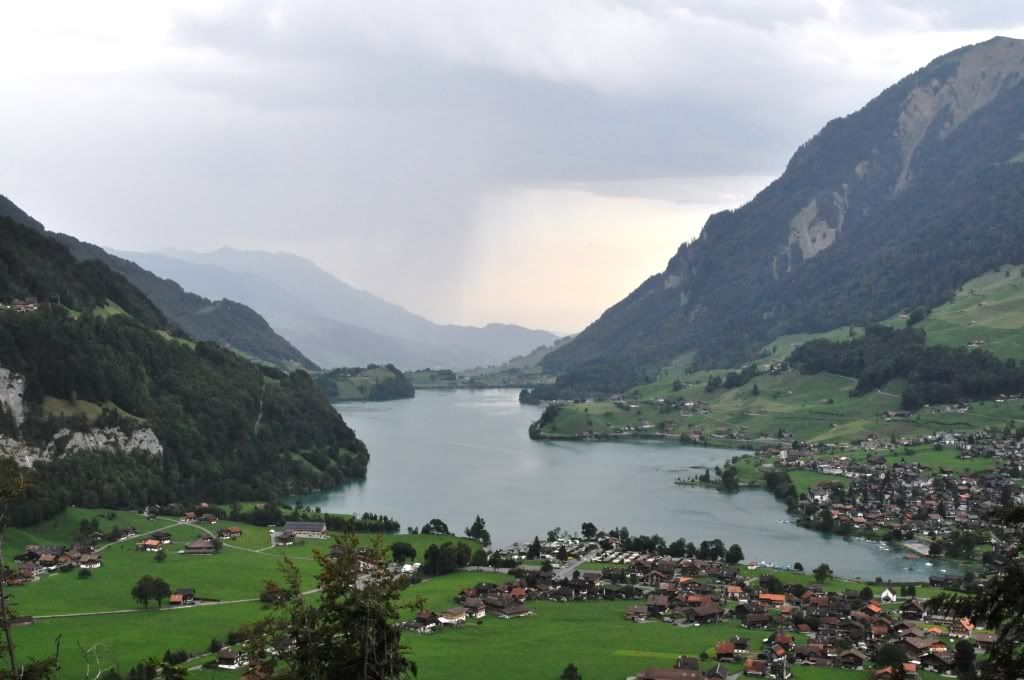
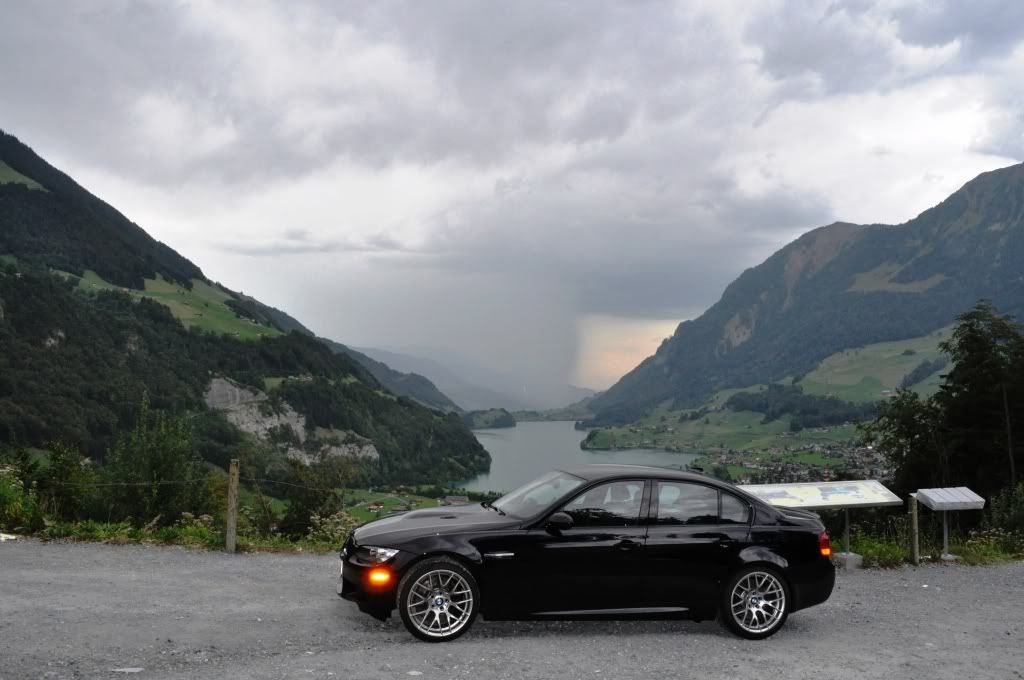
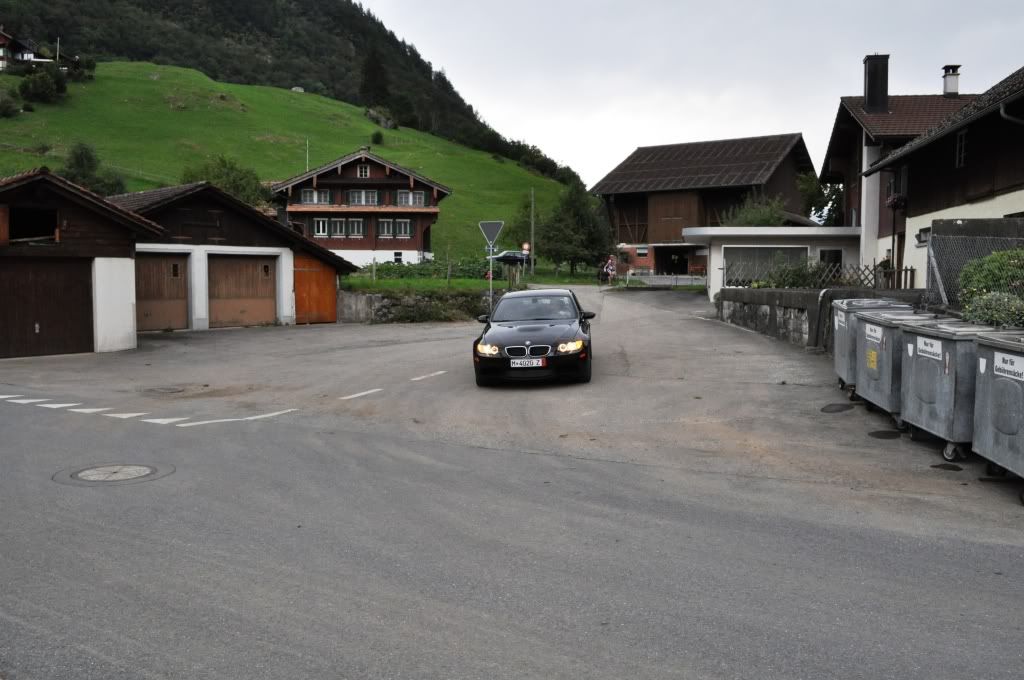
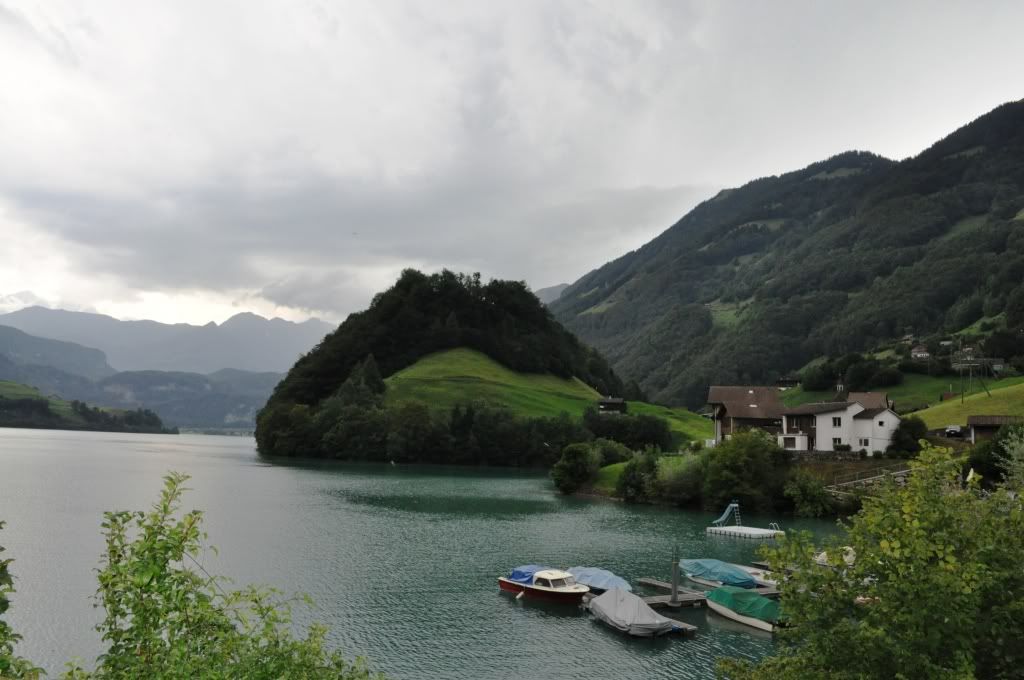
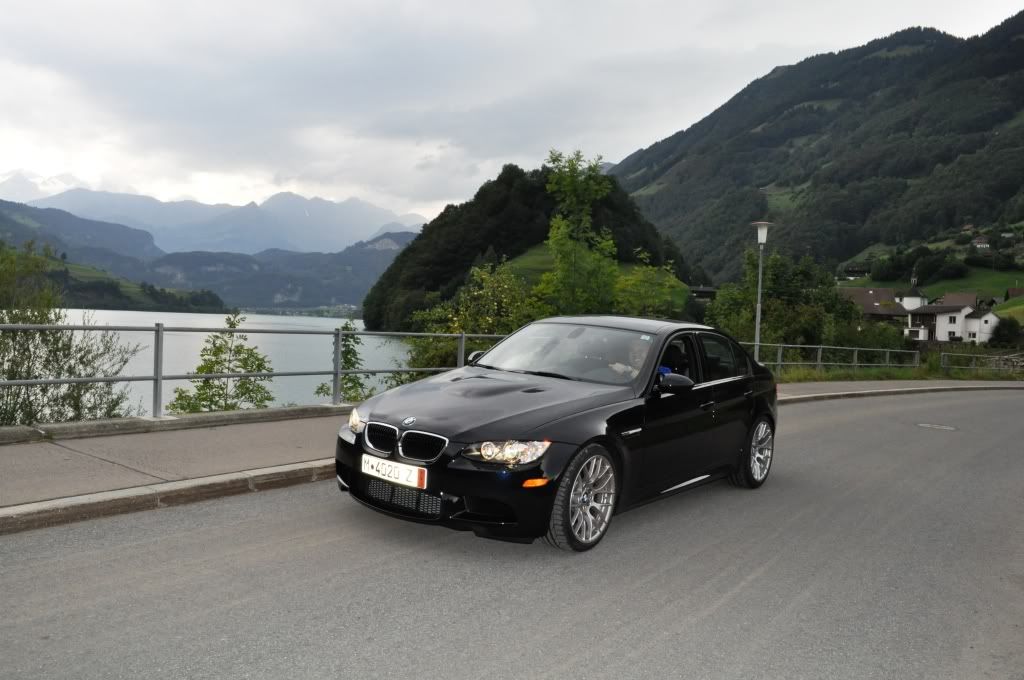
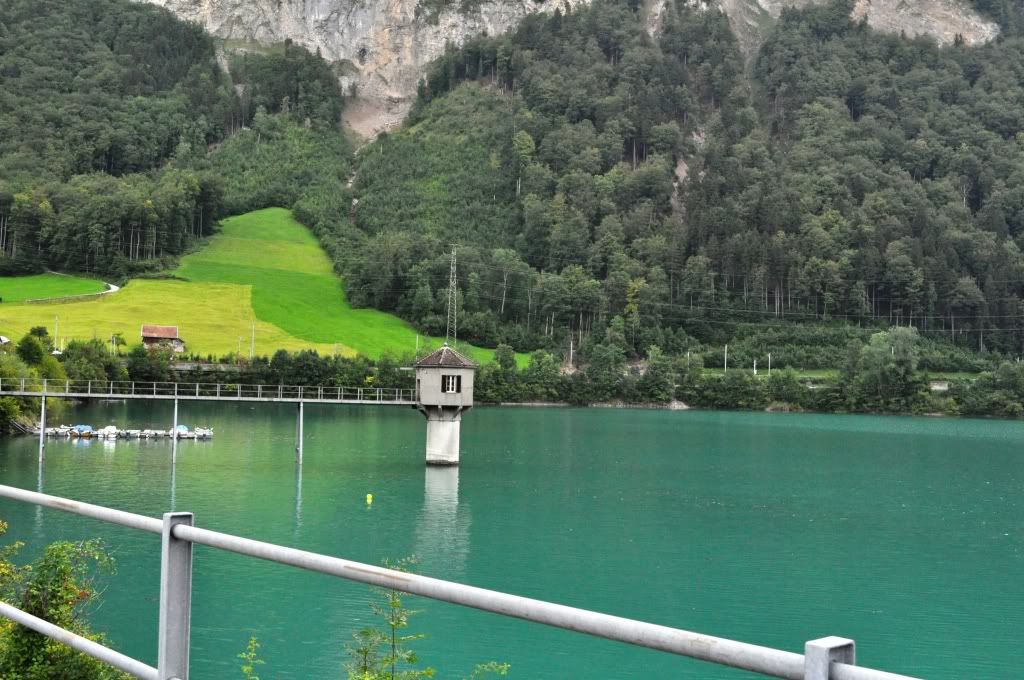
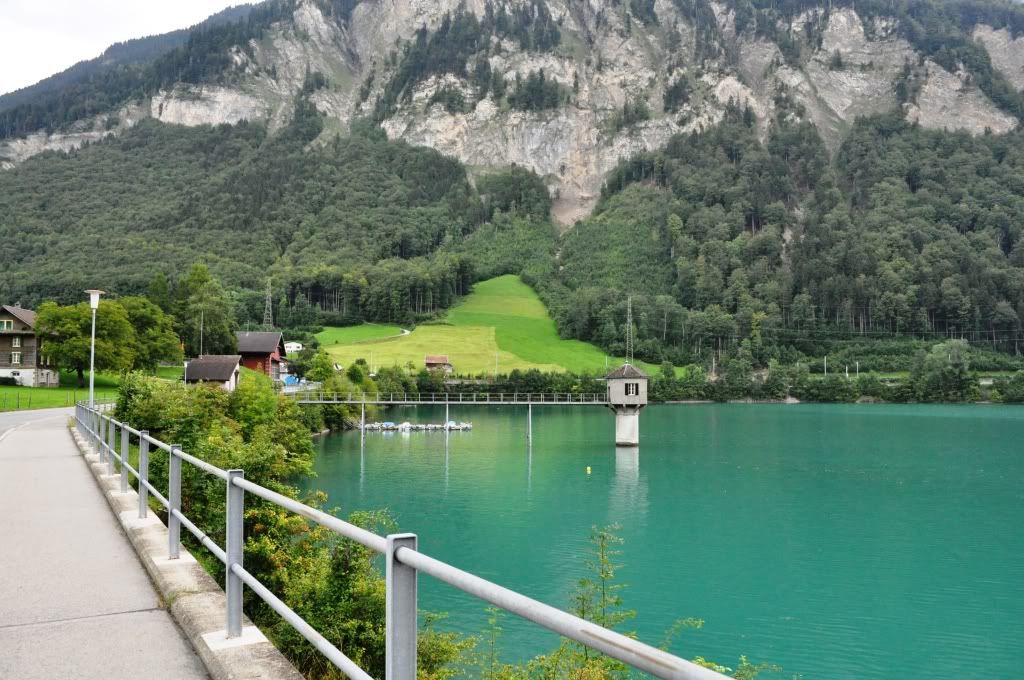
Switzerland – Beautiful country. The scenery was stunning. The weak dollar did not help but Luzerne and Interlaken were breathtaking. A vignette cost 38 francs for the year. You’ll need it to drive in Switzerland.
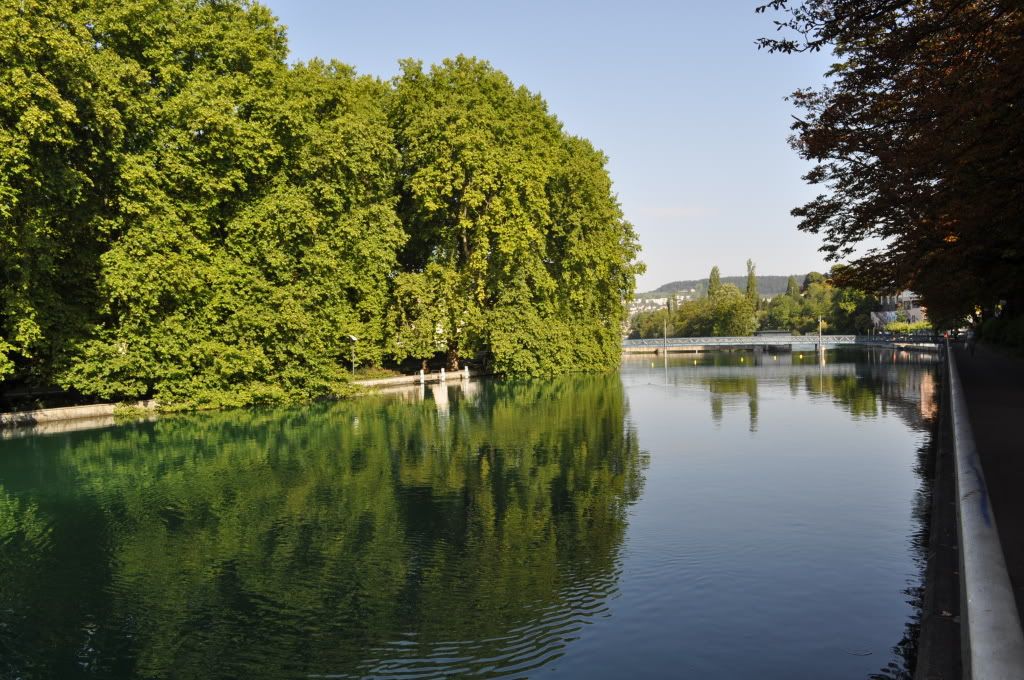
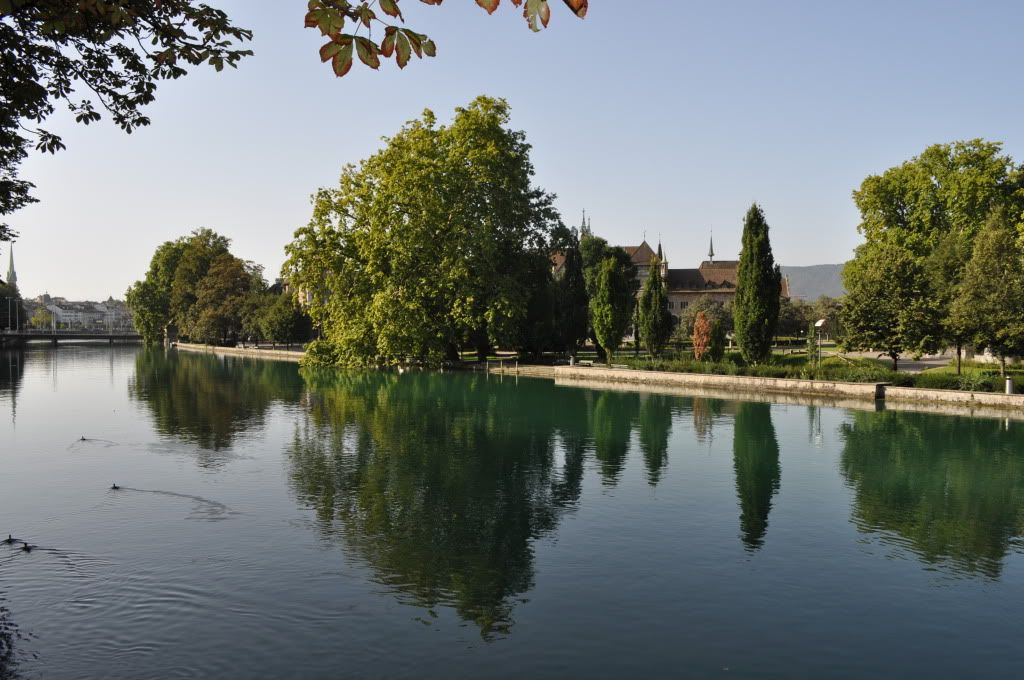
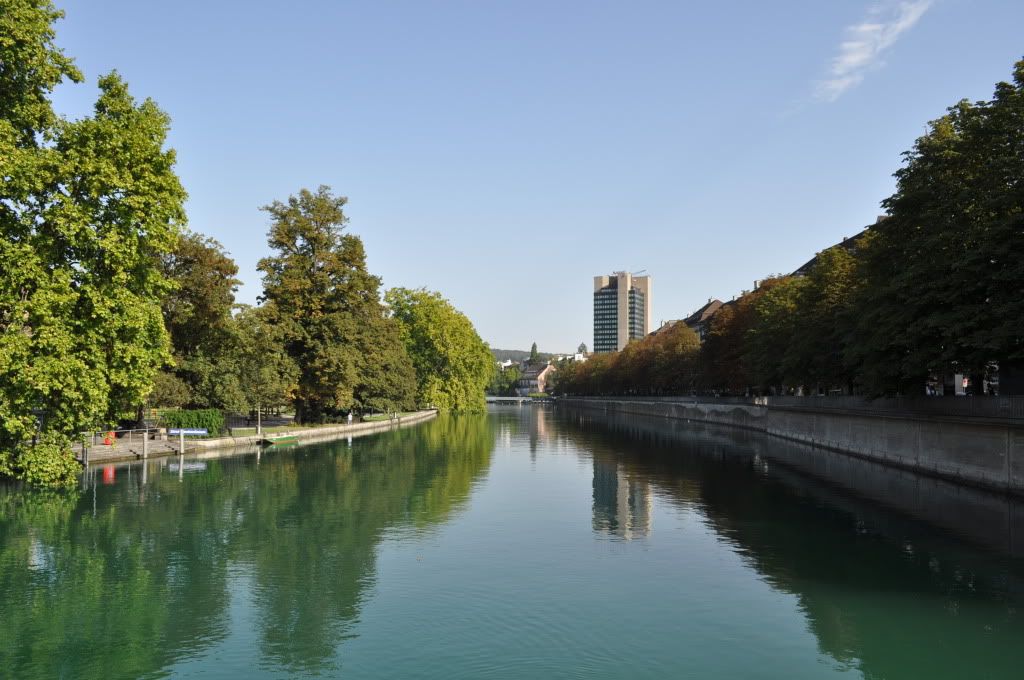
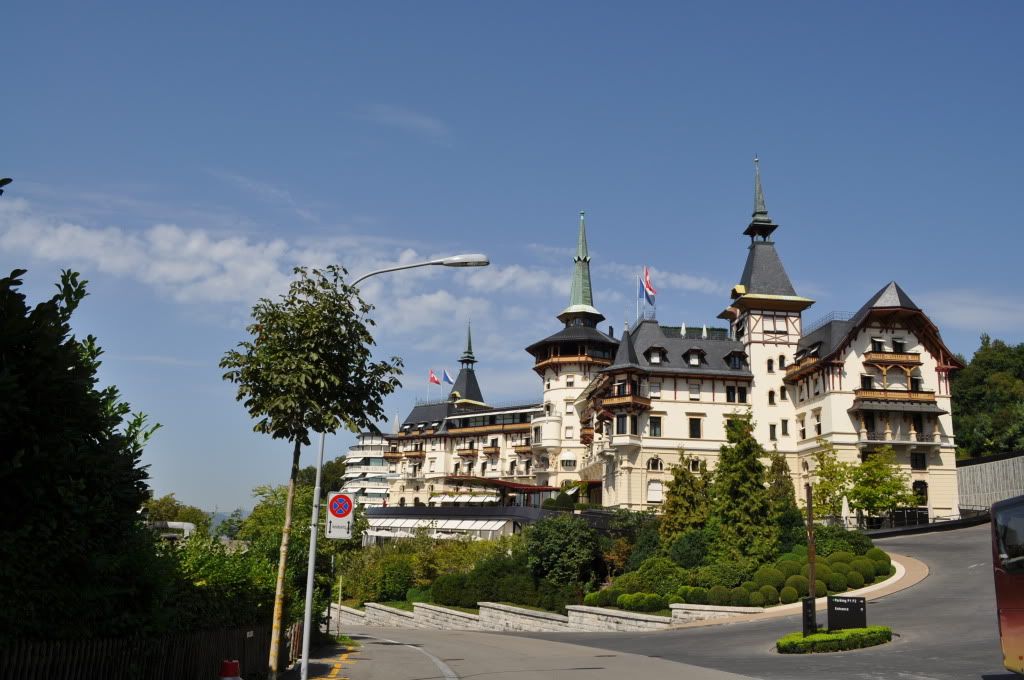
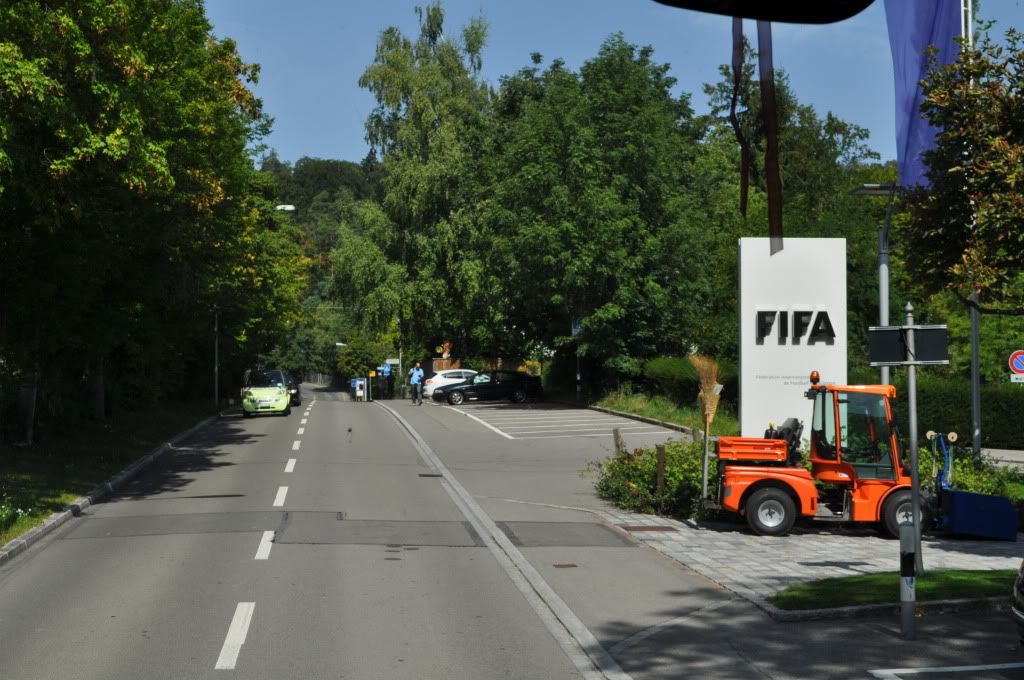
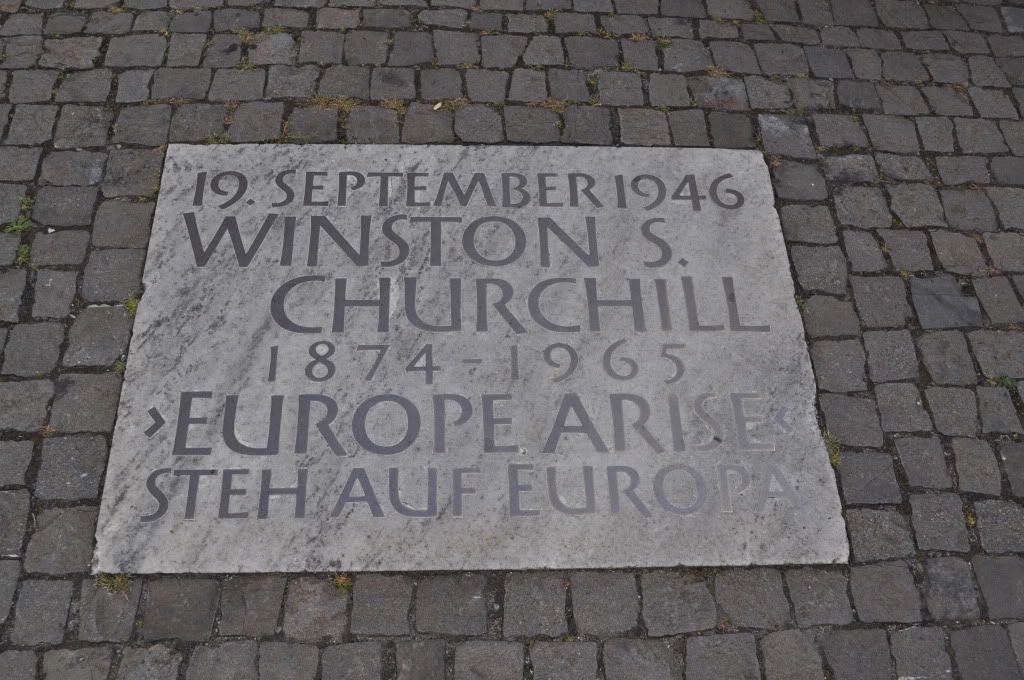
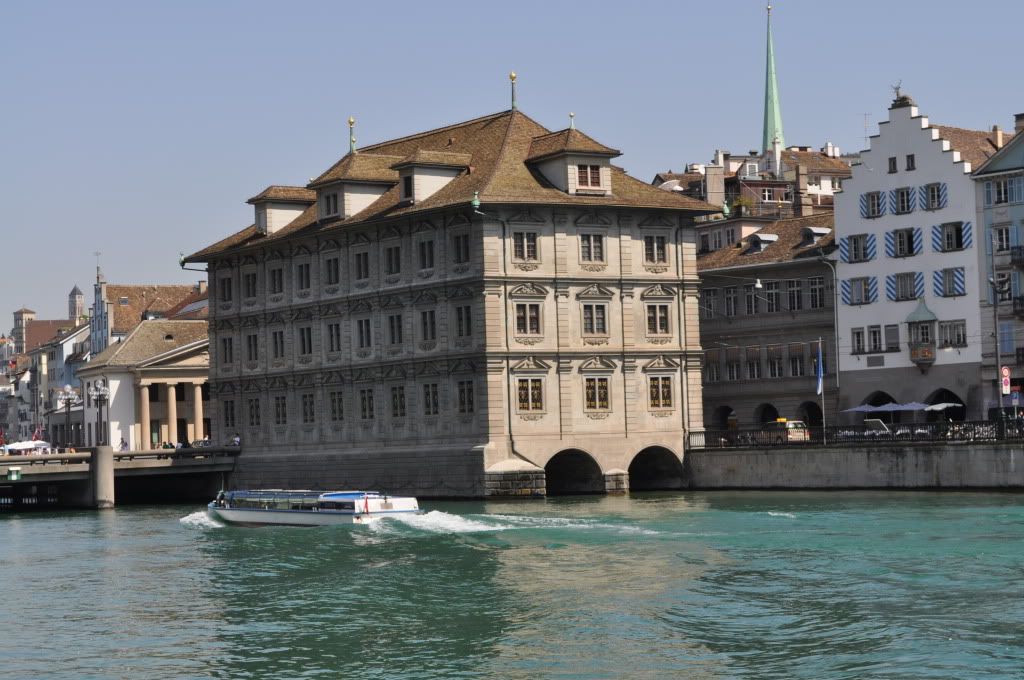
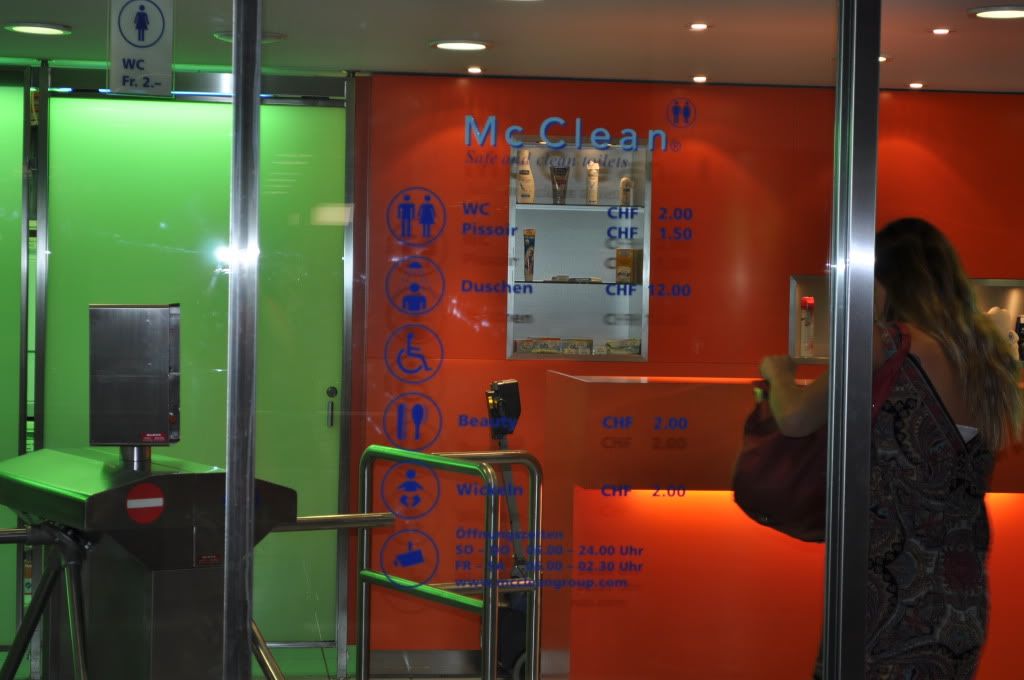
Not accustomed to paying for restrooms but I must admit, restrooms in Zurich are impeccably clean.
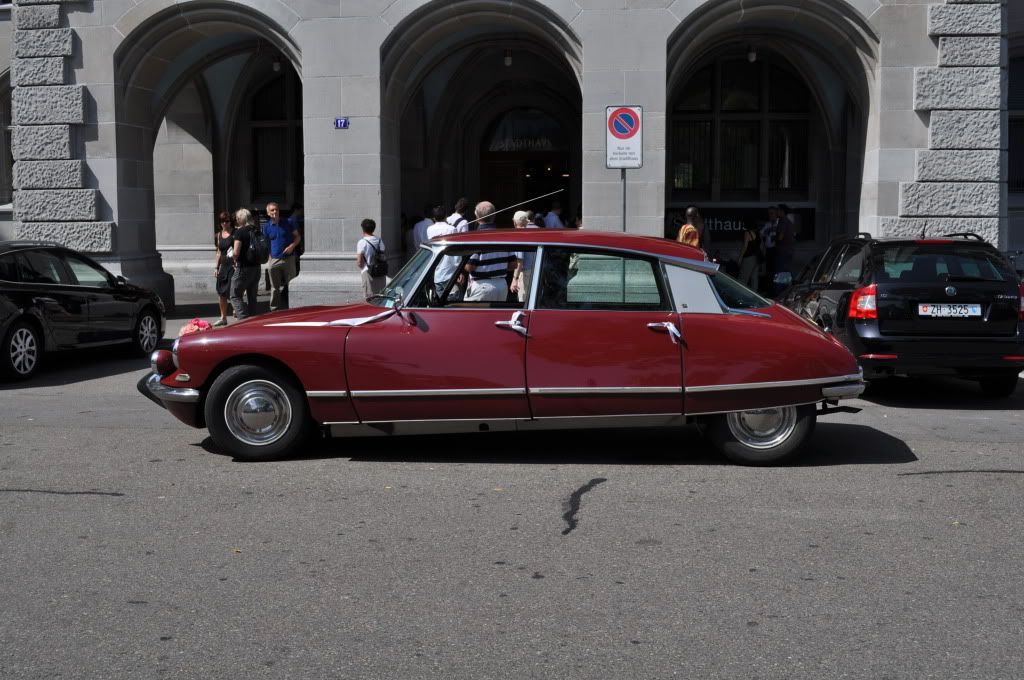
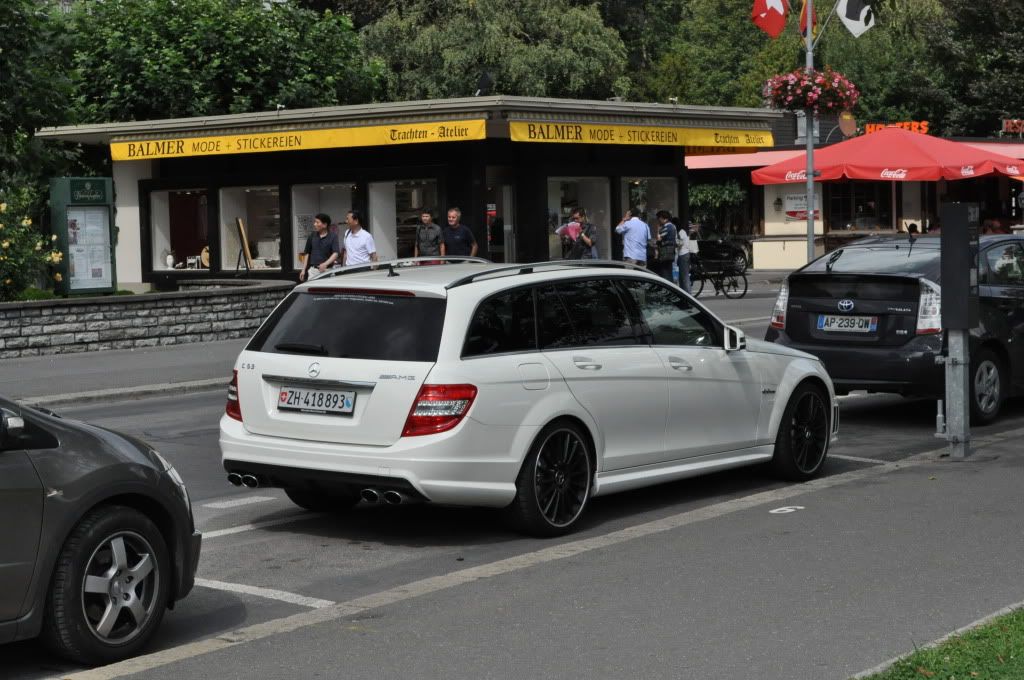
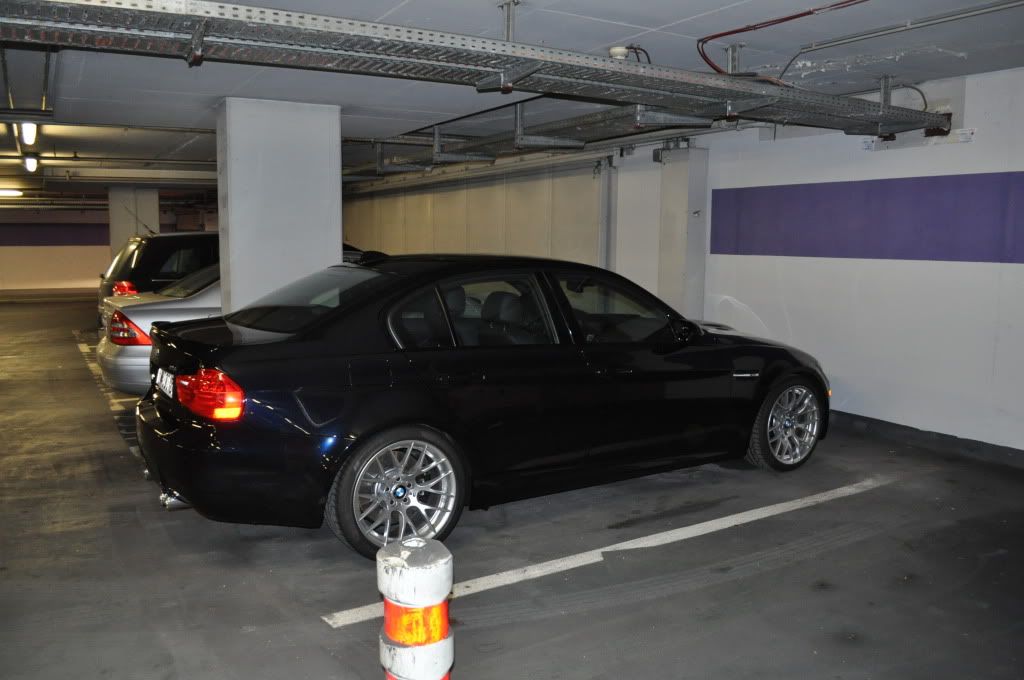
A Mercedes-Benz C63 AMG Estate. Not for sale in the US.
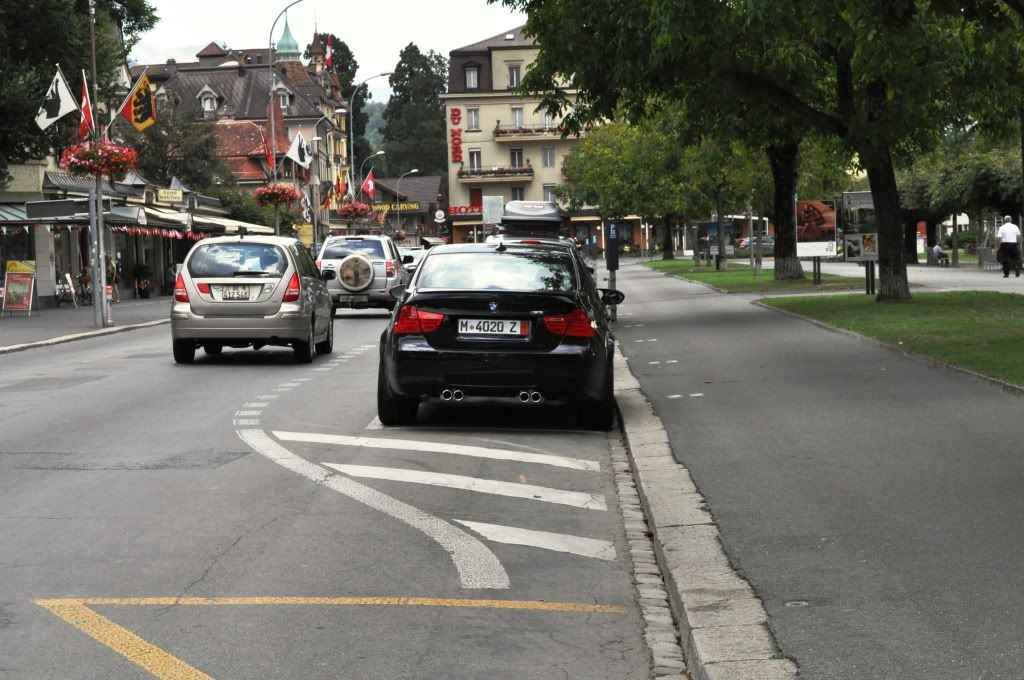
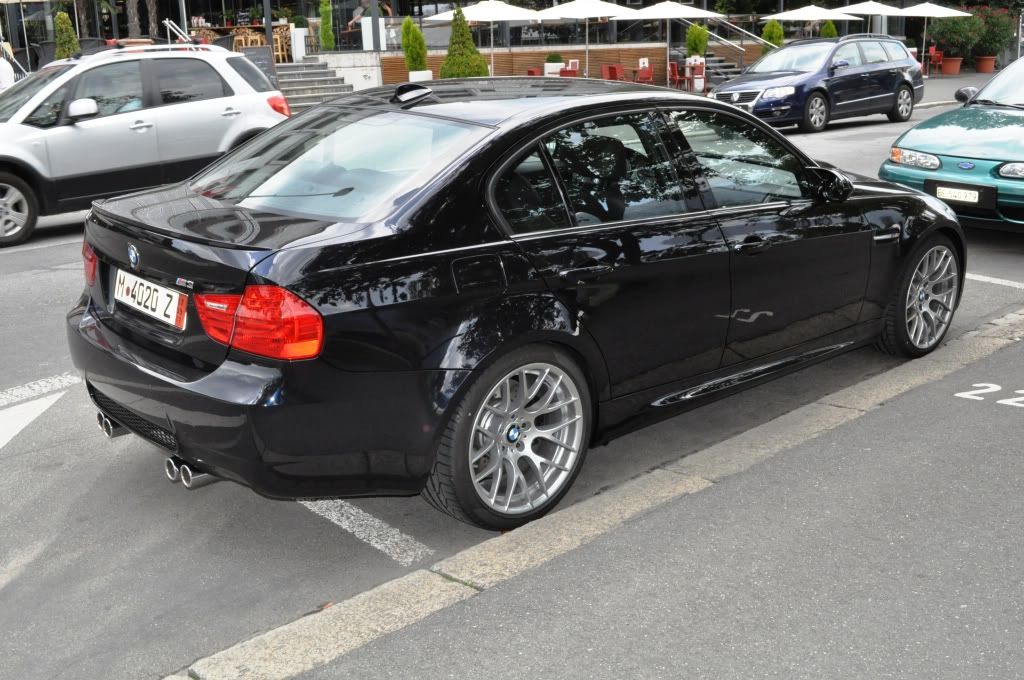
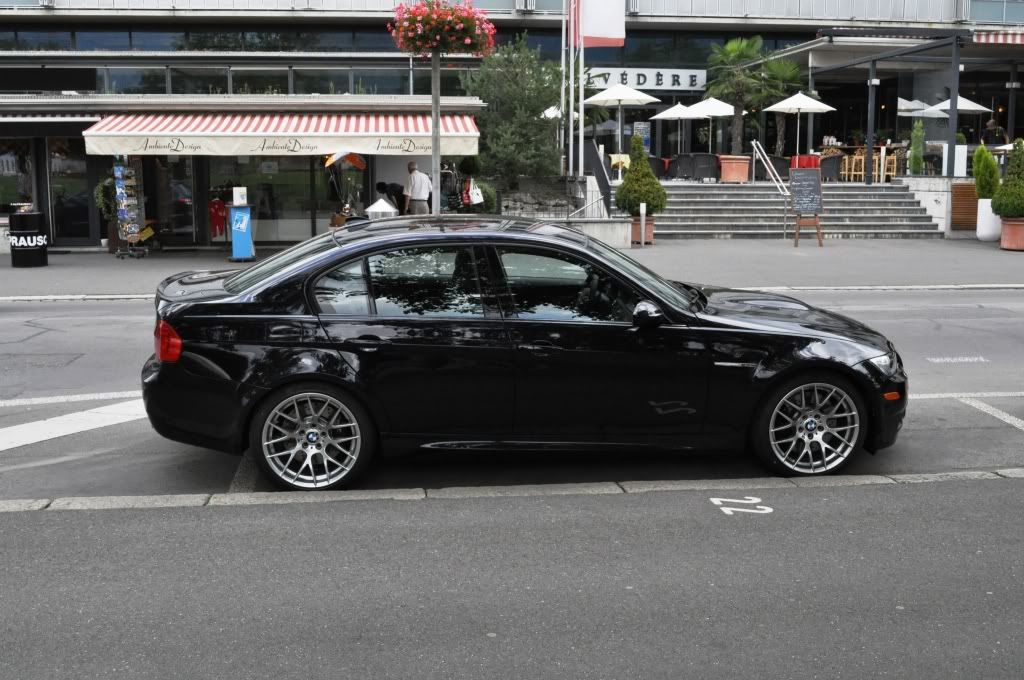
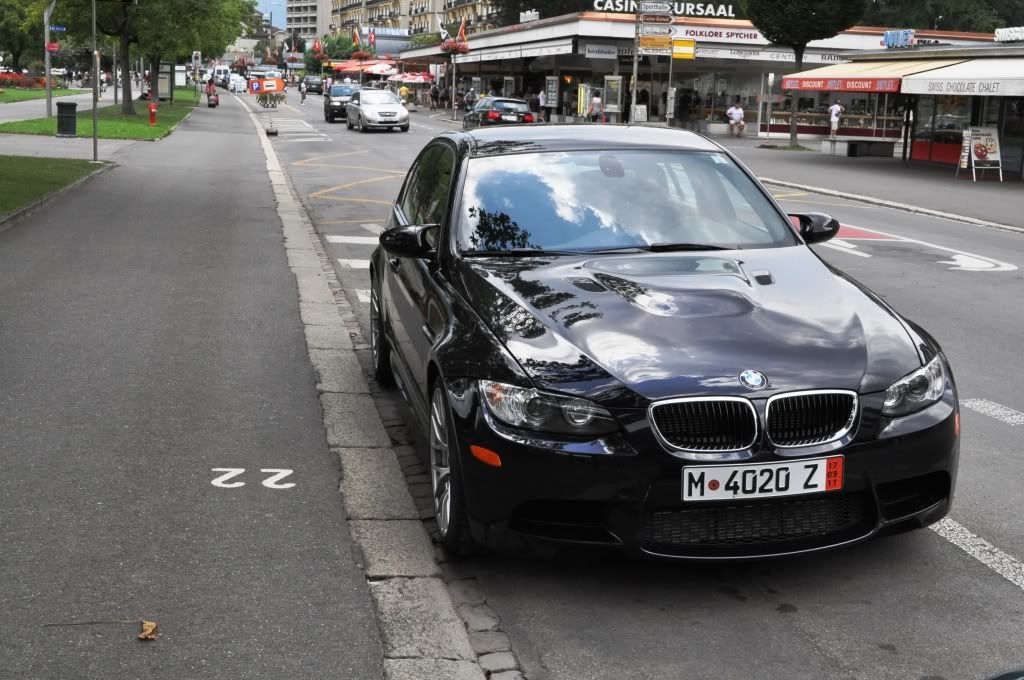
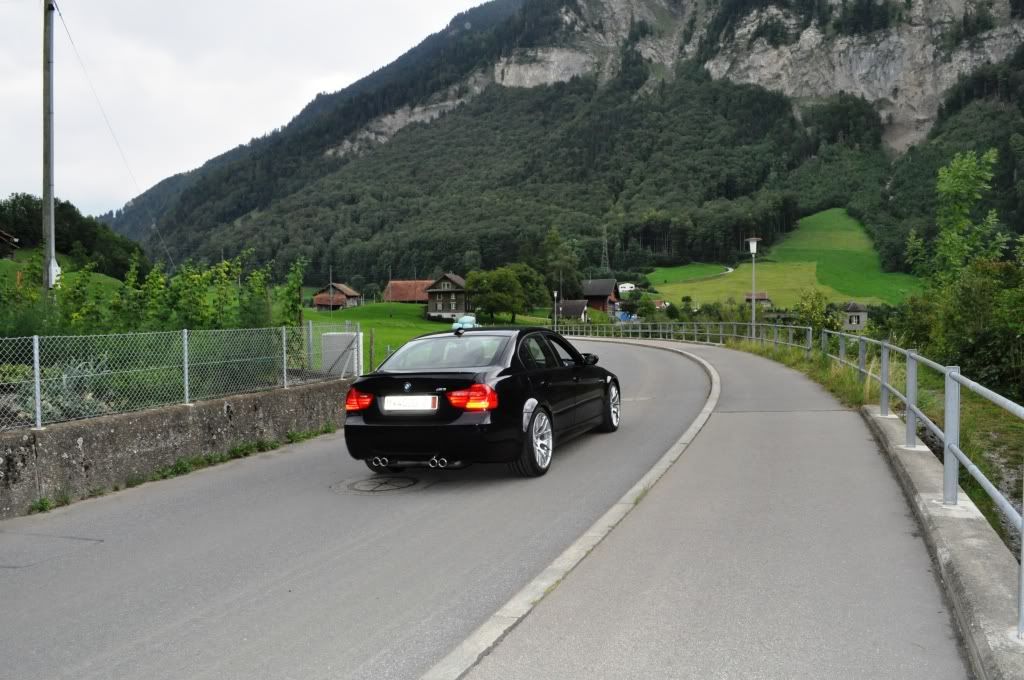
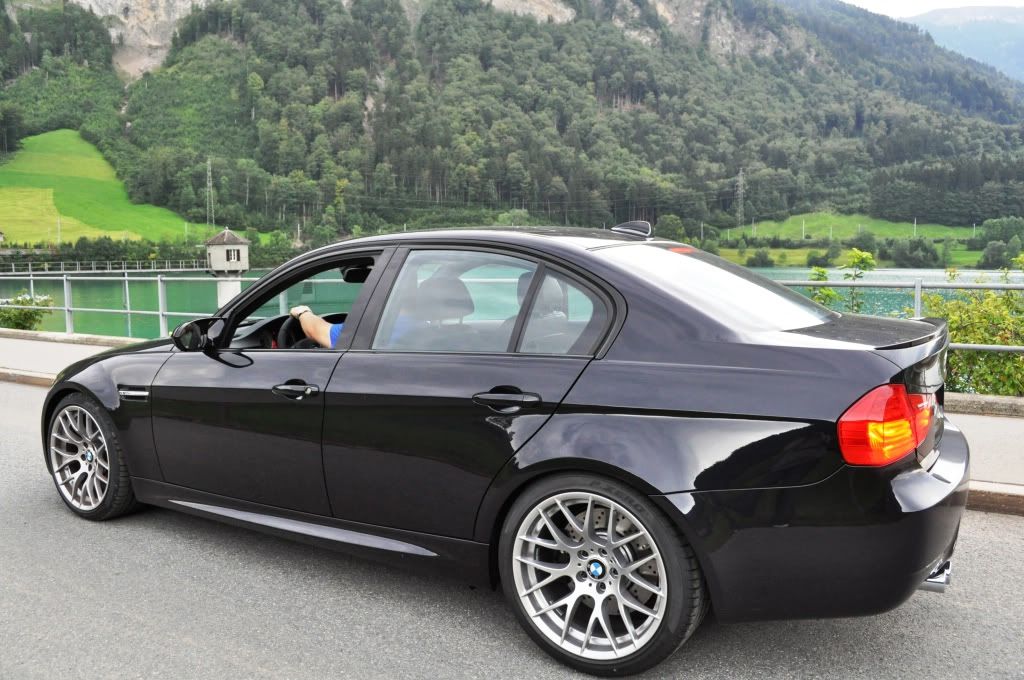
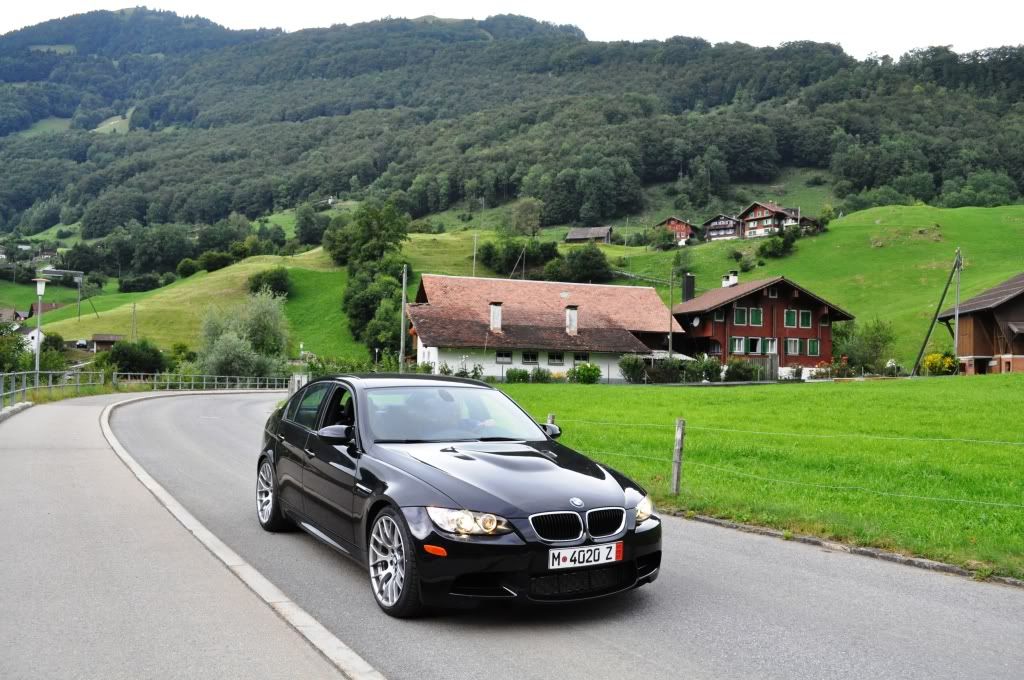
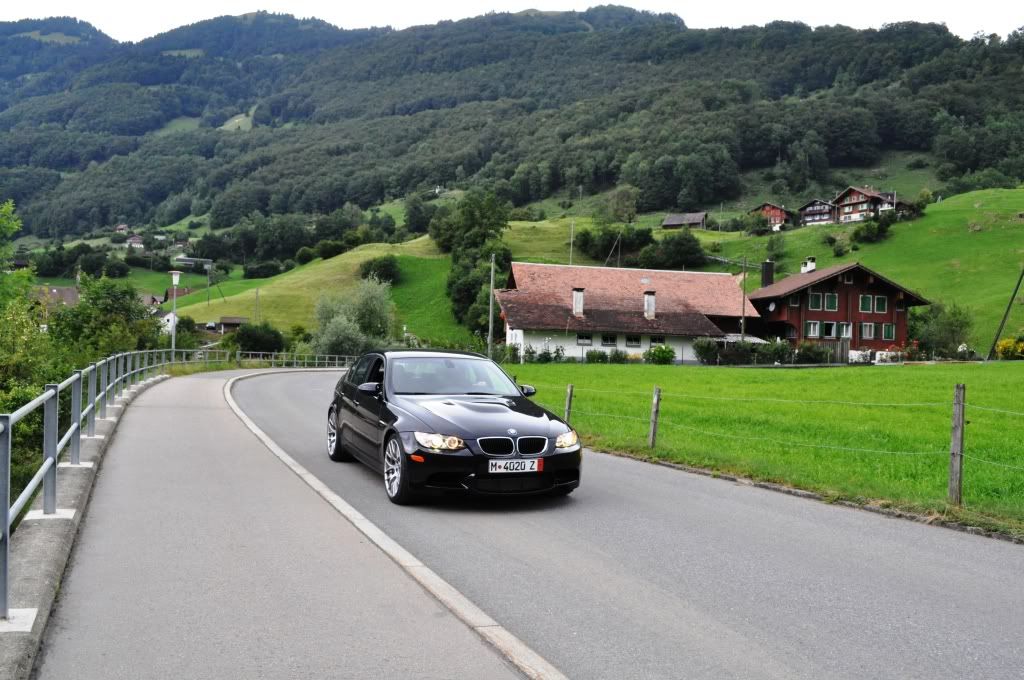
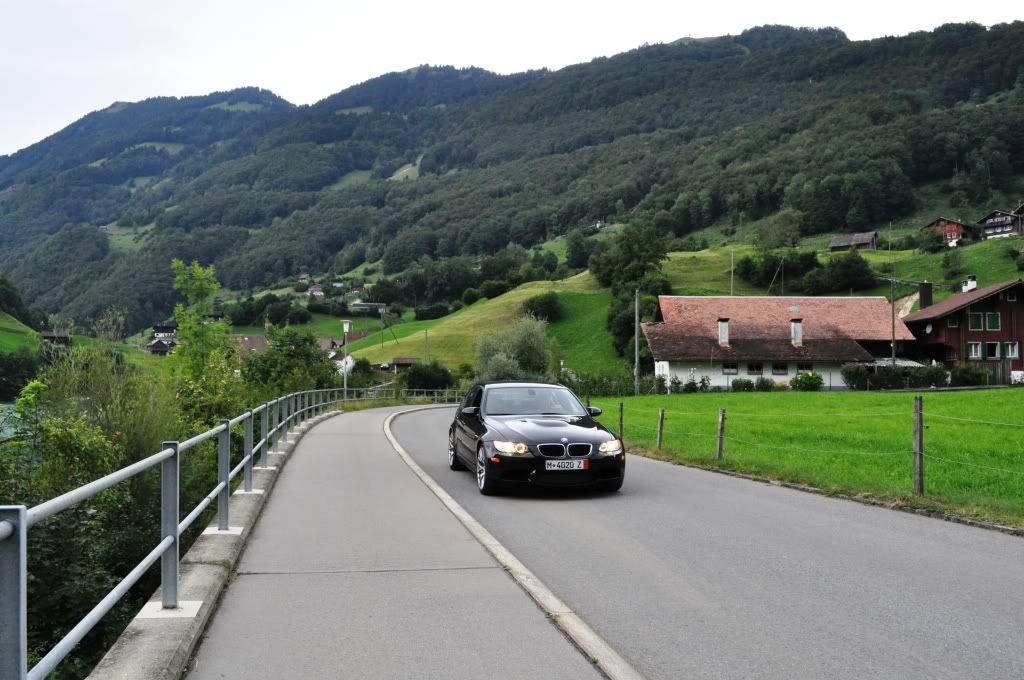
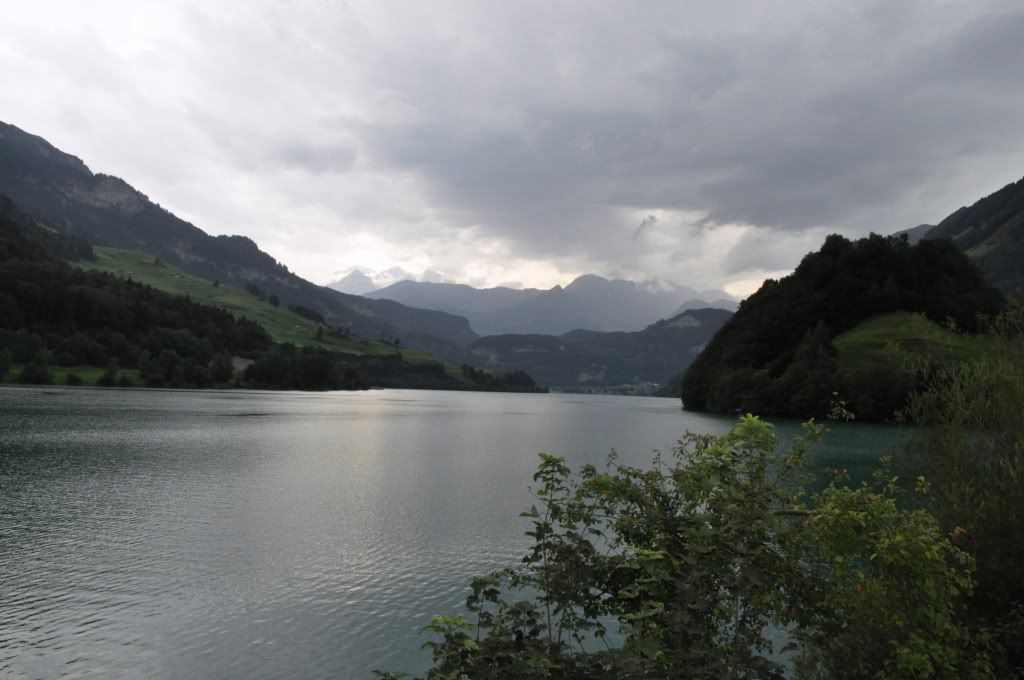
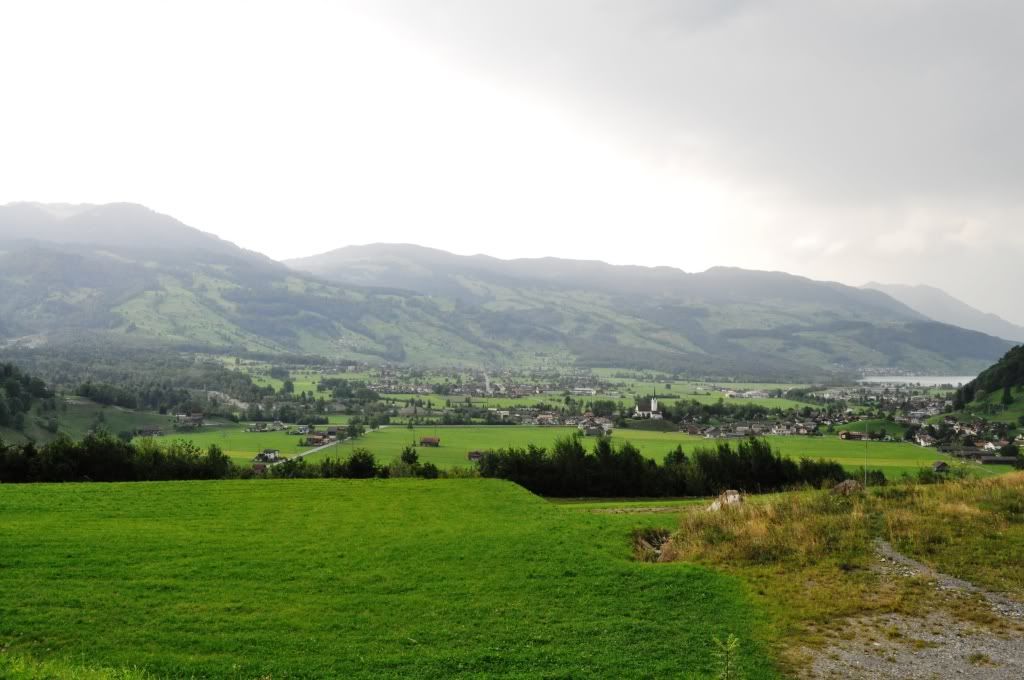
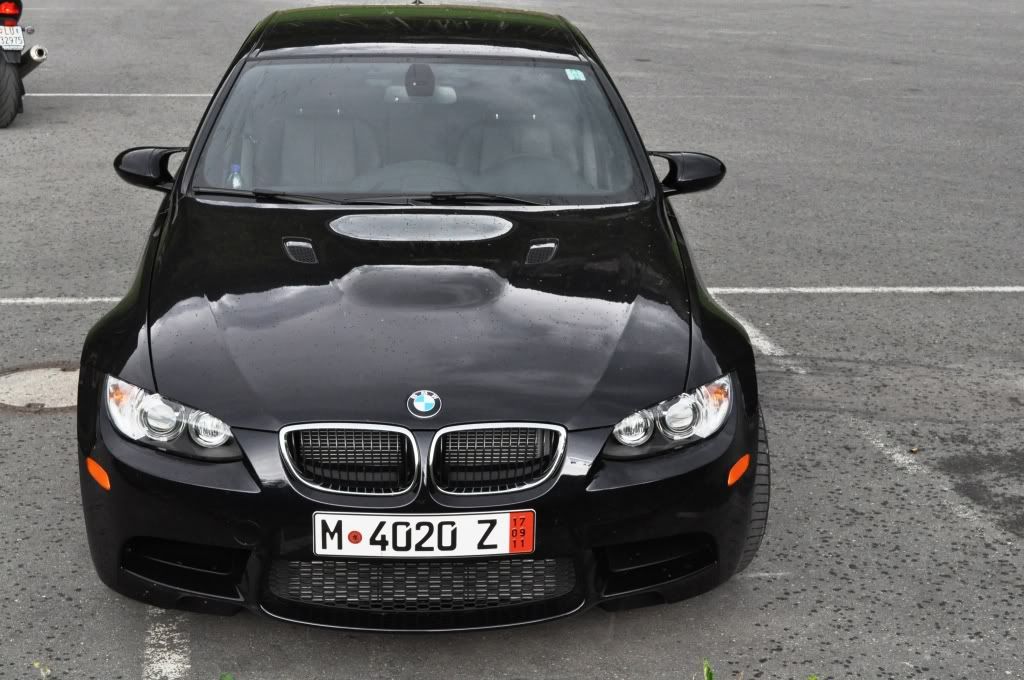
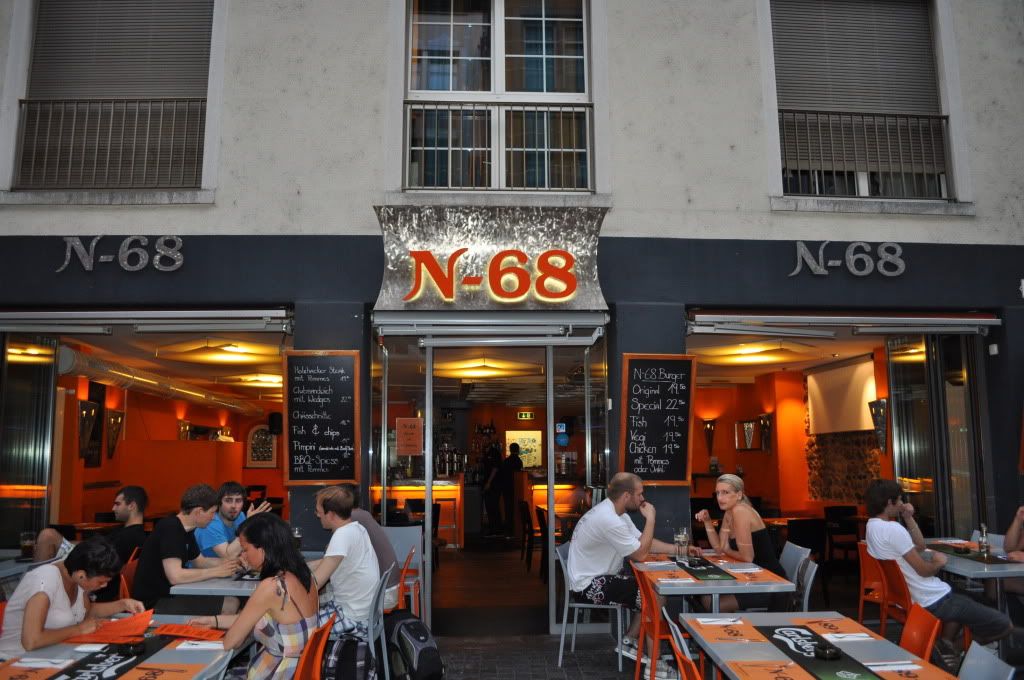
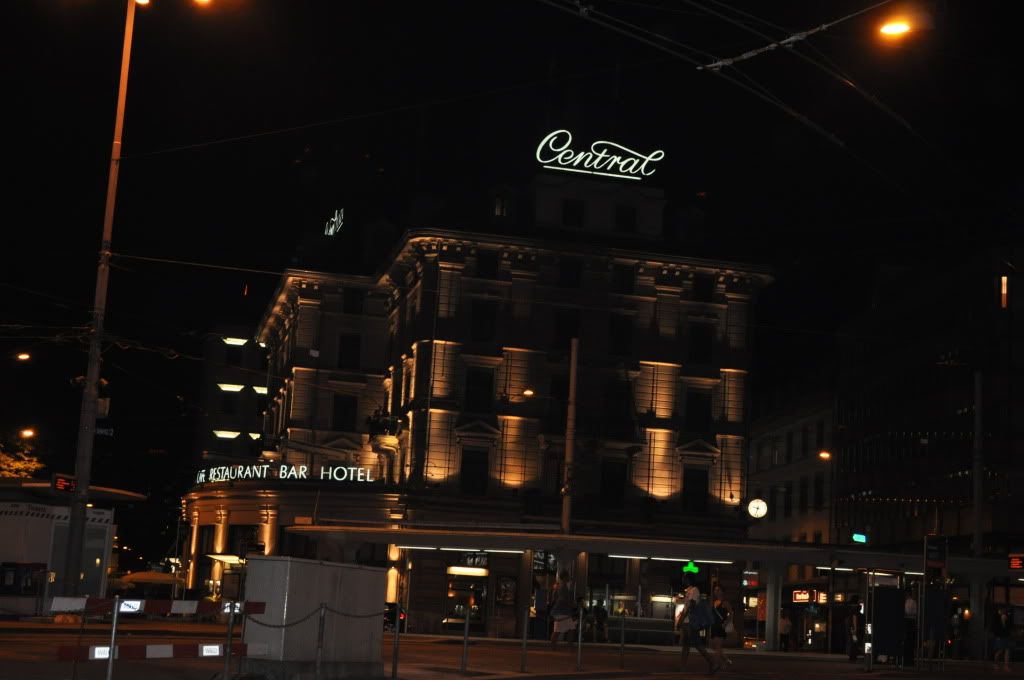
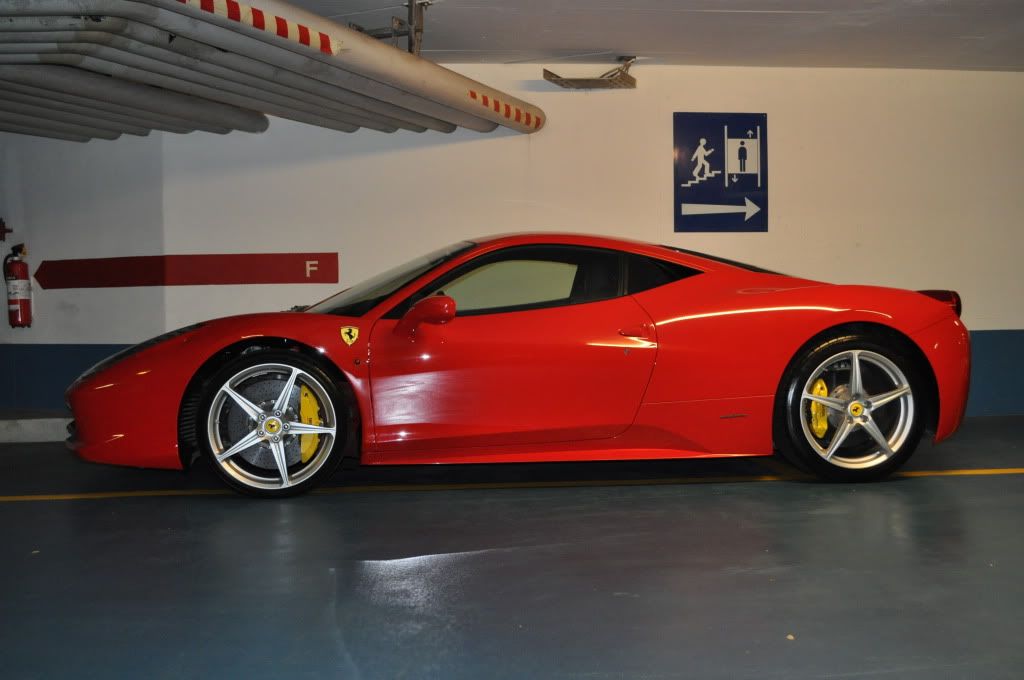
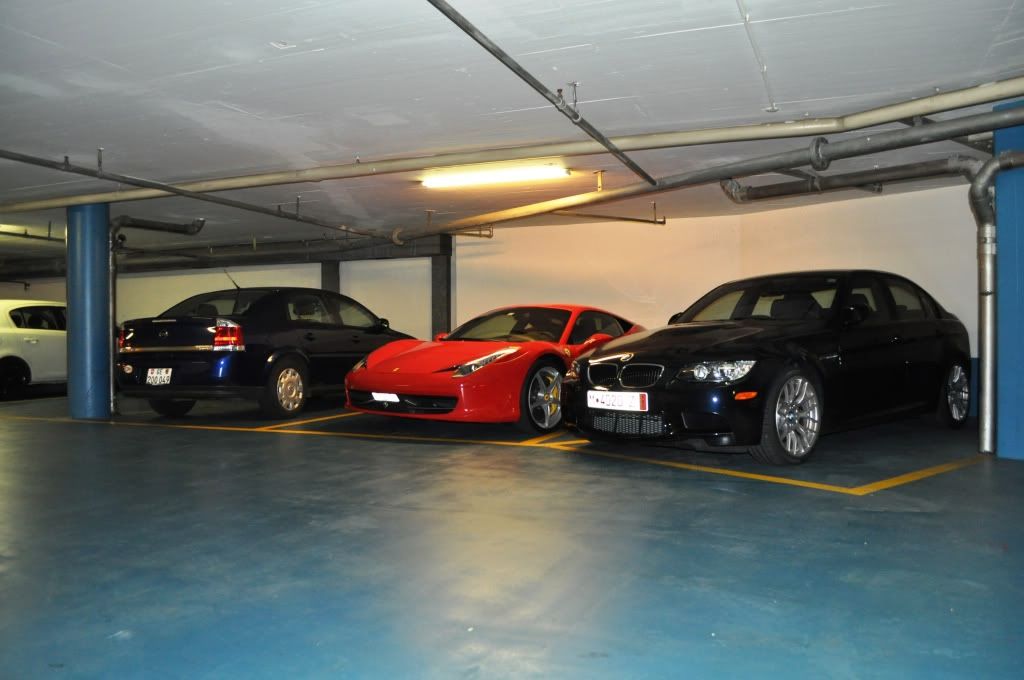
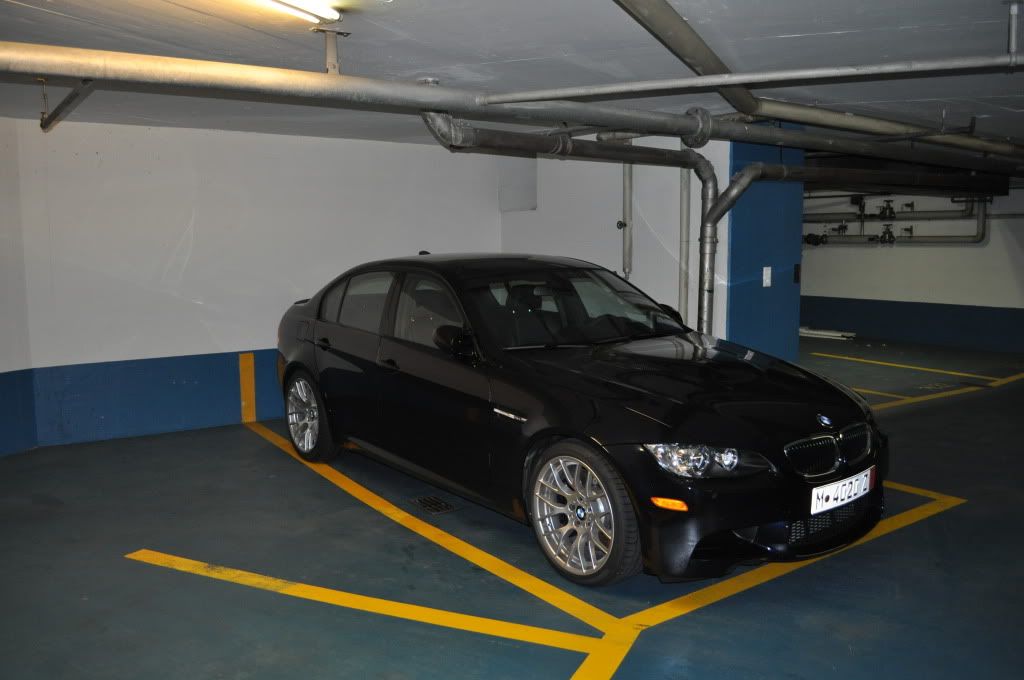
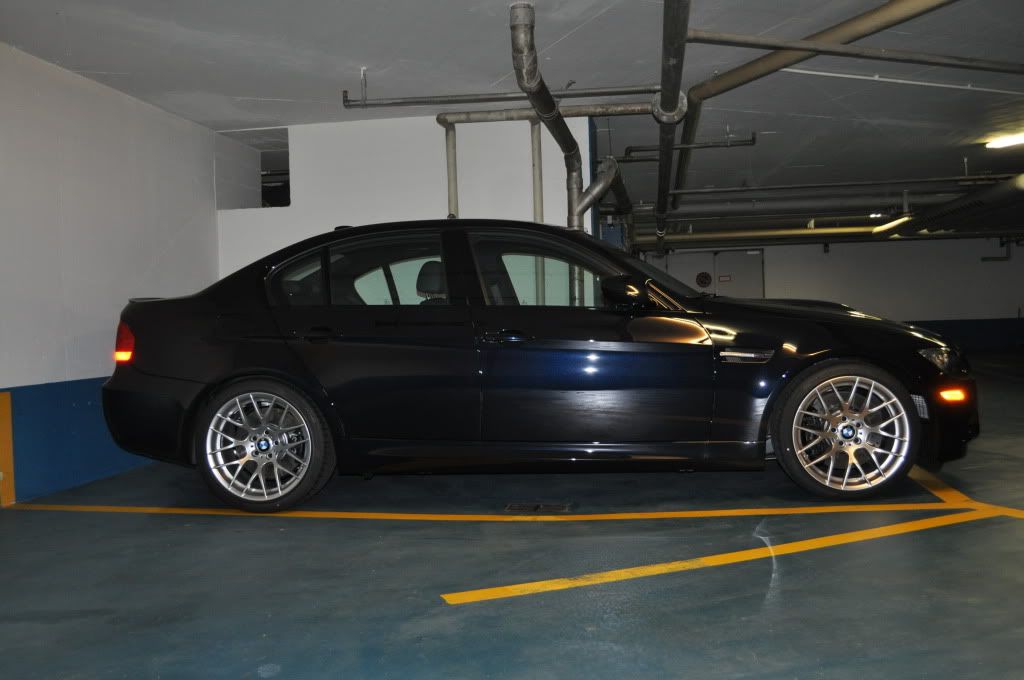
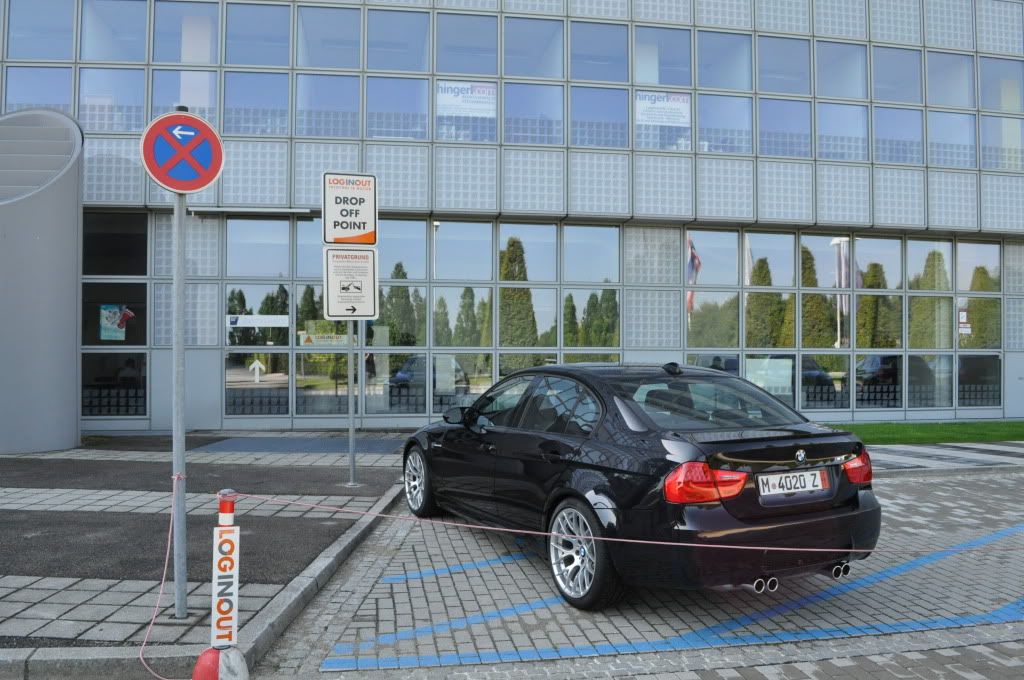
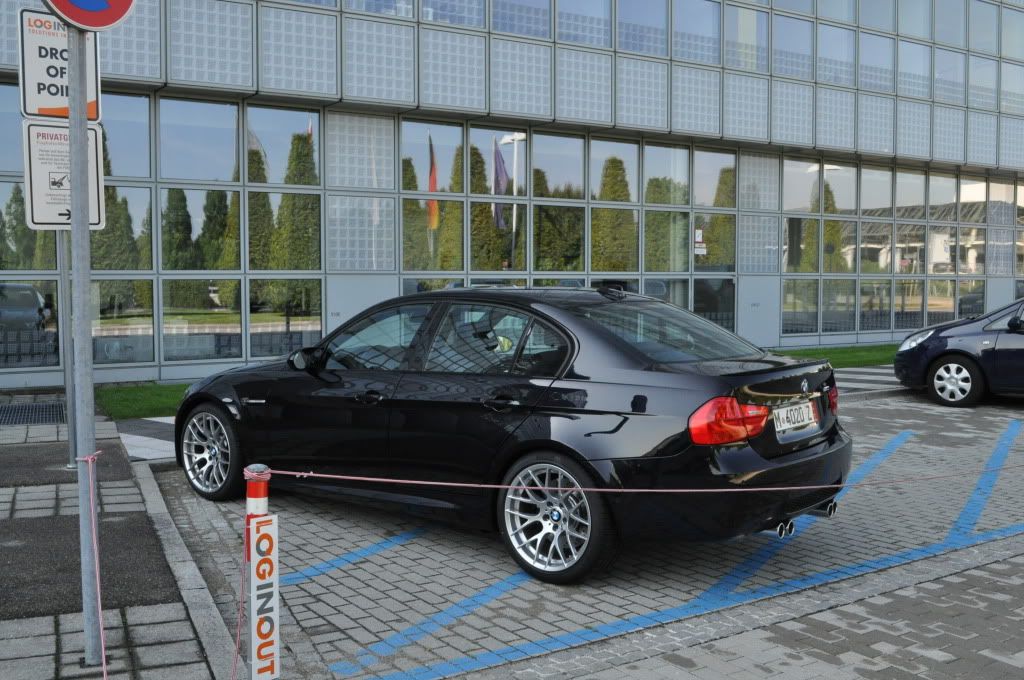
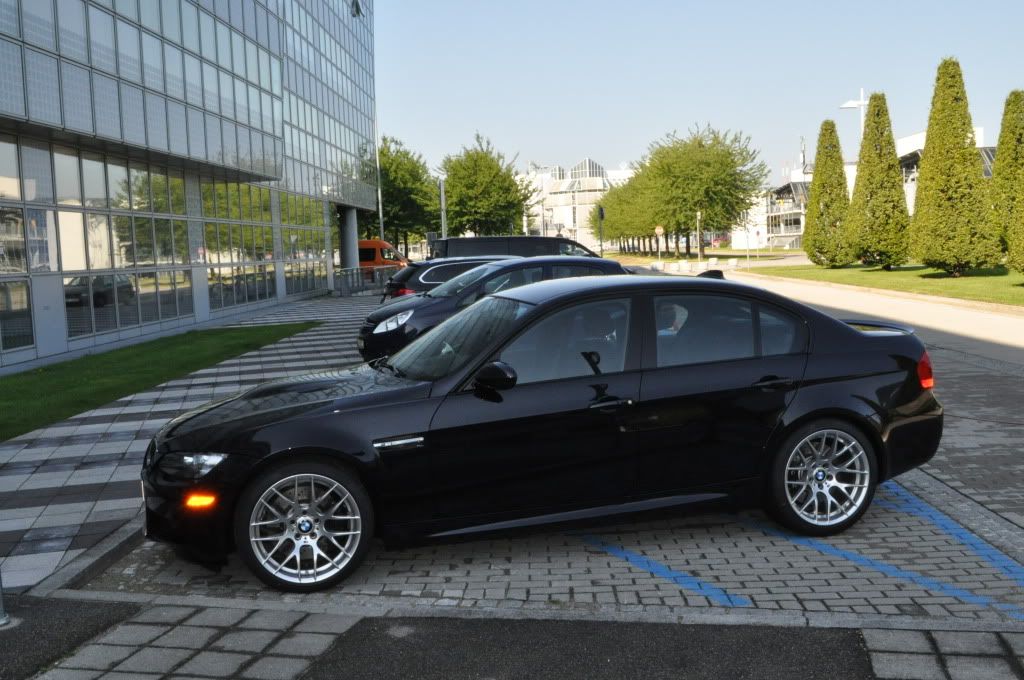
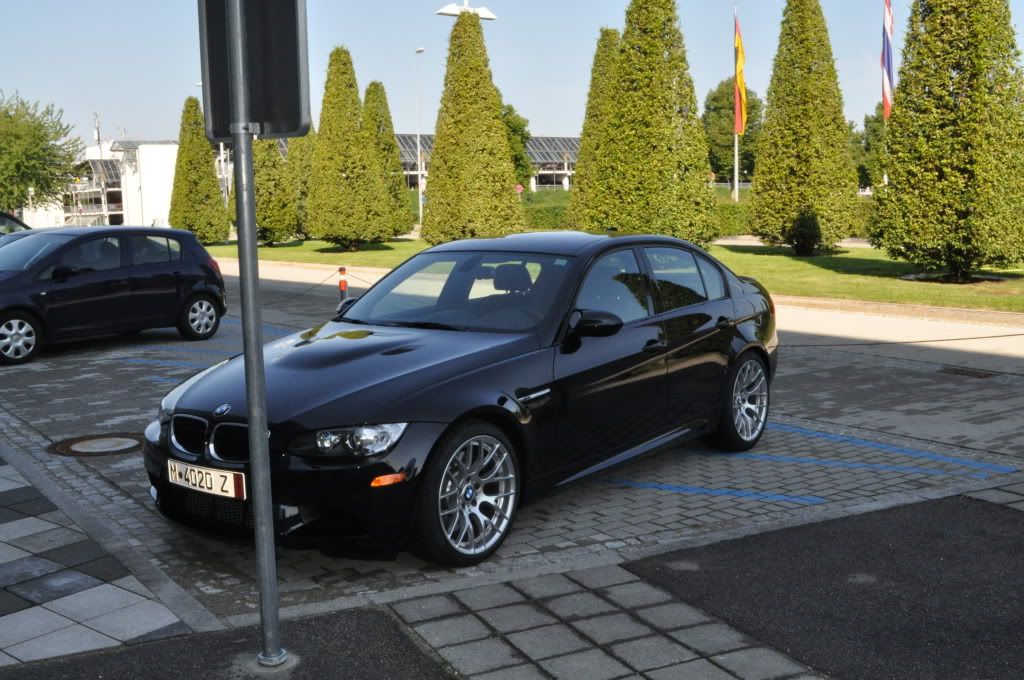
Dropping off the M3 with LOGINOUT GmbH at the MUC airport - The dropoff took 10 minutes. The representative asked if we wanted the M3 washed and waxed. I did not know they offered but we took the M3 to a self carwash near the airport the previous night. We brought some sheep mitts and microfiber towels with us. I stayed at the Kempinski Hotel so the drop off was only a 100 yards away. It was very difficult saying goodbye to the M3.
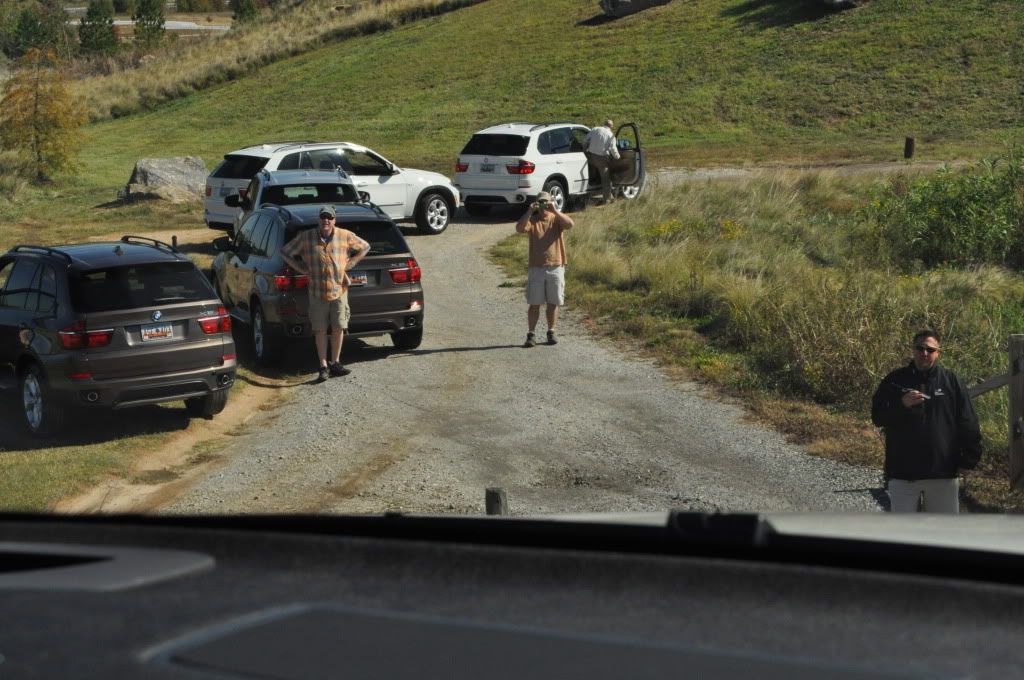
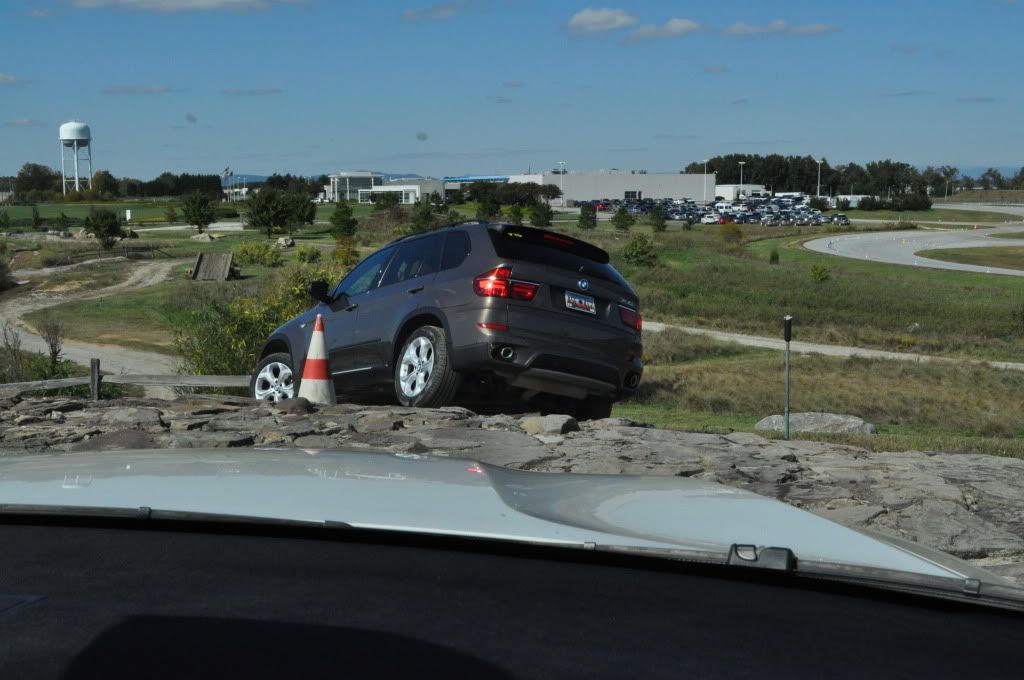
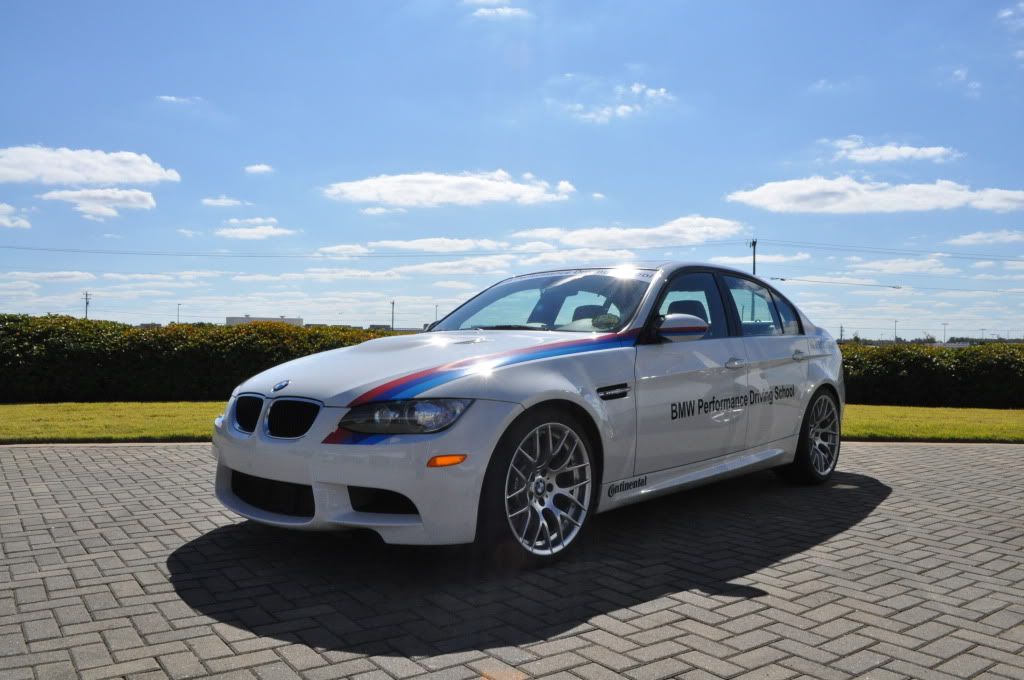
 BMW PCD in South Carolina
 – Ray, Donnie, Arnold and Ross were all great. The eight week wait for the Mignon to arrive was well worth the wait. Amazing driving in an NYC (not your car). Next up is the BMW M School.


Our M3 for the day. 4,300 NYC miles haha!
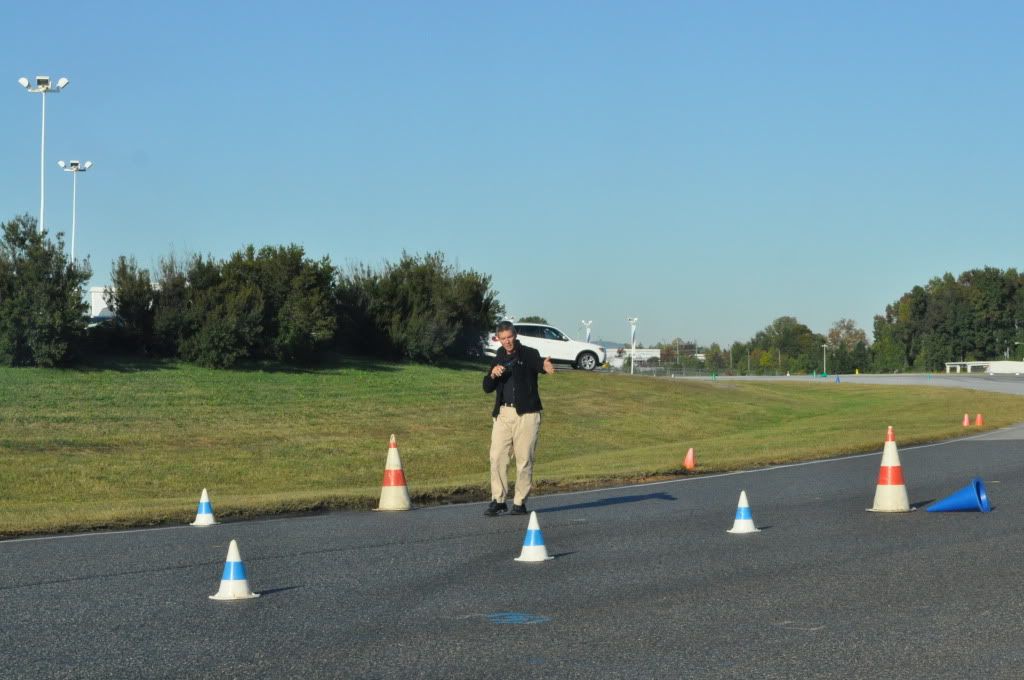
Our instructor, Ray, shown here describing the braking system.
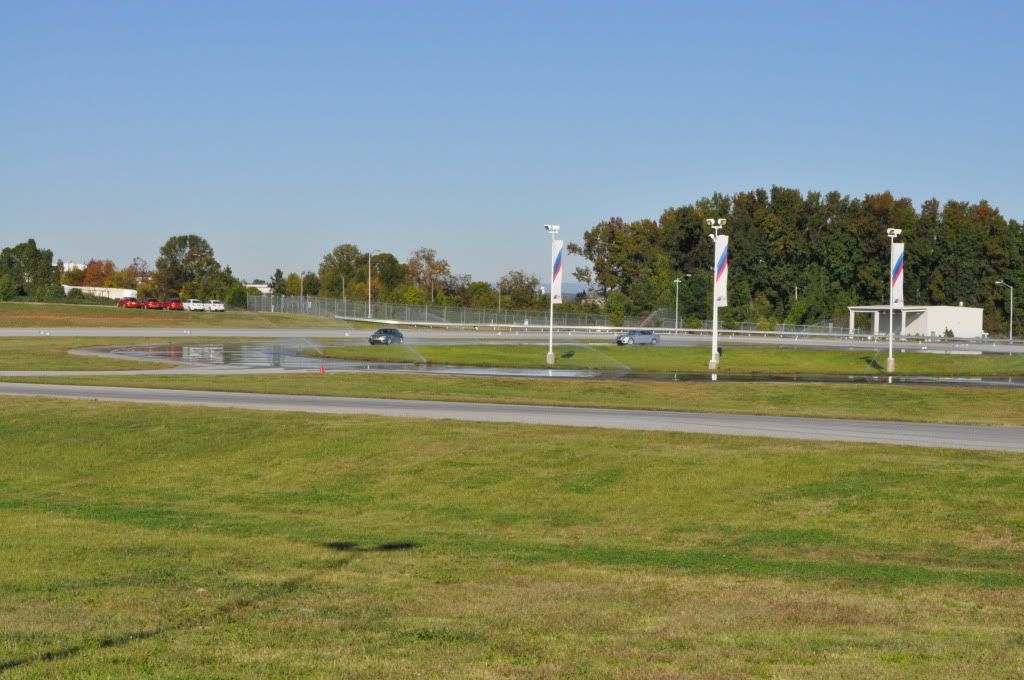
Hot laps in the M5 with instructors. Fun!
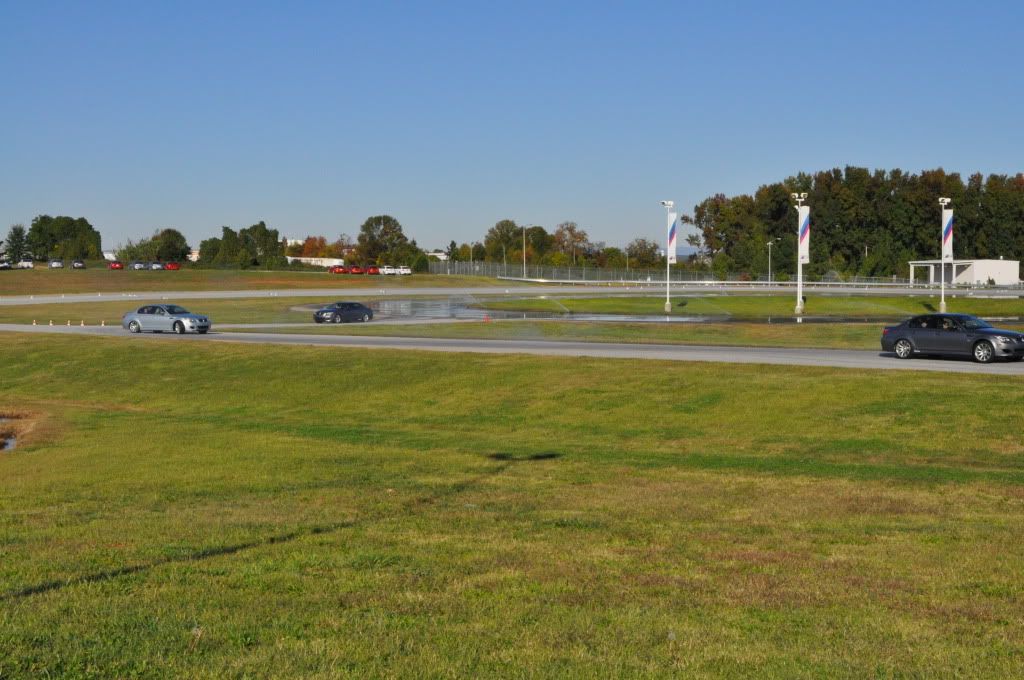
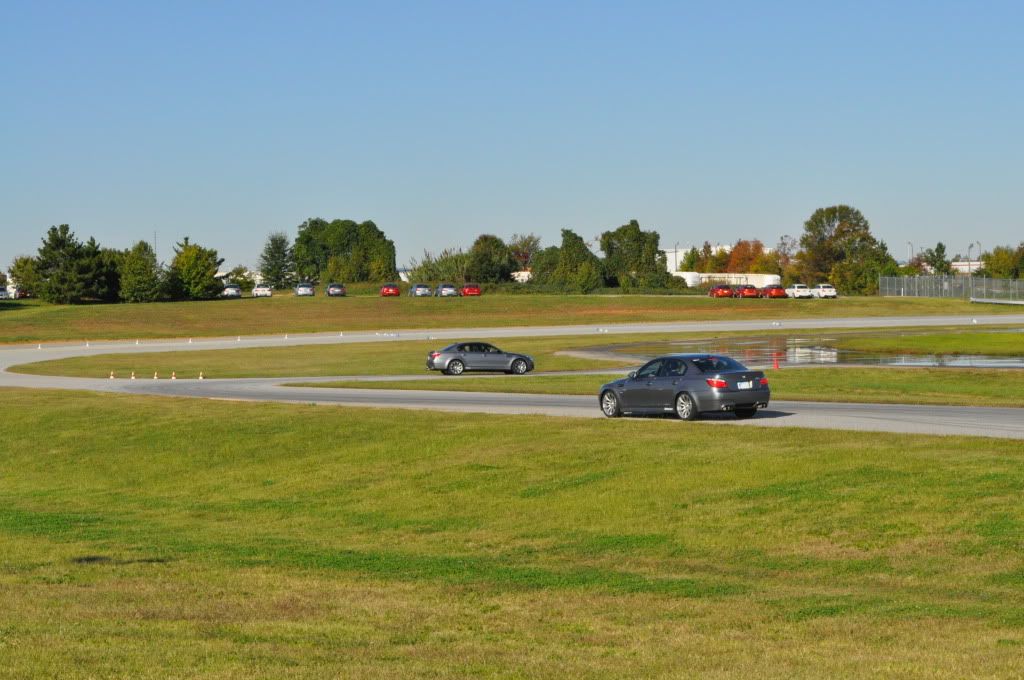
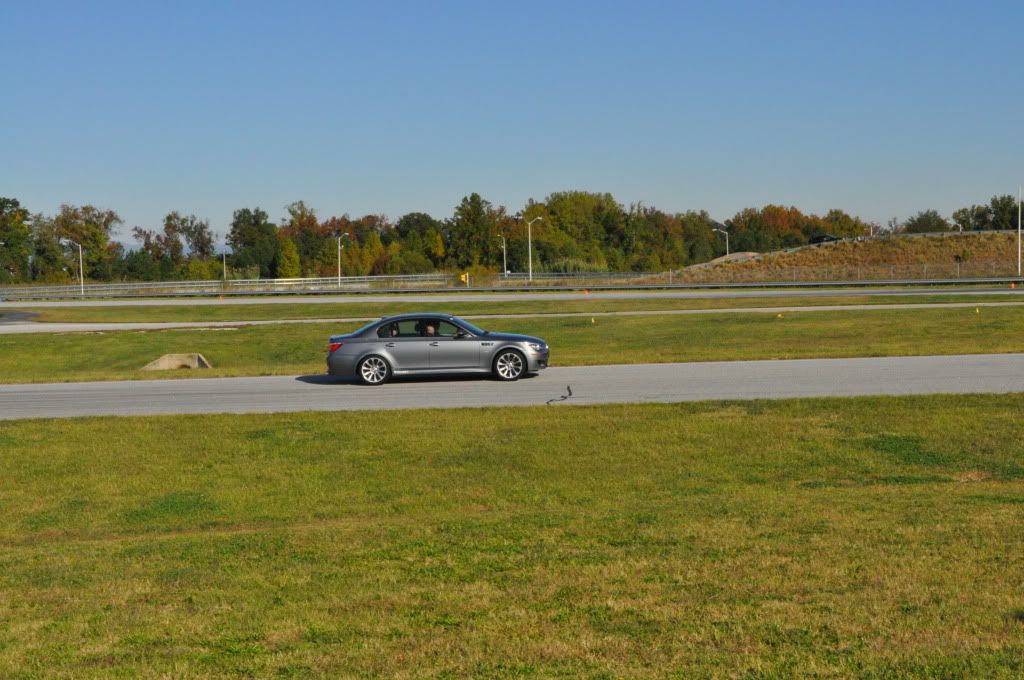
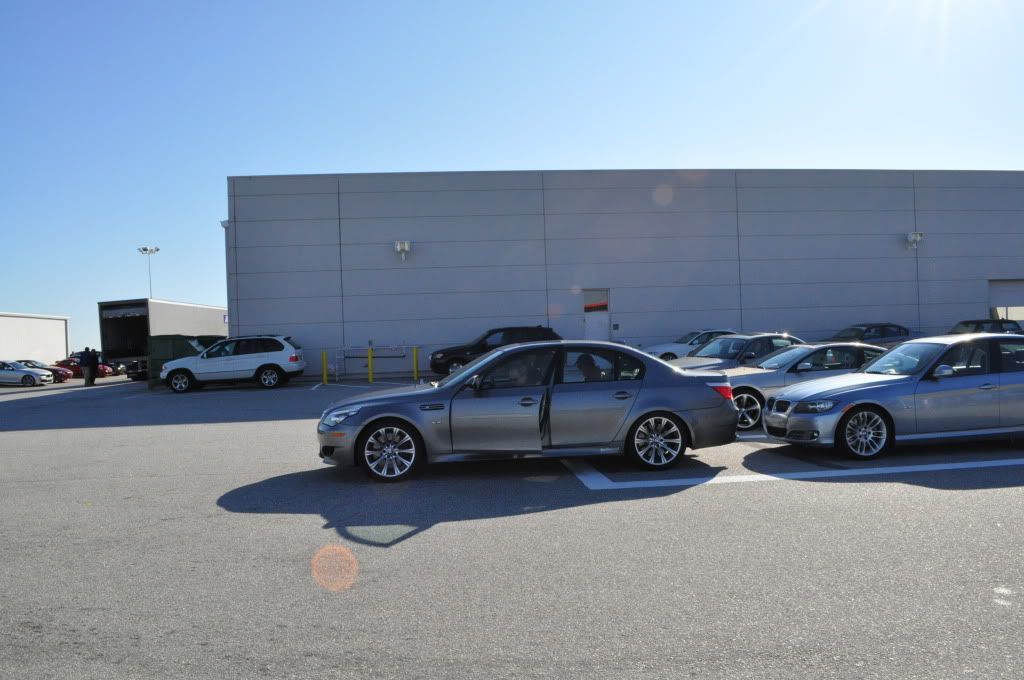
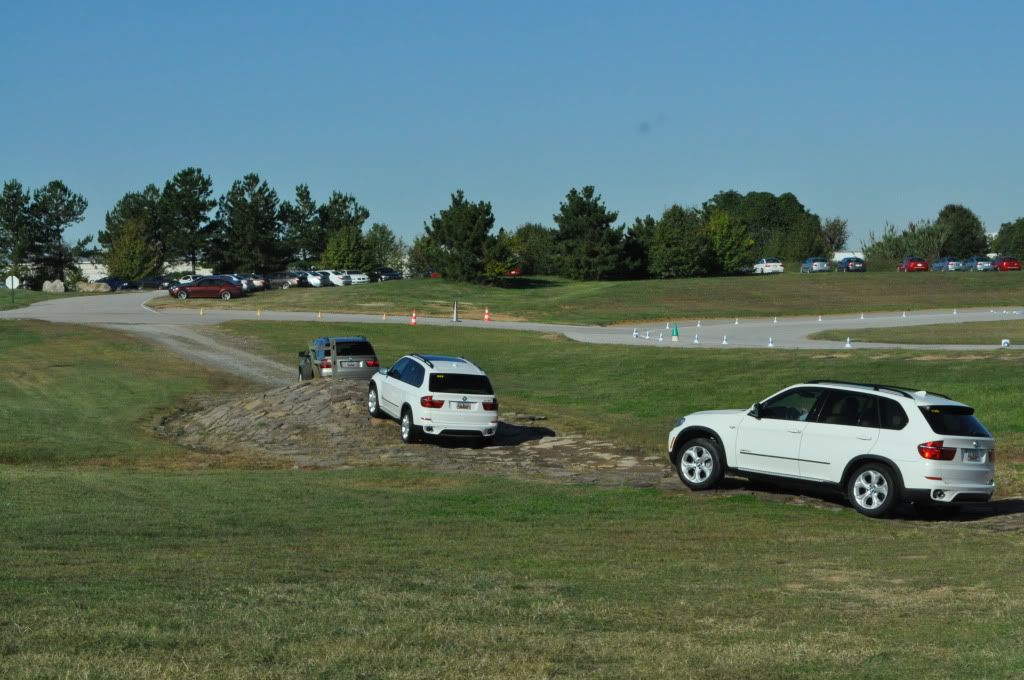


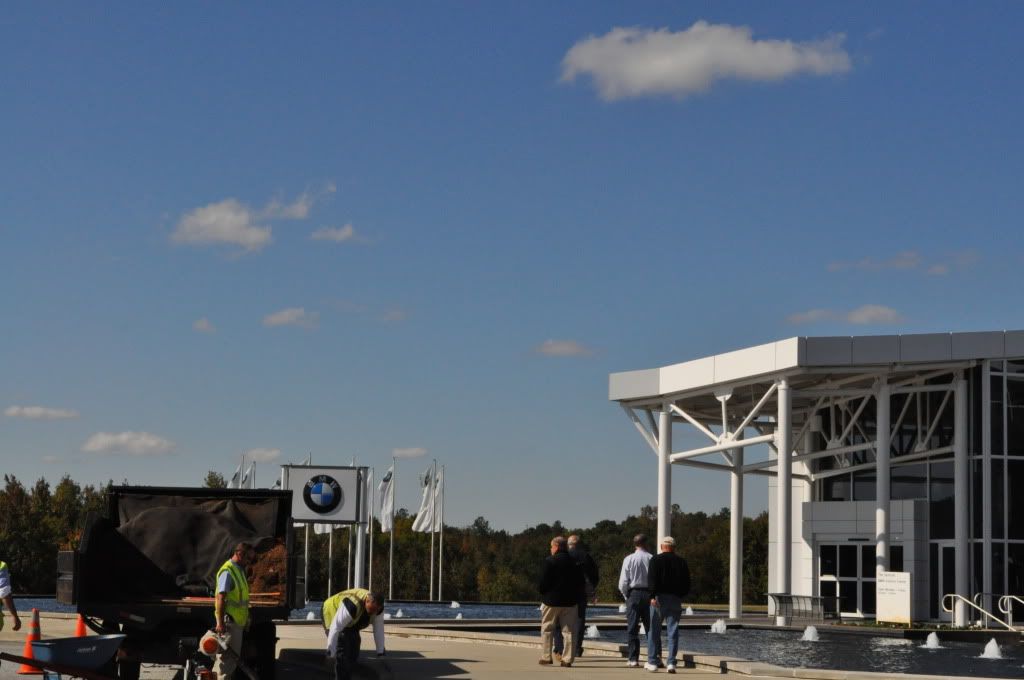
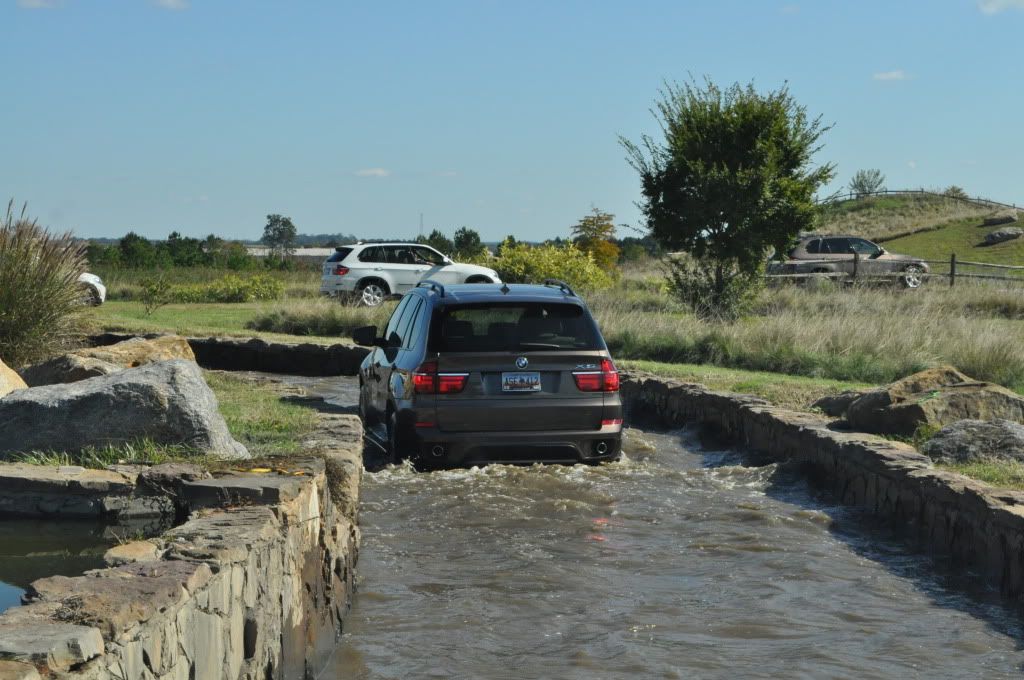
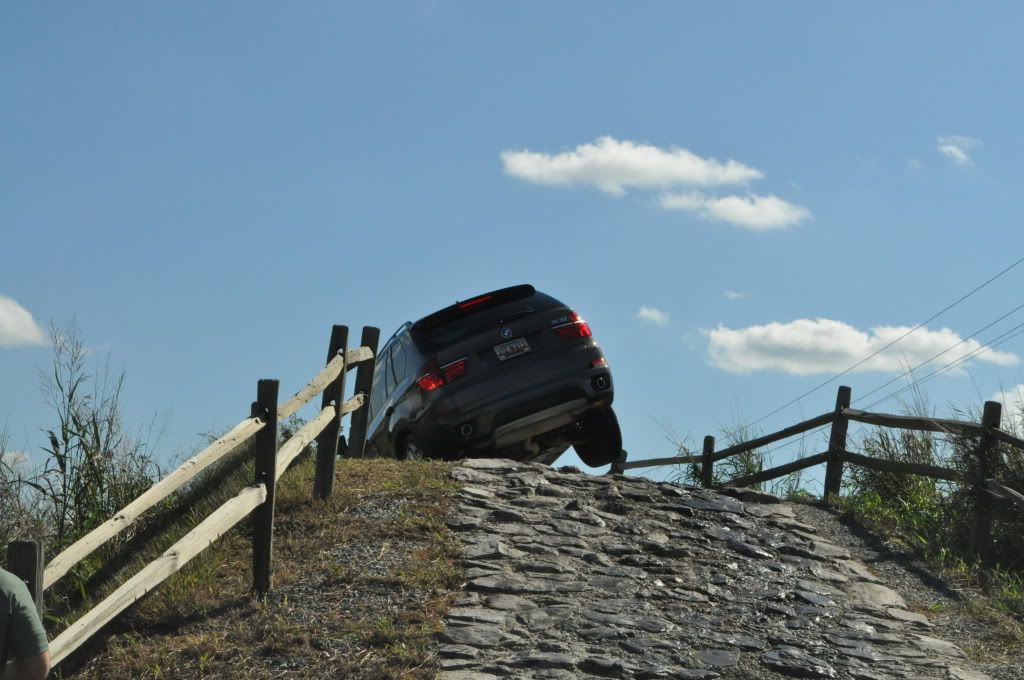
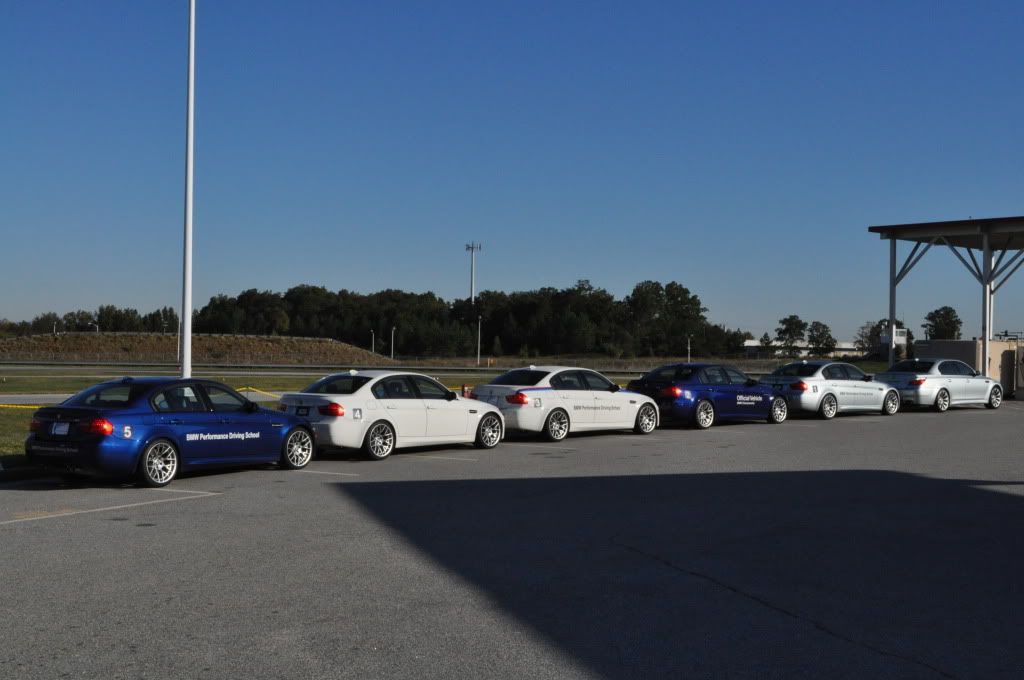
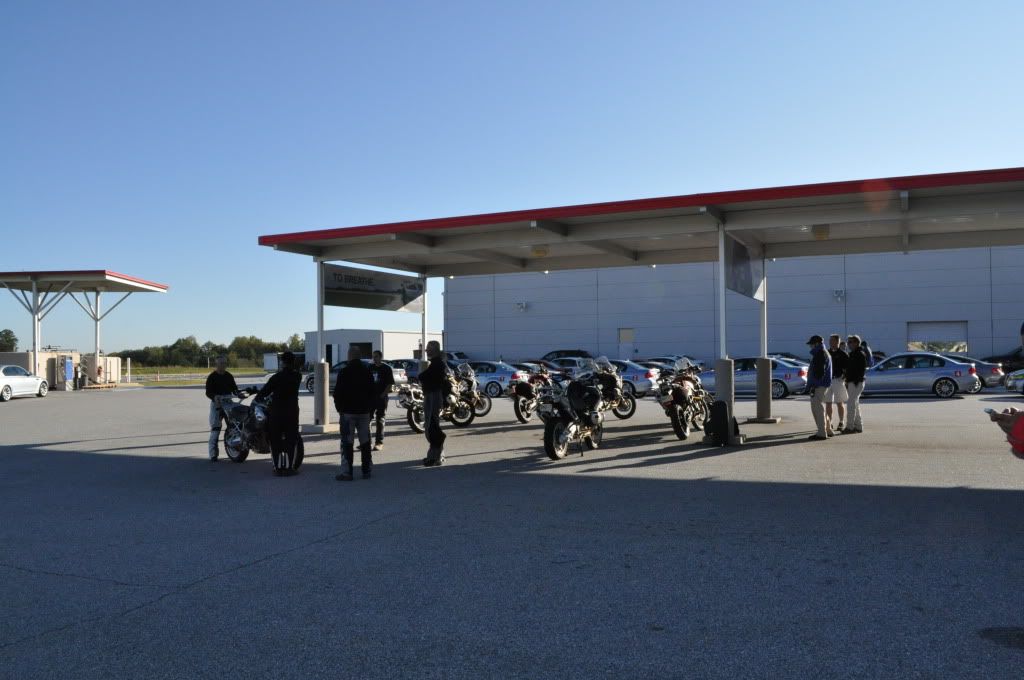
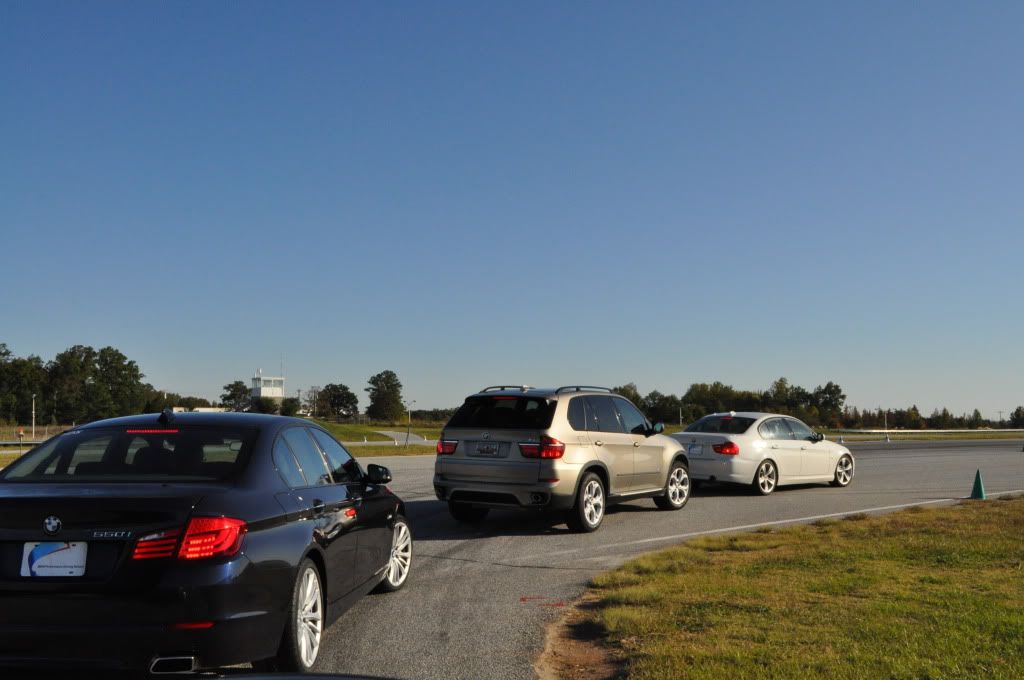
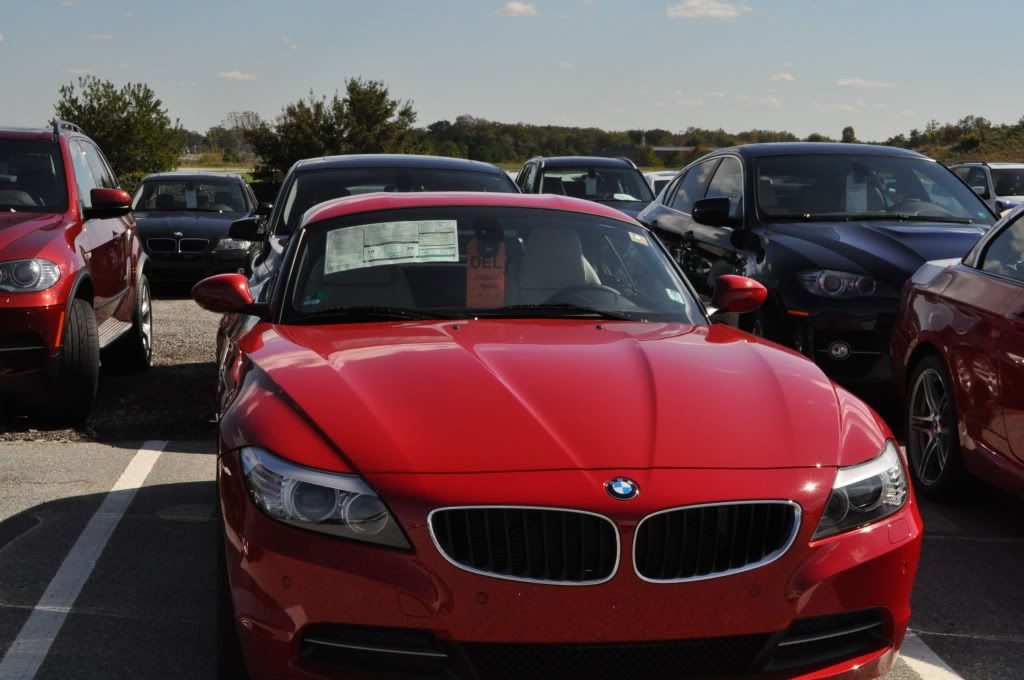
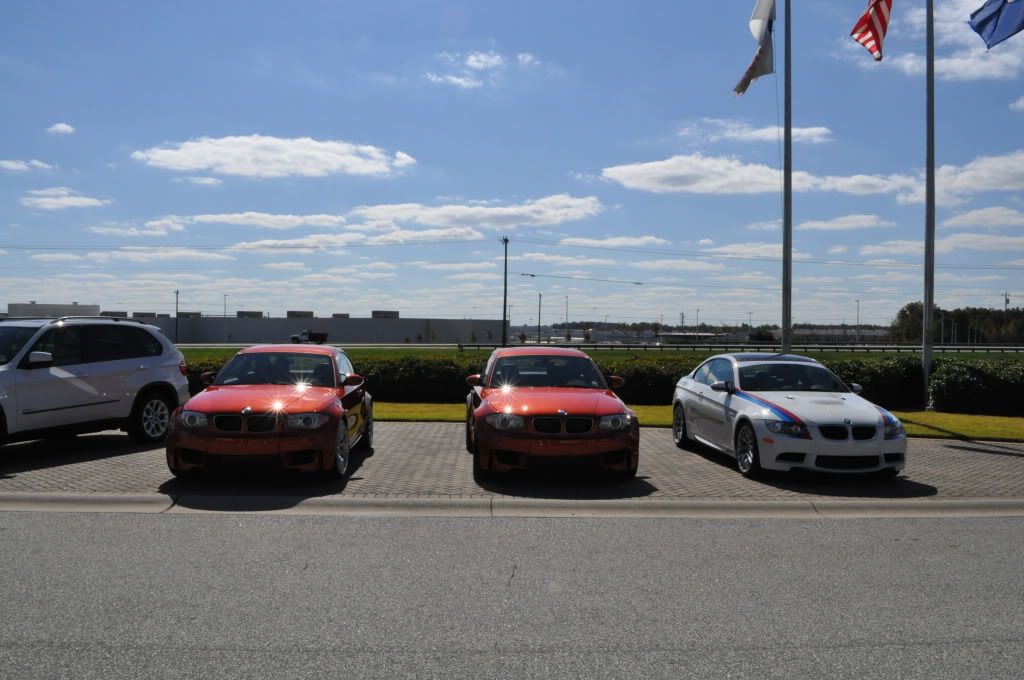
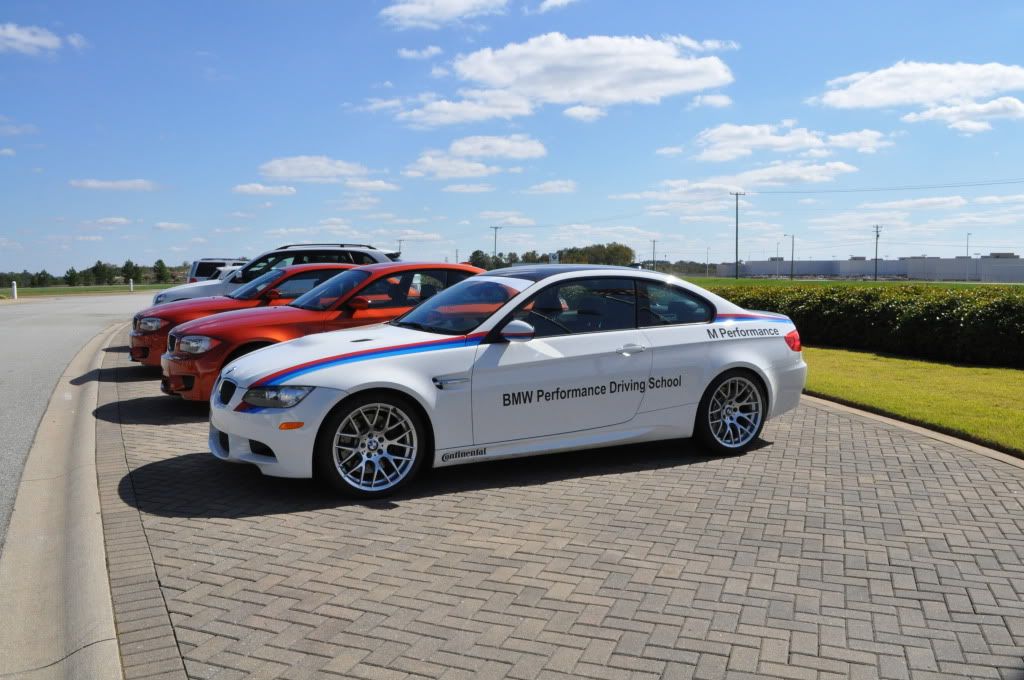
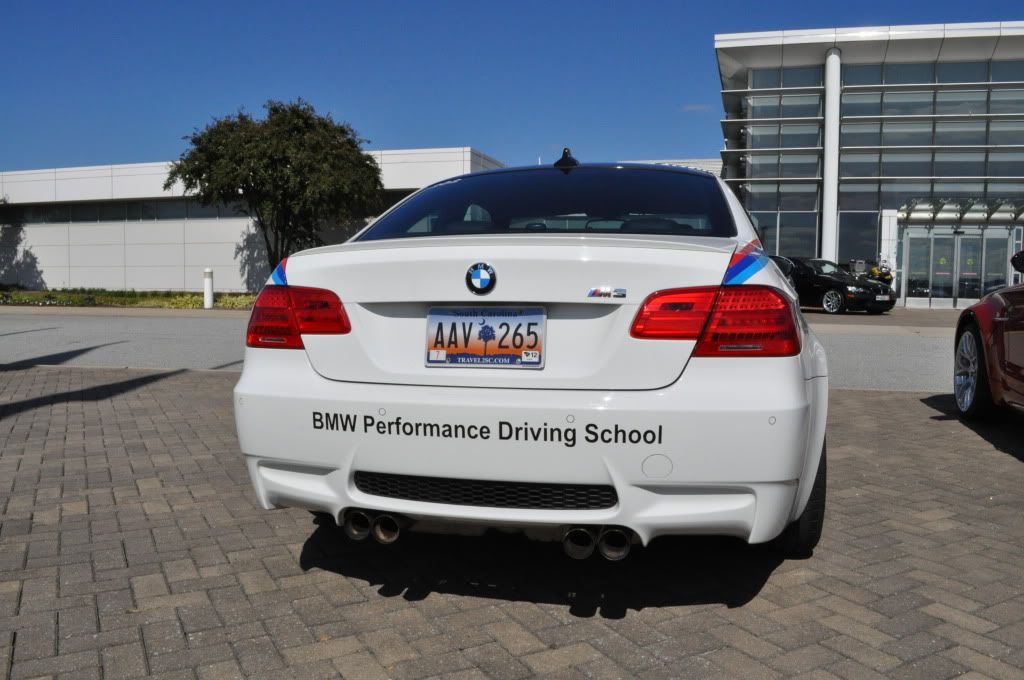
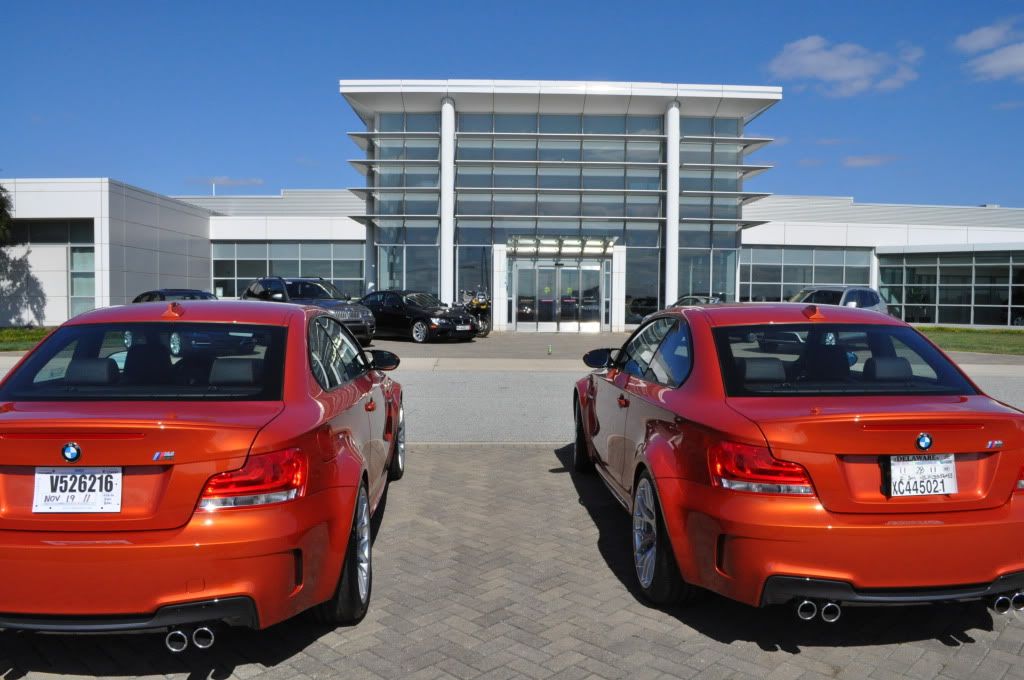
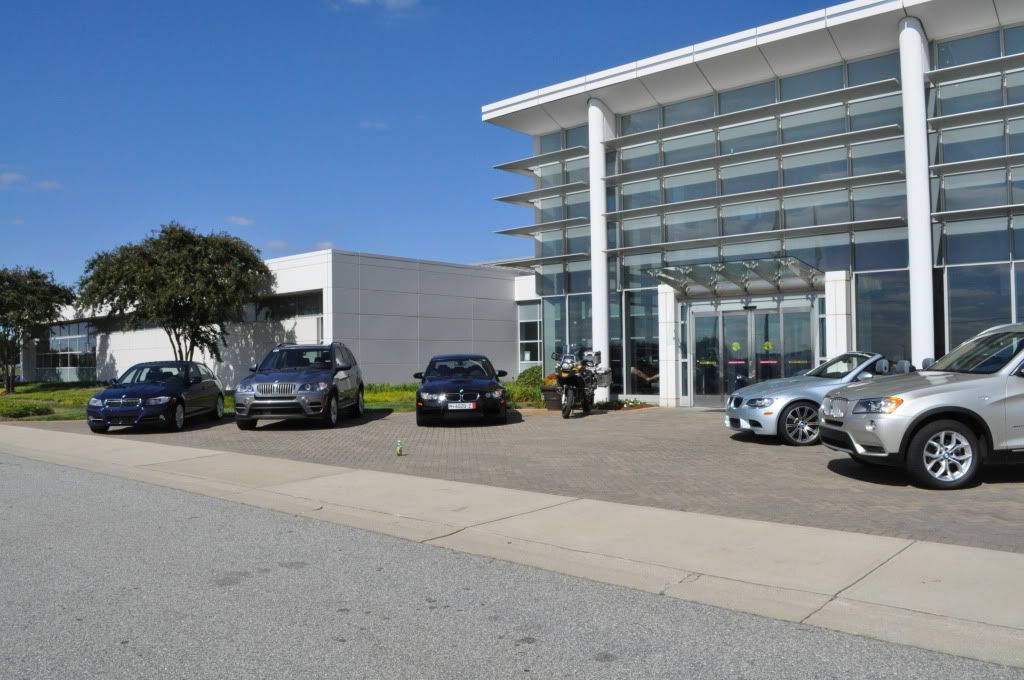
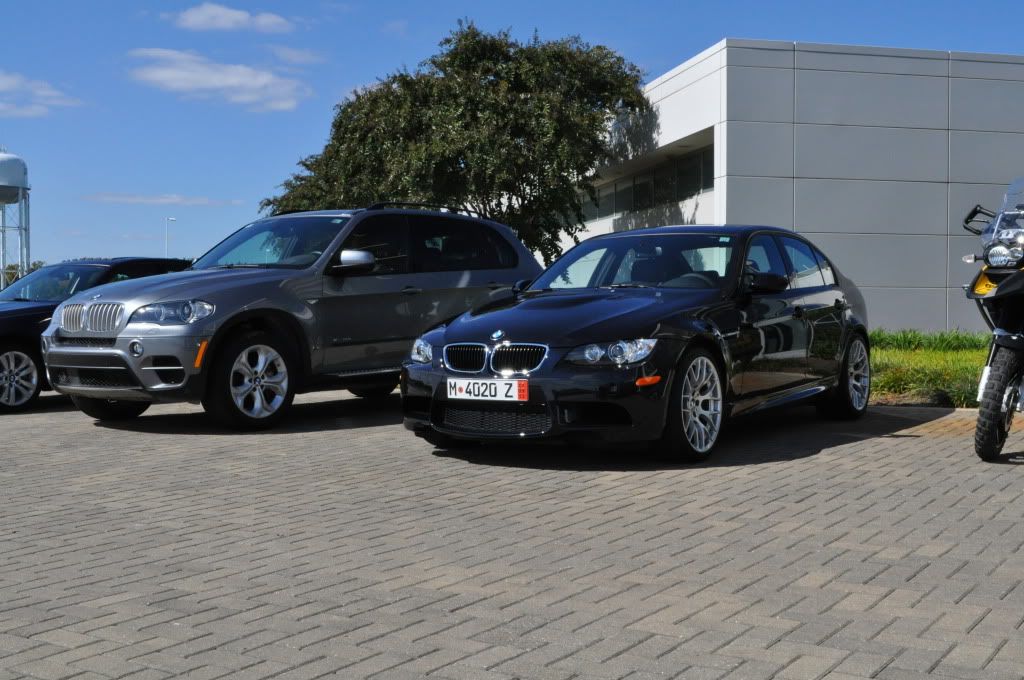
Some BMWs waiting for their owners.
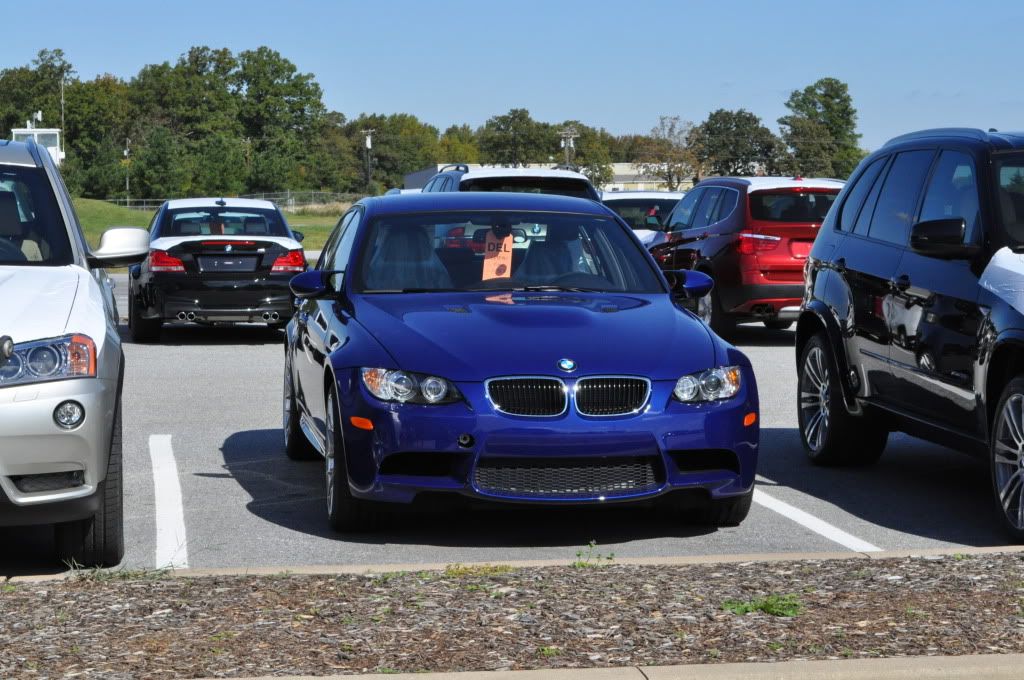
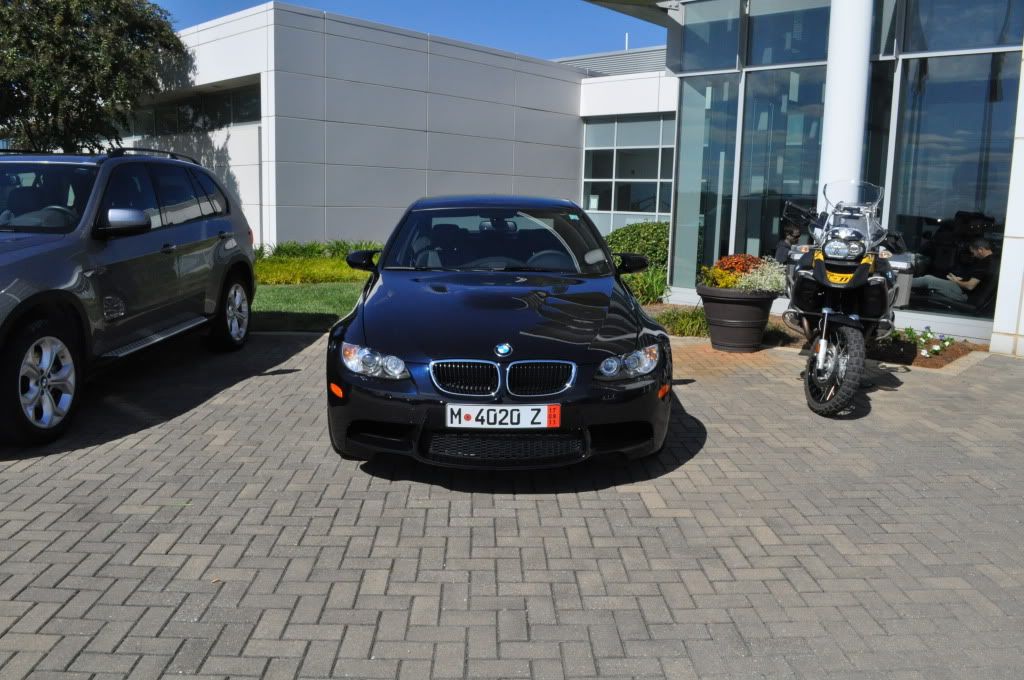
Finally!!! Re-delivery of the M3!
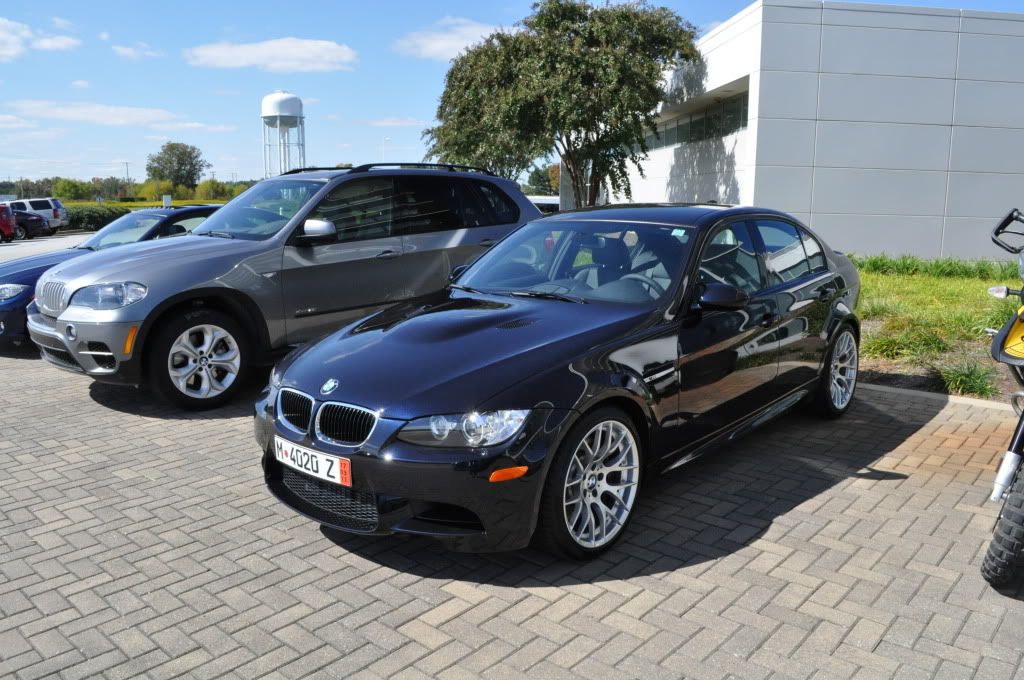
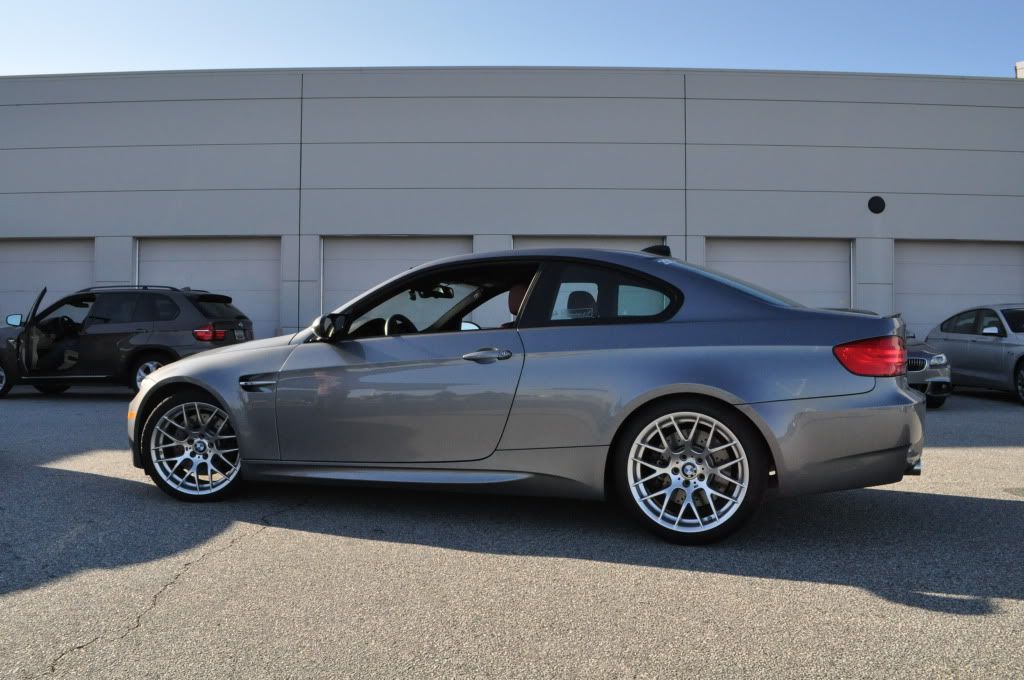
Love the color!
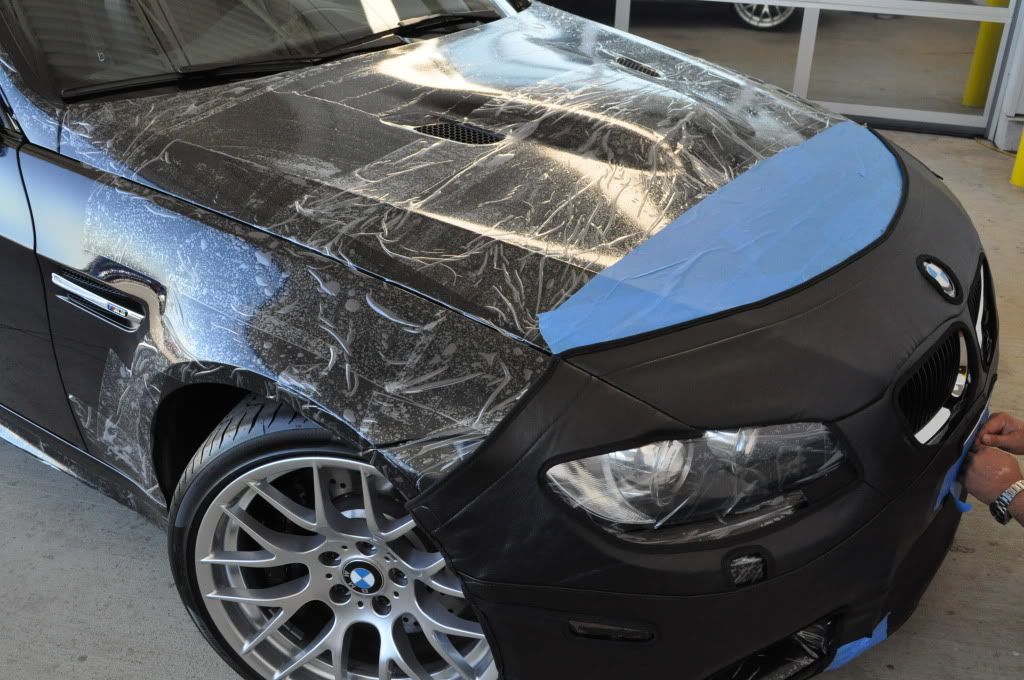
Roadwrap, Blue Painters Tape & Colgan Leather Bra. Thank you Ross at the PCD to allow us a shaded bay area to work on our wrap. We had to drive almost 500 miles home so some front end protection was needed. The Roadwrap install was a PITA to install but luckily my brother gave me a hand. The trick is to make sure the car is CLEAN and use painters tape to secure the edges. The Roadwrap will eventually come off at high speeds. Three pieces came off during our trek home. Avoid layering the wrap over each other. It does not adhere to the plastic film very well. If I was to do it again, I would prefer the painters tape over the Roadwrap. The Colgan bra was an extra layer of protection and it was the easiest to install. Removing the Roadwrap leaves small white residues. I had to use some Menzerna/PC7424XP to remove the residues.
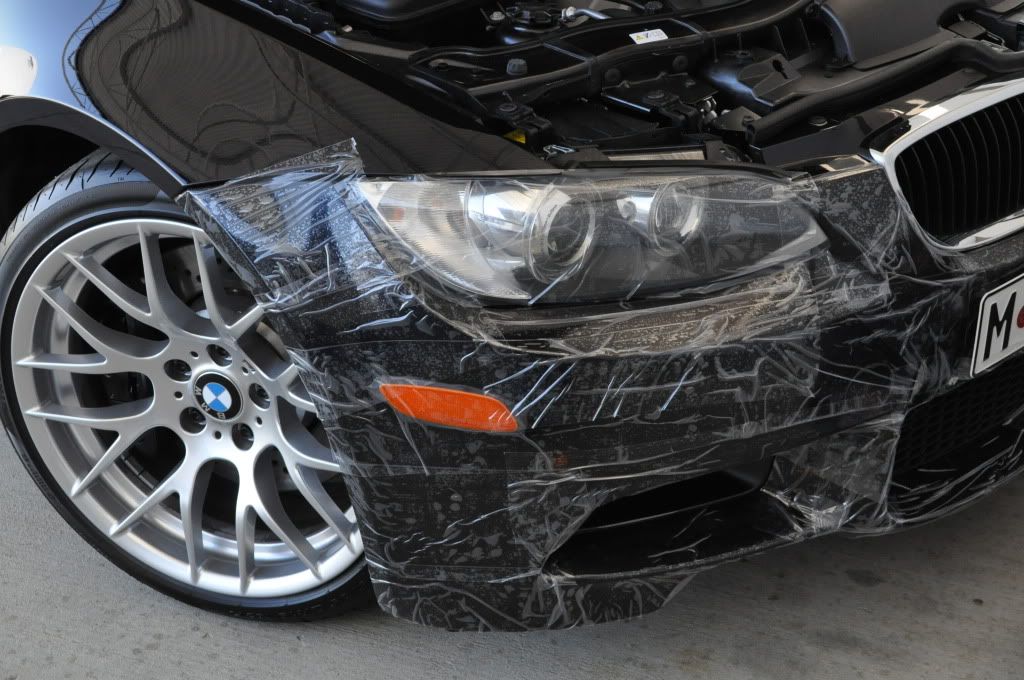
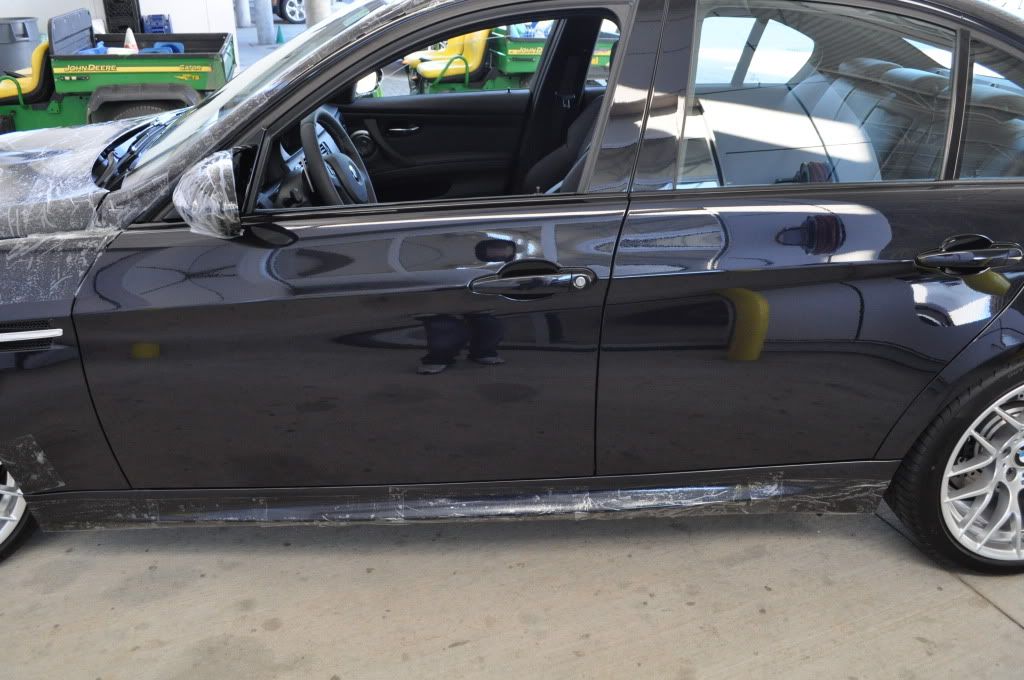
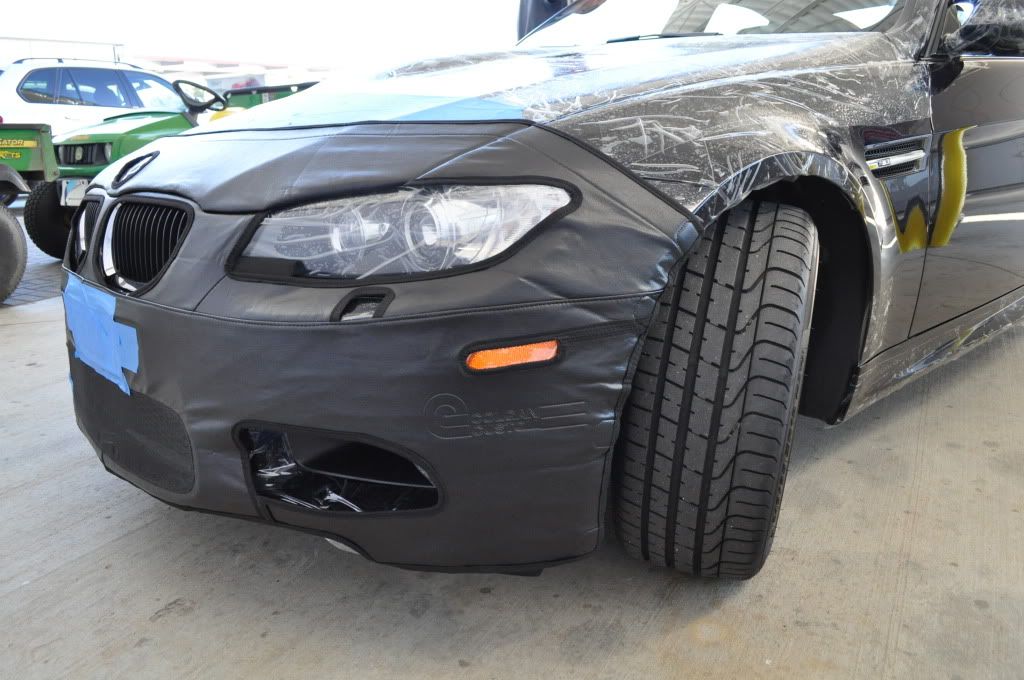
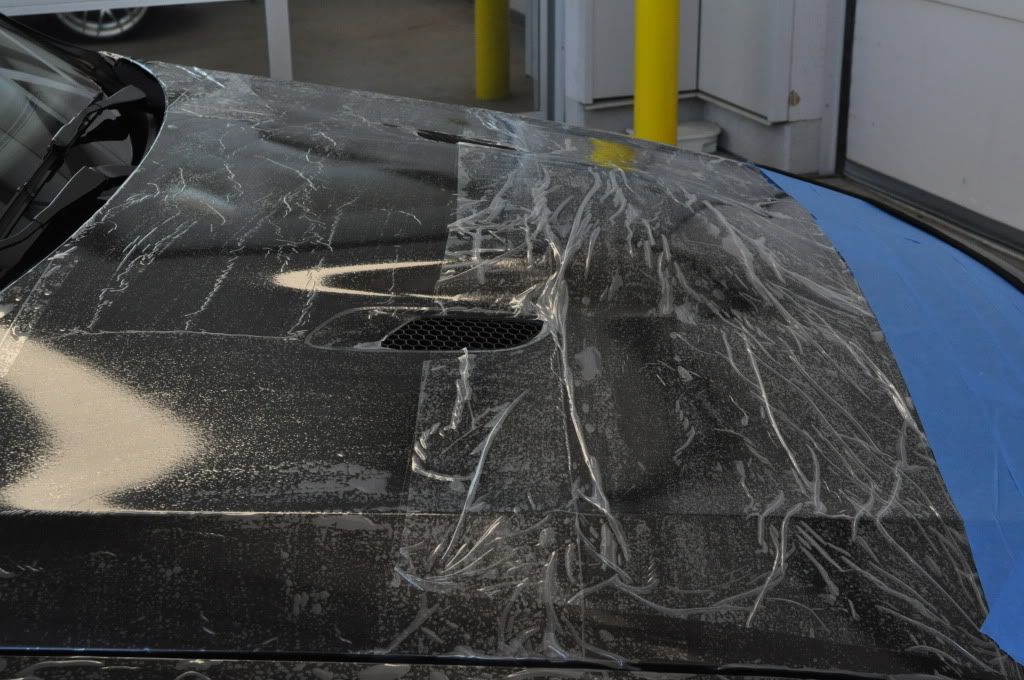
 Individual Piano Black Trim
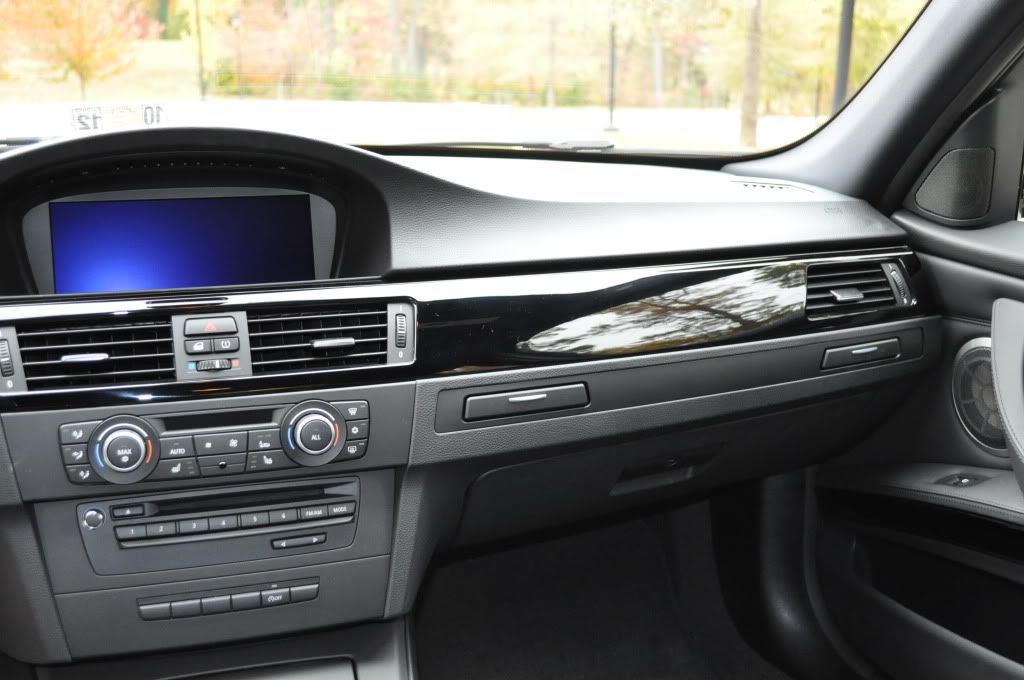
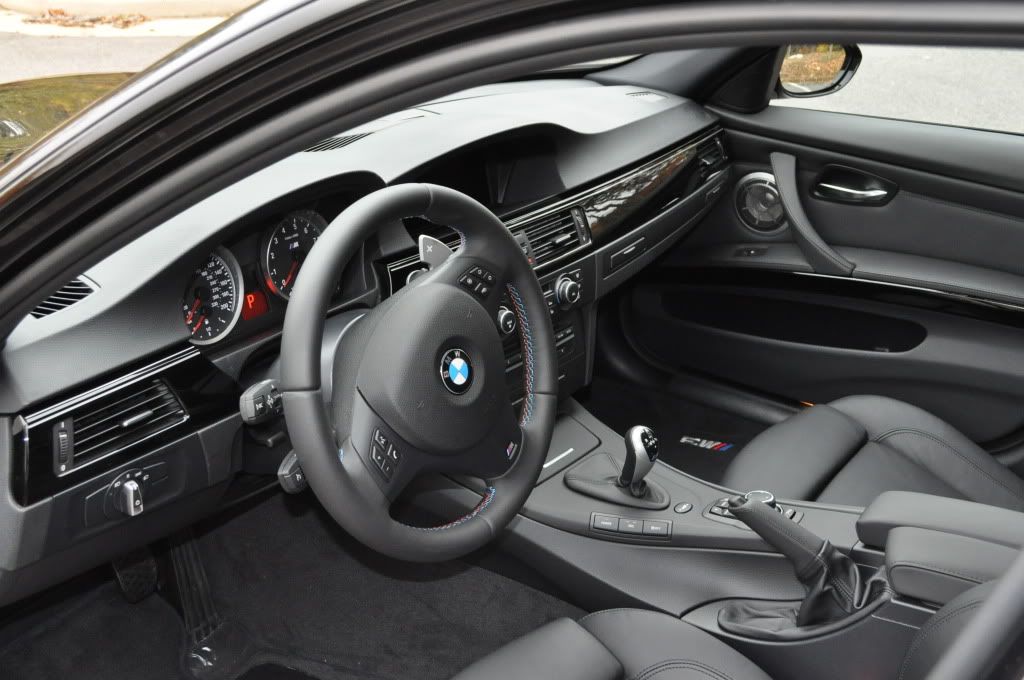
 – It was tough giving up the CL but the PB looks so damn classy. I like the all black interior look. I am OCD so asked Cliff at Auto Armour if he can clearbra the Piano trim. He clearbra'd all the door trim and it looks fantastic!
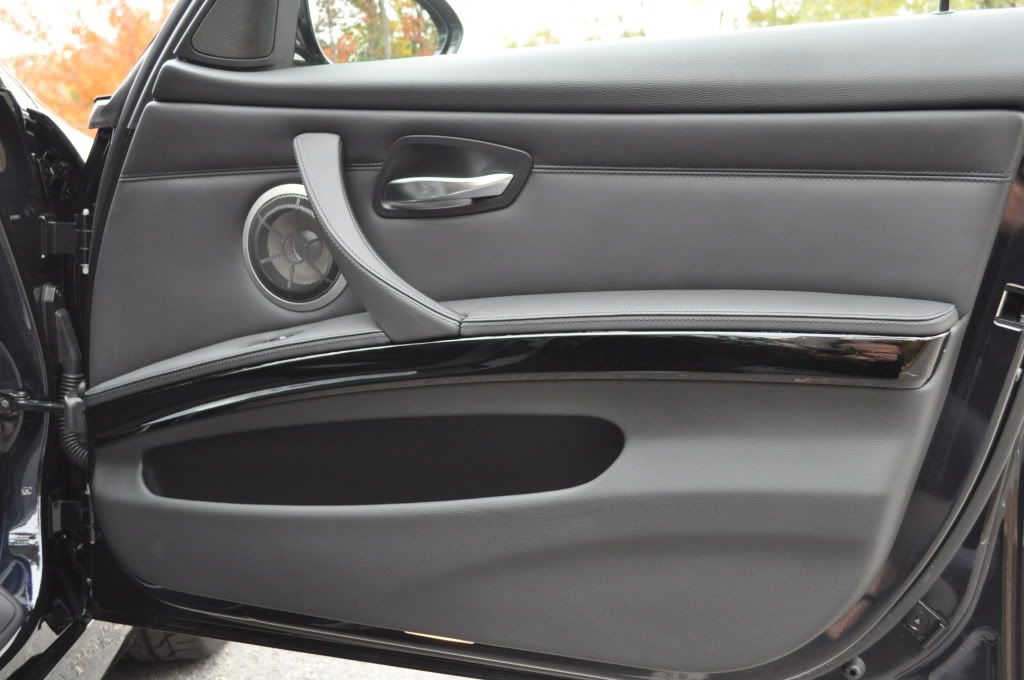
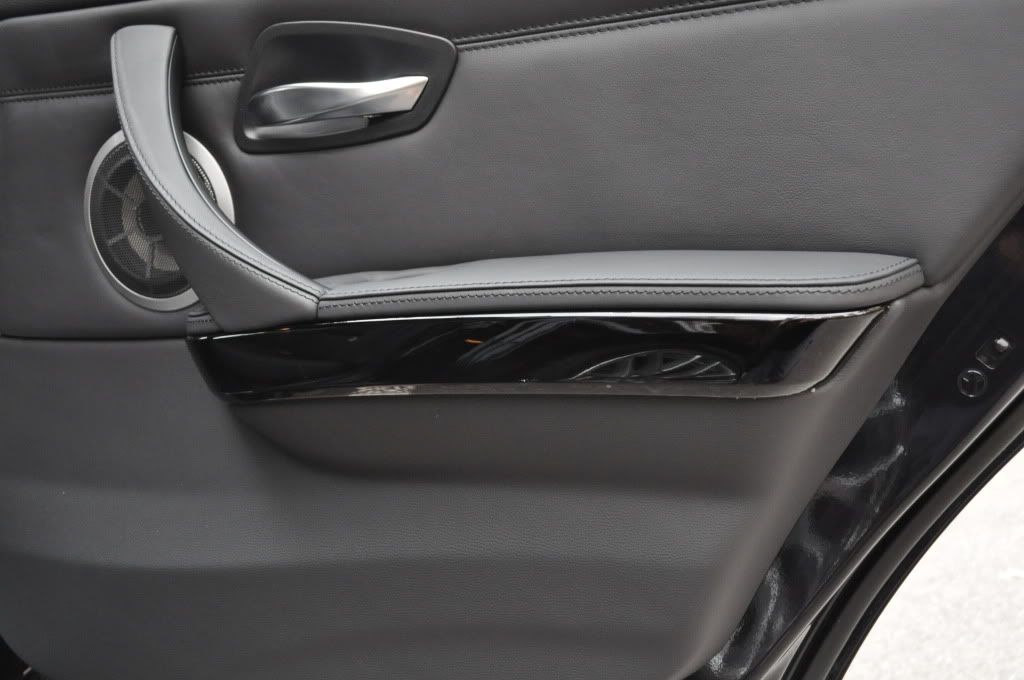
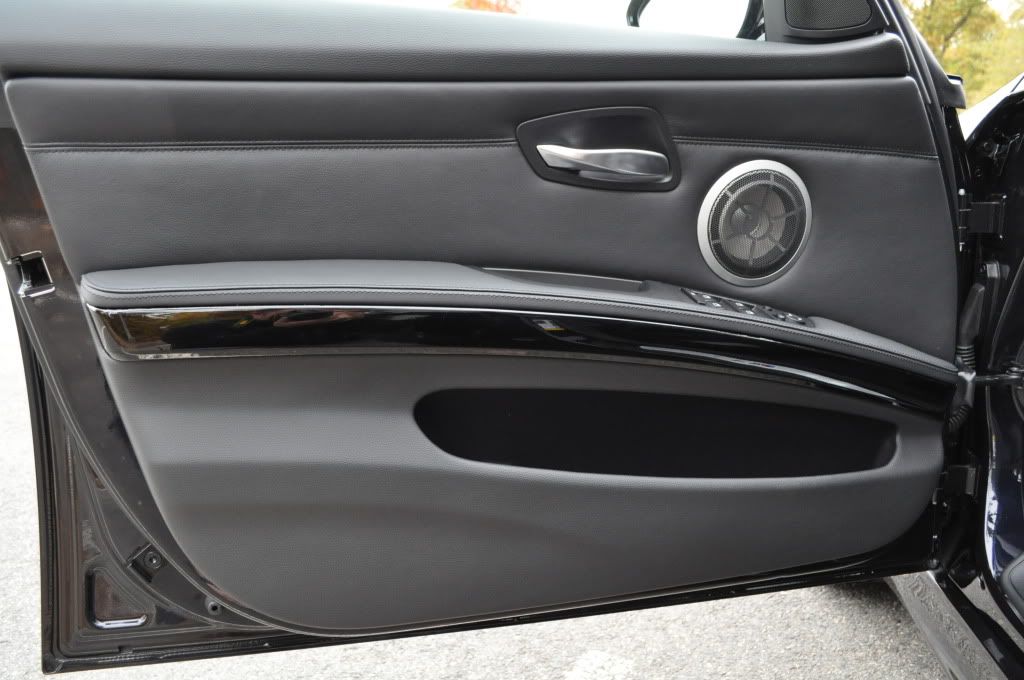
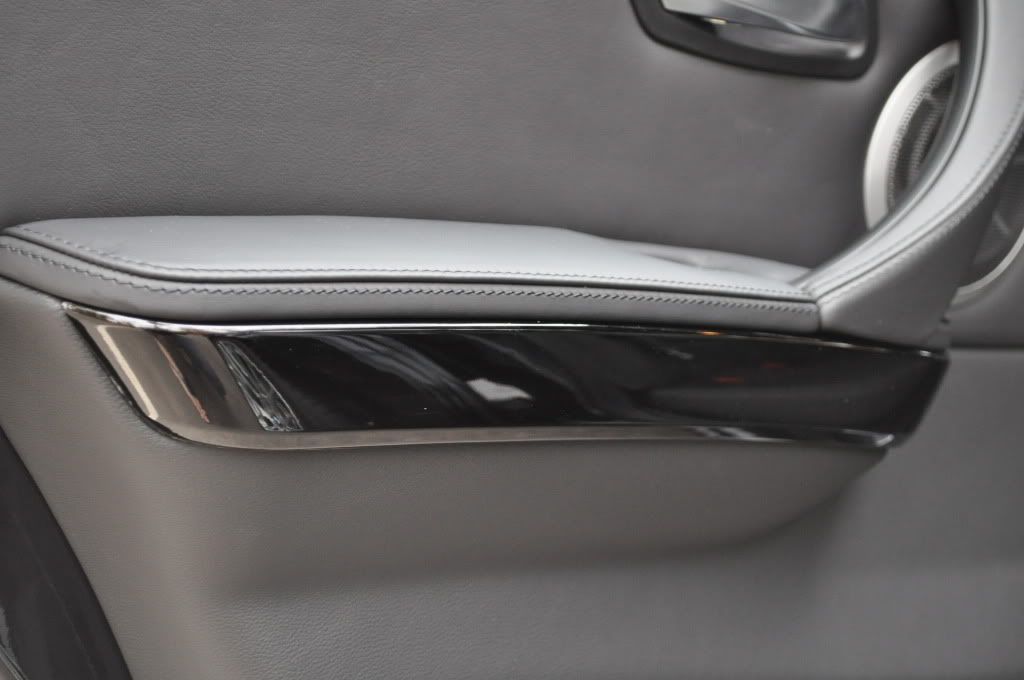
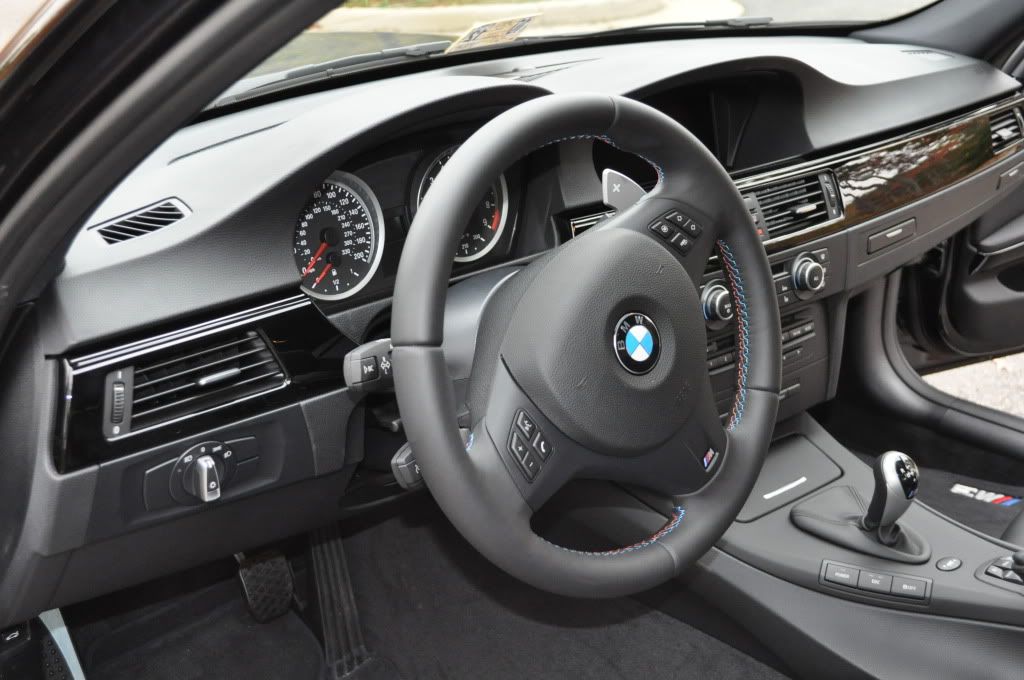
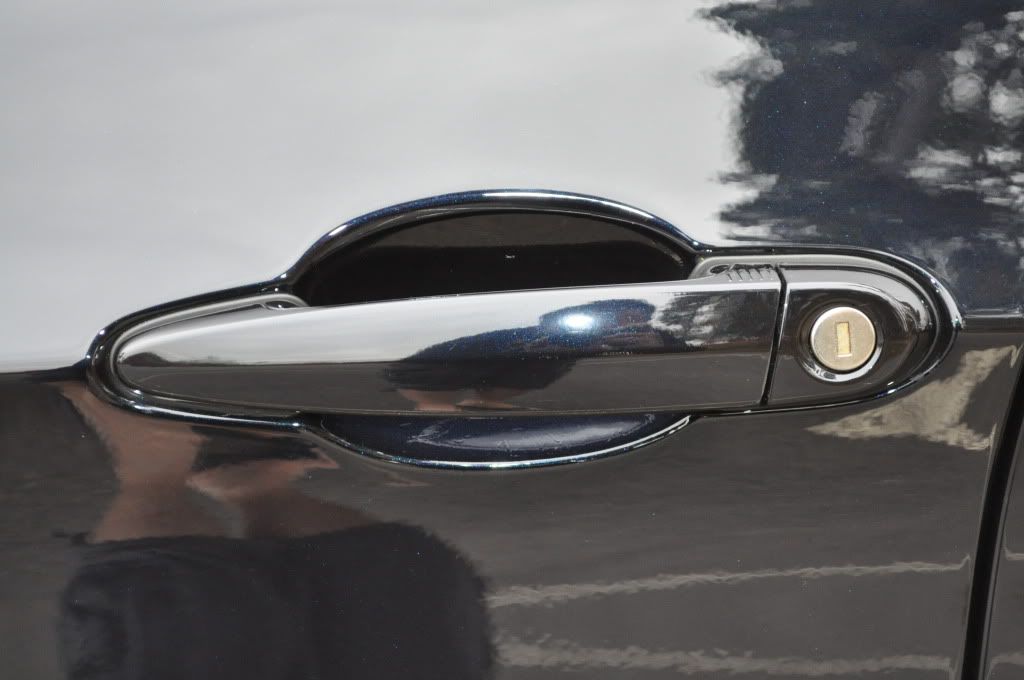
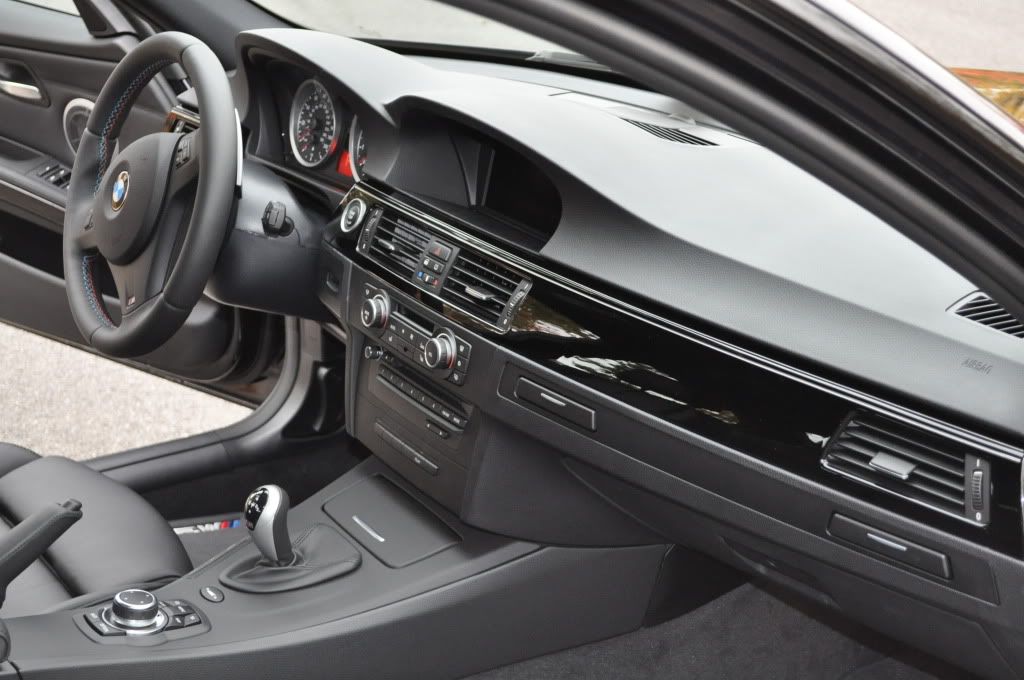 VentureShield Clearbra installed by Cliff at Auto Armour
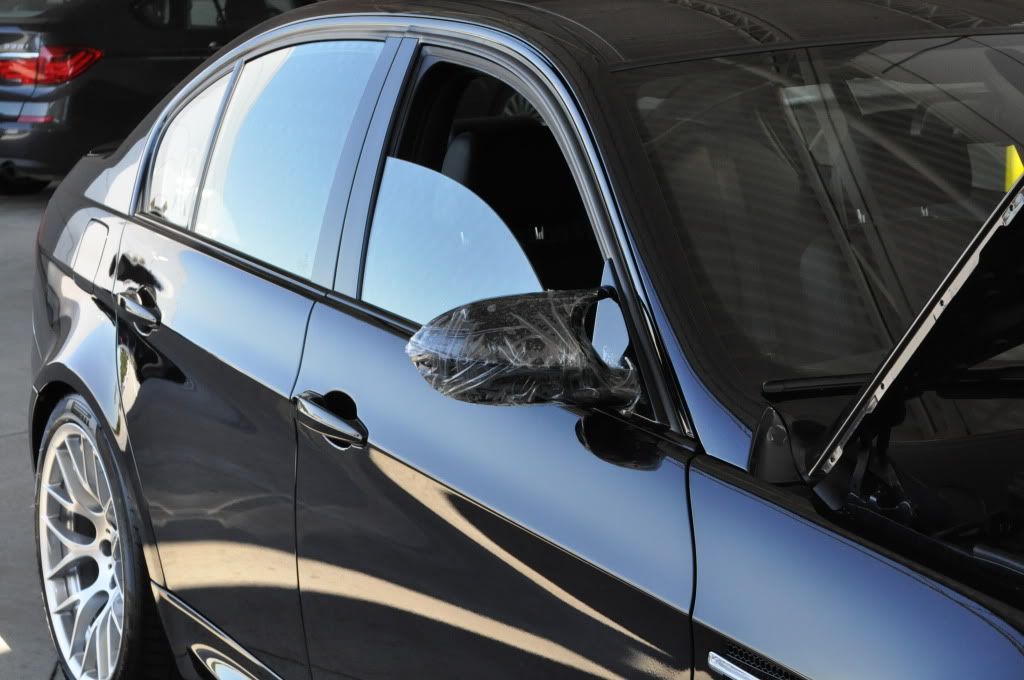
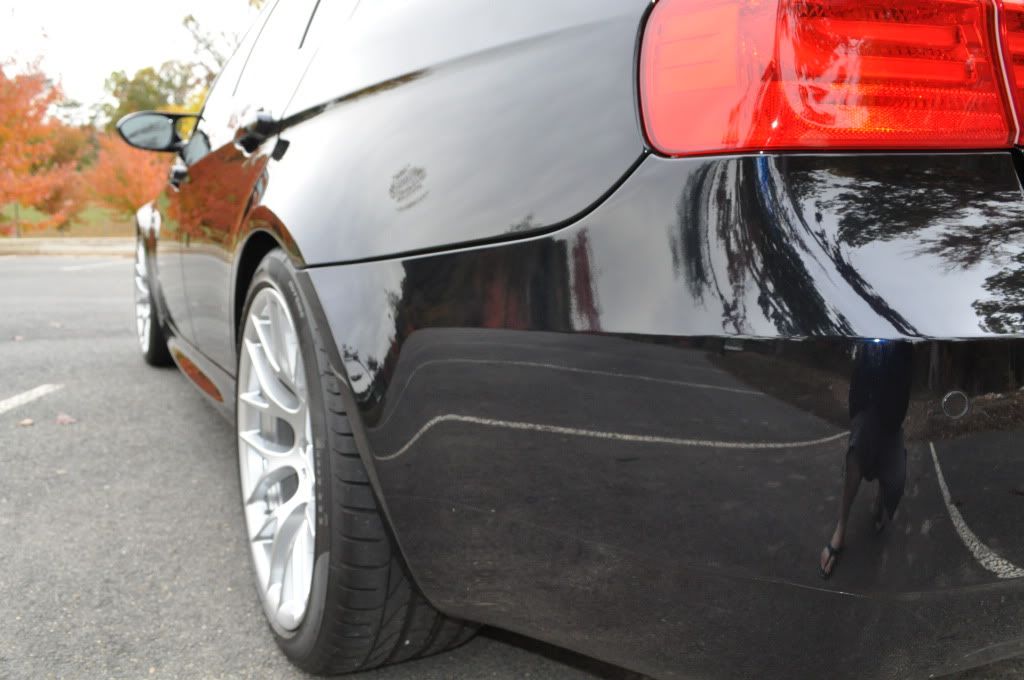
 – Clearbra’d the entire hood, bumper, side mirrors, door handles, rocker panels, A-pillar, 4” frontal roof, and rear bumper valence. Cliff and Chai did an excellent job. Cliff is very easy to work with. His facility in Columbia, MD is far from me but his great work on my gf's car made the drive worth it. He even picked me up so I can pick up my car!
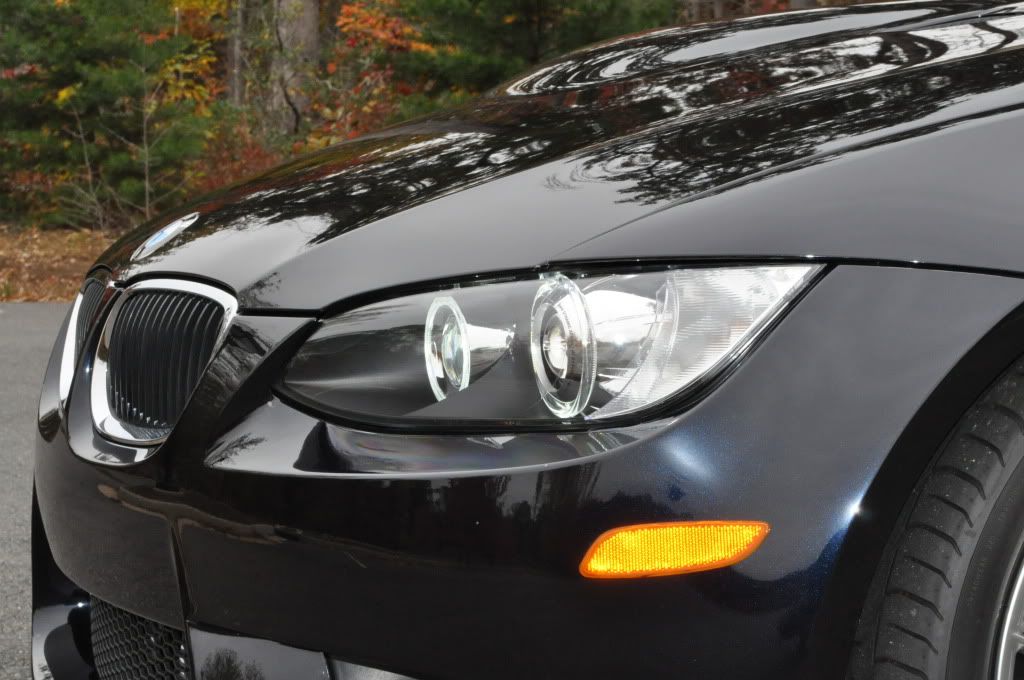

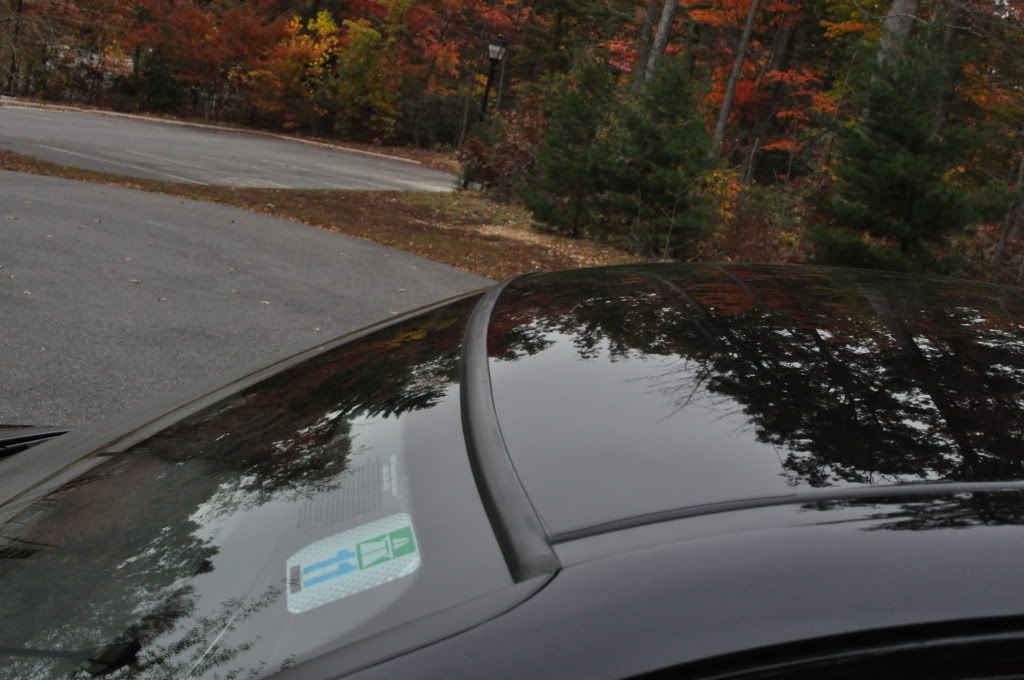
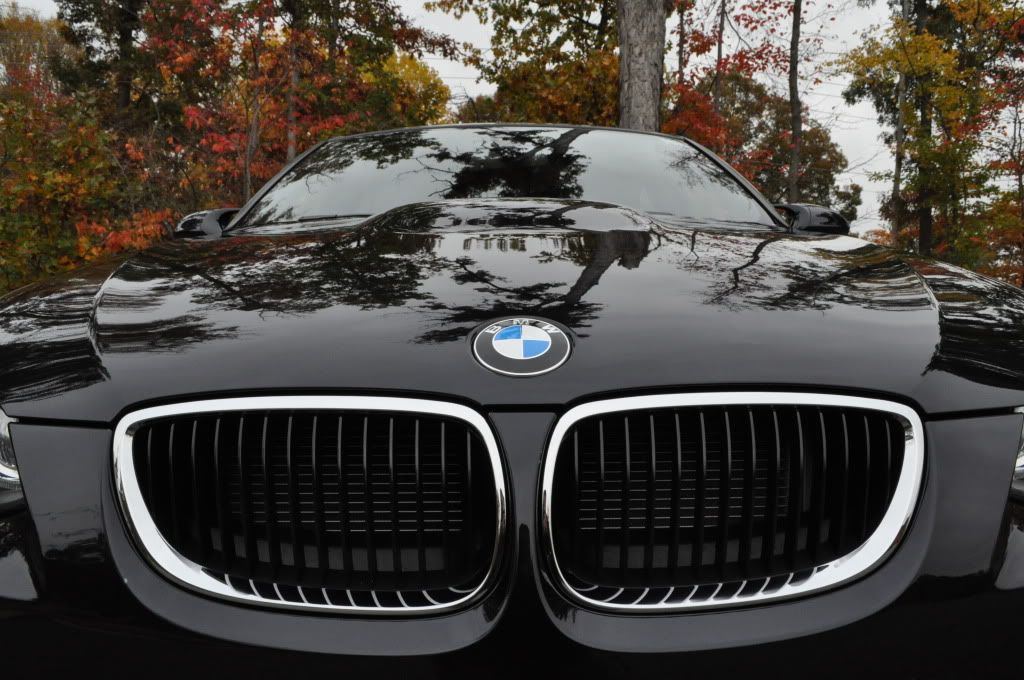
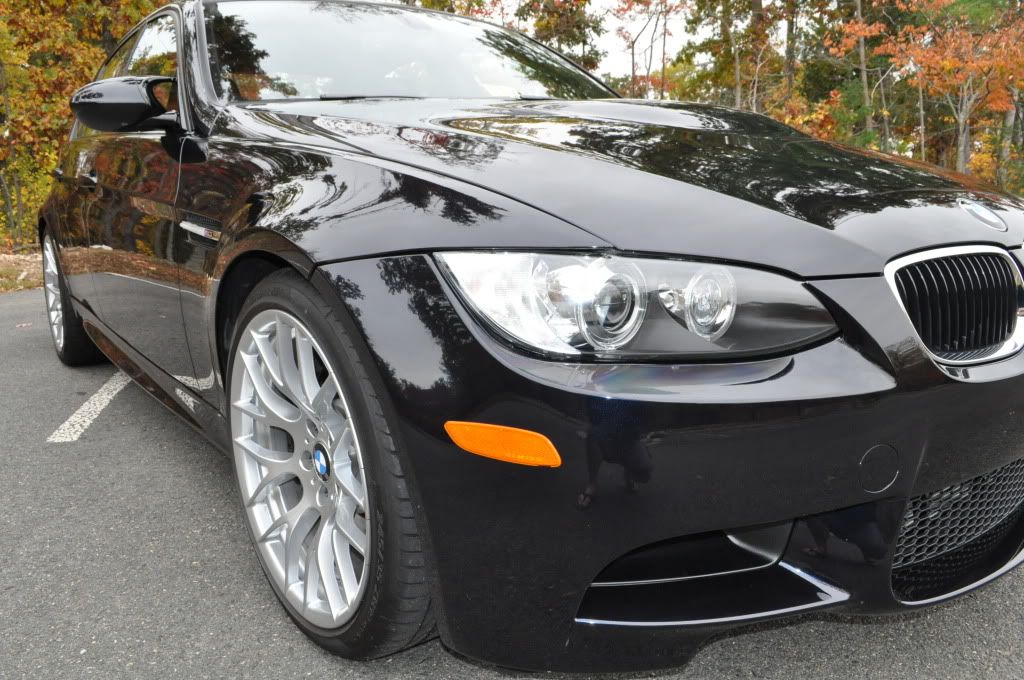
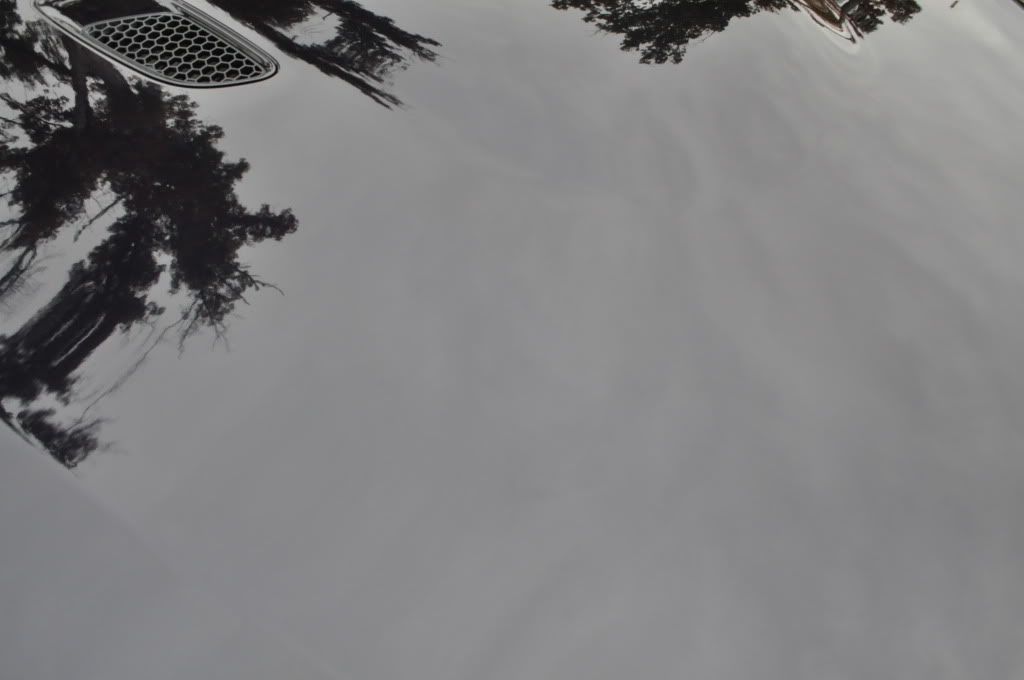
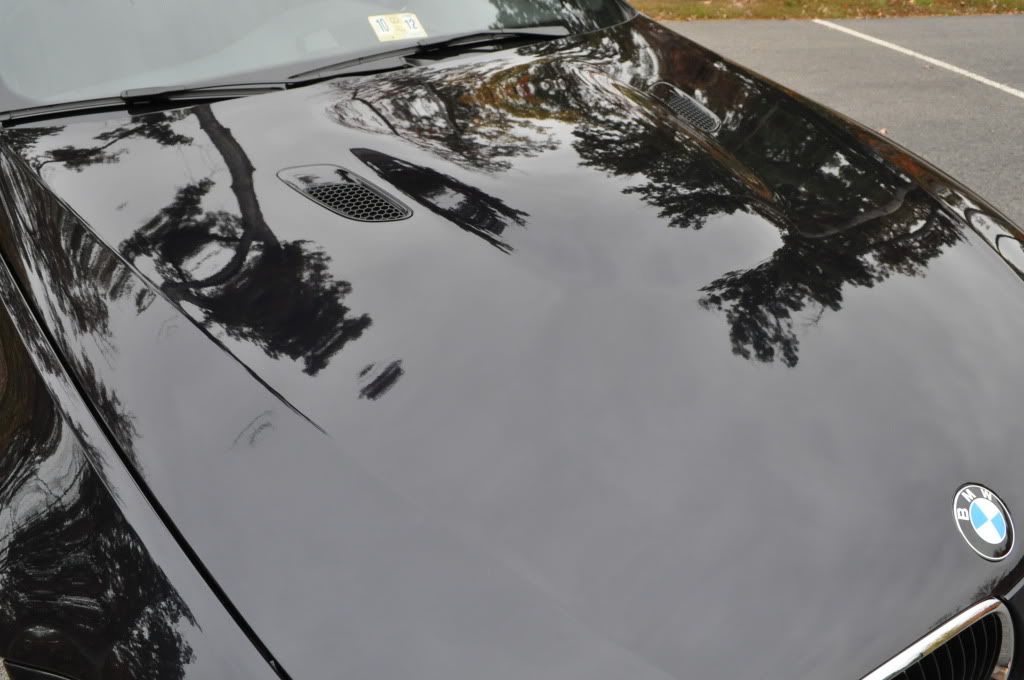
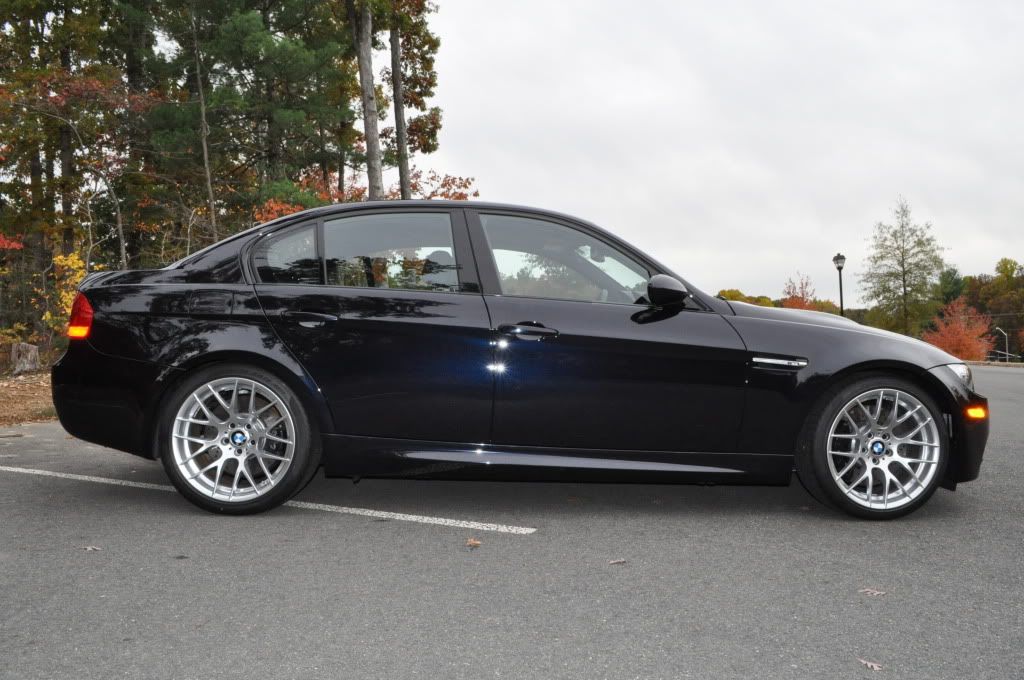
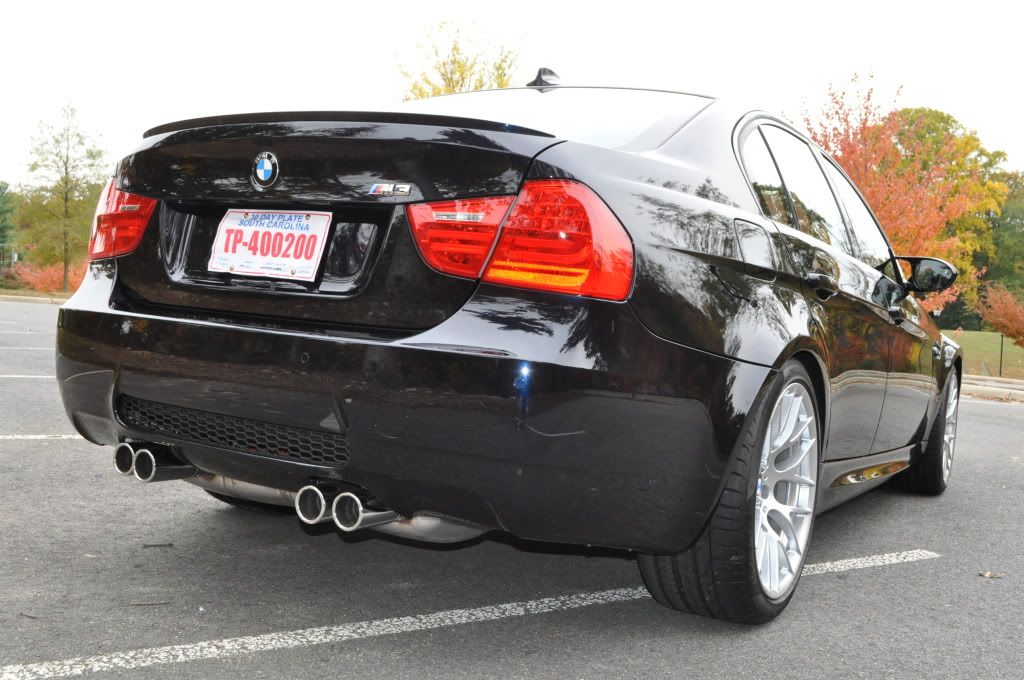
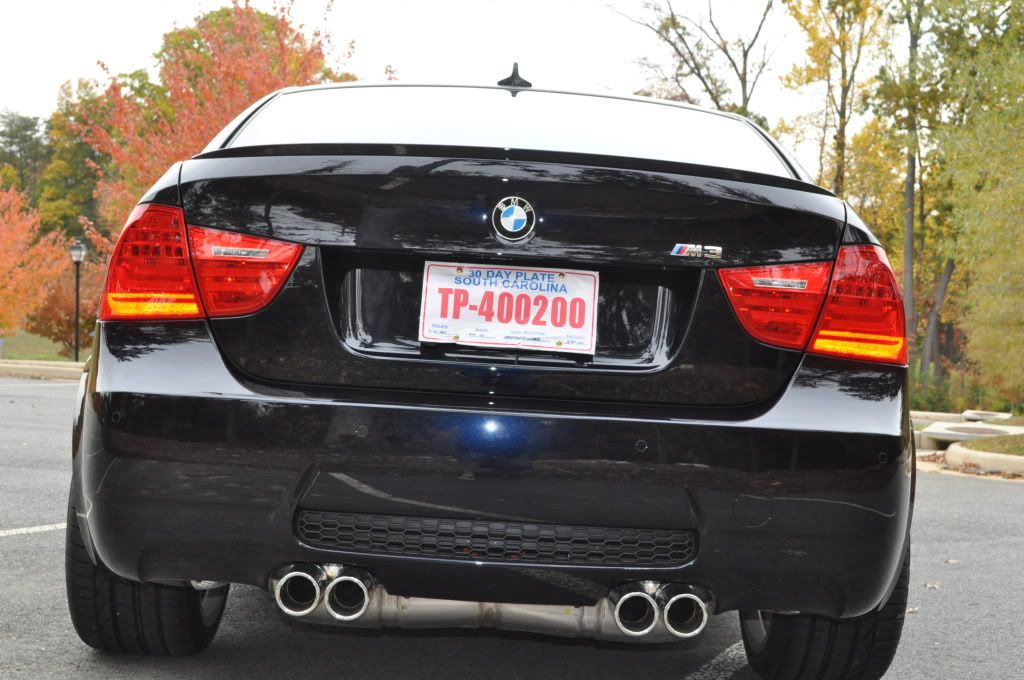
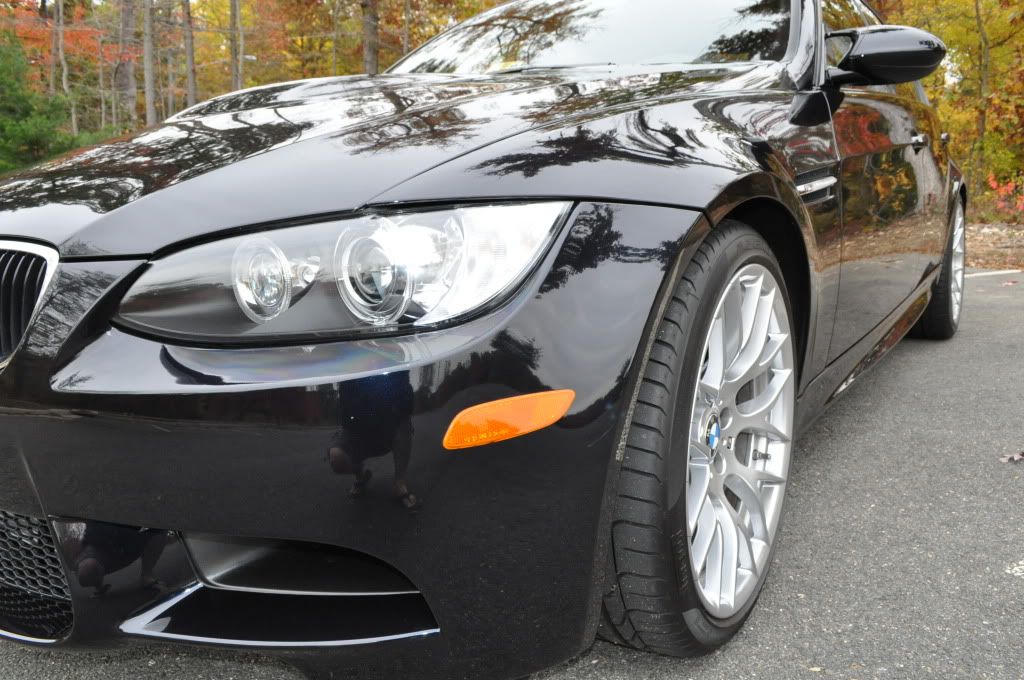
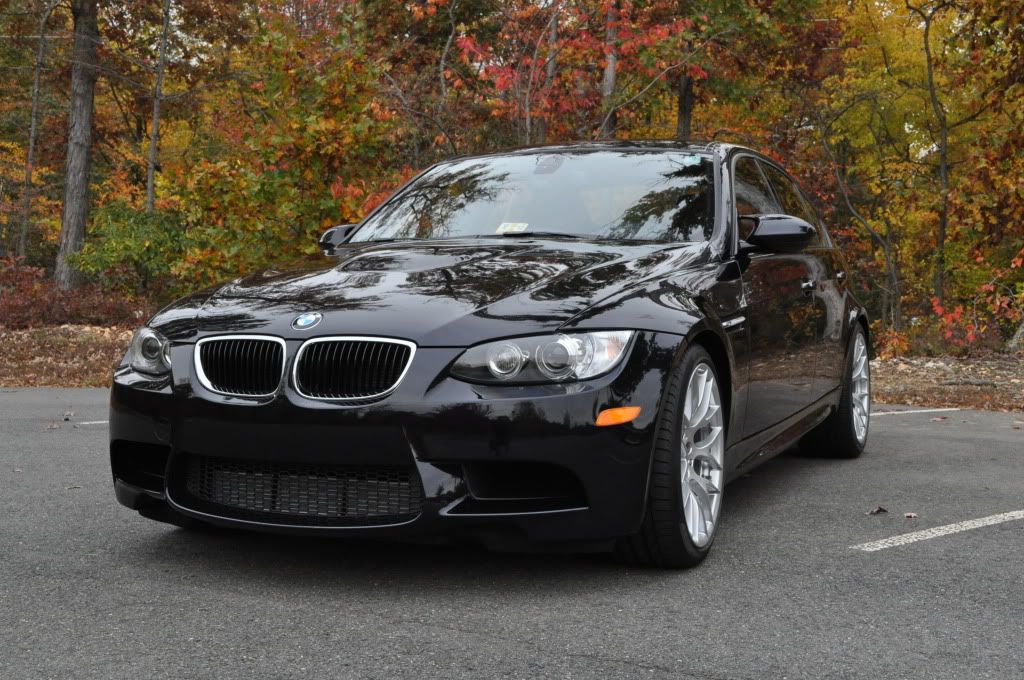
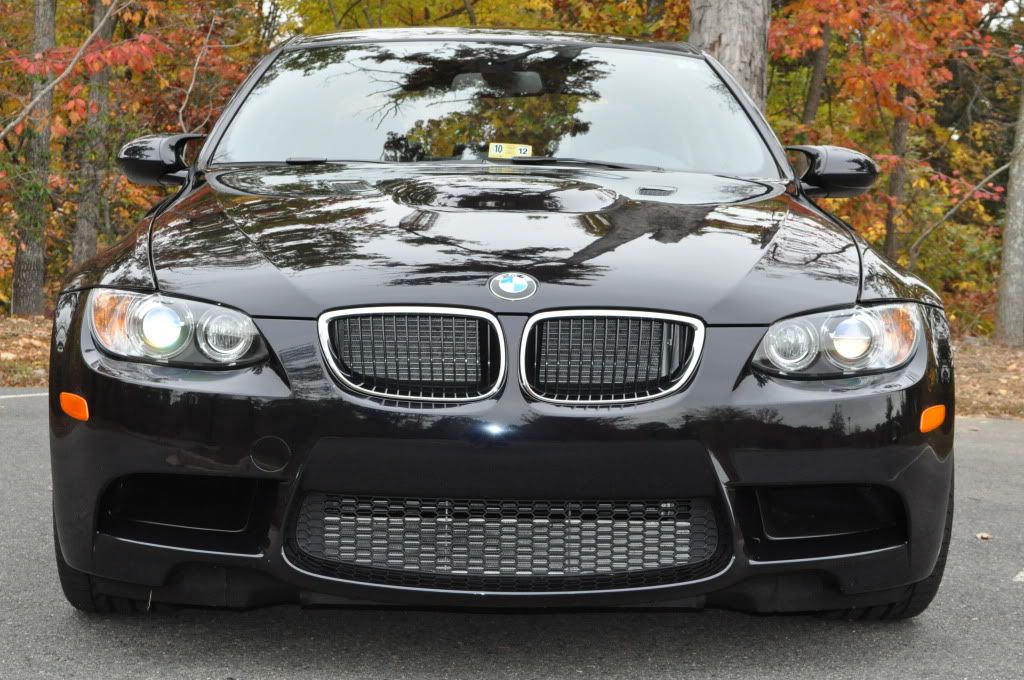 LUX H8 V3
 – The LUXs are bright and look much better than the standard amber AEs. Not as bright as the HID AEs or newer OEMs but closest to OEM in brightness and color.


 Akrapovic Slip-On Installation:
 Thanks to Cal@Sonic for quickly shipping out the exhaust. On order: Challenge Street x-pipe!
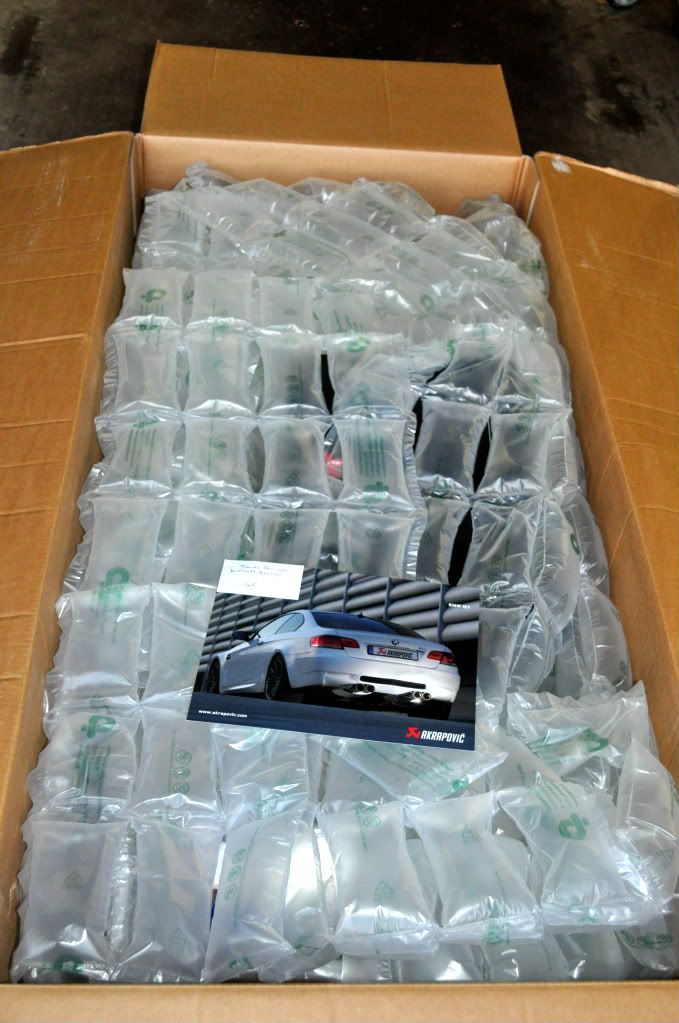
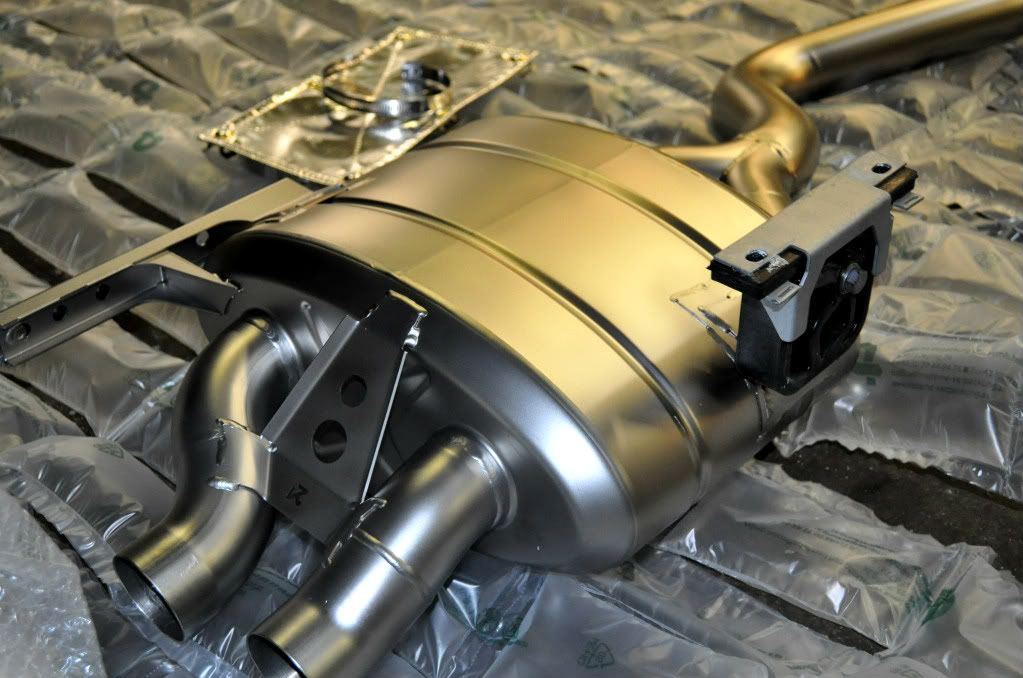
Fresh out of the box. The titanium Slip-on is so much lighter than the OEM exhaust.


Before with OEM exhaust.

OEM exhaust removal.
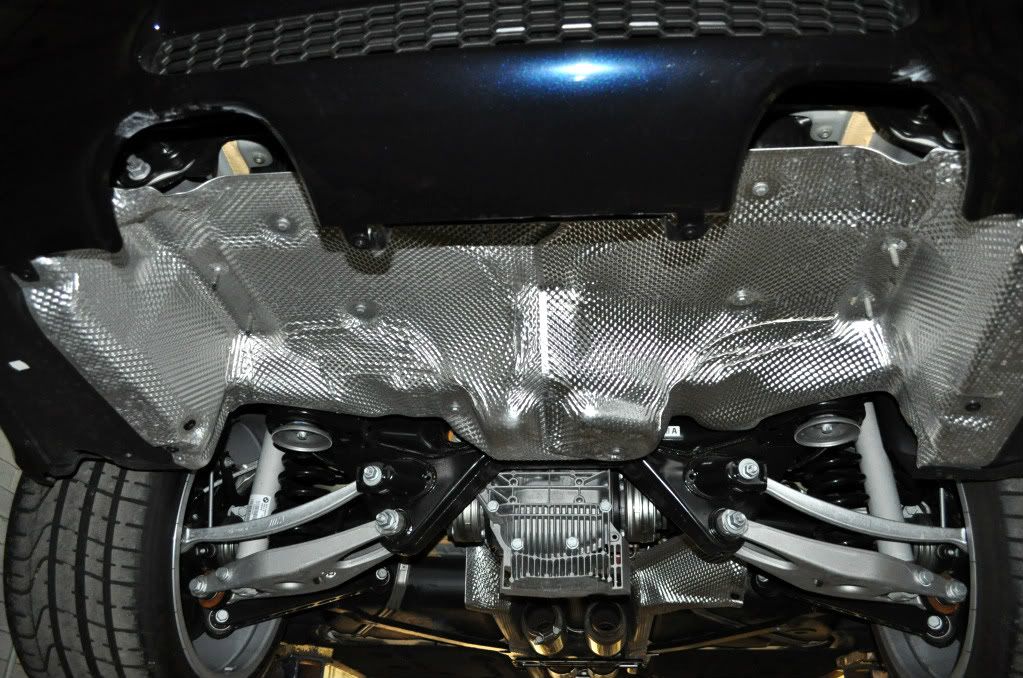
Heat shields on each side.
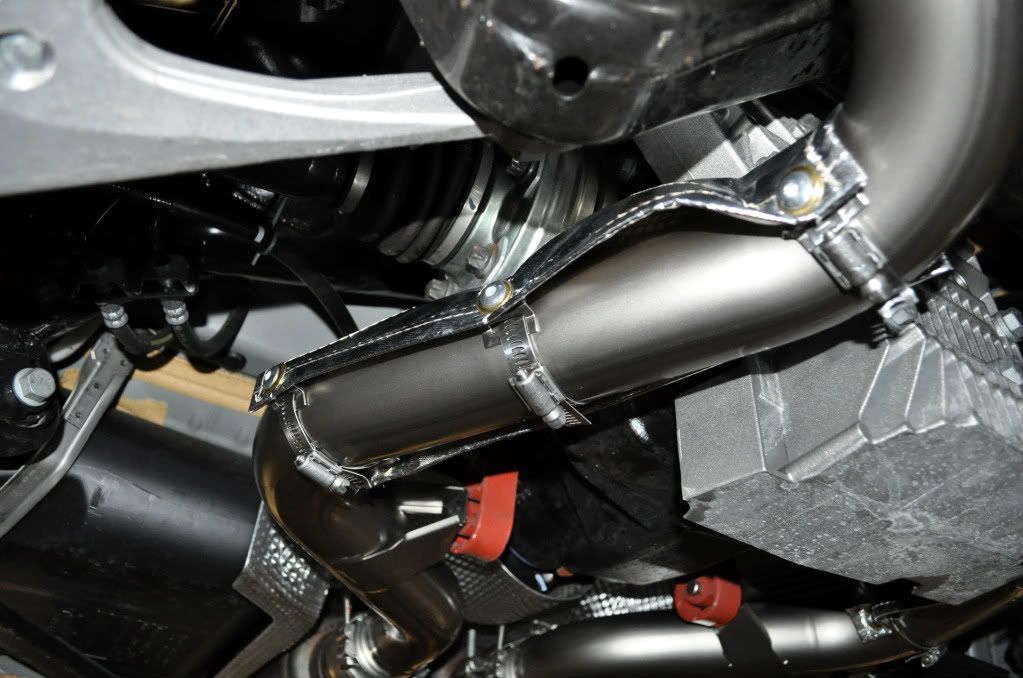
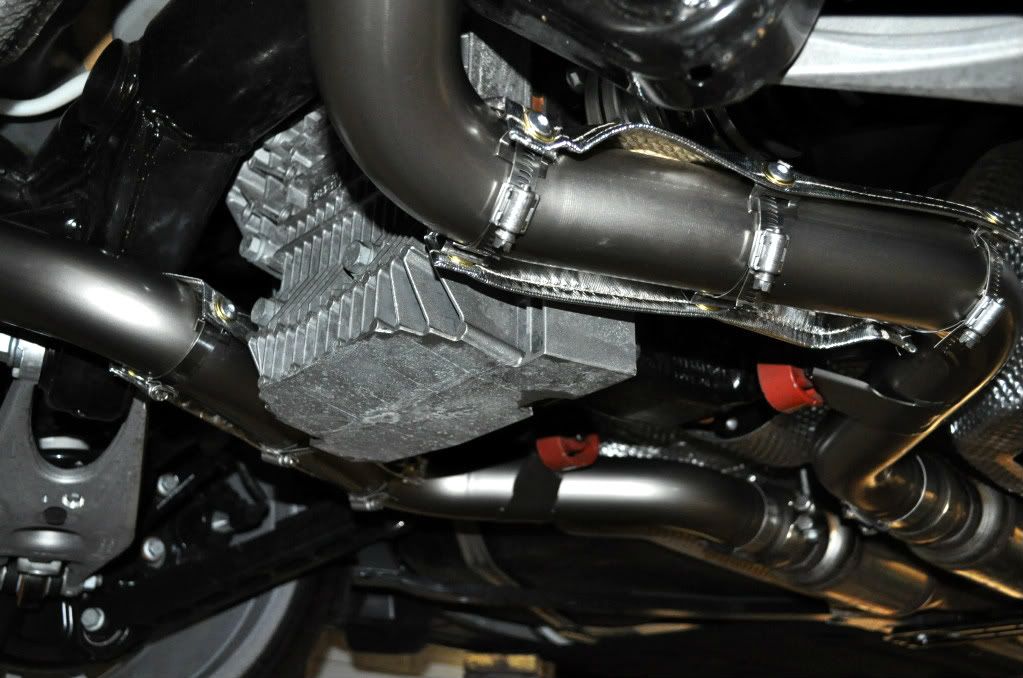
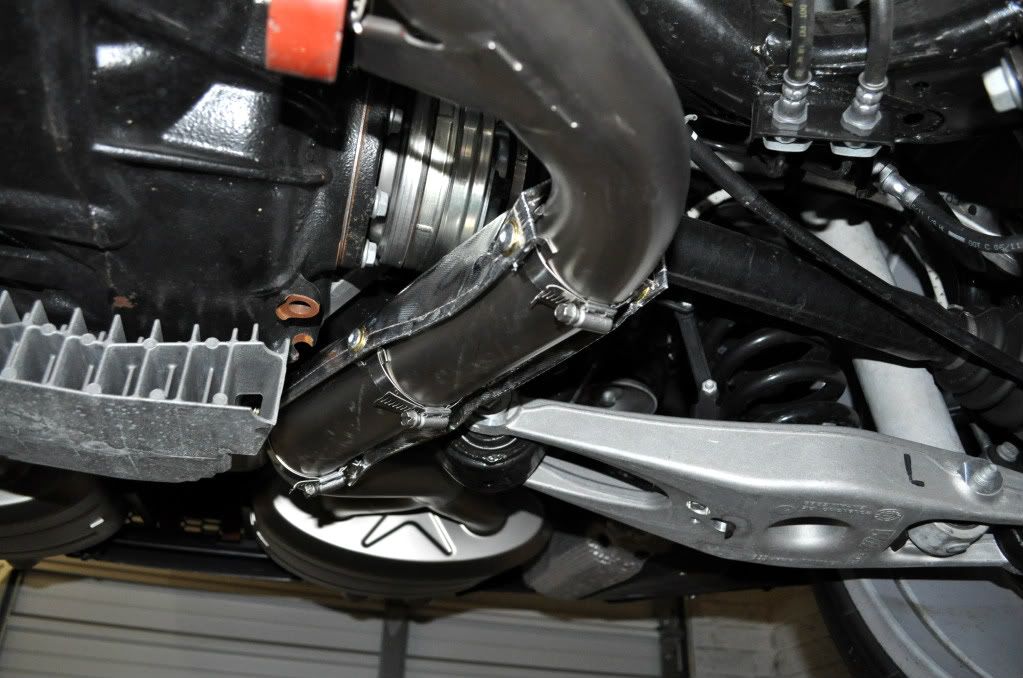
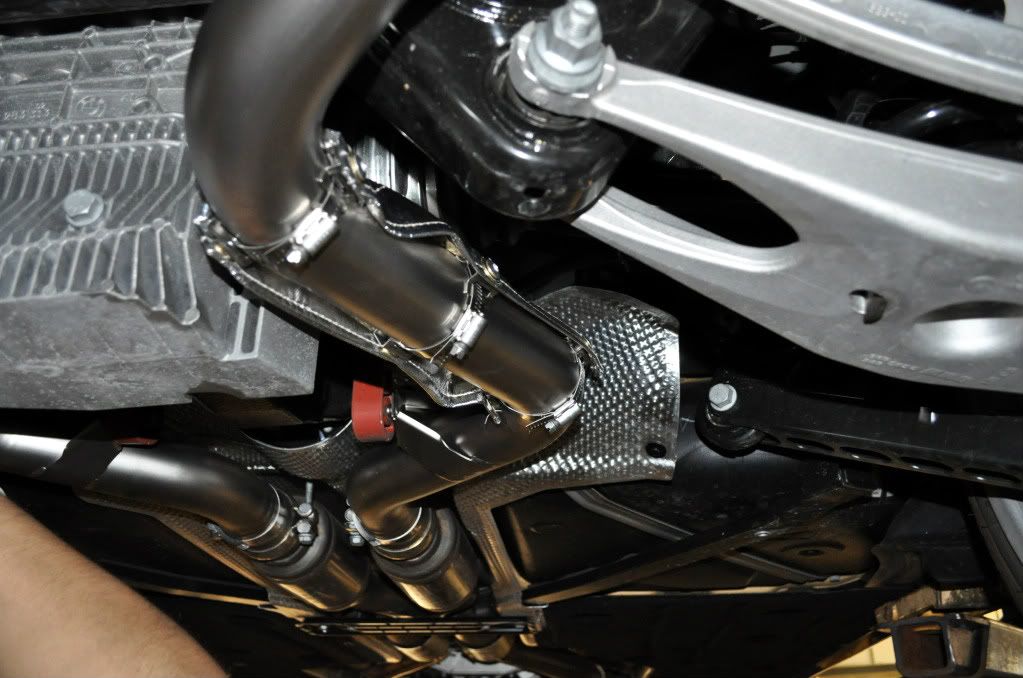
Without the tips.


Installation complete: Akrapovic Slip-on with titanium tips. The quality of this system is amazing. I really like the new exhaust note. It is definitely not loud at all except when you first fire up the engine.

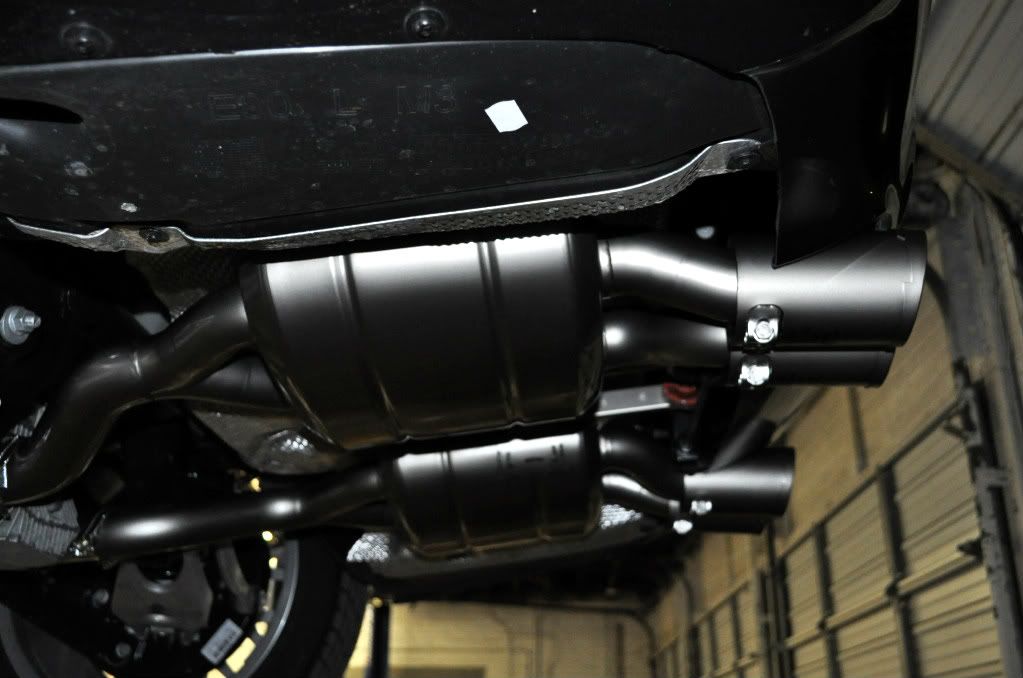

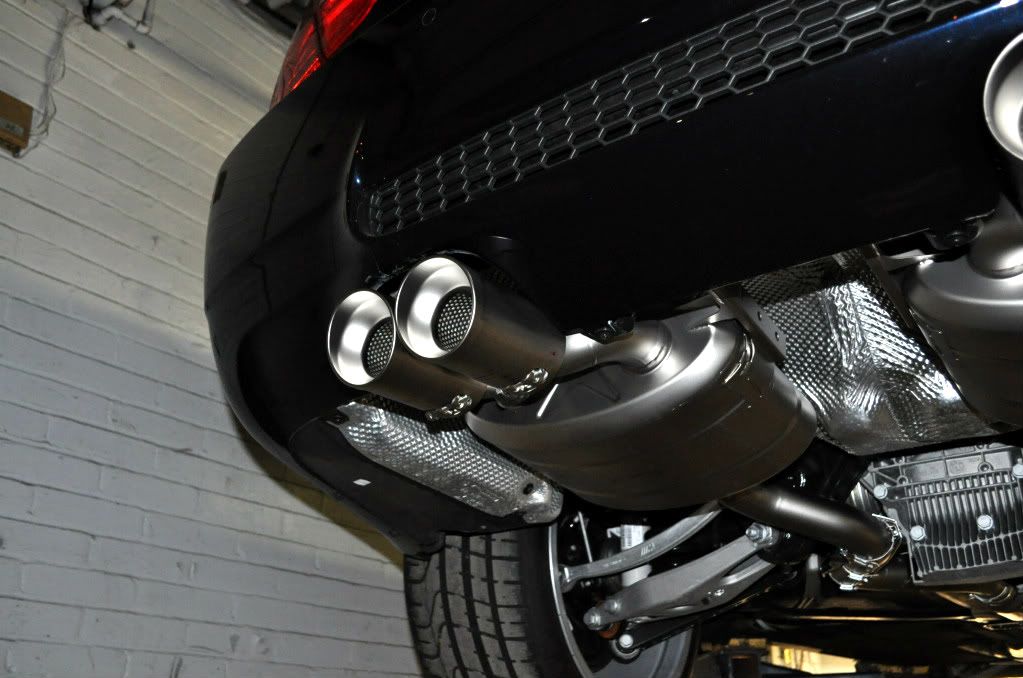
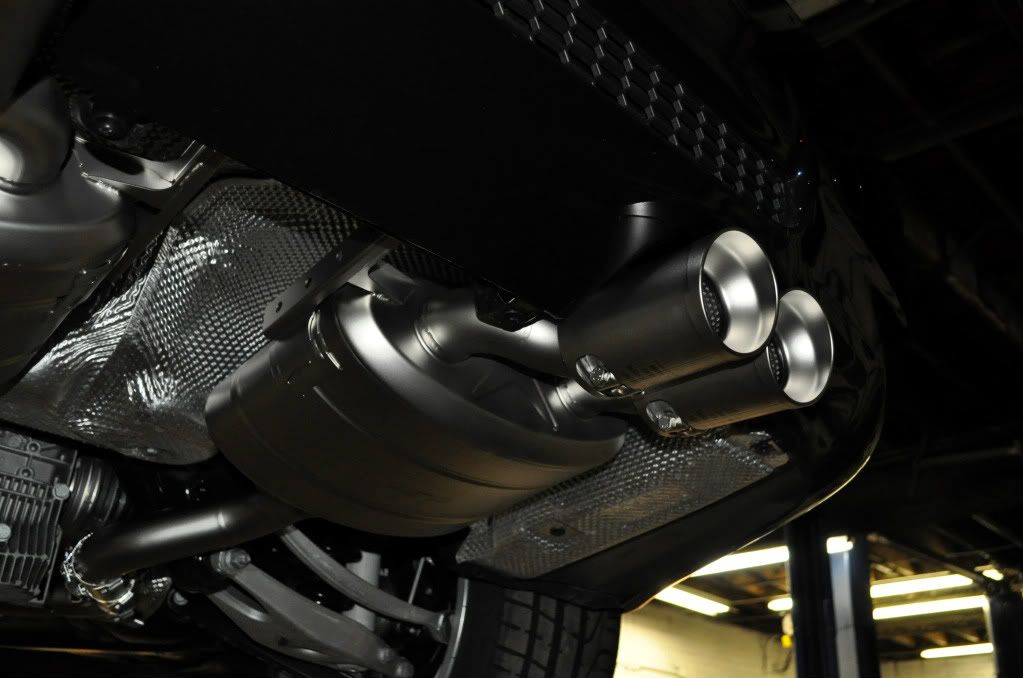
 Update: 12/27/2011
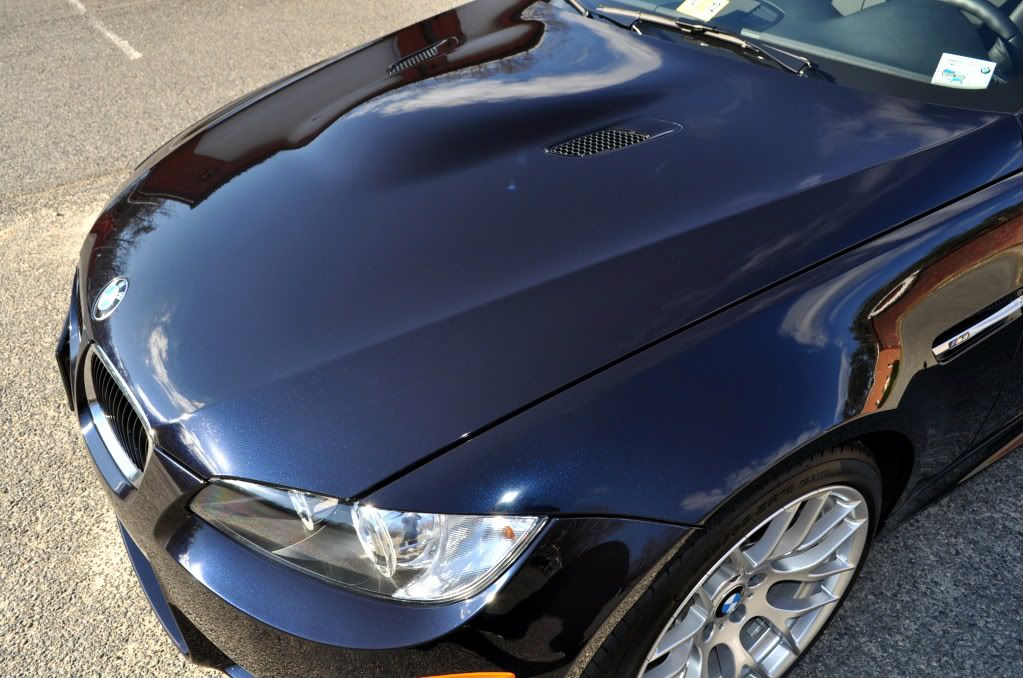
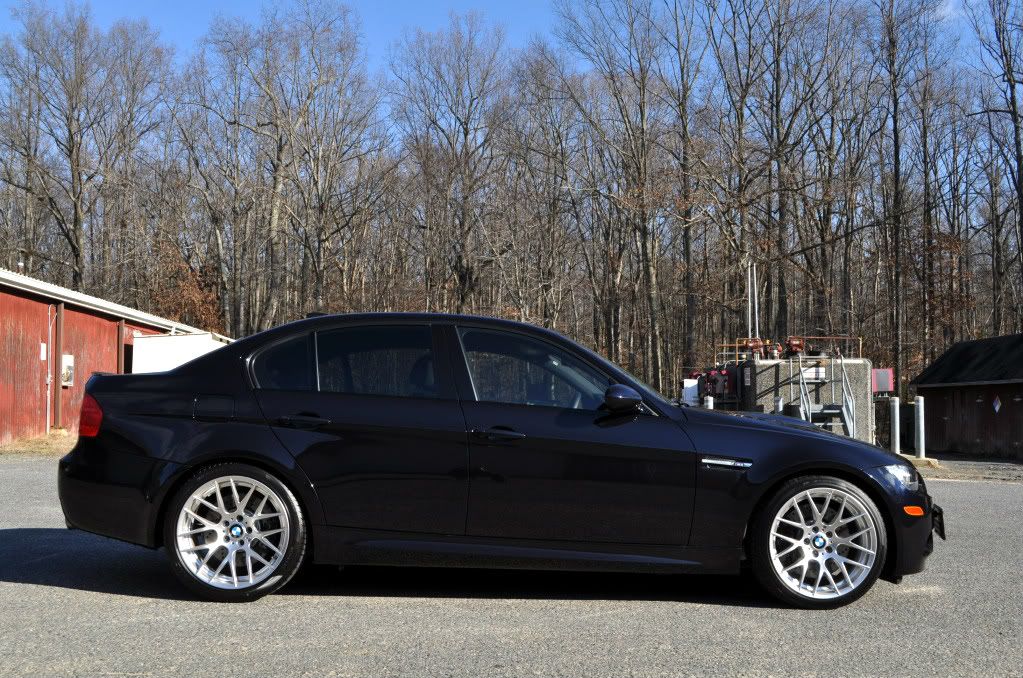
- Swissvax bi-annual detail. Since posting the original post, I installed an Akrapovic Slip-on titanium exhaust and Pinnacle Formula One tint 50% front, 35% rear.
The Swissvax Blau-Weiss smells amazing and leaves an incredible luster. I am also very happy with the Menzerna Power Lock. The Akra sounds great and boy was it light. I really like how subtle yet aggressive the exhaust sounds. I was not looking for an overly aggressive and loud exhaust. This system suits me perfectly. Up next is the Challenge Street x-pipe. It is currently on backorder.
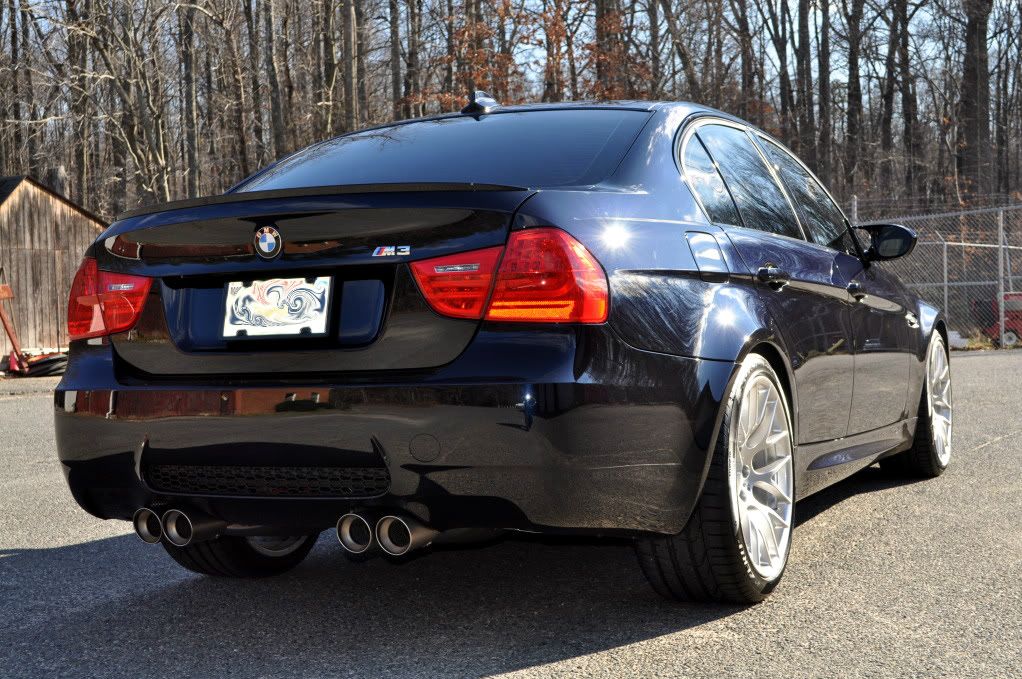
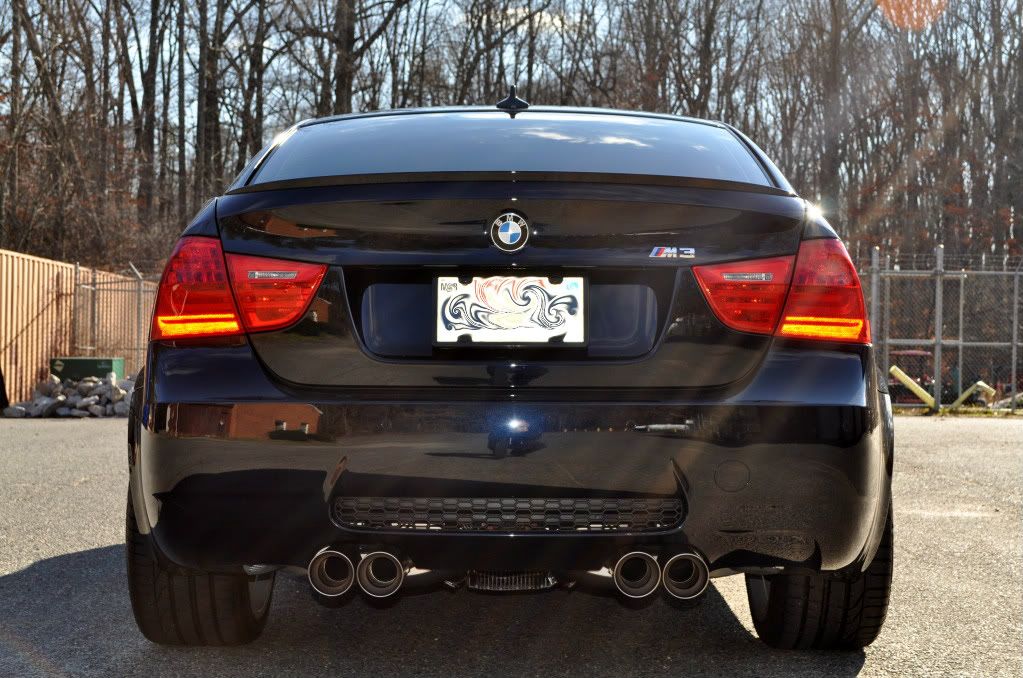
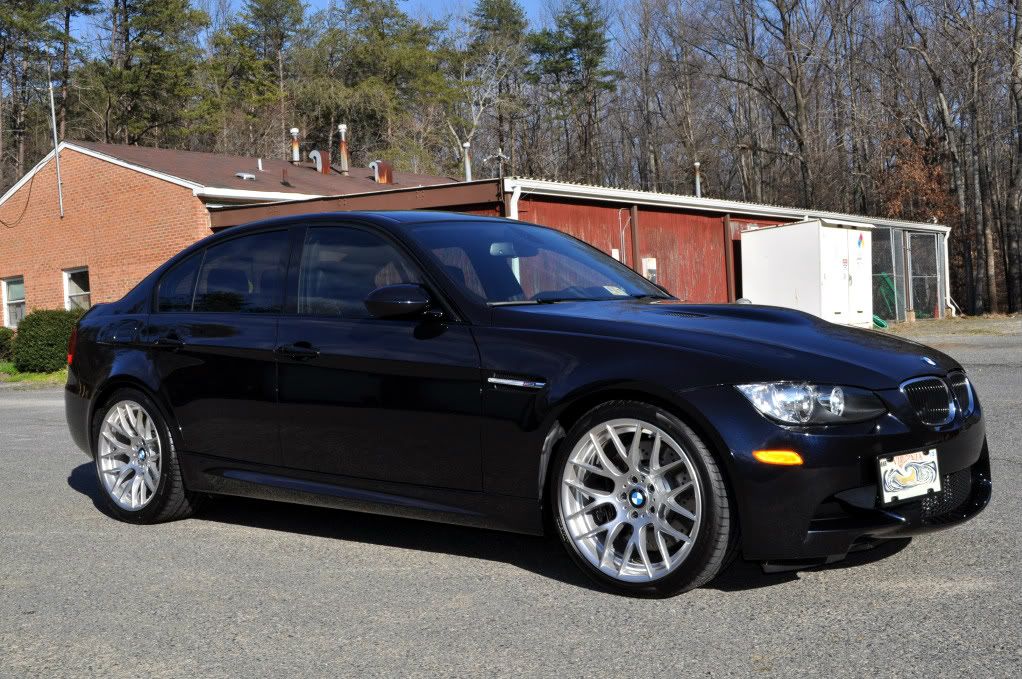
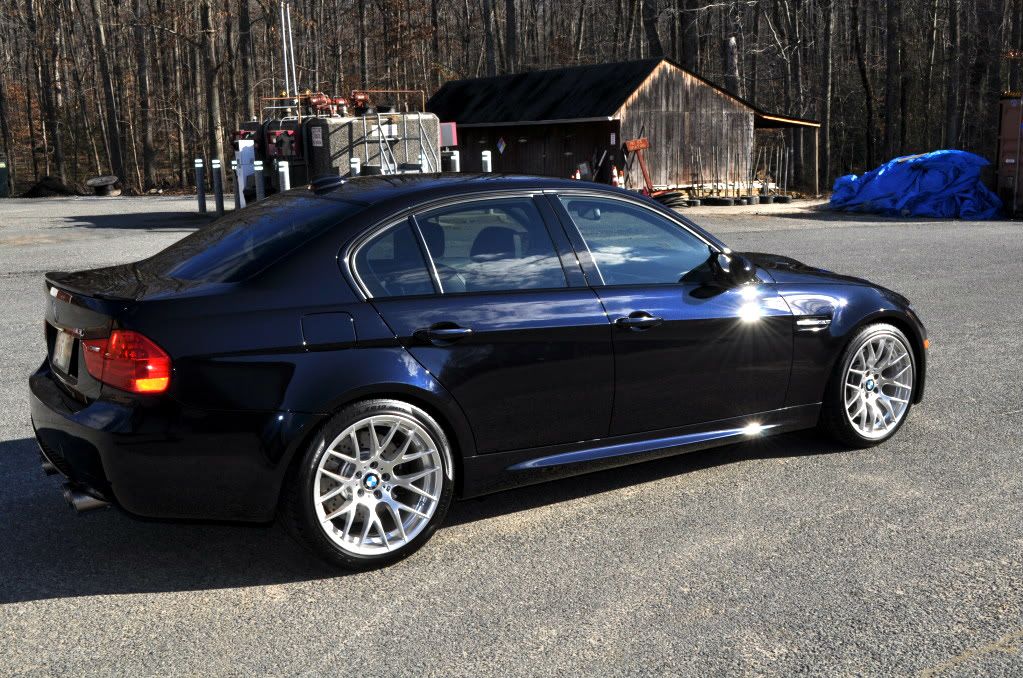
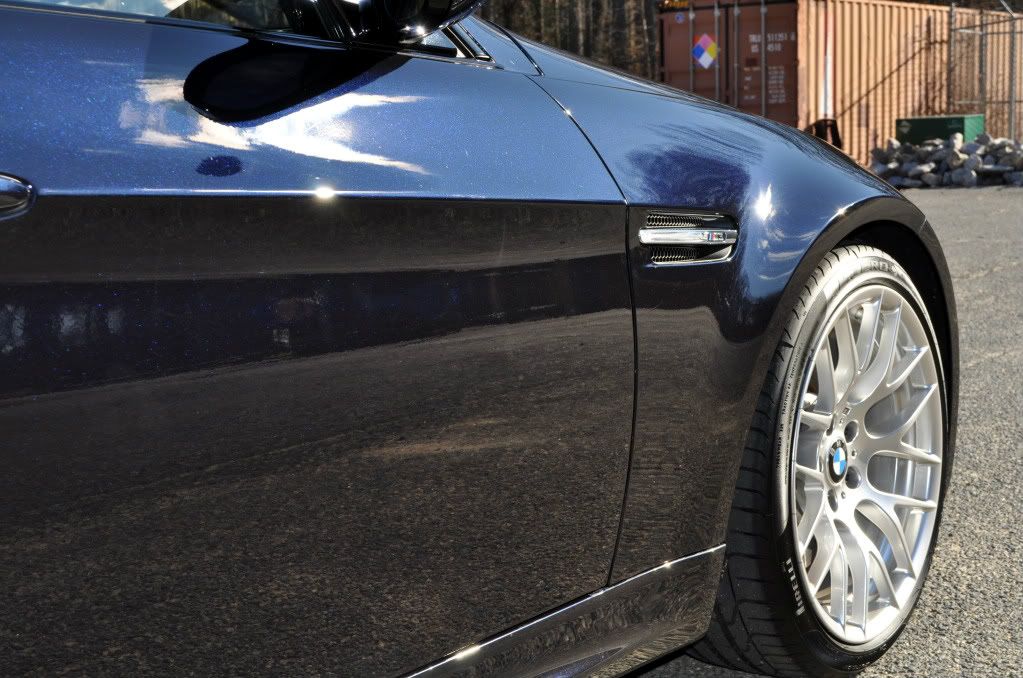
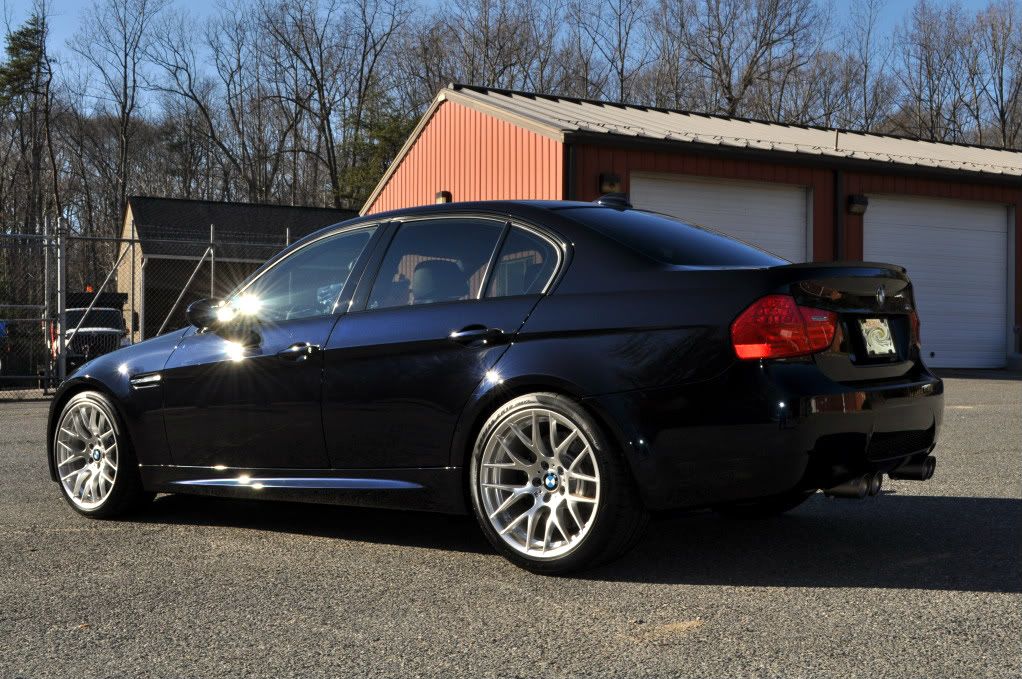
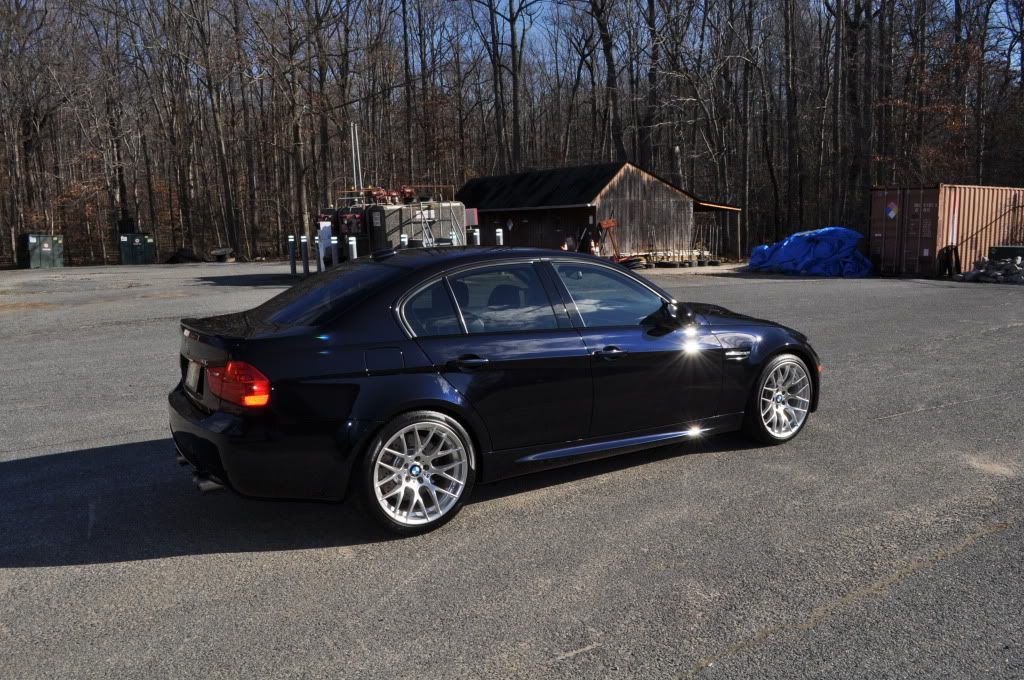 Challenge Street X-Pipe Install with Akrapovic Slip-On titanium exhaust.
Challenge Street X-Pipe install at Benchmade Proper in Elkridge, MD. It is about an hour away and well worth the drive. Joe and Brian took their time installing my x-pipe. The attention to detail they displayed provided comfort. It took about two hours for the complete install. Joe and Brian were down to earth peoples. We talked about cars the entire time. I will be bringing my other cars here for additional fabrication work.
The Akrapovic Slip-On + Challenge Street x-pipe sounds much more aggressive than the Slip-On/OEM setup. I noticed minimal to no drone below 3k rpm. However, cold start is louder than the already loud Akra with OEM mid-pipe. Neighbors not going to be very happy.
Overall: More aggressive than Slip-On alone and not obnoxiously loud.
Benchmade Proper
6350 J S Hanover Rd
Elkridge, MD 21076
(410) 540-9990
www.benchmadeproper.com
Complete install pics. Video to come soon…
Opened Challenge Street X-Pipe


Before with OEM mid-pipe & Akra Slip-On

OEM removed - front

OEM removed – rear

OEM & Challenge

Cutting the OEM cat off.

Prepping and sanding down the OEM cat.


OEM cat ready to be installed.

Reinstalling OEM cat.


Perfecting the measurements.

Preliminary weld.


Welding the OEM cat to the Challenge x-pipe.


Fav pic…The M mid-pipe grave. From left: M5, M3 (mine) and M6.

Rear view.

Weld complete.


Finally…some installed pics!


Video coming soon…
Thanks for checking out the post! I will continue to update this thread with additional installs.