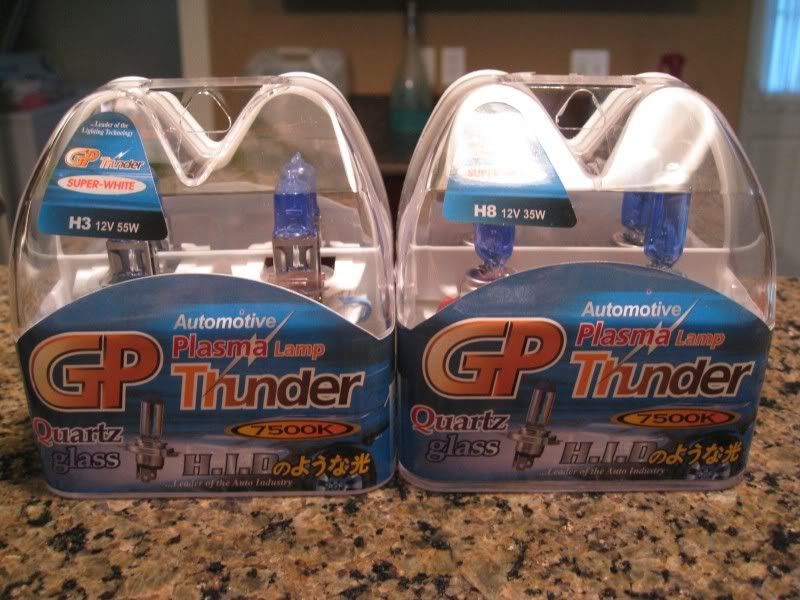
Here are GP Thunder H3 and H8 7500K bulbs.
I will begin by installing the H3 corner light bulb first.
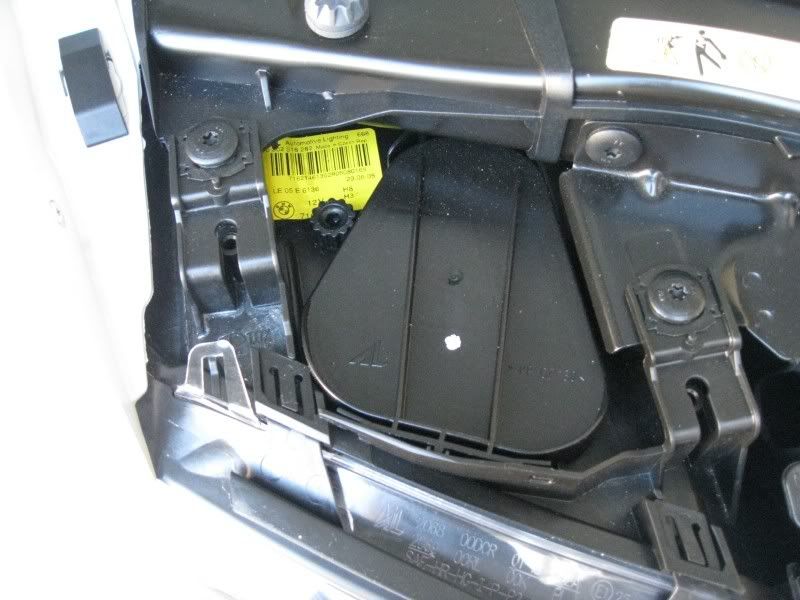
Passenger Side: Cover
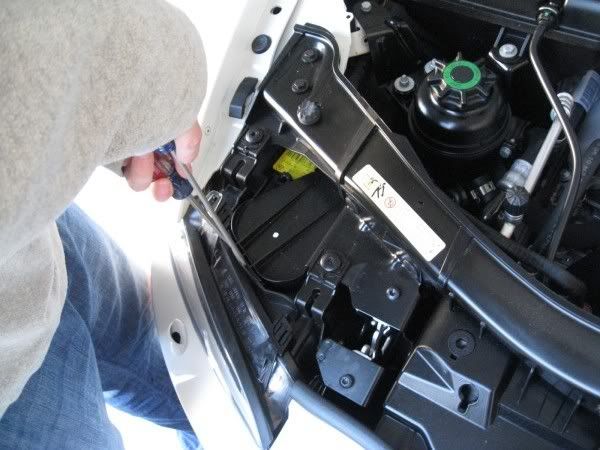
Passenger Side: Get two flat screwdrivers (skinny tips) and pry off the plastic with some force simultaneously. You will end up bending part of the plastic on the frame of the car...it will inevitably happen but it's no big deal.
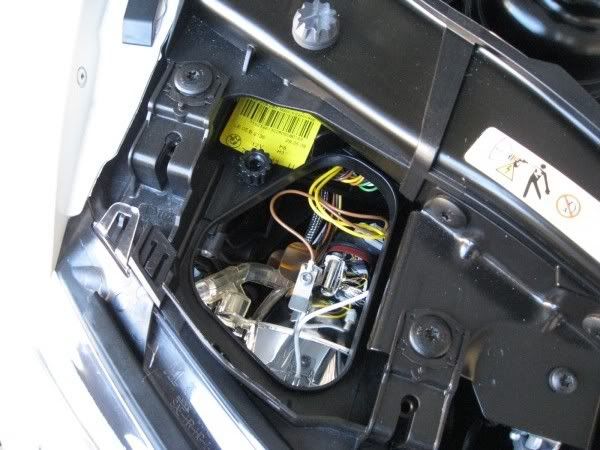
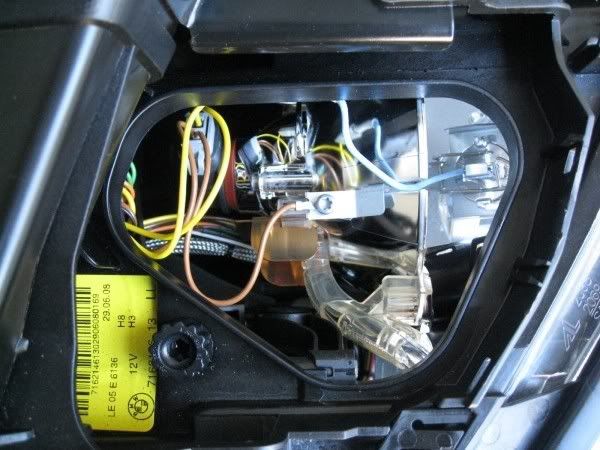
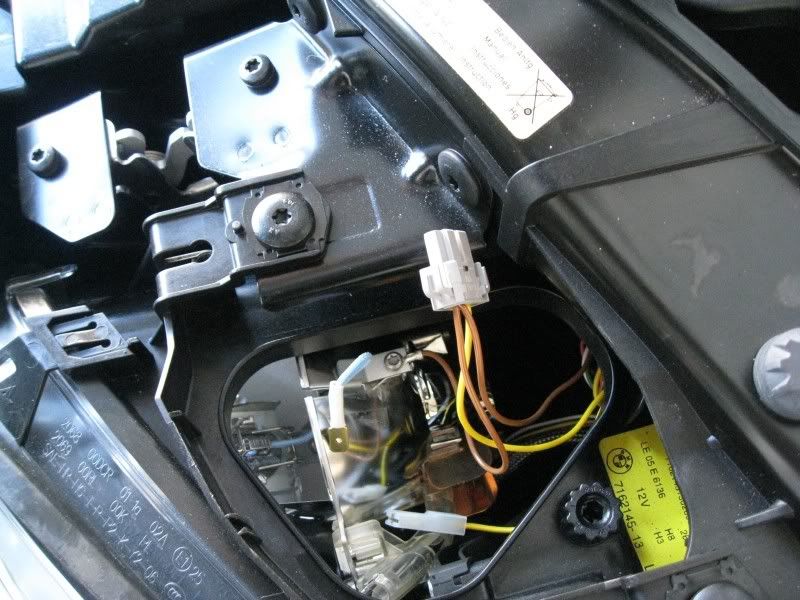
Passenger Side: Here you can see the stock wiring. Although you can barely see the spring clip (bottom of picture), to unhook the clip, assuming you are standing in front of the car, move the clip to the right and it will spring upwards to release the stock H3.
Passenger Side: Here is the wiring harness. I have already disconnected the stock H3 simply by sliding it off from the wiring harness.

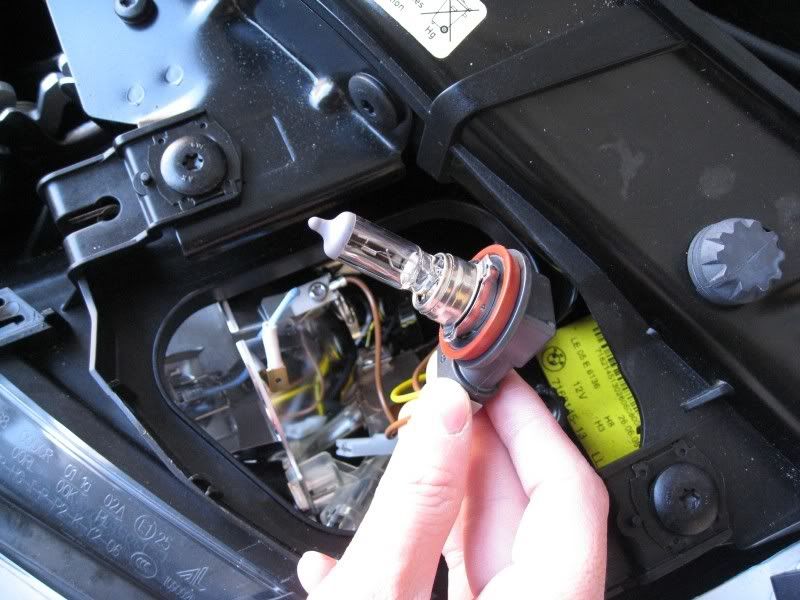
Passenger Side: Here is the GP Thunder H3 bulb. (Note, that is NOT my finger, but my girlfriend's, who served as the photographer for this DIY.)
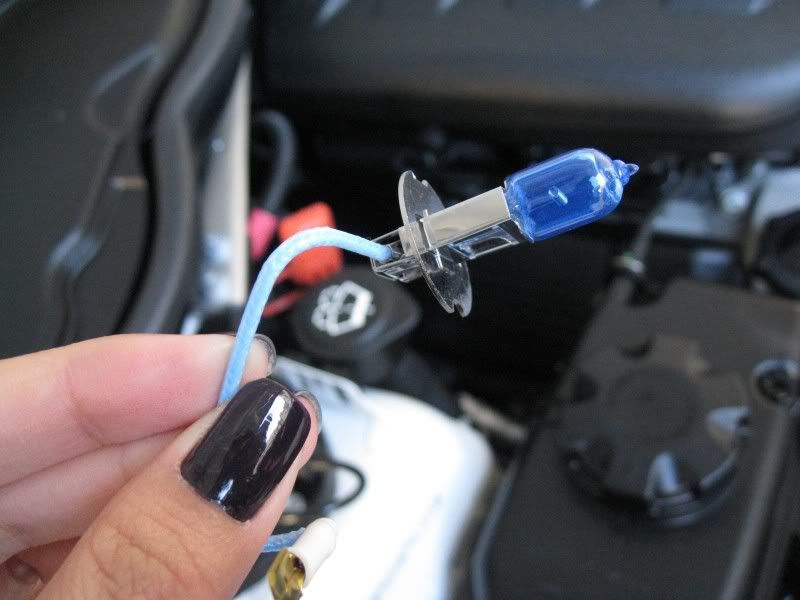
Passenger Side: Connect the GP Thunder H3 bulb to the stock harness by sliding it on.
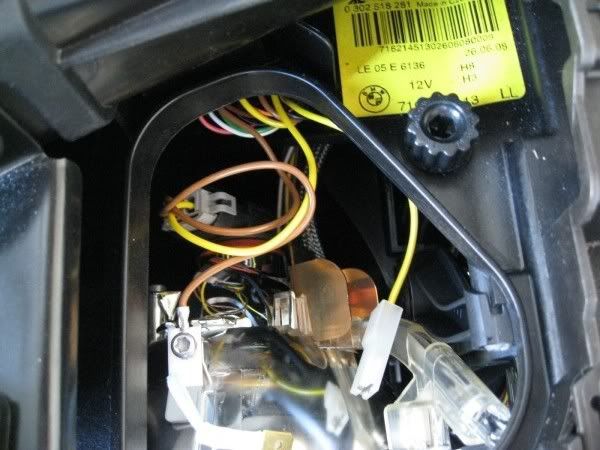
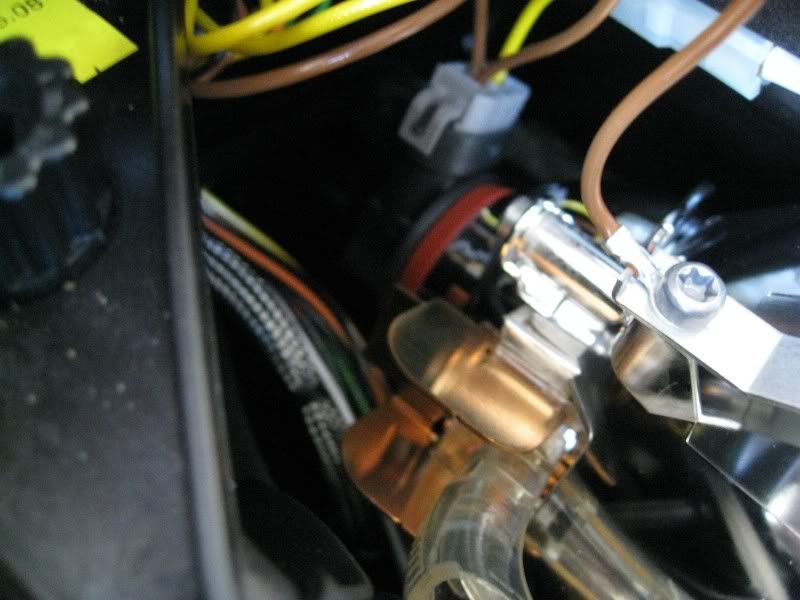
Passenger Side: Here is the GP Thunder H3 bulb installed and locked in place. This picture was taken standing from the side of the car. You will have to use the spring clip (right side of picture) to press down, then to the left to lock in the GP Thunder H3. Done!
Driver Side: Now, I will install the H8 angel eye bulb on the Driver Side, because it is a whole lot easier compared to the passenger side. Note the angle of the stock location. To release the H8, assuming you are standing in front of the car, rotate the H8 to the right (clockwise) about 90 degrees and the bulb will suddenly loosen. You MUST pay attention to when the bulb loosens out and is free, because to install the new H8, you'll have to begin screwing in at this point.
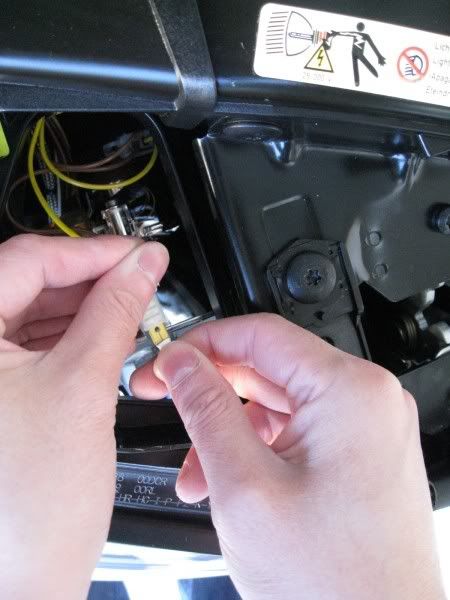
Driver Side: Very carefully, pull out the H8. You'll need to maneuver through the wires in this confined space. Here is the stock H8 bulb, still connected to the stock harness.
Driver Side: Disconnect the H8 bulb by releasing two clips on the side of the harness. Insert the GP Thunder H8 bulb into the harness. Assuming you are standing in front of the bumper, maneuver and rotate to the left (counterclockwise) the bulb back in place.
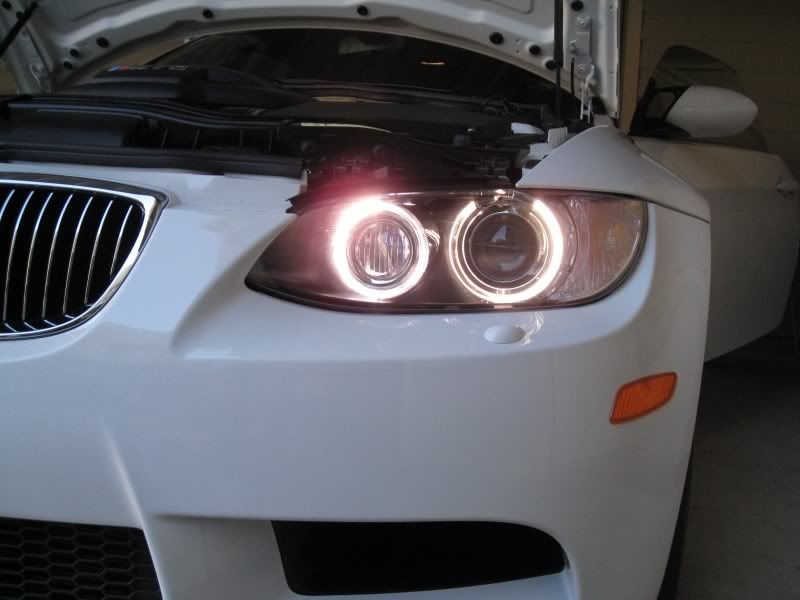
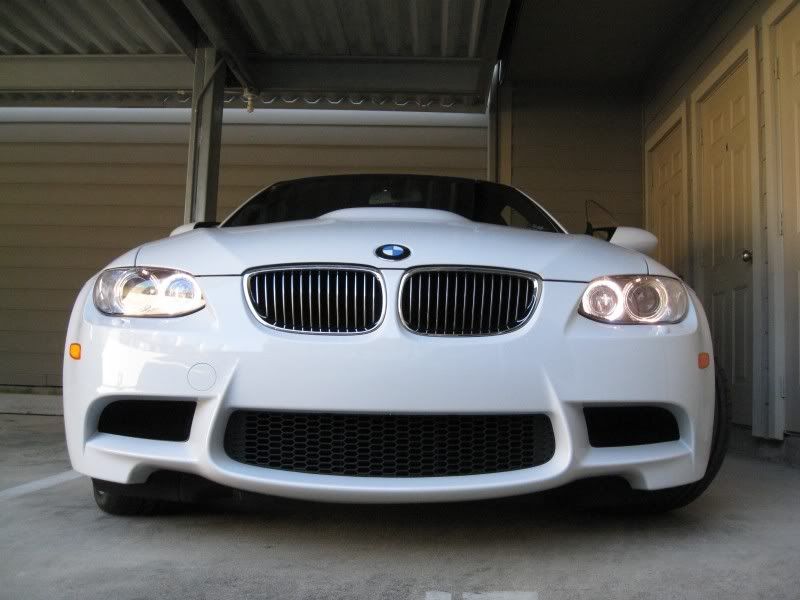
Driver Side: Done! This picture was taken at 11:30 am. Although this picture looks like still stock, it is really white.
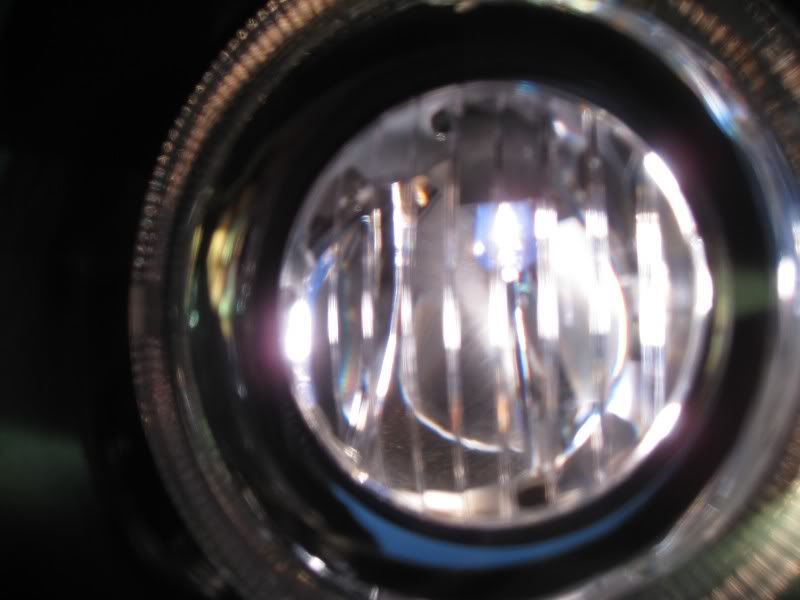
Driver Side: This is the cornering light. Apparently, the corning lights only turn on when your headlamp switch is in "Auto" (i.e. A) mode.
To install the passenger side, the steps are the same. However, the passenger side is much tougher to install due to the default location of the locked position.
Passenger Side: Default Locked Position
Again, assuming you are standing in front of the car, rotate the bulb to the right (clockwise). The mistake I made was that I was turning the bulb to the left (counterclowise)..stupid me. However, by turning to the right, you'll find that this is very difficult due to the confined space. And what's even tougher is doing this step in reverse to lock the bulb back to the default position, because you must guess where to begin the rotation process.
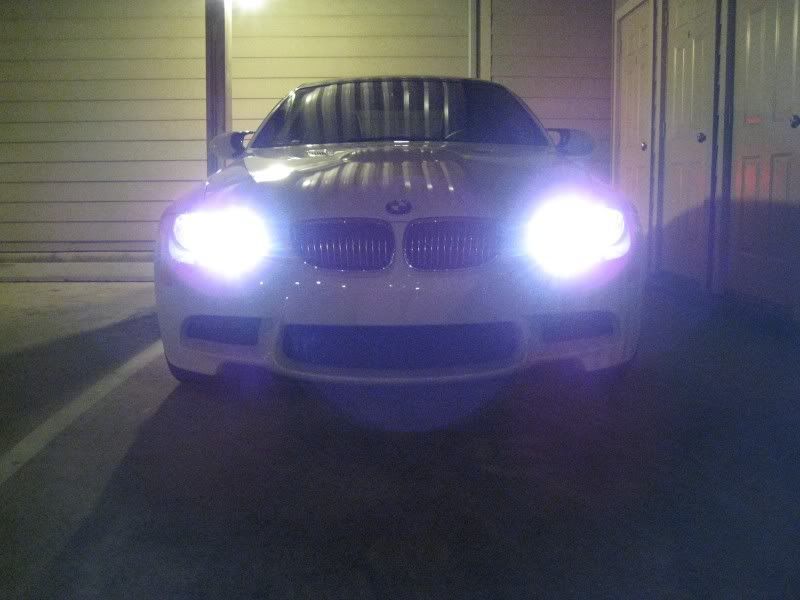
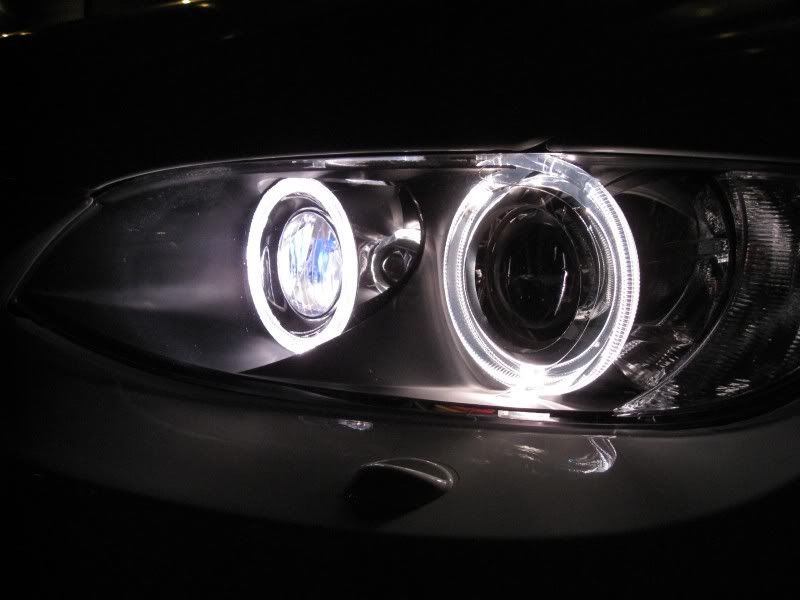
Passenger and Driver Side H3 and H8 Installed:
This is just the daytime running lights on:
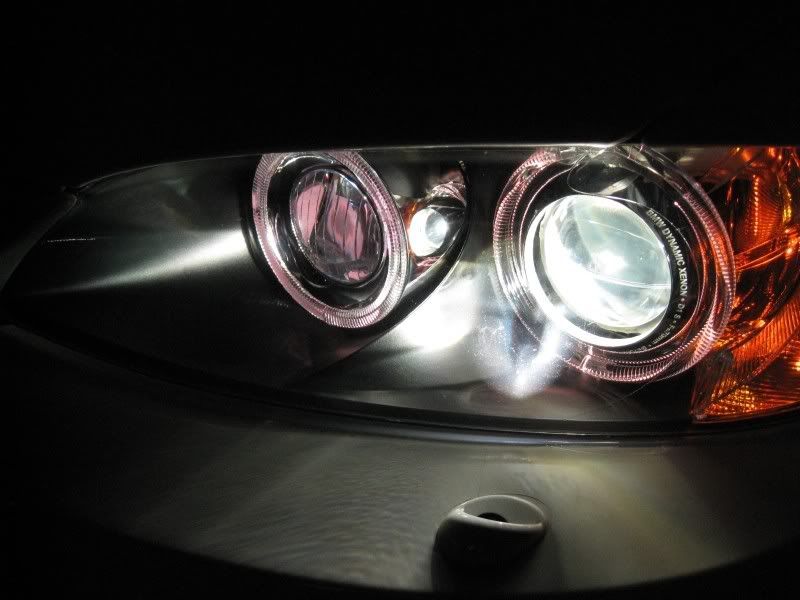
This is the daytime running lights dimmed, because the headlights are on. Unfortunately, the angel eyes dim to a yellowish color, that looks like stock.
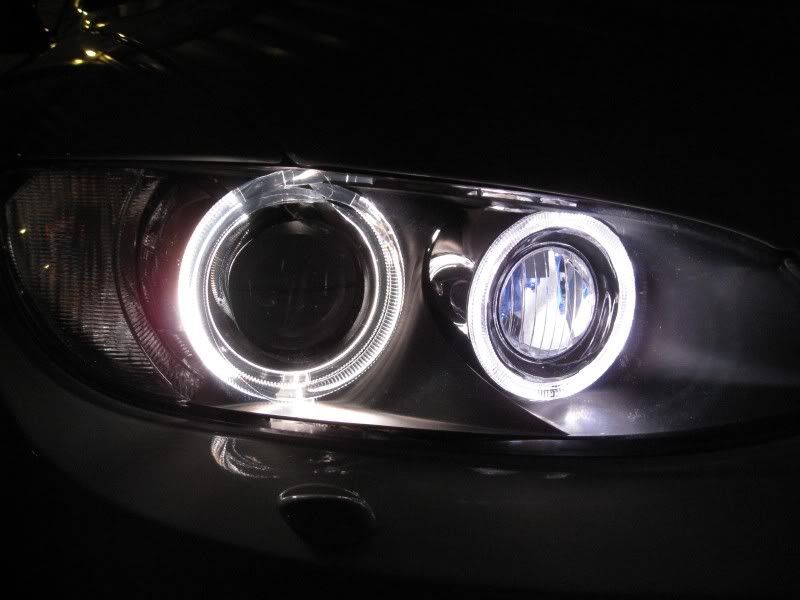
This is with the headlights off, and the cornering light on:
Some have experienced the need to substitute the stock orange rubber grommets for the ones that came with the GP Thunder. However, I found no need to do this. I found that both passenger side and driver side bulbs locked into place very tightly.
Note: I also got my clear bra installed yesterday, but you cannot see it in this picture (that's the way a clear bra should be). I'll be posting up pictures of the lines of the clear bra in the photos section later.